Hello friends. Hope you’re doing well. Did you catch the LIVE launch of the Tim Holtz Seasonal Distress products? You can watch the replay and Tim’s amazing demos over on his blog. Please note these products are seasonal, so if you want them and it’s in your budget, I recommend you don’t wait, especially not for the Crypt-Paste with me and Tami B stocking up like it’s the grit-paste apocalypse.
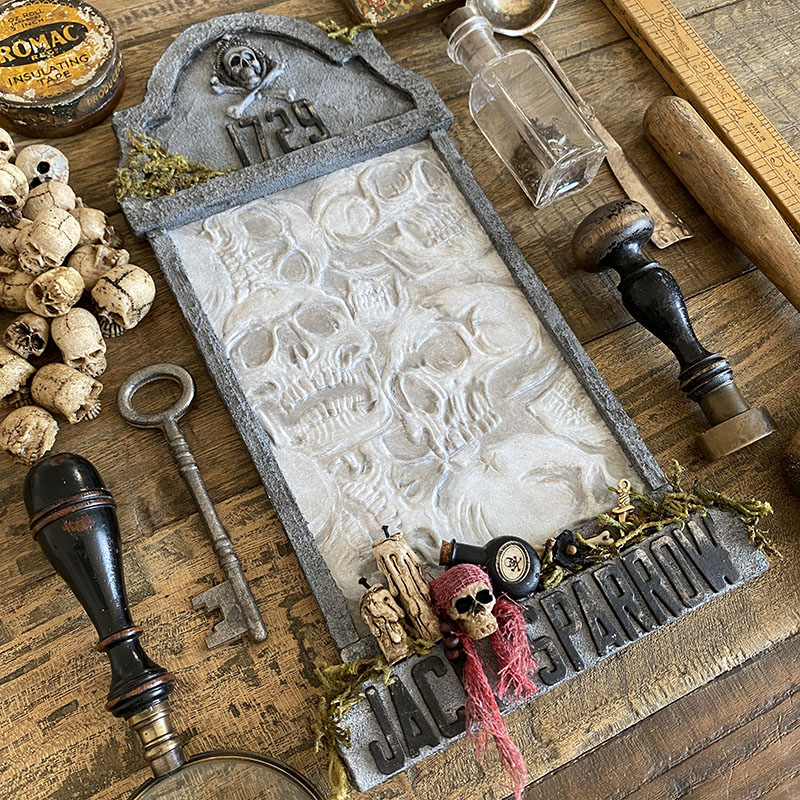
I was delighted to see “Crypt-Paste” back in a bigger pot, the single serve pots were not enough for this grit-paste loving girl! The crypt-paste is bittier and grittier and it spreads like butta and as I had the bigger pot I decided to go to town with it and create a Tombstone fit for a pirate!
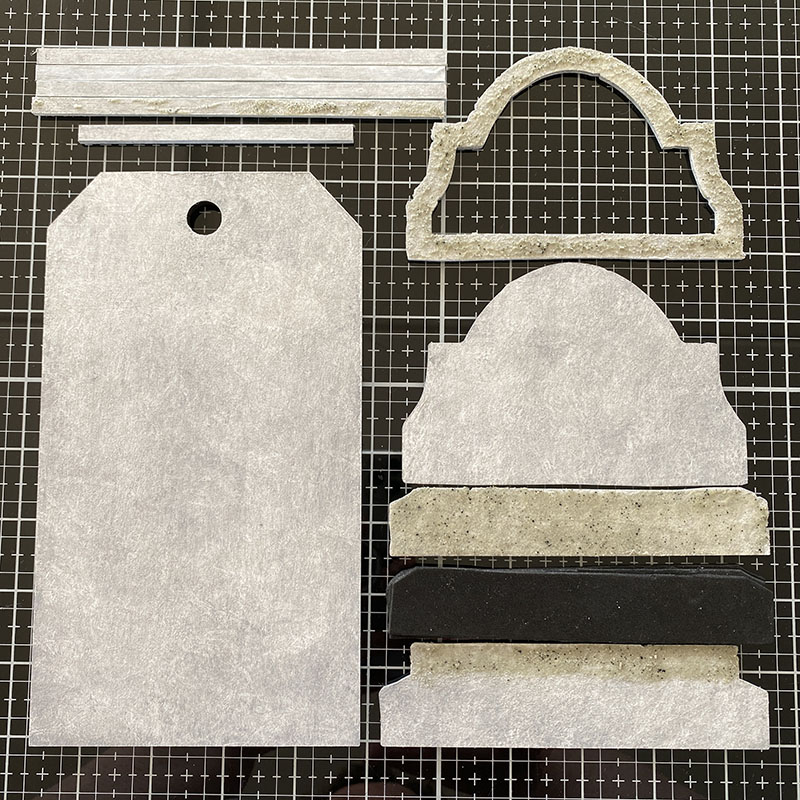
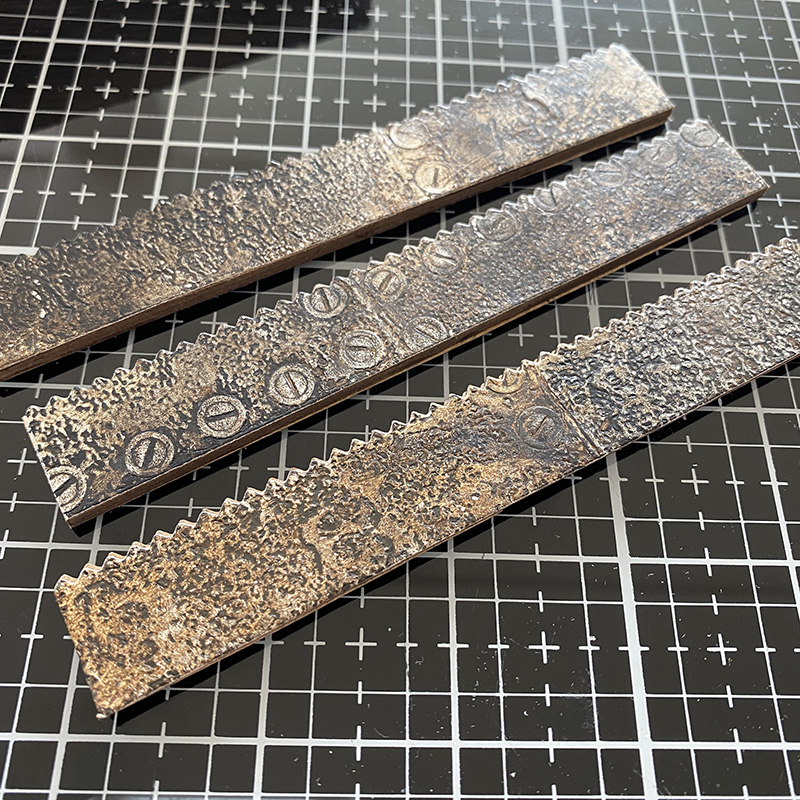
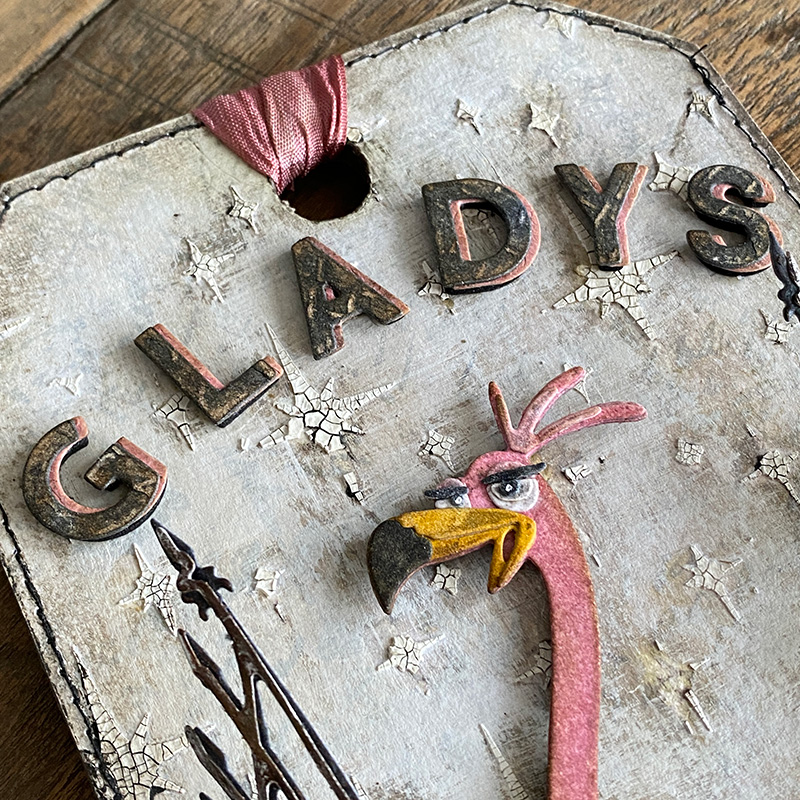
I took an etcetera mini tombstone overlay and trims from the etcetera bat web trims set and covered the pieces with a white gesso wash. Once dry, I added crypt-paste to the parts of the tombstone that would show.
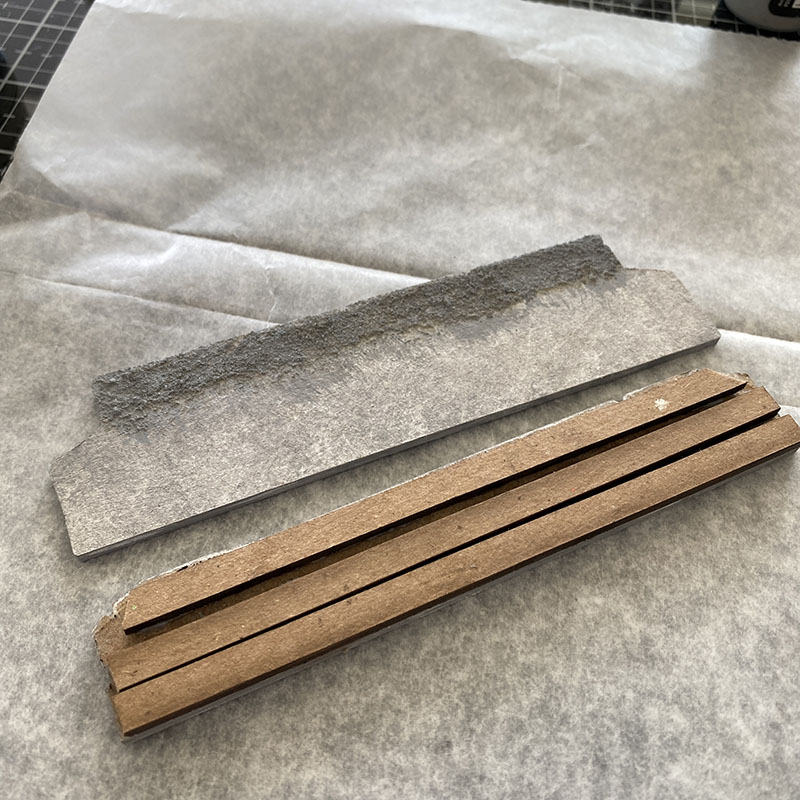
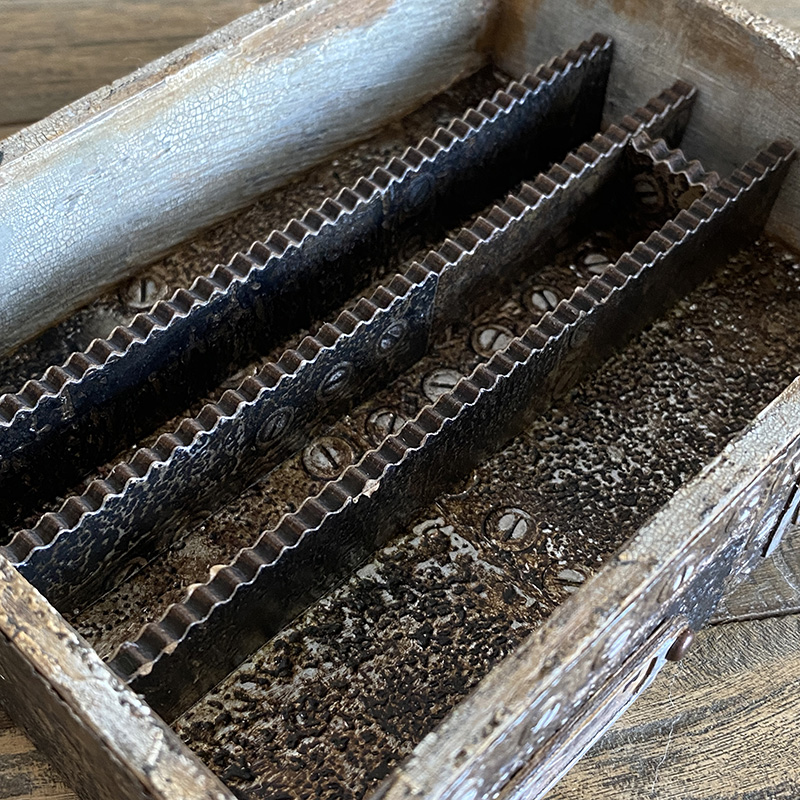
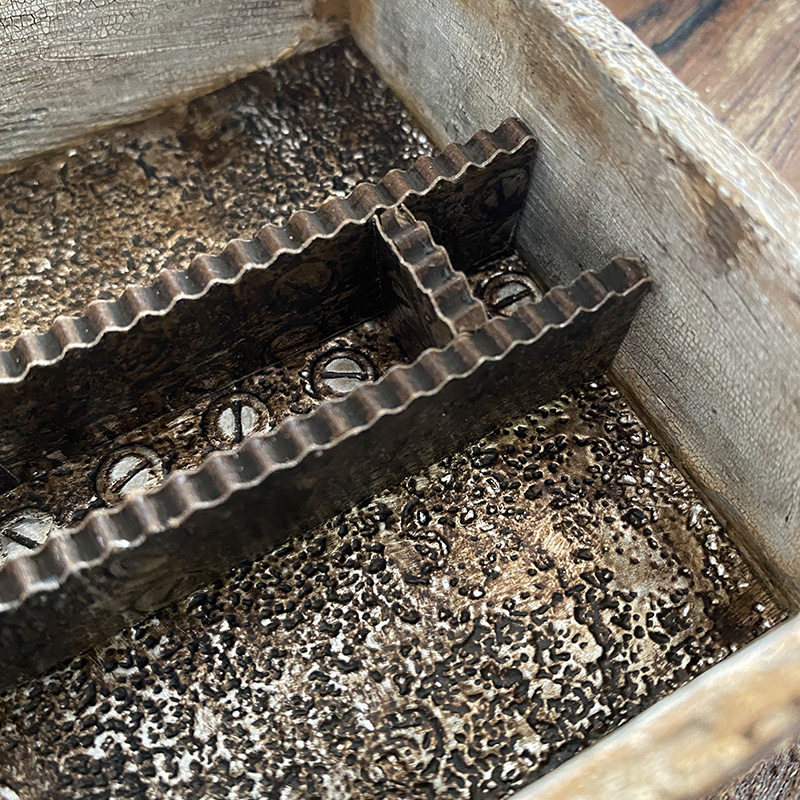
Using more of the trims from the bat web trims set, mount onto the back of the base of the tombstone to create a shelf to sit idea-ology pieces on later. I covered the crypt paste with hickory smoke distress paint. I love that the translucency of the crypt-paste means you don’t get white showing through and it really is grittier.
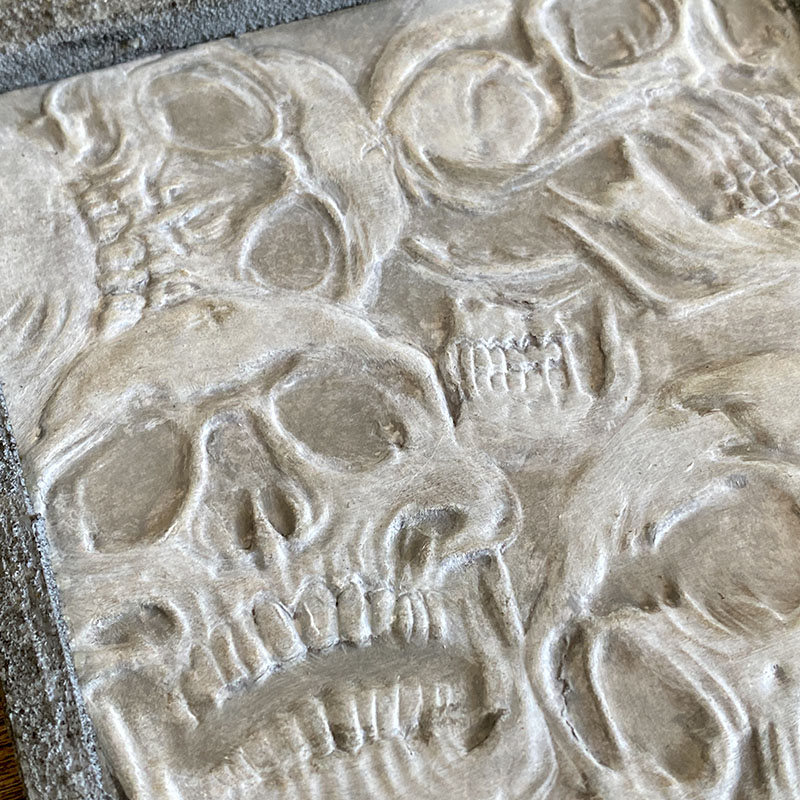
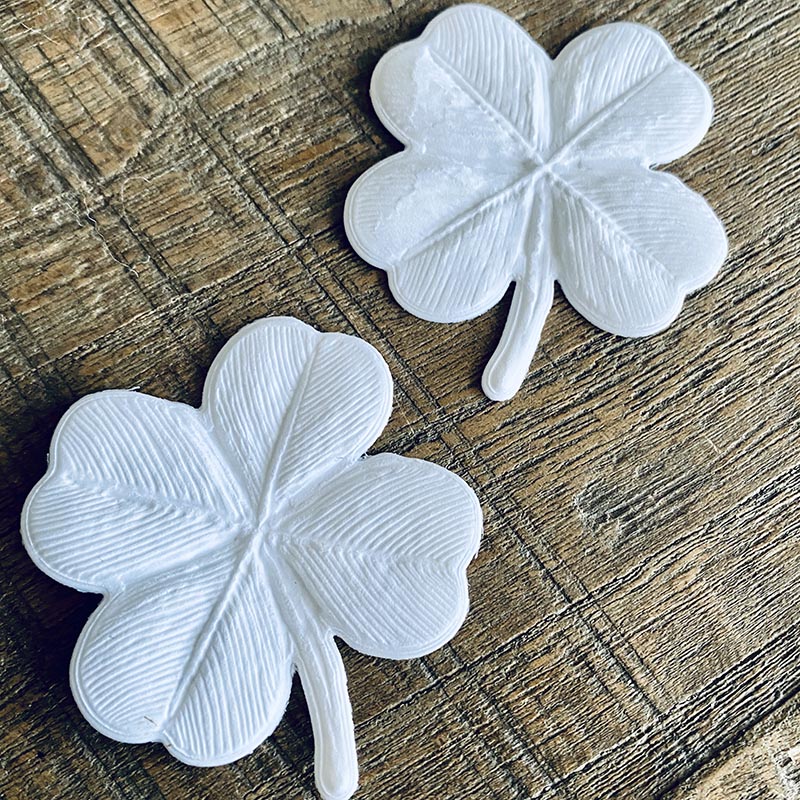
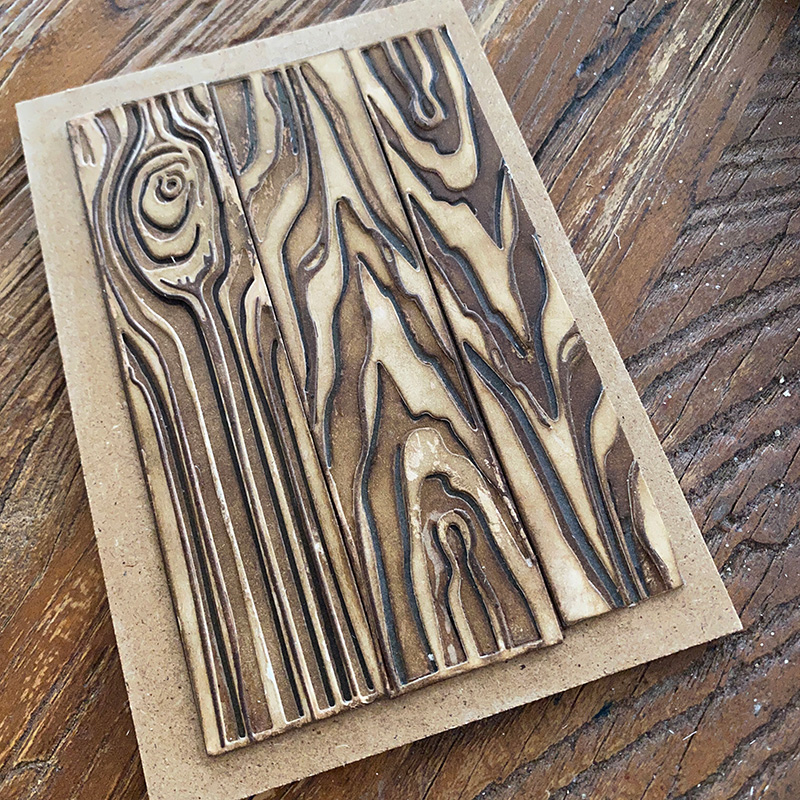
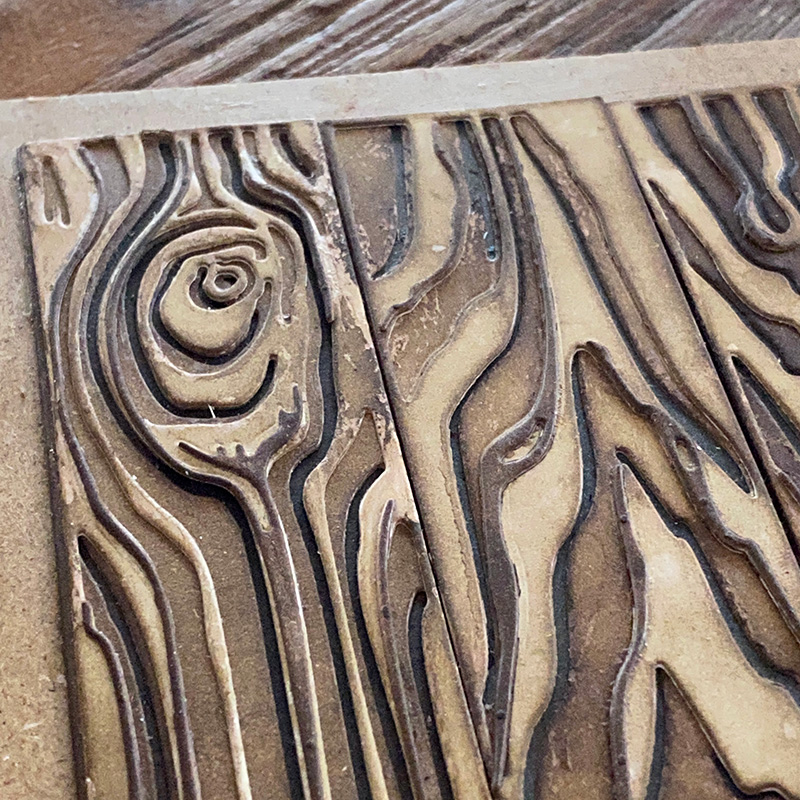
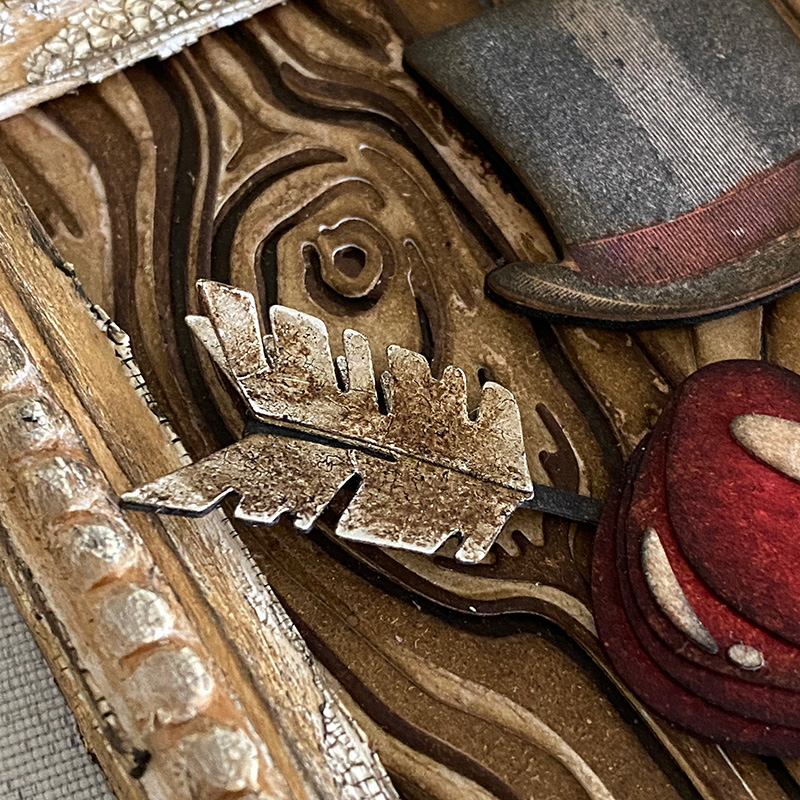
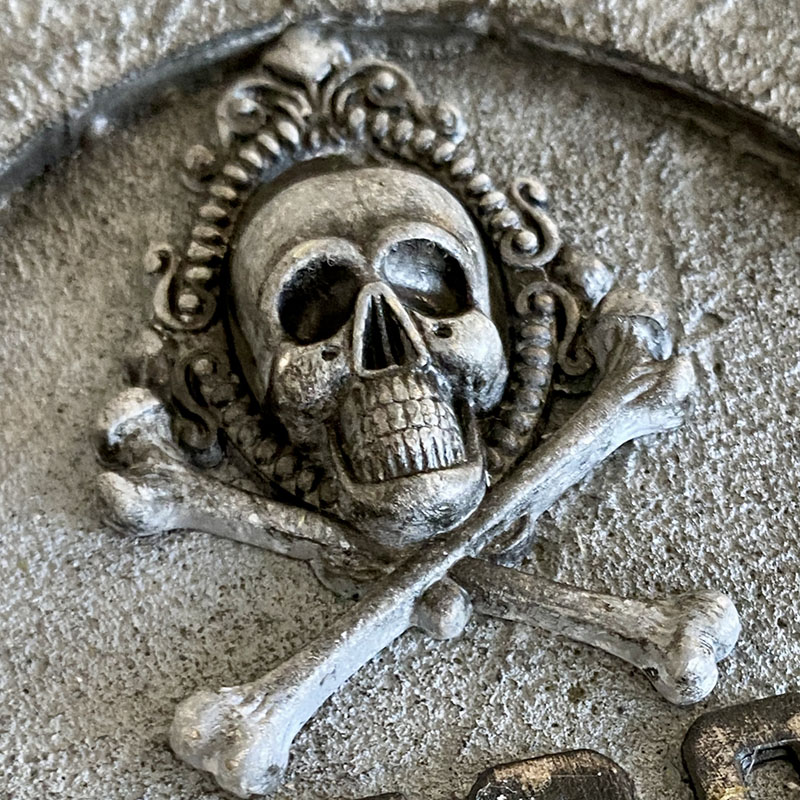
The new Skulls 3D folder is nothing short of amazing. You don’t fully appreciate the depth and detail of the 3D until you have it in your hands and can’t quite believe one pass in a folder gives you THIS!! Make sure you check out Tim’s YouTube replay to see what he did with this folder and the black woodgrain surface! WOW!
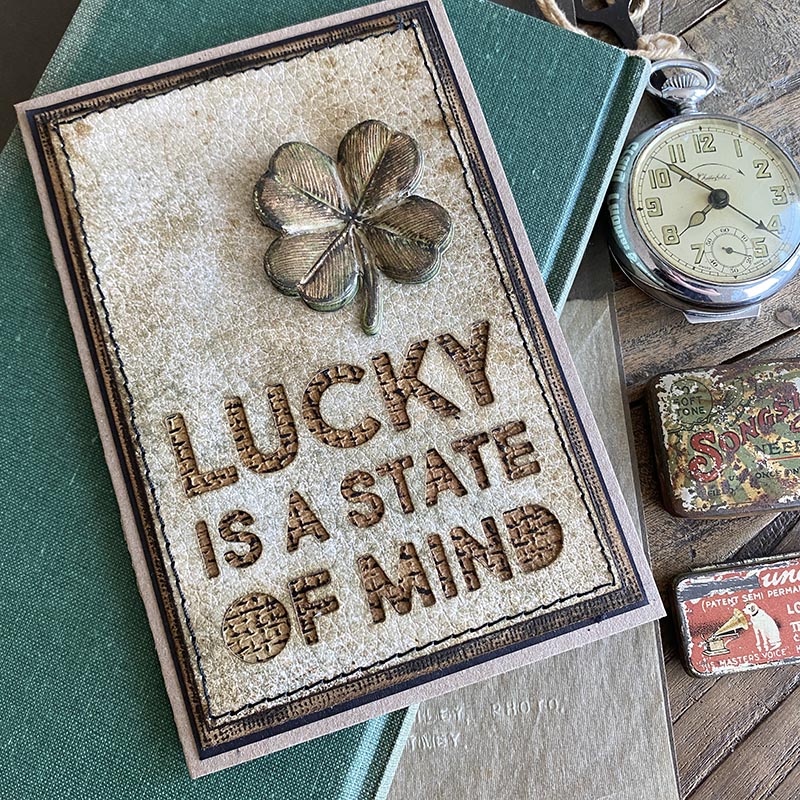
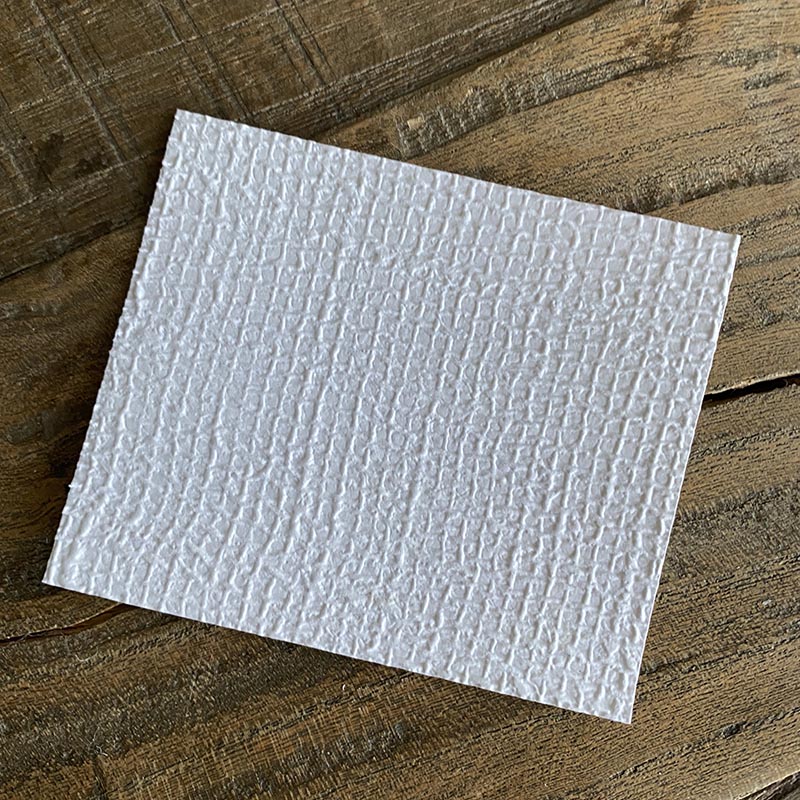
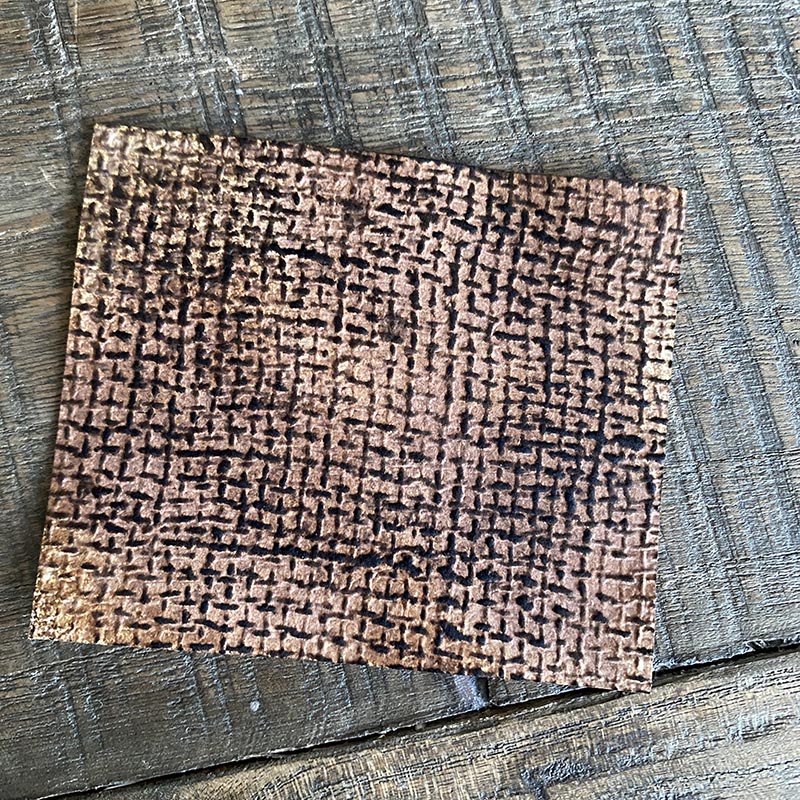
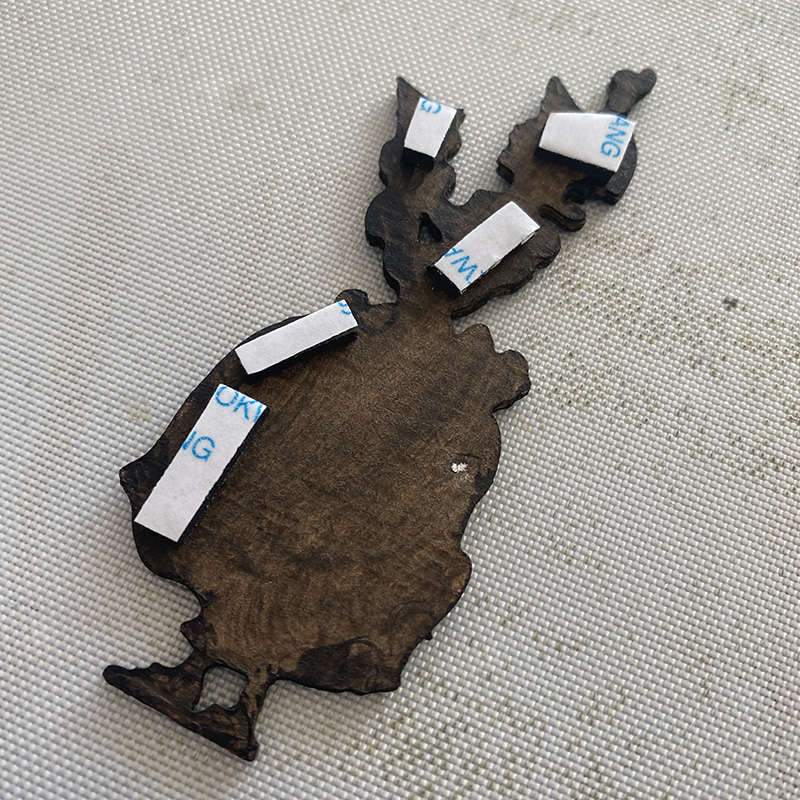
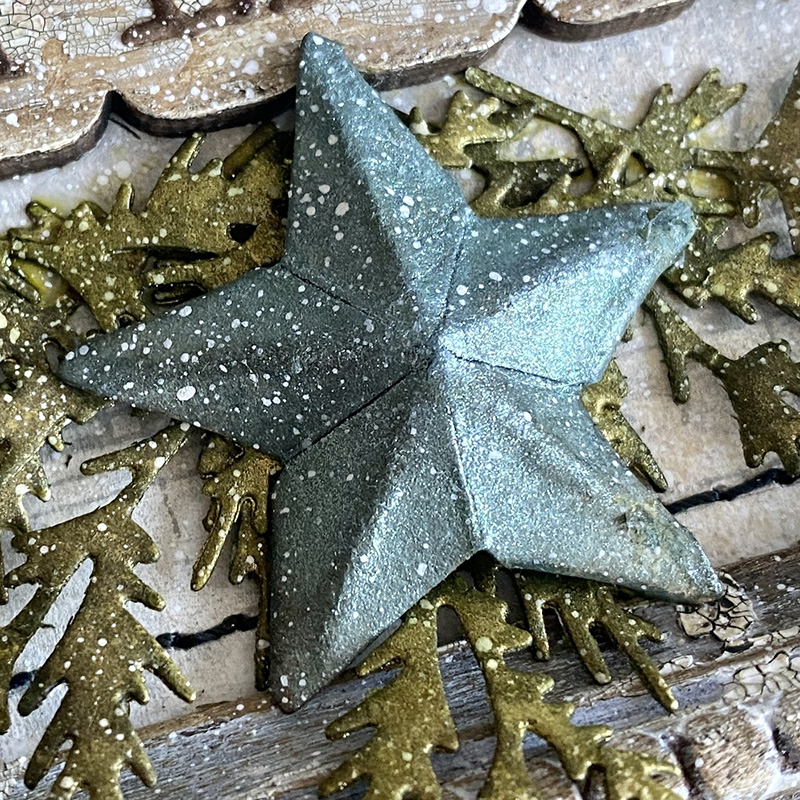
I covered a piece of distress watercolor cardstock with a hickory smoke distress paint wash and set aside to dry. I embossed with the Skulls 3D folder then dry brushed white gesso onto the raised parts.
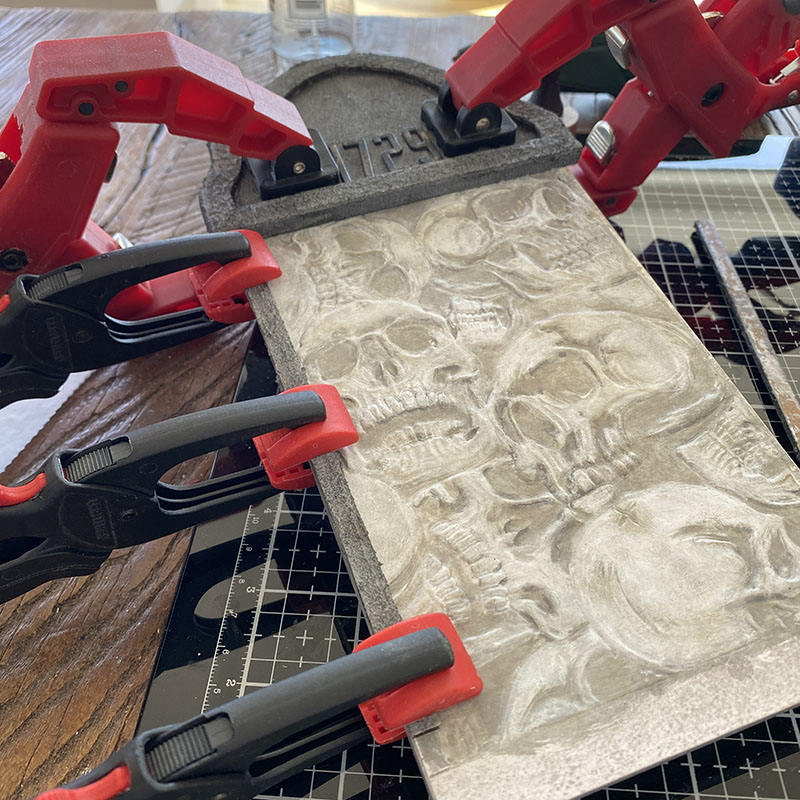
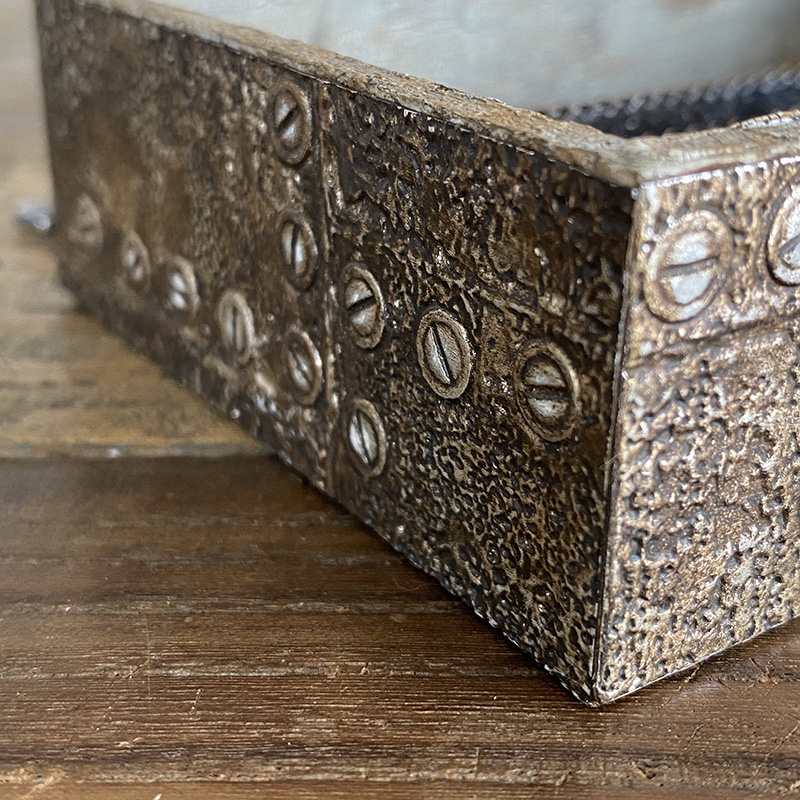
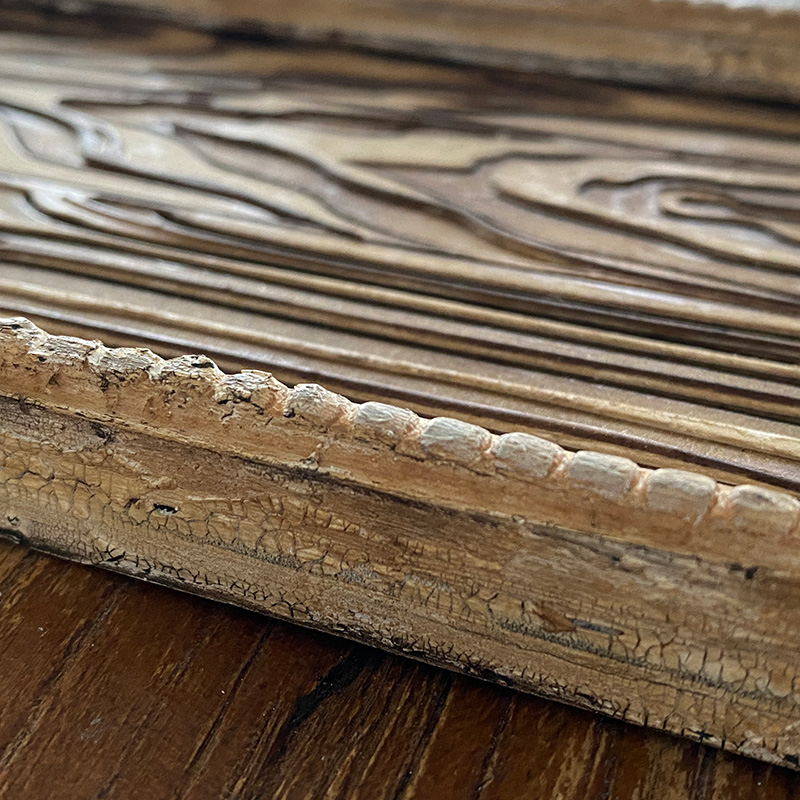
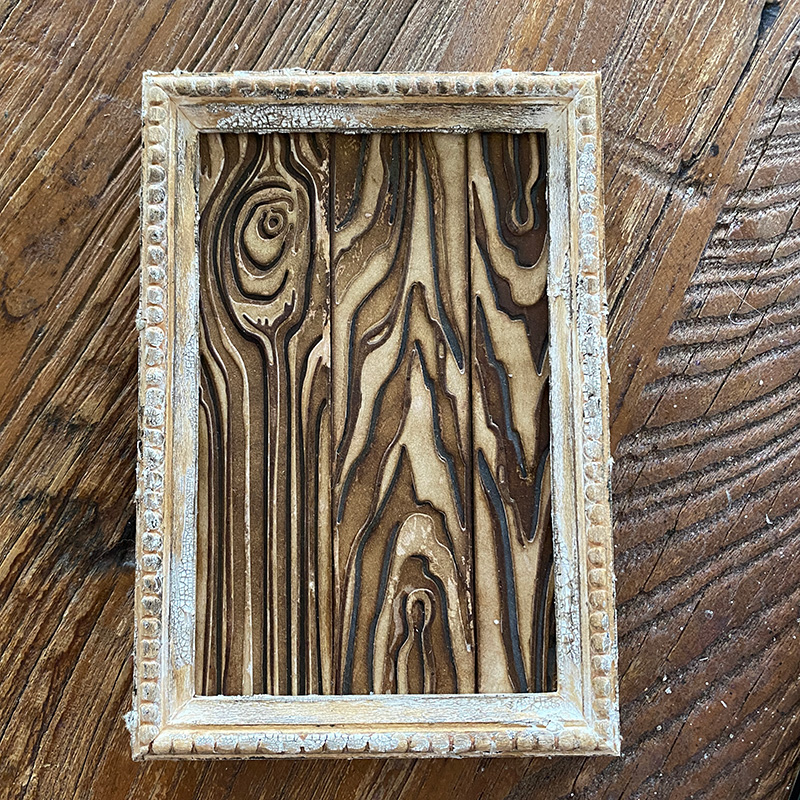
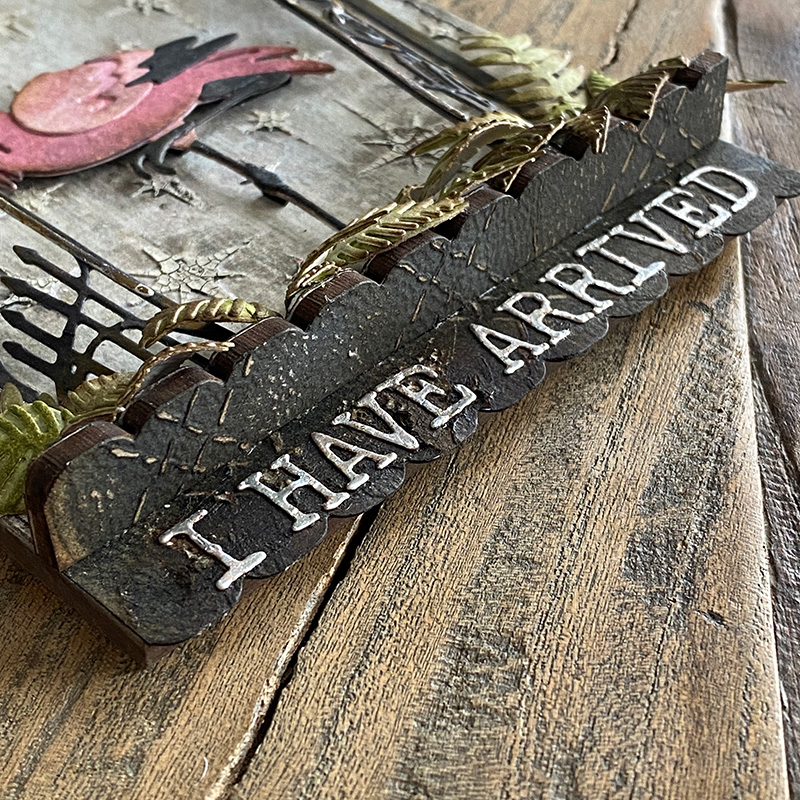
I adhered the 3D skulls background to the tag part of the tombstone overlay and added the tombstone top. To create a side to the tombstone, I mounted 2 trims from the bat web trims set on top of each other to match the height of the top and bottom of the tombtone overlay, trimmed to size and added to the side. I used distress collage medium to glue and lots of clamps to hold in place while it dried!
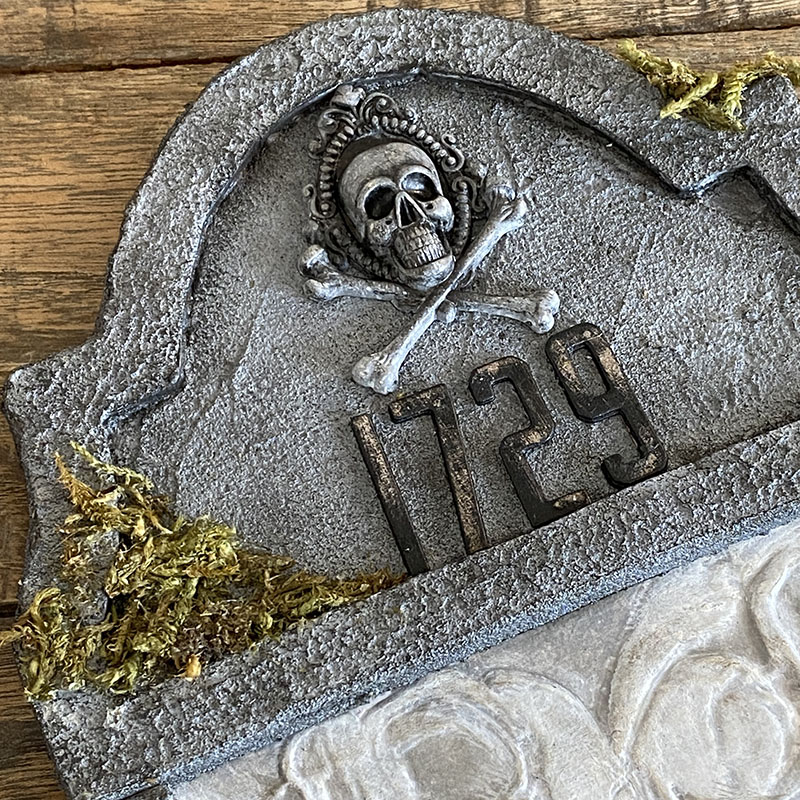
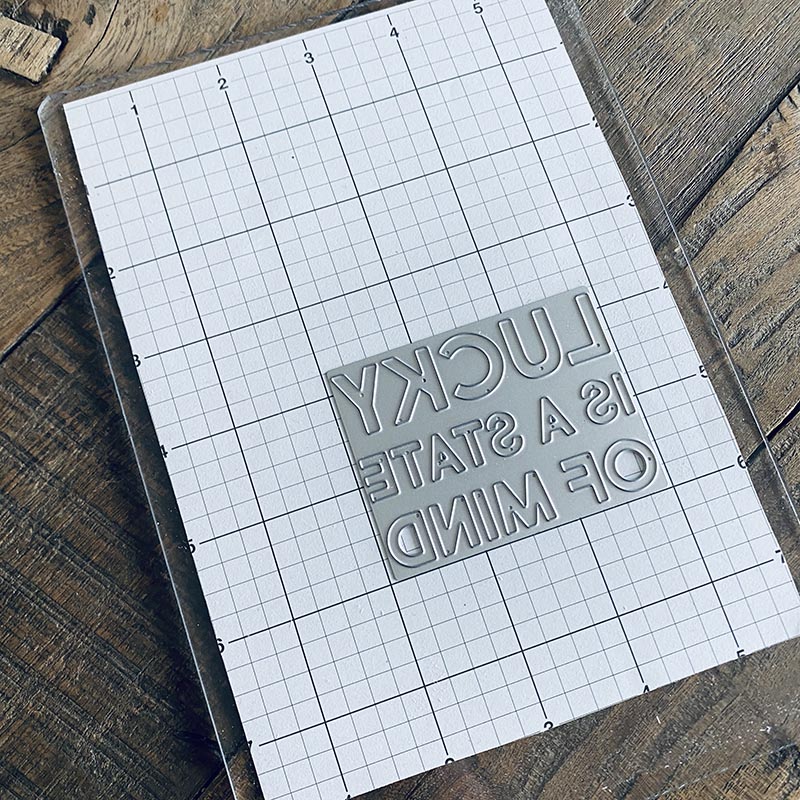
Using the new Theory alphanumeric thinlits dies, I added “1729” the year that Captain Jack Sparrow met his untimely death.
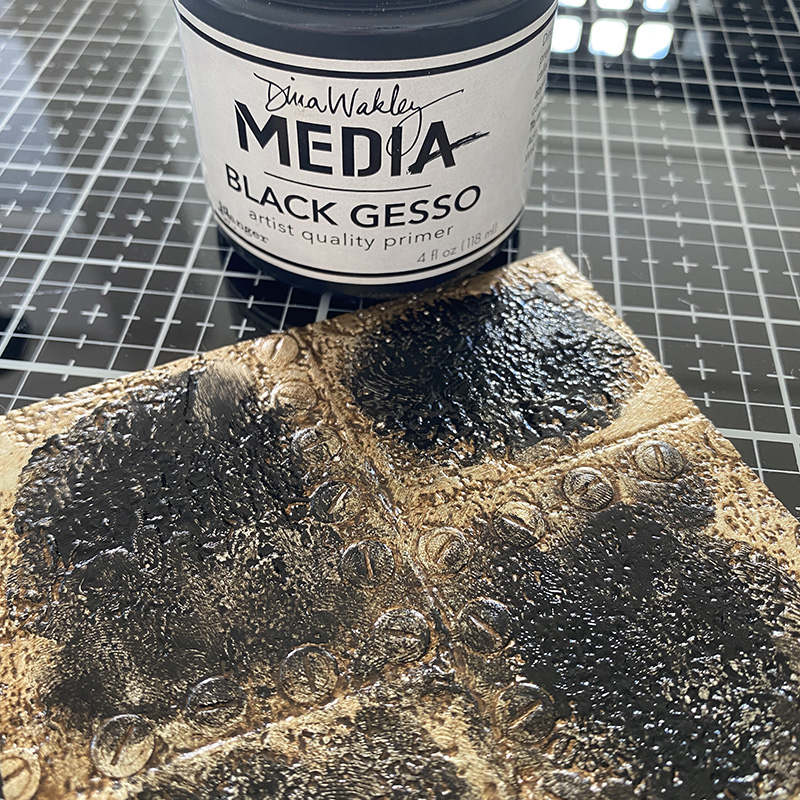
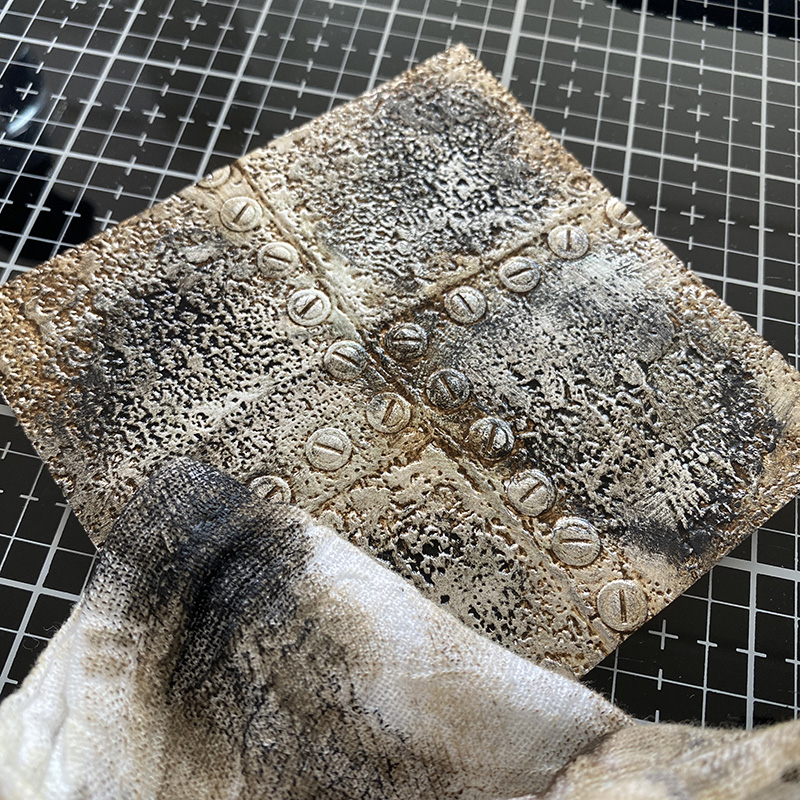
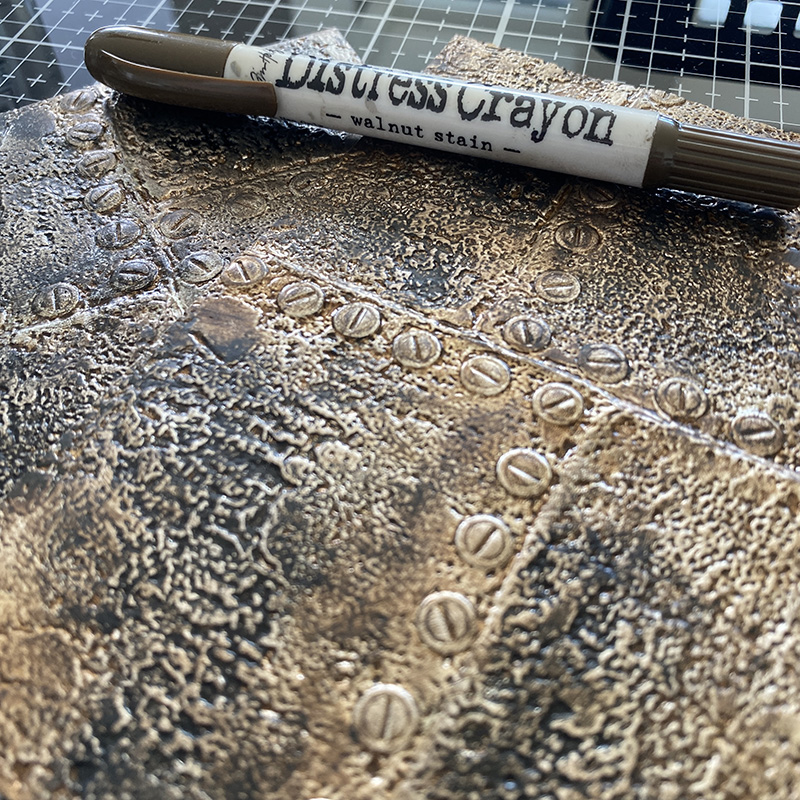
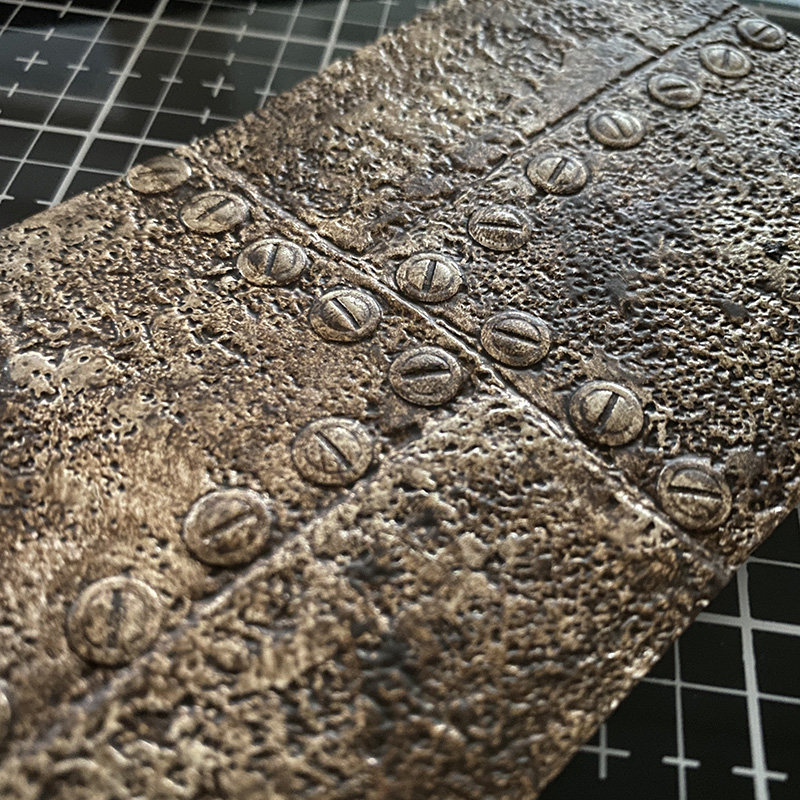
Using an older piece of halloween idea-ology I hoarded I covered with gesso and wiped away the excess. Once dry I dry brushed black soot distress paint over the top and wiped with a cloth so the black sits in the recessed areas.
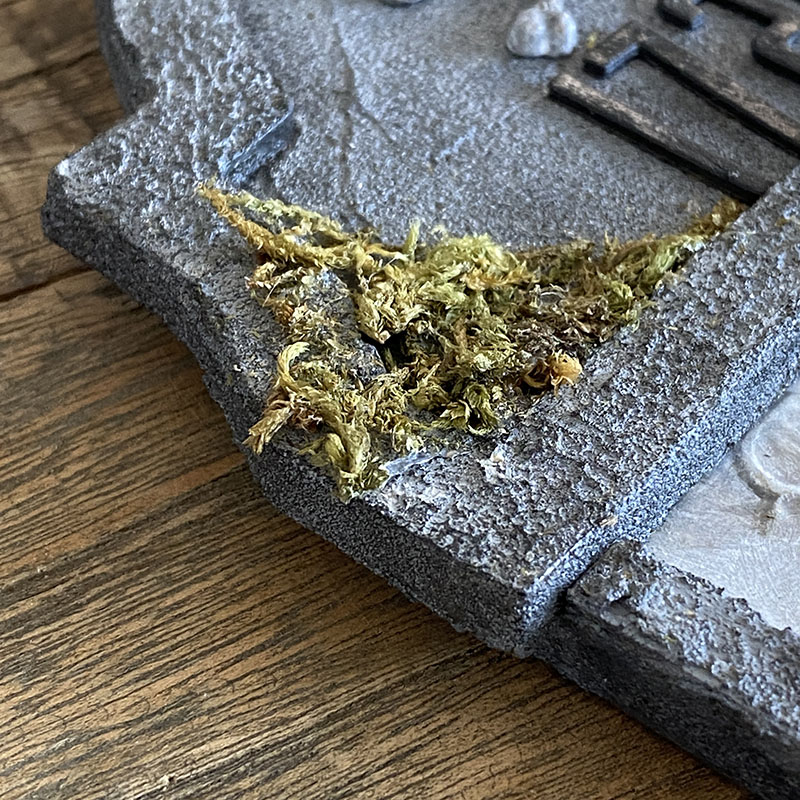
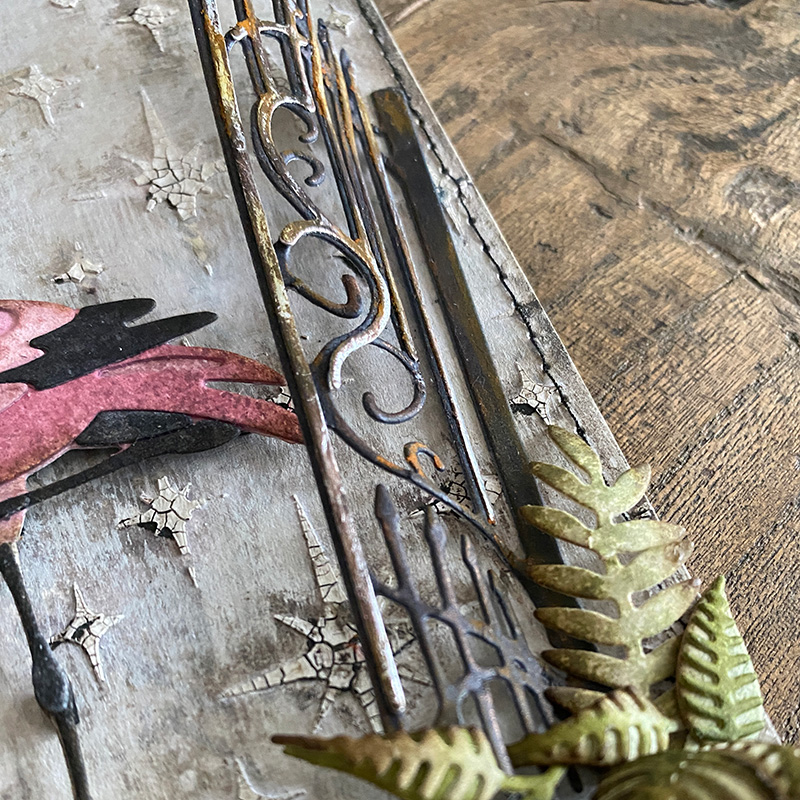
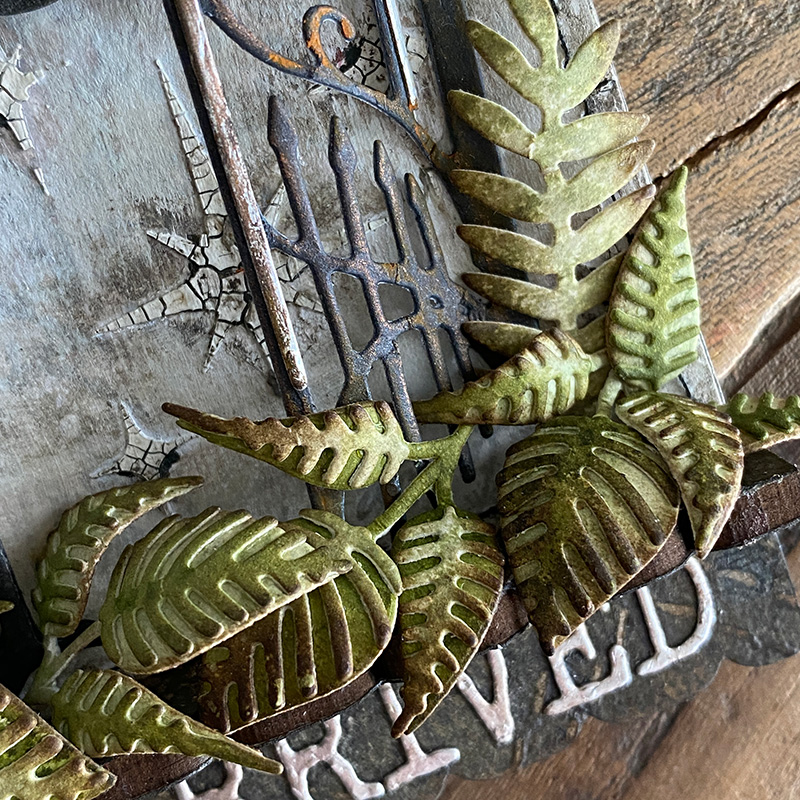
I added some moss that I bought from a craft store. You will sometimes find this kind of moss in the model railway section. I painted on a layer of distress collage medium, pressed moss into it and allowed to air dry.
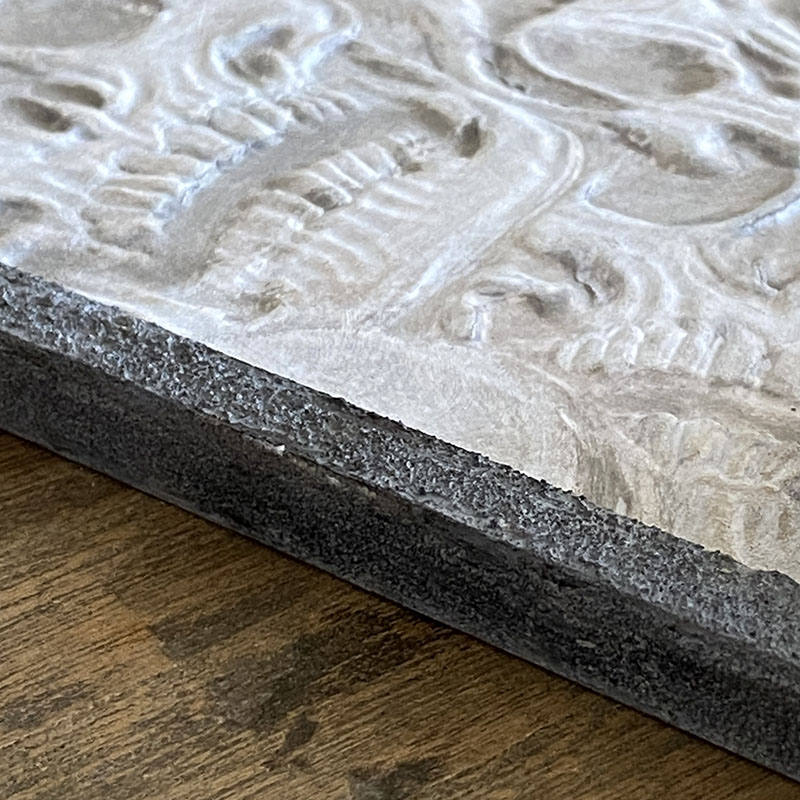
I used a palette knife to spread Crypt-Paste along the edge of the trims to hide the seam and match the rest of the tombstone. Once dry, I covered with hickory smoke distress paint and later dry brushed with black soot distress paint.
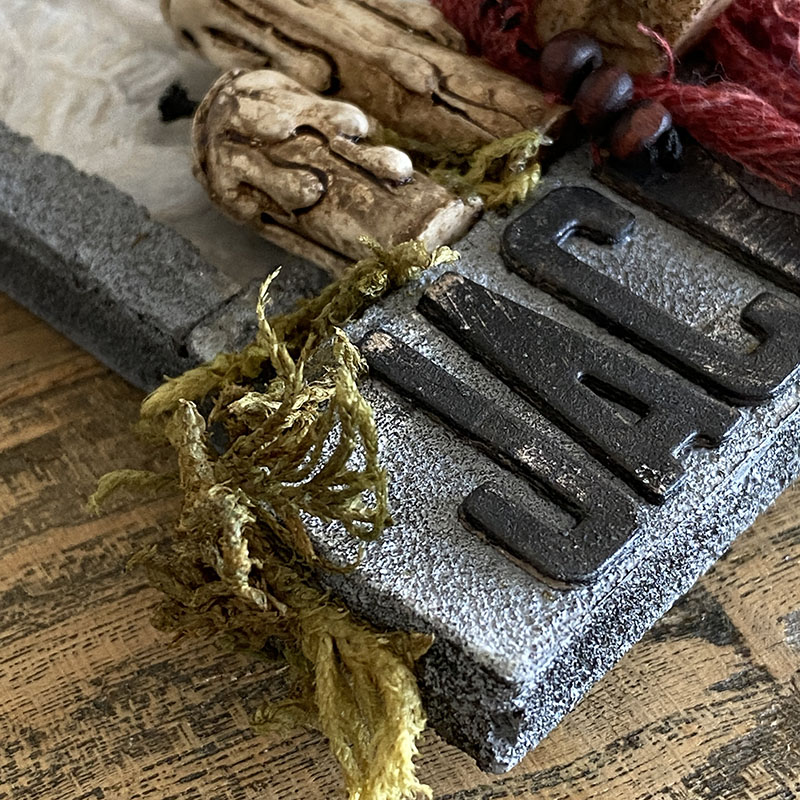
Using the Theory alphanumeric thinlits dies again, I cut “Jack Sparrow” from idea-ology black kraft stock several times and layered to give the letters some depth. I lightly sanded small areas and added along the base of the tombstone.
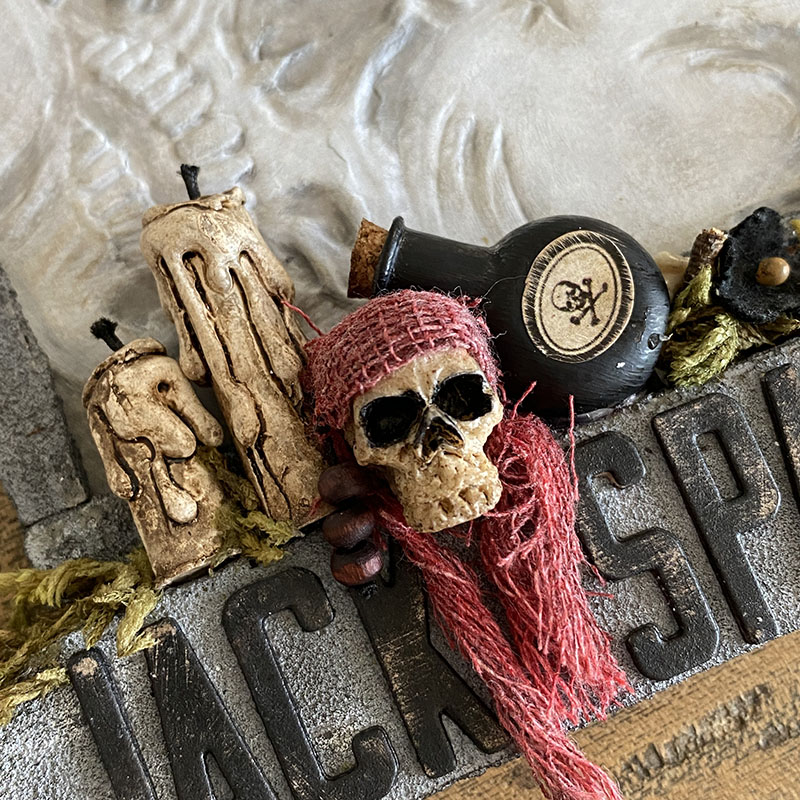
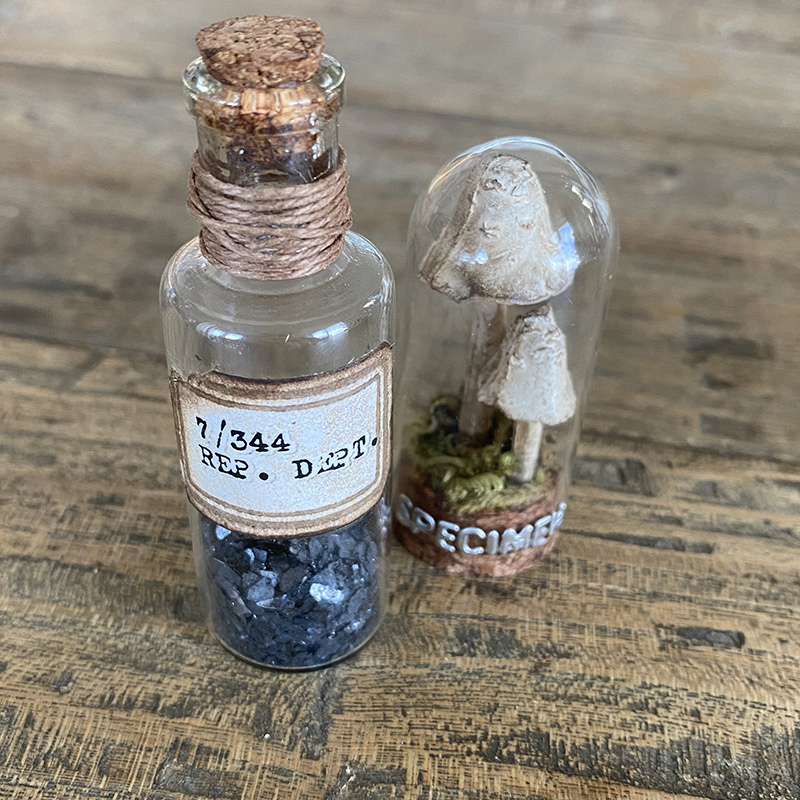
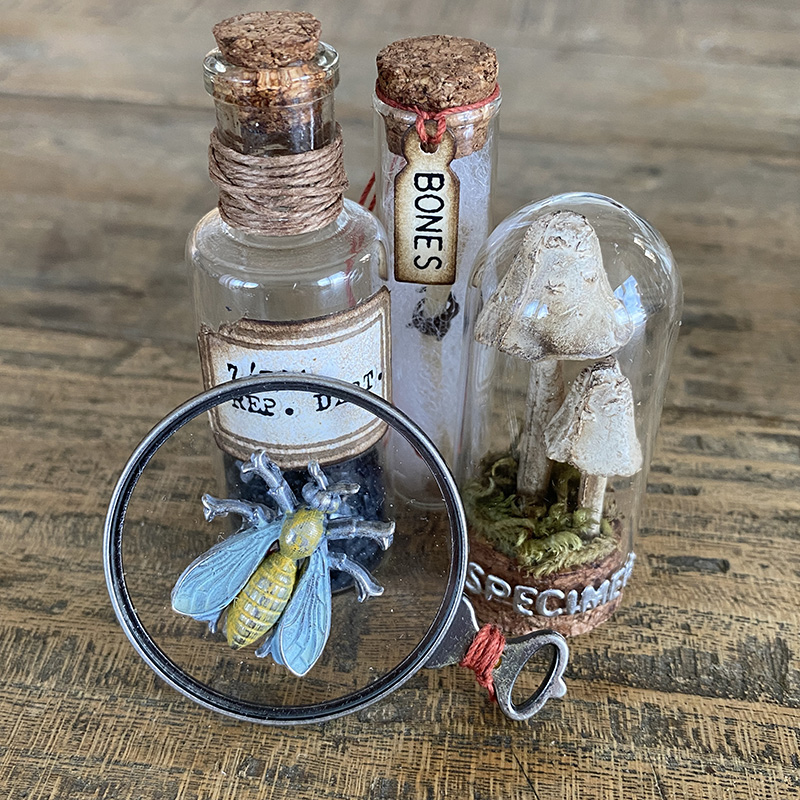
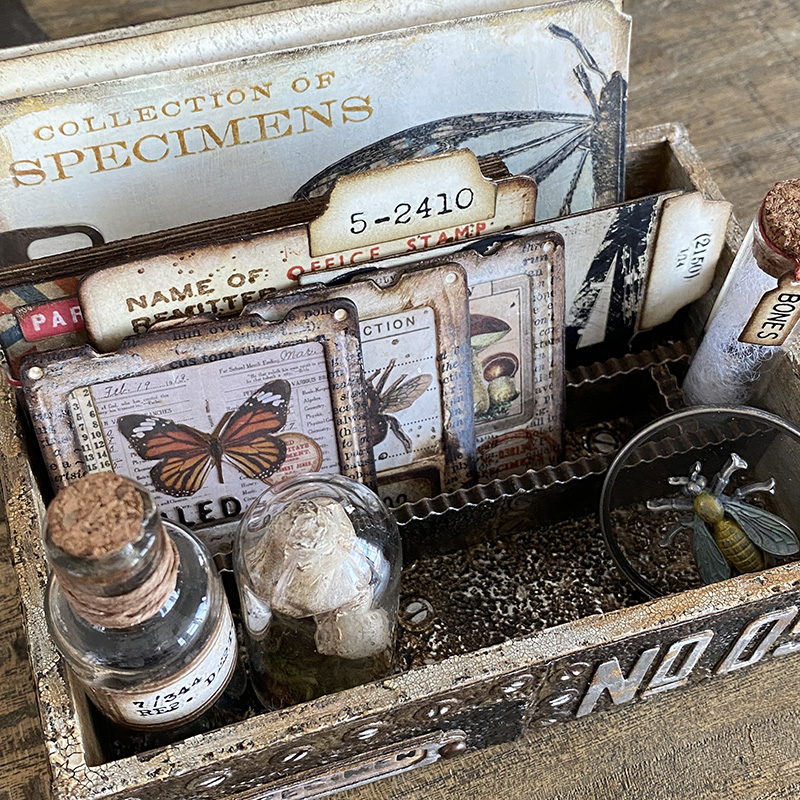
I was able to place idea-ology items along the shelf I created by adding etcetera trims to the back of the tombstone overlay. I covered a bottle from the idea-ology tiny vials with a layer of distress collage medium and once dry, a layer of black soot distress paint. Adding an idea-ology label and skull and cross bones remnant rub. I used mummy cloth colored with distress ink for Jack’s bandana and sewed some beads into the side to imitate Jack’s beaded dreadlock. You can just about see them on the left hand side of the skull.
Thanks for stopping by and let me know if you have any questions.
Zoe
…
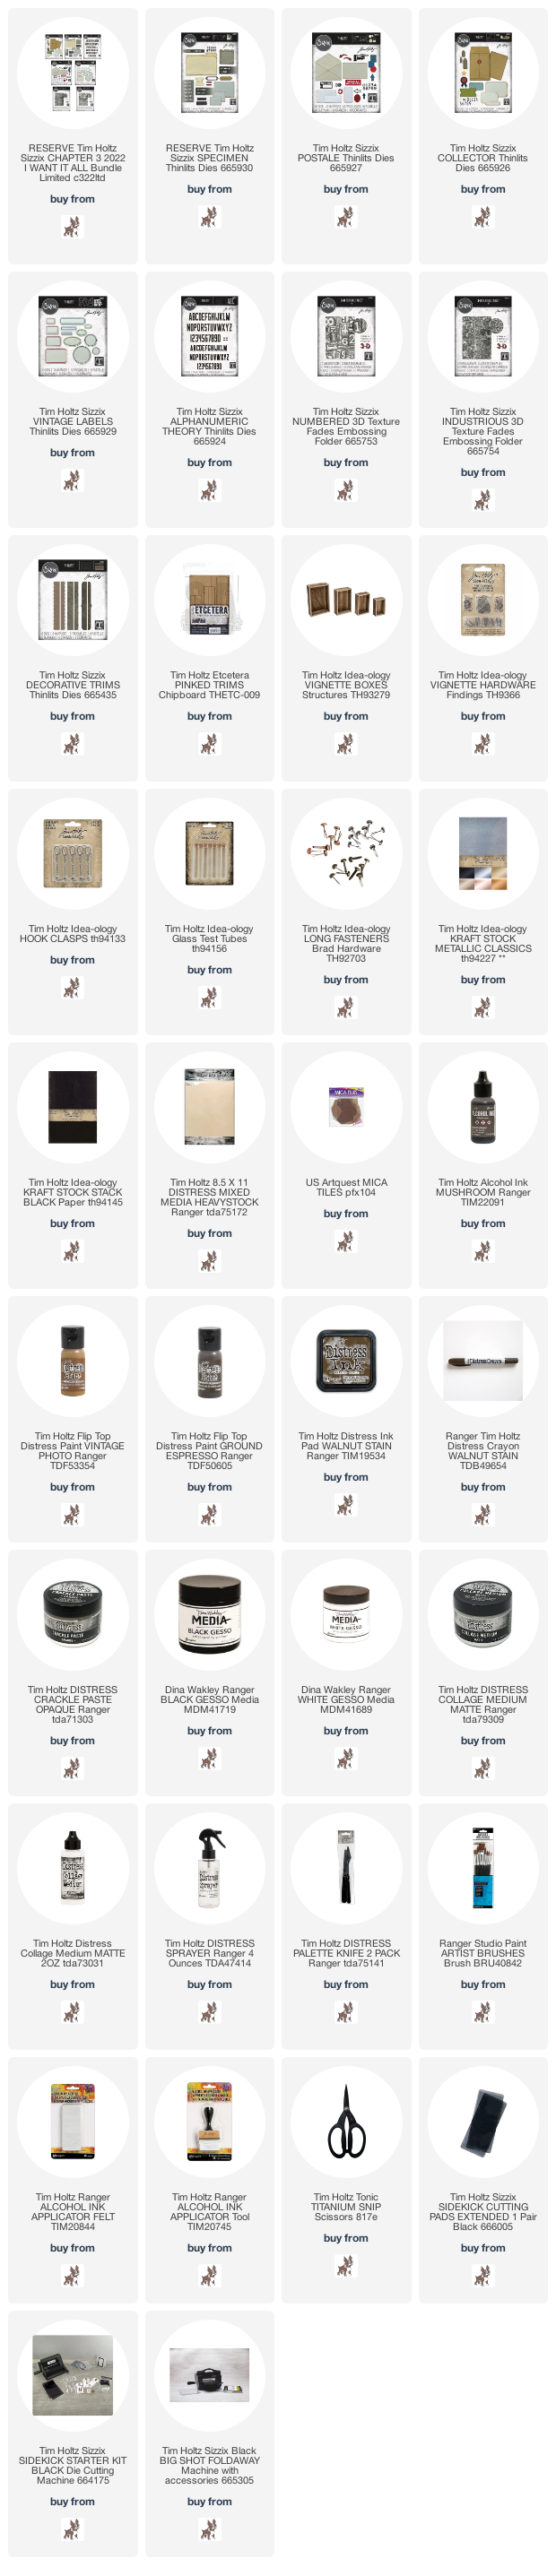
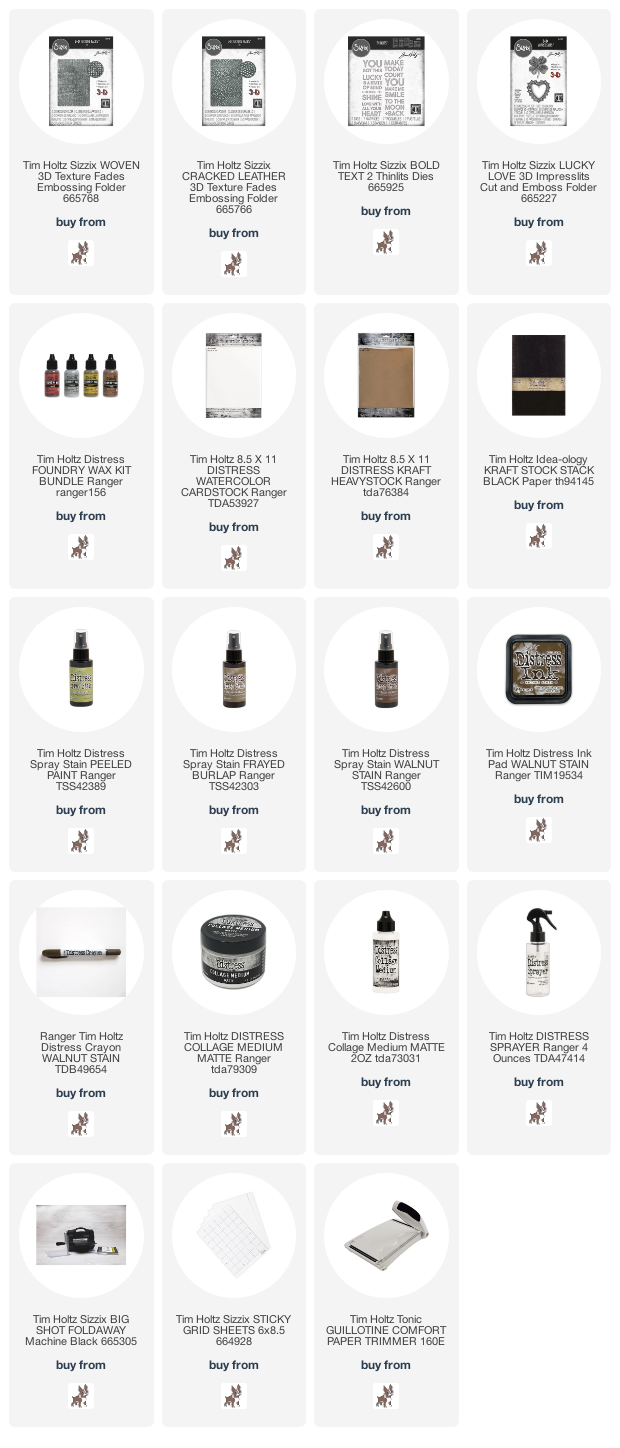
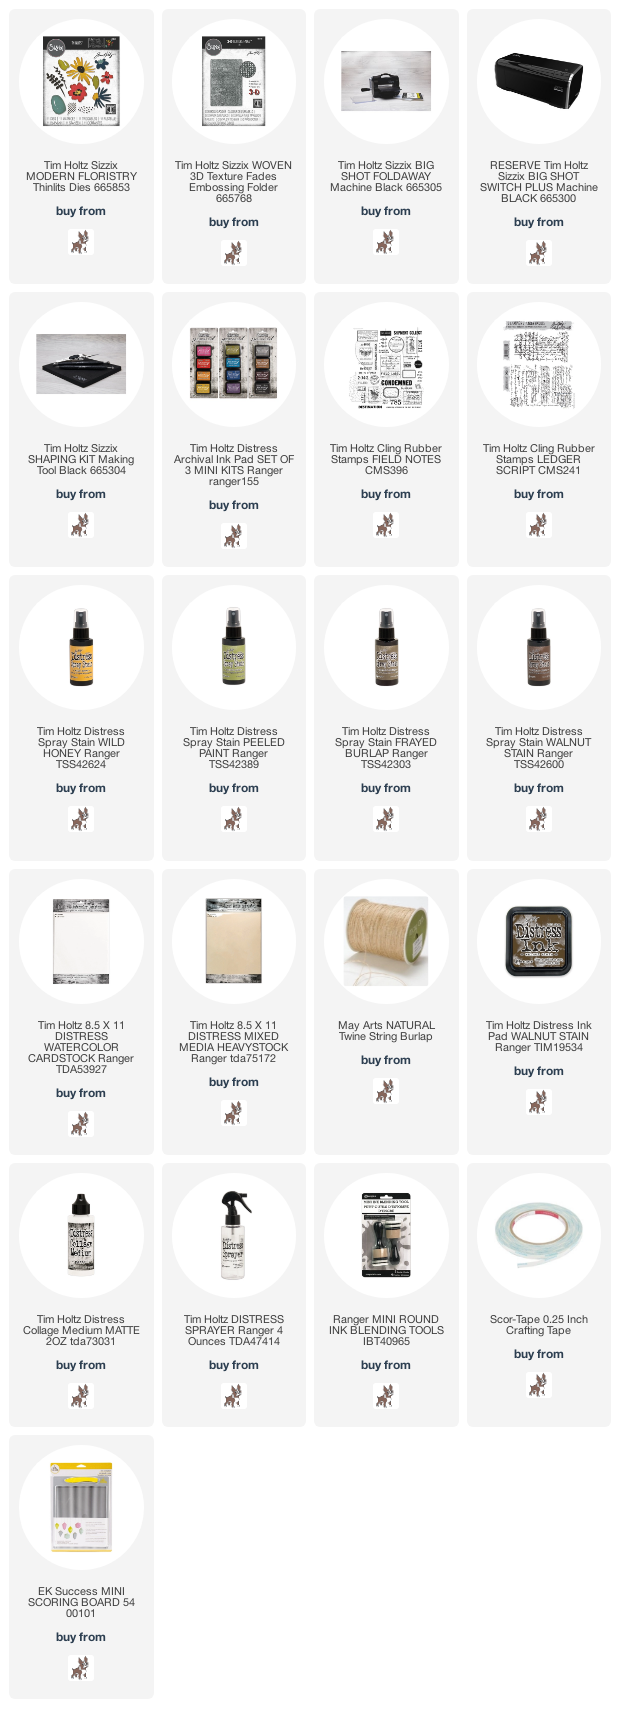
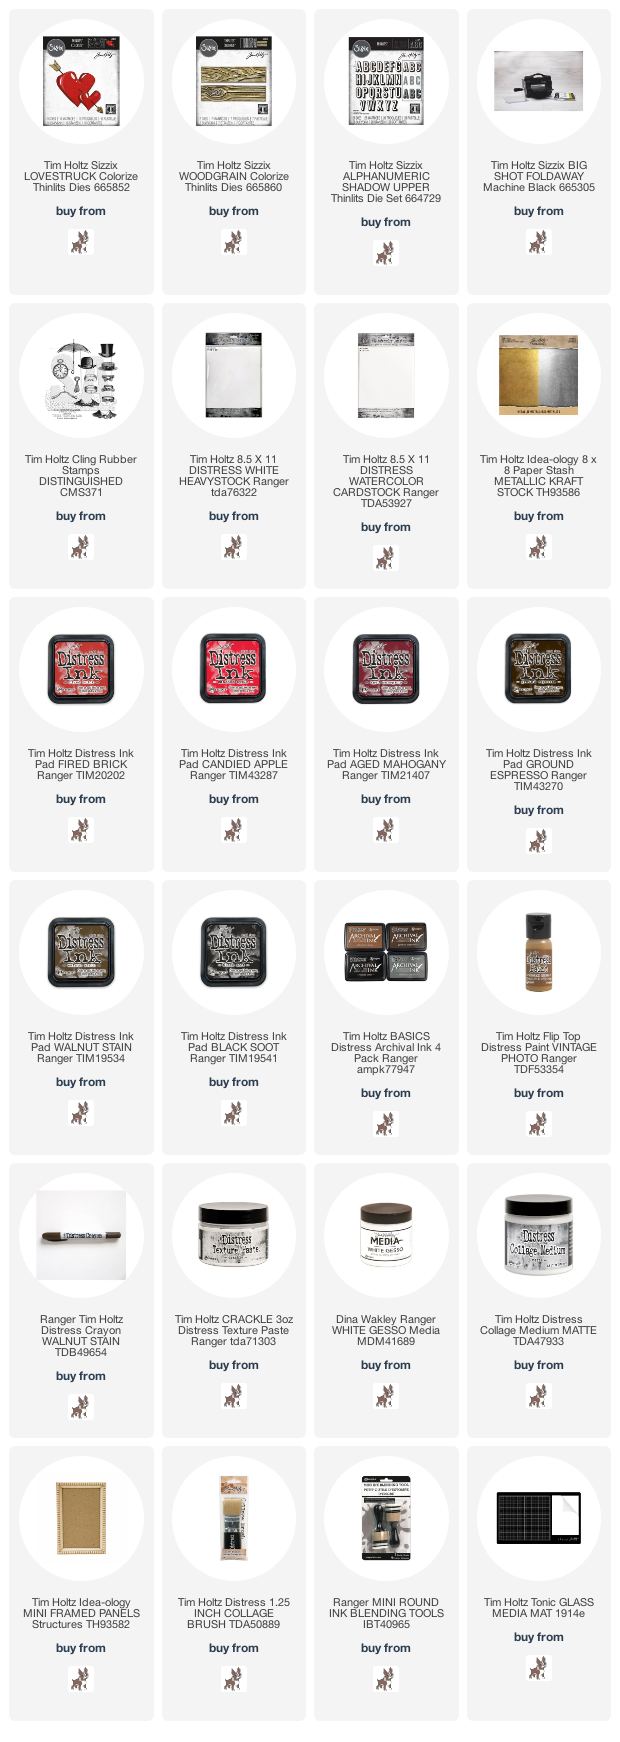
affiliate links used at no cost to you