‘Craft Tutorial’ Category

  1. Joy To The World

    13th November, 2017 by iGirlZoe

    Hello friends. I’m back with another card for the Tim Holtz holiday inspiration series. Throughout November and December Tim will be sharing projects by a group of talented crafters to provide some inspiration to get you creative during the holiday season. Follow Tim on facebook and instagram and his blog for the recap each Saturday.

    iGirlZoe: Joy to the World
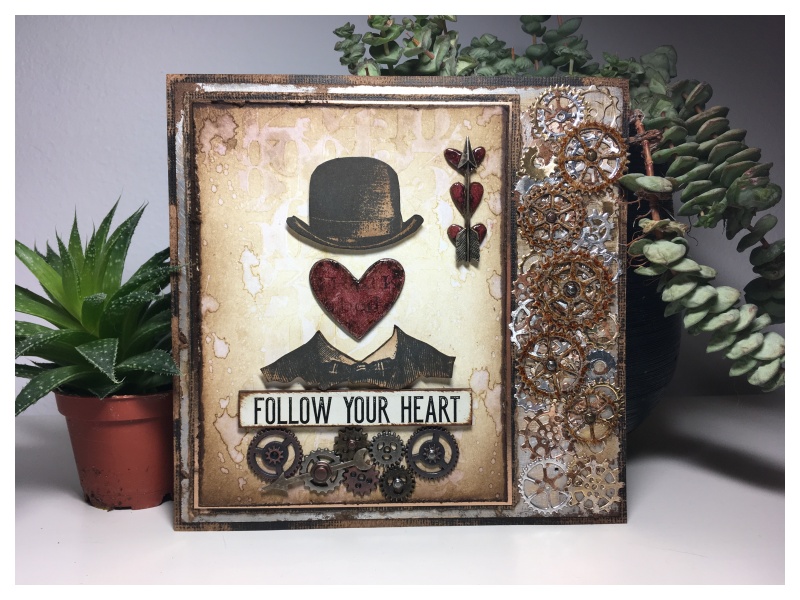
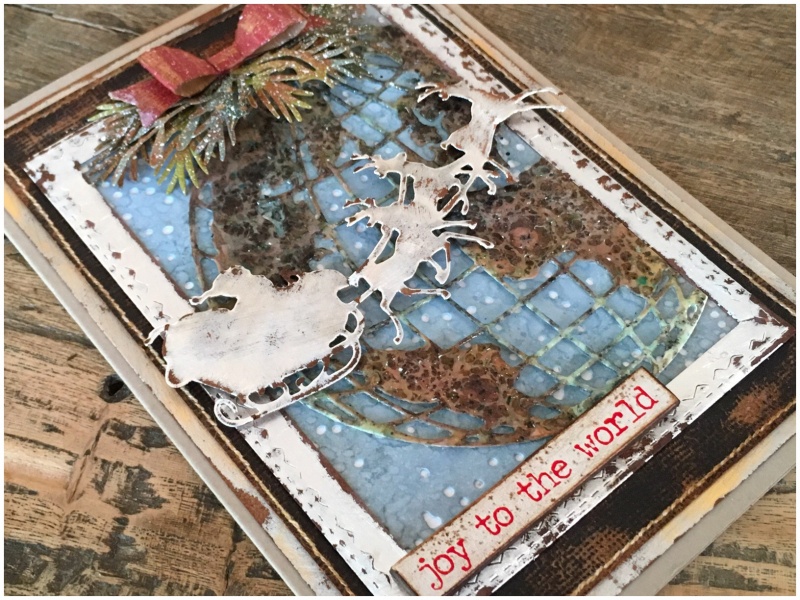
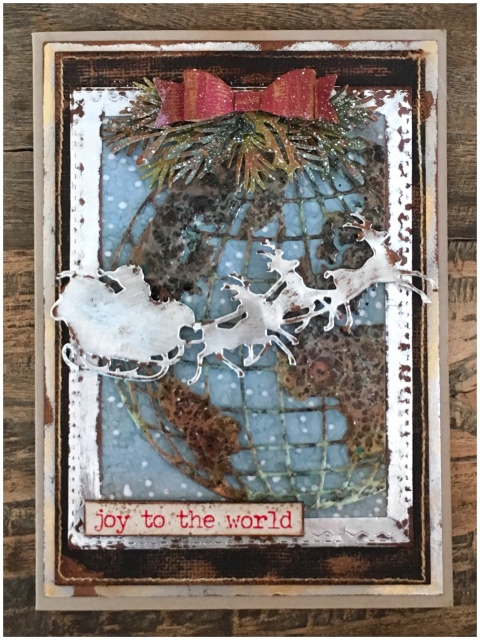
I created this holiday card by mixing the old with the new Sizzix dies by Tim Holtz. I wanted to create a card to send to family overseas this year and the globe die was a perfect match to santa and his sleigh die.

    iGirlZoe: Joy to the World
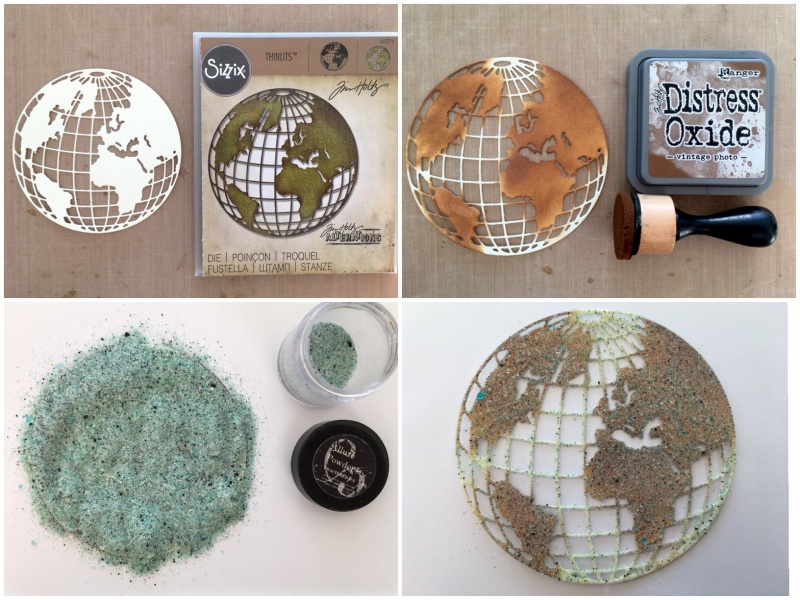
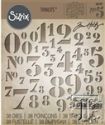
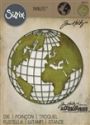
    Step 1: Die cut a globe from distress mixed media heavystock with the Sizzix globe thinlits die.
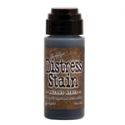
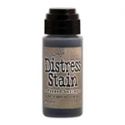
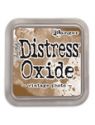
    Step 2: Blend in vintage photo distress oxide over the land portions of the die cut.
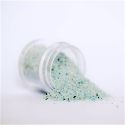
    Step 3: Cover with distress embossing ink and pour over fractured iced embossing powder.
    Step 4: Gently tap off excess.

    iGirlZoe: Joy to the World
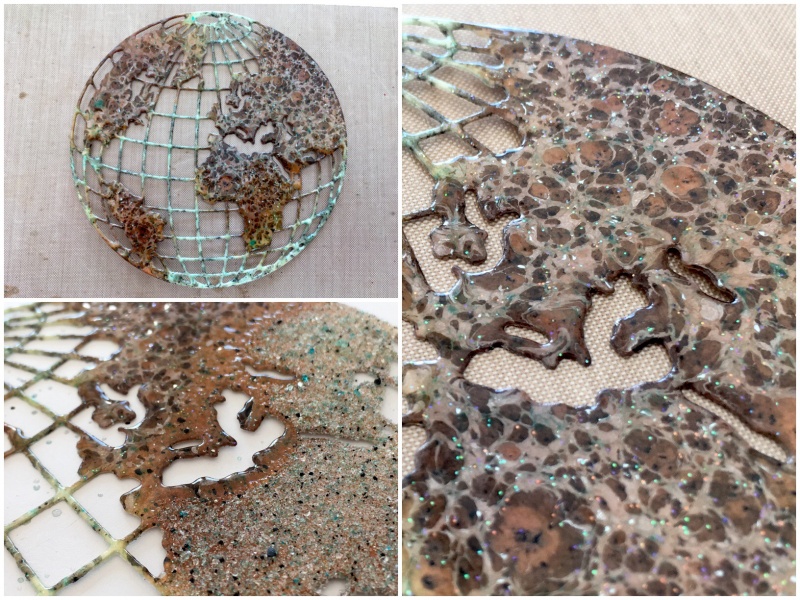
    Step 5: Melt the embossing powder with a heat tool. The reaction it has with the distress oxide is SO COOL!

    iGirlZoe: Joy to the World
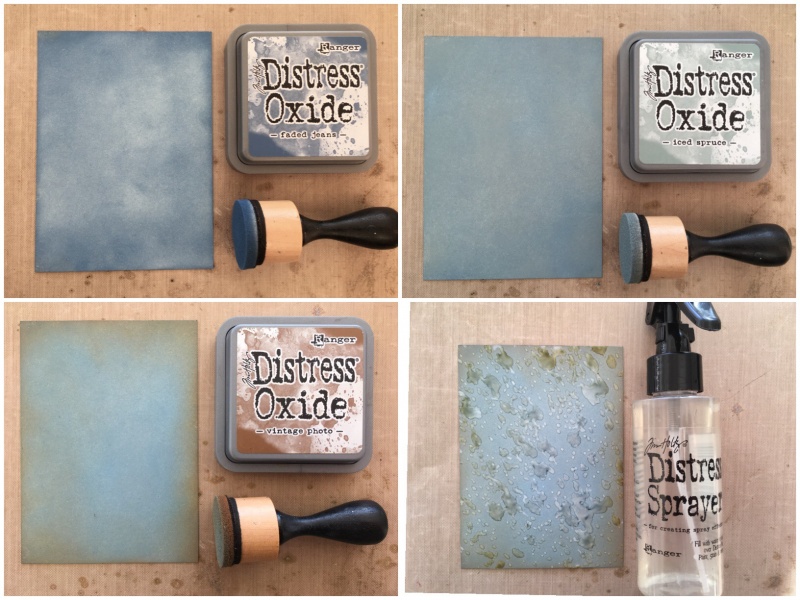
    Step 6: Blend faded jeans distress oxide into distress mixed media heavystock.
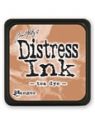
    Step 7: Blend iced spruce distress oxide over the top.
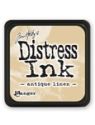
    Step 8: Blend vintage photo distress oxide into the edges.
    Step 9: Spritz with water using the distress sprayer and dry with a heat tool.

    iGirlZoe: Joy to the World
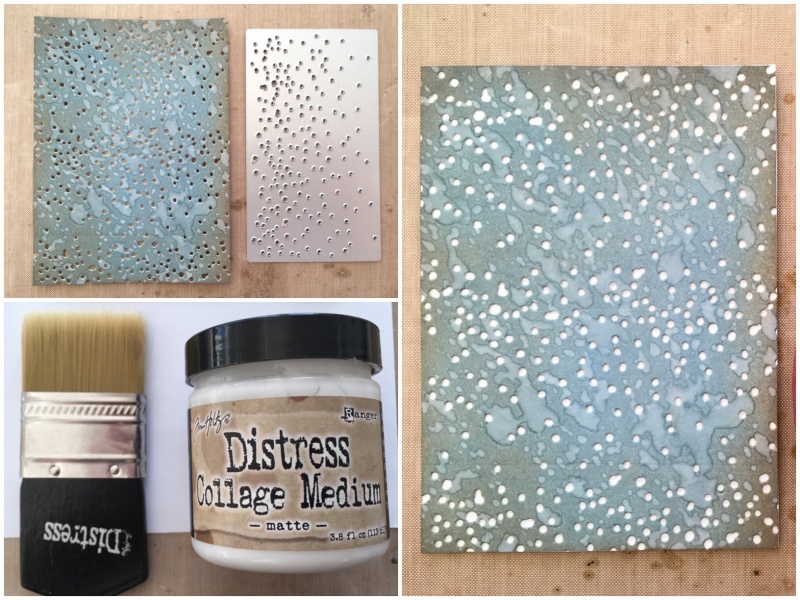
    Step 10:  Die cut the background using the snow die from the winter wonderland thinlits set.
    Step 11: Cut a piece of printer paper slightly larger than the background and brush distress collage medium over the top.
    Step 12: Working quickly (collage medium dries FAST), place the background over the top of the printer paper and trim the edges. The collage medium dries clear and matte so you don’t see it.

    iGirlZoe: Joy to the World
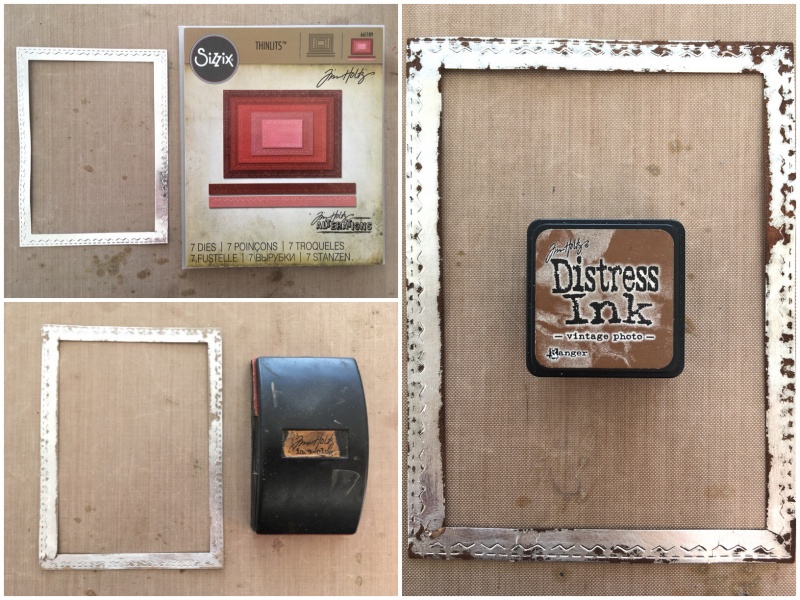
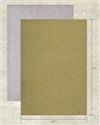
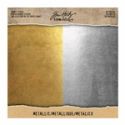
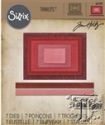
    Step 13: Die cut a frame from metallic kraft stock using the stitched rectangle thinlits die.
    Step 14: Using a sanding grip, carefully sand the frame, exposing the kraft core below the metallic surface.
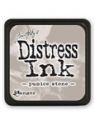
    Step 15: Blend vintage photo distress ink into the frame with a mini blending tool.

    iGirlZoe: Joy to the World
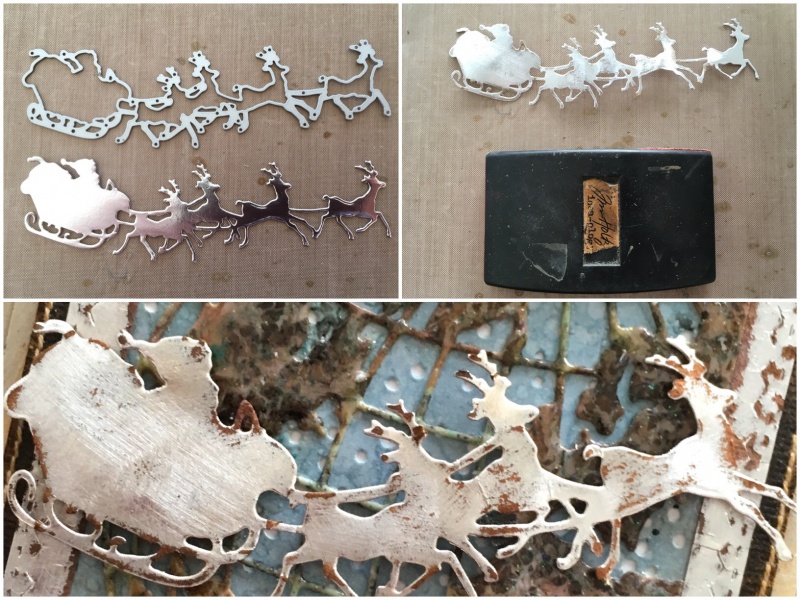
    Step 16: Die cut santa and his sleigh from metallic kraft stock using the village christmastime thinlits die.
    Step 17: Very carefully sand the edges of the die cut with a sanding grip.
    Step 18: Blend vintage photo distress ink into the edges and mount using 3D foam.

    iGirlZoe: Joy to the World
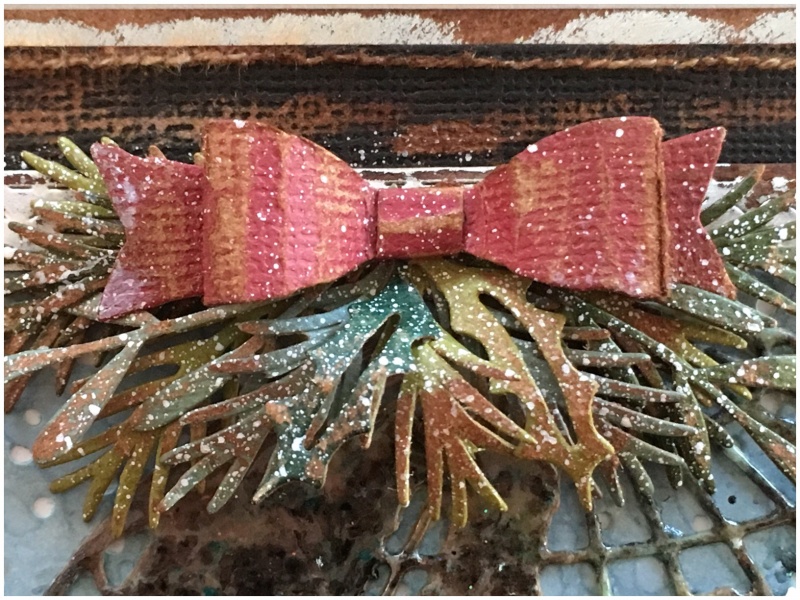
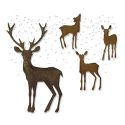
    Step 19: Using classic kraft stock, die cut greenery using the festive greens thinlits die set. Layer up and adhere using distress collage medium. Die cut the small bow using the fold-up bows thinlits die set and mount over the top of the greenery. Splatter with picket fence distress ink using a spatter brush.

    iGirlZoe: Joy to the World
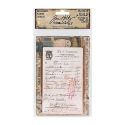
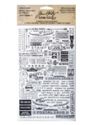
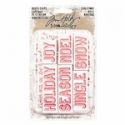
    Step 20: This sentiment from the idea-ology quote chips was perfect for my card. I swiped vintage photo distress ink directly onto the edges and rubbed it over the top with my finger. I swiped the ink pad onto my non stick craft sheet and picked it up with the spatter brush to try to create aged brown spots.

    iGirlZoe: Joy to the World
    Thanks for stopping by, I hope this has inspired you to pull out your dies and make something. Don’t forget to catch up with all the projects from week 2 for more holiday inspiration. I’ll be back soon.

    Cheers
    Zoe x


  2. The Bone Collector Caravan

    31st October, 2017 by iGirlZoe

    Happy Halloween! The Tim Holtz Halloween inspiration series on facebook and instagram has wrapped up, but if you missed anything there are recaps for week 1, week 2 and week 3 on Tim’s blog.

    iGirlZoe: The Bone Collector Caravan
    I wanted to share this bone collector caravan before it heads to Halloween town. I didn’t do a step by step for this project, but I’ll walk you through it and share the few photos I took during the process, for those interested.

    iGirlZoe: The Bone Collector Caravan
    I sanded the outer panels of a vignette box with a sanding grip. Painted through a stencil with ground espresso distress paint. Once dry, stained the panels with walnut stain distress stain.

    iGirlZoe: The Bone Collector Caravan
    Added an idea-ology Halloween baseboard to the inside back of the vignette box. All it needed was a little light distressing to the edges and adhered with collage medium matte.

    iGirlZoe: The Bone Collector Caravan
    As soon as I saw the paper doll witches, I knew they were going inside this idea-ology bird cage!

    iGirlZoe: The Bone Collector Caravan
    I covered the birdcage with a coat of distress grit paste and allowed to dry. Then rubbed various distress crayons over the top.

    iGirlZoe: The Bone Collector Caravan
    The background was created using (discontinued) picket fence distress crackle paint. Sorry to be a tease, it’s my reward for hoarding it. The witches were trimmed and mounted into the cage.

    iGirlZoe: The Bone Collector Caravan
    The banner was made punching paper from the mini halloween paper stash with the Tim Holtz banner paper punch.

    iGirlZoe: The Bone Collector Caravan
    I used white gel pen to colour the underside of the remnant rubs and letting dry before rubbing them onto the banner. Distressed the edges with a sanding grip.

    iGirlZoe: The Bone Collector Caravan
    Blended a little vintage photo distress ink into the edges of the banner.

    iGirlZoe: The Bone Collector Caravan
    I rolled the banner over twine, securing with distress collage medium. Drilled holes into the top of the vignette box and pushed the bones into the holes, again, securing with distress collage medium. Wrapped wire around the top of the bones and attached the twine to each side to hang the banner.

    iGirlZoe: The Bone Collector Caravan
    I just love these apothecary vials. I used the labels that come with them, sanded with a sanding grip and adding remnant rubs. I bent an adornment skull around a bottle and secured with distress collage medium. Finally added twine to the neck of the vials.

    iGirlZoe: The Bone Collector Caravan
    I altered the pulley wheels by adding grit paste allowing to dry, then dabbing on evergreen bough distress paint with a cotton bud and once dry, mushroom alcohol ink, also applied using a cotton bud. The bone collector word band had picket fence distress crayon added to highlight the text. I used a ring fastener and swivel clasp as the trailer tow. All adhered using distress collage medium, (I’m a total adhesive convert since creating this piece)! I even used it to adhere those skulls!

    iGirlZoe: The Bone Collector Caravan
    I have to make a special mention of the idea-ology skulls that I used in this project! The detail on them is incredible and yes, I admit it… I hoarded!!

    I hope you enjoyed the walk through my bone collector caravan and it’s been “all the fun of the fair!”
    Cheers
    Zoe x


  3. Haunted Banner

    21st October, 2017 by iGirlZoe

    With All Hallows’ Eve drawing near, I’m sharing this haunted banner that I made for the Tim Holtz Halloween inspiration series. You can follow along on Tim’s facebook and instagram with a weekly recap on Saturday on his blog.

    iGirlZoe: Haunted Banner
    iGirlZoe: Haunted Banner
    Here’s how I made the jack-o-lantern banner…

    iGirlZoe: Haunted Banner
    Step 1: Cut a piece of black classic kraft stock 5 x 7 inches.
    Step 2: Cut a piece of paper from the Halloween mini stash 4.5 x 6.5 inches.
    Step 3: Cut a second piece of black classic kraft stock 4 x 6 inches.
    Step 4: Cut a piece of mixed media heavystock 3.5 x 5.5 inches.

    iGirlZoe: Haunted Banner
    Step 5: Using the WRMK banner punch board, cut the ends to create a banner.
    Step 6: Sand the edges of the large black classic kraft stock banner with a sanding grip and blend in vintage photo distress ink.
    Step 7: Distress the edge of the halloween mini stash paper banner and blend in vintage photo distress ink.
    Step 8: Sand the edges of the small black classic kraft stock banner with a sanding grip and blend in vintage photo distress ink.

    iGirlZoe: Haunted Banner
    Step 9: Ink up the ledger script stamp with hickory smoke distress archival ink. Stamp onto the heavystock banner using the stamp platform. Stamp a second time using a very light layer of vintage photo distress archival ink.
    Step 10: Blend in antique linen distress ink.
    Step 11: Blend in pumice stone distress ink.
    Step 12: Blend vintage photo distress ink into the edges.

    iGirlZoe: Haunted Banner
    Step 13: Sew the edges of the mini stash and heavystock banners with black thread.
    Step 14: Gather the banner pieces ready to assemble.
    Step 15: Adhere using distress collage medium matte.
    Step 16: Punch 2 holes in the top of the assembled banner.

    iGirlZoe: Haunted Banner
    Step 17: Die cut the jack-0-lantern thinlits die from a heavystock tag.
    Step 18: Blend tea dye, forest moss and brushed corduroy distress ink and splatter with a distress sprayer.
    Step 19: Once dry, spritz rusty hinge distress marker over the die cut with a distress marker spritzer.

    iGirlZoe: Haunted Banner
    Step 20: Die cut Halloween, jack-o-lantern base and a cobweb from black classic kraft stock. Sand and blend in vintage photo distress ink.
    Step 21: Place the cobweb die cut over the banner and trim any overlap with mini scissors.
    Step 22: Adhere the cobweb with distress collage medium matte.
    Step 23: Add the halloween die cut with hex fasteners. Adhere the 31 die cut and add mini book rings to the holes at the top of the banner.

    iGirlZoe: Haunted Banner
    Step 24: Add the jack-o-lantern die cut with adhesive black foam.

    iGirlZoe: Haunted Banner
    Step 25: Die cut the witchcraft die from black classic kraft stock, sand with a sanding grip and blend in vintage photo distress ink with a mini blending tool. Blend peeled paint distress ink onto the heavystock banner (top one), stamp a sentiment from the monstrous set and adhere the witch with distress collage medium matte.

    iGirlZoe: Haunted Banner
    Step 26: Die cut the feather and raven die from black classic kraft stock, sand with a sanding grip and blend in vintage photo distress ink with a mini blending tool. Blend weathered wood distress ink onto the heavystock banner (top one), stamp a sentiment from the monstrous set and adhere the ravens with distress collage medium matte.

    iGirlZoe: Haunted Banner
    Step 27: Die cut the scarecrow die from black classic kraft stock, sand with a sanding grip and blend in vintage photo distress ink with a mini blending tool. Blend wild honey distress ink onto the heavystock banner (top one), stamp a bat and 31 using the idea-ology cling foam stamps and adhere the scarecrow with distress collage medium matte, bending the base of the scarecrow to mirror the curve of the banner.

    iGirlZoe: Haunted Banner
    Step 28: Die cut the haunted house and halloween word die from black classic kraft stock, sand with a sanding grip and blend in vintage photo distress ink with a mini blending tool. Blend tea dye distress ink lightly onto the heavystock banner (top one), stamp a bat and the crescent moon from the haunted house set and adhere the haunted house and beware banner, plus an adornment spider with distress collage medium matte. Paint fossilized amber distress paint inside the haunted house’s windows.

    iGirlZoe: Haunted Banner
    Run string, twine, burlap, ribbon or chain through the mini book rings attached to the top of the banner and hang. Why not make one each year and write the year on the back or make a feature of it on your banner. A great way to practice techniques and track your creative progression.

    I hope you enjoyed this step by step and have been enjoying the inspiration series so far. Don’t forget to check out the other designers projects from the series. I will be back next week sharing some walk throughs and close ups of the other projects I have made for the inspiration series.
    Cheers
    Zoe x


  4. Frilly & Funkie: Salvaged

    3rd June, 2017 by iGirlZoe

    Hello friends! I hope your weekend is off to a good start. It’s been a while since I blogged. I’ve been taking a little break from the my regular Design Team position with Frilly & Funkie, until returning permanently in the new year. Today I am popping back in to bring you a SATURDAY STEP BY STEP with a sea themed card to celebrate one year living by the sea in Copenhagen.

    iGirlZoe : Salvaged
    If you would like to see the step by step in full, pop over to Frilly & Funkie.

    Have a great weekend.
    Zoe


  5. Frilly & Funky : Follow Your Heart

    11th February, 2017 by iGirlZoe

    Hello friends! I hope your weekend is off to a good start. Today I have a SATURDAY STEP BY STEP over at Frilly & Funkie with a little Valentine inspiration.

    iGirlZoe : Follow Your Heart

    iGirlZoe : Follow Your Heart
    If you would like to see the step by step in full, pop over to Frilly & Funkie.

    Have a great weekend and I’ll be back on Monday with my final project from Creativation 2017.

    Zoe