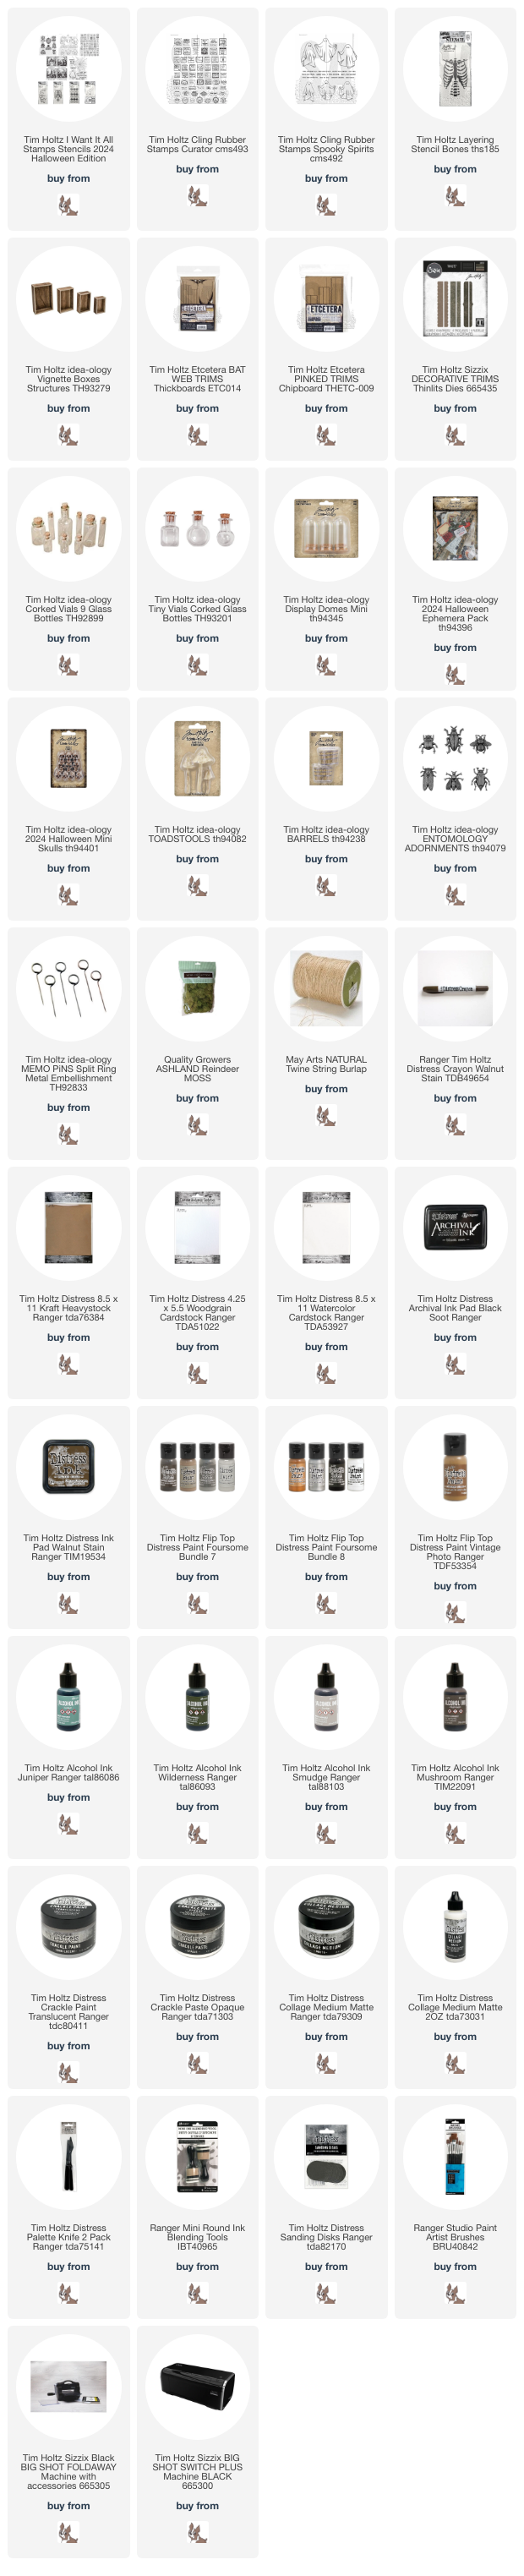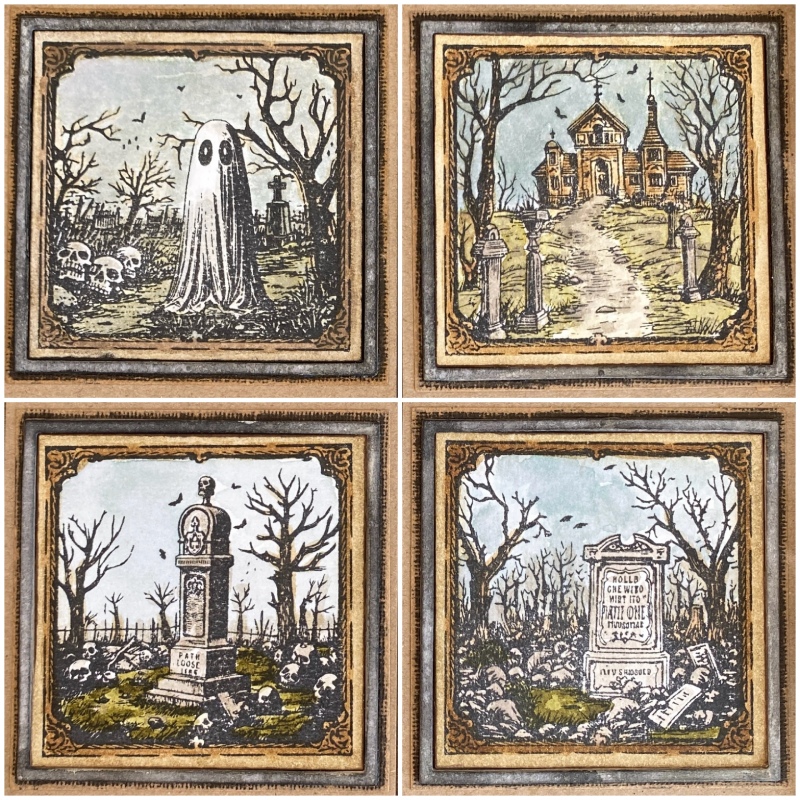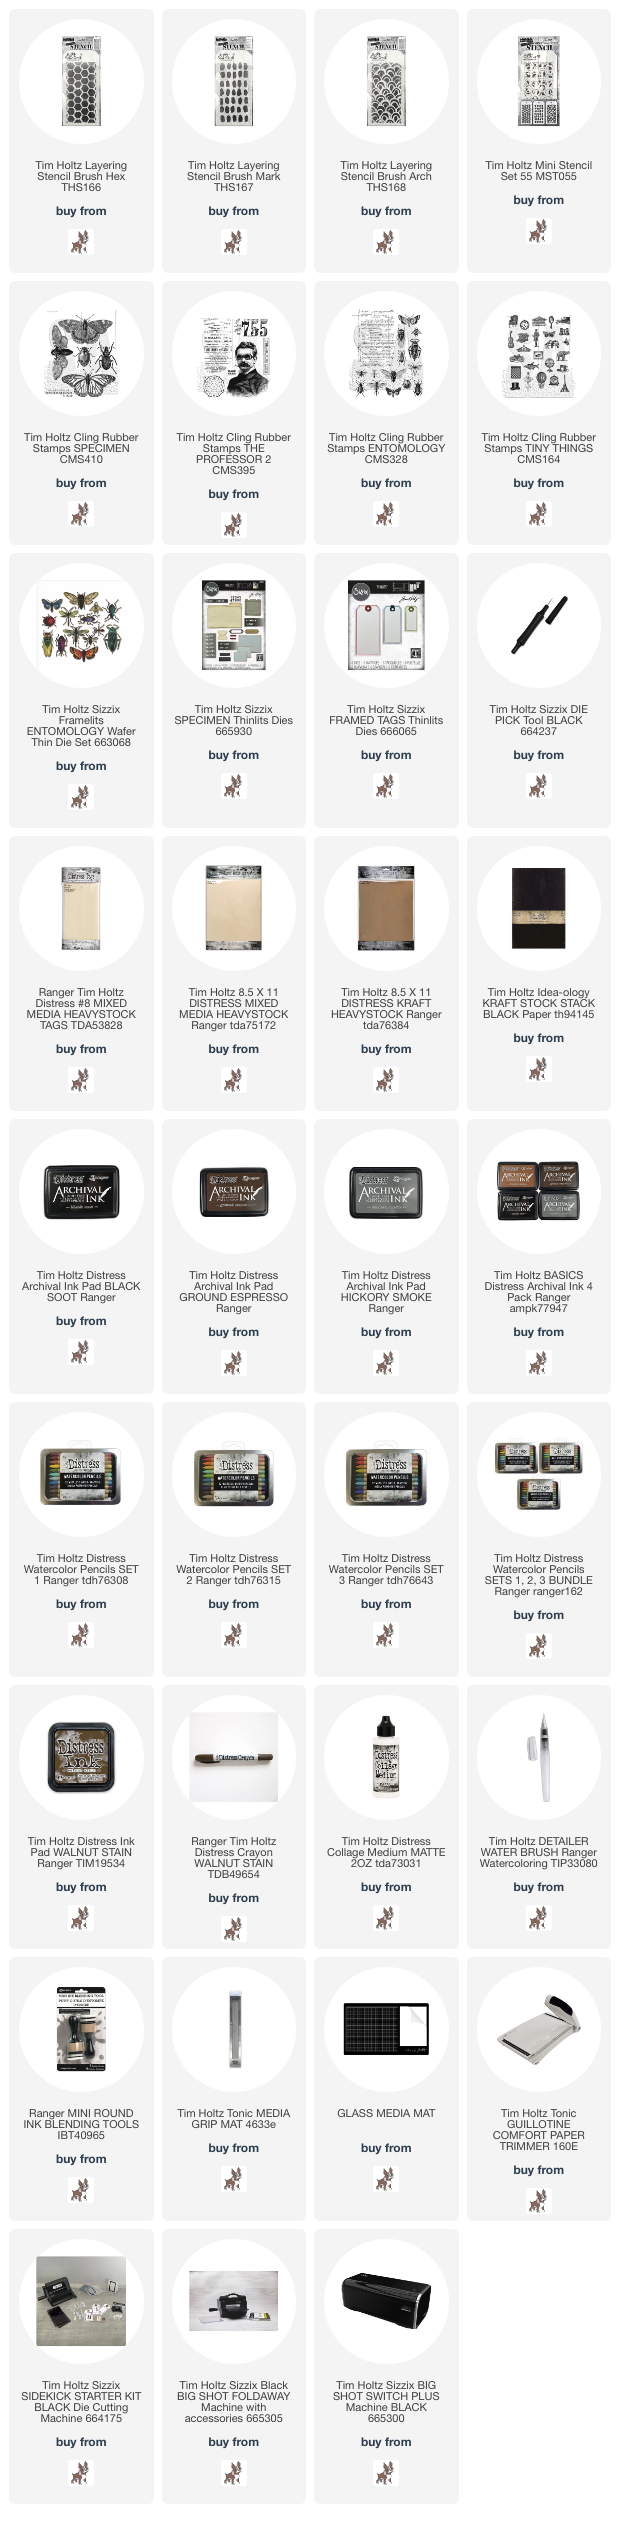
Hello friends. Tim Holtz has launched his Halloween 2024 stamp collection. If you missed the LIVE, you can catch the replay and all the incredible inspiration makes over on Tim’s blog.
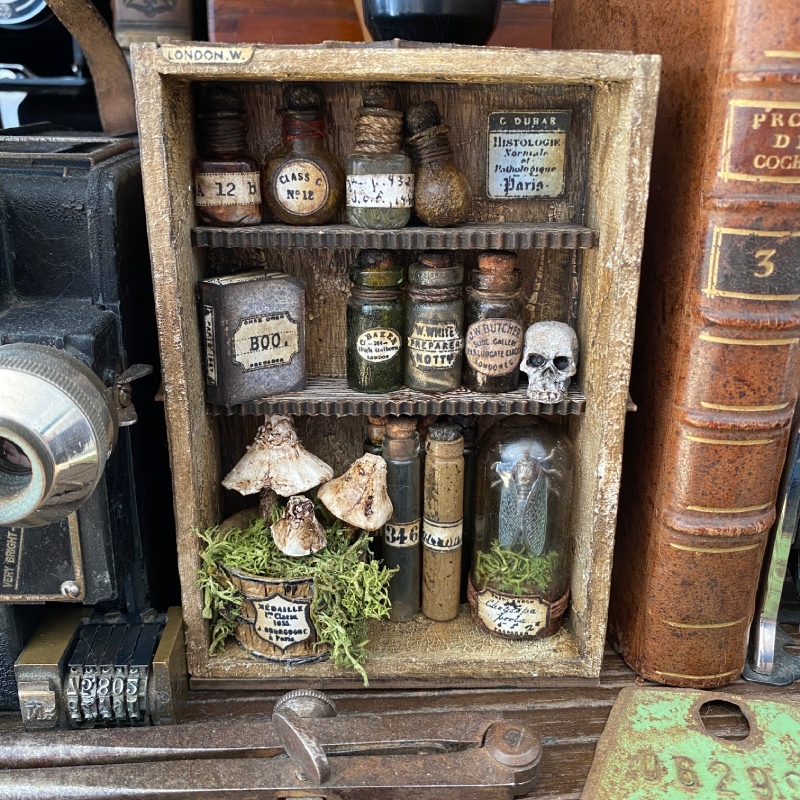
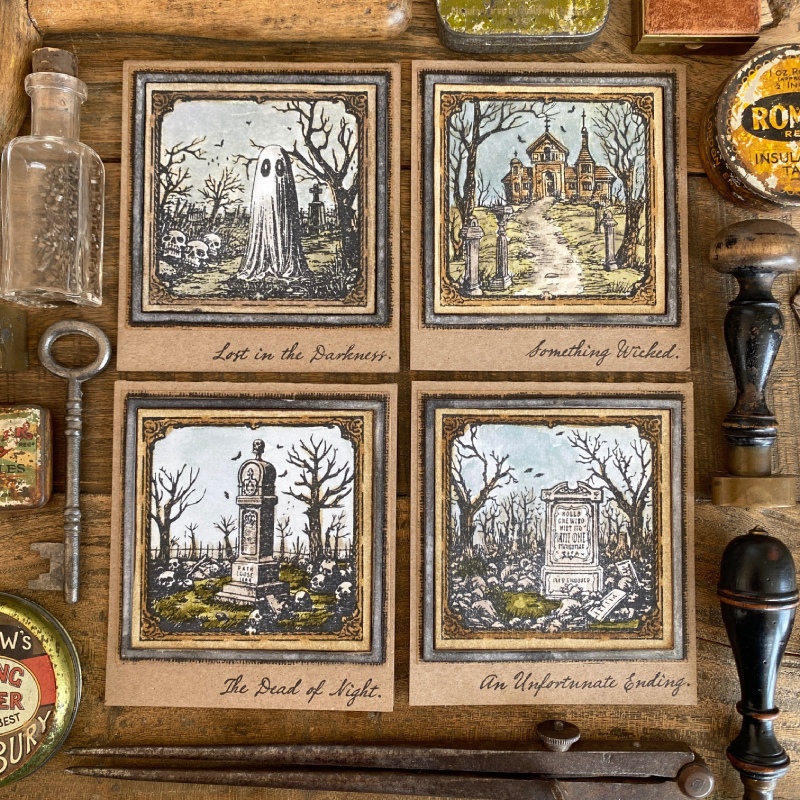
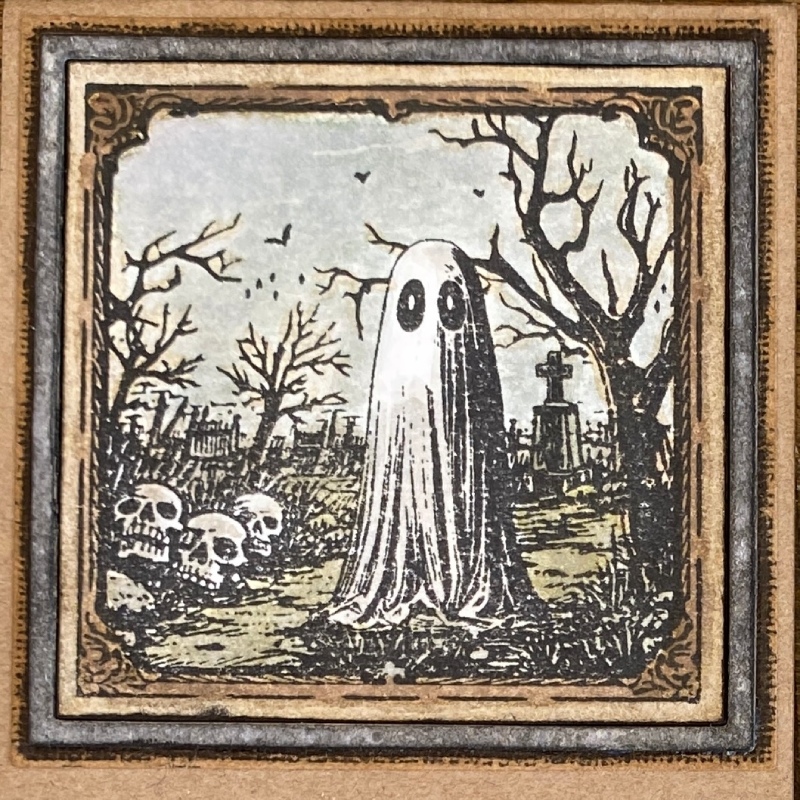
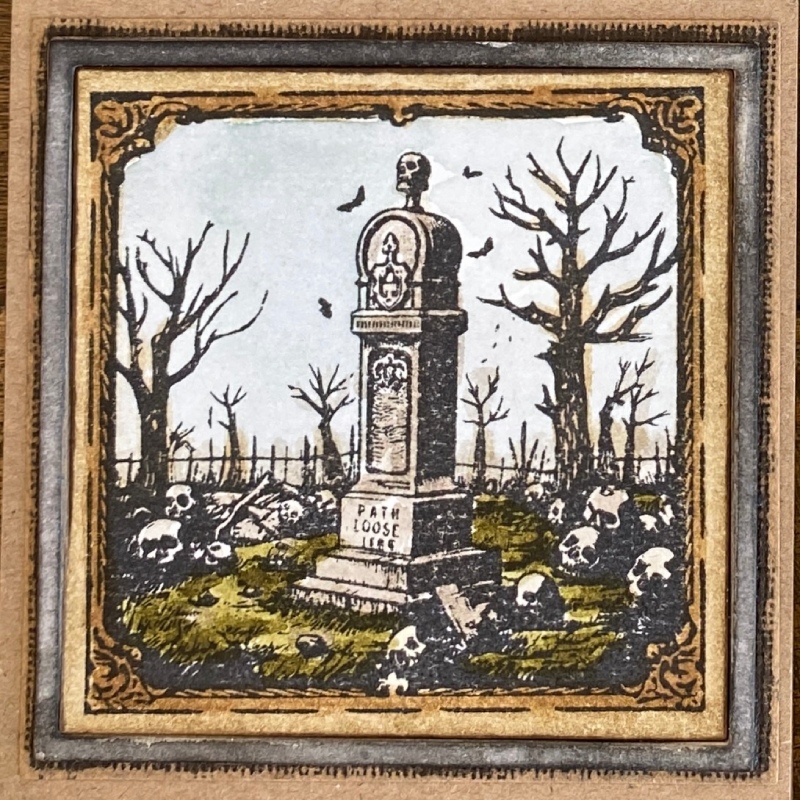
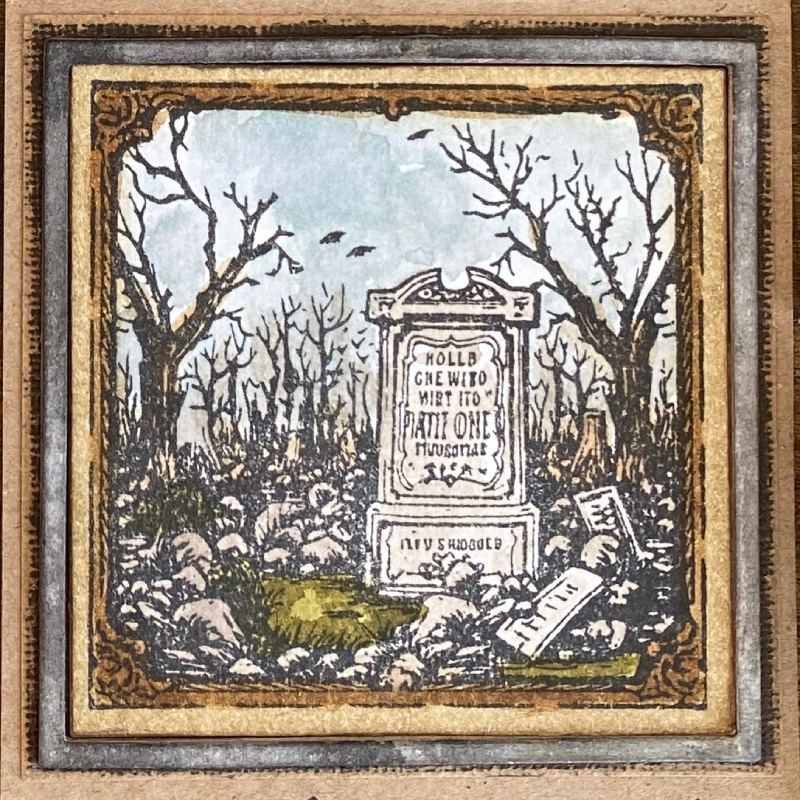
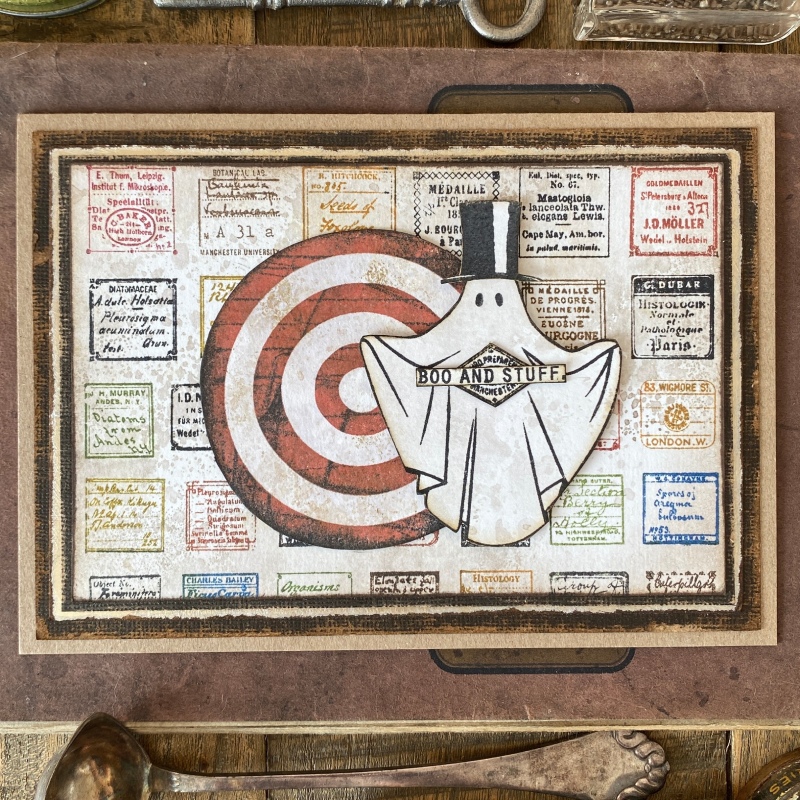
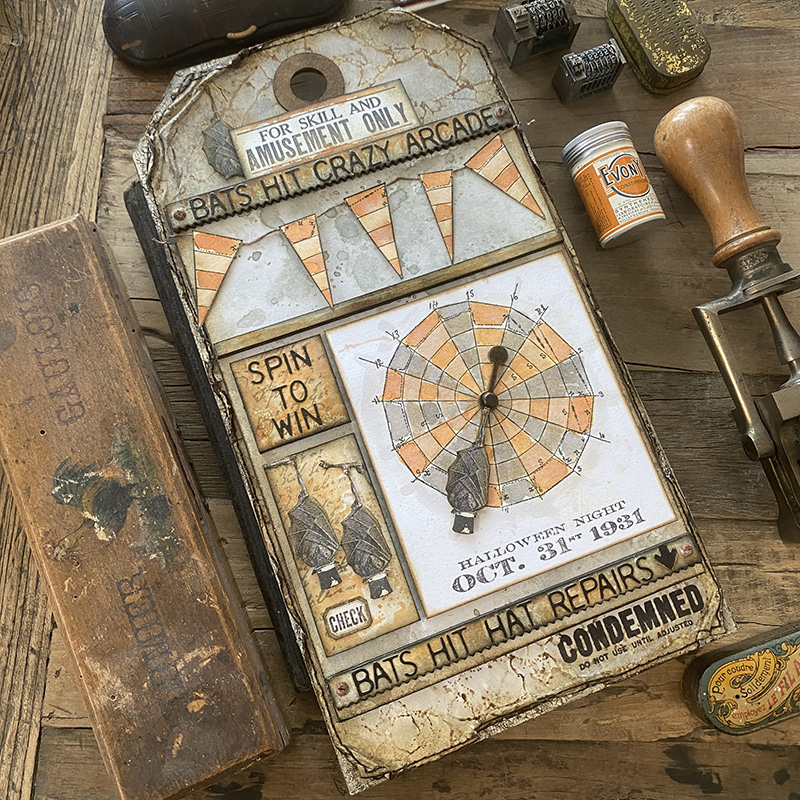
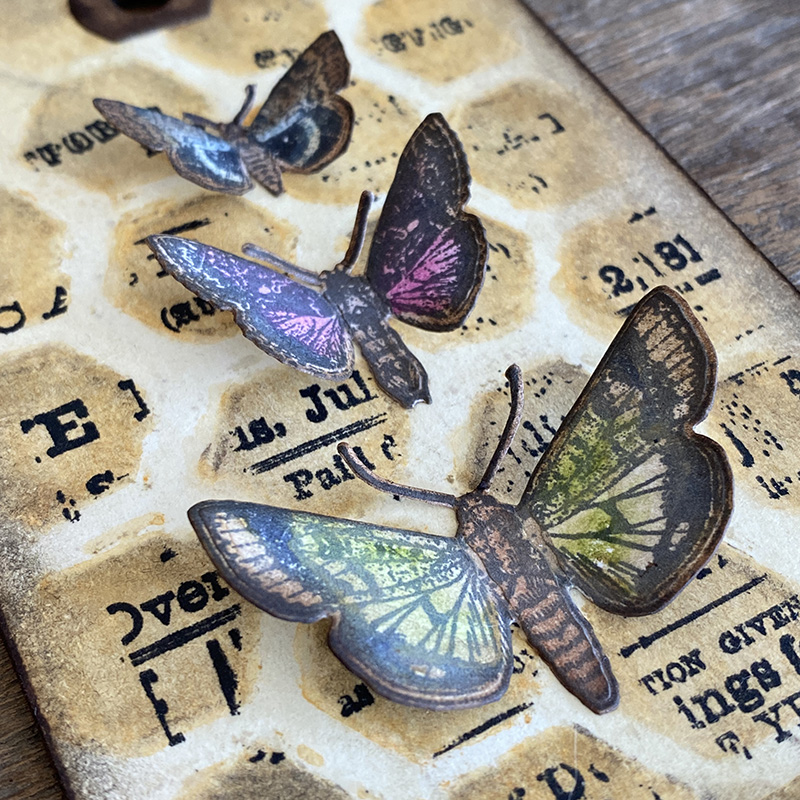
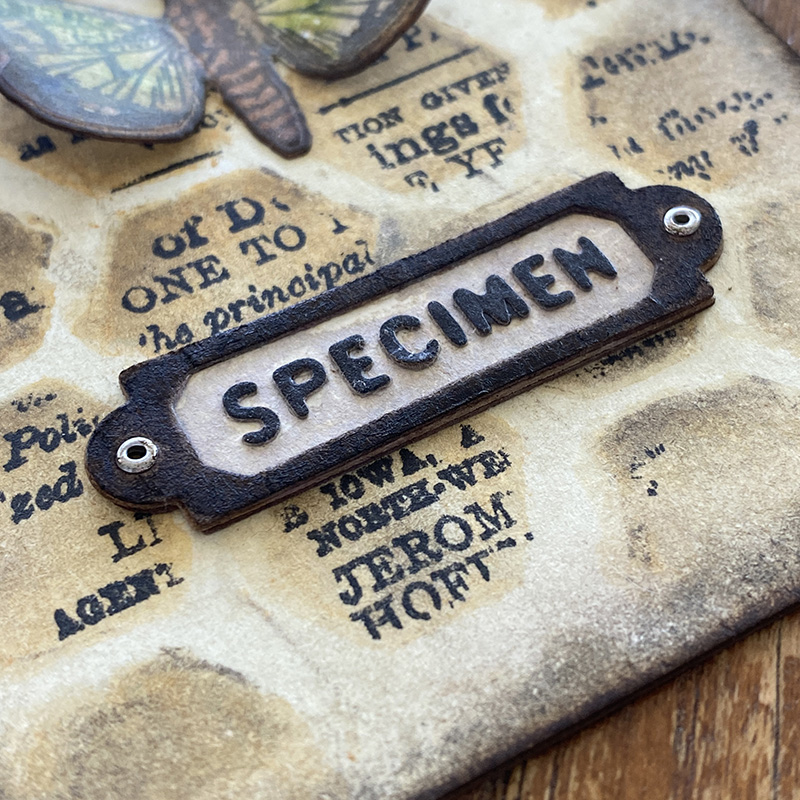
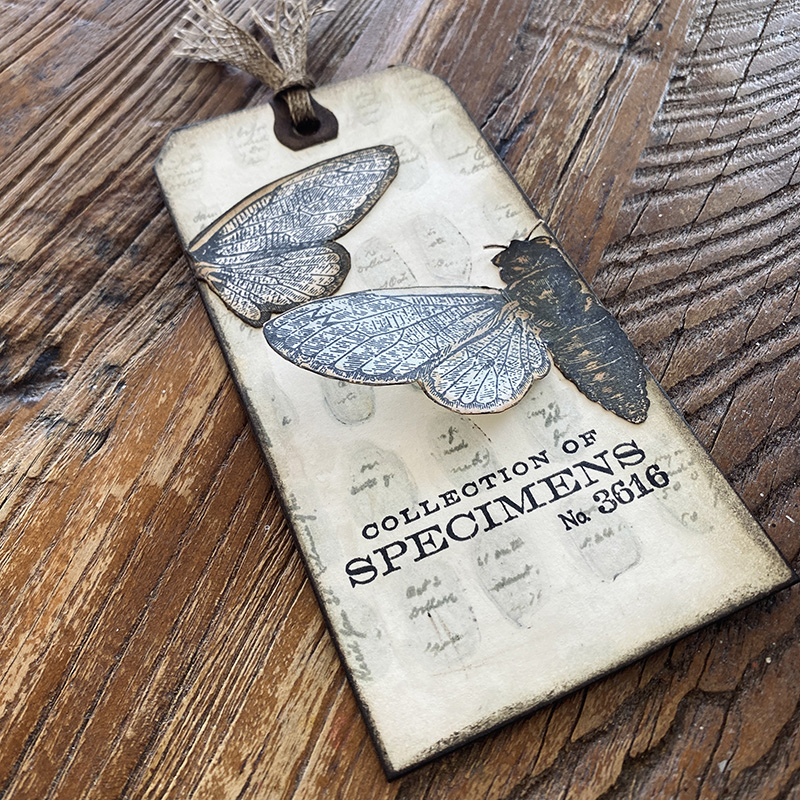
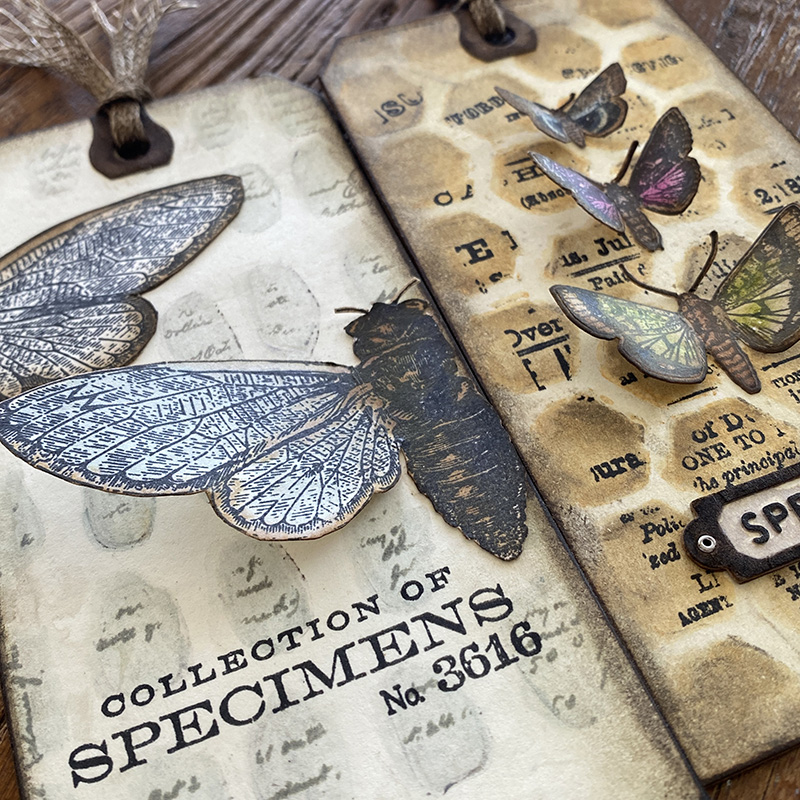
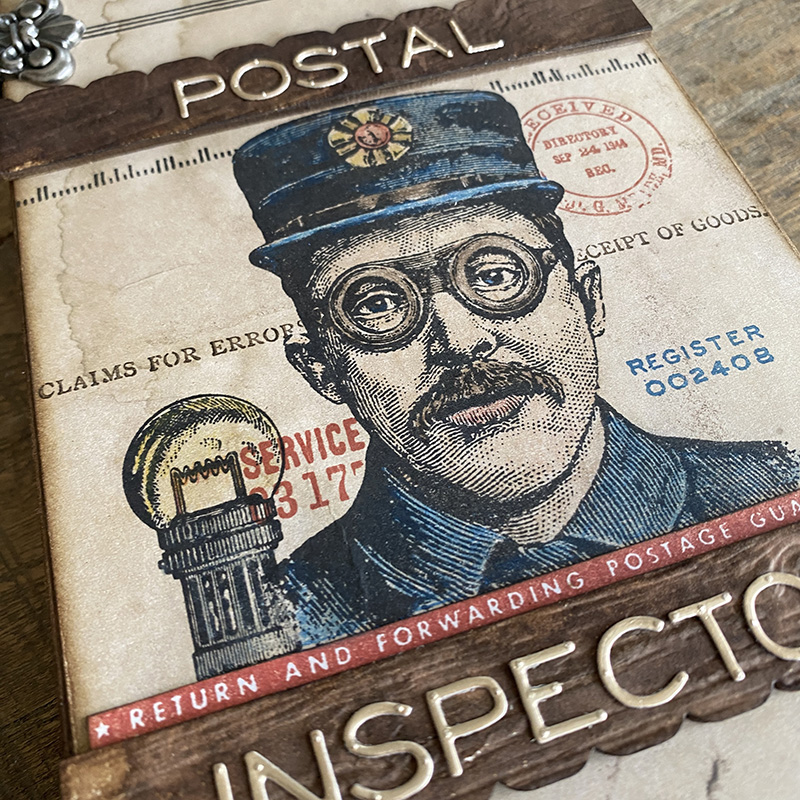
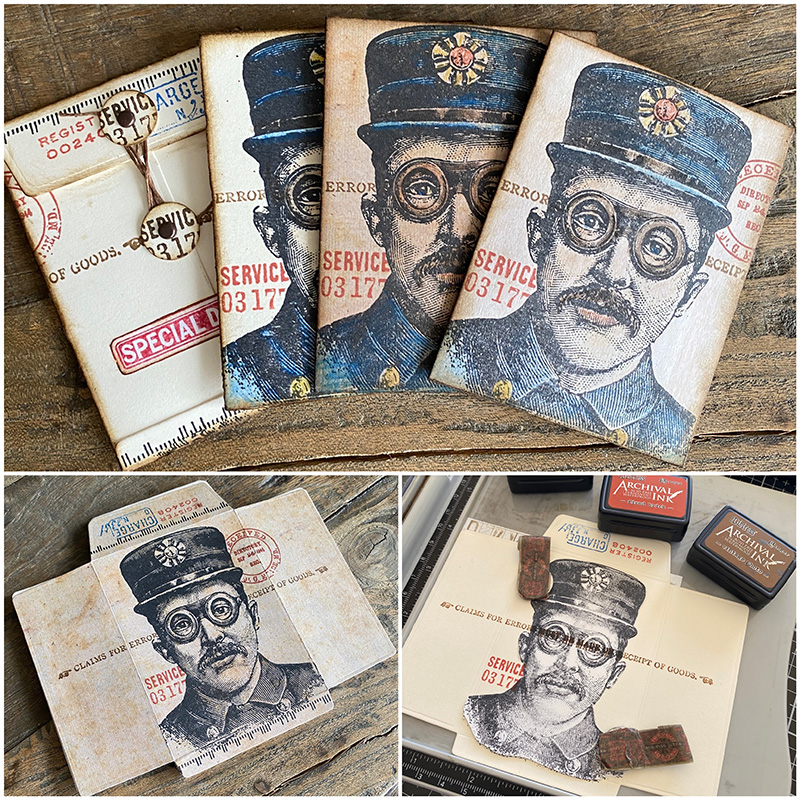
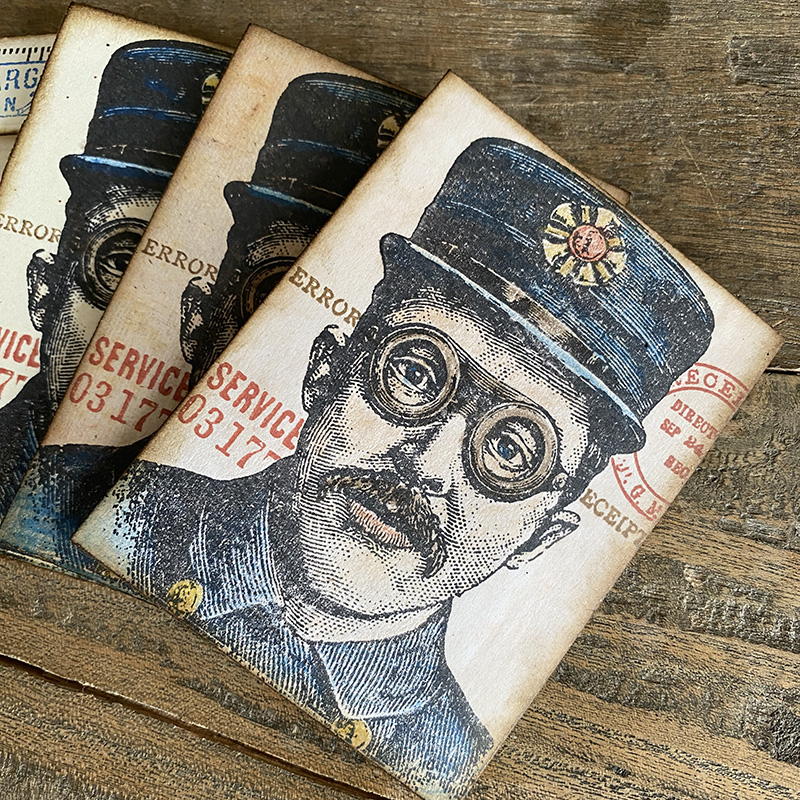
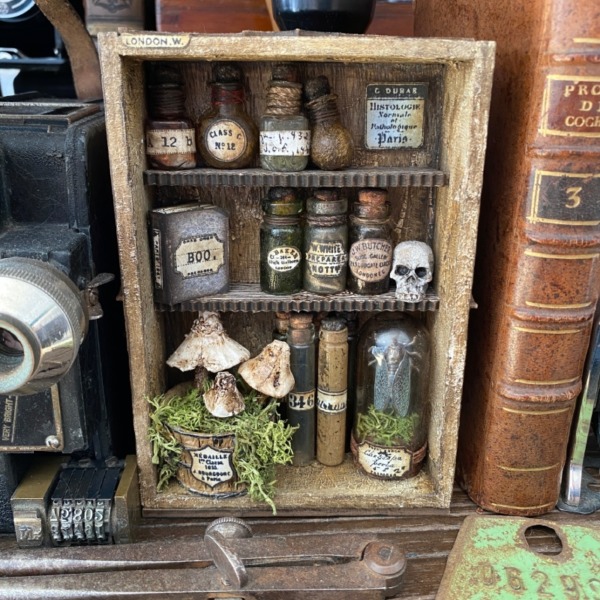
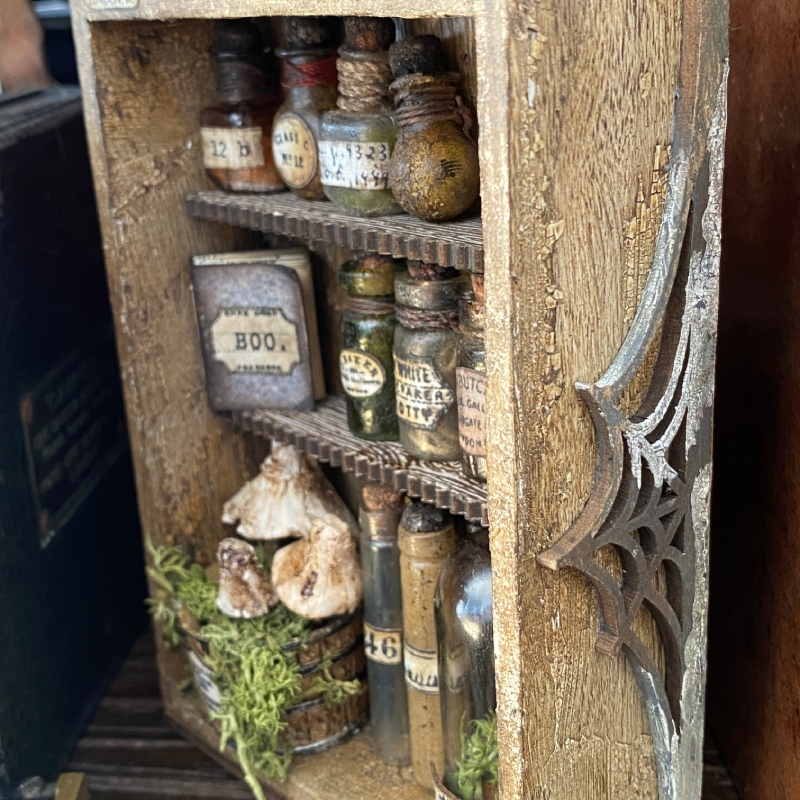
It’s probably no surprise that Curator CMS493 stamp set was my favourite set from this release. Creating unlimited tiny labels? YES PLEASE! These stamps make perfect labels for the idea-ology corked vials and tiny vials, which taps into my love for anything apothecary themed and inspired this sample that I made for the LIVE. Let’s get into the details…

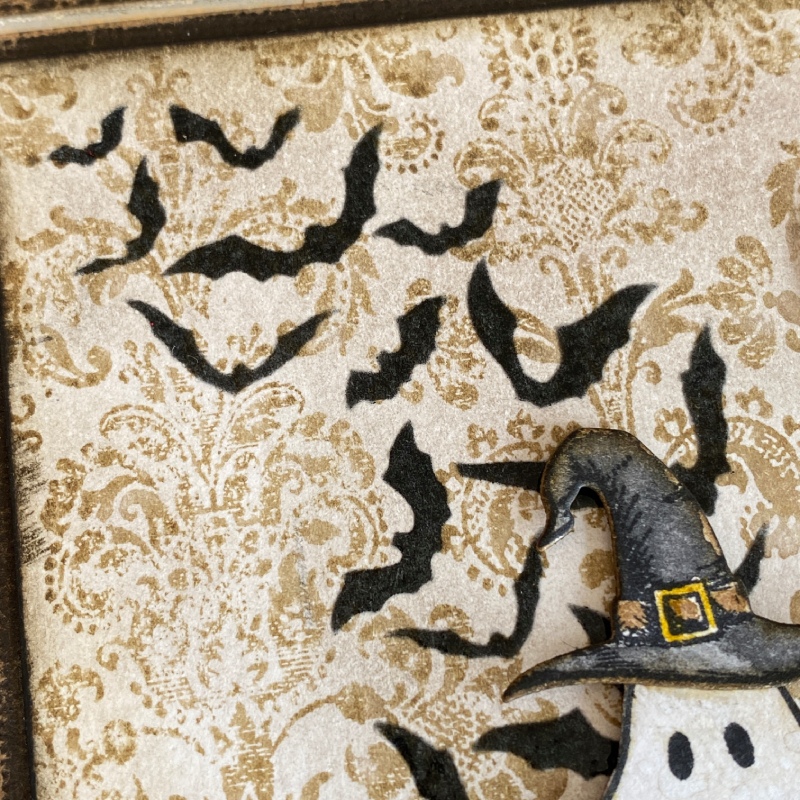
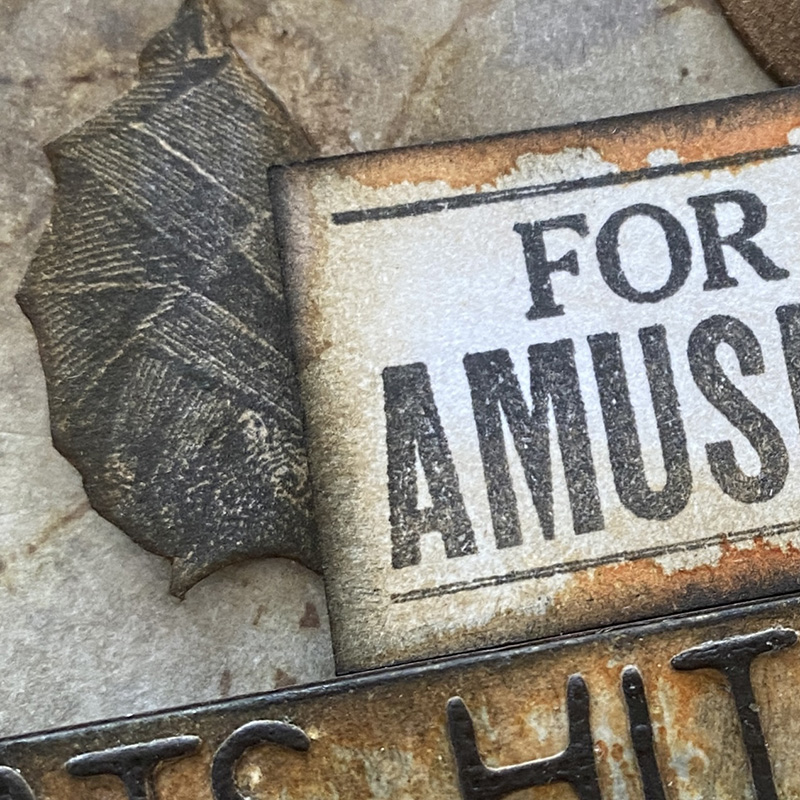
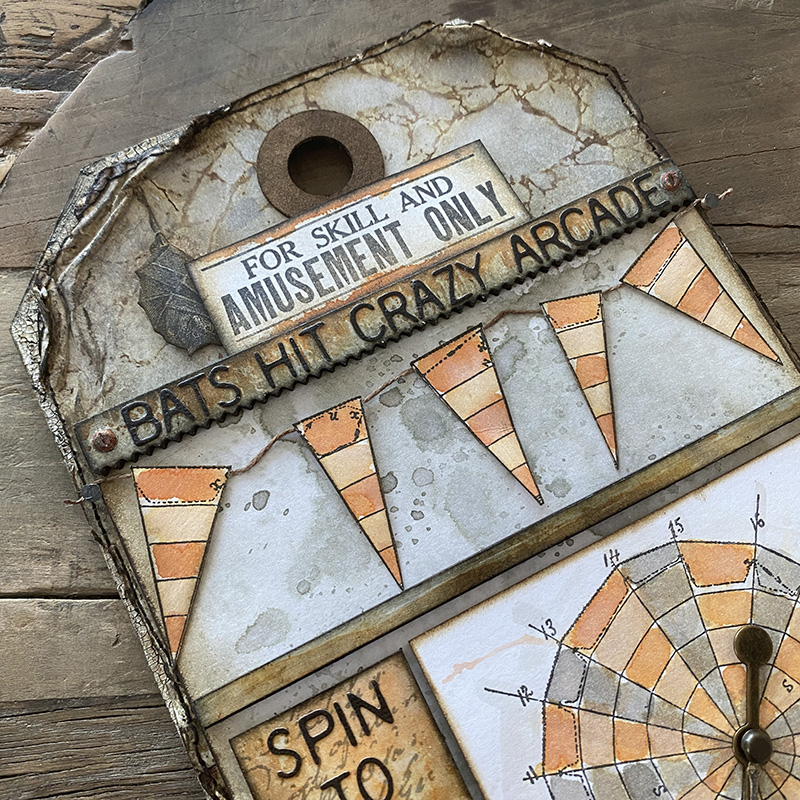
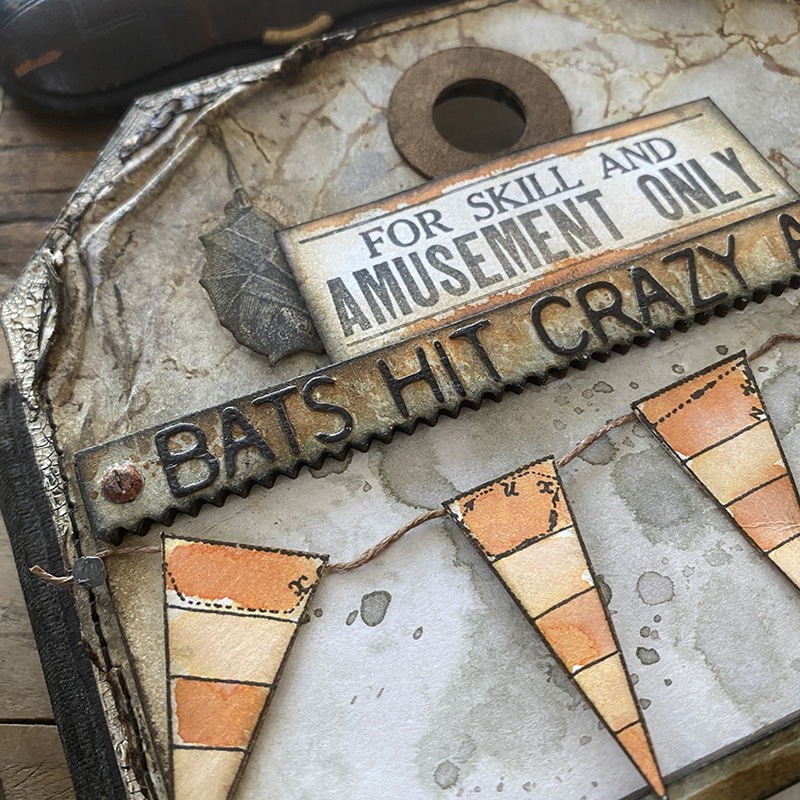
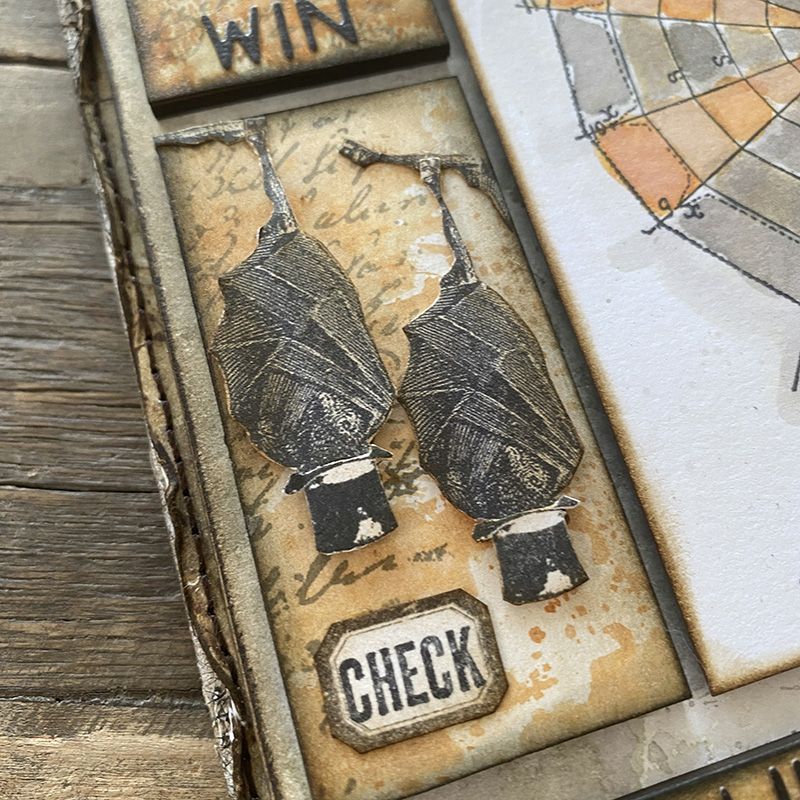
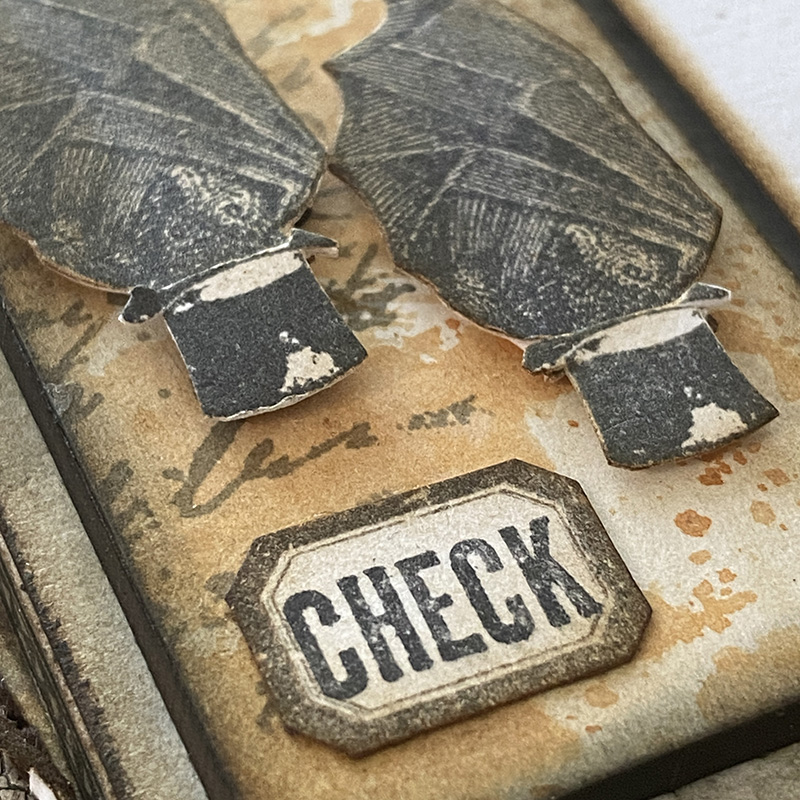
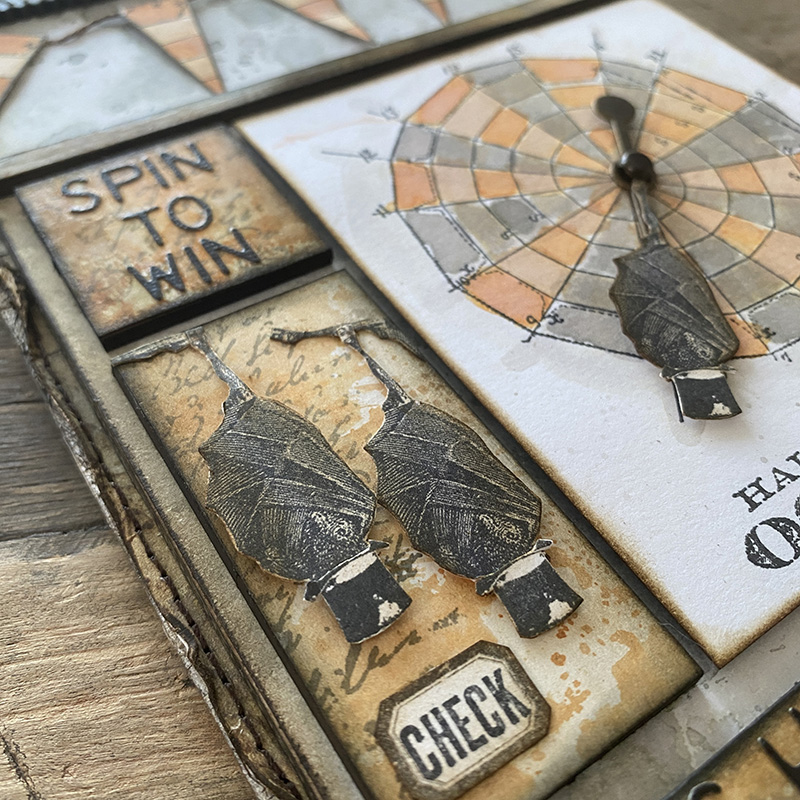
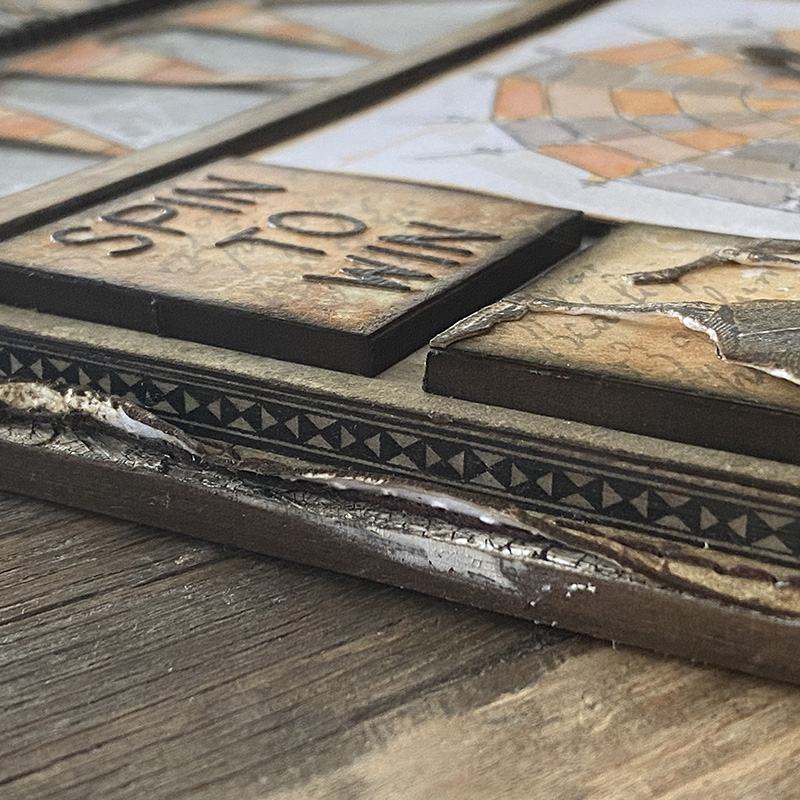
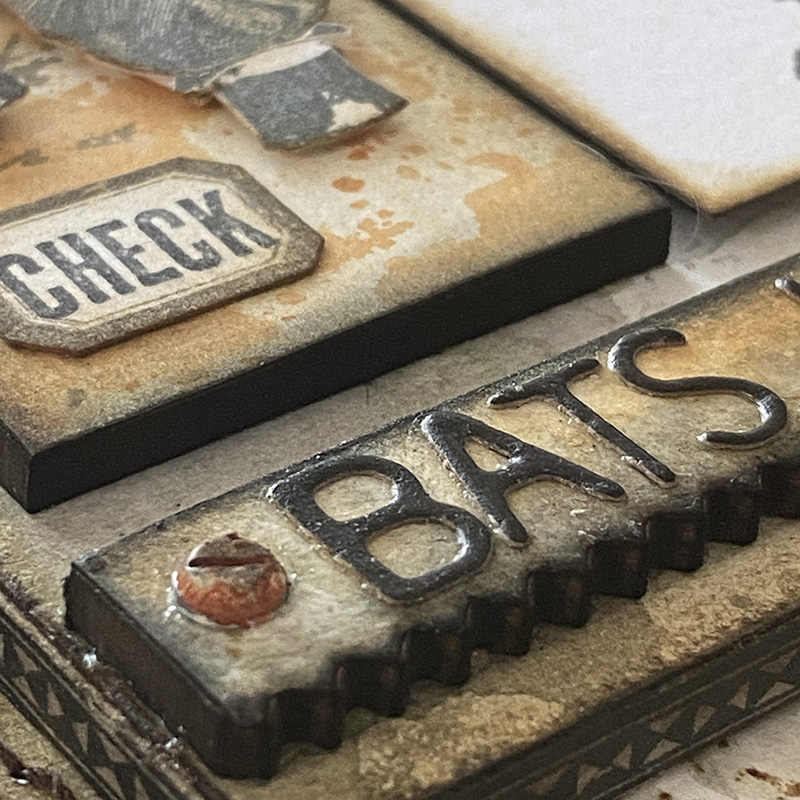
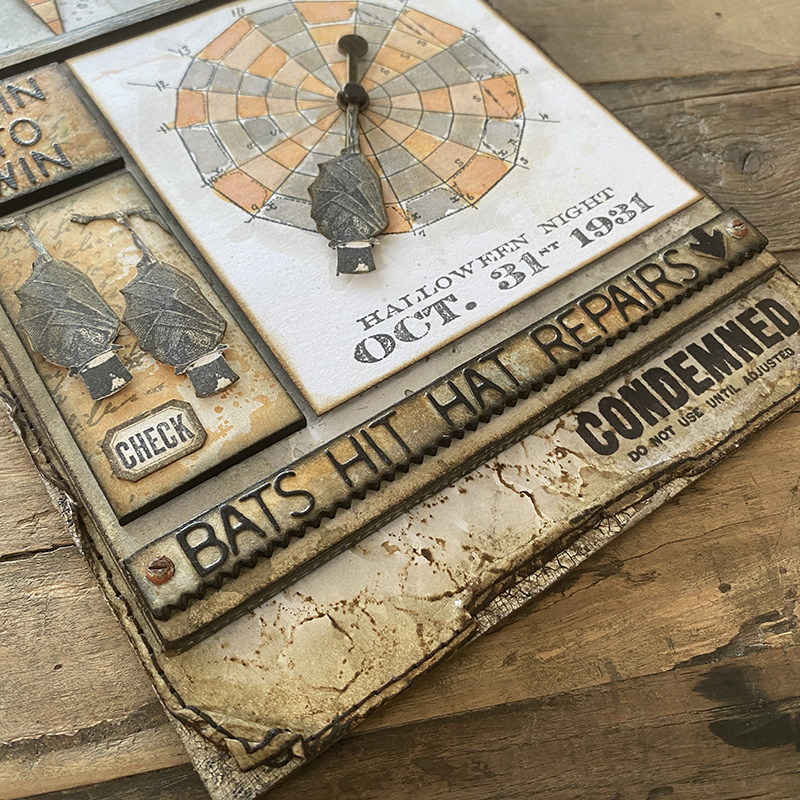
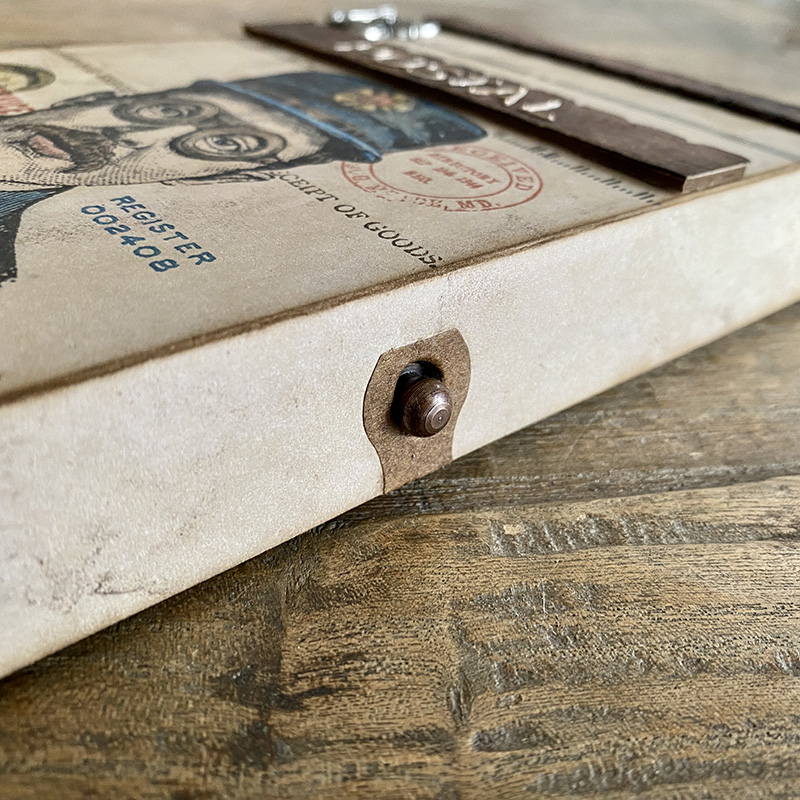
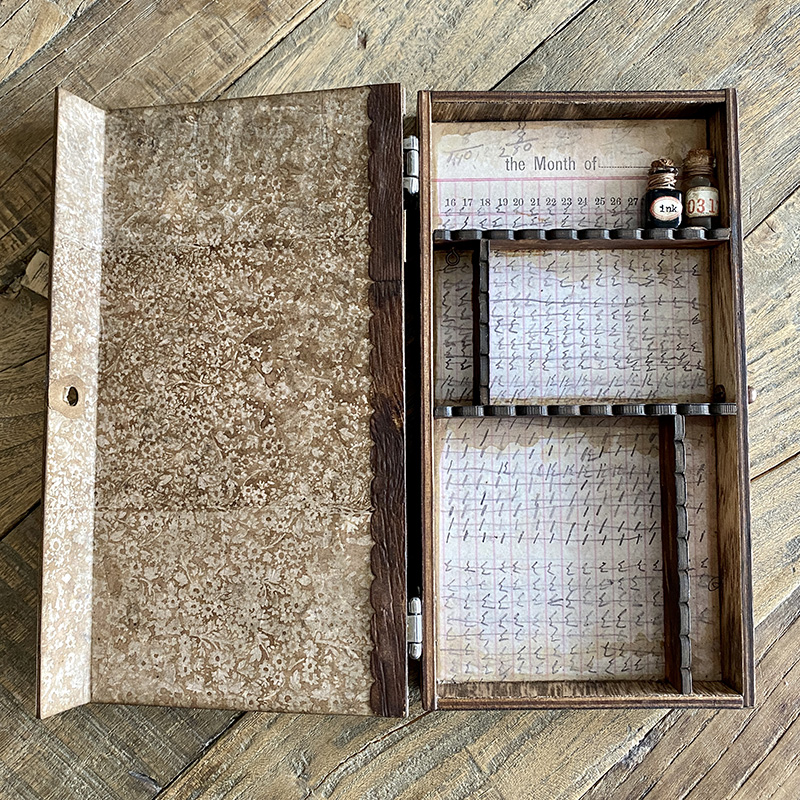
Cover an idea-ology vignette box with a layer of distress collage medium to prime the surface. Once dry, add distress opaque crackle paste randomly. Once dry, add distress paint and distress crayon over the top. Add bat trims from the etcetera bat and web trims set, painting with black soot distress paint and once dry, sanding lightly to remove some of the paint.
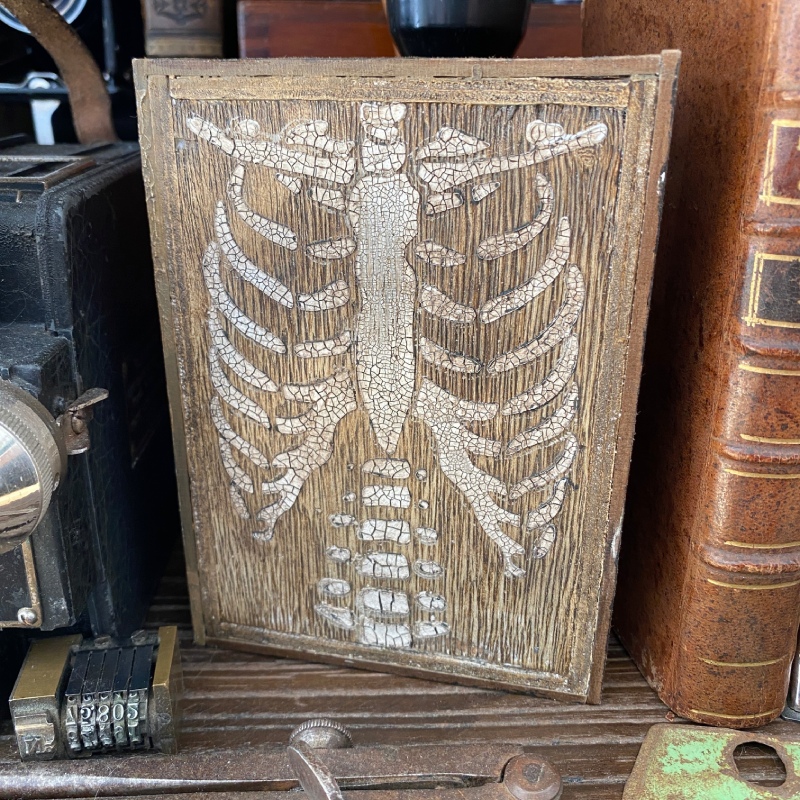
On the back of the vignette box spread distress opaque crackle paste through the bones stencil.
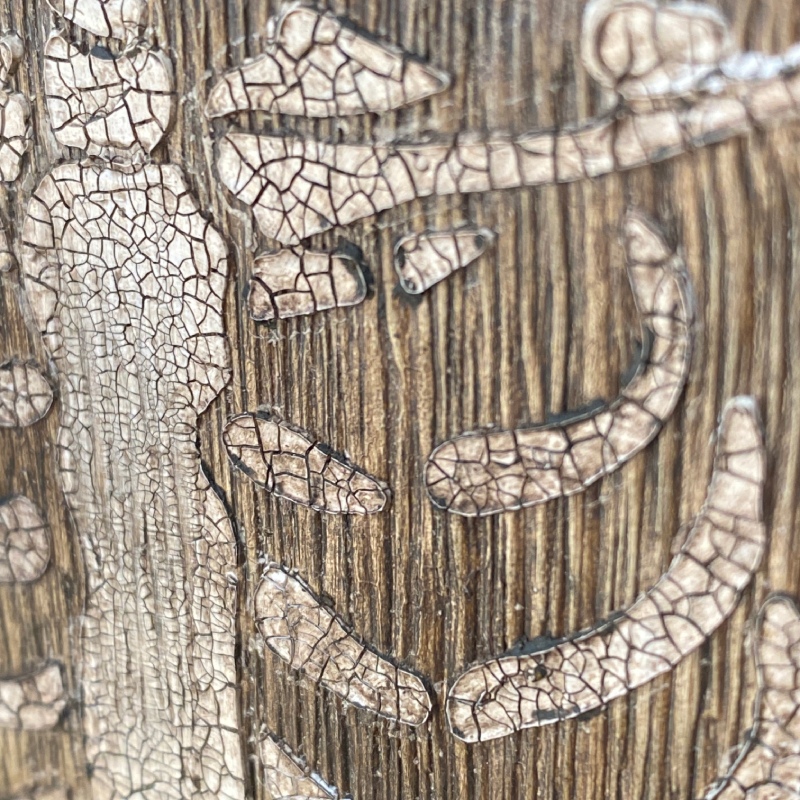
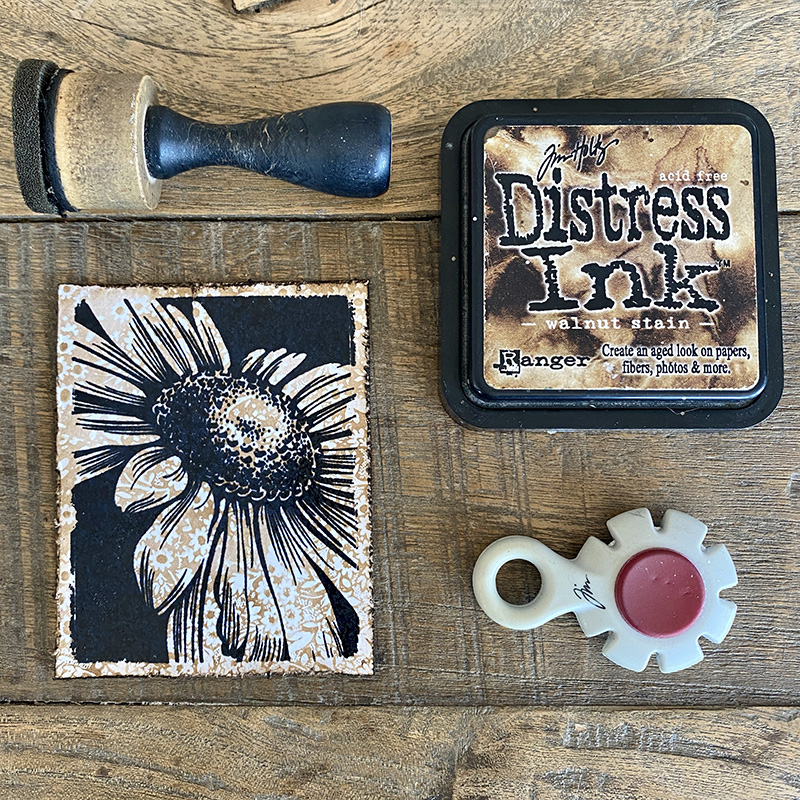
Once dry, rub walnut stain distress crayon into the cracks.
Next, cover pinked etcetera trims with distress woodgrain paper, die cut using the decorative trims thinlits die set. Glue into the vignette box with distress collage medium and allow to dry.
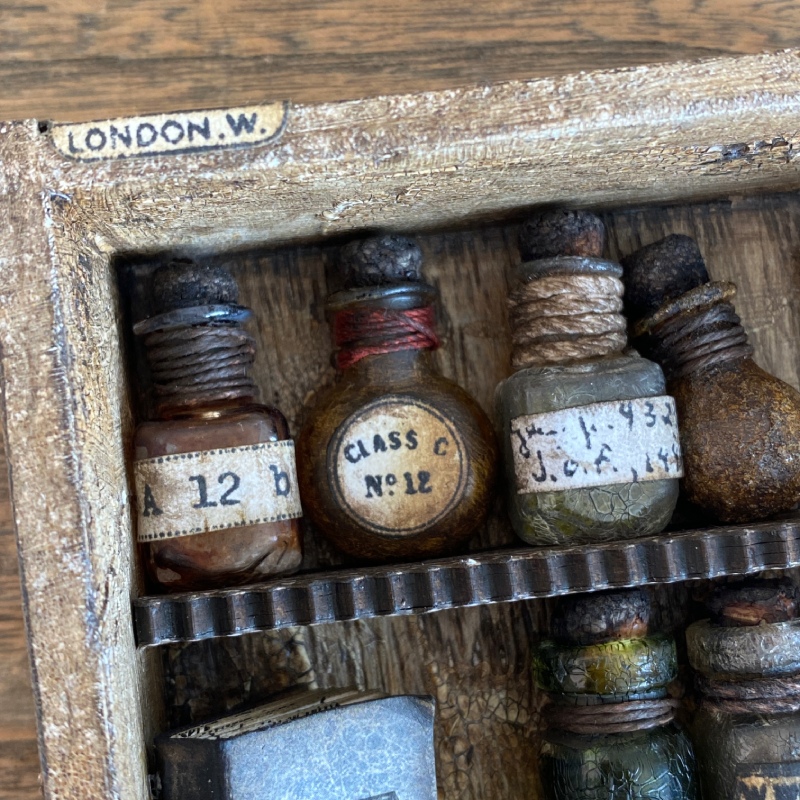
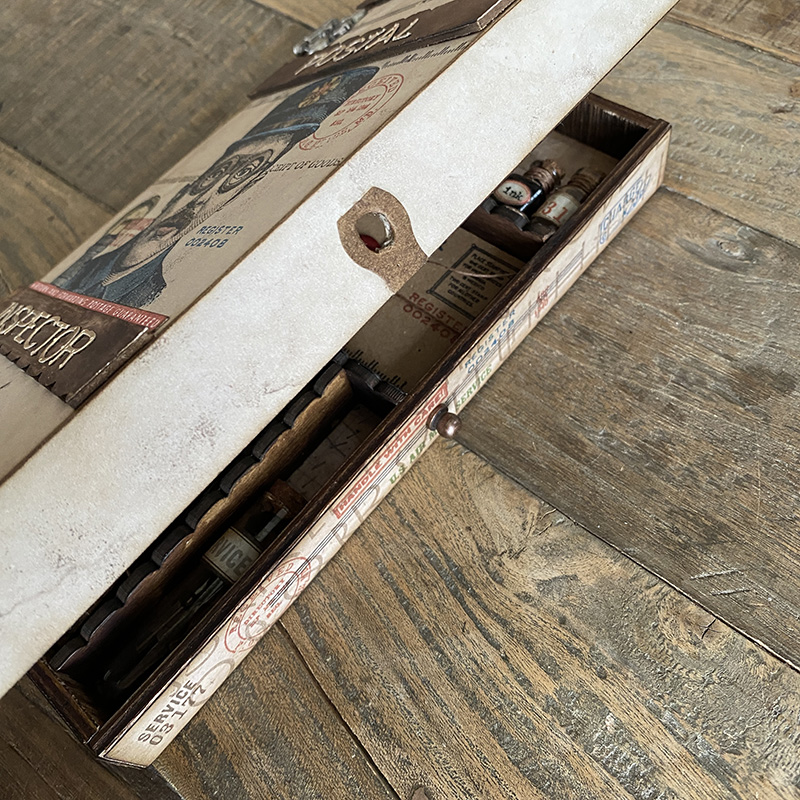
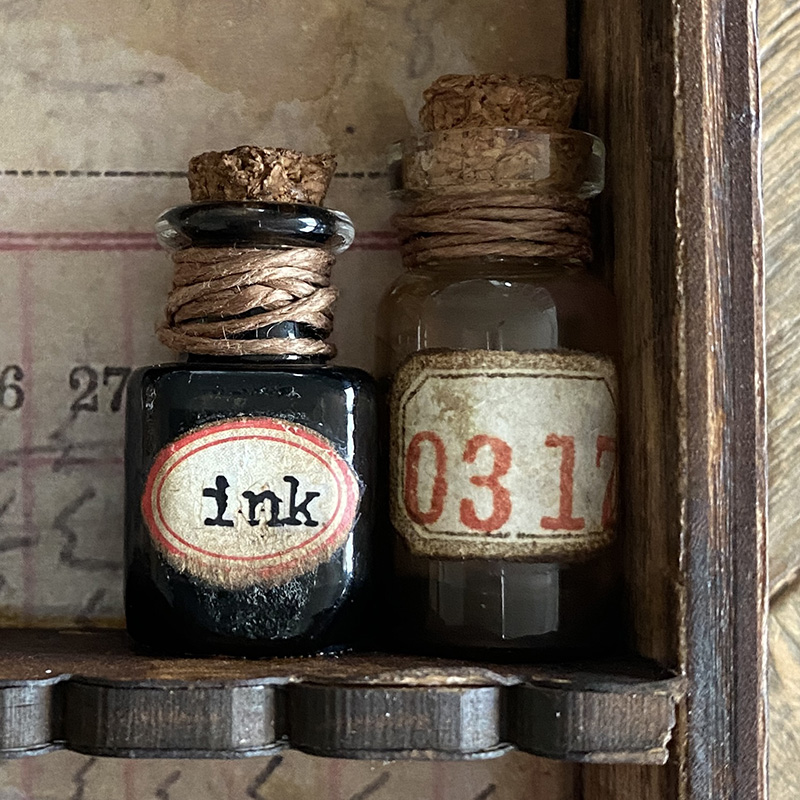
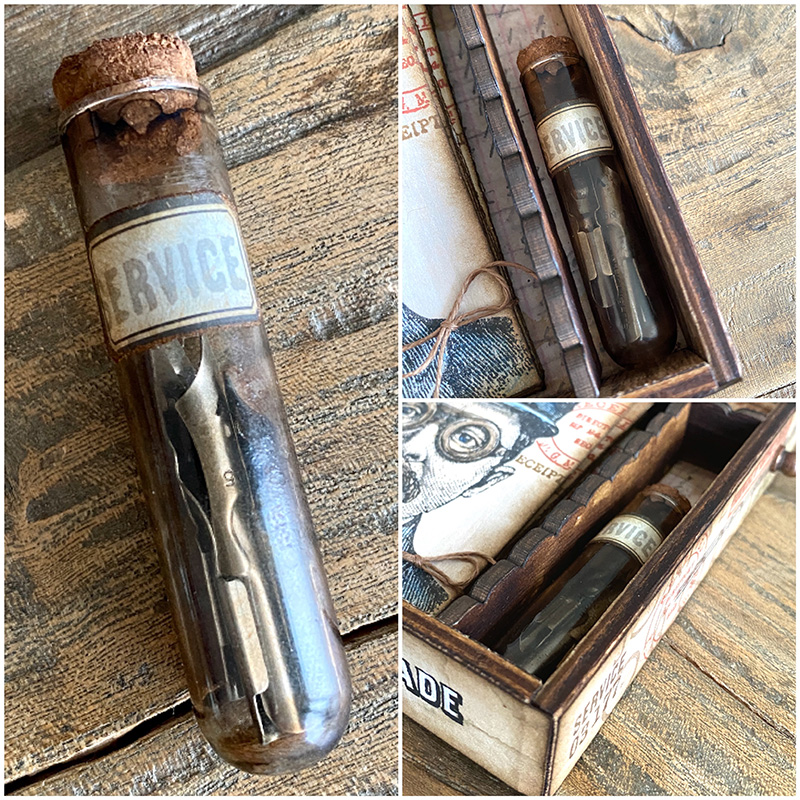
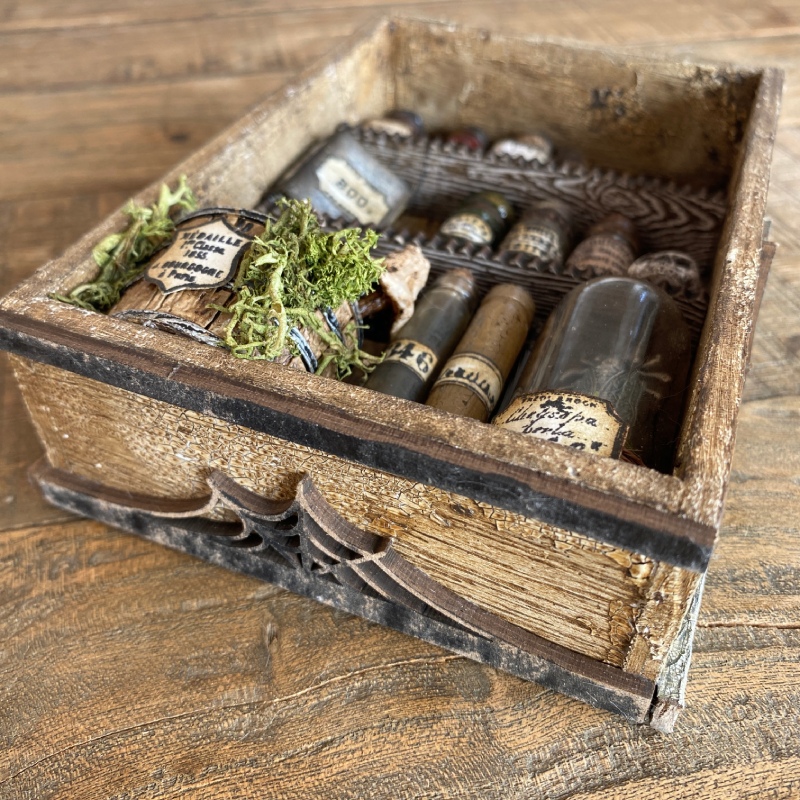
Time to decorate and label the idea-ology corked and tiny vials. You can use various techniques to alter the bottles, firstly prime by covering with a layer of distress collage medium using a paint brush. This gives the bottles “tooth” for the medium you used to grab onto. Make sure you allow the bottle to dry between each treatment.
For a cool frosted look, add a second layer of distress collage medium.
Another technique is to paint a layer of distress paint over the dried distress collage medium or rub a layer of distress crayon over the top instead of the paint.
For the crackle effect, paint a generous layer of distress crackle translucent paint over the bottle and set aside to dry. Once dry, drip alcohol ink over the top or add distress crayon using your finger and a spritz of water.
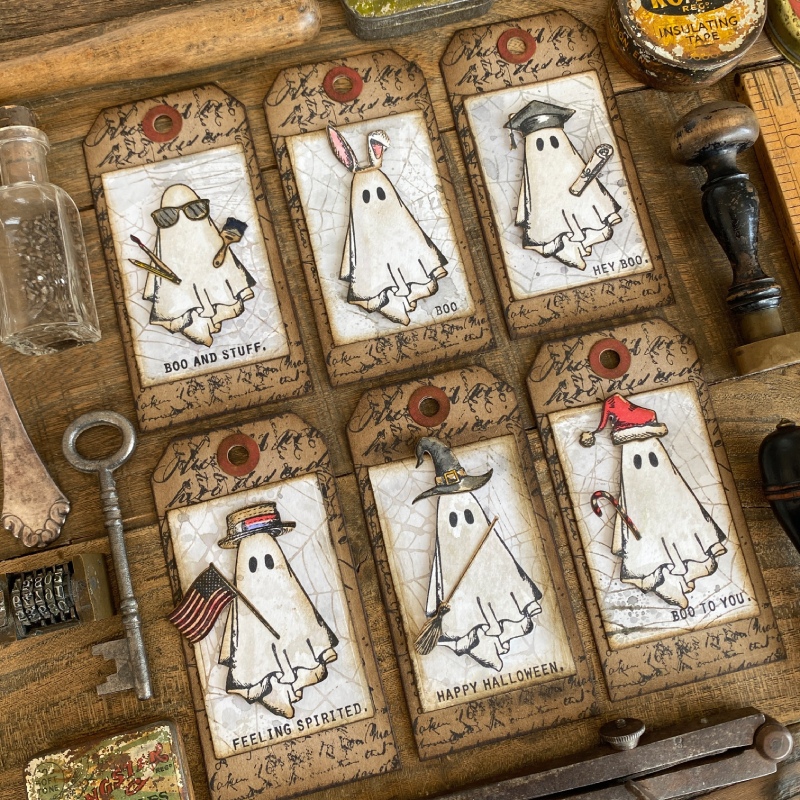
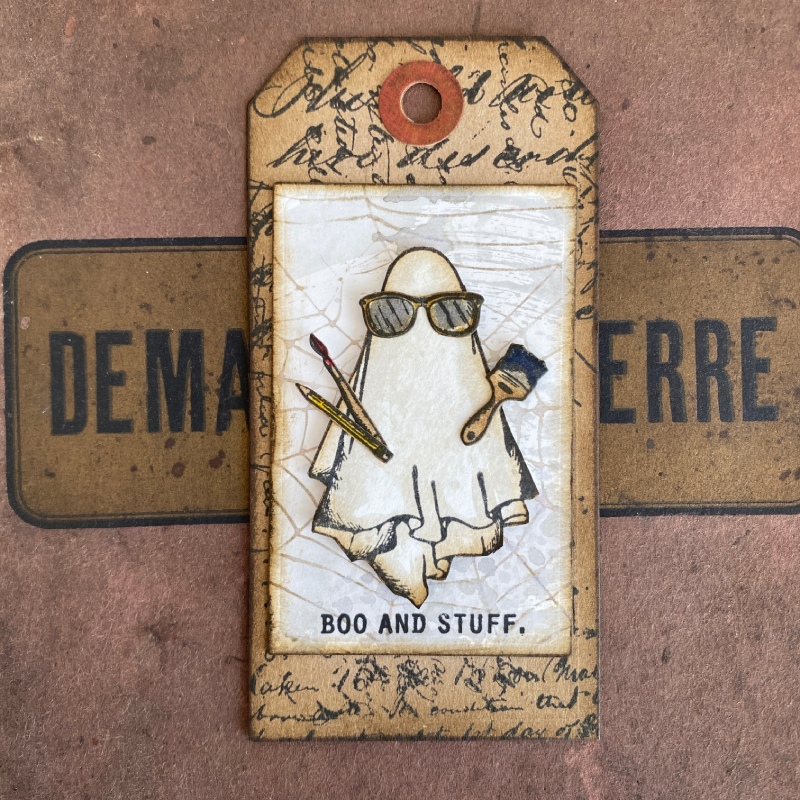
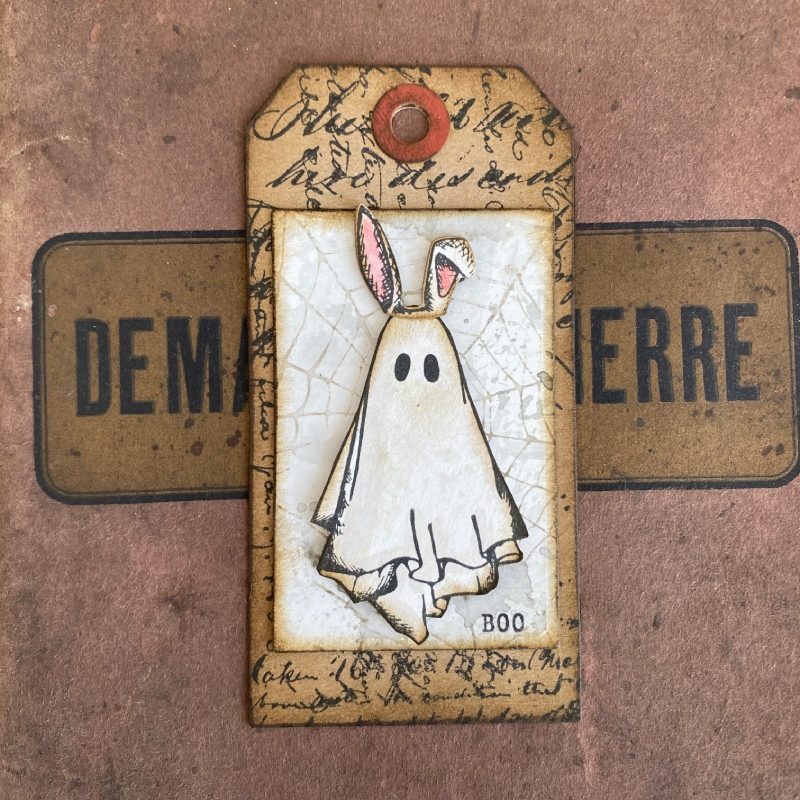
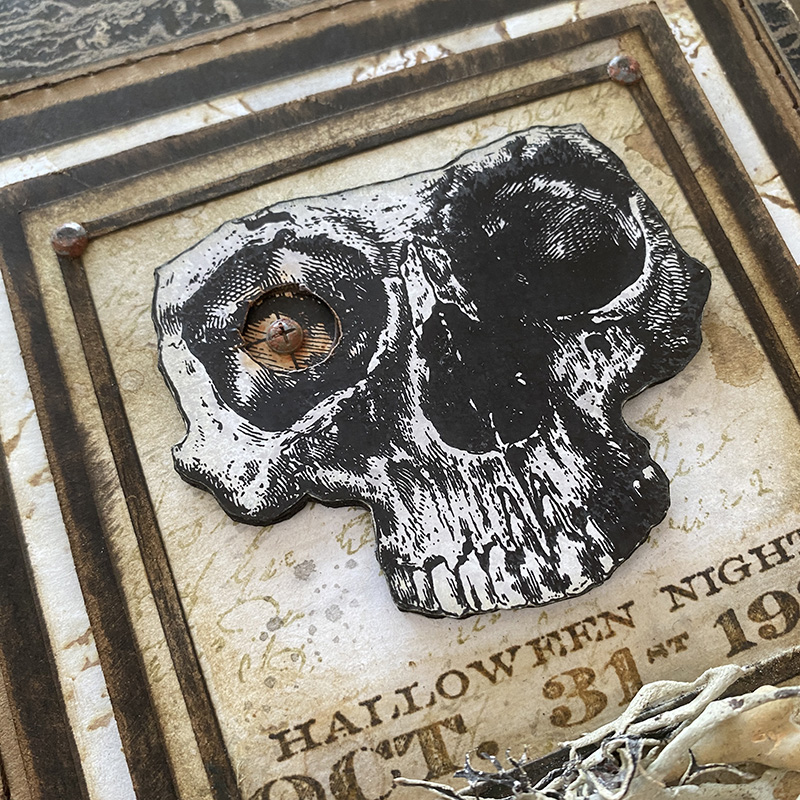
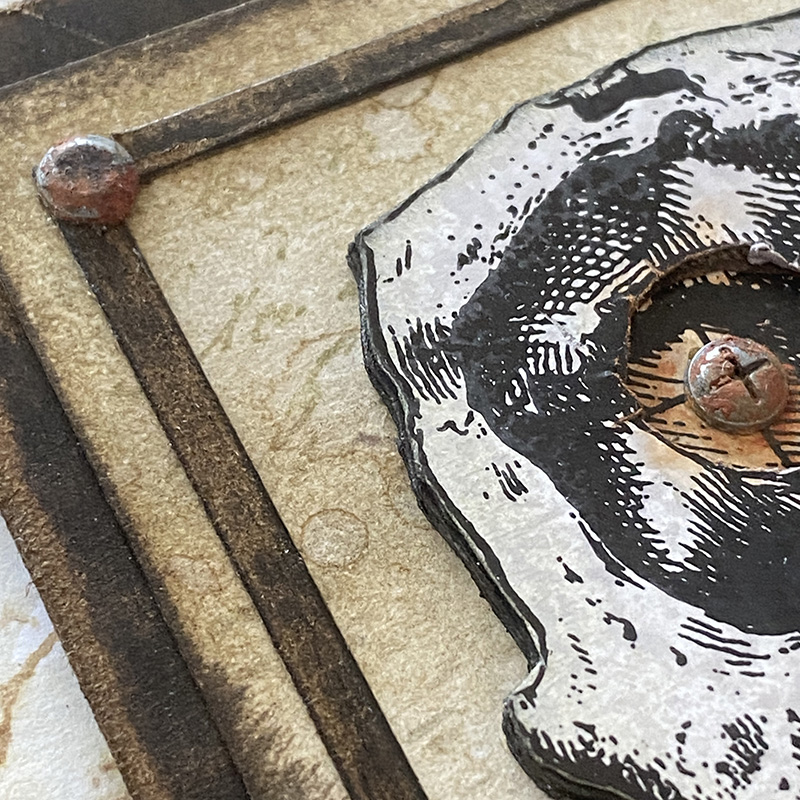
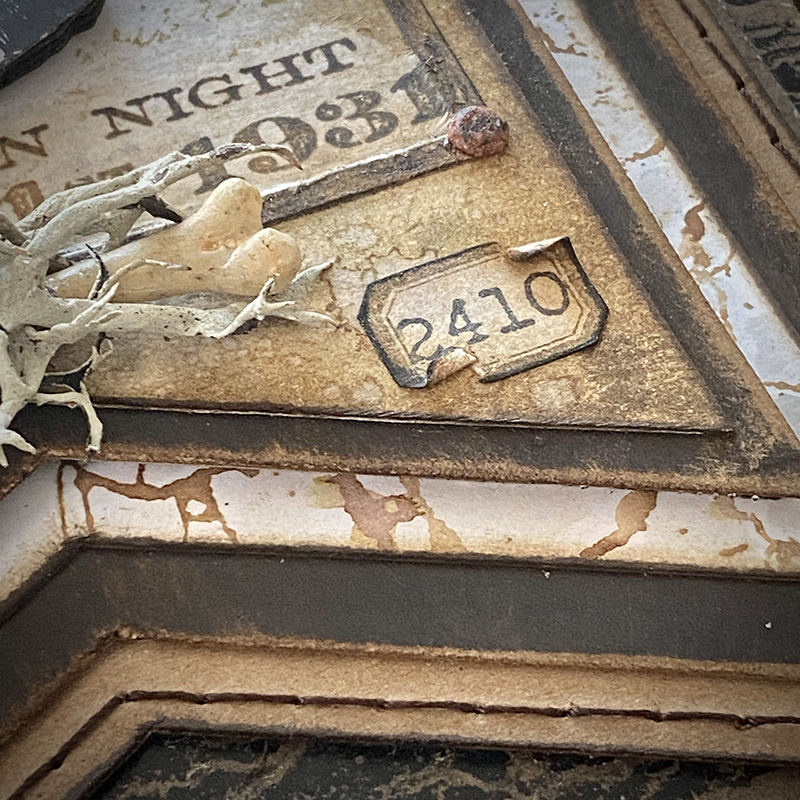
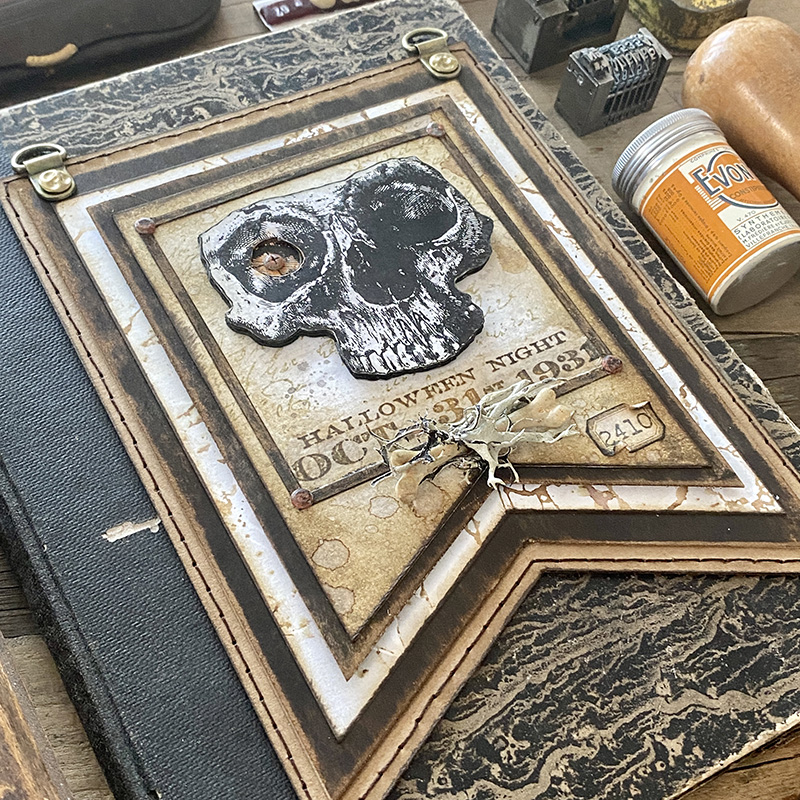
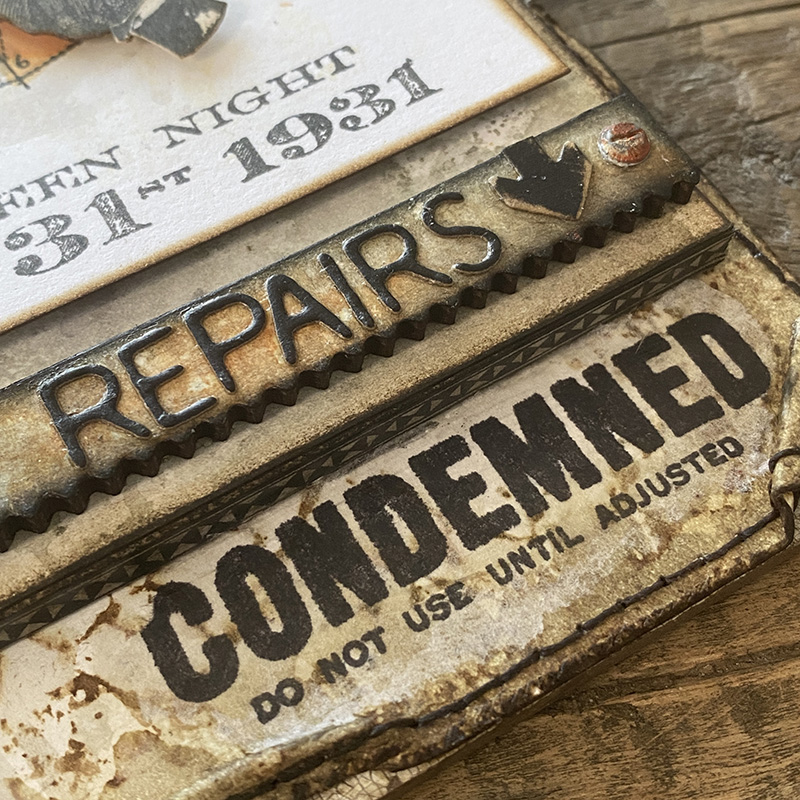
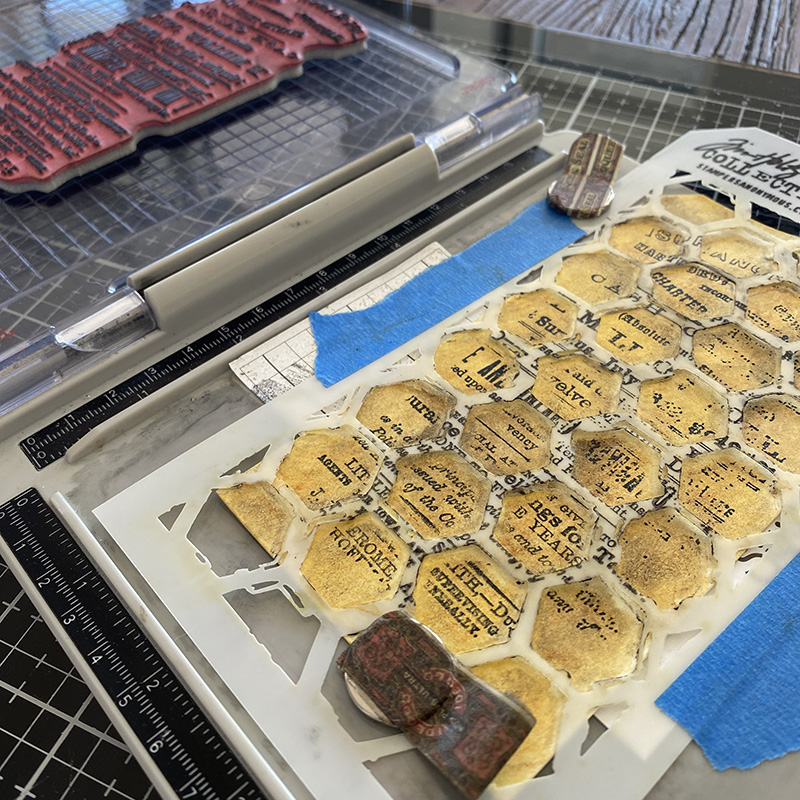
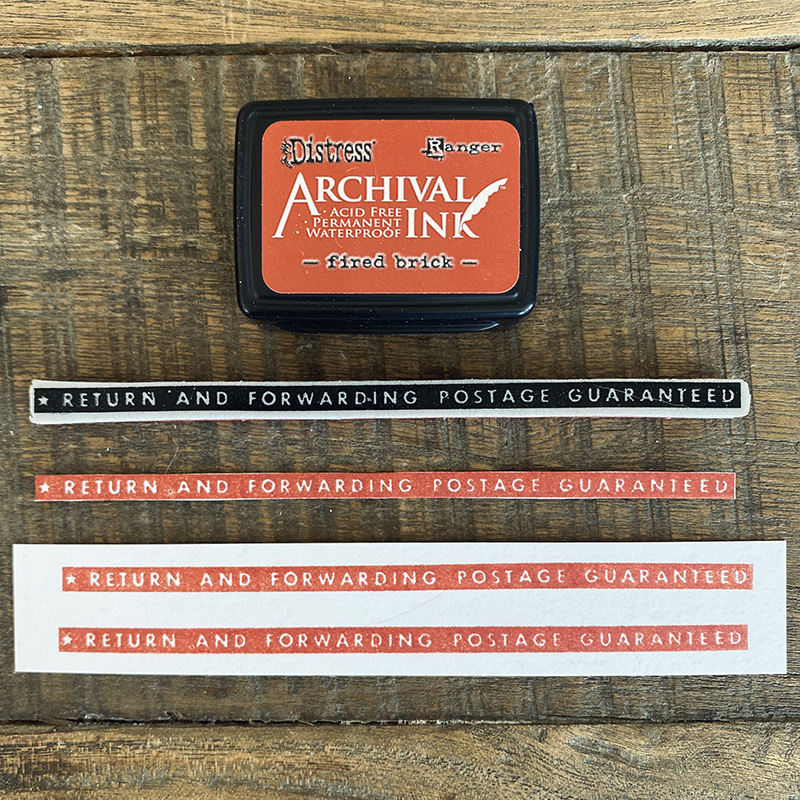
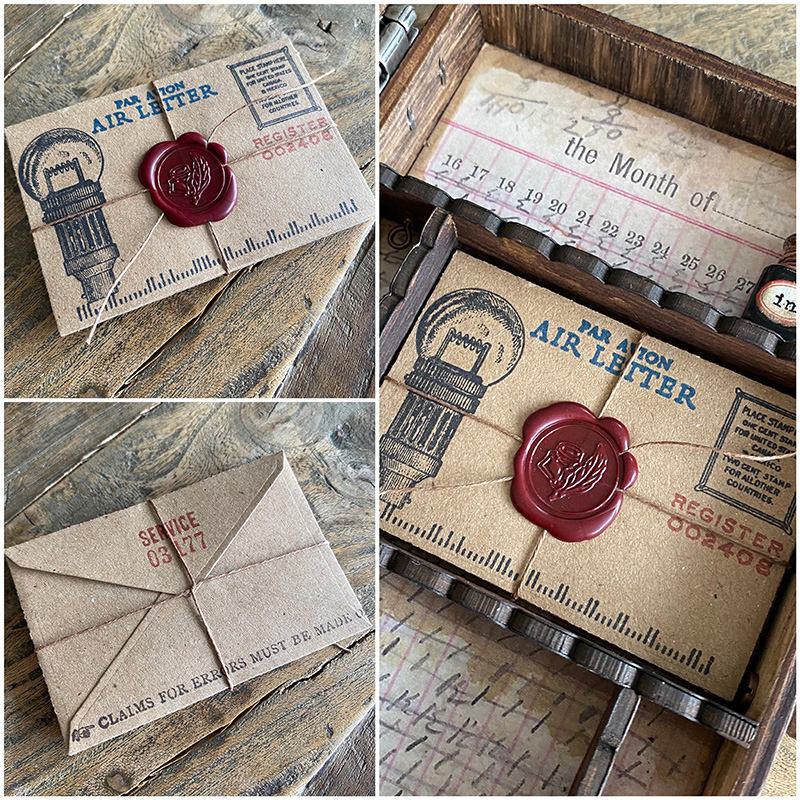
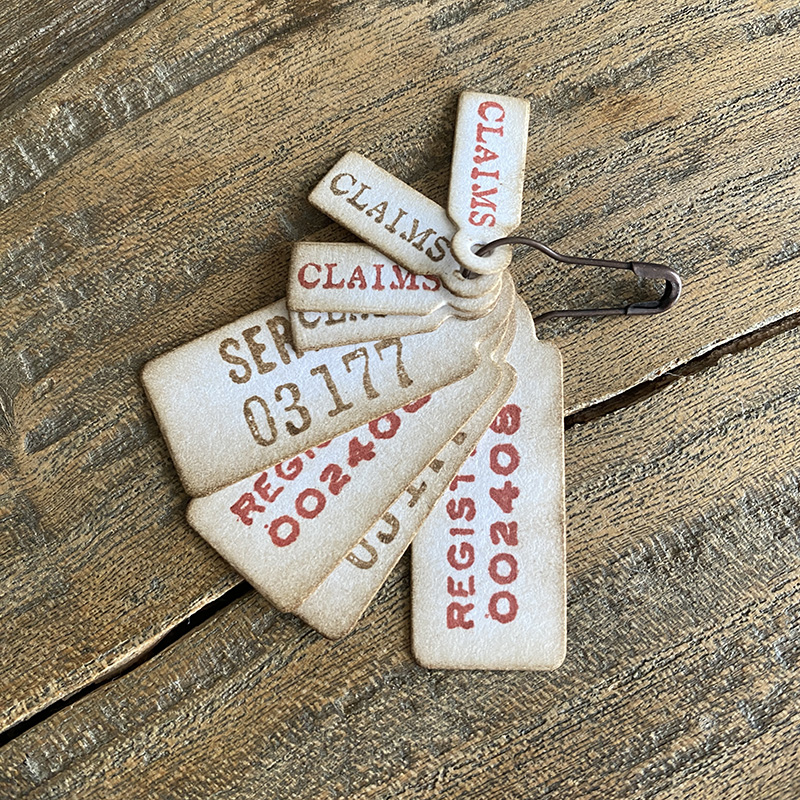
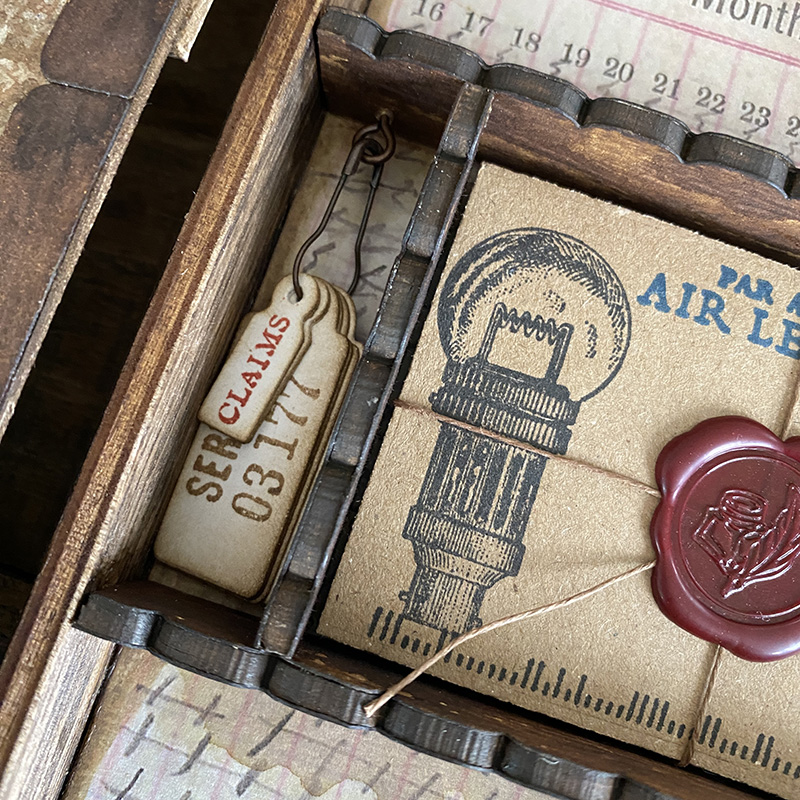
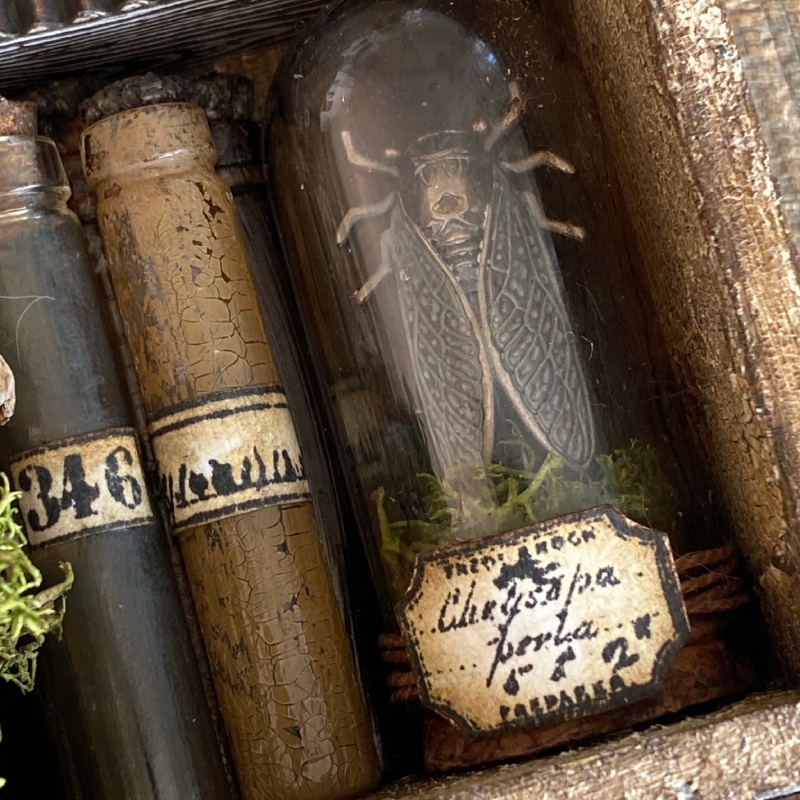
Add twine and labels stamped from the Curator CMS493 stamp set in distress archival ink and fussy cut.

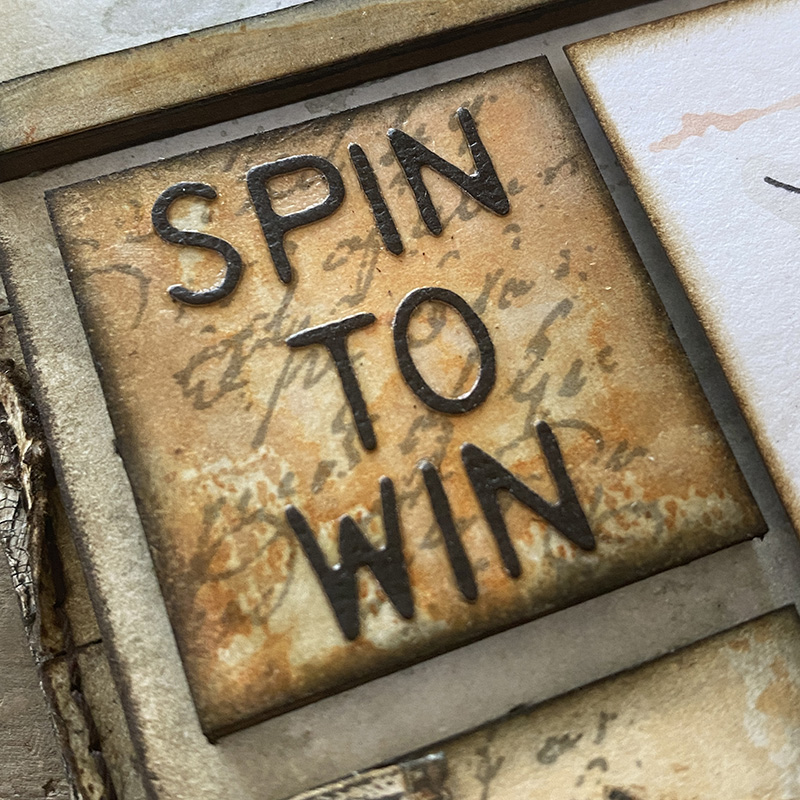
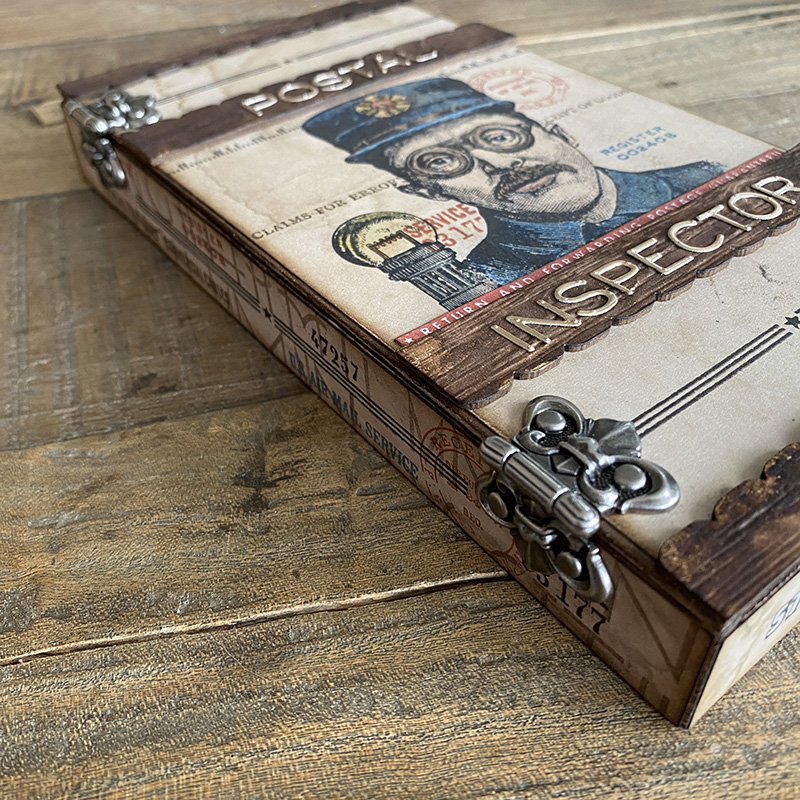
The labels make really cool signage. I added one direct to the vignette box with 3D foam squares.
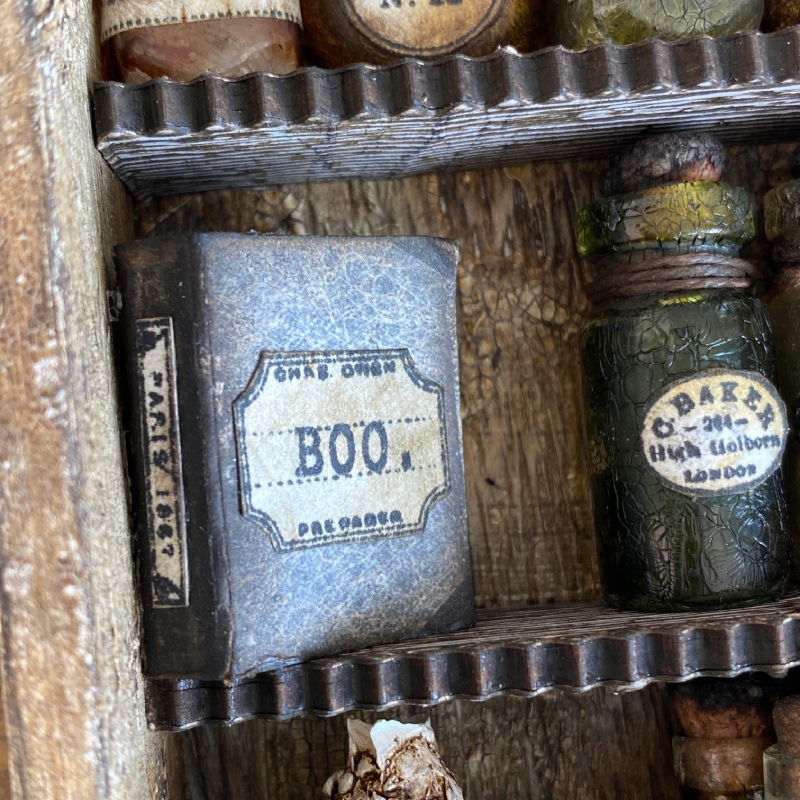
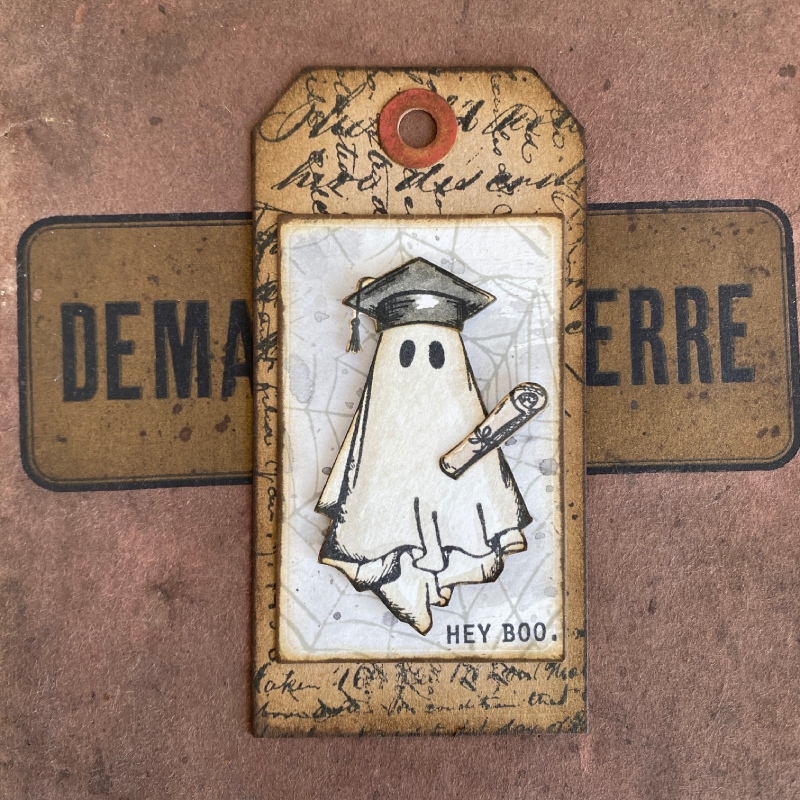
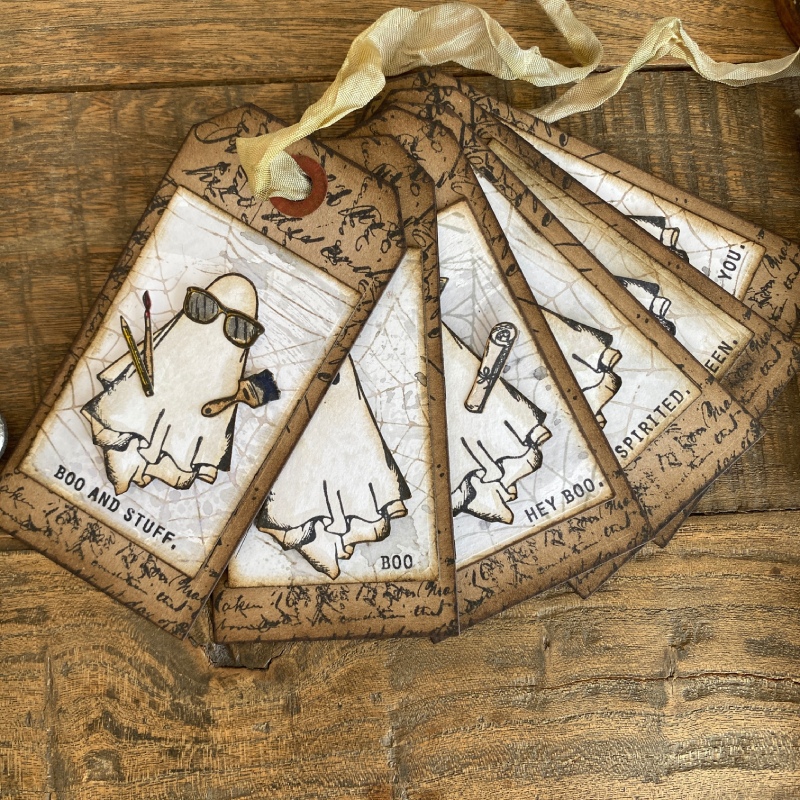
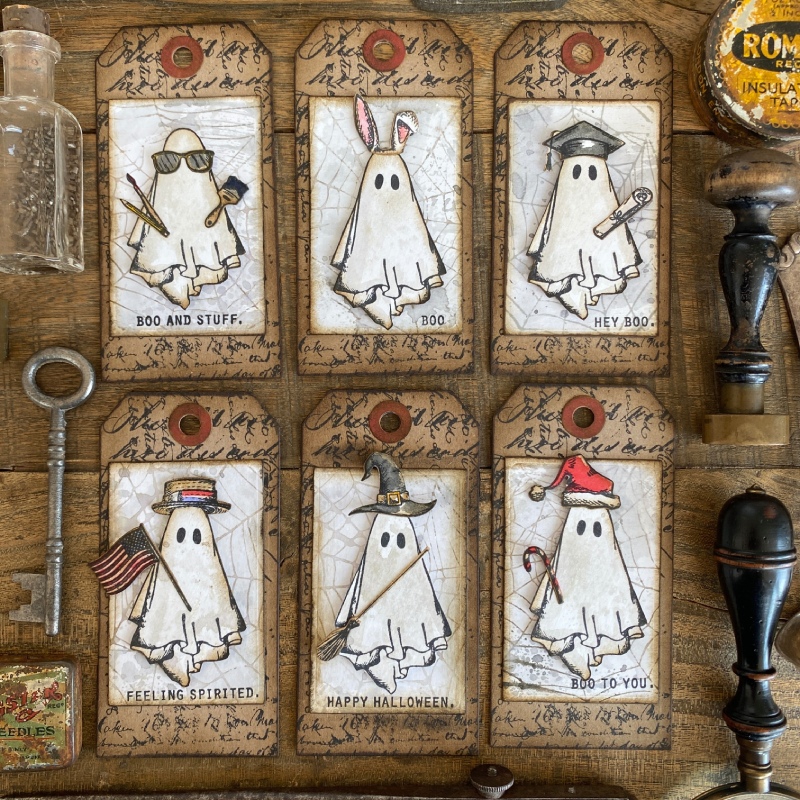
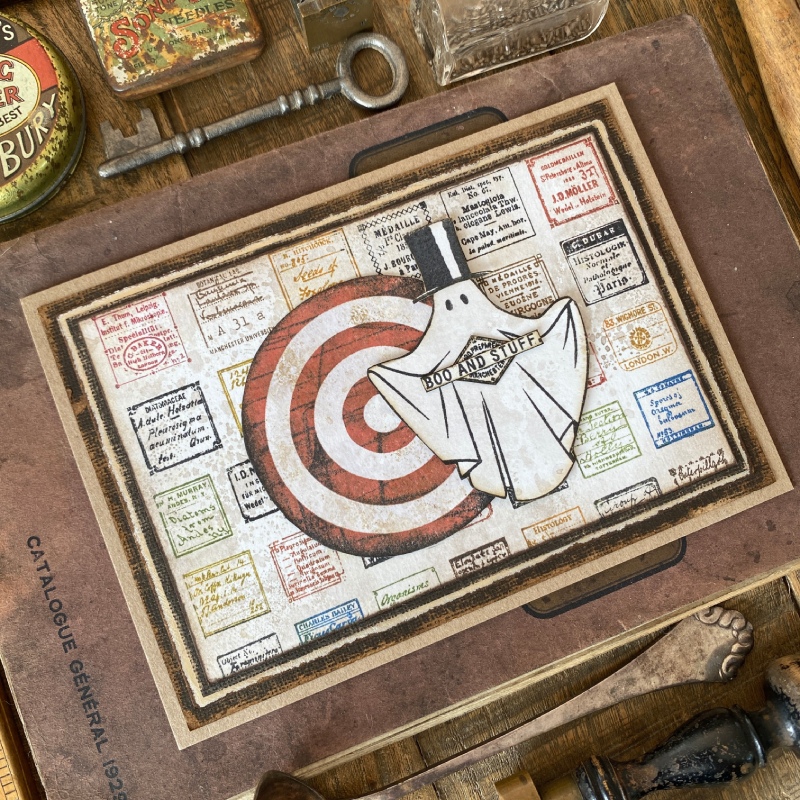
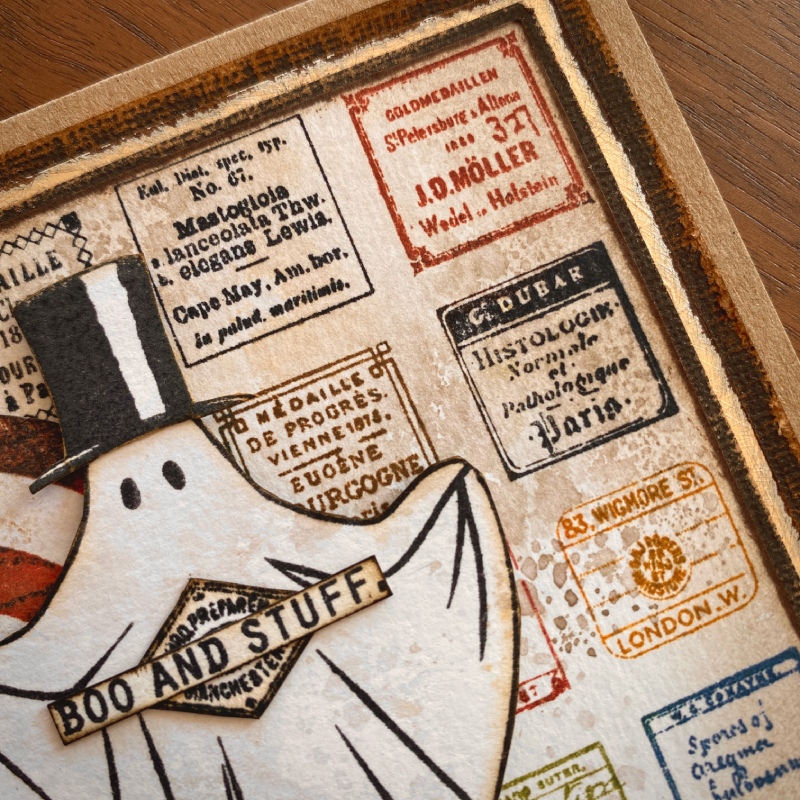
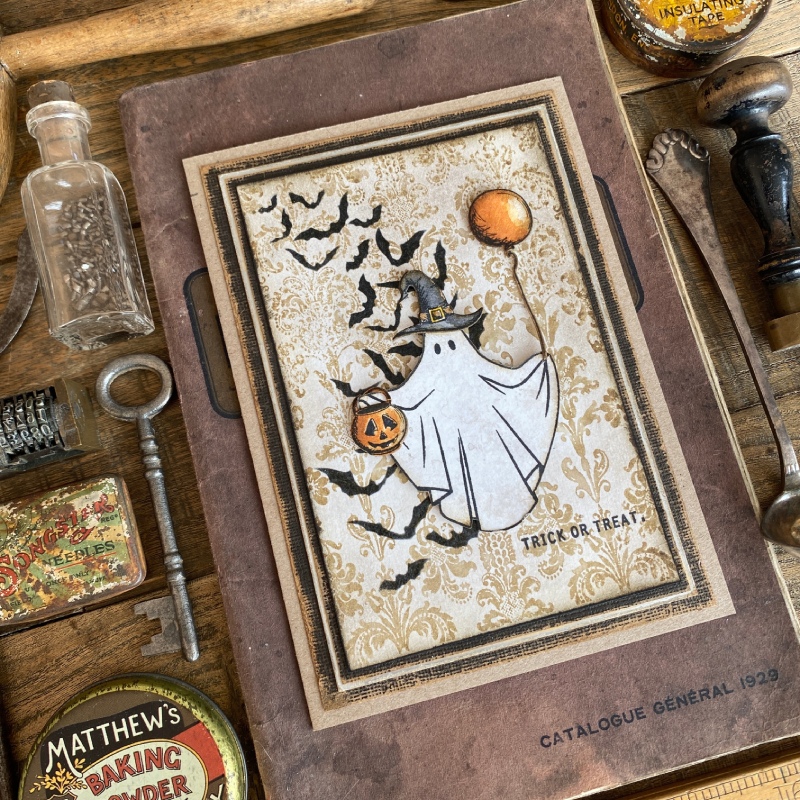
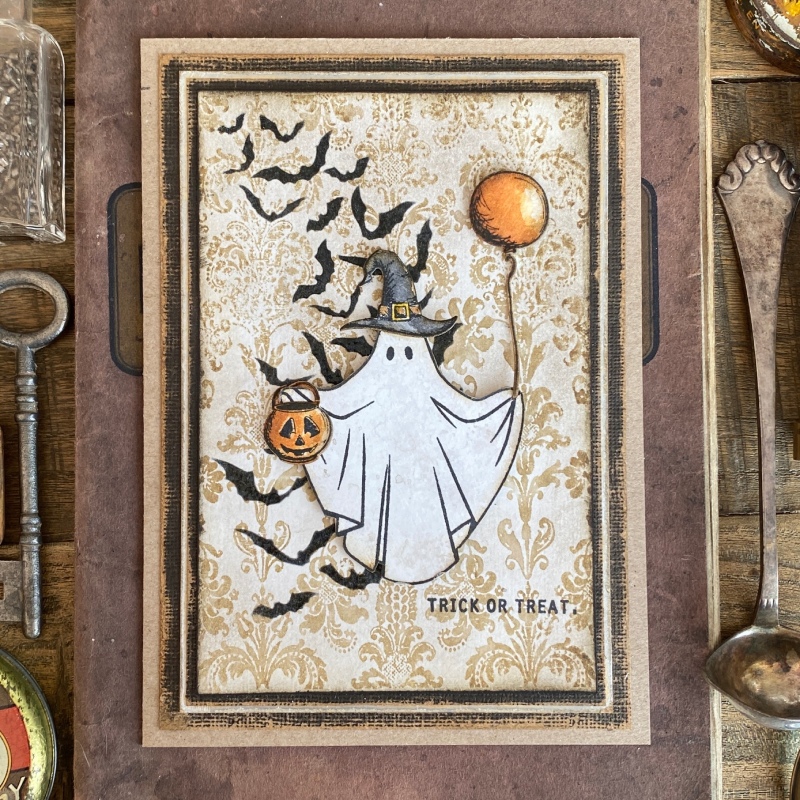
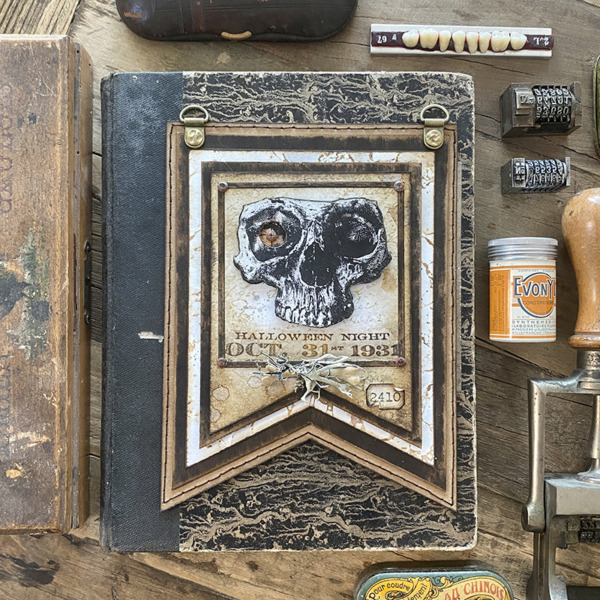
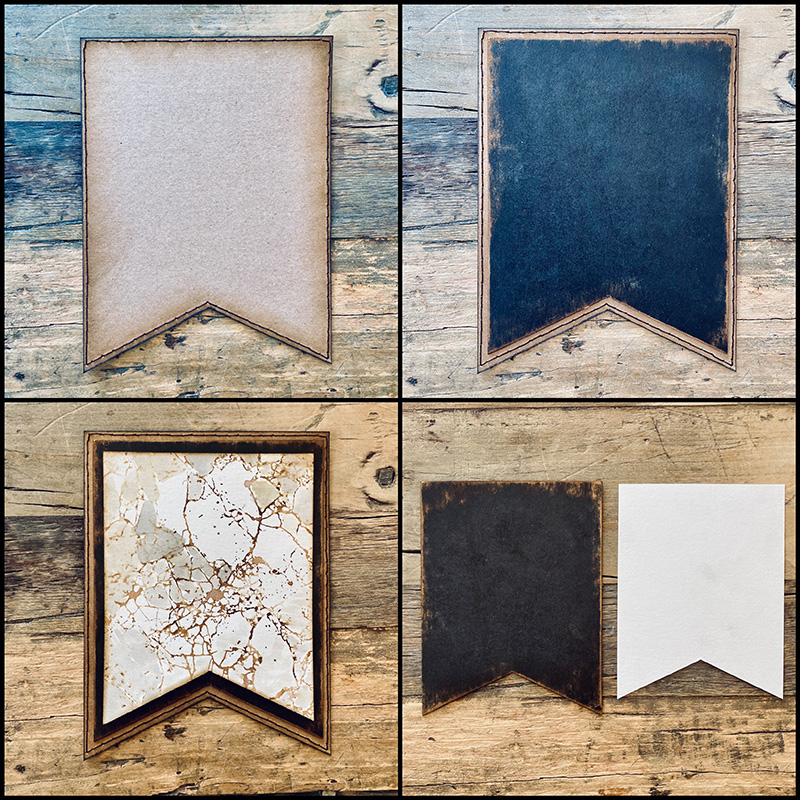
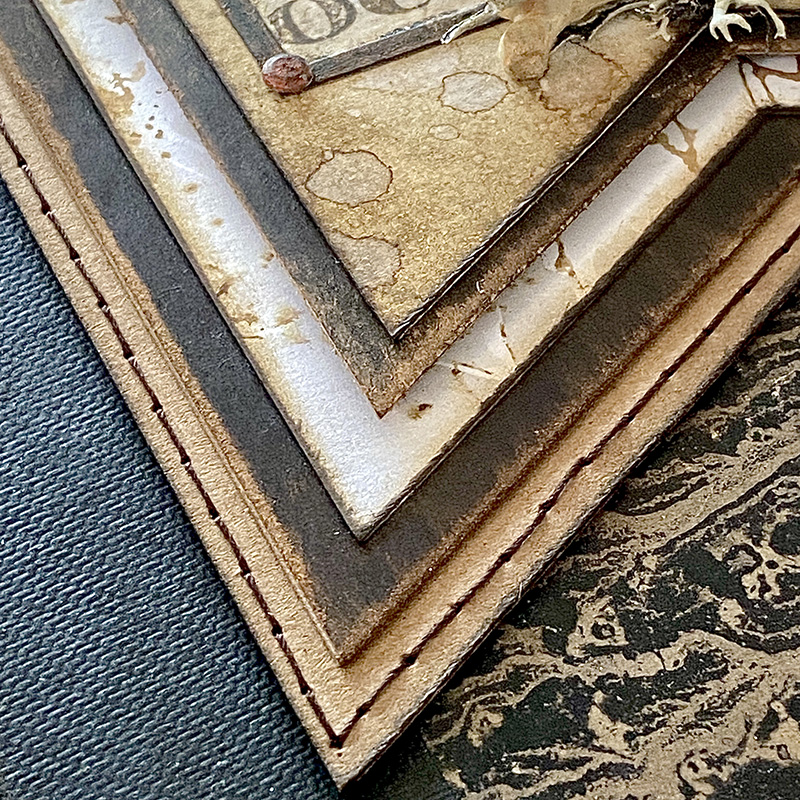
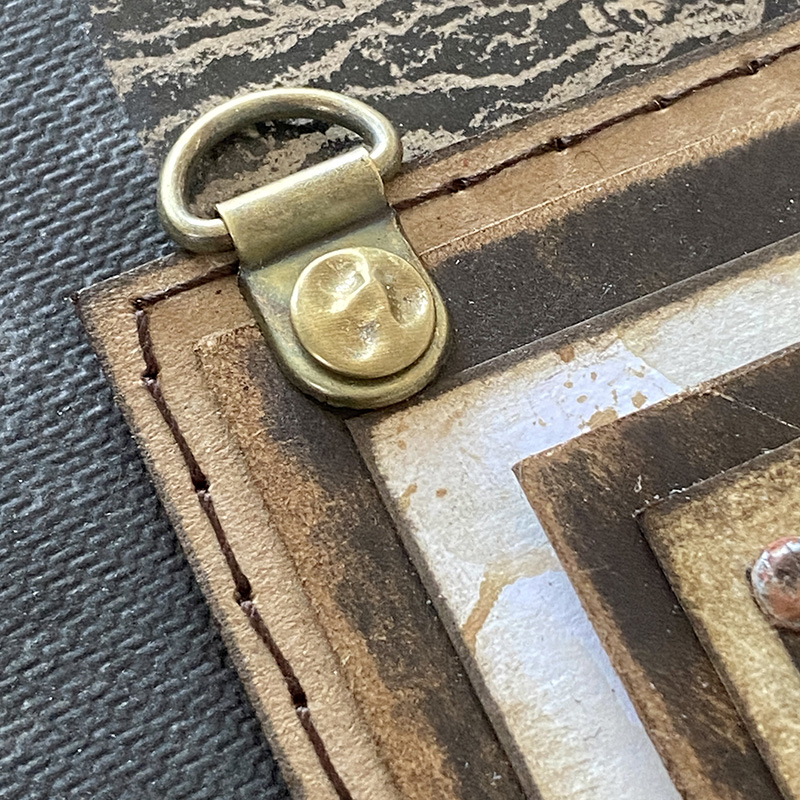
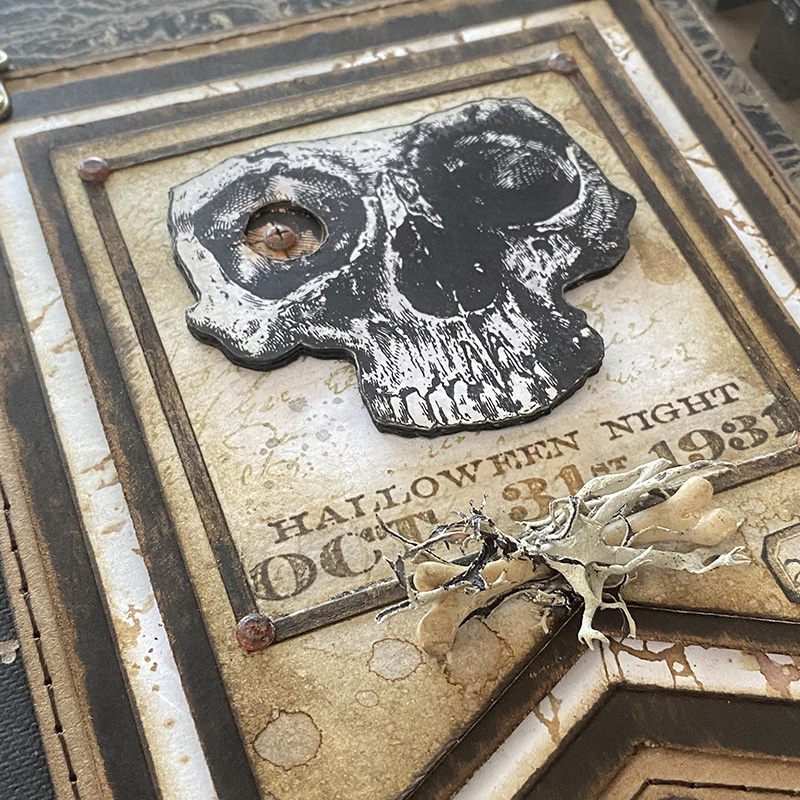
Using a book cover from the idea-ology halloween ephemera pack, I made a mini book and added labels stamped from the Curator CMS493 stamp set, stamping Boo from the Spooky Spirits CMS492 stamp set. You can see how to make the mini books HERE.

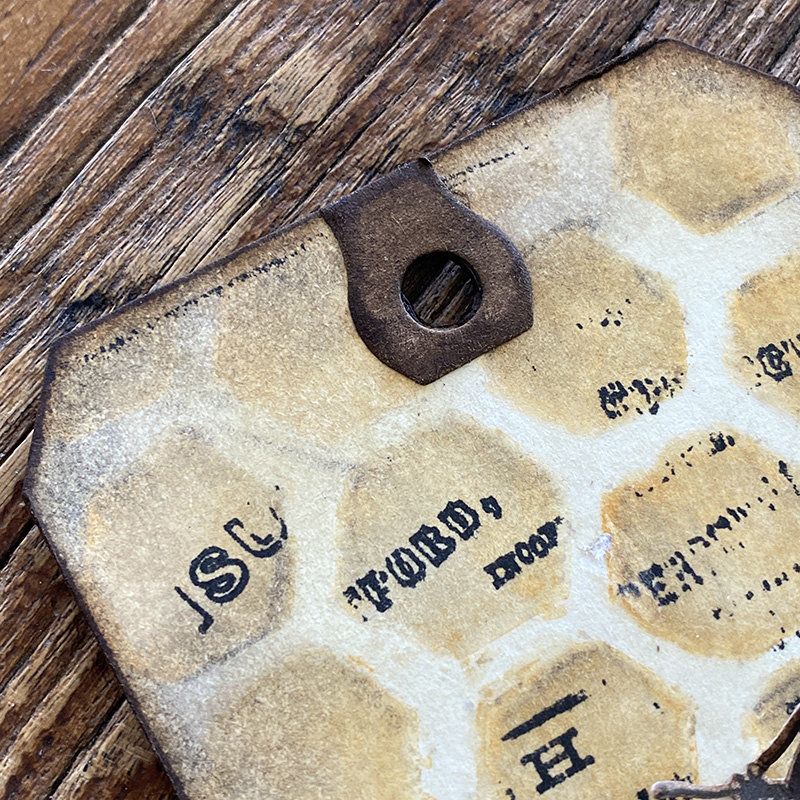
I added grunge to the Curator labels by rubbing walnut stain distress crayon over the top before adding to idea-oloy corked vials with distress collage medium. Use distress collage medium to adhere the bottles to the shelves.
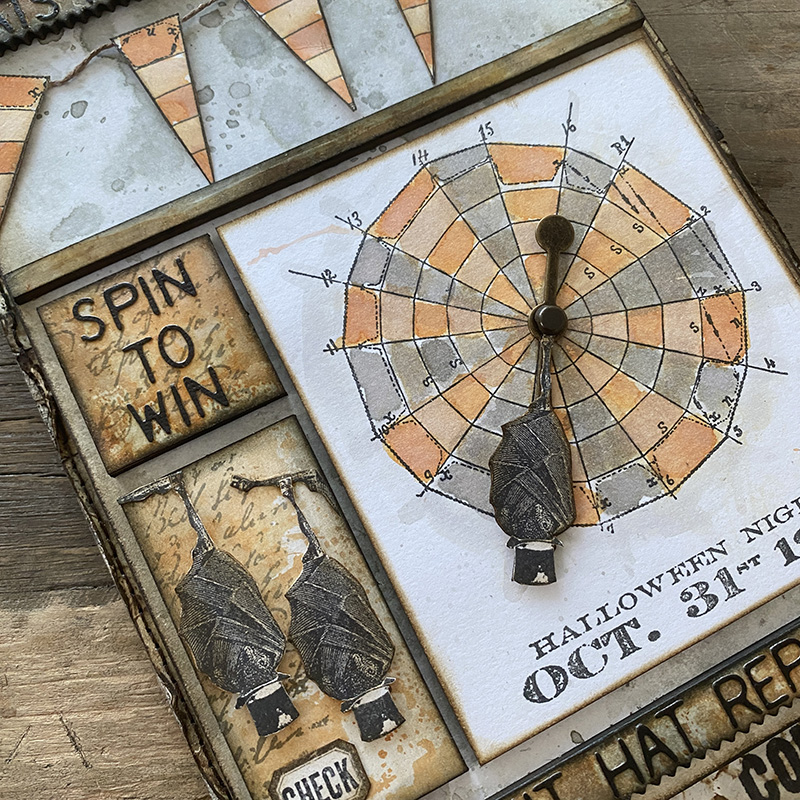
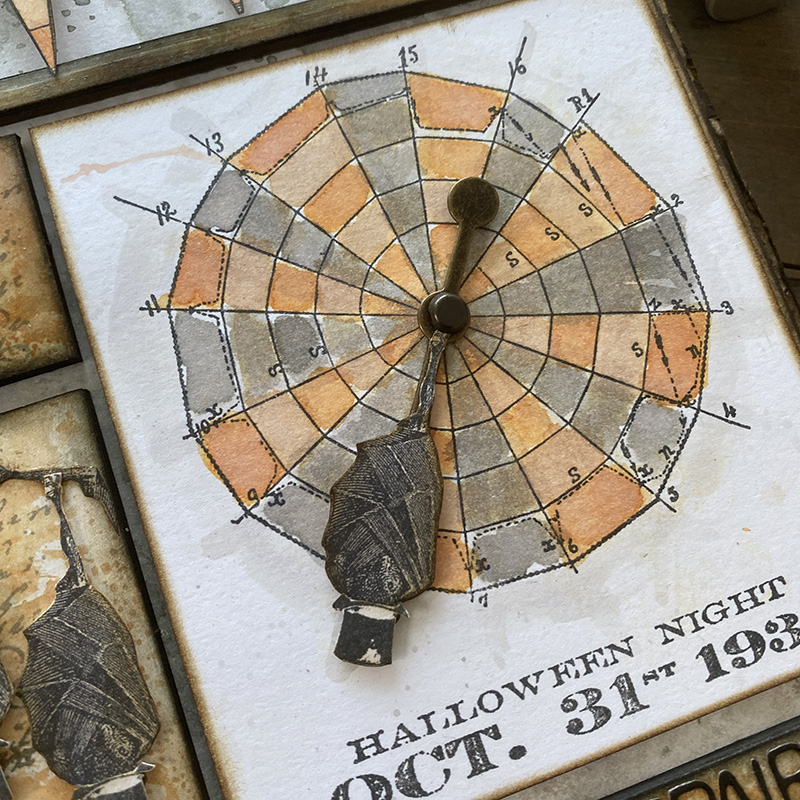
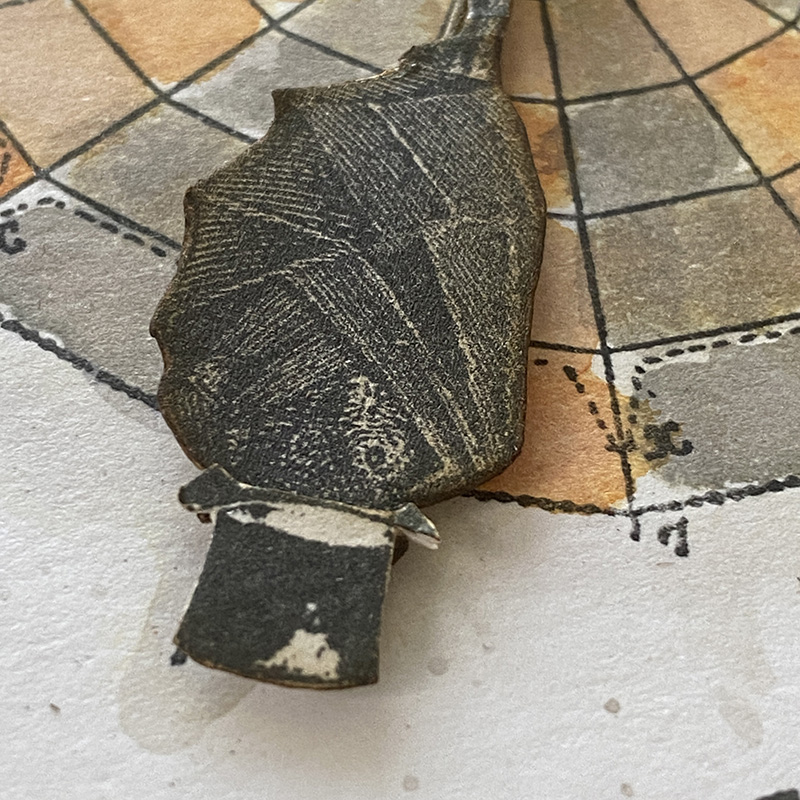
The Curator labels are a perfect addition to the idea-ology display mini domes. This one has an idea-ology entomology adornment inside, attached with a memo pin. These idea-ology memo pins have been retired so stock up while you can!
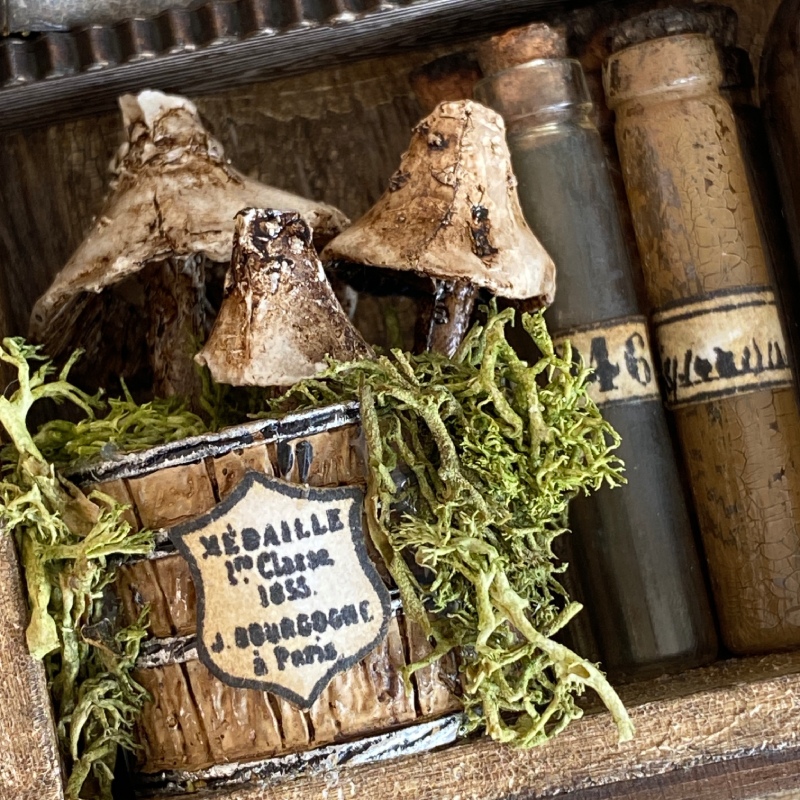
Finally I added a label to an idea-ology barrel filled with idea-ology toadstools. Glued into the vignette box with distress collage medium.
I added a trim strip from the etcetera bat and web trims set to the bottom of the vignette box to stabilize so it can be stood for display.
Thanks for stopping by.
Zoe
…
affiliate links used at no cost to you