‘Sidekick’ Category

  1. Tick Tock Christmas O’Clock

    3rd December, 2018 by iGirlZoe

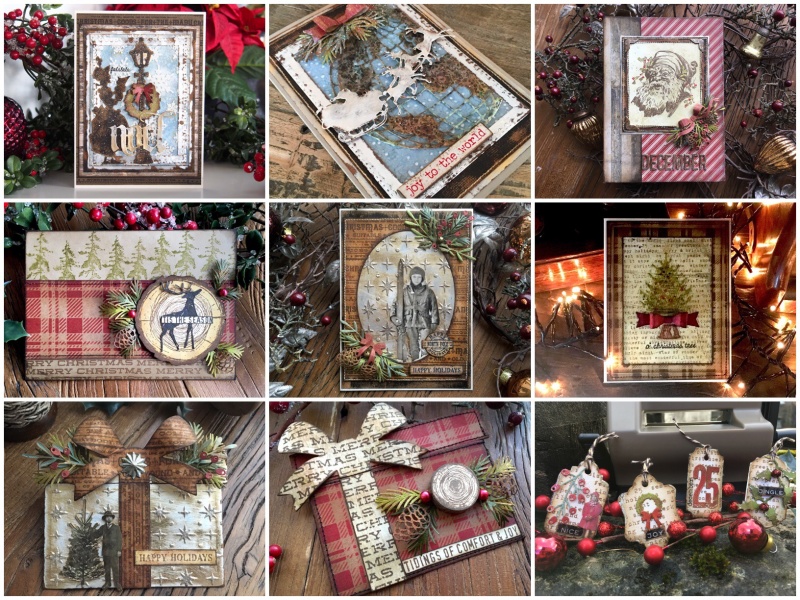
    I don’t want to freak anyone out, but we’re 3 days into December! Just going to leave that there…

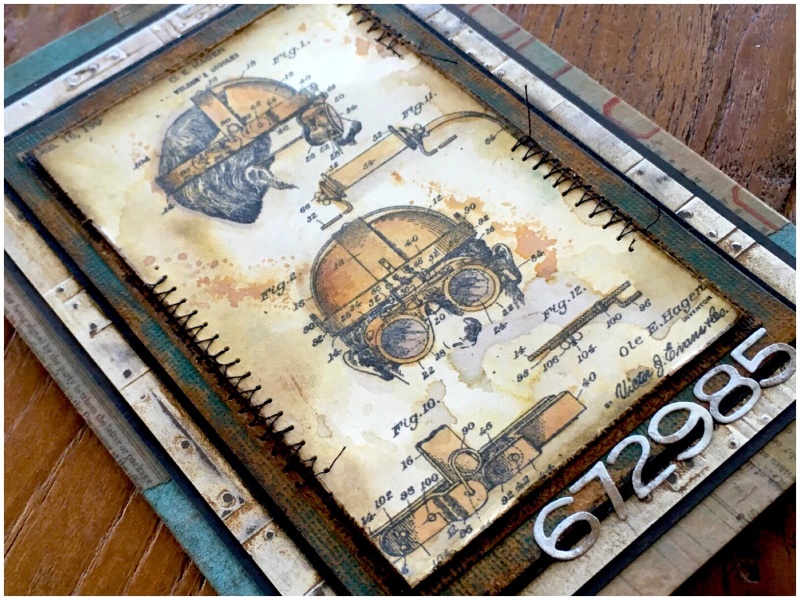
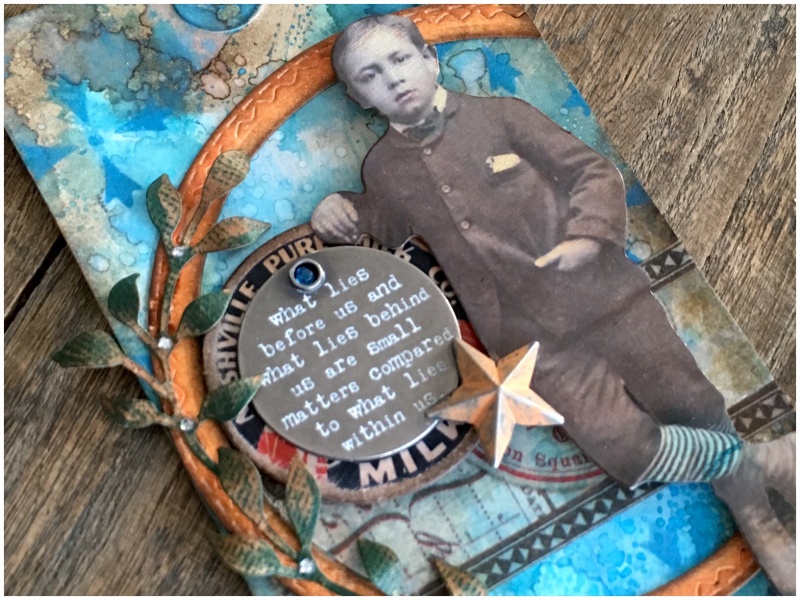
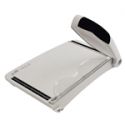
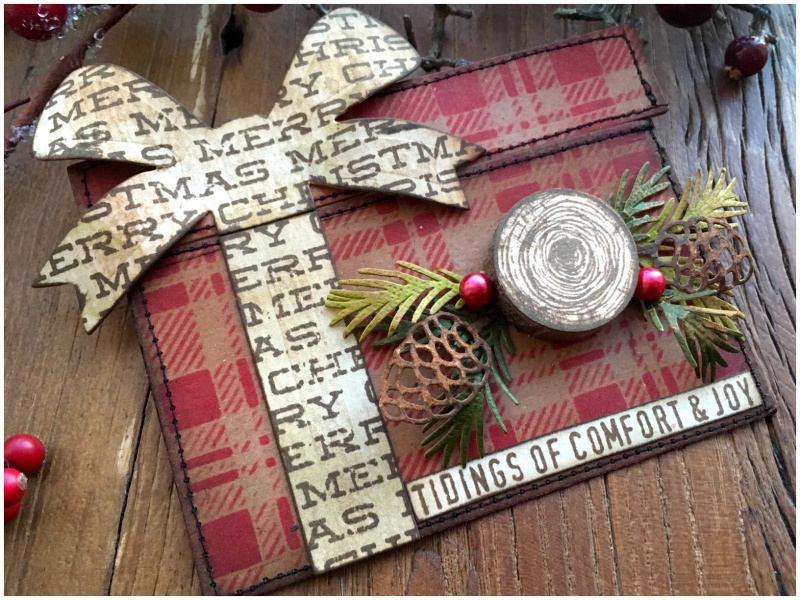
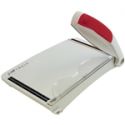
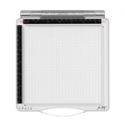
    I find it difficult to skip the details when using Tim Holtz products. They work so perfectly together that it’s easy to get carried away, even when time isn’t on your side. That said, having the right tools makes even the more detailed cards, short work. Tools such as the travel stamp platform, sidekick and glitter duster make it easy to work quickly and in batches.

    iGirlZoe: Tim Holtz, stampers anonymous, inventor, stamps, inventor 1, idea-ology, clock hands, stamptember, sizzix, funky festive, festive greens, glitter duster, holidays, christmas card
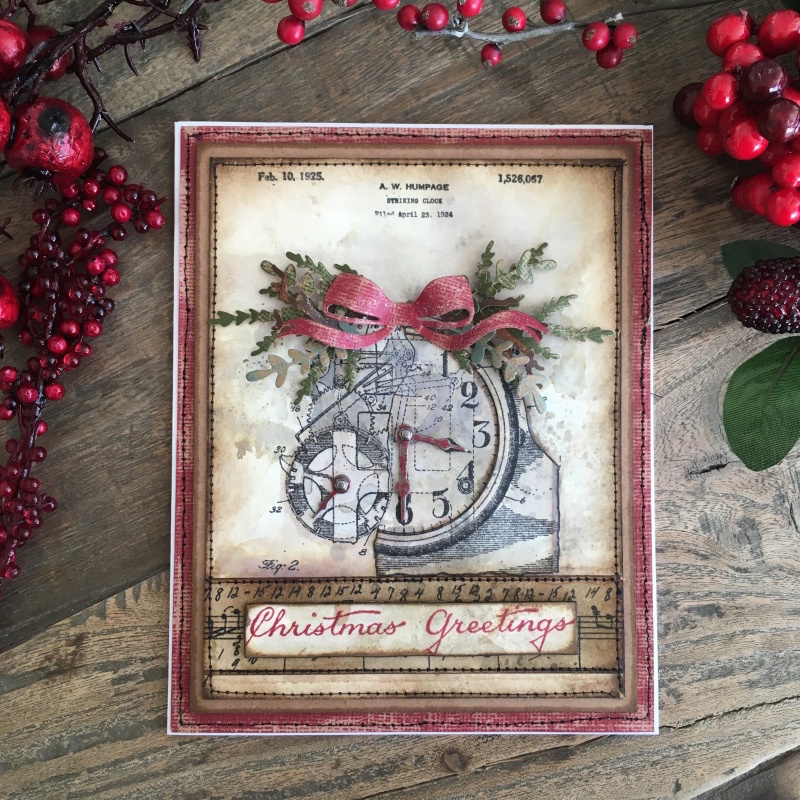
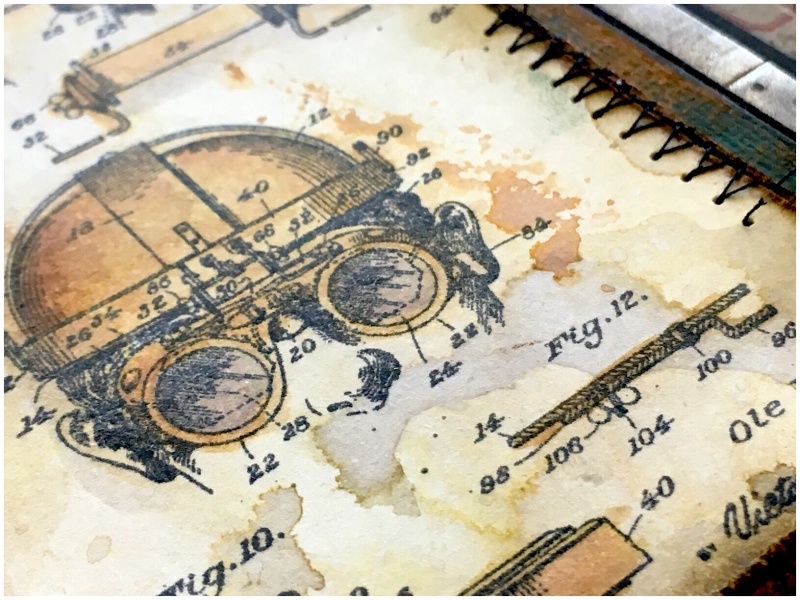
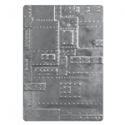
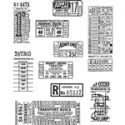
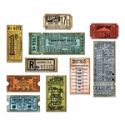
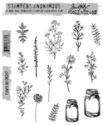
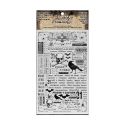
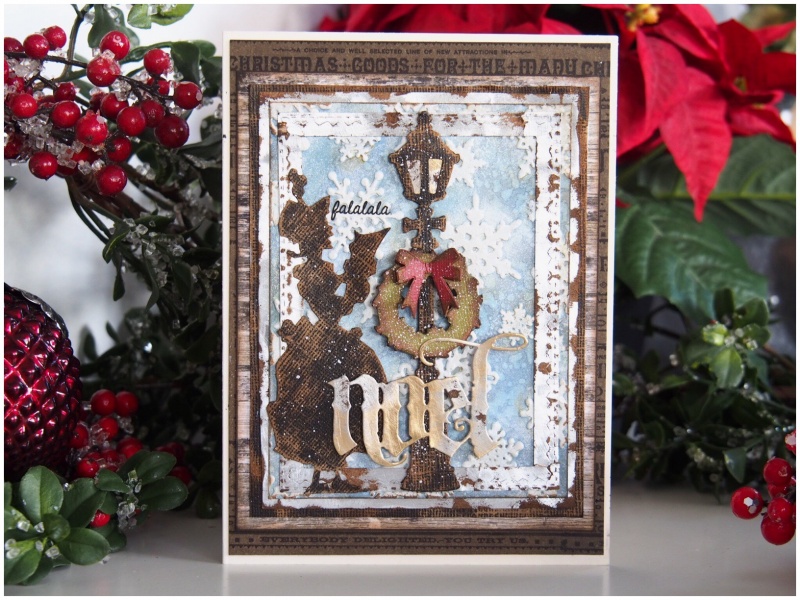
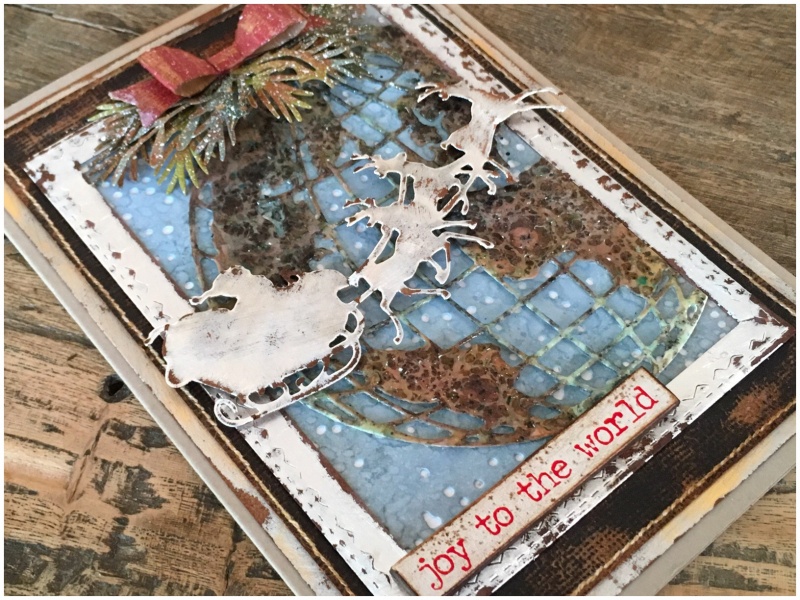
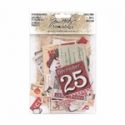
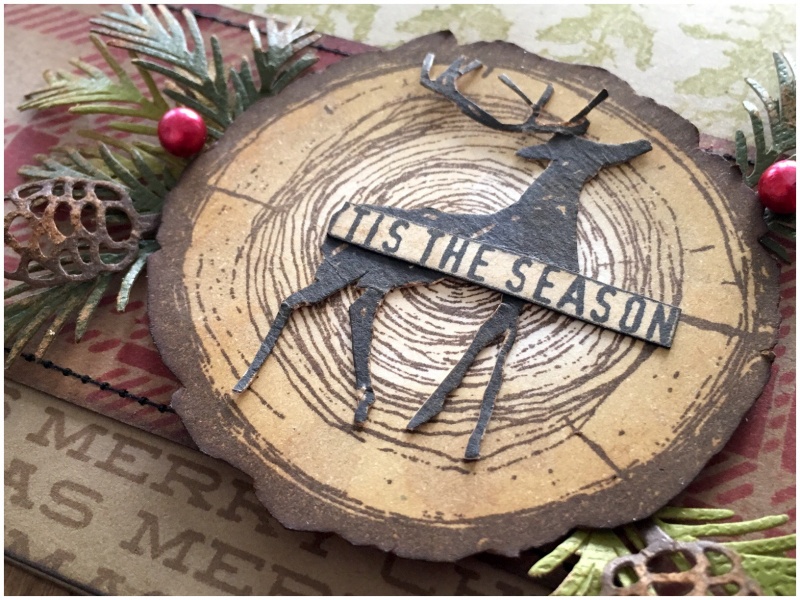
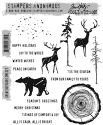
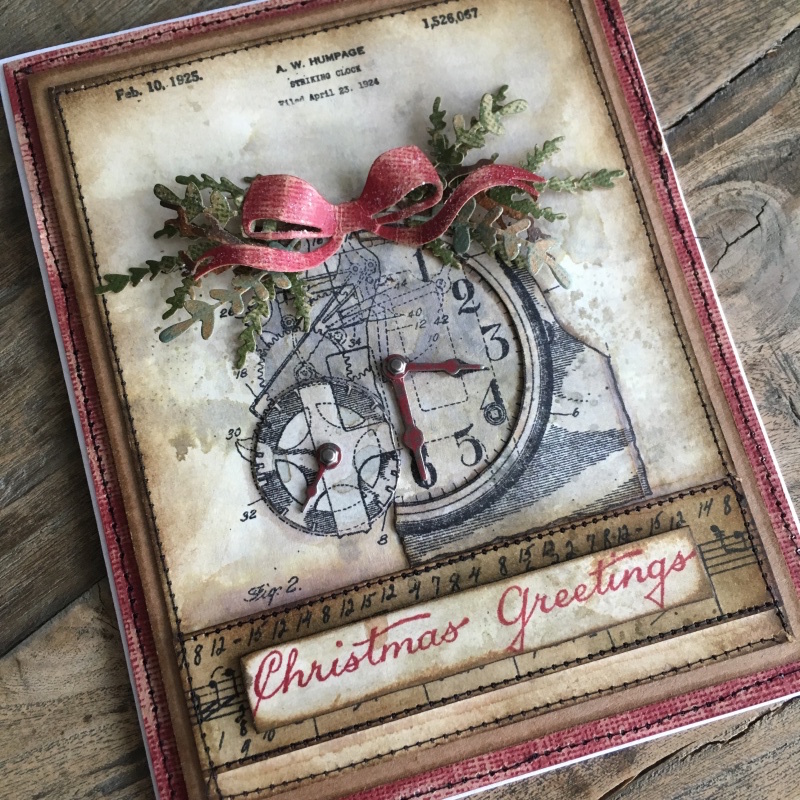
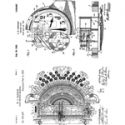
    I reached for the inventor stamps again, this time going back to the beginning and using Inventor 1 set. I saw a clock adorned with fresh foliage at a garden center a few weeks ago and immediately the inventor clock came to mind.

    iGirlZoe: Tim Holtz, stampers anonymous, inventor, stamps, inventor 1, idea-ology, clock hands, stamptember, sizzix, funky festive, festive greens, glitter duster, holidays, christmas card
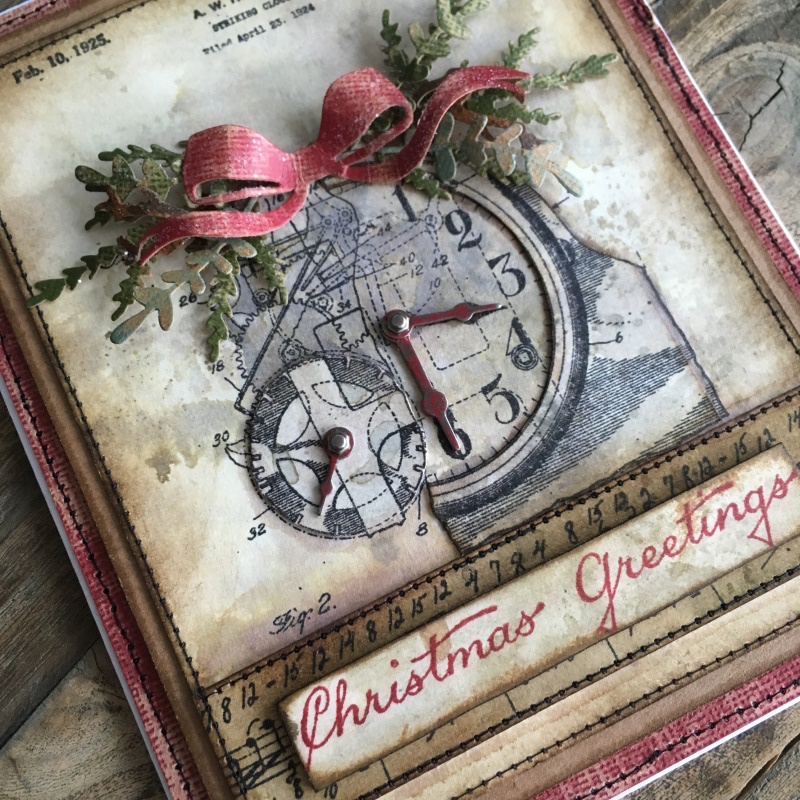
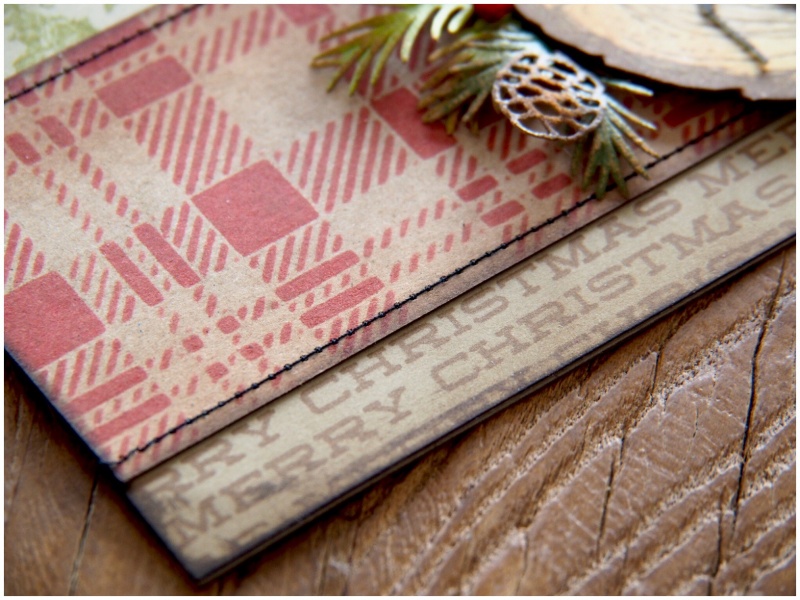
    Using the travel stamp plaform, ink and stamp the clock only. Slide the heavystock down the stamp platform and ink and stamp the header text onto the top of the heavystock! This is why I LOVE the stamp platform. I stamped a music strip and Christmas greeting onto heavystock with stamps from the Tim Holtz Stamptember 2018 stamp set. Stamping a second clock and fussy cutting a portion to stick over the original stamped image to give a little dimension.

    iGirlZoe: Tim Holtz, stampers anonymous, inventor, stamps, inventor 1, idea-ology, clock hands, stamptember, sizzix, funky festive, festive greens, glitter duster, holidays, christmas card
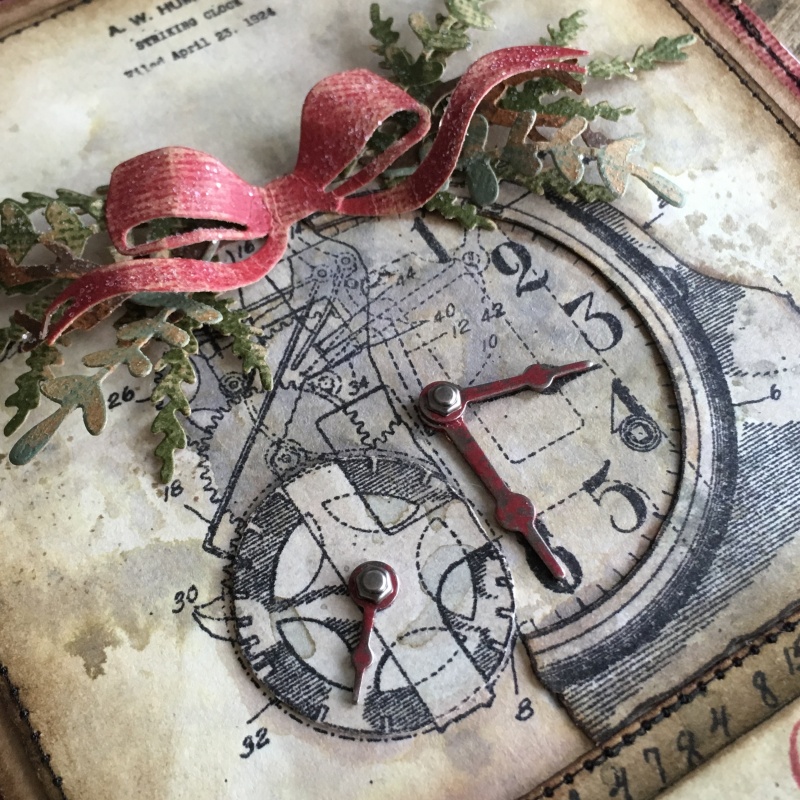
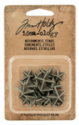
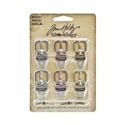
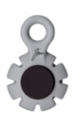
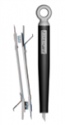
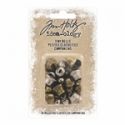
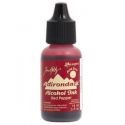
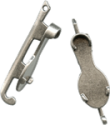
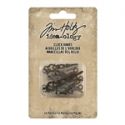
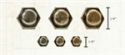
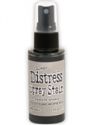
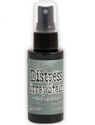
    Paint idea-ology clock hands with candied apple distress paint, rubbing some of the paint off to create a weathered look. Attach to the clock with idea-ology hex fasteners.

    iGirlZoe: Tim Holtz, stampers anonymous, inventor, stamps, inventor 1, idea-ology, clock hands, stamptember, sizzix, funky festive, festive greens, glitter duster, holidays, christmas card
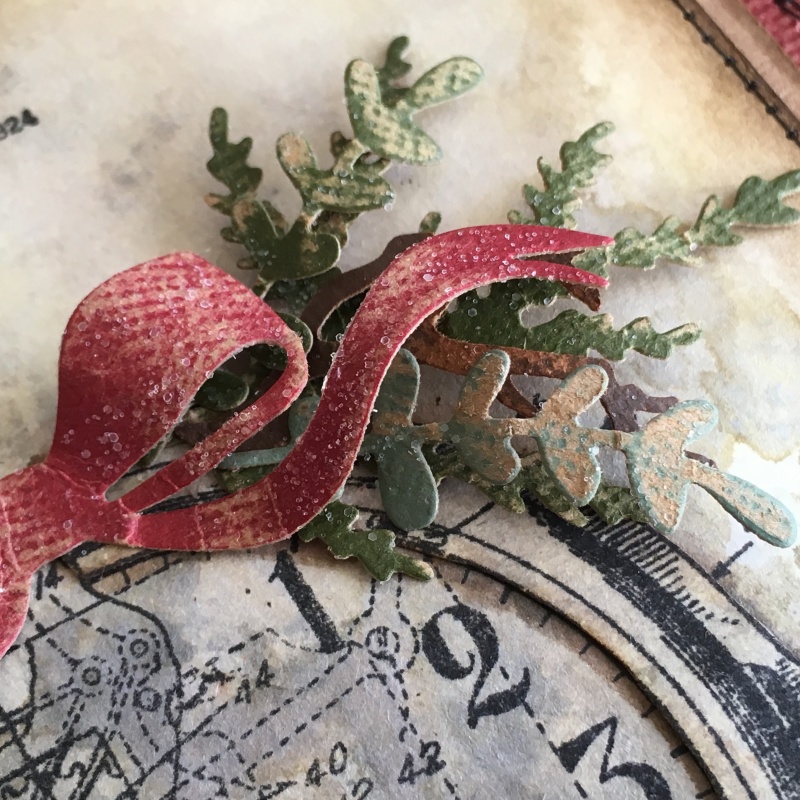
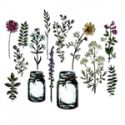
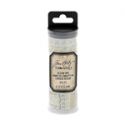
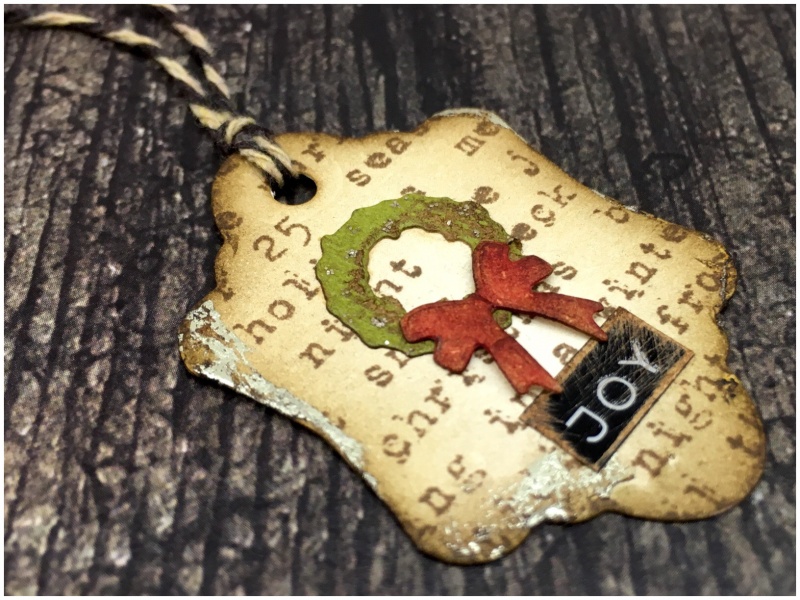
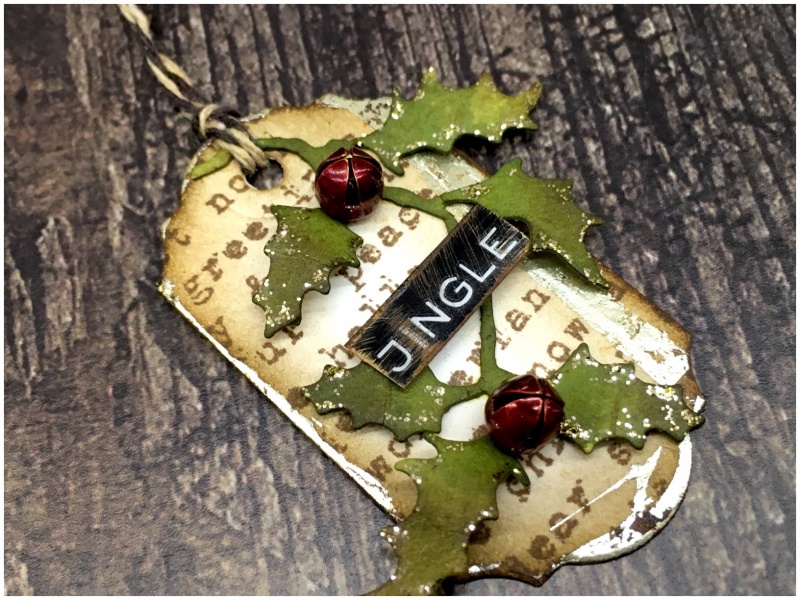
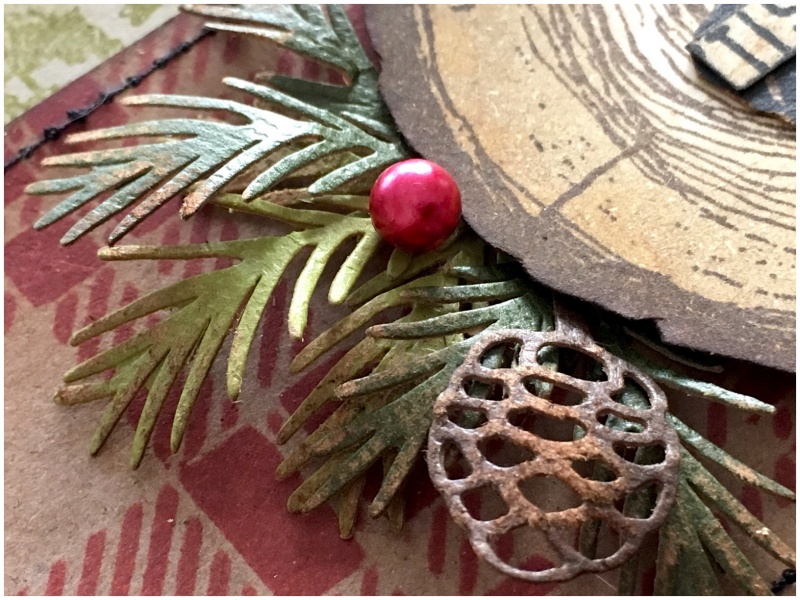
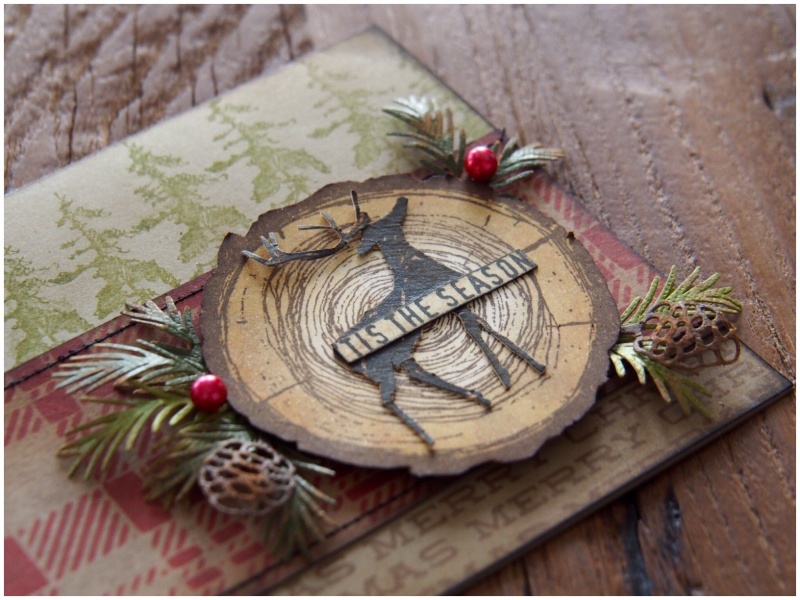
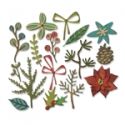
    The foliage is cut from the funky festive thinlits die set from classic kraft stock using the sidekick. The bow I used is from last years festive greens thinlits die set. I love this bow! It was all given the glitter duster treatment. I LOVE this new tool because it gives you such a fine layer of glitter. Check out Tim Holtz blog post to see it in action.

    iGirlZoe: Tim Holtz, stampers anonymous, inventor, stamps, inventor 1, idea-ology, clock hands, stamptember, sizzix, funky festive, festive greens, glitter duster, holidays, christmas card
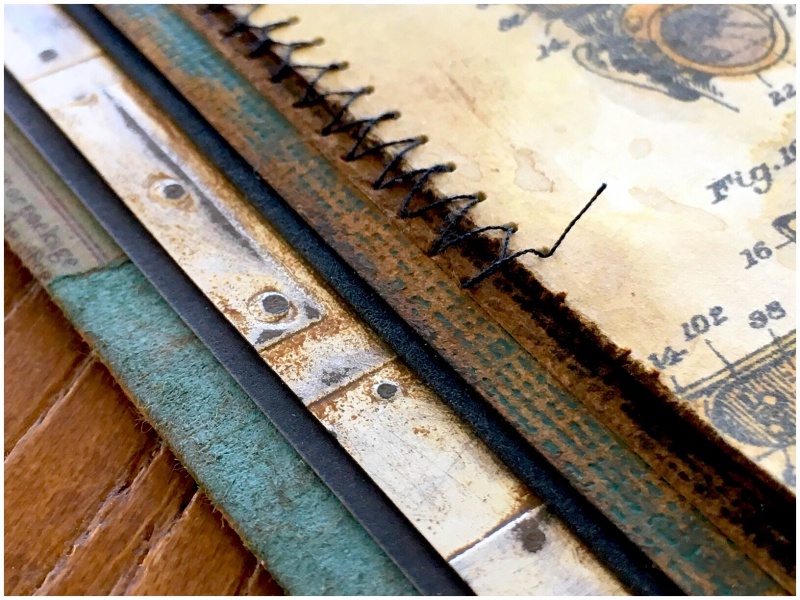
    I stitched the edges with my sewing machine. I was especially pleased with how straight my stitching was on this card. It’s blind luck, because 2 cards later the stitching was wonky and off the edge… LOL I try!

    iGirlZoe: Tim Holtz, stampers anonymous, inventor, stamps, inventor 1, idea-ology, clock hands, stamptember, sizzix, funky festive, festive greens, glitter duster, holidays, christmas card
    Thanks for stopping by.

    Zoe x


  2. Inventor 2

    29th June, 2018 by iGirlZoe

    Hello friends. Between summer house guests, my birthday and the continued gorgeous weather we have been having in Copenhagen, I have been away from my craft desk for a couple of weeks. The arrival of the much anticipated 3D texture fades had me RUNNING back to my desk…

    iGirlZoe: Tim Holtz Inventor 2
    The foundry 3D texture fades folder and inventor 2 stamp set were a match made in heaven.

    iGirlZoe: Tim Holtz Inventor 2
    The background is distress mixed media heavystock pulled through frayed burlap distress ink and vintage photo and hickory smoke distress oxides.

    iGirlZoe: Tim Holtz Inventor 2
    Using the travel stamp platform I stamped a stamp from the inventor 2 stamp set (CMS341) and coloured using vintage photo distress oxide and a water brush.

    iGirlZoe: Tim Holtz Inventor 2
    The background (bottom to top) is layererd kraft cardstock with remnants design tape and evergreen bough distress oxide, black classic kraft stock, metallic kraft stock embossed with the foundry 3D texture fades folder with distress crayons rubbed over the top, classic kraft stock and the stamped heavystock on top stitched with my sewing machine.

    iGirlZoe: Tim Holtz Inventor 2
    I finished it by adding alphanumeric thin thinlits dies cut from metallic kraft stock and sanded with a sanding grip.

    Thanks for stopping by and I hope you have a great weekend.
    Zoe


  3. Tim Holtz Ticket Booth

    26th May, 2018 by iGirlZoe

    Hello friends. I hope you’re enjoying your weekend, (a nice long one for many of you), and finding some time to create. I’ve got a SATURDAY SHOWCASE over at Frilly and Funky, showcasing the Tim Holtz Ticket Booth Stamps and accompanying Framelits dies.

    iGirlZoe: Tim Holtz Ticket Booth
    iGirlZoe: Tim Holtz Ticket Booth
    iGirlZoe: Tim Holtz Ticket Booth
    If you would like to see more, pop over to Frilly & Funkie.

    Have a great weekend.
    Zoe


  4. Elegant Jewels

    18th April, 2018 by iGirlZoe

    It’s Wednesday and time for the funkie side of the design team to share our projects for the current challenge over at the Frilly and Funkie Challenge Blog!

    The current challenge is hosted by team member Cec, who has chosen the theme ELEGANT JEWELS …Cec says, “Let’s make a vintage or shabby chic project in jewel tone colours such as deep purple, emerald green, jade green, burgundy, bright turquoise to name a few AND to make your project extra special, add some sort of jewel or gem, which can be anything from a dollar store find to a piece of broken jewelry.”

    iGirlZoe: Elegant JewelsConfession, I had to message one of my design team mates to ask for an explanation of jewels tones, (in distress colour terms of course)! Horrified at the total lack of muted brown tones I went about trying to figure out ways to add brown! Ha Ha (true story)!

    iGirlZoe: Elegant Jewels
    I used mermaid lagoon distress oxide to simulate lagoon blue tourmaline gemstones. I added oxide to my glass media mat, spritzed with water and dragged a distress mixed media heavystock tag through, drying with a heat tool. I then went back and tapped parts of the tag into the beads of oxide on the mat. I blended mermaid lagoon distress oxide through a stencil with a blending tool and added walnut stain to the edges…

    There was a helpful suggestion to use walnut stain (at the edges). I decided “edge” is a relative term and could mostly cover all those hideous brights with brown! It will be no surprise to you that I wear brown tinted sunglasses, similar to rose tinted, I see the world through a beautiful brown lens. 😉

    iGirlZoe: Elegant Jewels
    I am so obsessed with the new idea-ology milk caps by Tim Holtz that I had to talk myself into covering it up with an idea-ology quote token. I added picket fence distress crayon to the quote token and a rhinestone gem to the hole, with stonewash alcohol ink added. A little rusty hinge distress paint was added to the idea-ology adornment stars, (still one of my favourites) and everything glued into place with distress collage medium.

    iGirlZoe: Elegant Jewels
    I used my sidekick to cut some foliage from classic kraft stock and sanded with a sanding grip. I added rhinestone gems to compliment the challenge theme. These were mounted over the outline of a stitched circle, coloured with rusty hinge distress ink and over a strip of design tape. I want to add that I had the stitched circle leftover from another project and wouldn’t have added the foliage if it wasn’t so easy to do so with the sidekick. I so often add die cuts where I wouldn’t if I had to get my full size die cutter out.

    iGirlZoe: Elegant Jewels
    I added a paper doll, coloured with distress markers.

    Thanks for stopping by. I hope you will find time to join in the challenge and pop over to Frilly and Funkie challenge blog to see the rest of the DT’s projects. All the products I used are available from The Funkie Junkie Boutique.

    Zoe x


  5. Tim Holtz Flower Jar

    7th April, 2018 by iGirlZoe

    Hello friends. I hope you’re enjoying your weekend and finding some spring sunshine, as well as some time to create. I’ve got a SATURDAY SHOWCASE over at Frilly and Funky, showcasing the Tim Holtz flower jar stamps and matching framelits dies.

    iGirlZoe: Saturday Showcase Tim Holtz Flower Jar
    If you would like to see the step by step in full, pop over to Frilly & Funkie.

    Have a great weekend.
    Zoe


  6. Bloomin’ Marvellous

    4th April, 2018 by iGirlZoe

    It’s Wednesday and time for the funkie side of the design team to share our projects for the current challenge over at the Frilly and Funkie Challenge Blog!

    I am hosting the current challenge and have chosen the theme BLOOMIN’ MARVELLOUS, “As spring pokes it’s head through the frozen ground, let’s celebrate the season and create a vintage or shabby chic project with flowers as the focus and in vintage muted pastel tones, (no brights).”

    iGirlZoe: Bloomin MarvellousI love it when Stampers Anonymous and Sizzix get together to create framelits die to match stamps for the Tim Holtz line! When I set the theme for this challenge, I had the “Flower Jar” sets in mind!

    iGirlZoe: Bloomin Marvellous
    I also absolutely love Tim Holtz’s design tape… well in truth, I absolutely love to collect it, but I rarely ever use it because it’s SO nice! But I finally feel ready to use a teeny weeny bit and created a background mount using scrap cardstock with design tape around the edges.

    iGirlZoe: Bloomin Marvellous
    I stitched over the design tape and created a foreground using distress oxides and a stamped image from the etcetera stamp set (CMS302). To create the scratches I used a stamp from an older set, slight alterations (CMS060), stamped in frayed burlap distress ink.

    iGirlZoe: Bloomin Marvellous
    I distressed the foreground edges with a paper distresser tool, blended in walnut stain distress ink, stitched and mounted onto the design tape edged background.

    iGirlZoe: Bloomin Marvellous
    The flowers were created using the flower jar stamp set (CMS297) and framelits flower jar die set. I used distress markers, a waterbrush and my trusty sidekick. I will be back on Saturday with a “Saturday Showcase” for Frilly & Funkie, showcasing the paired flower jar stamps and framelits, along with a step by step for this card.

    I hope you will find time to join in the challenge and pop over to Frilly and Funkie challenge blog to see the rest of the DT’s projects. All the products I used are available from The Funkie Junkie Boutique.

    Thanks for stopping by.
    Zoe


  7. Holiday 2017

    11th December, 2017 by iGirlZoe

    Happy Holidays friends! Whether you celebrate Christmas or just enjoy the magic of the festive season, I hope that you have found some inspiration from Tim Holtz’s holiday inspiration series. Check out all SIX incredible weeks of festive follies over from week 1, week 2, week 3, week 4, week 5 and week 6.

    iGirlZoe: Holiday 2017
    Here’s the recap of my holiday makes…

    iGirlZoe: Fa La La La
    Fa La La La

    iGirlZoe: Joy to the World
    Joy to the World

    iGirlZoe: Tim Holtz Inspired December Daily
    Tim Holtz Inspired December Daily

    iGirlZoe: Tis the Season
    Tis the Season

    iGirlZoe: Oh Starry Night
    Oh Starry Night

    iGirlZoe: O Christmas Tree
    O Christmas Tree

    iGirlZoe: Holiday Gift Card Holder
    Holiday Gift Card Holder

    iGirlZoe: Tidings of Comfort and Joy
    Tidings of Comfort and Joy

    iGirlZoe: It's A Wrap
    It’s a Wrap

    iGirlZoe: It's A Wrap
    Another big thank you to Tim Holtz, Mario Rossi and Paula Cheney. And a big thank you for the lovely comments you have left over the past few weeks, here and on social media. Merry Christmas!

    Zoe


  8. It’s a Wrap!

    8th December, 2017 by iGirlZoe

    I’m bringing you my final piece for the Tim Holtz holiday inspiration series. I hope you’ve been following along with Tim on instagram and facebook throughout November and December. If you’ve missed anything, you can catch up with all the inspiration on Tim’s blog from week 1, week 2, week 3, week 4, week 5 and week 6!

    iGirlZoe: It's A Wrap
    As there are only 17 sleeps until Christmas, (yes, I’m counting), this is a nice quick and simple way to give your gifts a little personal touch with a gift adornment!

    Using the Sizzix gift tag thinlits die and sidekick, as well as the Stampers Anonymous holiday and stripes stamp set to create the background. I added foil and vintage photo distress ink to the edges and vintage twine to the top. Then decorated…

    iGirlZoe: It's A Wrap
    ..die cut from the festive berries thinlits set, christmas paper doll, metallic holiday sticker and mercury glass stickles.

    iGirlZoe: It's A Wrap
    ..die cut from the christmastime village thinlits set and metallic holiday sticker.

    iGirlZoe: It's A Wrap
    ..die cut numbers that came with the Sizzix sidekick (LOVE THESE), christmas remnant rubs and stickles mercury glass.

    iGirlZoe: It's A Wrap
    ..die cut from mini festive greens thinlits set edged with mercury glass stickles, idea-ology bells covered with red pepper alcohol ink and metallic holiday sticker.

    iGirlZoe: It's A Wrap
    …Okay, I literally couldn’t stop myself from making another gift card holder, decorated in a similar way as the gift adornments and adding holly form the mini festive greens thinlits set and christmas ephemera.

    Thanks so much to Tim Holtz, Mario Rossi and Paula Cheney for inviting me to be a part of this years seasonal team and for all of their hard work, guidance and support. Thanks to all of you for your kind words of encouragement. I will be back on Monday with a recap of all my holiday inspiration series makes. Hope you have a great weekend.

    Cheers
    Zoe


  9. ‘Tis The Season

    20th November, 2017 by iGirlZoe

    Hello again. I’m back with a card I made for the Tim Holtz holiday inspiration series. Throughout November and December Tim will be sharing projects by some of his crafty friends, to provide some inspiration to get you creative during the holiday season. Follow Tim on facebook and instagram and his blog for the recap each Saturday.

    iGirlZoe: Tis the Season
    I wanted to make a card that I could recreate to send out this holiday season. It needed to be quick, easy and relatively light on consumables to make it affordable to send out lots. For me, that’s when stamps and dies come into their own.

    iGirlZoe: Tis the Season
    I began by stamping directly onto an A6 kraft card with the tree stamp from the Stampers Anonymous great outdoors set by Tim Holtz. Stamping in peeled paint distress ink, varying the height to give a more natural tree line.

    iGirlZoe: Tis the Season
    I cut a strip of kraft cardstock to fit the width of the card. Blending candied apple distress ink through the Stampers Anonymous plaid stencil by Tim Hotlz, (one of my favourites from this season). See how here. Using the stamp platform, stamp the merry christmas background stamp along the bottom of the card with vintage photo distress archival ink.

    iGirlZoe: Tis the Season
    Using the new trusty sidekick, die cut the festive greens from classic kraft stock, sand with a sanding grip, blend in vintage photo distress ink and adhere with distress collage medium. Cover idea-ology baubles with red pepper alcohol ink and adhere with collage medium.

    iGirlZoe: Tis the Season
    Stamp the wood slice, stag and “tis the season” stamps onto distress mixed media heavystock, fussy cut and blend in vintage photo distress ink. Mound the wood slice over the festive greens with 3D foam.

    iGirlZoe: Tis the Season
    Thanks for stopping by, don’t forget to catch up with all the projects from week 3 for more holiday inspiration. I’ll be back later this week with some pages from the inside of my Tim Holtz inspired December Daily Album.

    Have a great week!
    Cheers
    Zoe x


  10. Sidekick Sunday Step by Step

    12th November, 2017 by iGirlZoe

    Hello friends! As some of you will know, I’ve been taking a little break from my regular Design Team position with Frilly & Funkie, until the new year. But today I am popping back to bring you a special SIDEKICK SUNDAY STEP BY STEP with Christmas gift tags using the new Sizzix Sidekick by Tim Holtz.

    iGirlZoe: Sidekick Sunday

    If you would like to see the step by step in full, pop over to Frilly and Funkie.

    Have a great week ahead.
    Zoe x