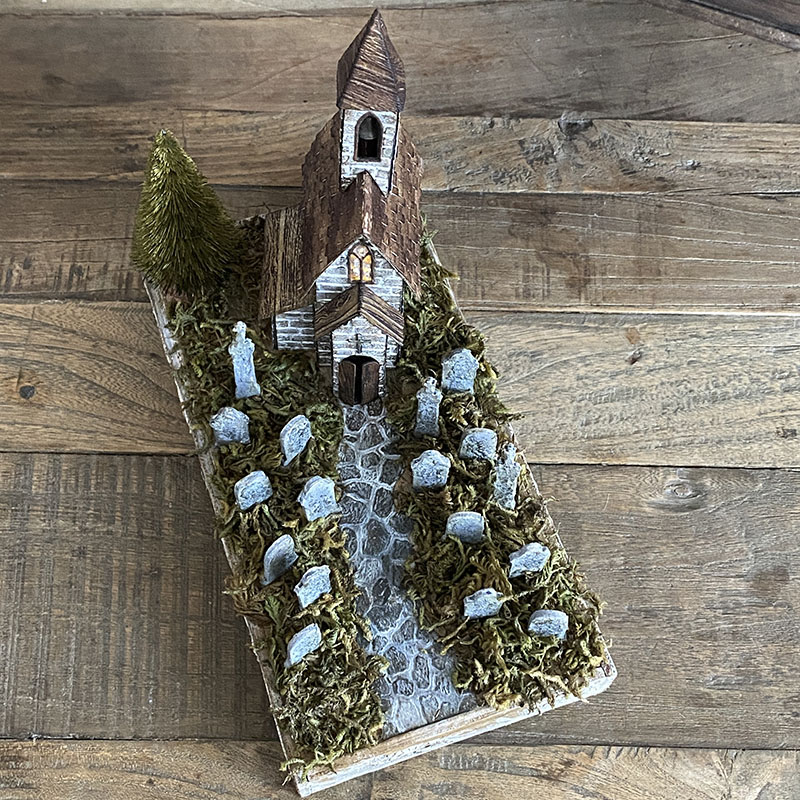
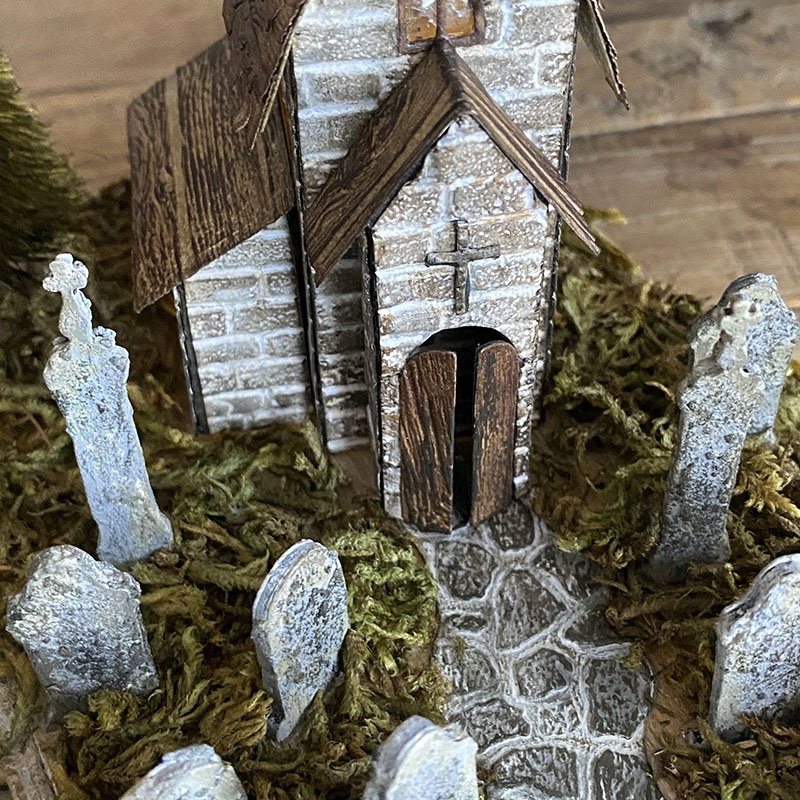
Hello friends, hope you’re doing well. Today I’m sharing a “how to” for the gravestones I made for a recent village make. You can see my make on Tim’s instagram video, along with a storage idea for the village collection dies. If you missed the LIVE launch you can watch the replay on Tim’s blog and see all the amazing village makes, including one by Tim which will blow your socks off!
There’s a funny story to these gravestones… I was chatting to Tim and had a maker deadline, so continued to glue together layers and layers AND LAYERS of cardstock to make gravestones as we chatted. Tim watched me for a bit and then asked if I had tried using foam instead of 10 layers of cardstock! I think he laughed as he said “What are you doing and why are you doing that?!” It literally saved ME DAYS! So thank you Tim for this game changing tip and the perfect timing.
I will be sharing a “how to” for my village build in a later post but for today, it’s all about the gravestones. Let’s get into the how…
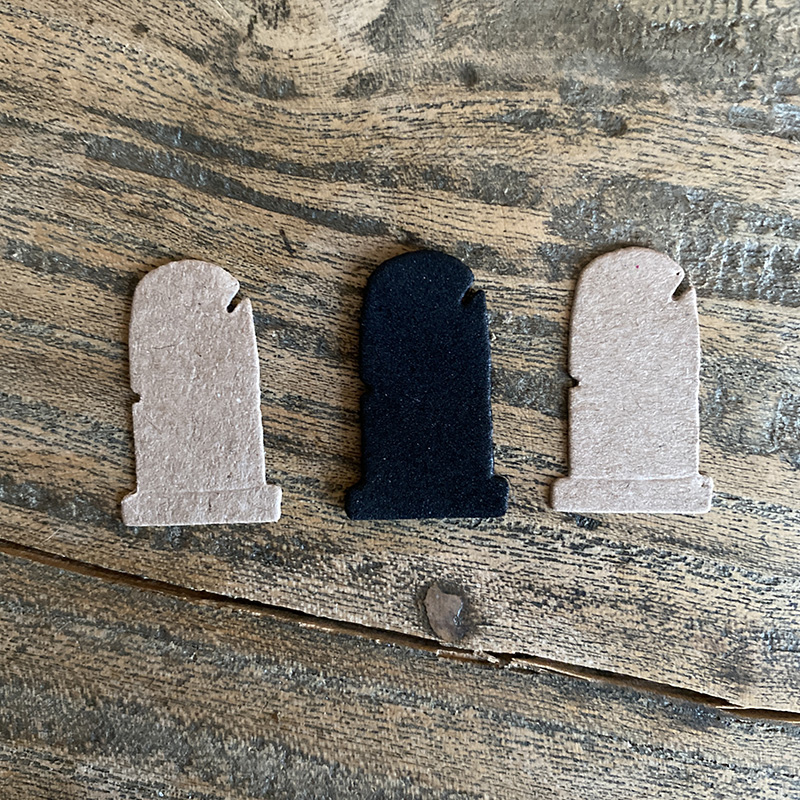
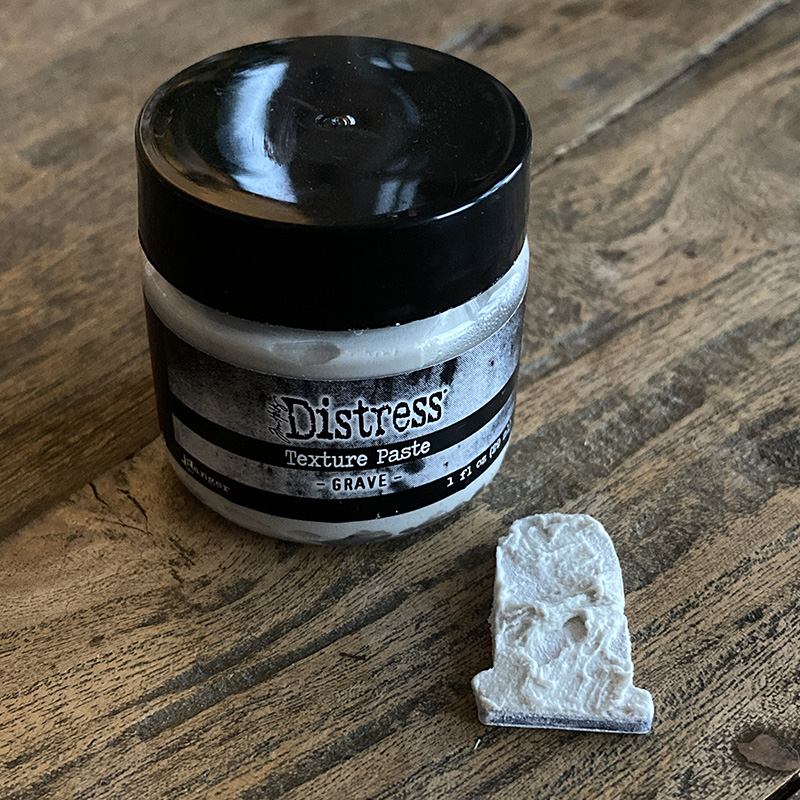
Using the 2021 Halloween Vault Series dies, cut 2 gravestones from distress kraft heavystock and 1 from fun foam. I used black because that’s what I had but you can use any color or any thickness and add a few more pieces of foam if you want thicker gravestones. Really make it your own.
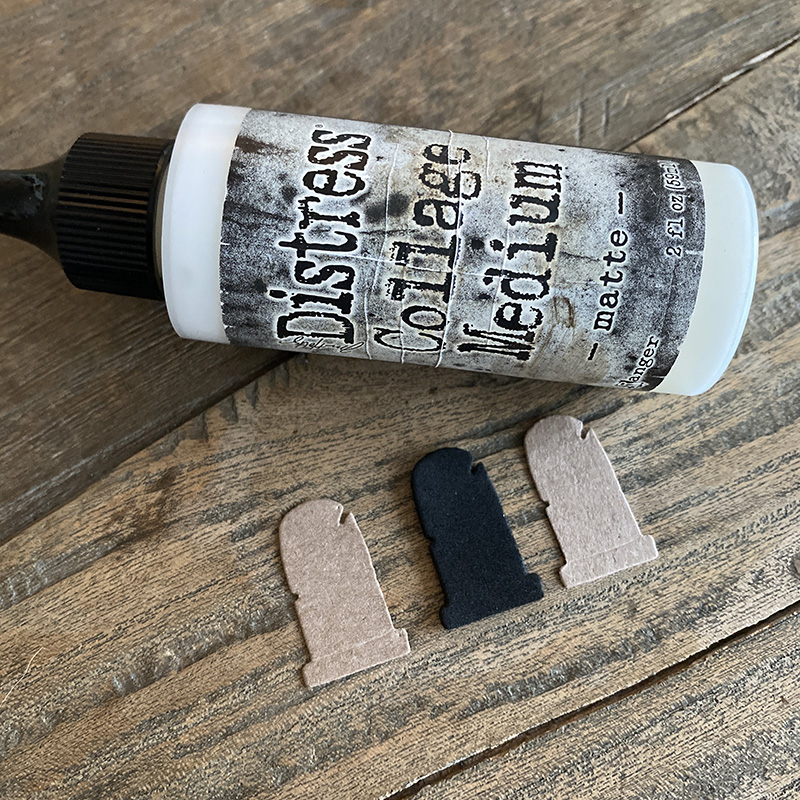
I glued the layers together with distress collage medium, with the foam in the middle. I did try adding double sided adhesive tape to the foam and then die cutting it but the foam became compacted. You could use adhesive tape on the kraft stock but I found that wet glue works better with all the gesso, paint and paste you’ll add.
Another great tip that Tim shared with me is to give the foam a quick blast with your heat tool after you’ve die cut it. It reinflates the foam a little after being flattened during die cutting. Seriously! Craft friends are the best!

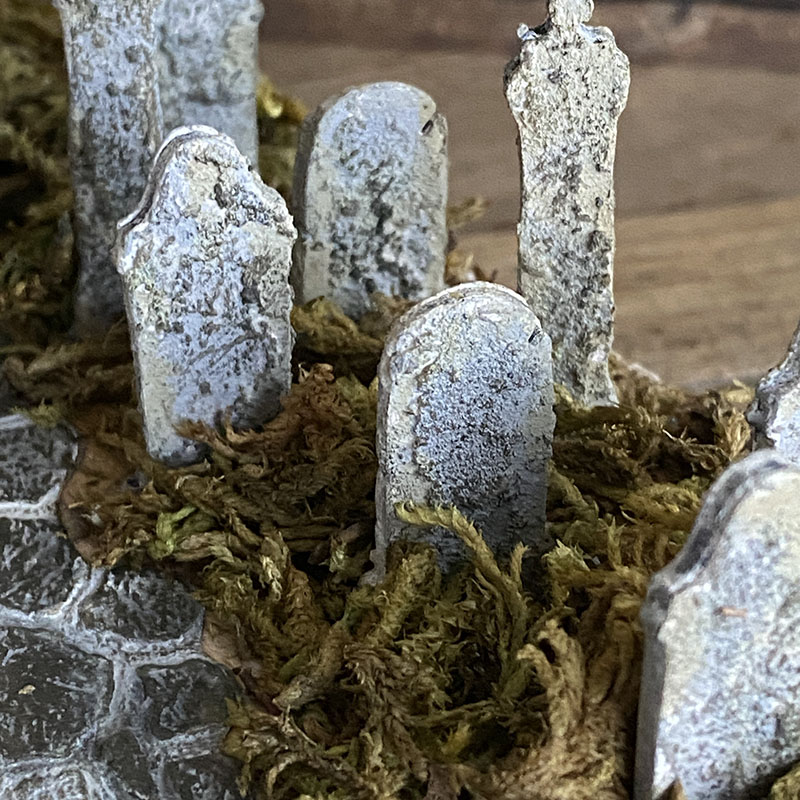
Next cover the the entire gravestone with white gesso and set aside to dry.
Apply distress grave texture paste with your finger and set aside to dry.
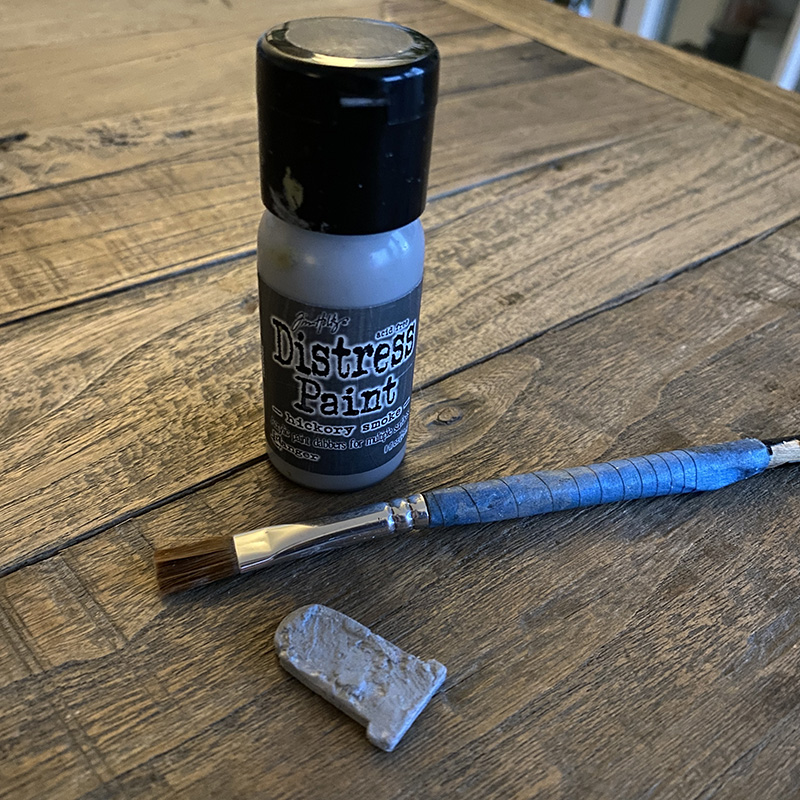
Paint on a layer of hickory smoke distress paint and set aside to dry.
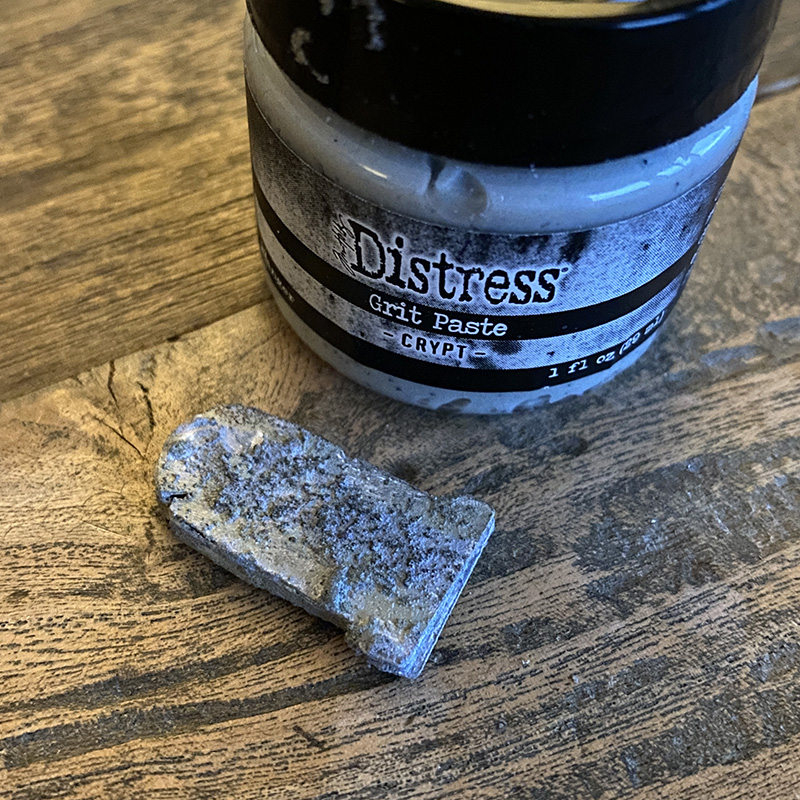
Finally, apply distress crypt texture paste (crypt-paste) to the gravestone with your finger and set aside to dry.
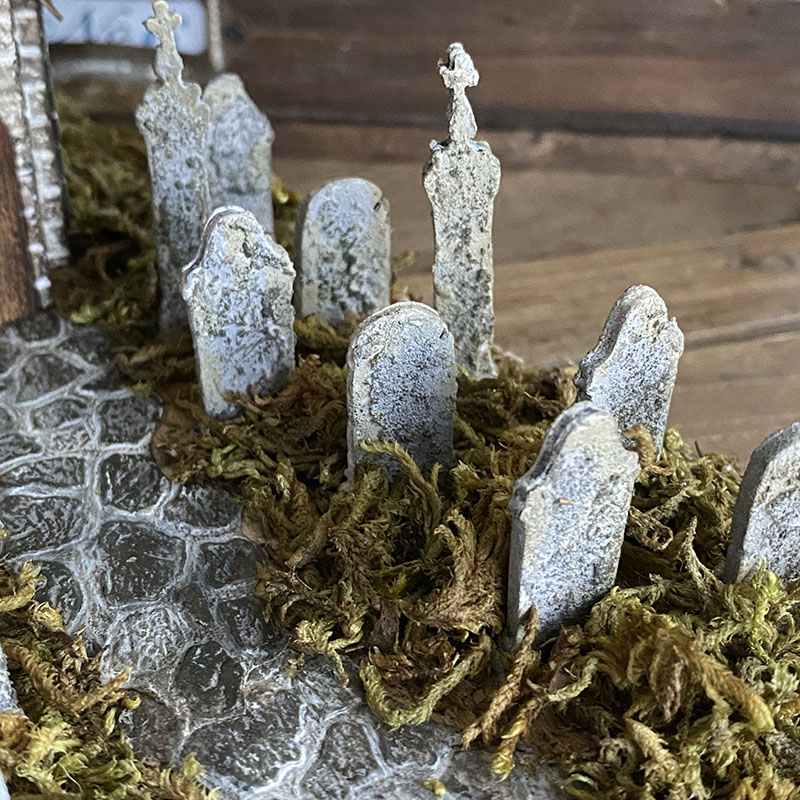
To attach the gravestones to my upturned idea-ology vignette tray, I ran a line of hot glue along the bottom of the gravestone and pressed down into place. As the moss covers the base of all of the gravestones, you won’t see the hot glue and don’t need to be too tidy with it. If you don’t want to use moss, you could add texture paste to the base of the tombstone and paint with hickory smoke paint to hide the hot glue.
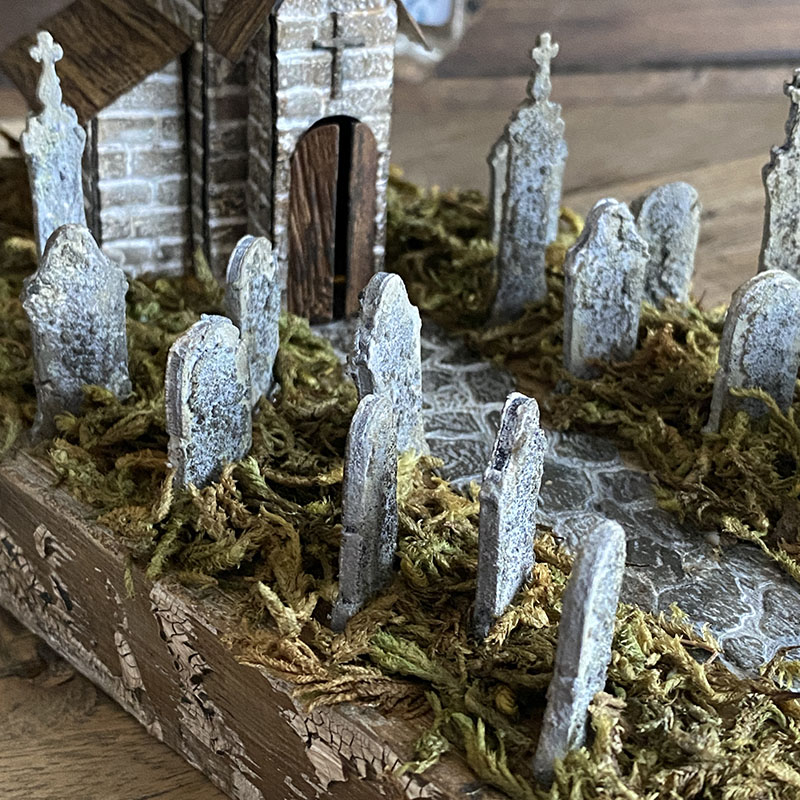
Tip: I placed all of my gravestones using blue-tack/poster putty and then lifted the gravestone one at a time, removed the putty and put back into place with the hot glue.
Thanks for stopping by. Don’t forget to set your alarms and plan your snacks for tomorrow’s new distress color launch! I’m so excited. See you there.
Zoe
…
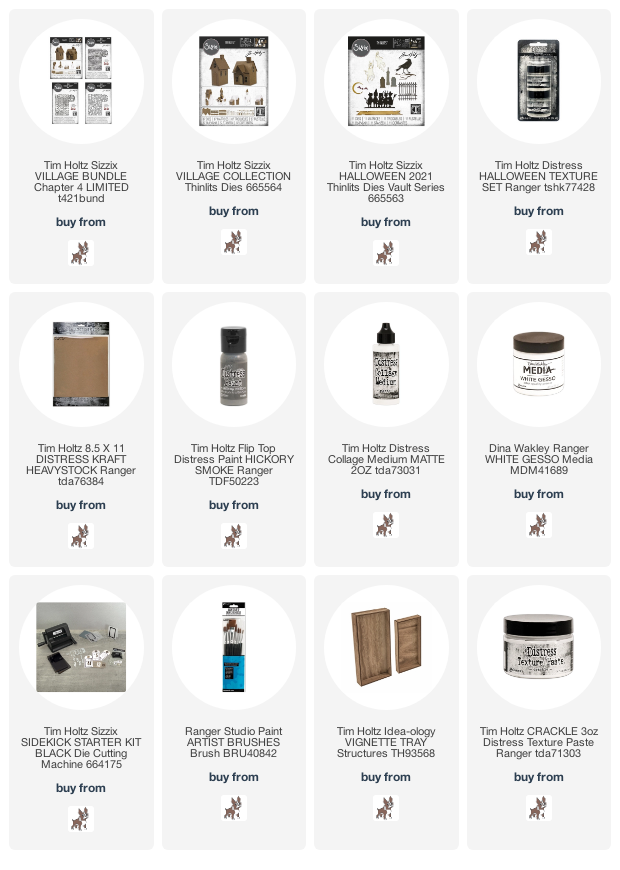
affiliate links used at no cost to you


Thanks Zoe for this tutorial & tips!
Use of foam is a game changer ✅
Unfortunately most of my orders for Halloween haven’t made it ‘Downunder’ (New Zealand)
But I’m storing the fab ideas!
Thank you Zoe I love these gravestones
Thanks for the great tips…ready for the new color announcement…and thanks for the Organization Layouts for the Village Collection Thinlits…my are done and ready for construction to begin…just have to remember the hard hat…LOL.
Great job, Zoe. Love your technique and Tim’s tips (which really can be applied to other things that you want to make 3D.
Thank you Zoe, your tutorials are so easy to follow
So cool! These little grave stones are amazing. I was wondering if fun foam would go through the dies! Fabulous idea! Thanks for sharing!
Absolutely great tutorial. Thanks so much!Who would ever think the fun foam eh! Great tip Tim and Zoe for sharing 🇨🇦
The foam IS a great idea!! I use it all the time for dimension but never thought of sandwiching it for thickness👍🏻 You and Tim are amazing ! Thanks!!
Thank you so much for sharing! They are wonderfull! Unfortunately I don’t have the texture set because I blinked and everything was sold-out in Montreal. But if I can get it for next year I will be making tons for my Halloween village.
I often work on things from one project start to finish and I am loving the helpful strategies to work on multiple or larger projects in stages. I’ve had some foam for a decade that I haven’ used and now I am happy to have a use for it to add dimensions for the tomb stones. Such a great project- thank you for sharing it.
Love this make zoey! Thank you so much for sharing your tips for making this awesome project!
Absolutely Amazing!!! I love your details!!! Thanks!!
Awesome article! Love the project!
Great job, nice work, the texture is a great touch
I want to be a maker too, where do I start?
Make and share, make and share. 🙂
Hahaha!! The foam tip story is cute!!
But, deadline or no- there are times when layering gives a cool effect!
I recently did a Guest Designer spots for SSSMondayChallenge in which I wanted those layers to help make the Frightful Things ghost look ‘blurry’ while they move up & down. And I actually didn’t get that idea until after I did the Gate Keeper set of gates; I wiggled the layers of gates with glossy Accents between the layers to make the gate look old, craggily & wet.
However, it didn’t even occur to me when I passed over getting that die because I was thinking of layering those “too tiny stones”! I’m headed back to the store, now. *wink*
Your cemetery AND the 1693 Gravestone really ROCK!!!!!!
These gravestones really rock. I can seriously hear Tim saying, “What are you doing?” LOL. The ten pieces of cardstock would have worked but such a lot of labor. All your makes are fabulous. Love all the ideas I’ve been getting from Tim’s lives and the makers blogs. I’ve even signed up for Instagram. W…H…A…A…T…T? My daughters are shocked!
That graveyard is so awesome and the church as well!! Thank you (and Tim 😉) for the great tips!!
[…] Die cut several more street lights, glue together and cut the center bar out and mount underneath the light die cut pictured on the right. There’s an easier way to add layers by using a piece of fun foam! Tim shared this game changing tip with me after I had made this but you can see the how to here. […]
[…] the letters off the tag. This is such a cool trick that Tim taught me and I use it all the time, see it here. I put the black letters through my new Big Shot Foldaway inside the quilted 3D embossing folder […]
I keep coming back to your fantastic make, Zoe!! Thanks for all your tips on the tombstones!