‘Tim Holtz Inspiration Series’ Category

  1. Holiday 2017

    11th December, 2017 by iGirlZoe

    Happy Holidays friends! Whether you celebrate Christmas or just enjoy the magic of the festive season, I hope that you have found some inspiration from Tim Holtz’s holiday inspiration series. Check out all SIX incredible weeks of festive follies over from week 1, week 2, week 3, week 4, week 5 and week 6.

    iGirlZoe: Holiday 2017
    Here’s the recap of my holiday makes…

    iGirlZoe: Fa La La La
    Fa La La La

    iGirlZoe: Joy to the World
    Joy to the World

    iGirlZoe: Tim Holtz Inspired December Daily
    Tim Holtz Inspired December Daily

    iGirlZoe: Tis the Season
    Tis the Season

    iGirlZoe: Oh Starry Night
    Oh Starry Night

    iGirlZoe: O Christmas Tree
    O Christmas Tree

    iGirlZoe: Holiday Gift Card Holder
    Holiday Gift Card Holder

    iGirlZoe: Tidings of Comfort and Joy
    Tidings of Comfort and Joy

    iGirlZoe: It's A Wrap
    It’s a Wrap

    iGirlZoe: It's A Wrap
    Another big thank you to Tim Holtz, Mario Rossi and Paula Cheney. And a big thank you for the lovely comments you have left over the past few weeks, here and on social media. Merry Christmas!

    Zoe


  2. It’s a Wrap!

    8th December, 2017 by iGirlZoe

    I’m bringing you my final piece for the Tim Holtz holiday inspiration series. I hope you’ve been following along with Tim on instagram and facebook throughout November and December. If you’ve missed anything, you can catch up with all the inspiration on Tim’s blog from week 1, week 2, week 3, week 4, week 5 and week 6!

    iGirlZoe: It's A Wrap
    As there are only 17 sleeps until Christmas, (yes, I’m counting), this is a nice quick and simple way to give your gifts a little personal touch with a gift adornment!

    Using the Sizzix gift tag thinlits die and sidekick, as well as the Stampers Anonymous holiday and stripes stamp set to create the background. I added foil and vintage photo distress ink to the edges and vintage twine to the top. Then decorated…

    iGirlZoe: It's A Wrap
    ..die cut from the festive berries thinlits set, christmas paper doll, metallic holiday sticker and mercury glass stickles.

    iGirlZoe: It's A Wrap
    ..die cut from the christmastime village thinlits set and metallic holiday sticker.

    iGirlZoe: It's A Wrap
    ..die cut numbers that came with the Sizzix sidekick (LOVE THESE), christmas remnant rubs and stickles mercury glass.

    iGirlZoe: It's A Wrap
    ..die cut from mini festive greens thinlits set edged with mercury glass stickles, idea-ology bells covered with red pepper alcohol ink and metallic holiday sticker.

    iGirlZoe: It's A Wrap
    …Okay, I literally couldn’t stop myself from making another gift card holder, decorated in a similar way as the gift adornments and adding holly form the mini festive greens thinlits set and christmas ephemera.

    Thanks so much to Tim Holtz, Mario Rossi and Paula Cheney for inviting me to be a part of this years seasonal team and for all of their hard work, guidance and support. Thanks to all of you for your kind words of encouragement. I will be back on Monday with a recap of all my holiday inspiration series makes. Hope you have a great weekend.

    Cheers
    Zoe


  3. Tidings of Comfort and Joy

    4th December, 2017 by iGirlZoe

    Hello friends. I’m back today with another gift card holder I made for the Tim Holtz holiday inspiration series. If you’ve been following Tim on instagram and facebook throughout November and December, you will have seen his holiday inspiration series. If you’ve missed anything, you can catch up with all the inspiration on Tim’s blog from week 1, week 2, week 3, week 4 and week 5.

    iGirlZoe: Tidings of Comfort and Joy
    Part of what I love about the festive season is there’s so many reasons to get creative. I love to use the seasonal products in my stash to make matching stationery. As my current obsession is with the gift card package die, I thought I would make another gift card holder to match a card I made for the holiday inspiration series and uses only 2 additional products, (idea-ology wood slices and the gift card package thinlits die).

    iGirlZoe: Tidings of Comfort and Joy
    Step 1: Die cut 2 pieces of kraft cardstock and the rest distress mixed media heavystock using the Tim Holtz Sizzix gift card package thinlits die. The bow and ribbon die cuts were sprayed with frayed burlap distress spray stain and the mini tag I didn’t end up using but put into my december daily stash.

    iGirlZoe: Tidings of Comfort and Joy
    Step 2: Fold the pocket and secure to a non stick craft mat with tape.
    Step 3: Secure the mini plaid stencil over the top and blend candied apple distress ink through the stencil.
    Step 4: Blend in vintage photo and walnut stain distress ink into the edges and stitch with a sewing machine.
    Step 5: Apply distress collage medium to the side tables, fold and glue into place.

    iGirlZoe: Tidings of Comfort and Joy
    Step 6: Follow steps 3 and 4 on the package topper, (the long kraft cardstock piece from step 1).
    Step 7: Adhere the package topper to the gift card insert with distress collage medium.
    Step 8: Place the gift card insert onto the Tim Holtz Tonic stamp platform and secure in place with magnets. Stamp the tree stamp from the Tim Holtz Stampers Anonymous great outdoors stamp set with peeled paint distress ink. Slide the insert to the right, keeping it butted up against the top and keep stamping.
    Step 9: Place the bow and ribbon die cuts onto the Tim Holtz Tonic stamp platform and adhere with a pin prick of distress collage medium. It will easily pull away afterwards and the magnets won’t get in the way. Stamp with the background stamp from Tim Holtz Stampers Anonymous sparkles and christmas stamp set.

    iGirlZoe: Tidings of Comfort and Joy
    Step 10: Stamp a sentiment over the trees. This will be hiding under the gift card for the recipient. You could add “congratulations” – “thank you” – “happy birthday” – “happy anniversary” for a non holiday gift card holder.

    iGirlZoe: Tidings of Comfort and Joy
    Step 11: Line up the ribbon with the bow and glue the ribbon onto the pocket with distress collage medium.

    iGirlZoe: Tidings of Comfort and Joy
    Step 12: To decorate the pocket, I stamped the wood slice from the great outdoors stamp set and used a 3/4 inch paper punch to punch the center and adhered to a wood slice with distress collage glue. Die cut greens from classic kraft stock with the Tim Holtz Sizzix festive greens thinlits set. Add idea-ology baubles dyed with red pepper alcohol ink.

    iGirlZoe: Tidings of Comfort and Joy
    Step 13: Bend up the tabs on the gift card insert very slightly.

    iGirlZoe: Tidings of Comfort and Joy
    Step 14: Slide your gift card in from the bottom.

    iGirlZoe: Tidings of Comfort and Joy
    Step 15: Push the insert into the pocket and you’re done.

    iGirlZoe: Tidings of Comfort and Joy
    Thanks for stopping by. I will be back with my final project for the holiday inspiration series on Friday. Hope you have a great week.

    Cheers
    Zoe x


  4. Holiday Gift Card Holder

    1st December, 2017 by iGirlZoe

    Hello friends. With December here, like many of you I am getting ready to celebrate Christmas and have been making cards and buying gifts and gift cards. I wanted to share this gift card holder I made for the Tim Holtz holiday inspiration series. Follow Tim on instagram and facebook to see inspiration throughout November and December. You can catch up with all the inspiration so far in week 1, week 2, week 3 and week 4.

    iGirlZoe: Holiday Gift Card Holder
    Giving a gift card can seem less personal than an actual gift, so why not make it personal by making a gift card holder. I created this one using the products and techniques from my oh starry night card, with the addition of the Sizzix gift card package thinlits die.

    iGirlZoe: Holiday Gift Card Holder
    I die cut the package base from metallic kraft stock and the bow and ribbon from distress mixed media heavystock. You can see how the background was created HERE.

    iGirlZoe: Holiday Gift Card Holder
    I added festive greens under the bow, like on the matching card. I adhered an idea-ology fluted star in the center of the bow which I aged with picket fence distress paint and mushroom alcohol ink.

    iGirlZoe: Holiday Gift Card Holder
    Again, I wanted to mirror the products and techniques from the card, so I chose one of the smaller Christmas paper dolls. This one just seemed to fit, I blended in some vintage photo distress ink to take away the white edges and adhered with distress collage medium.

    iGirlZoe: Holiday Gift Card Holder
    I added a sentiment from the Stampers Anonymous holiday postmarks stamp set and slid my gift card into place.

    iGirlZoe: Holiday Gift Card Holder
    You could tuck the gift card holder inside the card, but I feel like the gift card holder could do with it’s own box… I will definitely make some more of these, and not just for Christmas!

    Thanks for stopping by. I am excited to be doing December Daily this year for the first time using my handmade album. I’ll be sharing my pages on instagram. Hope you have a great weekend and I’ll back back here on Monday.

    Cheers
    Zoe x


  5. O’ Christmas Tree

    29th November, 2017 by iGirlZoe

    Hello again. I’m back with some more festive fun for the Tim Holtz holiday inspiration series. Follow Tim on instagram and facebook to see inspiration throughout November and December. You can catch up with all the inspiration so far in week 1, week 2, week 3 and week 4.

    iGirlZoe: O Christmas Tree
    Firstly I must apologise for the low quality photo. It was shot in low light because in Scandinavia, it’s pretty much low light until March 2018!

    Dear Santa, please could you bring some studio lights or relocate us to Arizona… 😉

    iGirlZoe: O Christmas Tree
    I wanted to play around with the idea-ology tissue wrap and create a book page style background. I used an older Stampers Anonymous background stamp set (CMS281) ‘stripes and holiday type’ to create the text. The frame is cut twice from heavystock with the Sizzix stitched rectangle thinlits die, which I stenciled with the mini plaid stencil and stitched.

    iGirlZoe: O Christmas Tree
    I covered distress mixed media heavystock with distress collage medium and immediately covered with plain tissue wrap. Once dry, I trimmed the edges and sprayed frayed burlap distress spray stain onto my non stick craft mat and dragged the heavystock through. I spritzed with water and dried with a heat tool. The glue, creased tissue wrap and distress stain created this cool worn/aged effect!

    iGirlZoe: O Christmas Tree
    I used my Tonic stamp platform by Tim Holtz to do all the stamping on this card with the Stampers Anonymous stamp set (CMS31&) ‘watercolor trees’ by Tim Holtz. You will see from the scrap paper that I had a few practice stamps first. As someone who likes straight lines, this stamp platform is a total game changer!!

    iGirlZoe: O Christmas Tree
    I added a bow die cut from the Sizzix fold-up bows thinlits set from heavystock and sprayed with fired brick distress spray stain. I edged the bow with walnut stain distress ink and adhered into place with distress collage medium.

    *SIDEKICK TIP: The small bow will just about fit on the sidekick platform from corner to corner. It does need a snip at each end with scissors to release the bow from the cardstock, but in a pinch, you could take the small bow with you on your travels with your sidekick.

    iGirlZoe: O Christmas Tree
    Thanks for taking the time to visit my blog and a special thanks to those of you who have left comments, I really appreciate it. I will be back on Friday, until then…

    Cheers
    Zoe x


  6. Oh Starry Night

    27th November, 2017 by iGirlZoe

    Hello! Is it just me, or is November flying by?! Today I’m sharing a card I made for the Tim Holtz holiday inspiration series. Follow Tim on instagram and facebook to see inspiration throughout November and December. You can catch up with all the inspiration so far in week 1, week 2, week 3 and week 4.

    iGirlZoe: Oh Starry Night
    Now to my card… I am ever so slightly in love with the new Stampers Anonymous starry stencil by Tim Holtz!

    iGirlZoe: Oh Starry Night
    I sanded a piece of idea-ology metallic kraft stock with a sanding grip. Placed the starry stencil over the top and spread texture paste through it. Removed the stencil, sprinkled embossing powder over the top and set aside to allow the texture paste to air dry, before melting the embossing powder with a heat tool.

    iGirlZoe: Oh Starry Night
    Using the stitched oval die, die cut distress mixed media heavystock. Stamped with the text stamp from stampers anonymous christmas nostalgia stamp set, (one of my all time favourite Tim Holtz seasonal stamps)! Using the stamp platform it was simple to line up the strip stamp to continue the pattern down the frame.

    iGirlZoe: Oh Starry Night
    I trimmed a christmas paper doll, postmark and holiday greeting, stamped from the stampers anonymous holiday postmarks stamp set and adhered it to the card with distress collage medium.

    **The christmas paper dolls are now sold out in most places but there are still some in stock HERE… but hurry!!**

    iGirlZoe: Oh Starry Night
    Using the sidekick I die cut festive greens from distress mixed media heavystock that had been sprayed with distress spray stain. The pinecones were die cut from classic kraft stock, sanded and blended with vintage photo distress ink.

    iGirlZoe: Oh Starry Night
    I painted fired brick distress paint onto one of the die cut pieces to simulate berries and give a pop of colour. I also added bells from the idea-ology tiny bells pack, they even jingle when you move the card, (SWOON)!!

    iGirlZoe: Oh Starry Night
    Thanks for stopping by. I hope you’re taking some time to craft during the festive season and I’ll be back very soon…

    Cheers
    Zoe x


  7. ‘Tis The Season

    20th November, 2017 by iGirlZoe

    Hello again. I’m back with a card I made for the Tim Holtz holiday inspiration series. Throughout November and December Tim will be sharing projects by some of his crafty friends, to provide some inspiration to get you creative during the holiday season. Follow Tim on facebook and instagram and his blog for the recap each Saturday.

    iGirlZoe: Tis the Season
    I wanted to make a card that I could recreate to send out this holiday season. It needed to be quick, easy and relatively light on consumables to make it affordable to send out lots. For me, that’s when stamps and dies come into their own.

    iGirlZoe: Tis the Season
    I began by stamping directly onto an A6 kraft card with the tree stamp from the Stampers Anonymous great outdoors set by Tim Holtz. Stamping in peeled paint distress ink, varying the height to give a more natural tree line.

    iGirlZoe: Tis the Season
    I cut a strip of kraft cardstock to fit the width of the card. Blending candied apple distress ink through the Stampers Anonymous plaid stencil by Tim Hotlz, (one of my favourites from this season). See how here. Using the stamp platform, stamp the merry christmas background stamp along the bottom of the card with vintage photo distress archival ink.

    iGirlZoe: Tis the Season
    Using the new trusty sidekick, die cut the festive greens from classic kraft stock, sand with a sanding grip, blend in vintage photo distress ink and adhere with distress collage medium. Cover idea-ology baubles with red pepper alcohol ink and adhere with collage medium.

    iGirlZoe: Tis the Season
    Stamp the wood slice, stag and “tis the season” stamps onto distress mixed media heavystock, fussy cut and blend in vintage photo distress ink. Mound the wood slice over the festive greens with 3D foam.

    iGirlZoe: Tis the Season
    Thanks for stopping by, don’t forget to catch up with all the projects from week 3 for more holiday inspiration. I’ll be back later this week with some pages from the inside of my Tim Holtz inspired December Daily Album.

    Have a great week!
    Cheers
    Zoe x


  8. Tim Holtz inspired December Daily

    18th November, 2017 by iGirlZoe

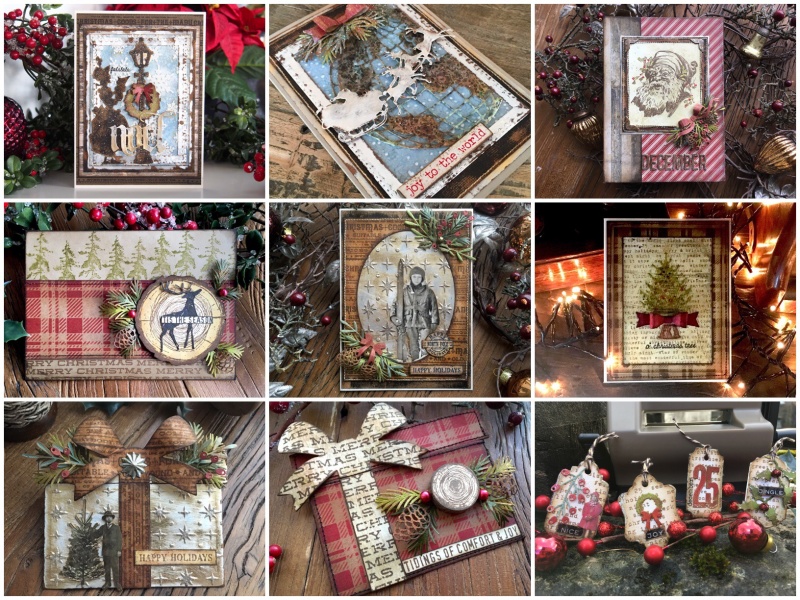
    Hello friends. I’m back with my third project for the Tim Holtz inspiration series. Throughout November and December Tim will be sharing projects by a group of talented crafters to provide some inspiration to get you creative during the holiday season. Follow Tim on facebook and instagram and his blog for the recap each Saturday.

    iGirlZoe: Tim Holtz Inspired December Daily
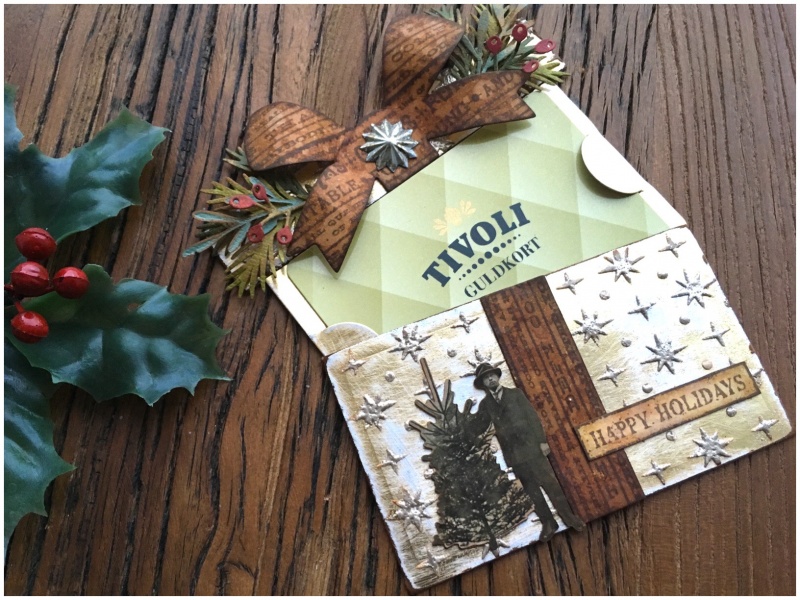
    Today I’m bringing you a handmade album created using the new Tim Holtz seasonal products, to fill with handmade pages ready for the start of December Daily on December 1st.

    iGirlZoe: Tim Holtz Inspired December Daily
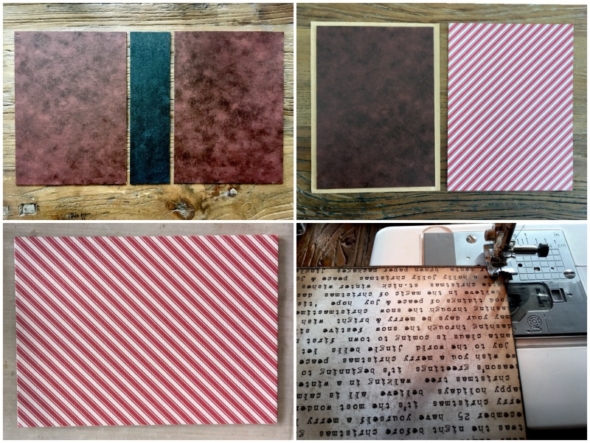
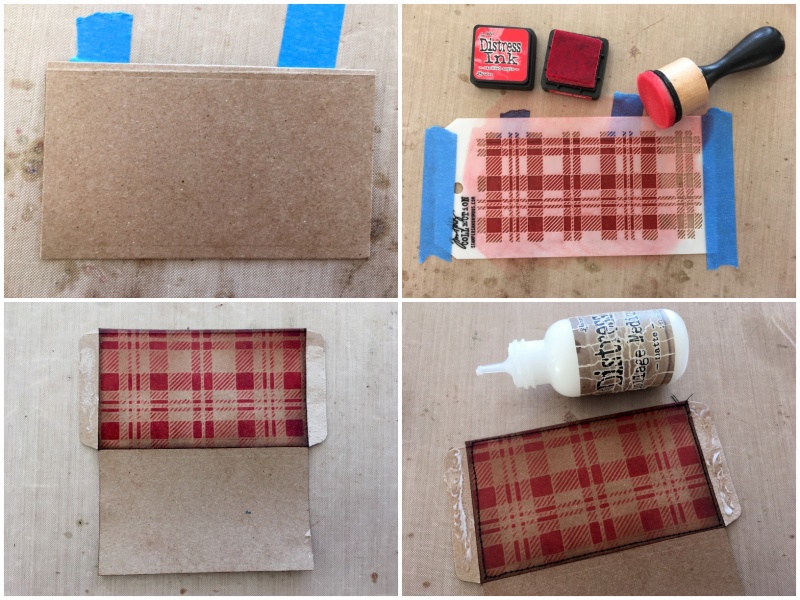
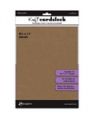
    Step 1: I cut three panels measuring 5.5 x 7.5 inches / 2 x 7.5 inches / 5.5 x 7.5 inches using card I recycled from idea-ology packaging.
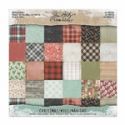
    Step 2: Adhere all 3 panels to the back of kraft stock from the Christmas kraft stock paper pad.
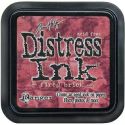
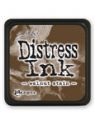
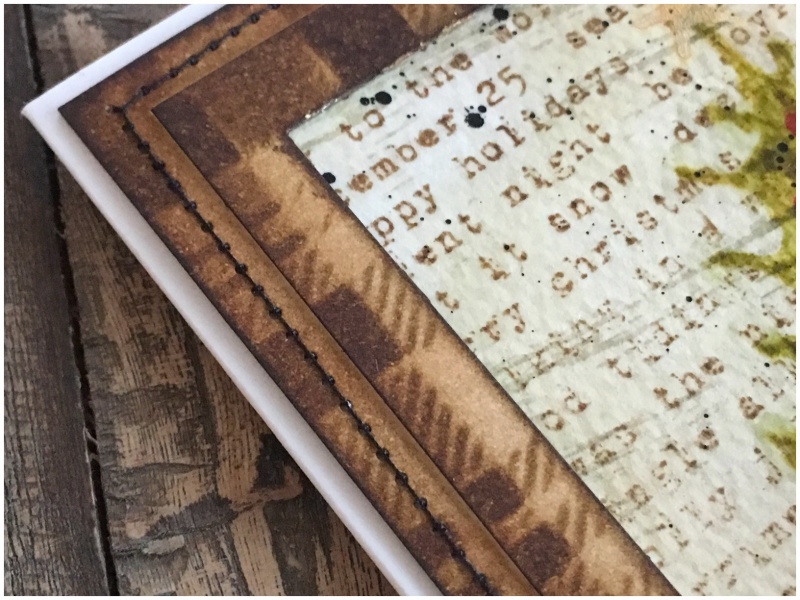
    Step 3: Using a sanding grip, lightly sand the edges of all 2 panels and blend in walnut stain distress ink.
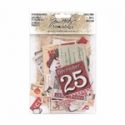
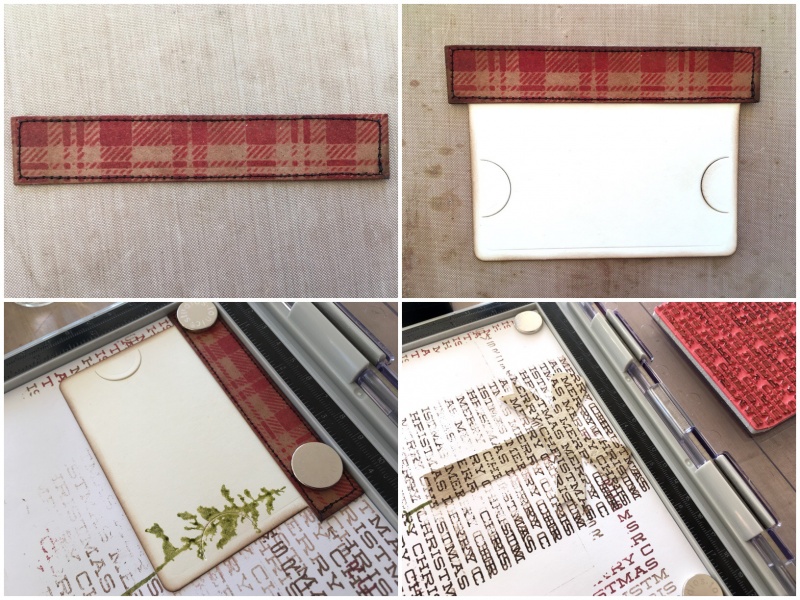
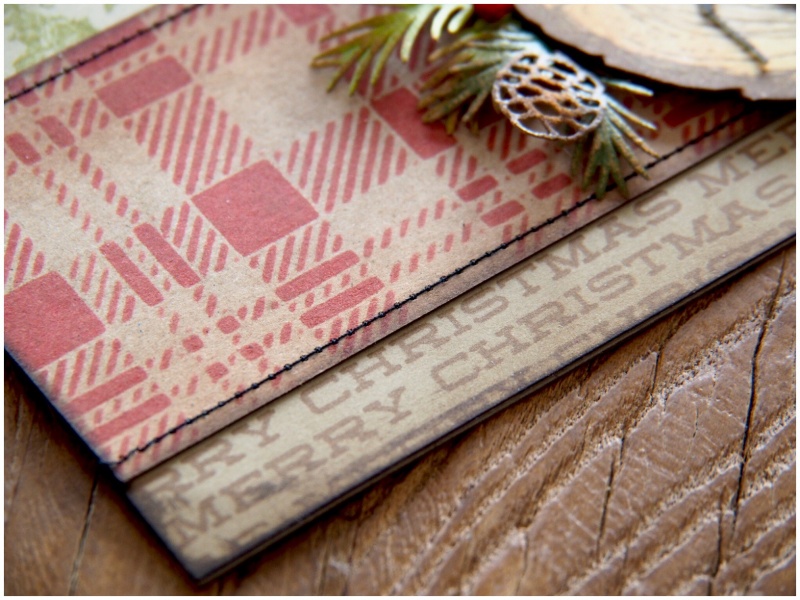
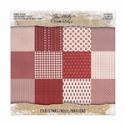
    Step 4: Cut paper from the Christmas mini stash and stitch around the edges.

    iGirlZoe: Tim Holtz Inspired December Daily
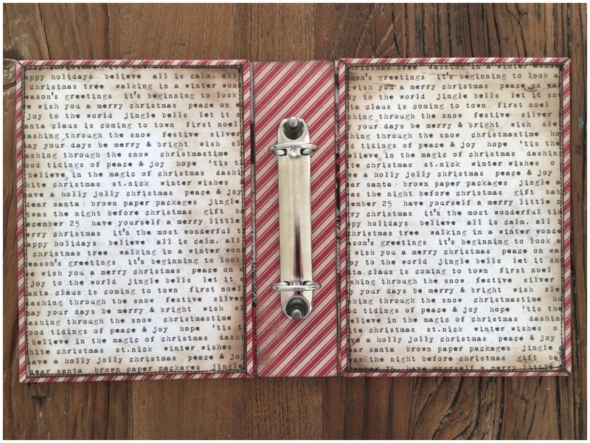
    Step 5: Line up the 3 panels, making sure they are the correct way up, (especially if they have writing on like mine).
    Step 6: Turn the panels over, leaving a small gap between each panel, and adhere paper cut to 5.5 x 7.5 inches. The paper will cover the spine and each book cover, overlapping by 1.75 inches.
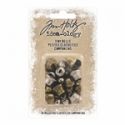
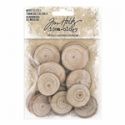
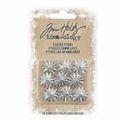
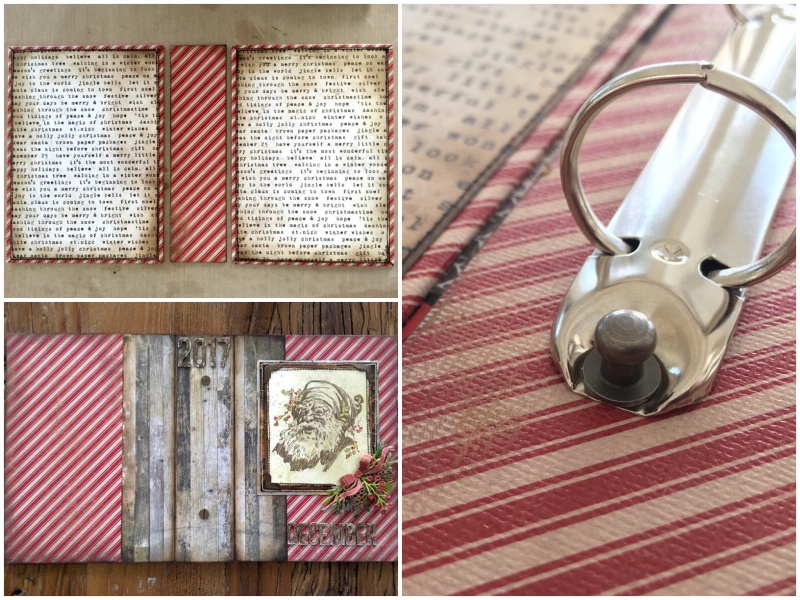
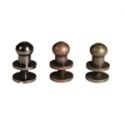
    Step 7: Add an idea-ology ring binder and fix into place using hitch fasteners.

    iGirlZoe: Tim Holtz Inspired December Daily
    Step 8: Gently bend the cover into a closed position.

    iGirlZoe: Tim Holtz Inspired December Daily
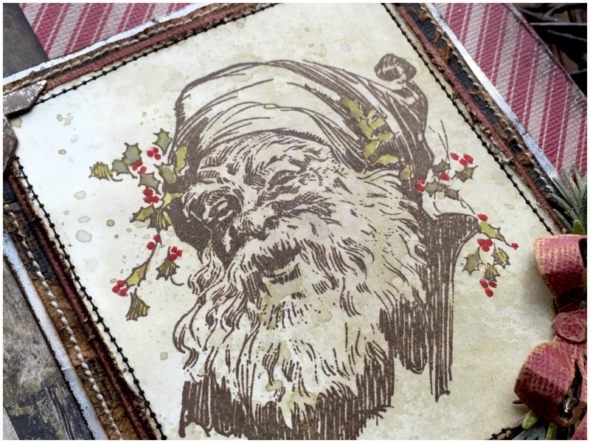
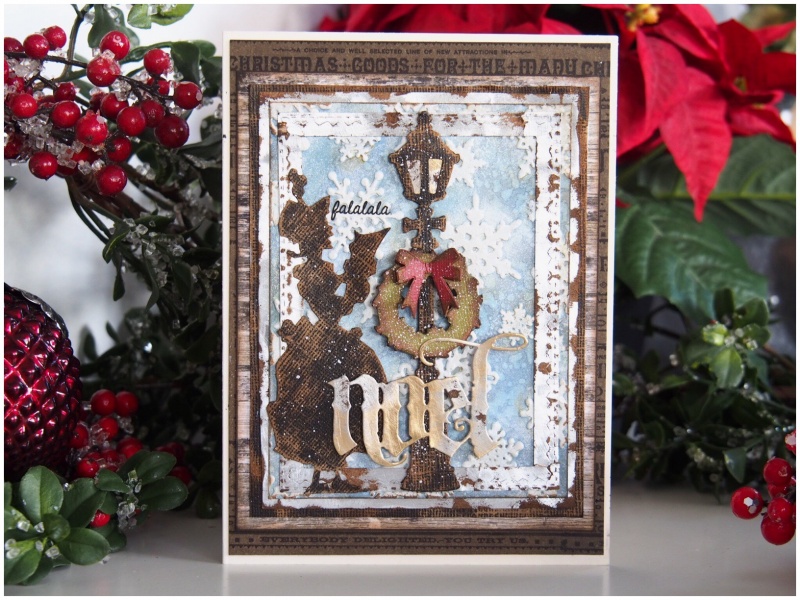
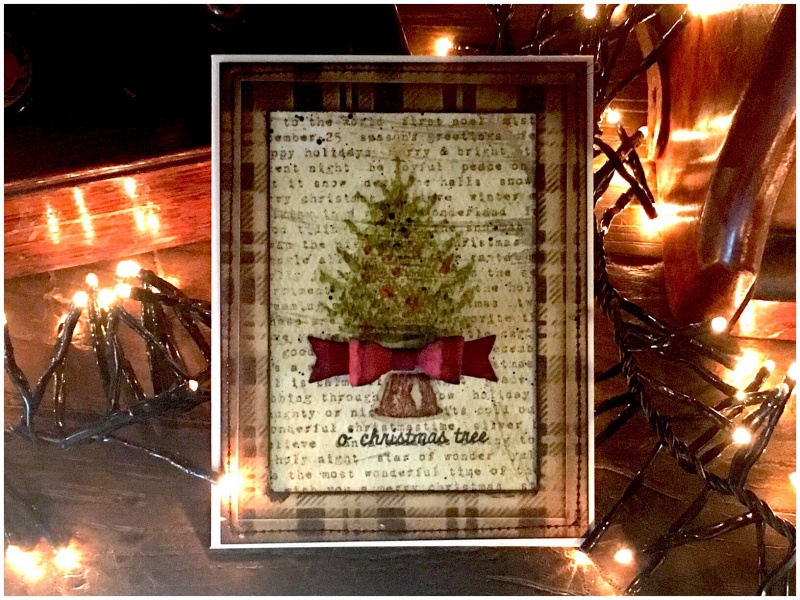
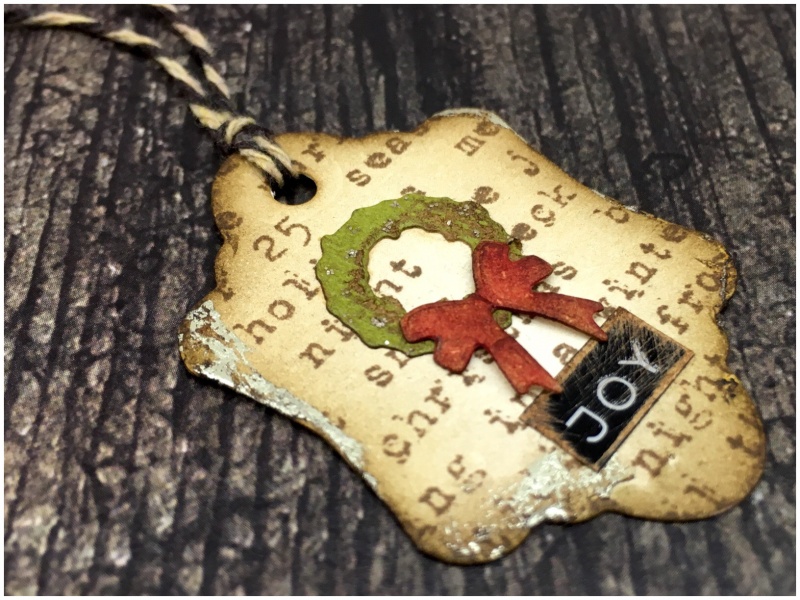
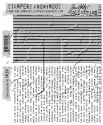
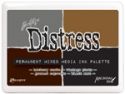
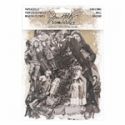
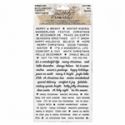
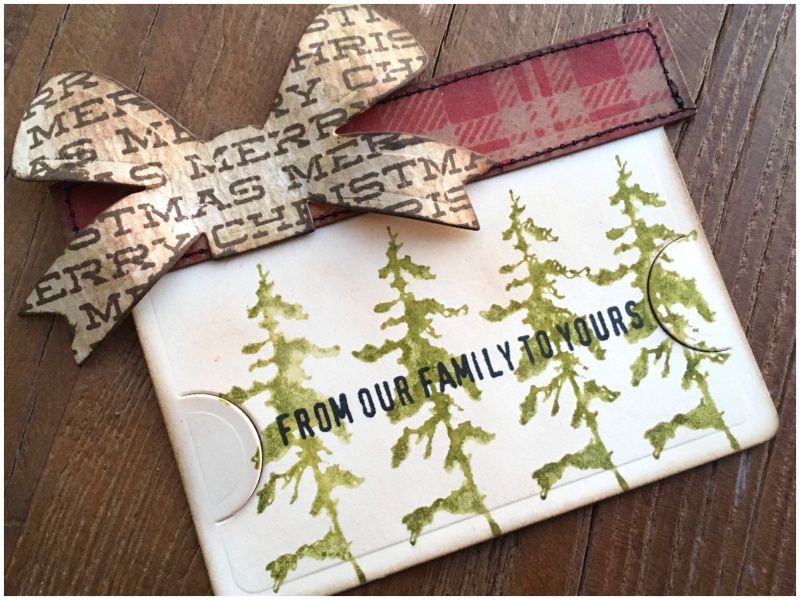
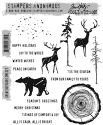
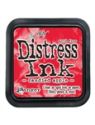
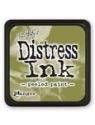
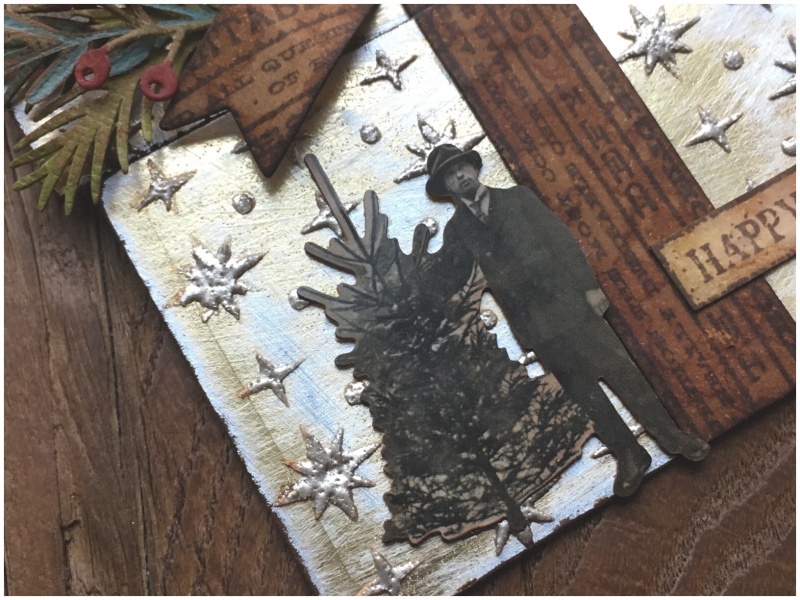
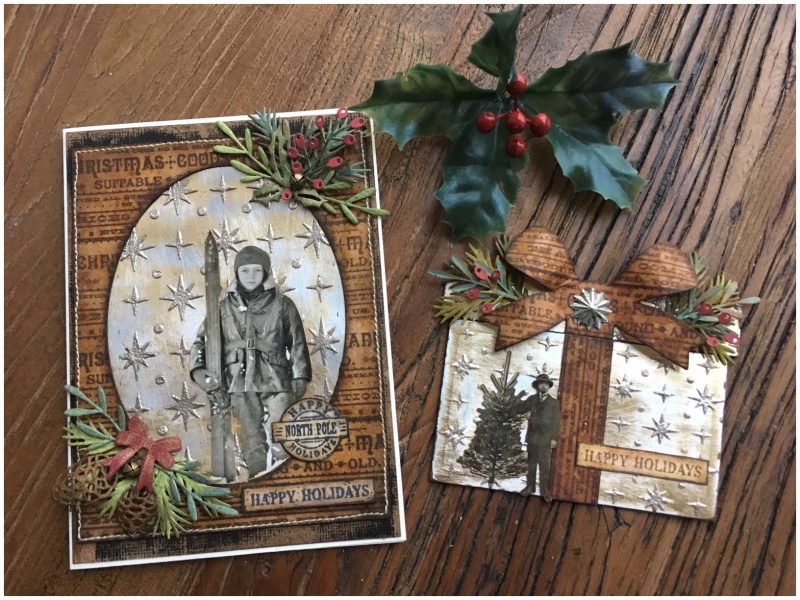
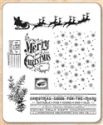
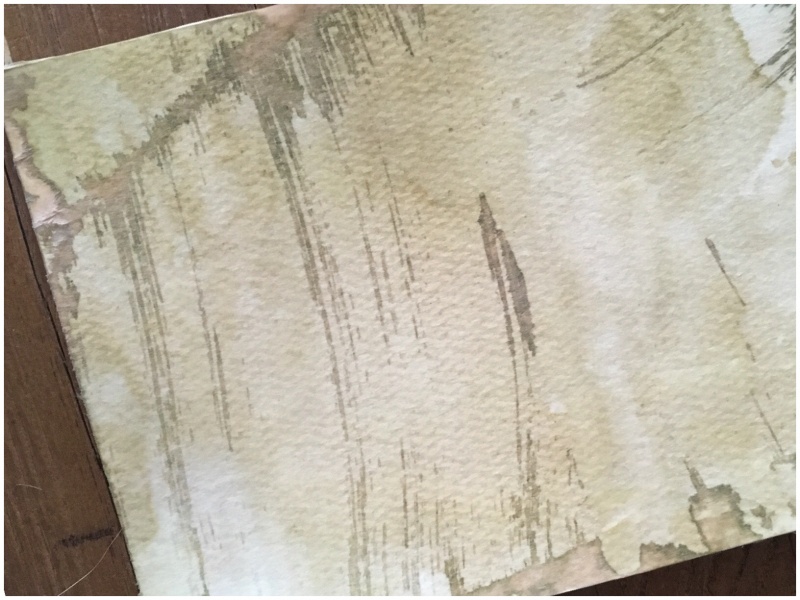
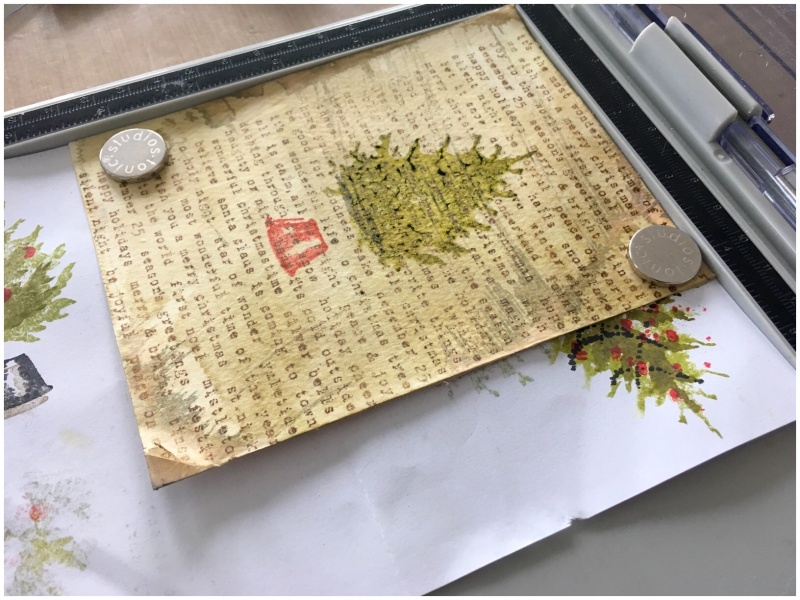
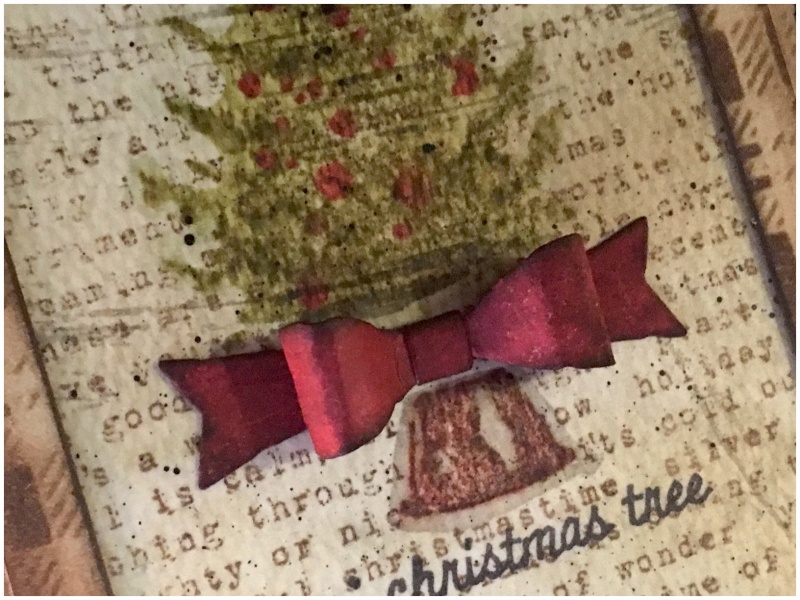
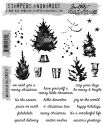
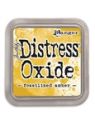
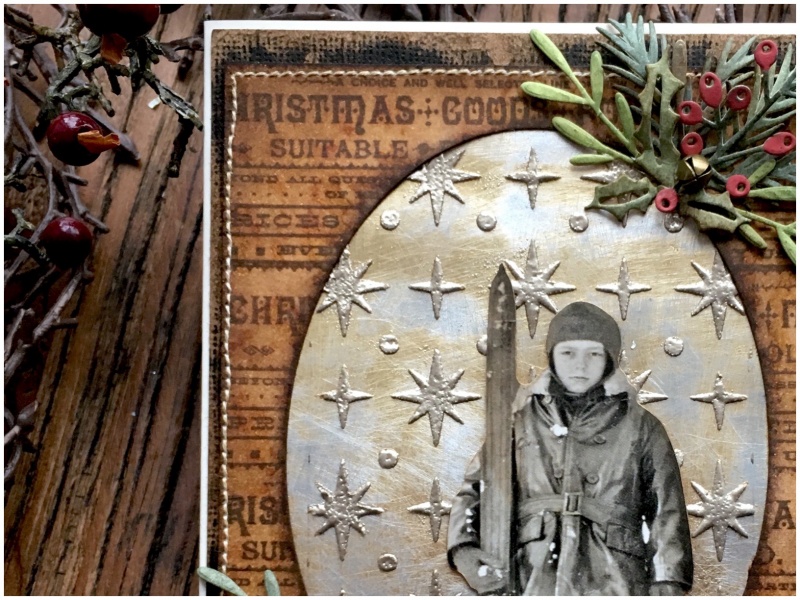
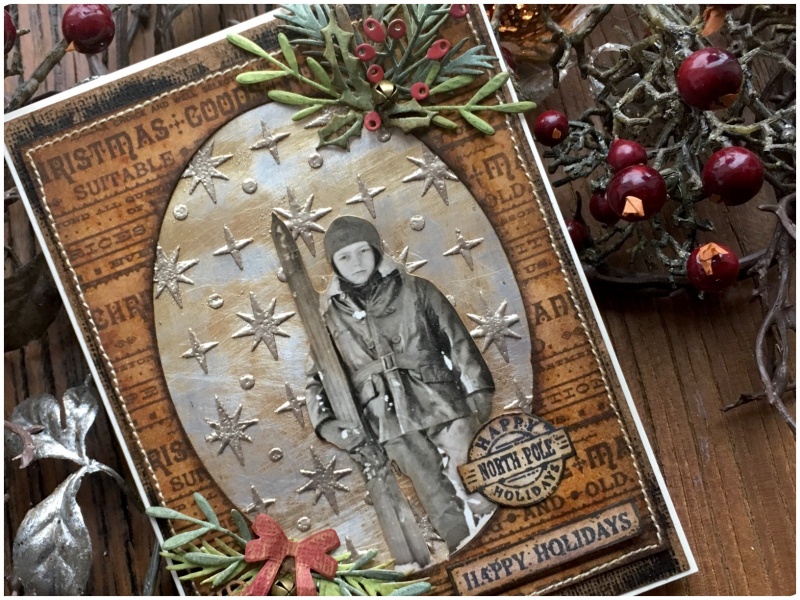
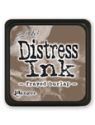
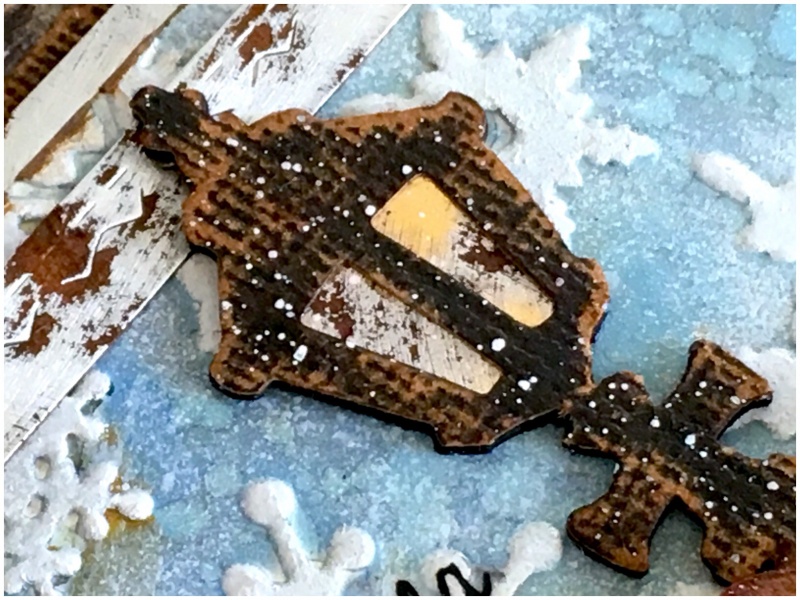
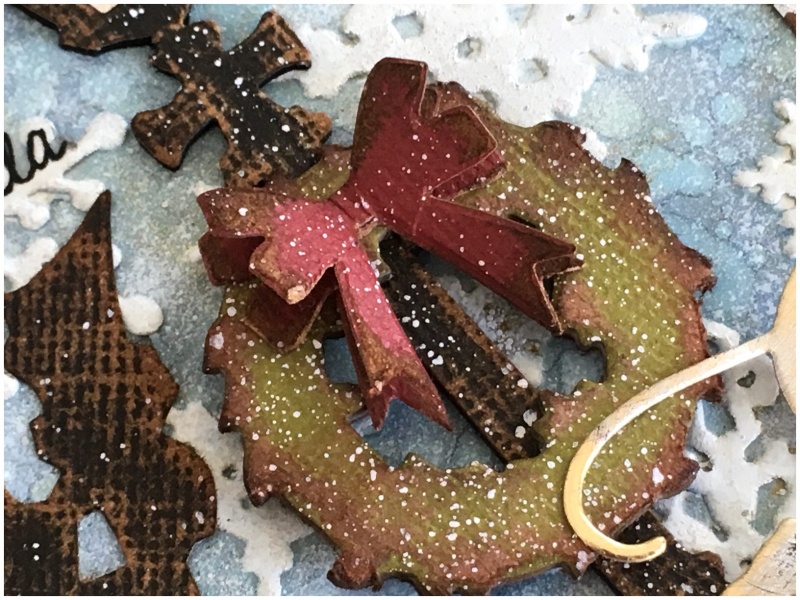
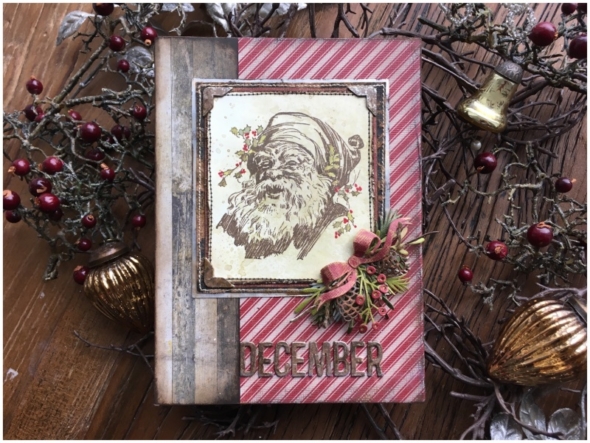
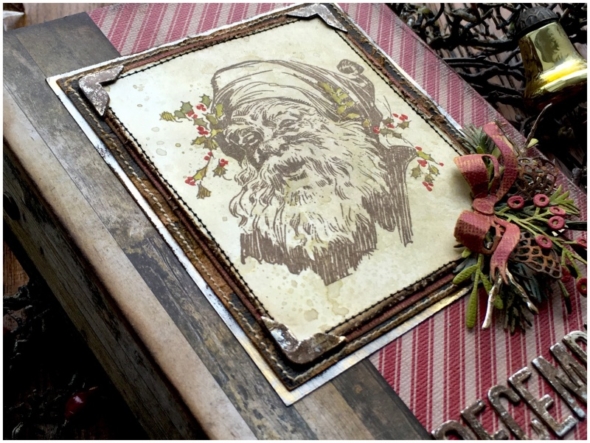
    Step 9: Stamp the gorgeous vintage santa from the Stampers Anonymous Christmas Classic stamp set onto mixed media heavystock with ground espresso distress archival ink. Cover with frayed burlap distress ink wash. Using a water brush, paint the holly leaves with peeled paint distress oxide and the berries with candied apple distress paint.

    iGirlZoe: Tim Holtz Inspired December Daily
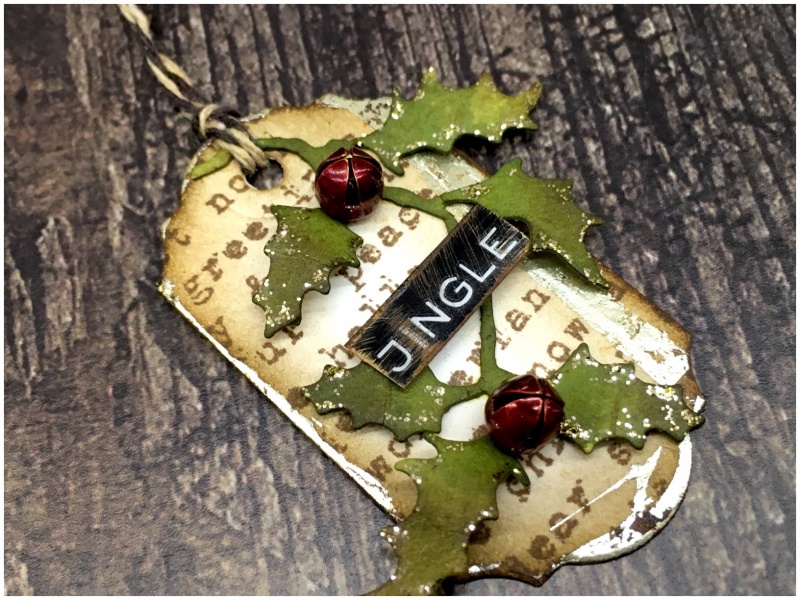
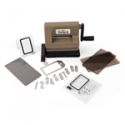
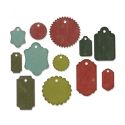
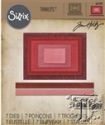
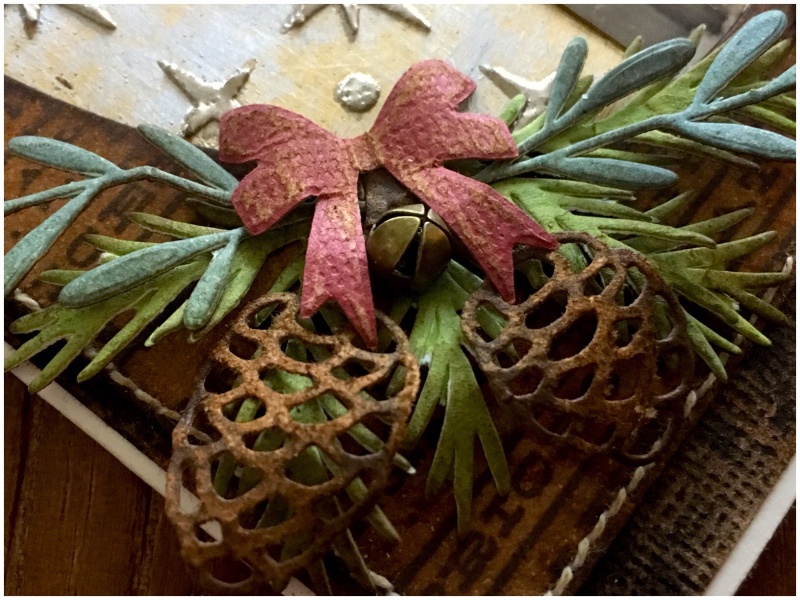
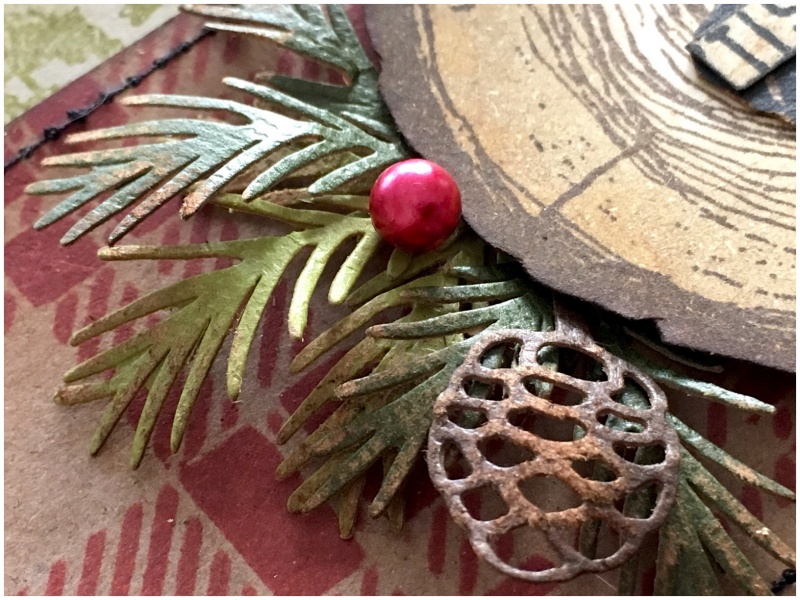
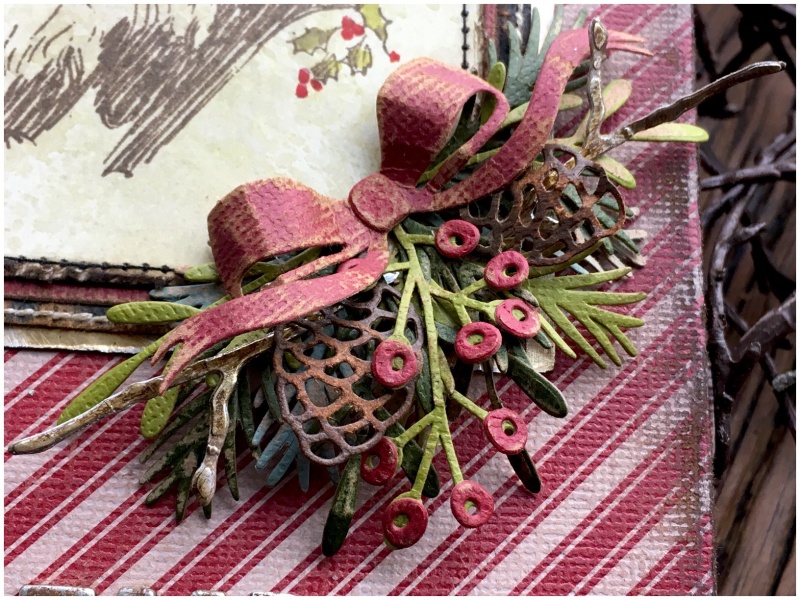
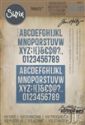
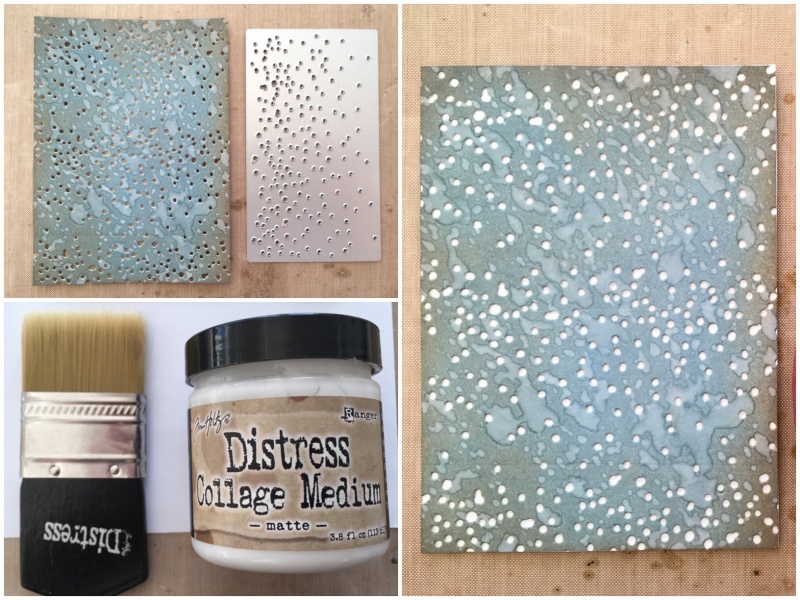
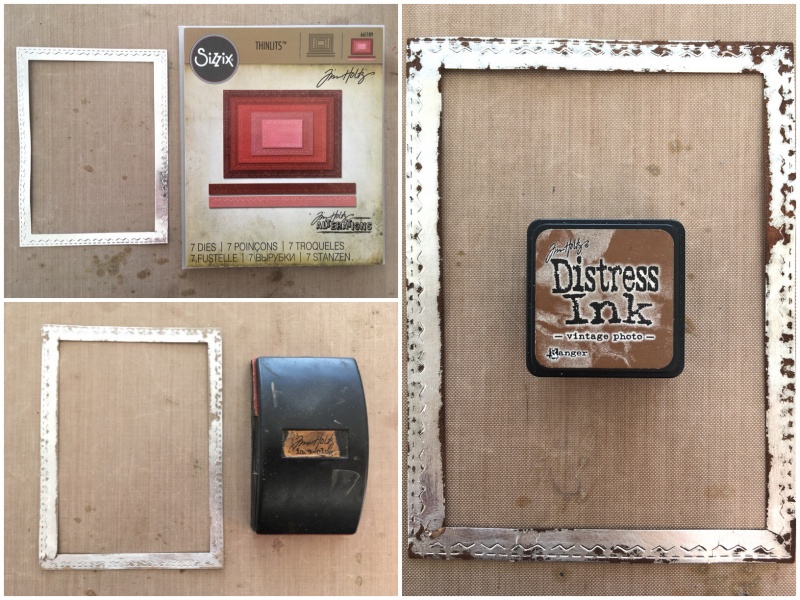
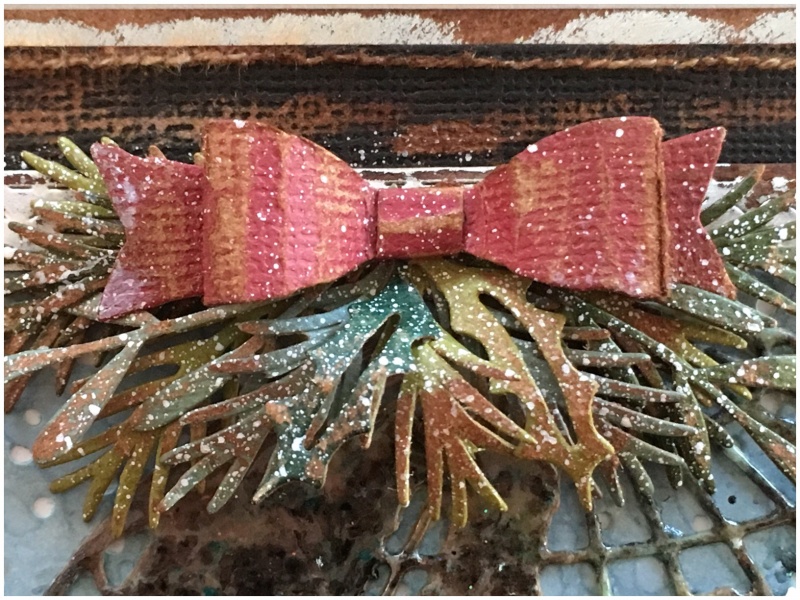
    Step 10: Using the Sizzix Festive Greens thinlits set, die cut from classic kraft stock. Sand with a sanding grip and add a little vintage photo distress ink to the edges and sanded areas. Adhere with distress collage medium.

    iGirlZoe: Tim Holtz Inspired December Daily
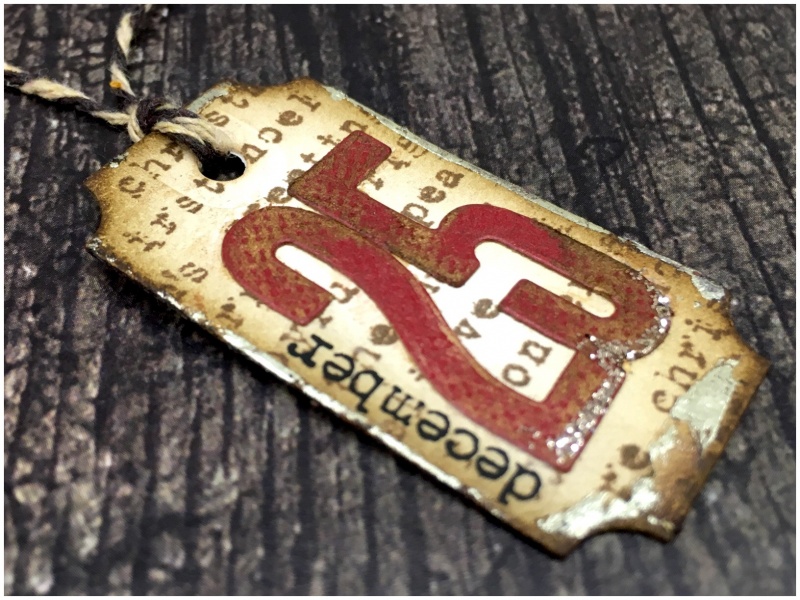
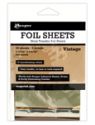
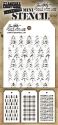
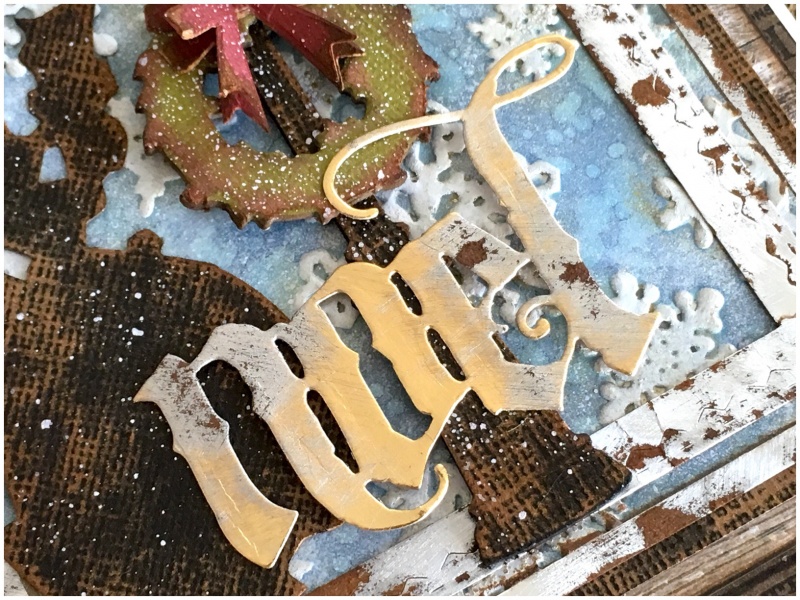
    Step 11: Die cut “december” from the Sizzix Calendar Words Block thinlits set. Twice from distress mixed media heavystock and once from metallic kraft stock. Mount with the metallic die cut on top using distress collage medium.
    Step 12: Dab walnut stain distress paint onto the letters with a finger.
    Step 13: Once dry, tap a little vintage photo distress archival ink over the top. Rub gently to expose some of the metallic base.

    iGirlZoe: Tim Holtz Inspired December Daily
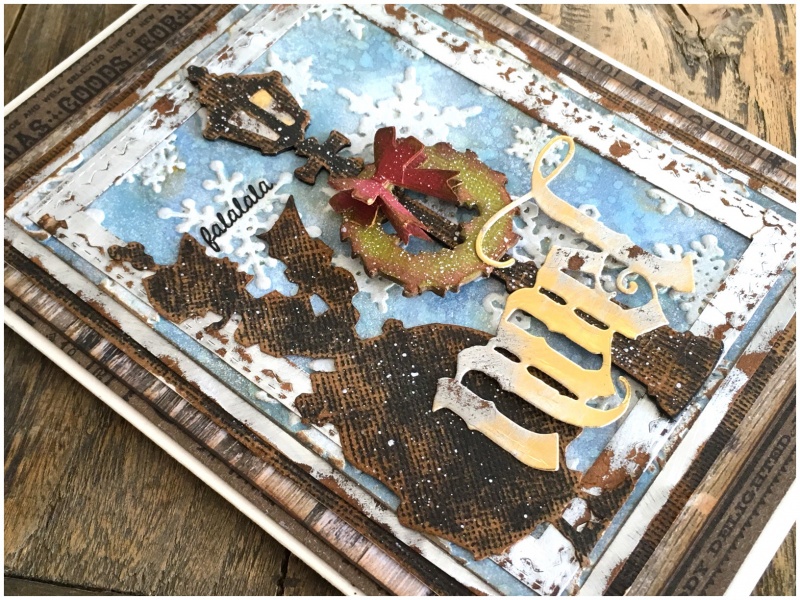
    Step 14: Draw a chalk line and adhere the “december” onto the front cover, along the line, using distress collage medium. Once dry, gently erase the chalk line.

    iGirlZoe: Tim Holtz Inspired December Daily
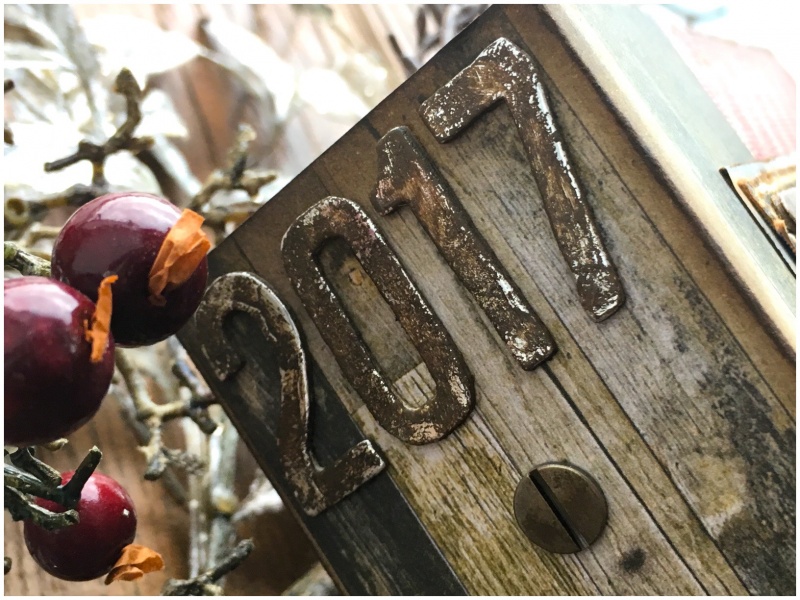
    Step 15: Add the 2017 to the spine of the album with distress collage medium. Once the album is stored, it’s an easy way to see which album is which. Making the cover has been so fun that I know I’ll want to make another next year.

    iGirlZoe: Tim Holtz Inspired December Daily
    Thanks for stopping by, I hope this has inspired you to pull out your Tim Holtz holiday supplies and make something. Don’t forget to catch up with all the projects from week 3 for more holiday inspiration. I’ll be back next week with some holiday cards and pages from the inside of this album.

    Have a great weekend!
    Cheers
    Zoe x


  9. Joy To The World

    13th November, 2017 by iGirlZoe

    Hello friends. I’m back with another card for the Tim Holtz holiday inspiration series. Throughout November and December Tim will be sharing projects by a group of talented crafters to provide some inspiration to get you creative during the holiday season. Follow Tim on facebook and instagram and his blog for the recap each Saturday.

    iGirlZoe: Joy to the WorldI created this holiday card by mixing the old with the new Sizzix dies by Tim Holtz. I wanted to create a card to send to family overseas this year and the globe die was a perfect match to santa and his sleigh die.

    iGirlZoe: Joy to the World
    Step 1: Die cut a globe from distress mixed media heavystock with the Sizzix globe thinlits die.
    Step 2: Blend in vintage photo distress oxide over the land portions of the die cut.
    Step 3: Cover with distress embossing ink and pour over fractured iced embossing powder.
    Step 4: Gently tap off excess.

    iGirlZoe: Joy to the World
    Step 5: Melt the embossing powder with a heat tool. The reaction it has with the distress oxide is SO COOL!

    iGirlZoe: Joy to the World
    Step 6: Blend faded jeans distress oxide into distress mixed media heavystock.
    Step 7: Blend iced spruce distress oxide over the top.
    Step 8: Blend vintage photo distress oxide into the edges.
    Step 9: Spritz with water using the distress sprayer and dry with a heat tool.

    iGirlZoe: Joy to the World
    Step 10:  Die cut the background using the snow die from the winter wonderland thinlits set.
    Step 11: Cut a piece of printer paper slightly larger than the background and brush distress collage medium over the top.
    Step 12: Working quickly (collage medium dries FAST), place the background over the top of the printer paper and trim the edges. The collage medium dries clear and matte so you don’t see it.

    iGirlZoe: Joy to the World
    Step 13: Die cut a frame from metallic kraft stock using the stitched rectangle thinlits die.
    Step 14: Using a sanding grip, carefully sand the frame, exposing the kraft core below the metallic surface.
    Step 15: Blend vintage photo distress ink into the frame with a mini blending tool.

    iGirlZoe: Joy to the World
    Step 16: Die cut santa and his sleigh from metallic kraft stock using the village christmastime thinlits die.
    Step 17: Very carefully sand the edges of the die cut with a sanding grip.
    Step 18: Blend vintage photo distress ink into the edges and mount using 3D foam.

    iGirlZoe: Joy to the World
    Step 19: Using classic kraft stock, die cut greenery using the festive greens thinlits die set. Layer up and adhere using distress collage medium. Die cut the small bow using the fold-up bows thinlits die set and mount over the top of the greenery. Splatter with picket fence distress ink using a spatter brush.

    iGirlZoe: Joy to the World
    Step 20: This sentiment from the idea-ology quote chips was perfect for my card. I swiped vintage photo distress ink directly onto the edges and rubbed it over the top with my finger. I swiped the ink pad onto my non stick craft sheet and picked it up with the spatter brush to try to create aged brown spots.

    iGirlZoe: Joy to the World
    Thanks for stopping by, I hope this has inspired you to pull out your dies and make something. Don’t forget to catch up with all the projects from week 2 for more holiday inspiration. I’ll be back soon.

    Cheers
    Zoe x


  10. Fa la la la la

    7th November, 2017 by iGirlZoe

    Hello friends. I’m delighted to join a group of talented crafters for the Tim Holtz holiday inspiration series. Throughout November and December Tim will be sharing projects to provide some inspiration to get you creative during the holiday season. Follow Tim on facebook and instagram and his blog for the recap each Saturday.

    iGirlZoe: Fa La La La

    iGirlZoe: Fa La La La
    I wanted to share how I created the snowflake background using the new Sizzix simple snowflake texture fades folder by Tim Holtz.

    iGirlZoe: Fa La La La
    Step 1: Emboss a piece of distress mixed media heasvystock using the new simple snowflake texture fades folder.
    Step 2: Blend in faded jeans distress oxide.
    Step 3: Blend a little vintage photo distress oxide over the top.
    Step 4: Spritz with water and dry with a heat tool.

    iGirlZoe: Fa La La La
    Step 5: Apply a little picket fence distress paint onto a non stick craft sheet. Pick it up with a blending tool and lightly dab over the top of the raised snowflakes. Set aside to dry.

    iGirlZoe: Fa La La La
    The falalala is from the Christmas remnant rubs. There is also a falalala stamp in the holiday drawing set (CMS284).

    iGirlZoe: Fa La La La
    The lamp post is cut from black classic kraft stock mounted onto chipboard. I used metallic kraft core for the lights. I sanded everything, (I always sand everything)! lol

    iGirlZoe: Fa La La La
    The wreath is cut from classic kraft core and I die cut 2 ribbons, attaching the top one by the center only and bending the bow upwards to give dimension. I may have taken a sanding grip to it… lol

    iGirlZoe: Fa La La La
    I picked up the vintage tidings thinlits dies really late last year and didn’t get a chance to use them, so they were top of my list this year. Die cut from metallic kraft stock. When sanded, (I told you), the gold lifts and reveals silver before revealing the kraft core. I always blend a little vintage photo distress ink over the top to grunge it up. Love this stuff!

    iGirlZoe: Fa La La La
    I die cut a frame from metallic kraft stock with the stitched rectangle thinlits set and mounted over the top, using collage medium to adhere everything. I matted and layered metallic and classic kraft stock over paper from the Christmas mini stash, all by Tim Holtz.

    Thanks for stopping by. Don’t forget to catch up with all the projects from week 1 for more holiday inspiration. I’ll be back soon with some more holiday inspiration.

    Cheers
    Zoe