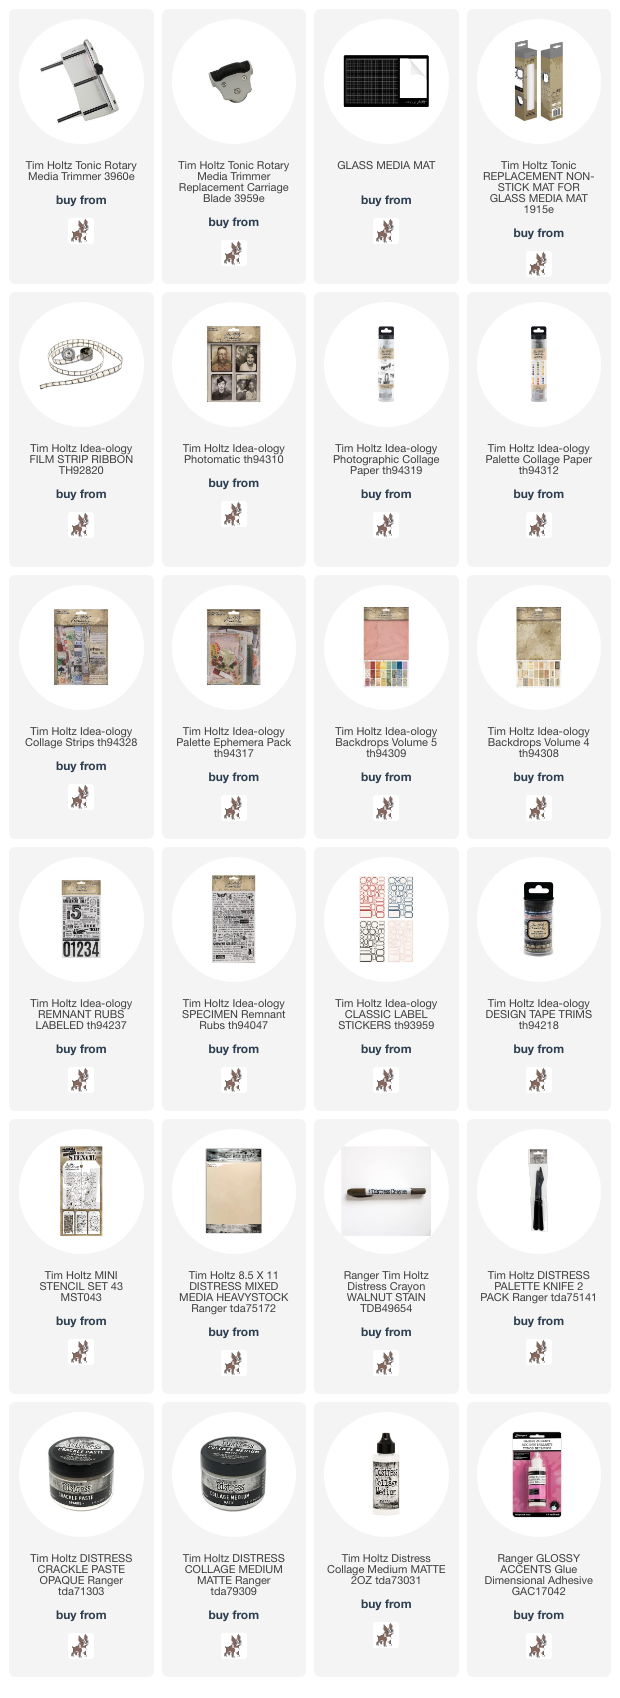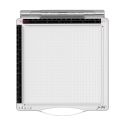
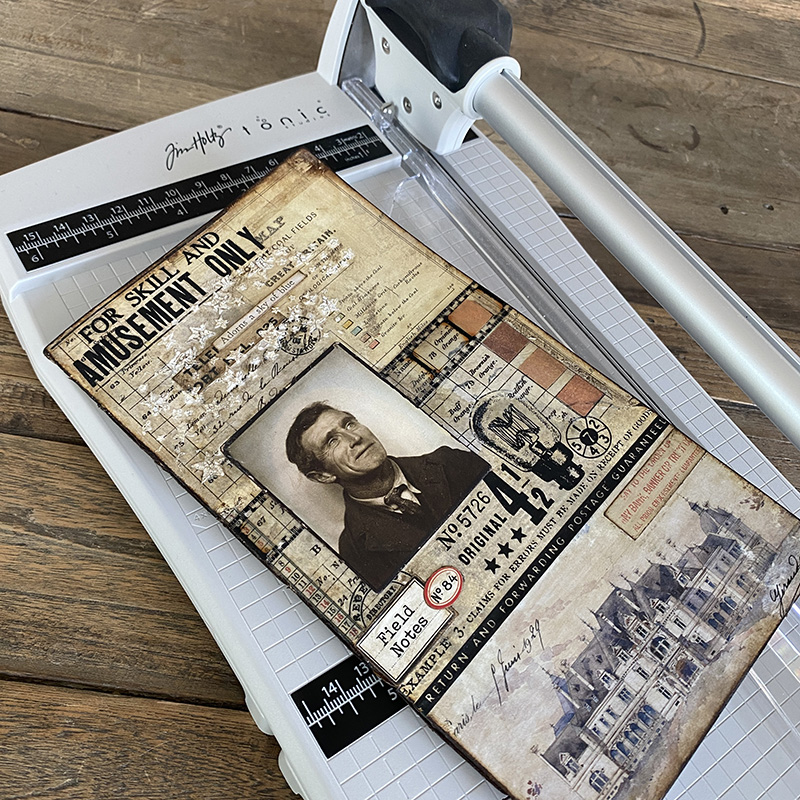
Hello friends, hope you’re well, nearly weekend! I recently received a Tim Holtz Rotary Media Trimmer and I wanted to let you know what I thought. I’m not going to go through all of the features because I think Tim more than covered that during the LIVE, so I highly recommend you watch that as Tim shares a lot of education during his demos.
I have to be honest, I’ve never had much luck with rotary trimmers. They wouldn’t cut straight, but would always cut me when it came time to change the blade, which was expensive and often difficult to find. BUT… this being a Tim Holtz designed Rotary Trimmer, I knew it was going to knock my socks off, and of course it did and here’s why it did…

First and most importantly, it cuts straight, and I can spot a crooked line a mile away without my glasses. I am not a fan of crooked and I hate nothing more than a trimmer that won’t cut a straight line! Now don’t be fooled by the blade carriage wobble. I touched that thing and it wobbled and I wondered how I was going to politely tell Tim it sucked! LOL But you gently press that blade carriage and it engages and you will get the straightest cut even on the thinnest paper strips. Also you don’t have to change the blade but in case you feel compelled to, there is a replacement blade carriage and even comes with the tool you need to change it!
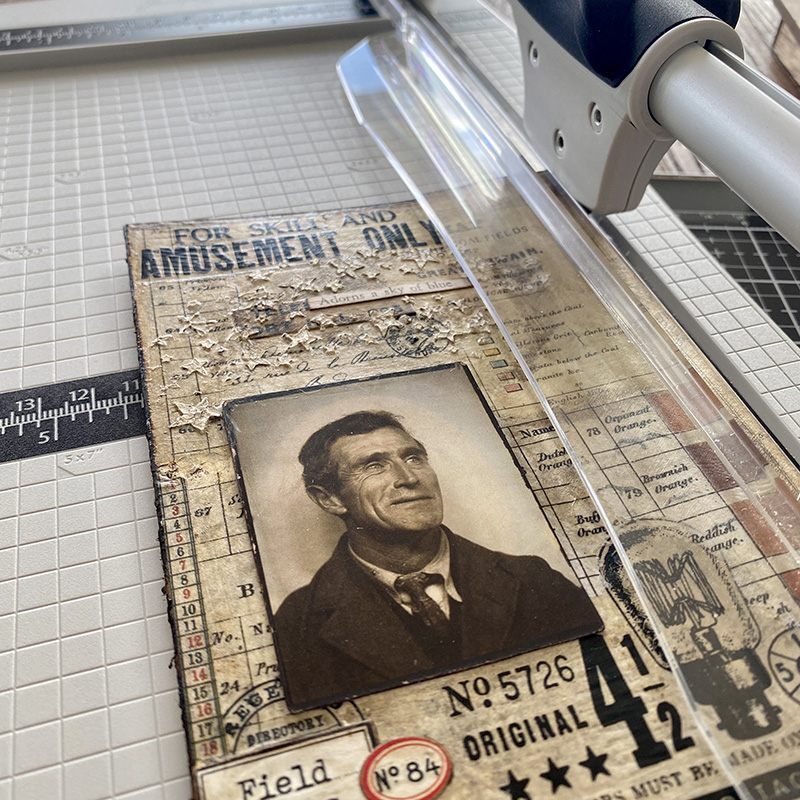
I need to trust that I’m going to get a straight cut because I almost always trim what I make at the end. Having put all the love and time into a make, you need to trust your tools. I didn’t even hold my breath, I cut with total confidence! If you have one, you’ll know. If you get one, you’ll see what I mean.
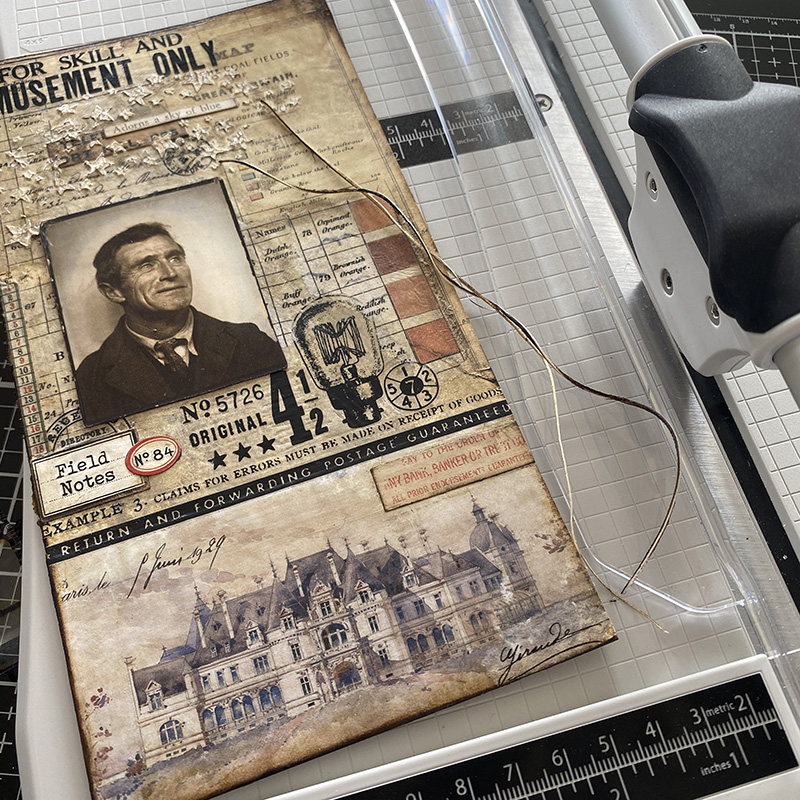
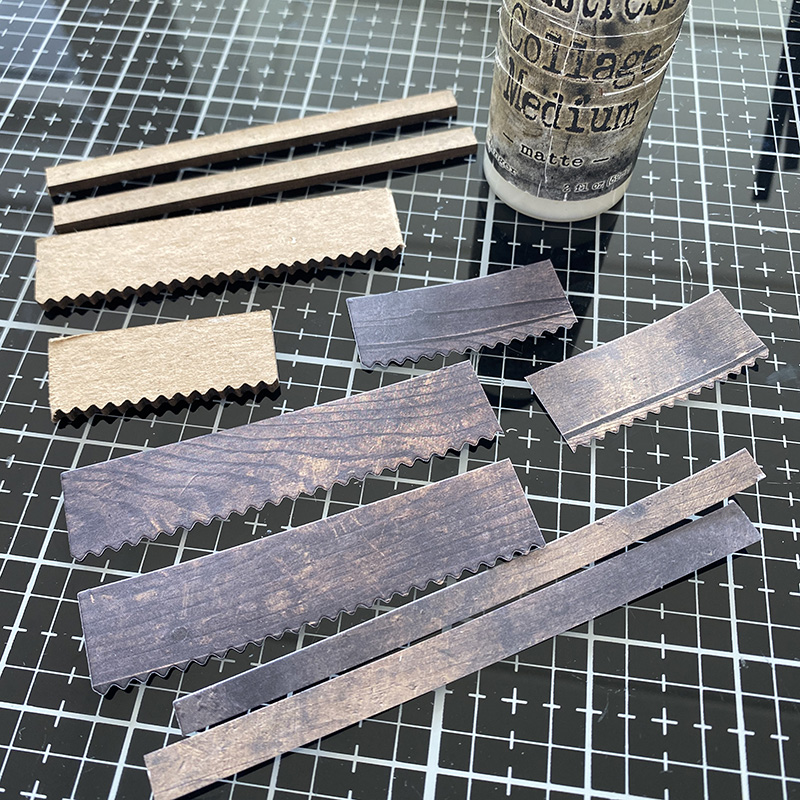
Look at the tiny paper strands it cut. It cut through 2 sheets of distress mixed media heavystock covered in idea-ology backdrop papers, collage paper, ephemera, glue, texture paste and remnant rubs. It glided through effortlessly.
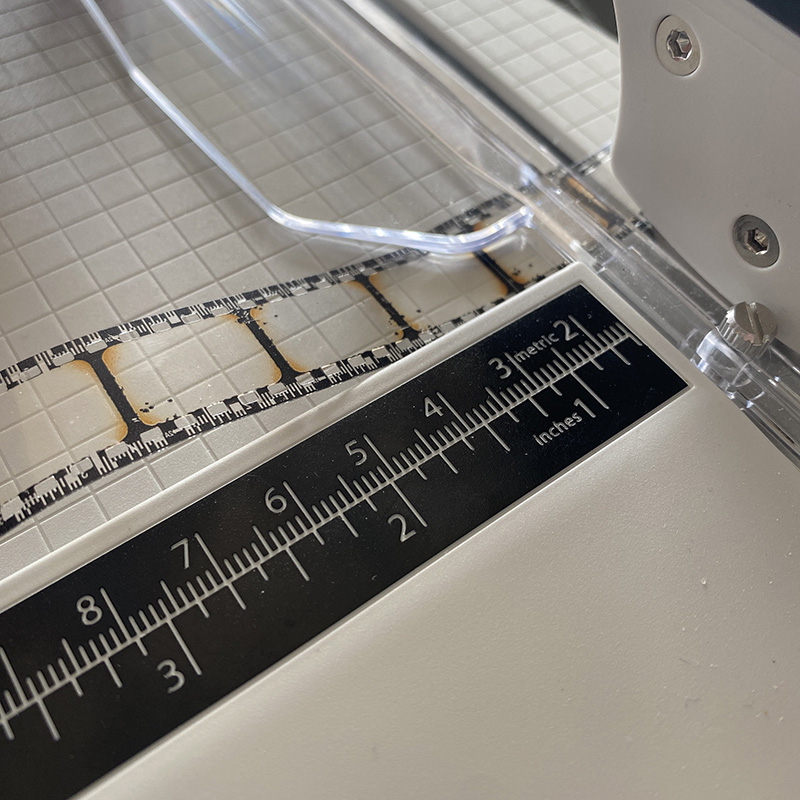
I also wanted to see how it would trim some of the things I use in my makes that I would want a straight cut for, one of them being the idea-ology filmstrip.

Perfect cuts and easy like a hot knife through buttah! It cuts through idea-ology transparencies and other acetate easily too.
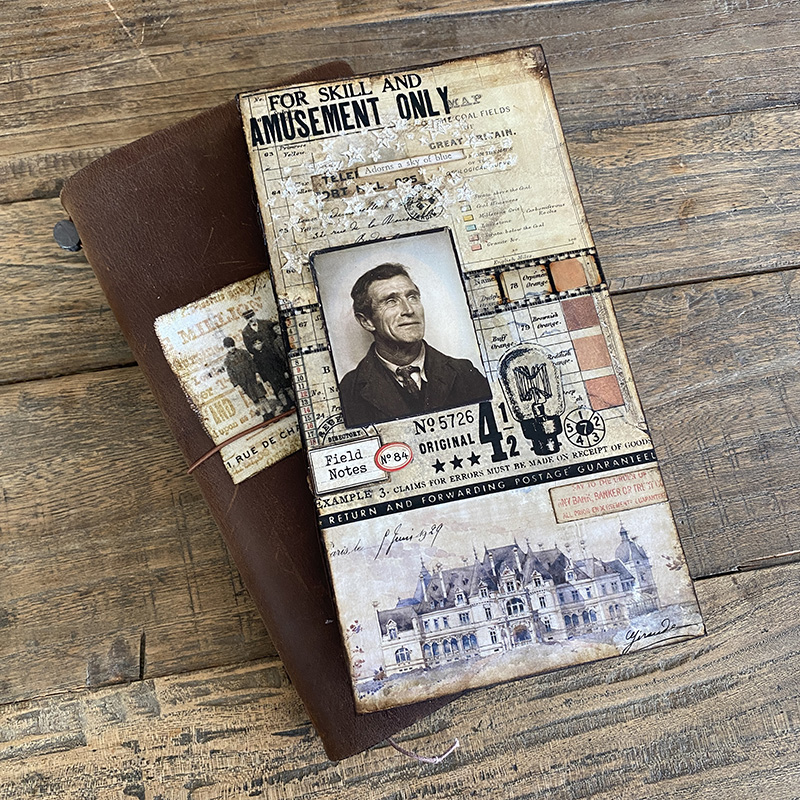
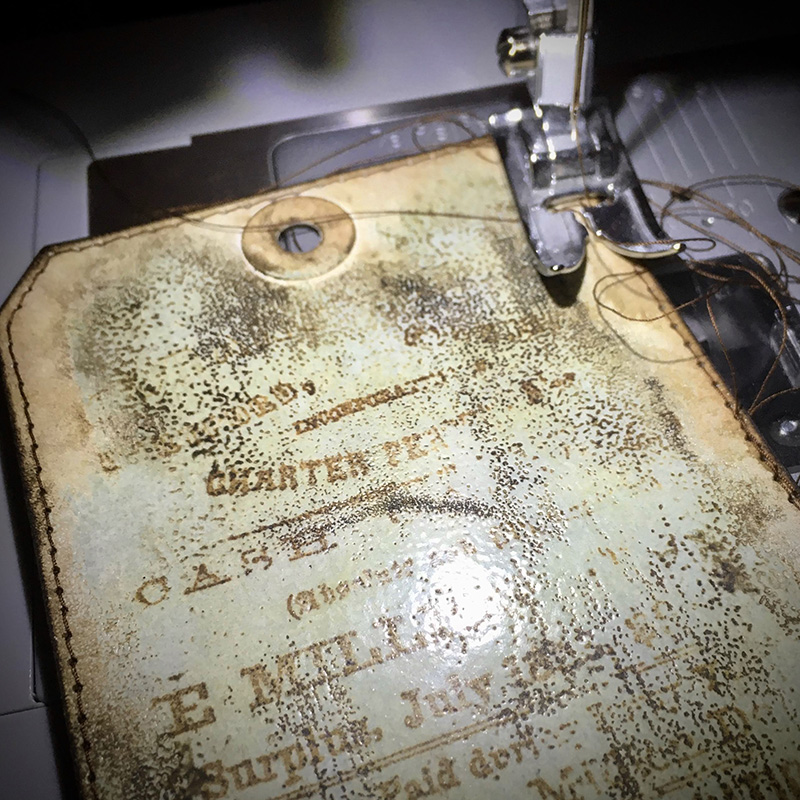
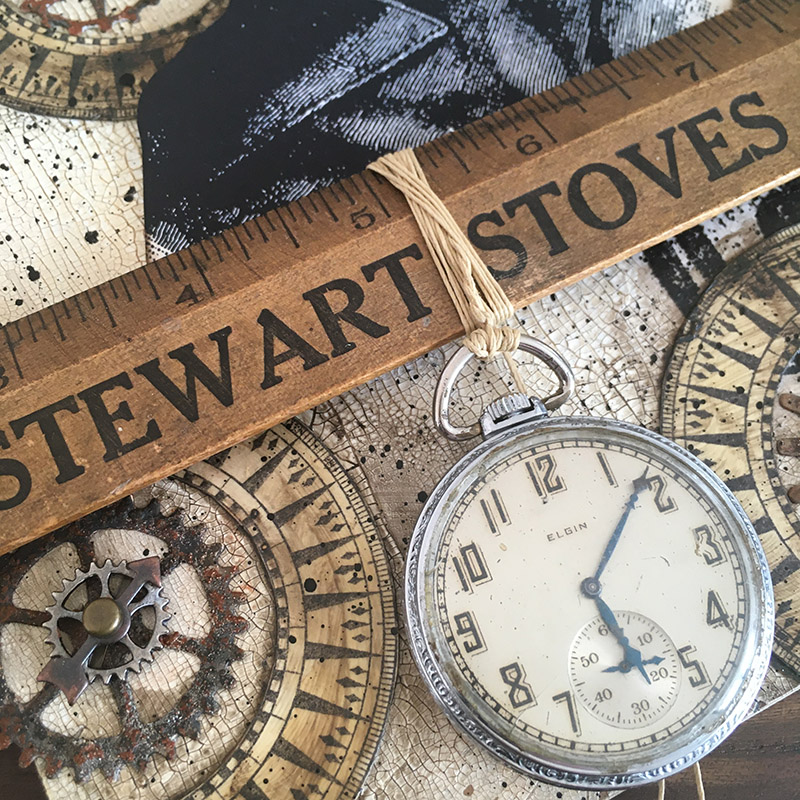
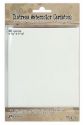
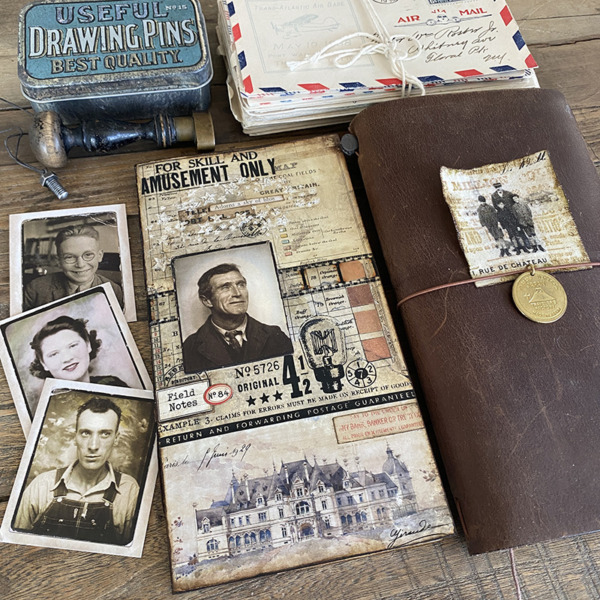
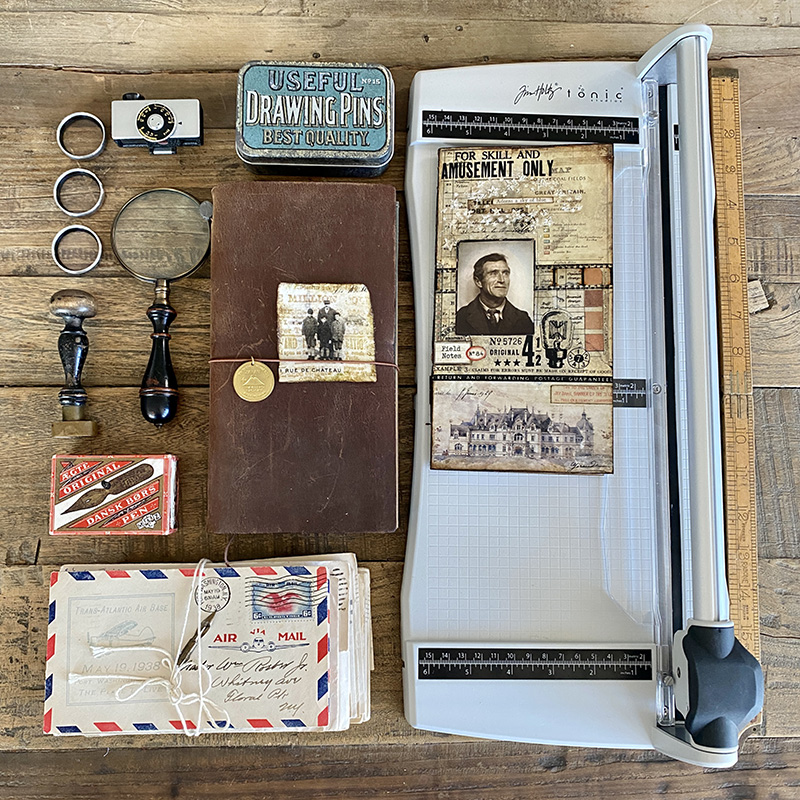
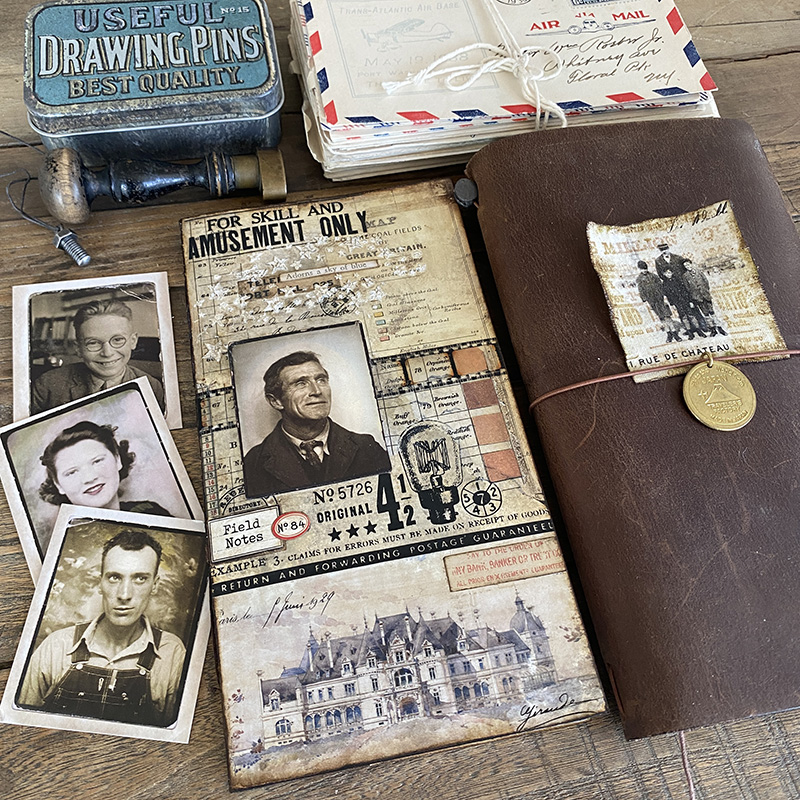
I’m a big fan of the Traveler’s Company, traveler’s notebooks and wanted to create a few inserts to add to my notebook. Creating a cover from the large sheets of distress mixed media heavystock, which easily fit in the generous sized 12.5 inch (31.5cm) trimmer.
I use copy paper for inside the notebook insert and easily trimmed 10 sheets at a time. It made it so quick and simple.

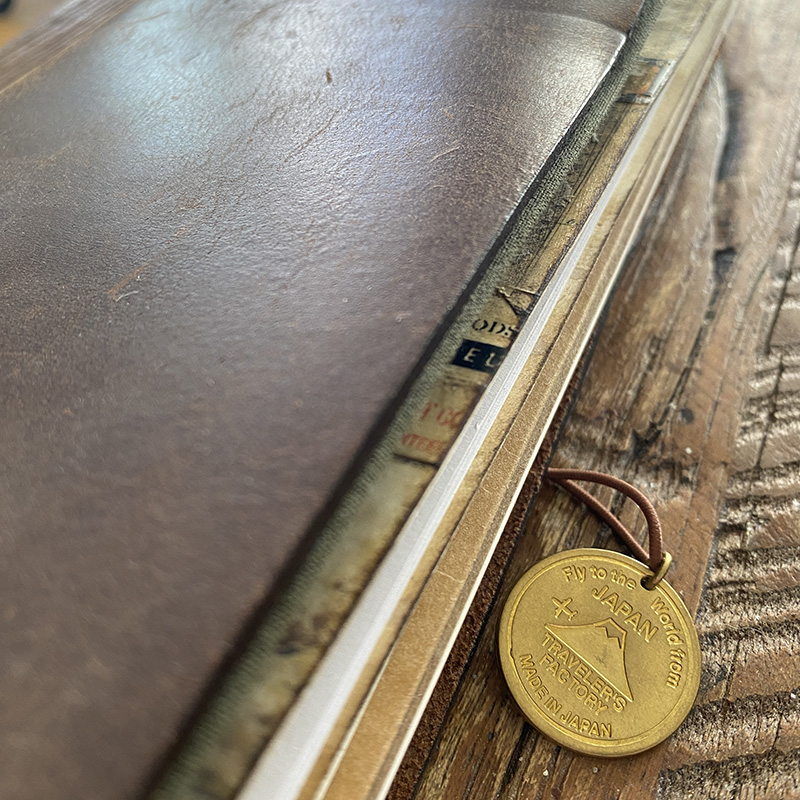
I was so happy adding it into my traveler’s notebook. I can’t wait to make more of these now.
I haven’t used another trimmer since I took this out of the box. It’s lightweight and strong, easy to carry, looks good and doesn’t take up a huge footprint on your desk. It glides when it cuts and makes this really cool swoosh swoosh sound! You can tell I LOVE it right?! I can’t recommend this enough, it ROCKS… but only until you engage the blade! 😉
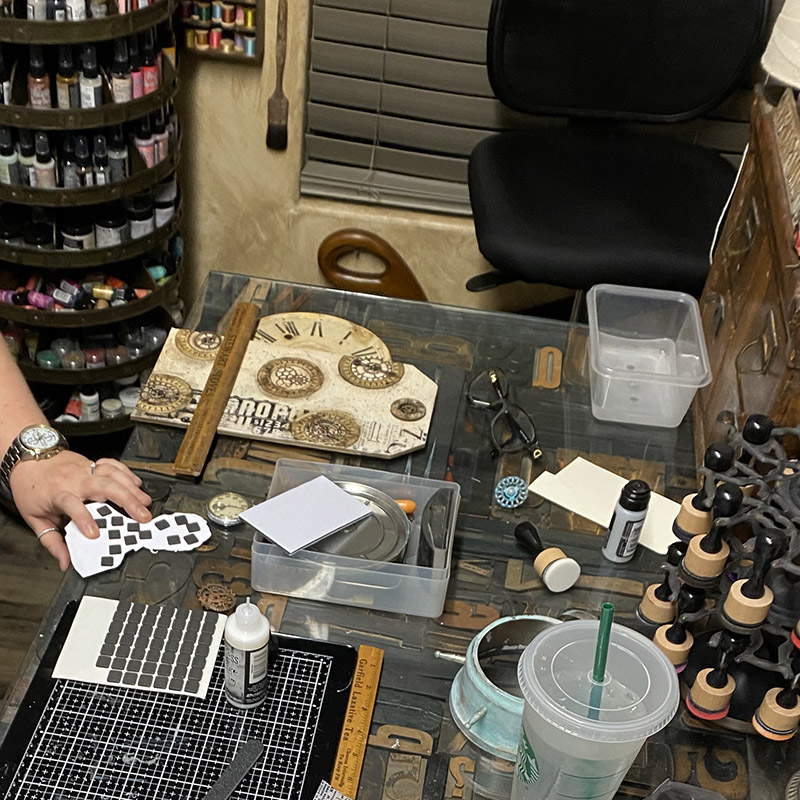
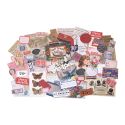
I’ve added a few more photos and details of the idea-ology I used on the traveler’s notebook insert below…

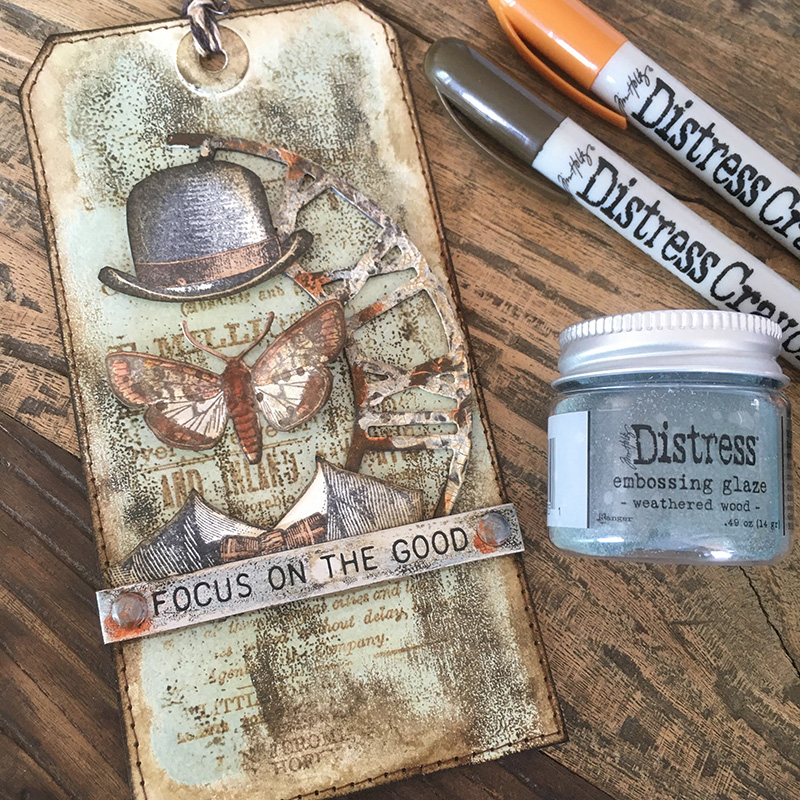
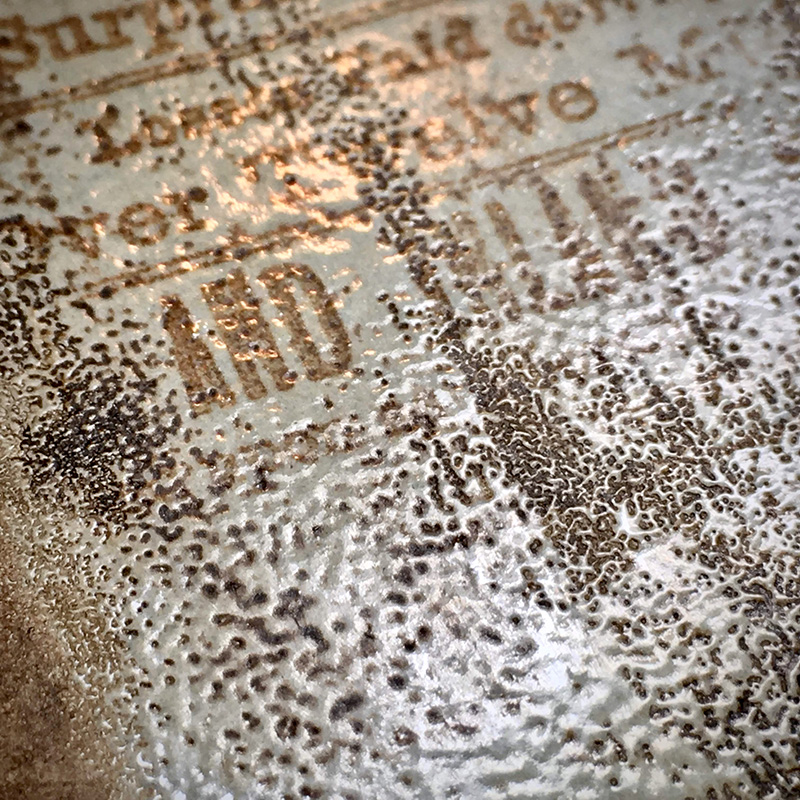
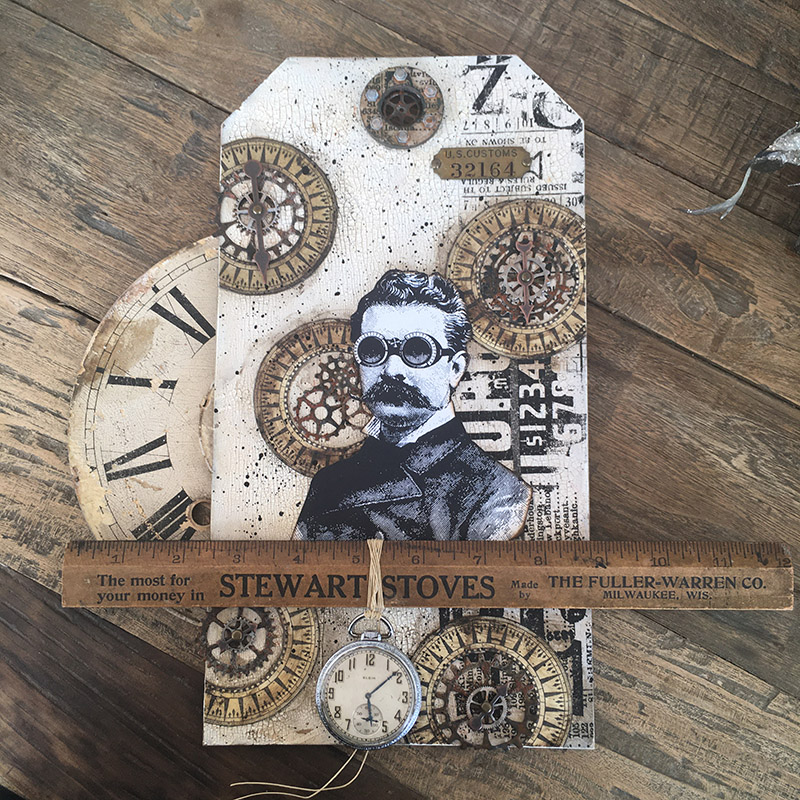
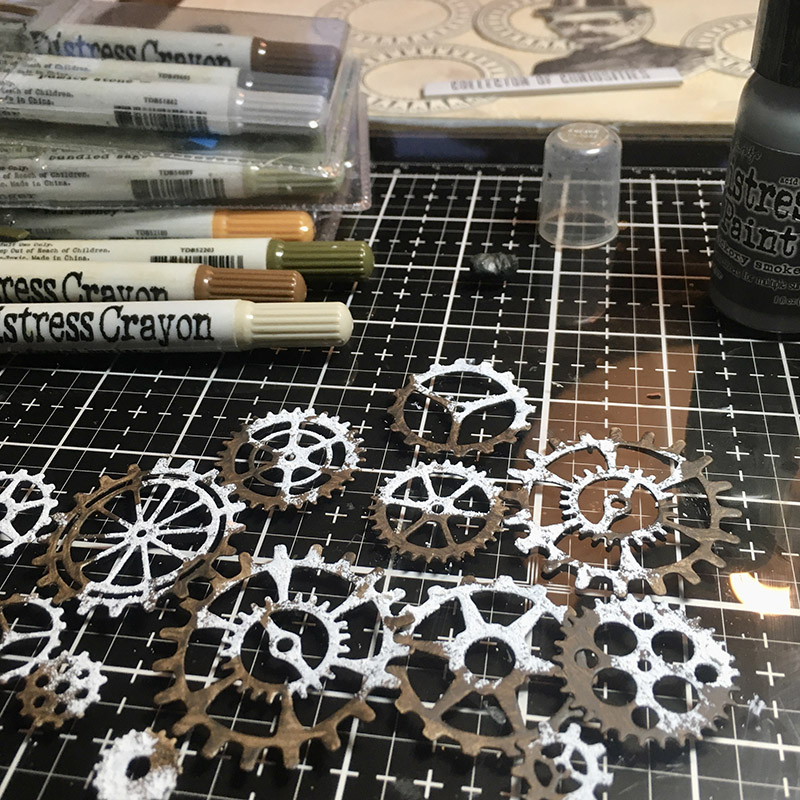
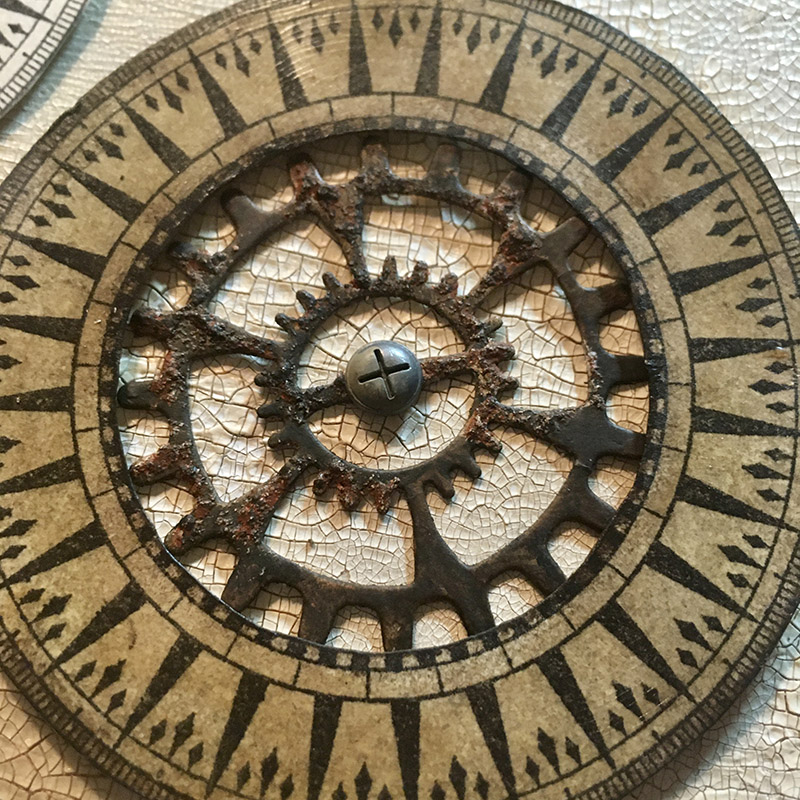
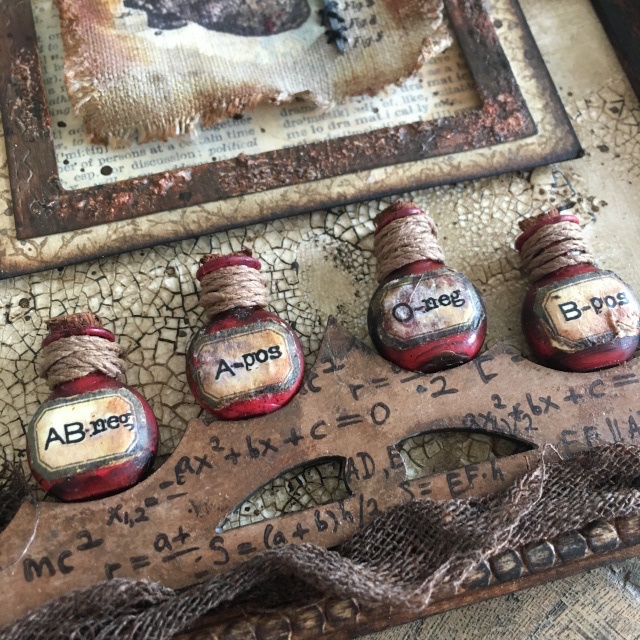
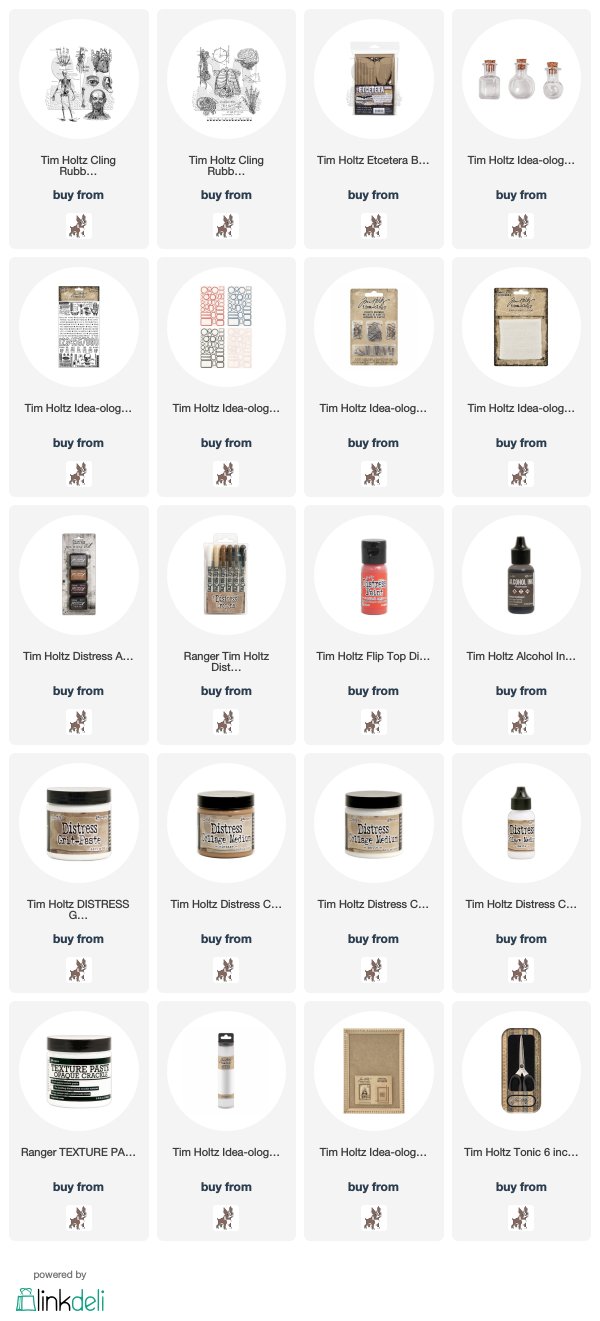
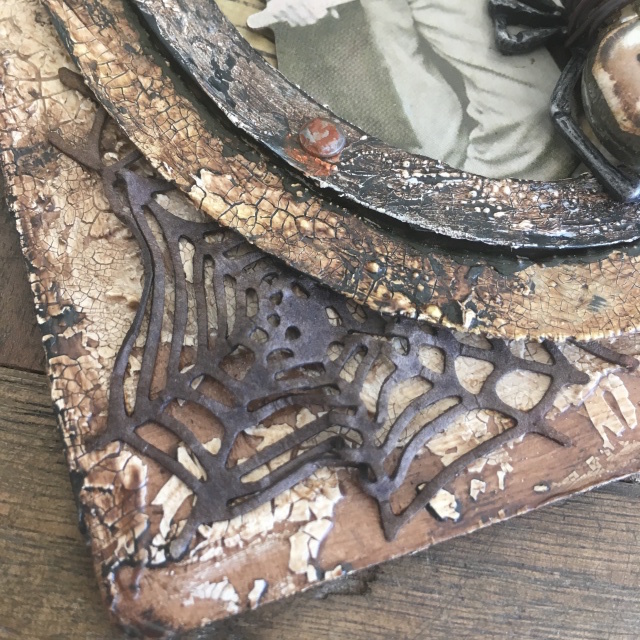
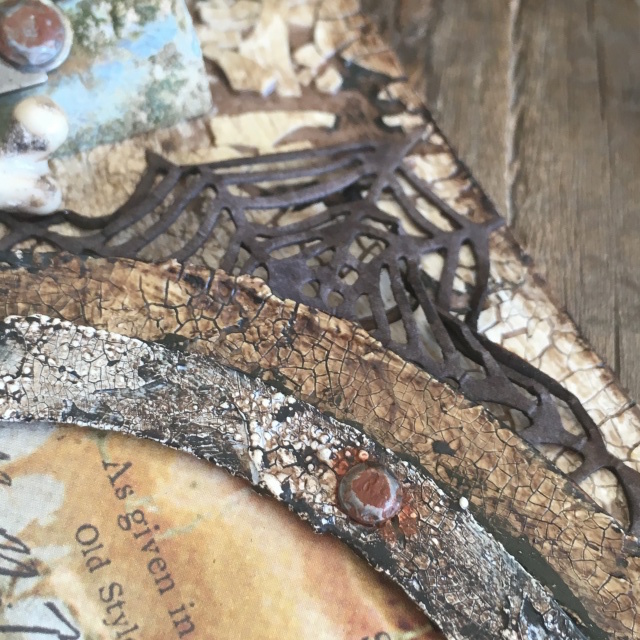
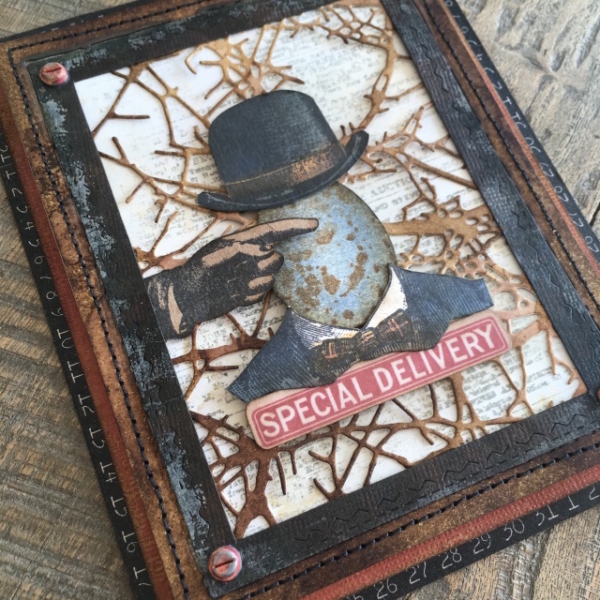
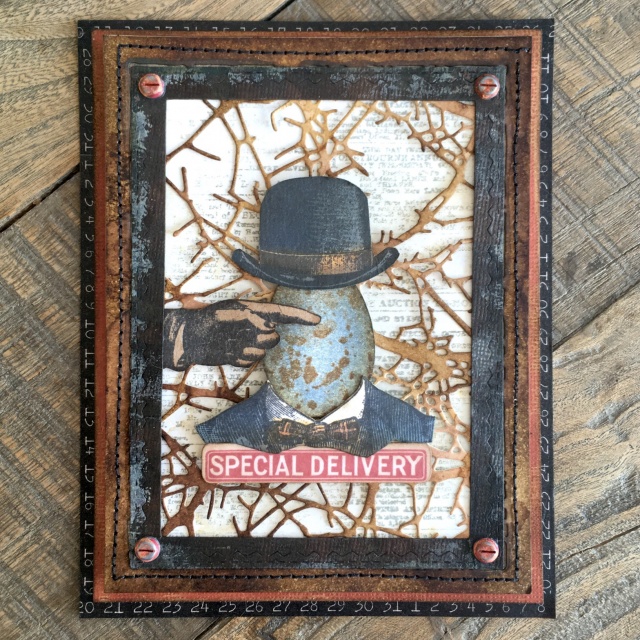
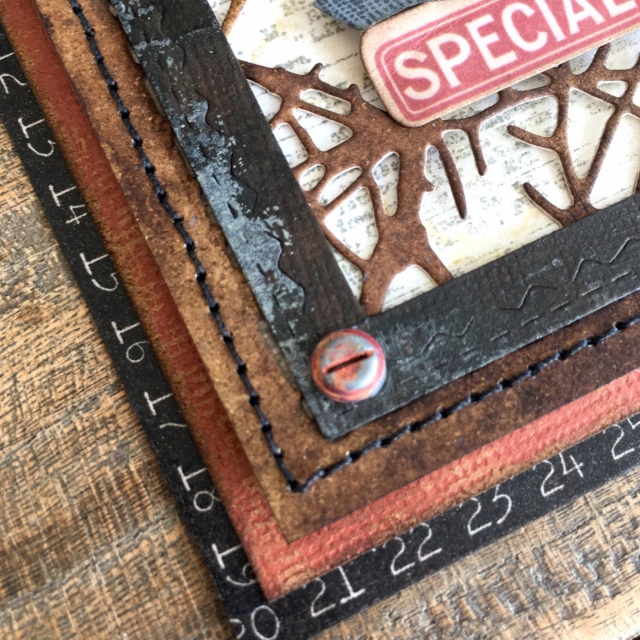
I cut distress mixed media cardstock to create the cover of my traveler’s notebook insert. Covering with the new idea-ology photographic collage paper and paper from the backdrops volume 4 and 5 packs. Adding some distress opaque crackle paste through a mini stencil and covering with distress collage medium and walnut stain distress crayon. I added one of the photomatic photos with the border removed. I LOVE these!

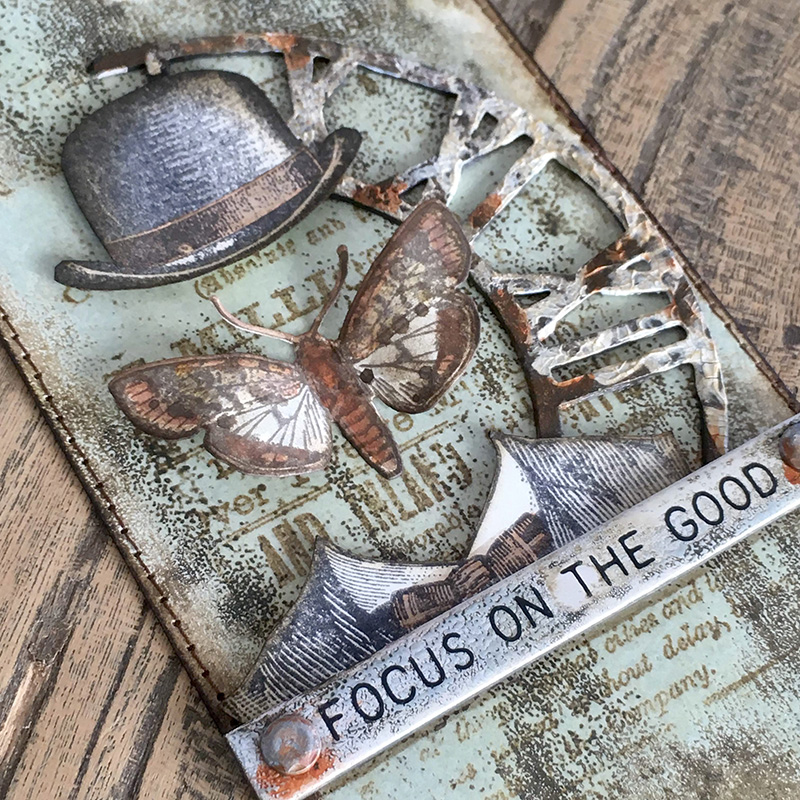
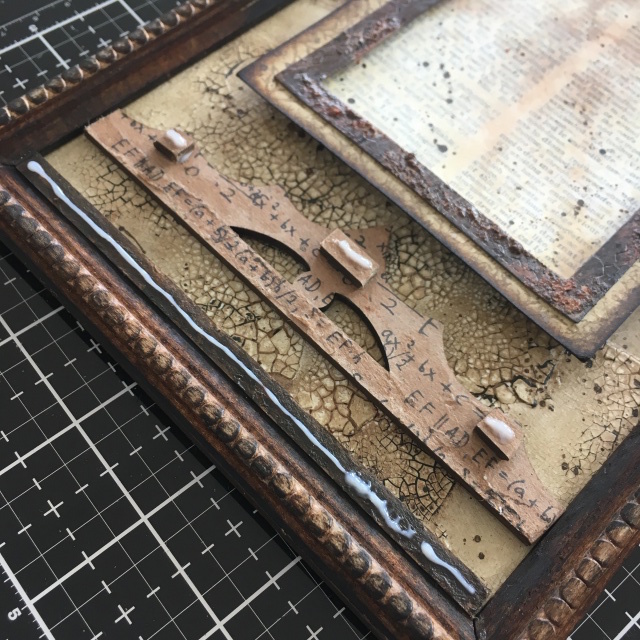
I added the idea-ology filmstrip with glossy accents over some palette collage paper.
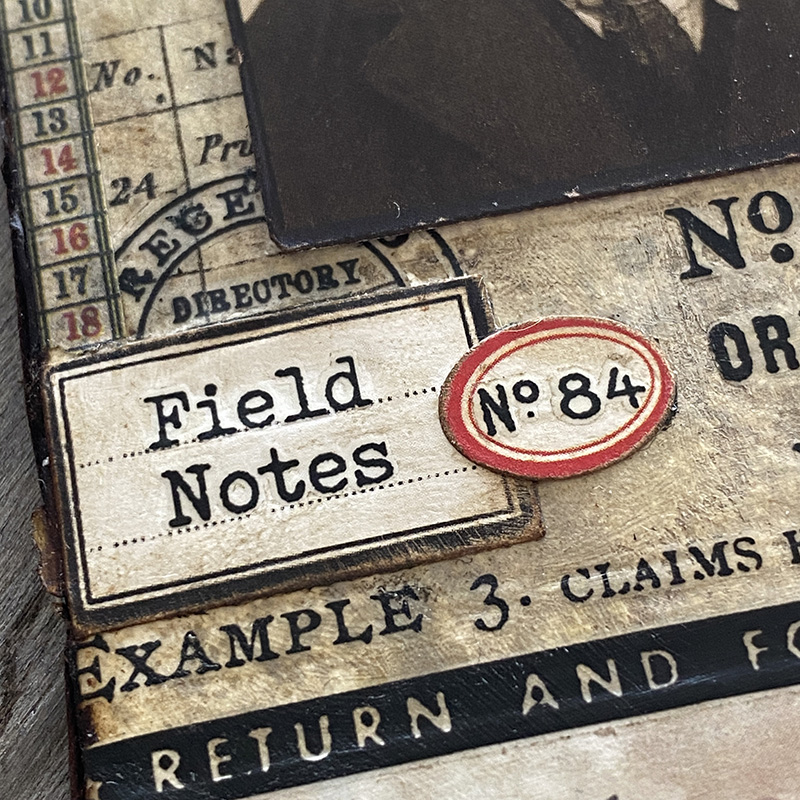
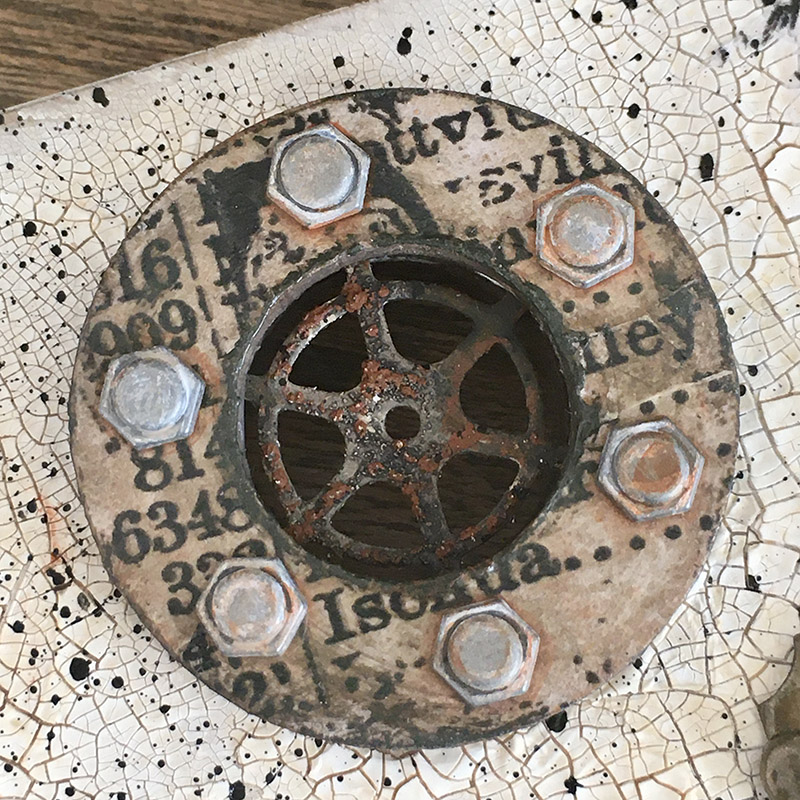
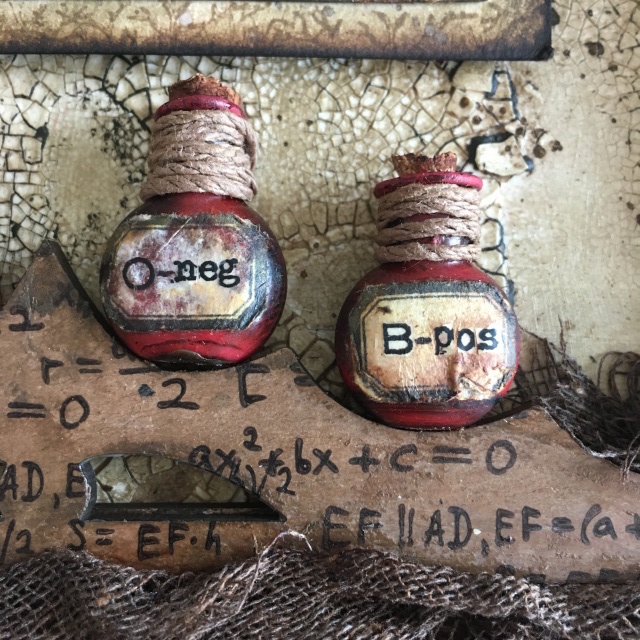
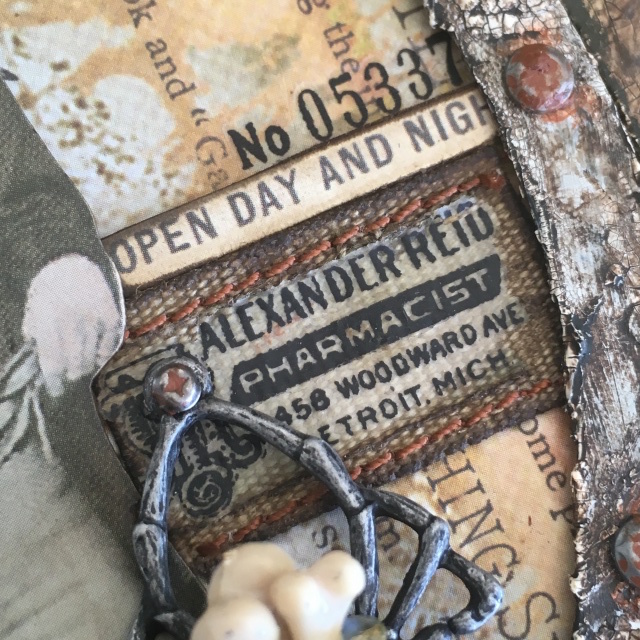
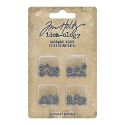
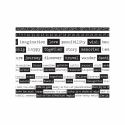
Remnants rubs for the win! Adding the remnant rubs to my make is my favorite part. It brings it to life! I also added trims design tape and labels from the classic labels stickers, all from idea-ology.
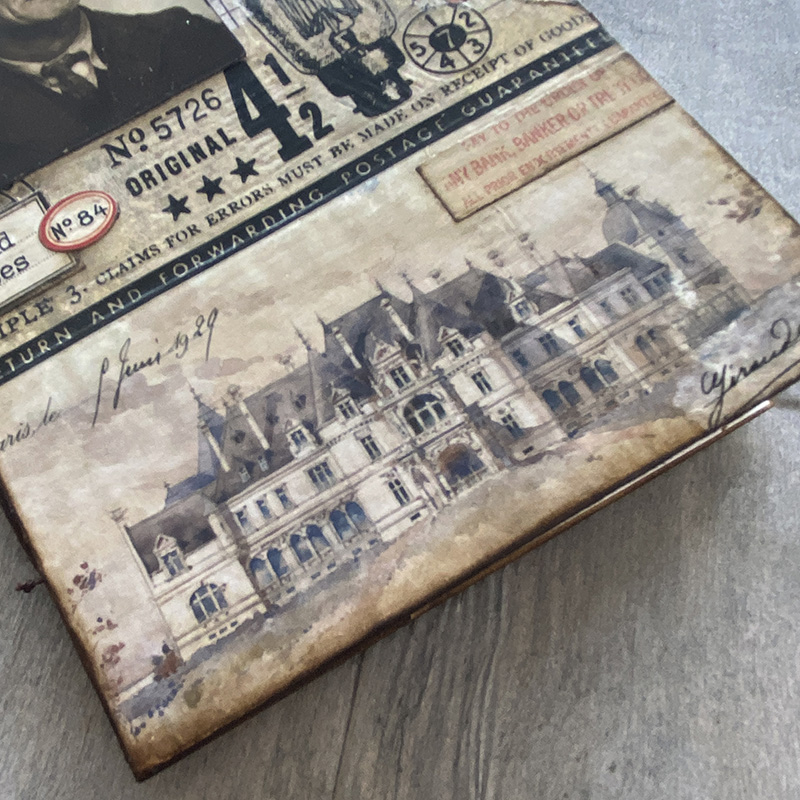
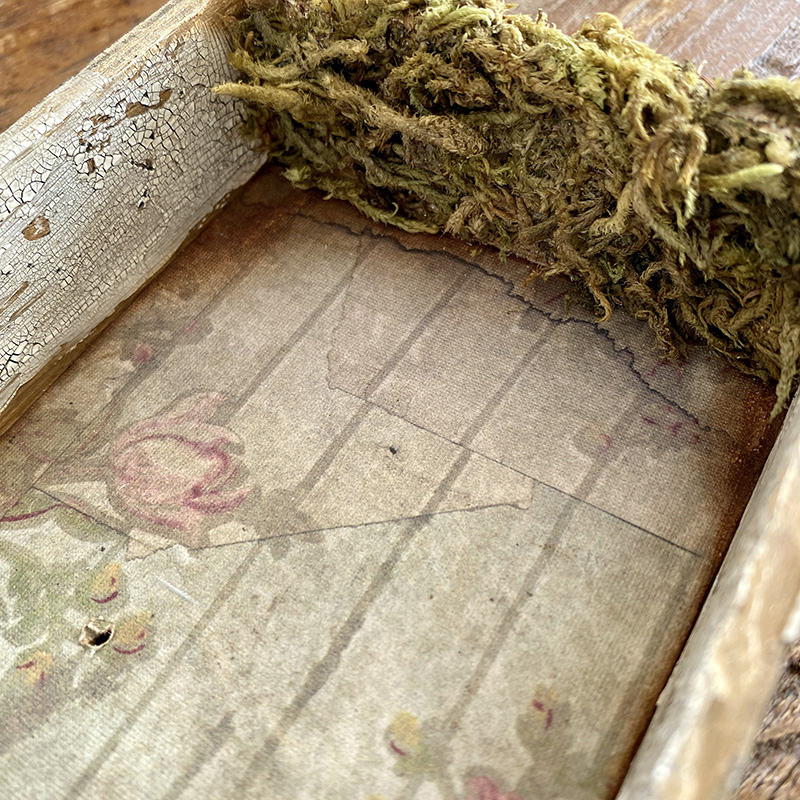
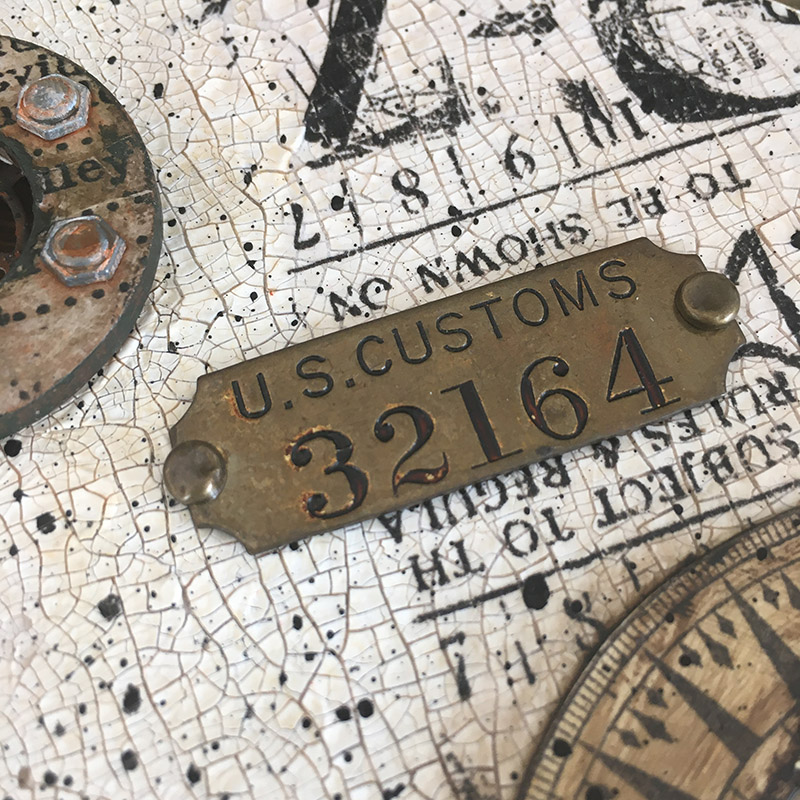
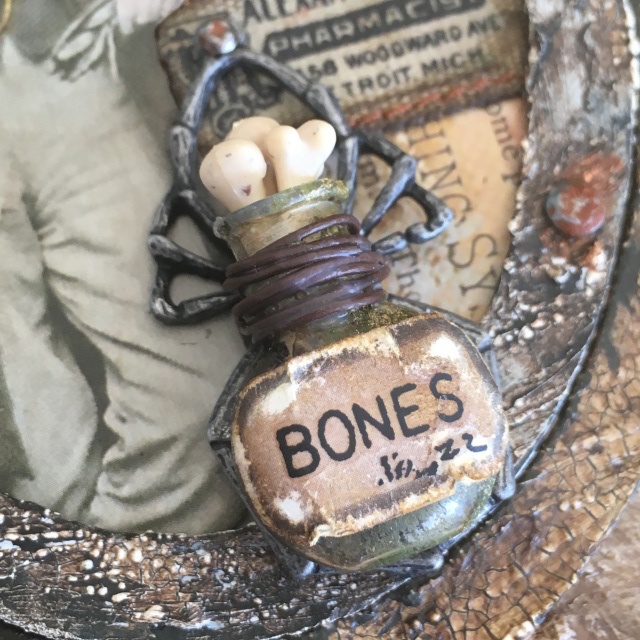
I love this piece from the idea-ology 2023 ephemera pack. I added it to the bottom of my insert cover with distress collage medium and a piece on top from the collage strips pack cut with the trimmer.
Thanks for stopping by and let me know if you have any questions.
Zoe
…
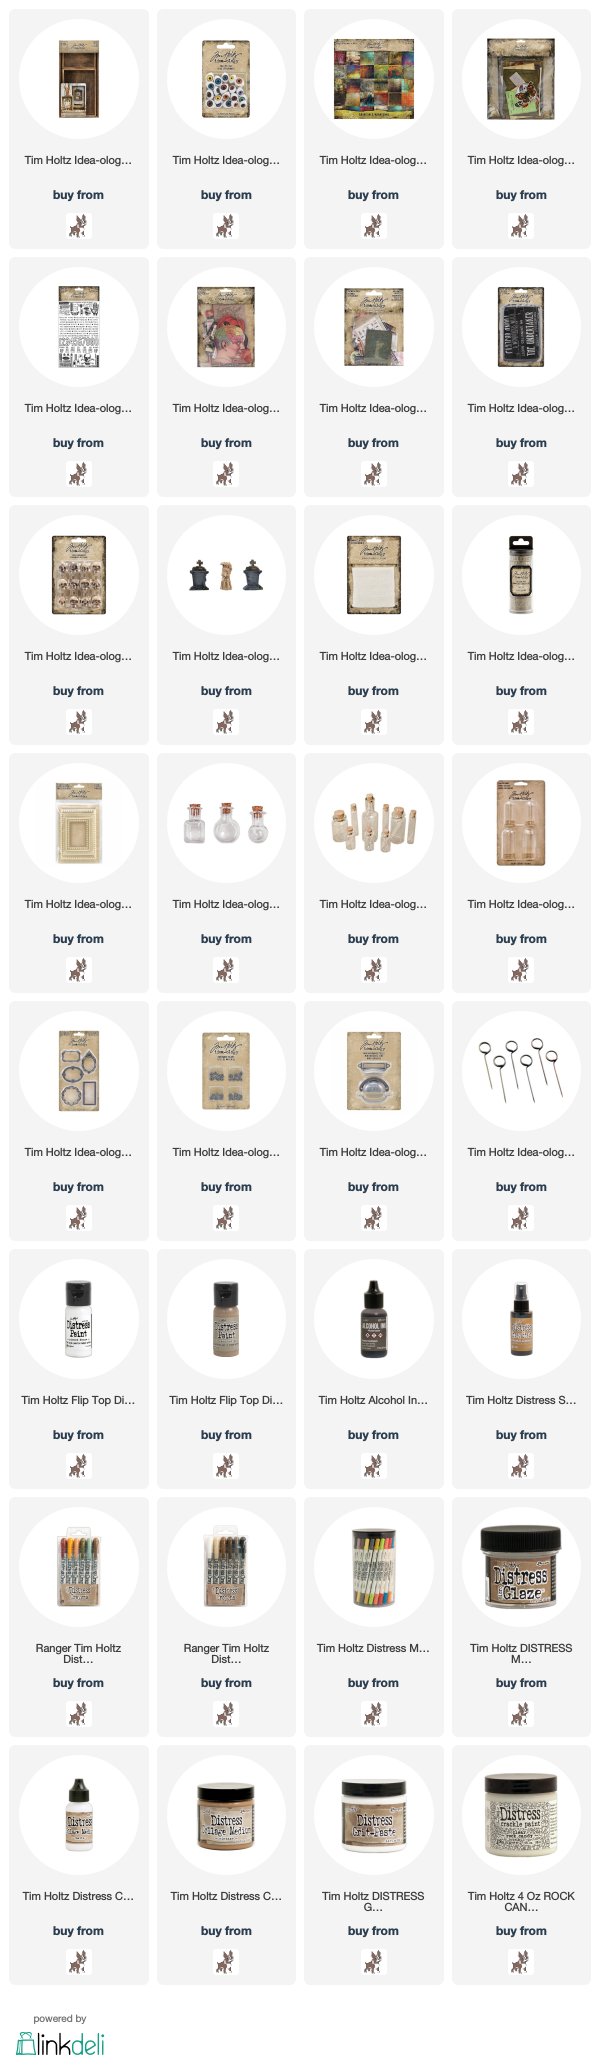
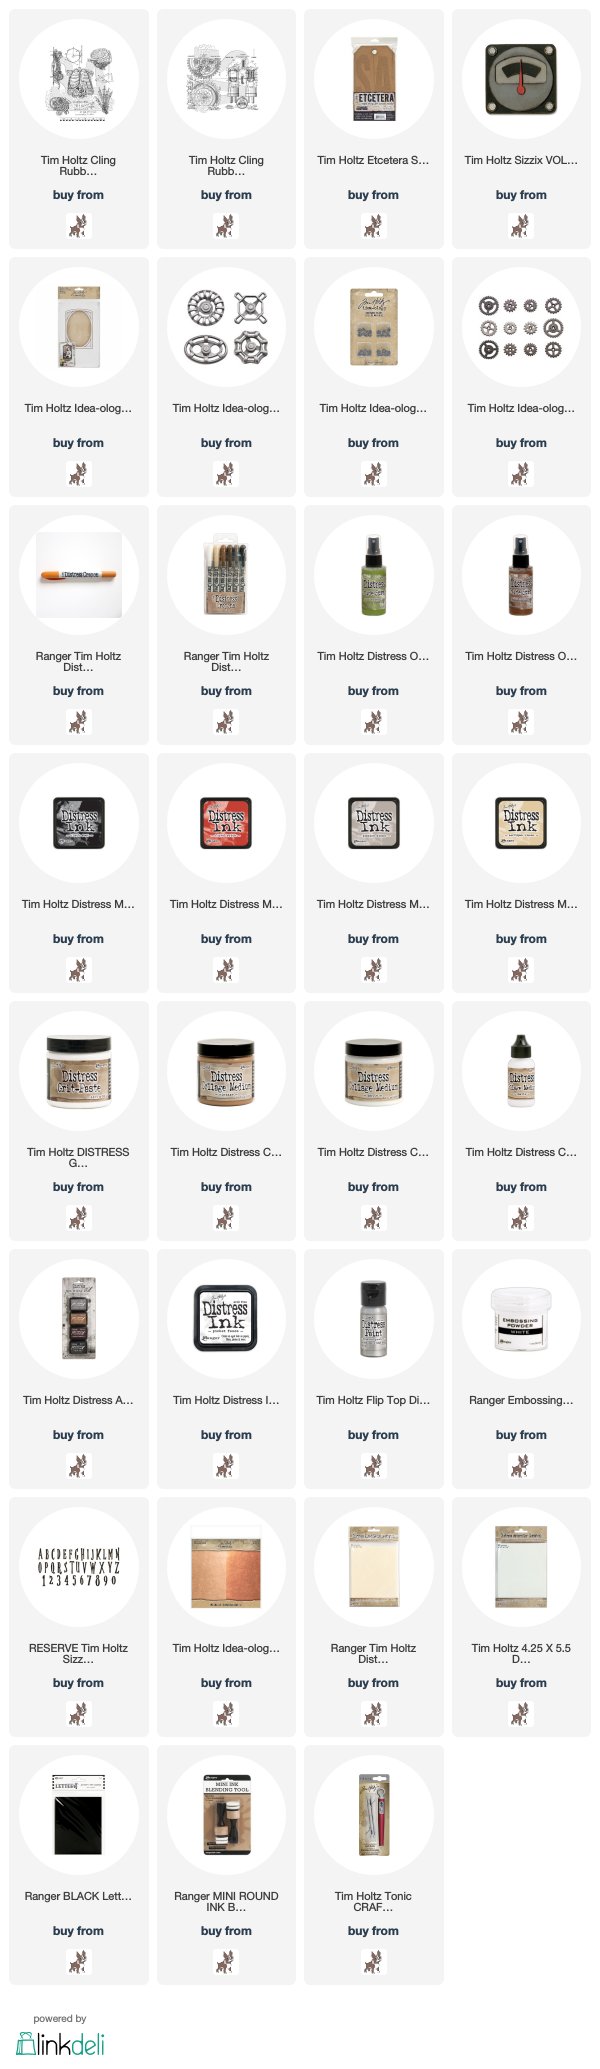
affiliate links used at no cost to you