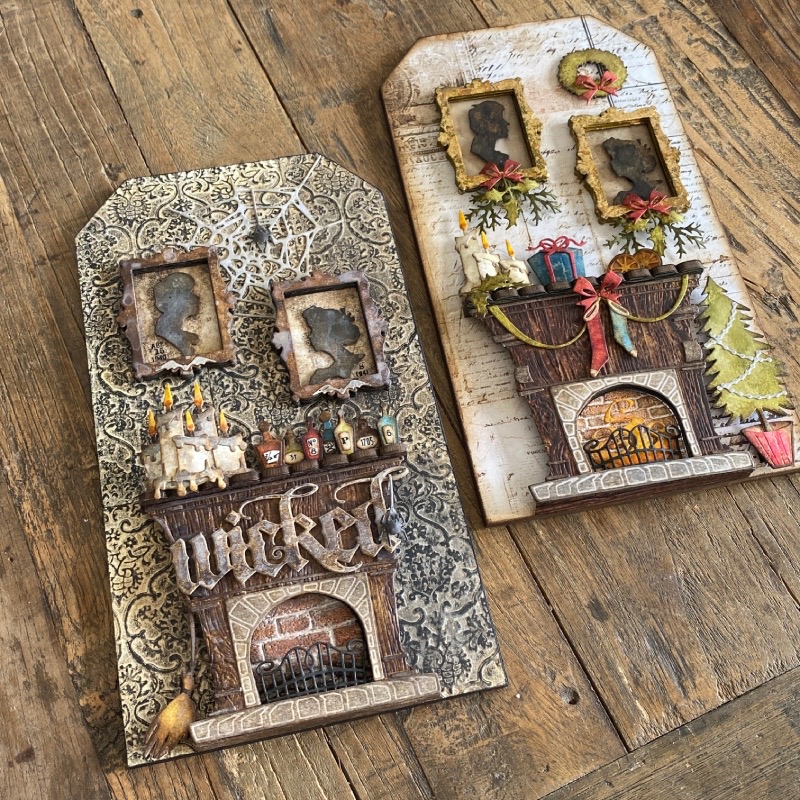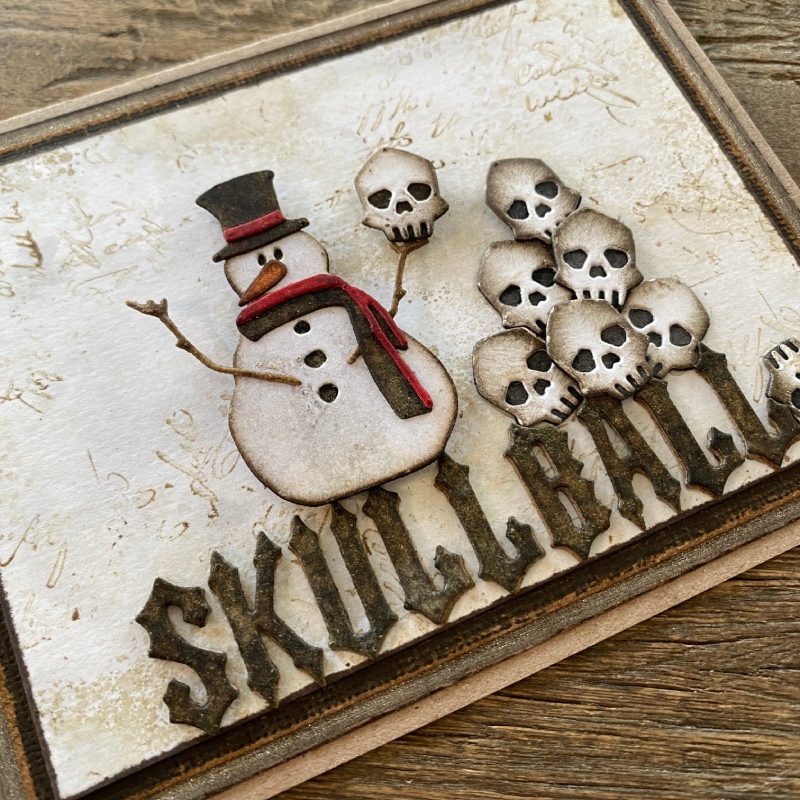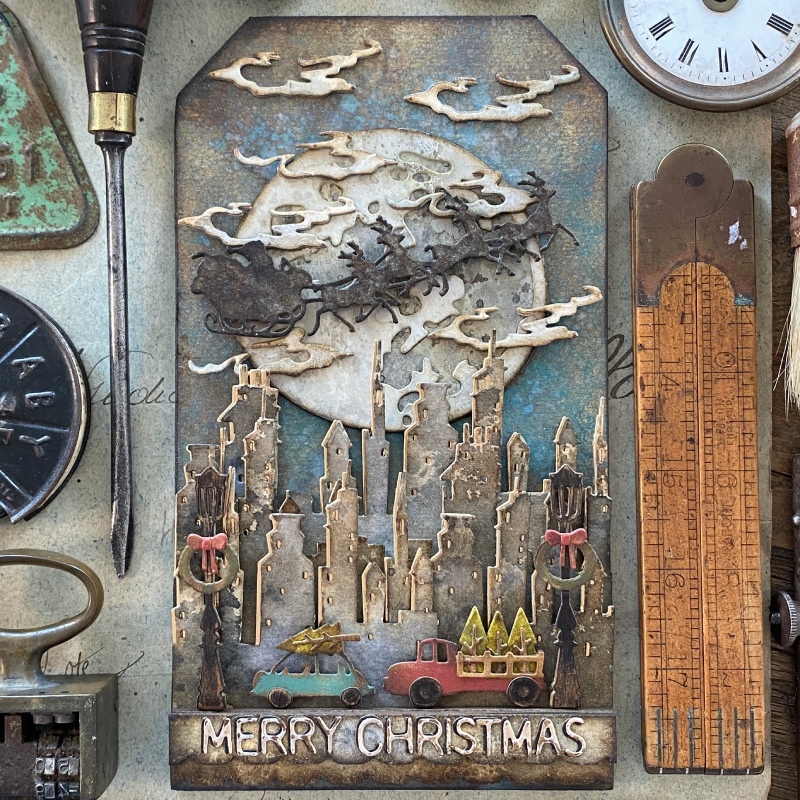
Hello friends. I’m back with the Halloween version of my Fireside sample. If you missed Fireside Christmas, you can see it HERE. I made samples for the return of some of Tim Holtz Sizzix Classics Christmas dies. Tim Holtz and Sizzix have brought some of your festive favourites back for a limited time. The Classics are retired designs re-released exactly as they were, (same size). You can catch the LIVE replay over on Tim’s blog.
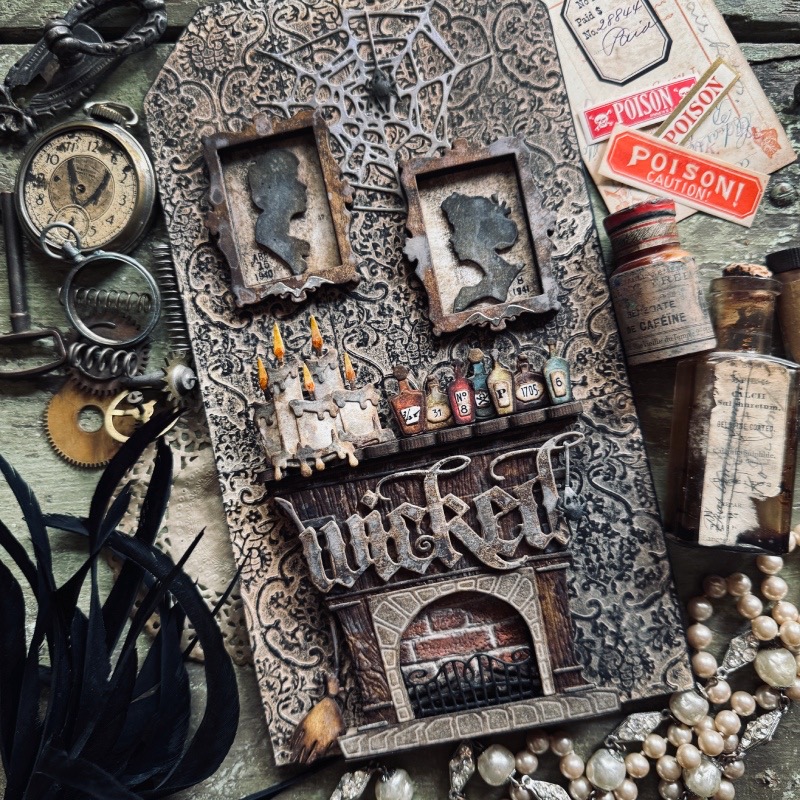
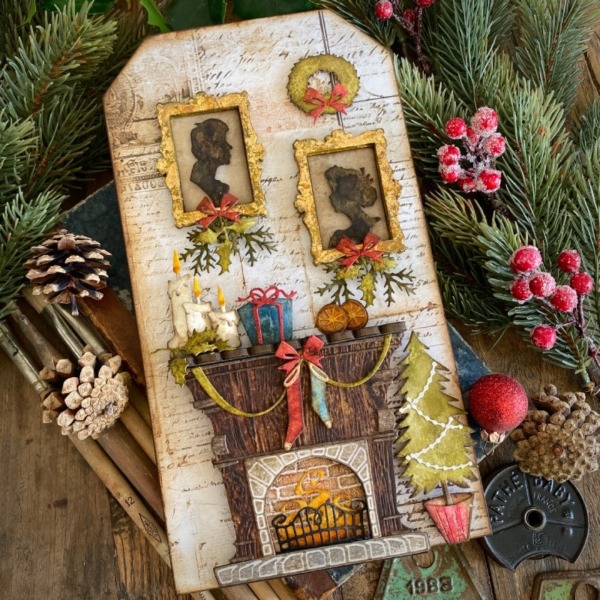
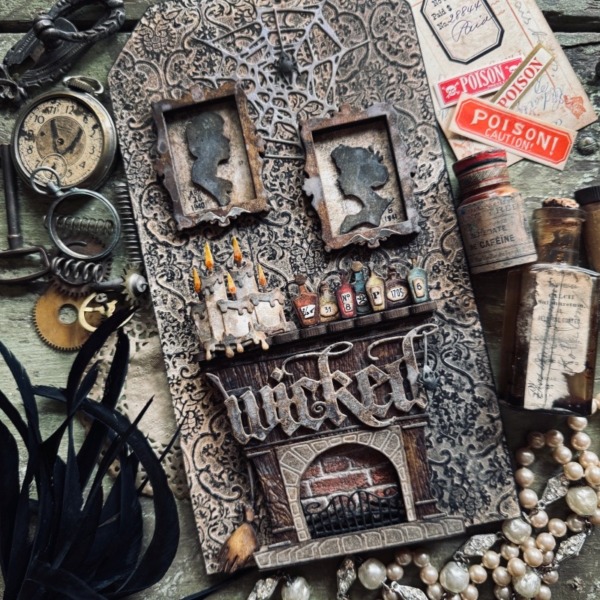
This is a make I created for the Halloween Sizzix 2024 LIVE to showcase the Halloween Vault Collection. Little did I know that the Fireside die set would be back a year later. I sent this tag to Tim for the LIVE to show that the Fireside fireplace was perfect for many seasons, including one of my personal favourite seasons, Halloween. I did’t get time to post this make last year so here it is, let’s get into the details…
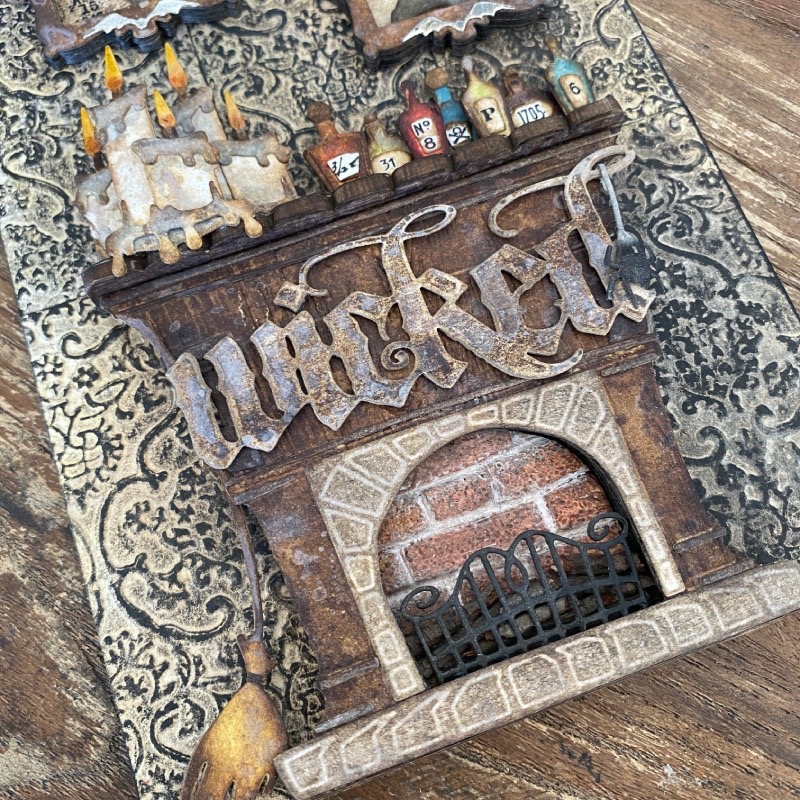
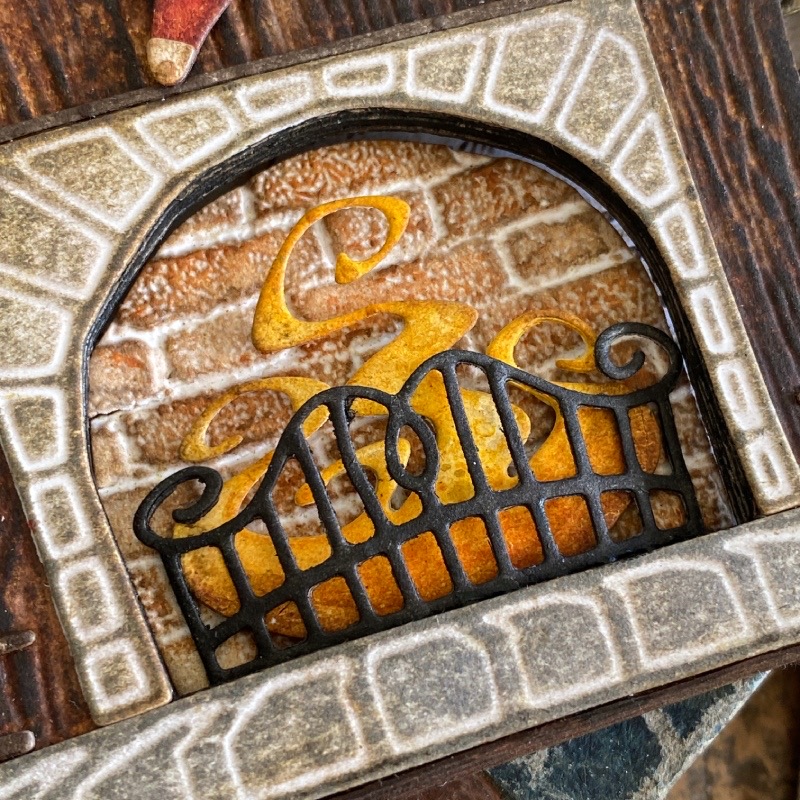
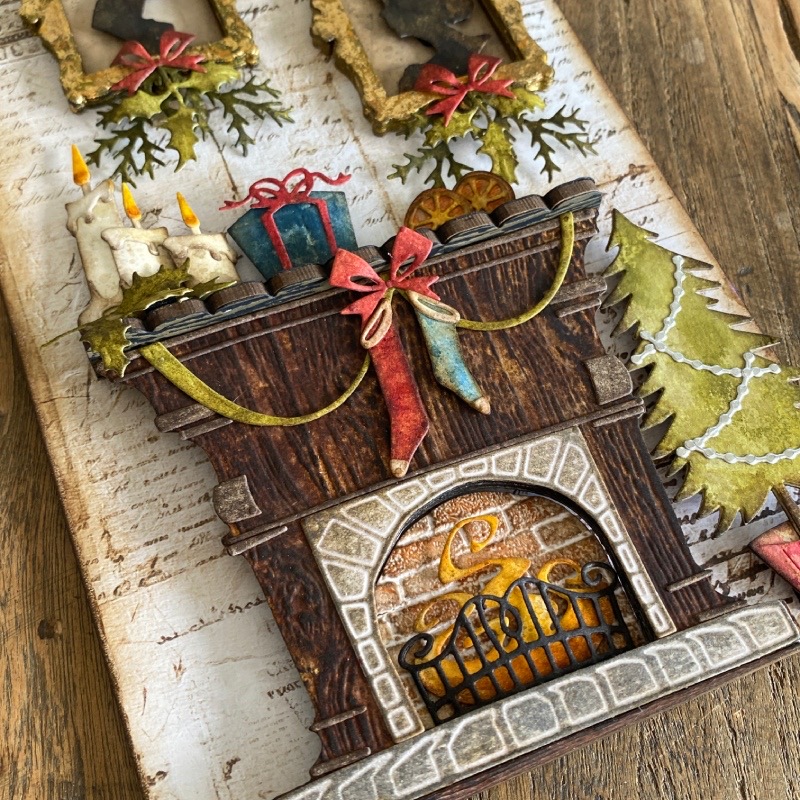
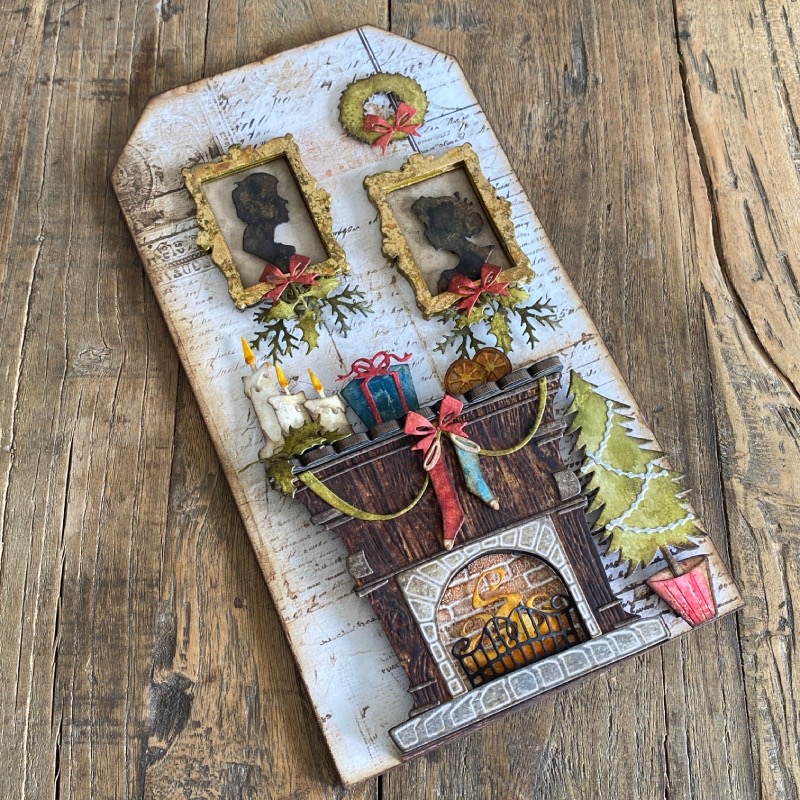
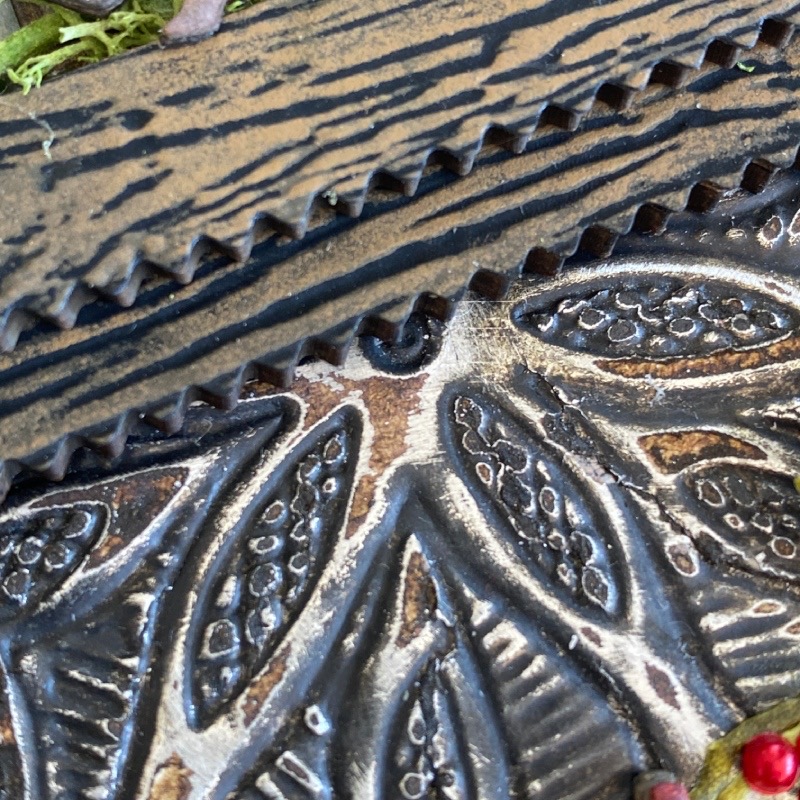
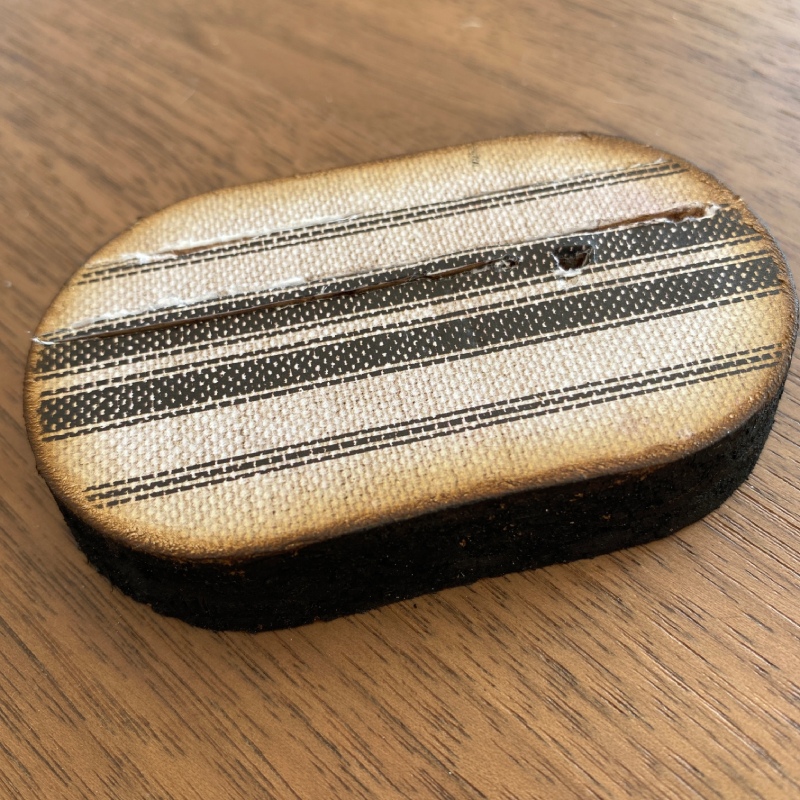
Like with my Fireside Christmas tag, I die cut the fireplace from Distress watercolor cardstock and embossed with the Lumber embossing folder (the A5 folder didn’t exist at the time) and inked with Distress inks.
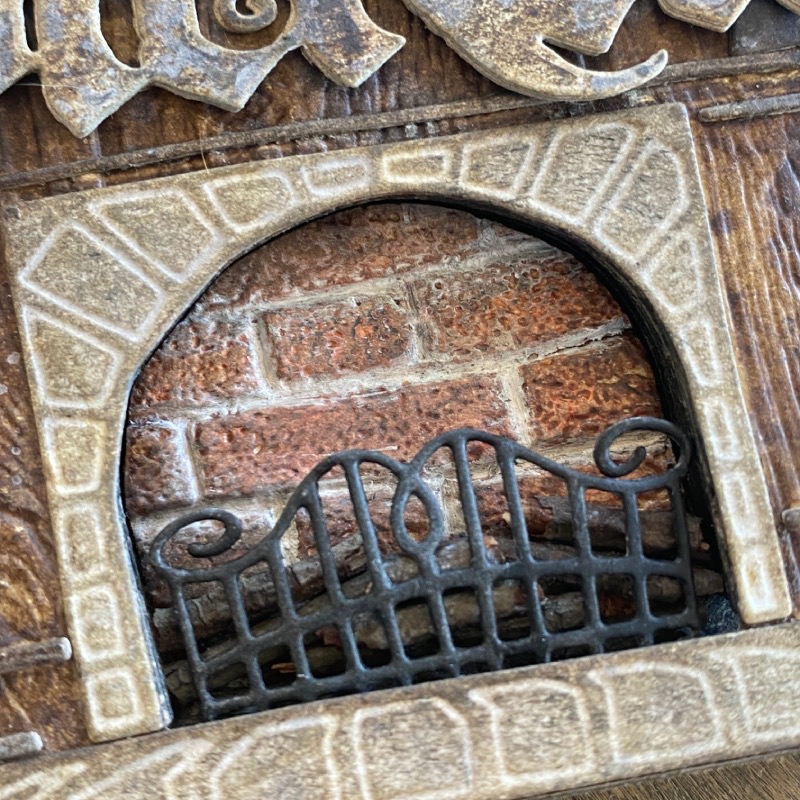
I left out the flames with this fireplace as I wanted it to be cold and spooky in contrast to the warm roaring fireplace in my Fireside Christmas tag. Just leaving out the flames die cut gives such a different vibe to the same die set. I also added a few real sticks behind the fire grill to emulate stacked logs.
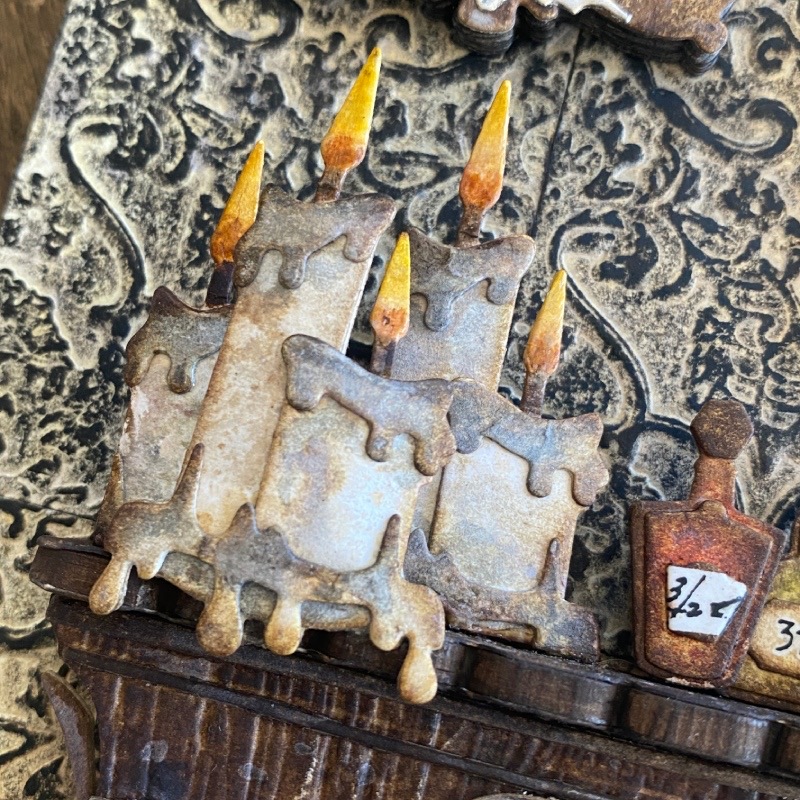
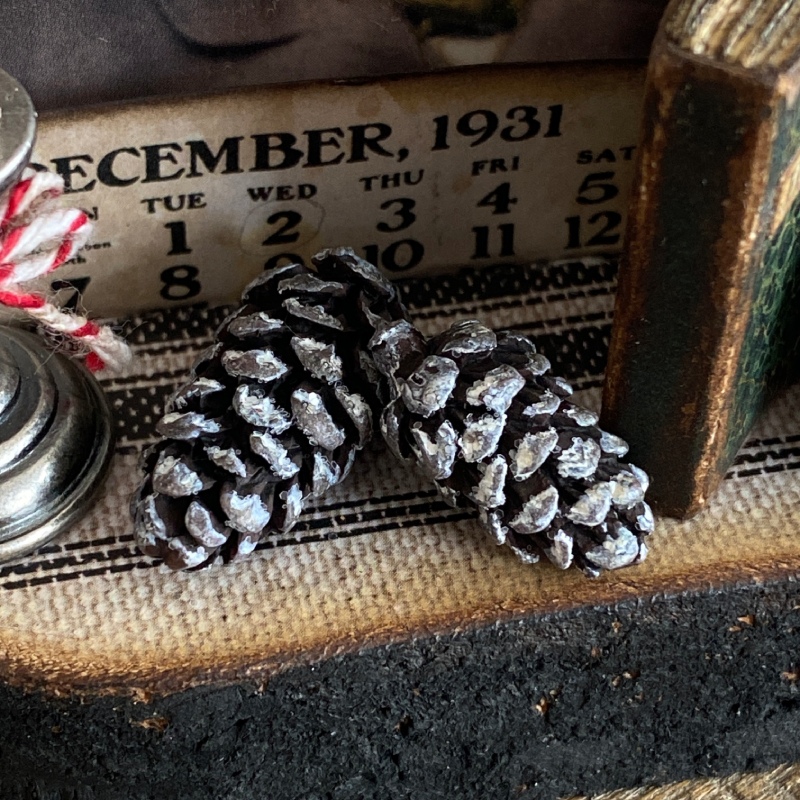
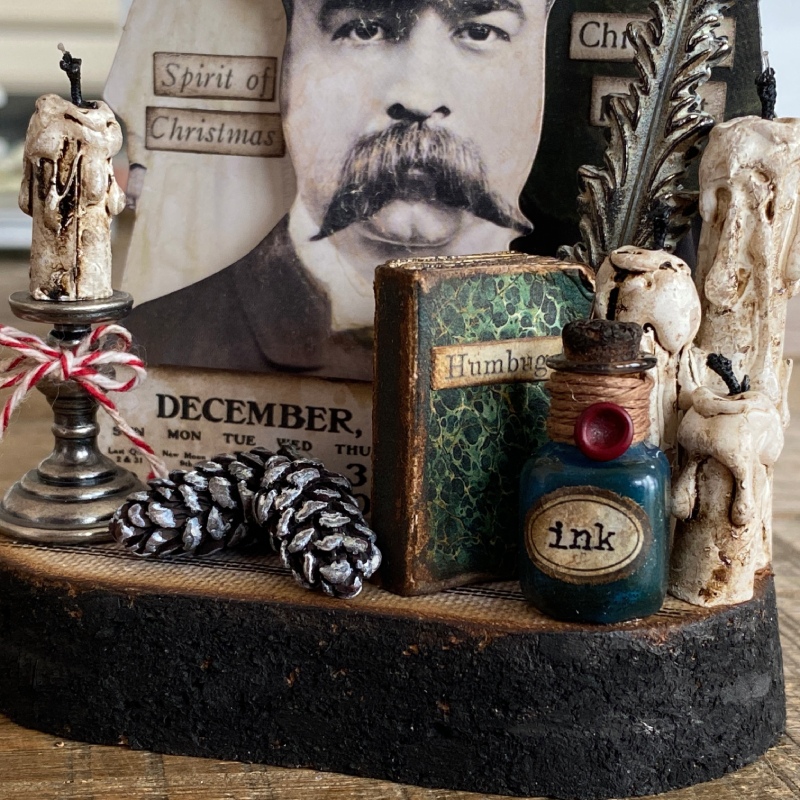
Again I used the candle dies from the Vault Festive Wreath die set. Cutting multiple sets that I layered using the Simon Says Stamp 3D foam squares. I made these a little darker and sootier than the candles in the Fireside Christmas tag.
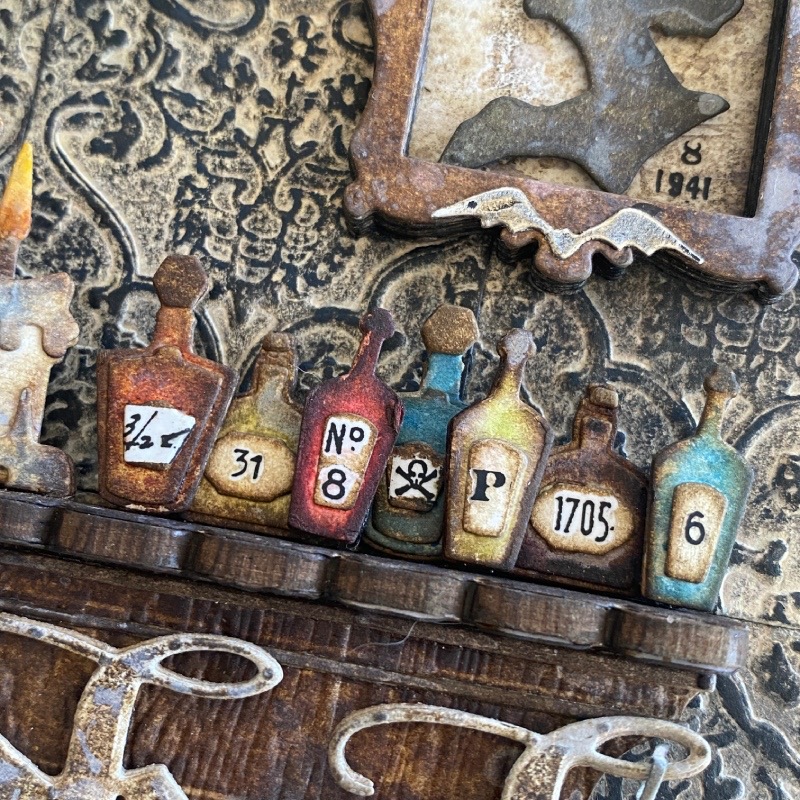
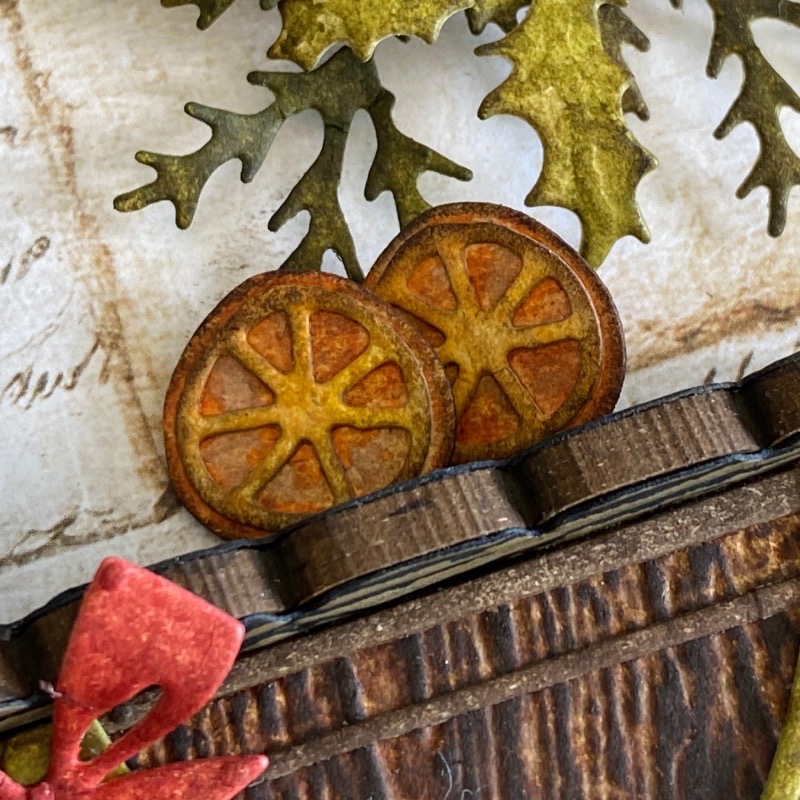
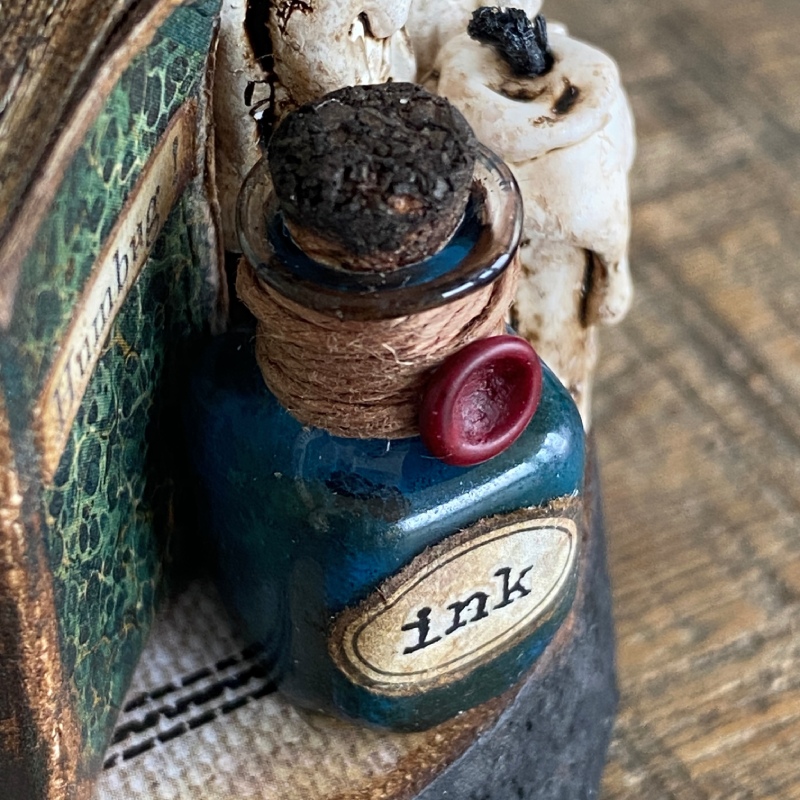
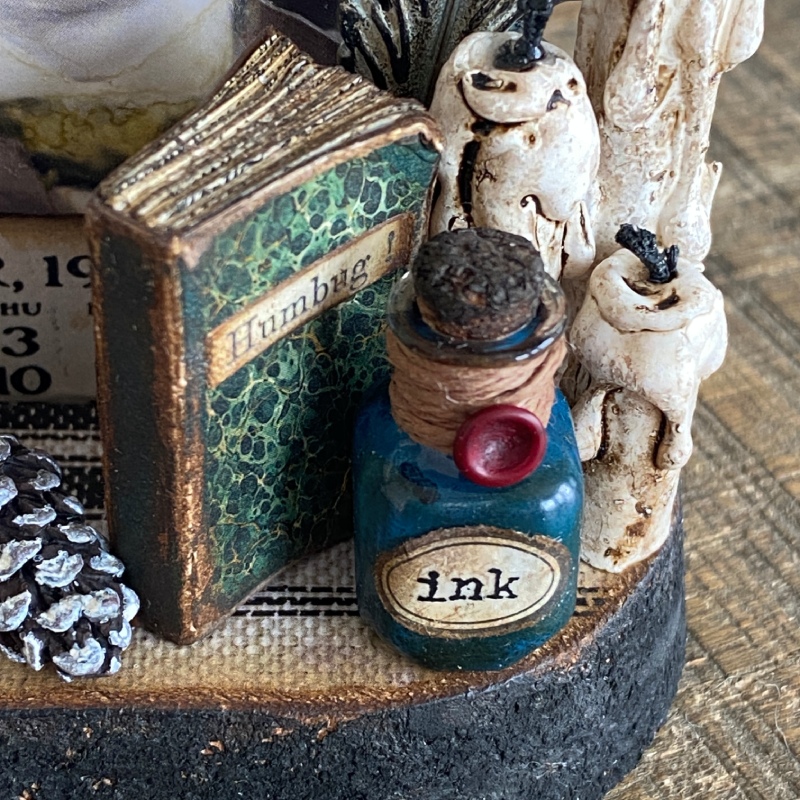
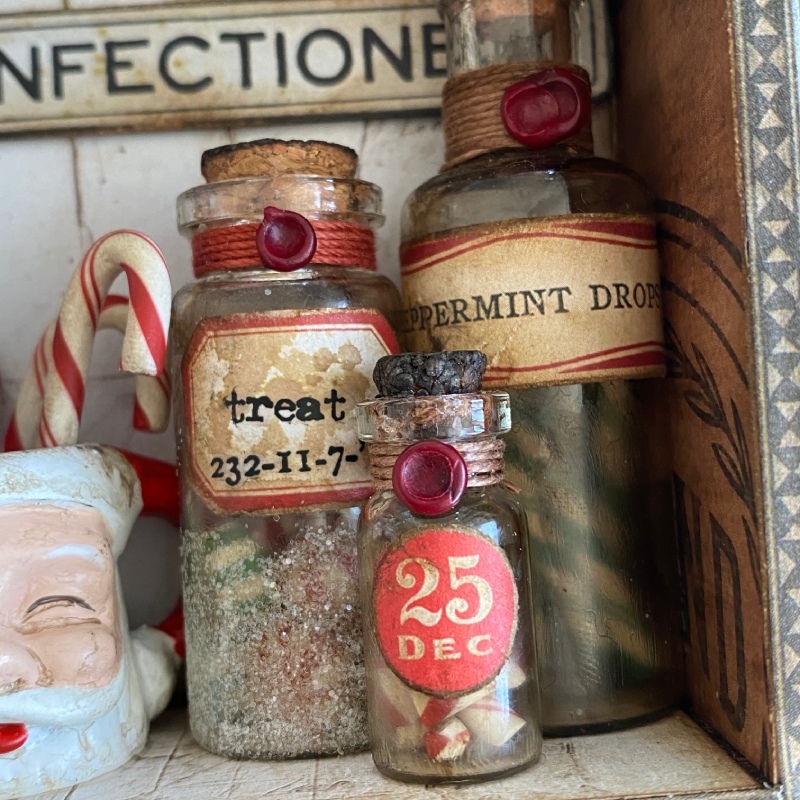
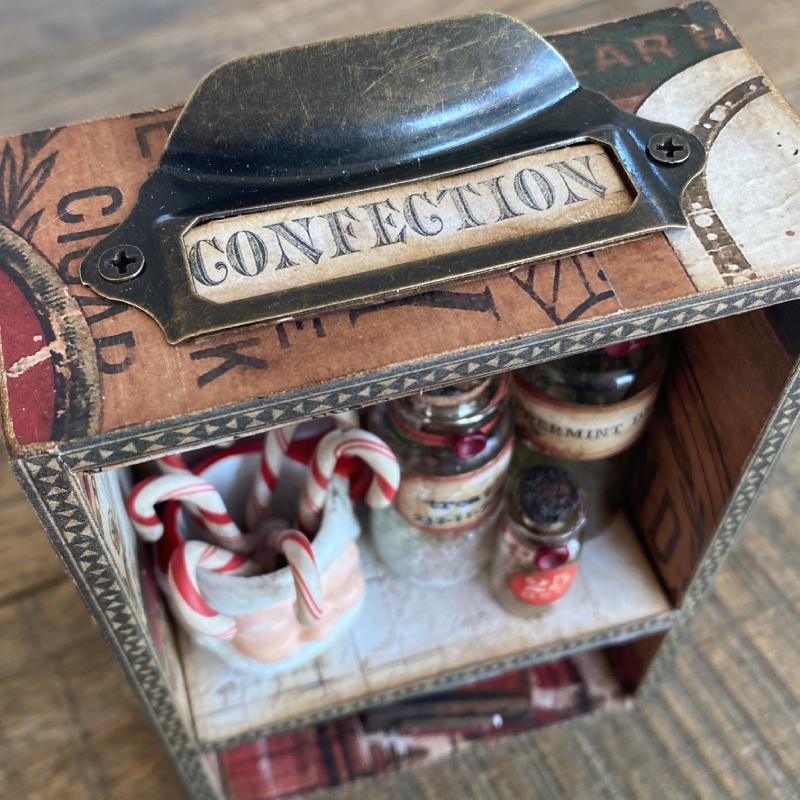
Instead of a wrapped Christmas gift and orange slices, I die cut lots of tiny potion bottles from the Vault Wicked die set, inked with Distress inks and added (retired) remnant rubs to create the labels.

Instead of the potted Christmas tree, I added a witches broomstick (from the Vault Wicked die set) leaned up against the fireplace.
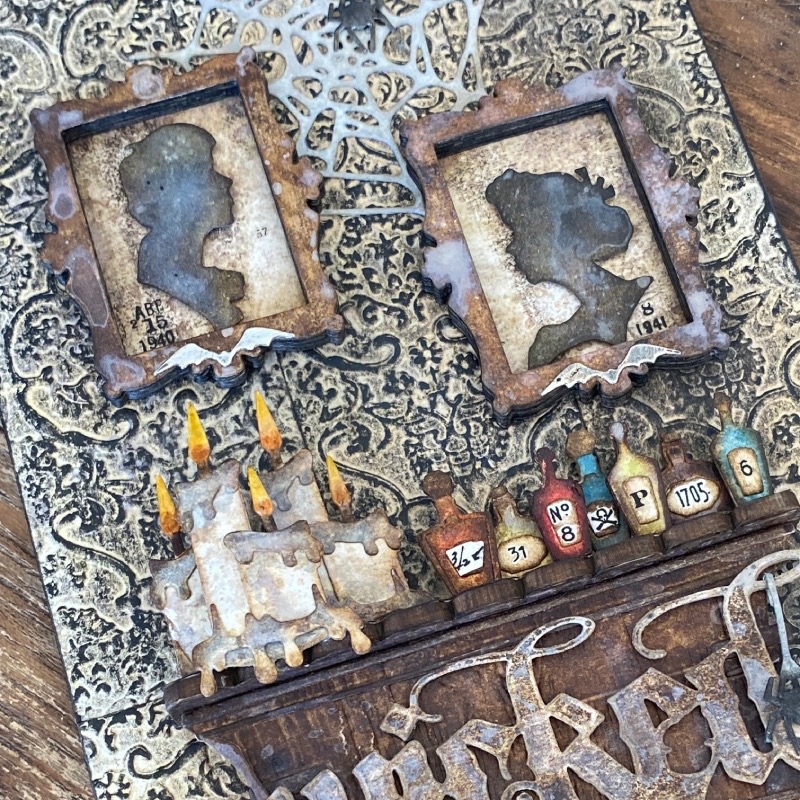
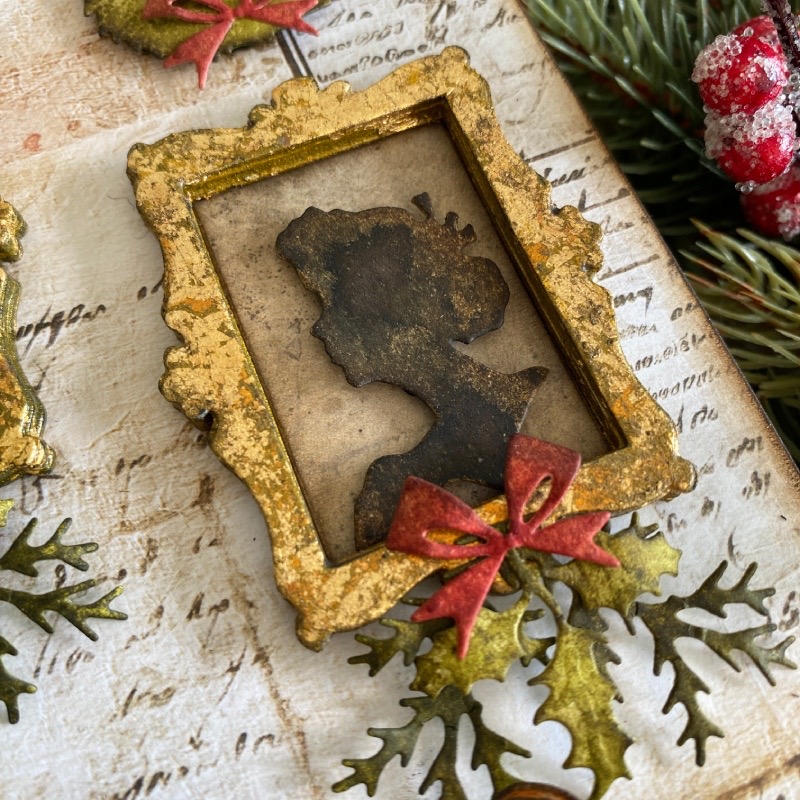
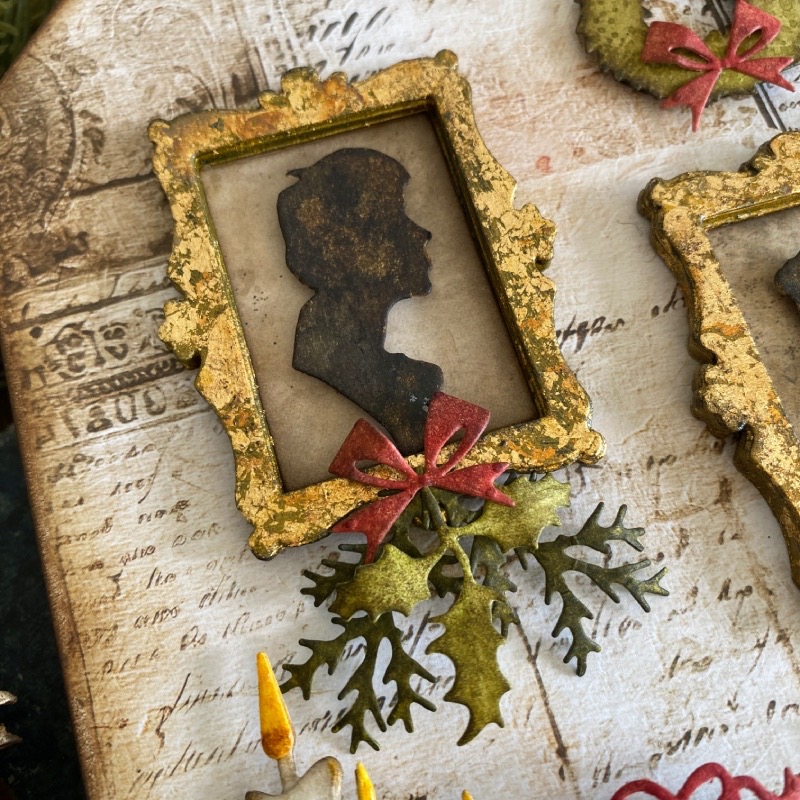
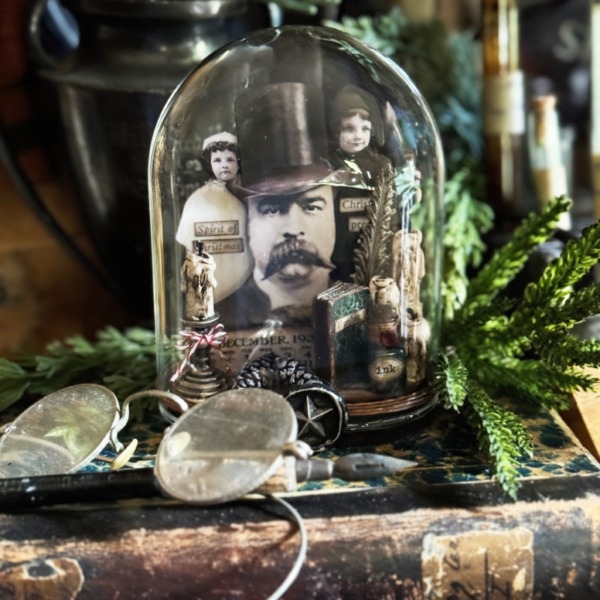
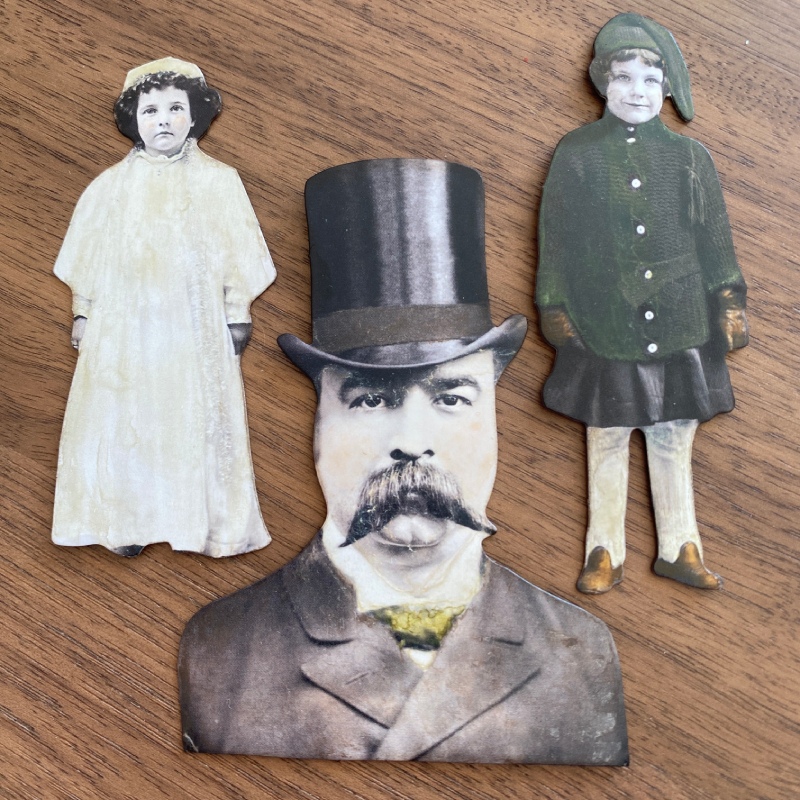
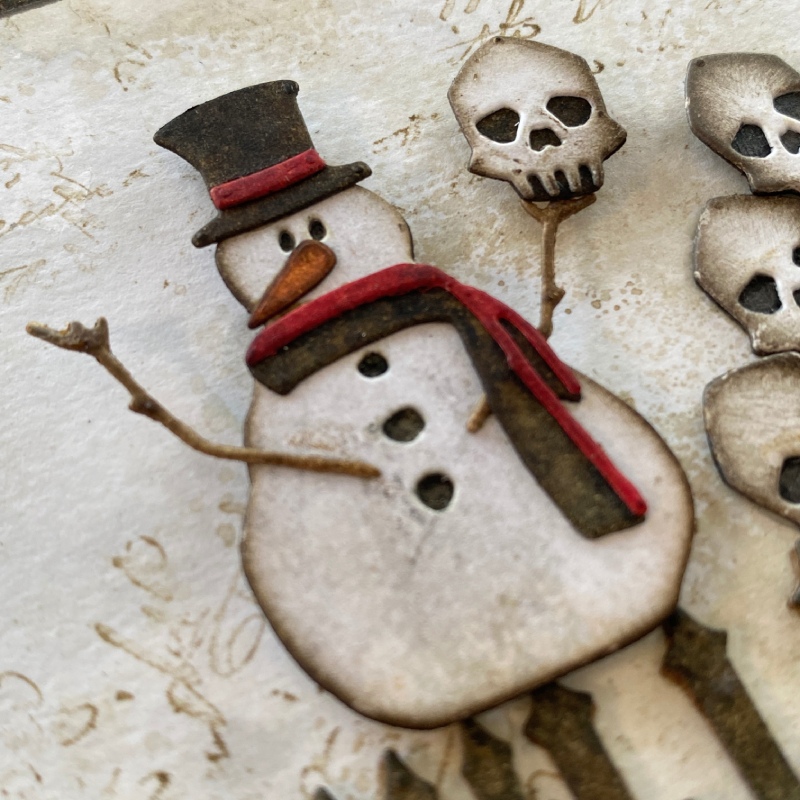
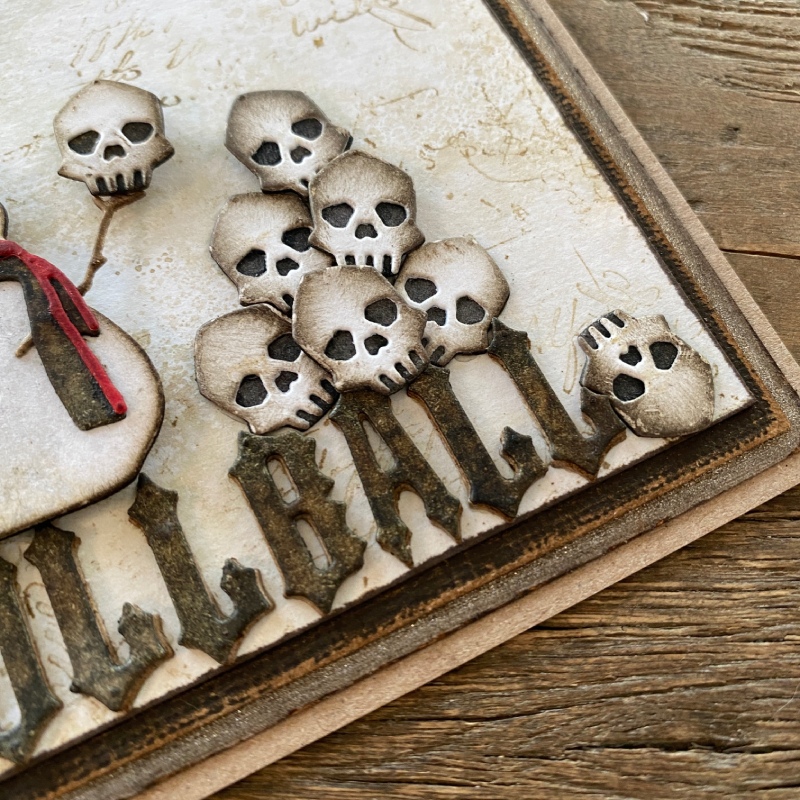
The frames and portraits from the Vault Boutique and Vault Gothic Portraits were adorned with bats instead of festive foliage for a more spooky look. I absolutely love taking dies from my collection and changing them up by adding a simple bat or some foliage to create a seasonal vibe.
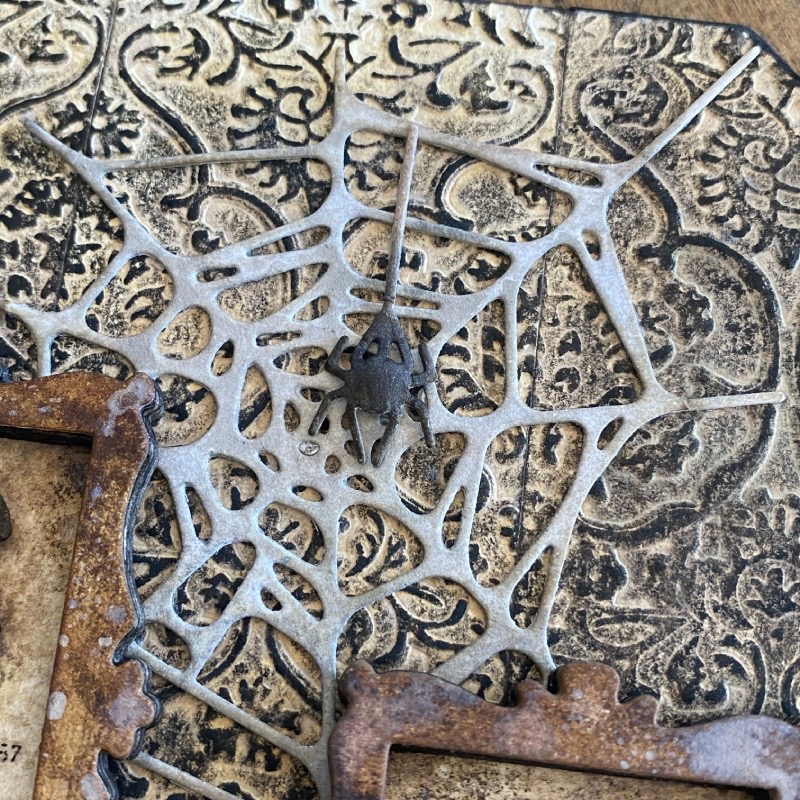
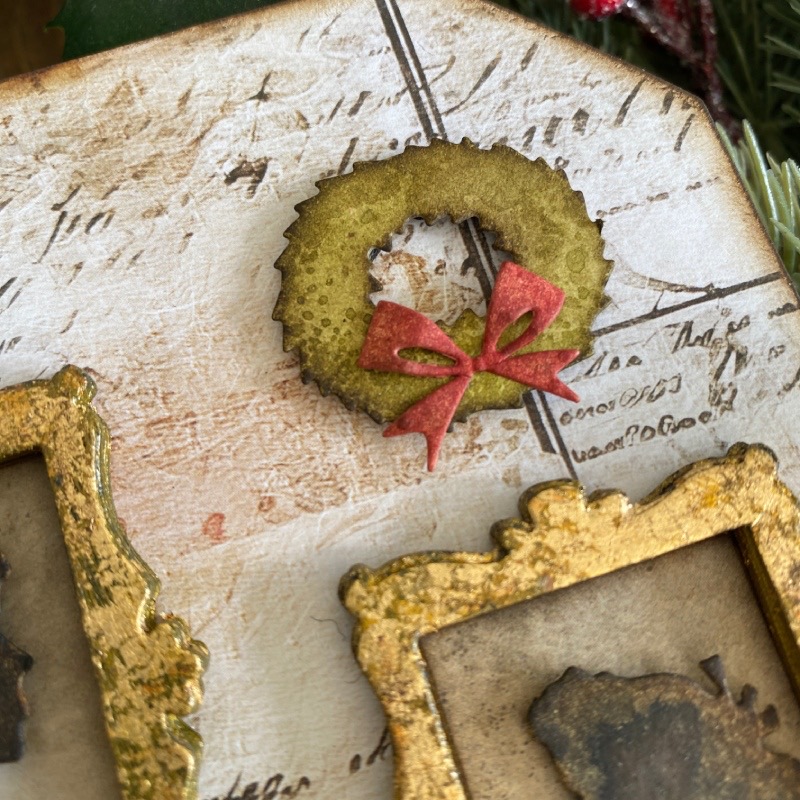
On my Fireside Christmas tag I added a wreath above the portrait frames and for this Fireside Halloween tag, of course it had to be a cobweb, complete with a spider from the Vault Fright Night die set.
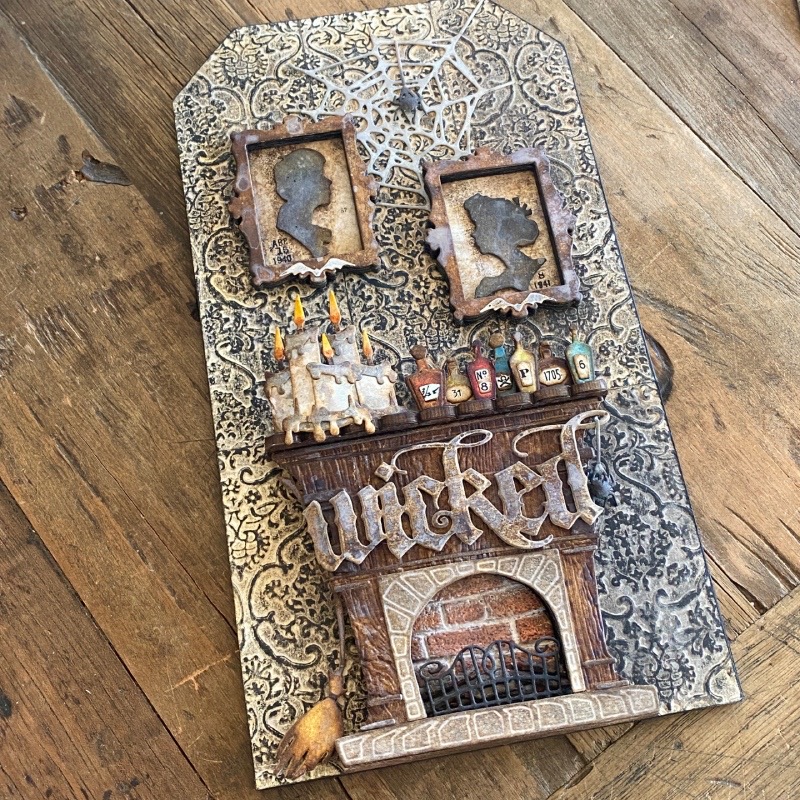
The background from this tag was embossed with the Tapestry embossing folder with Distress watercolor cardstock. I would LOVE to see this folder in an A5 size (pretty please Tim).
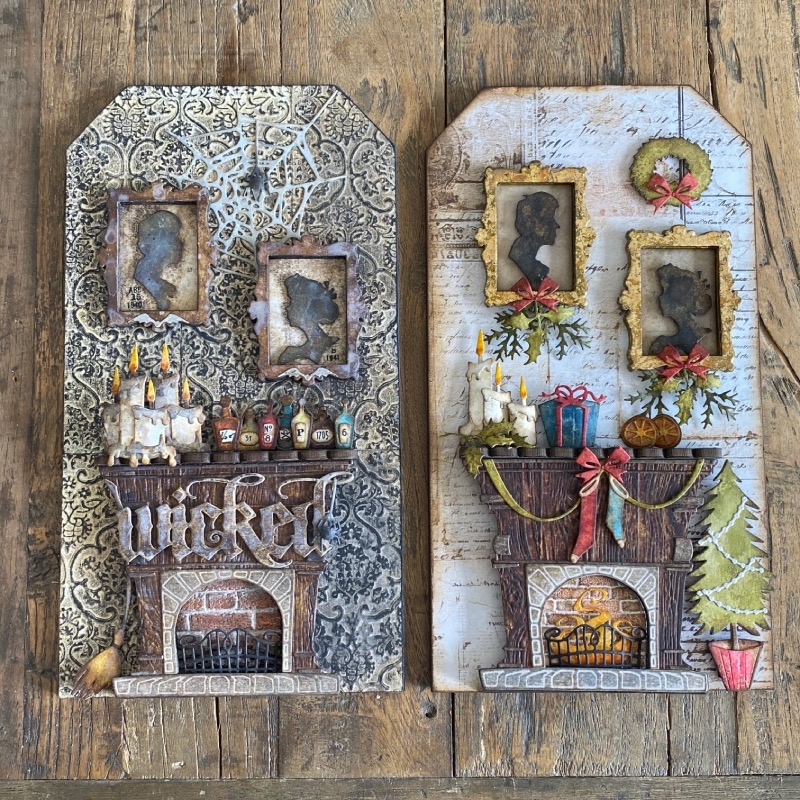
I hope you’ve enjoyed the Fireside Christmas and Fireside Halloween samples and that some part of them has inspired you to make something. I’ll be back with a how to for building up the back of the fireplace.
Thanks for stopping by and as always, let me know in comments if you have any questions.
Zoe
…
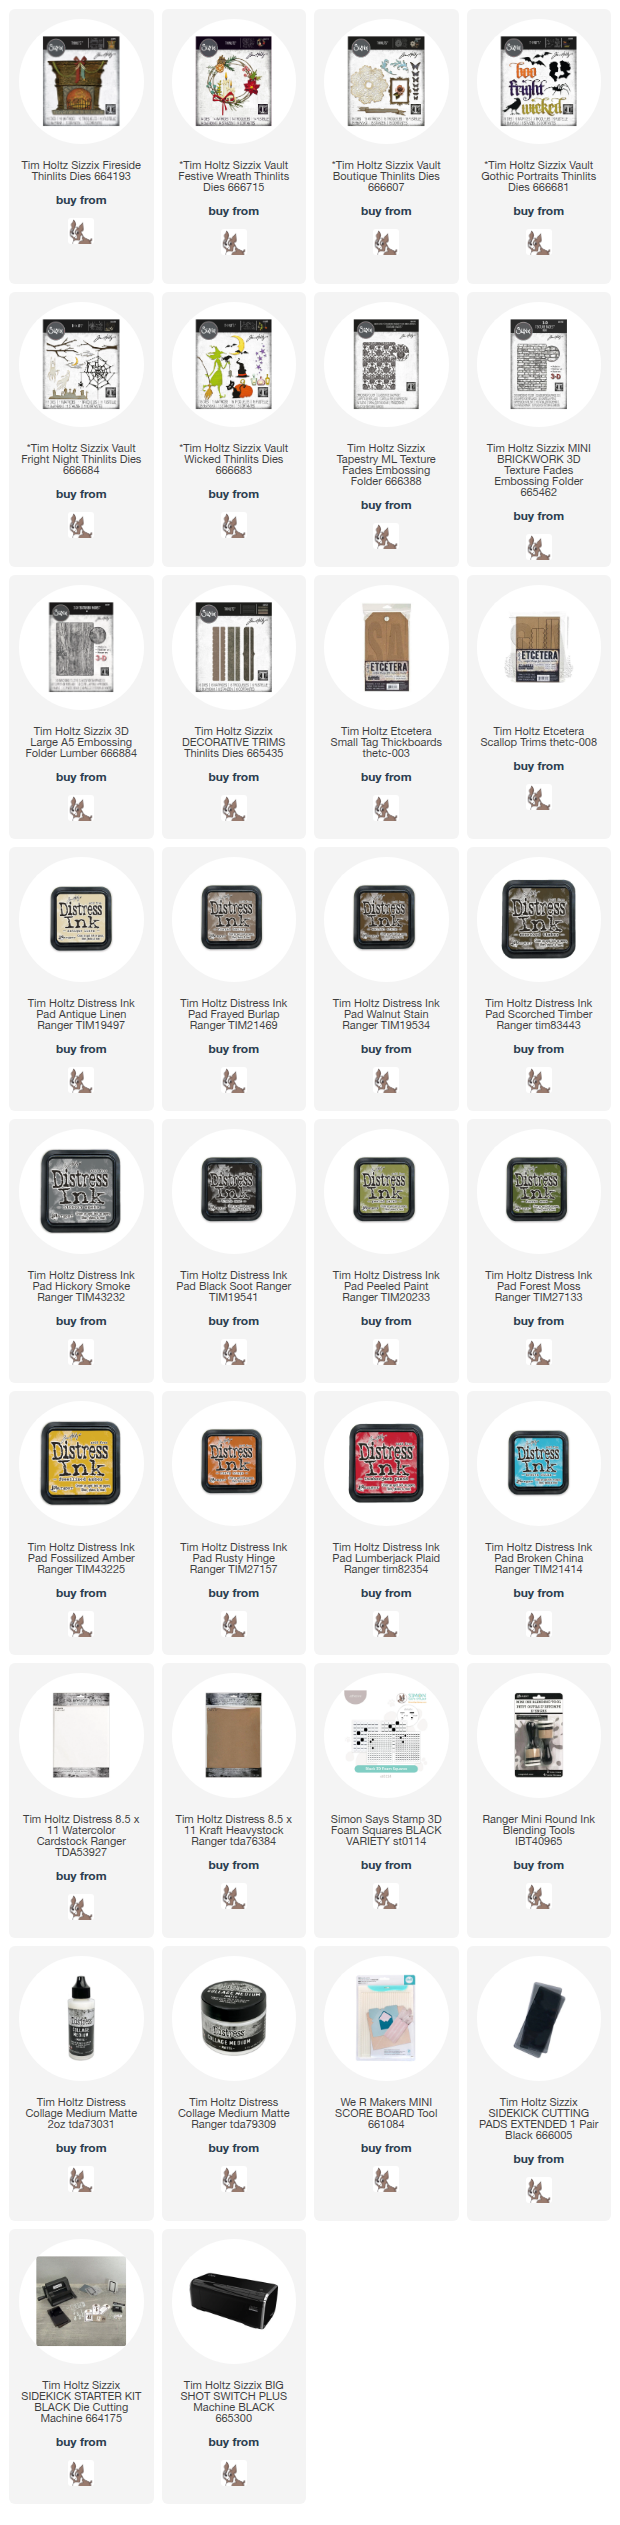
The products used to create this project are listed below. Thank you for supporting me by using my affiliate links to shop, at no cost to you. I really appreciate it.