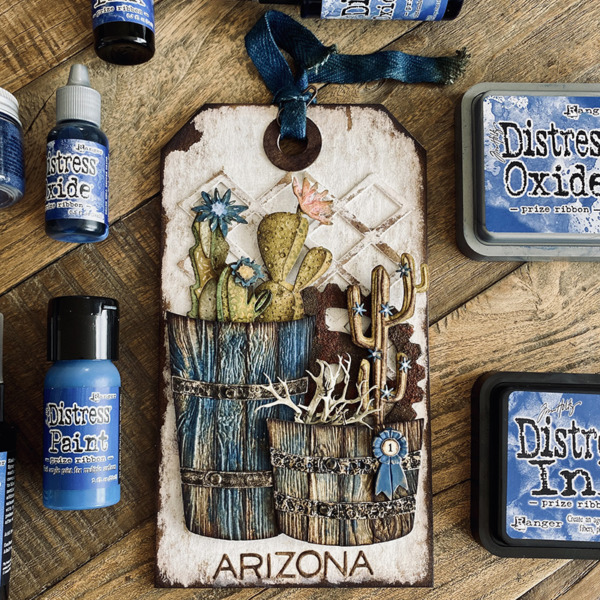
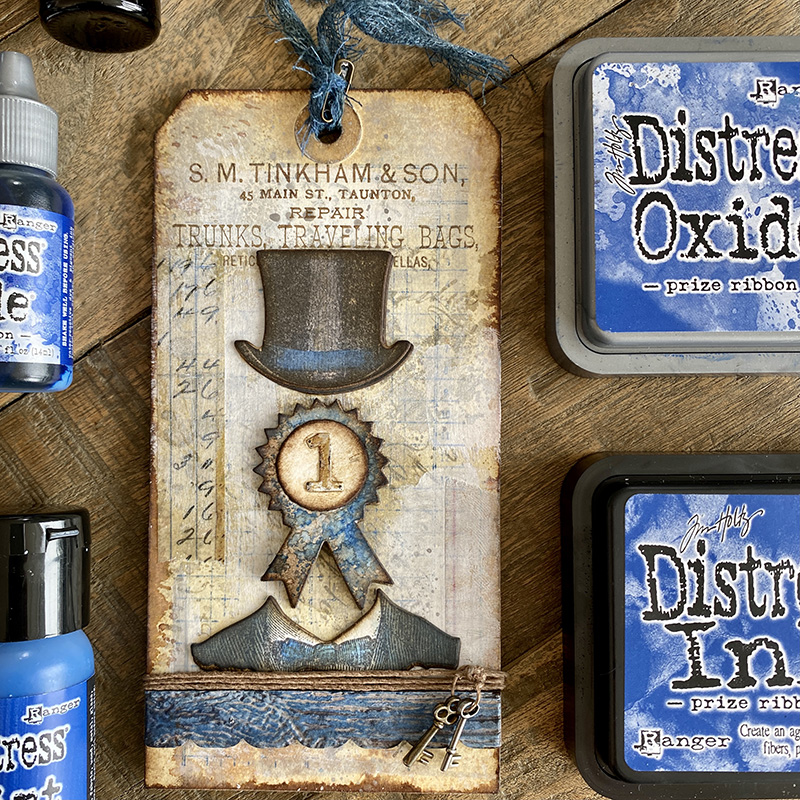
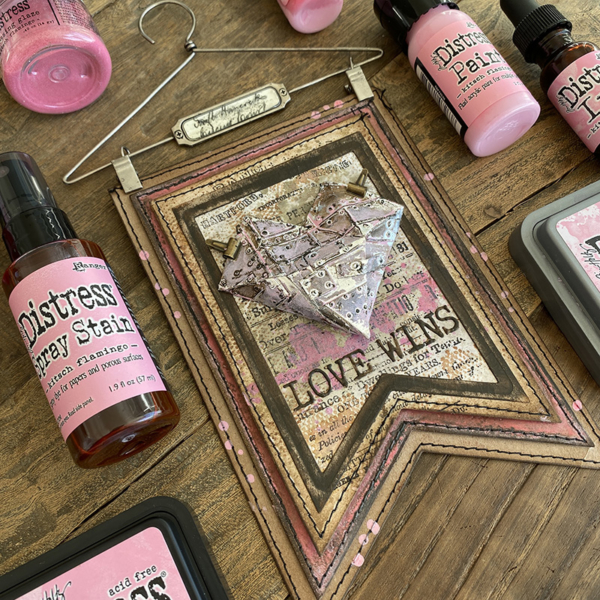
Hello Friends. Hope you had a prize ribbon winning weekend! Sorry, I just can’t stop with this! LOL … I wanted to share a few close ups of a card I made for the Tim Holtz new distress LIVE Launch of Prize Ribbon. To watch the launch, see the comparison swatches and other makes, head over to Tim’s blog.
Tim keeps creating these amazing chameleon distress colors and prize ribbon is another amazing one you didn’t know you wanted but now you need! The wicking on this ink is insane! It really is. If you have played with it already, you’ll know exactly what I mean. Here are a few more details…
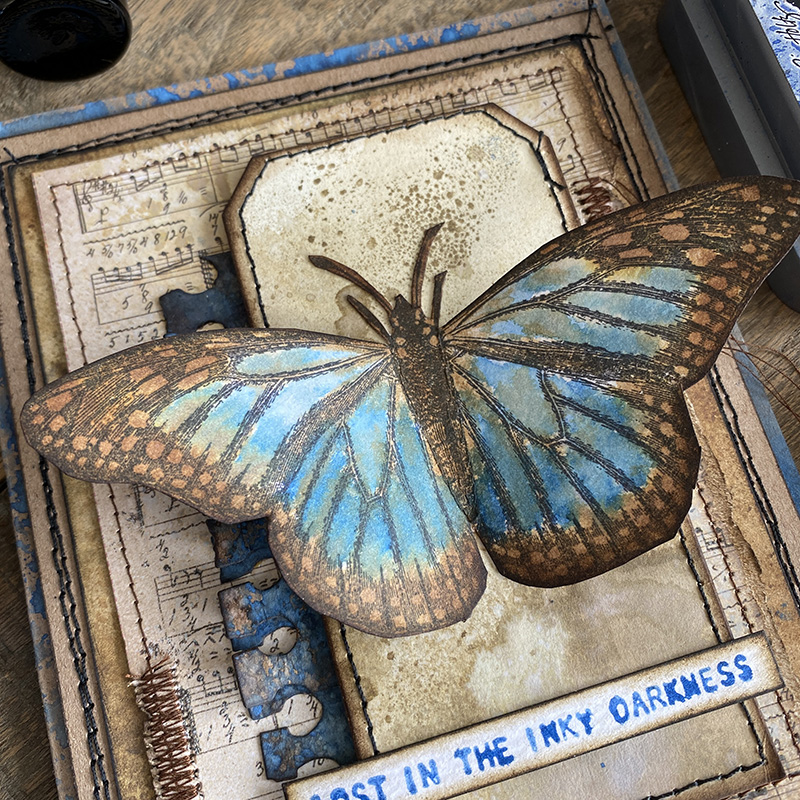
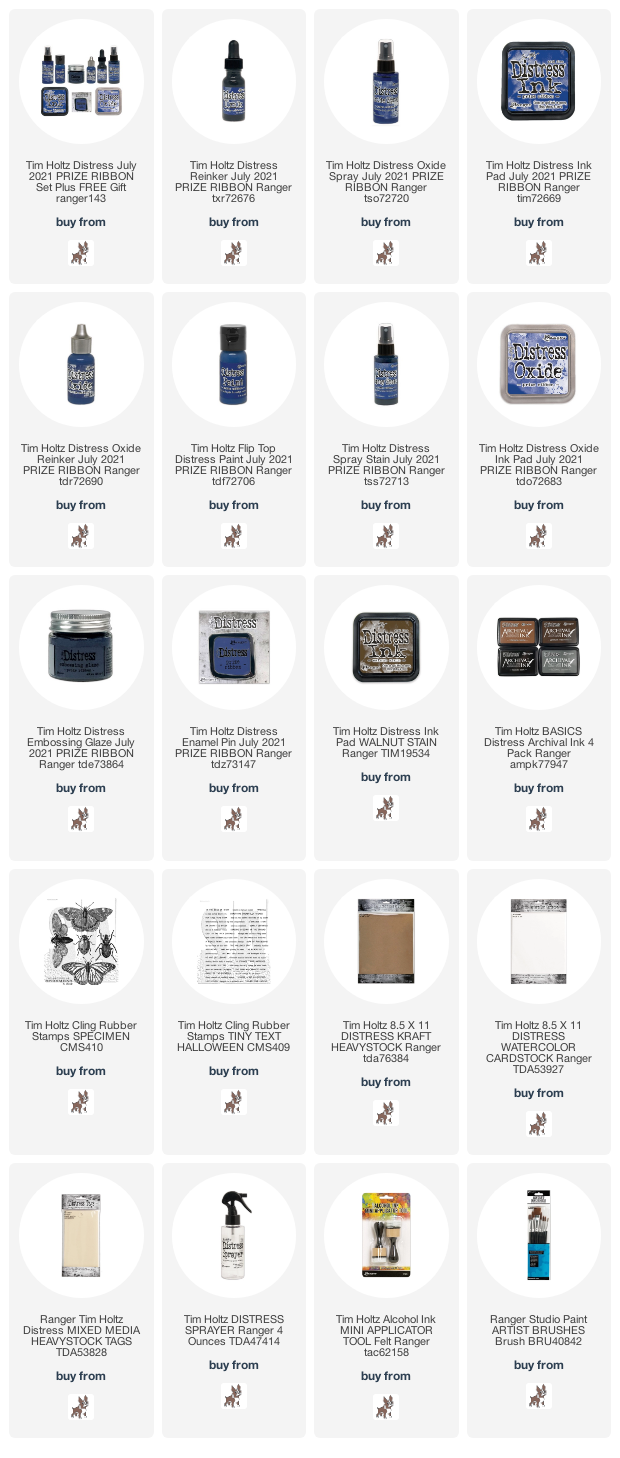
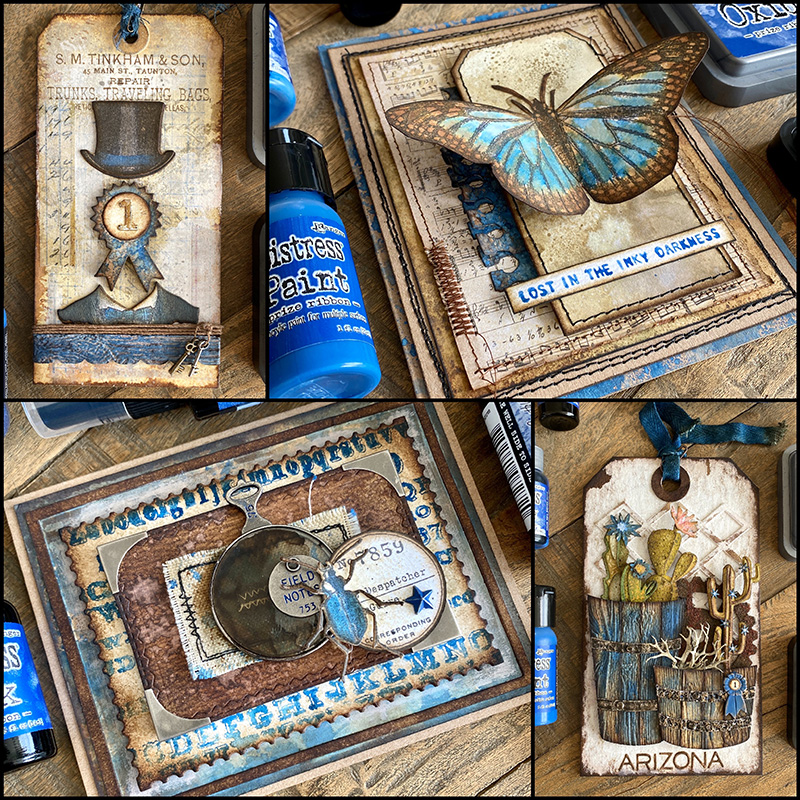
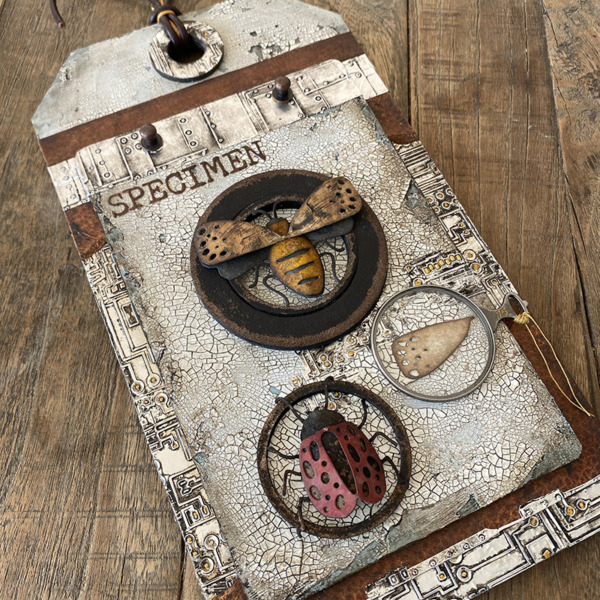
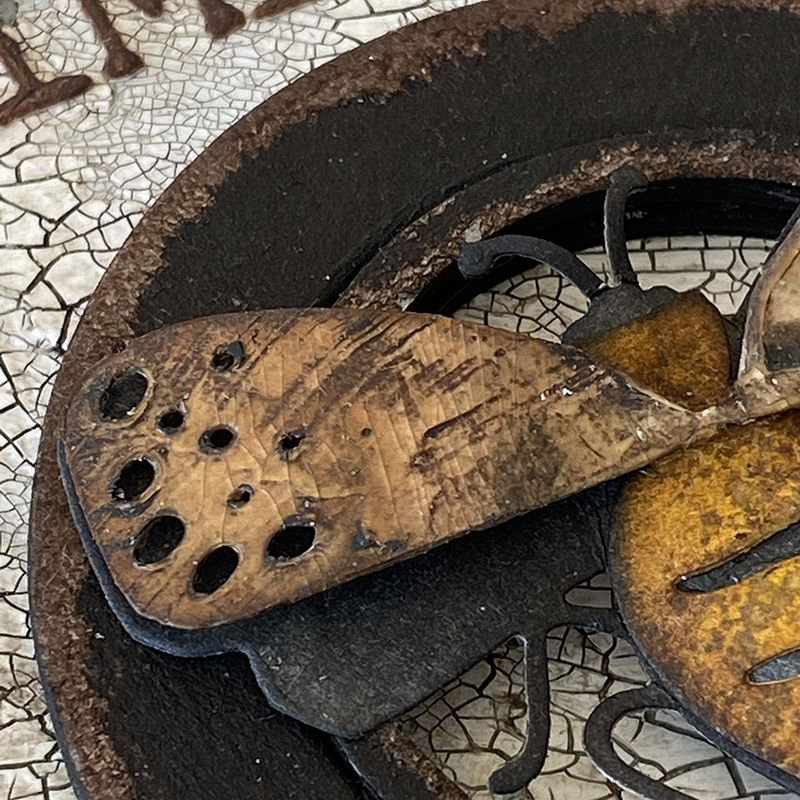
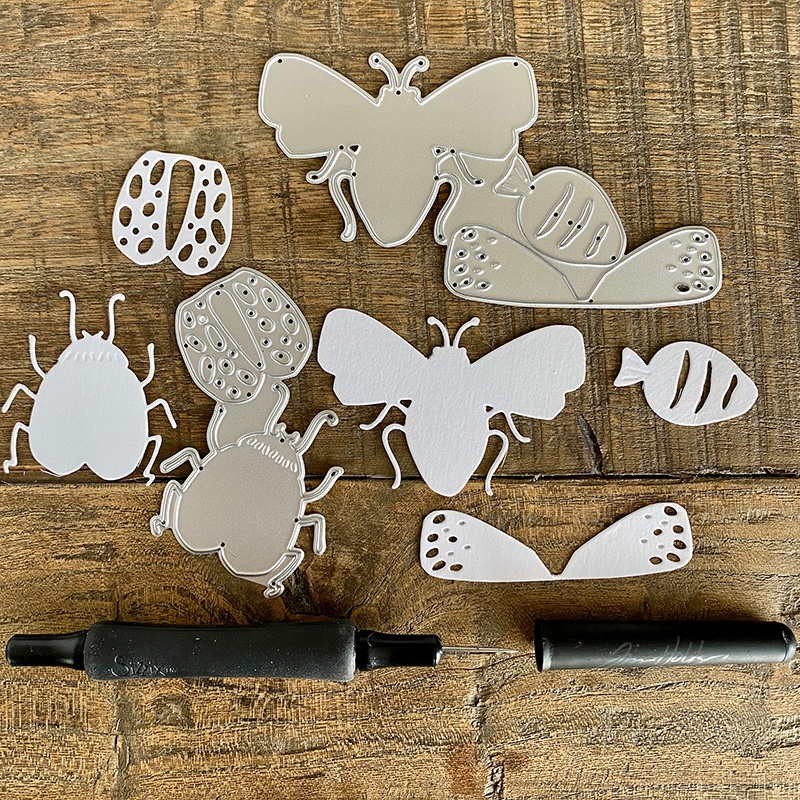
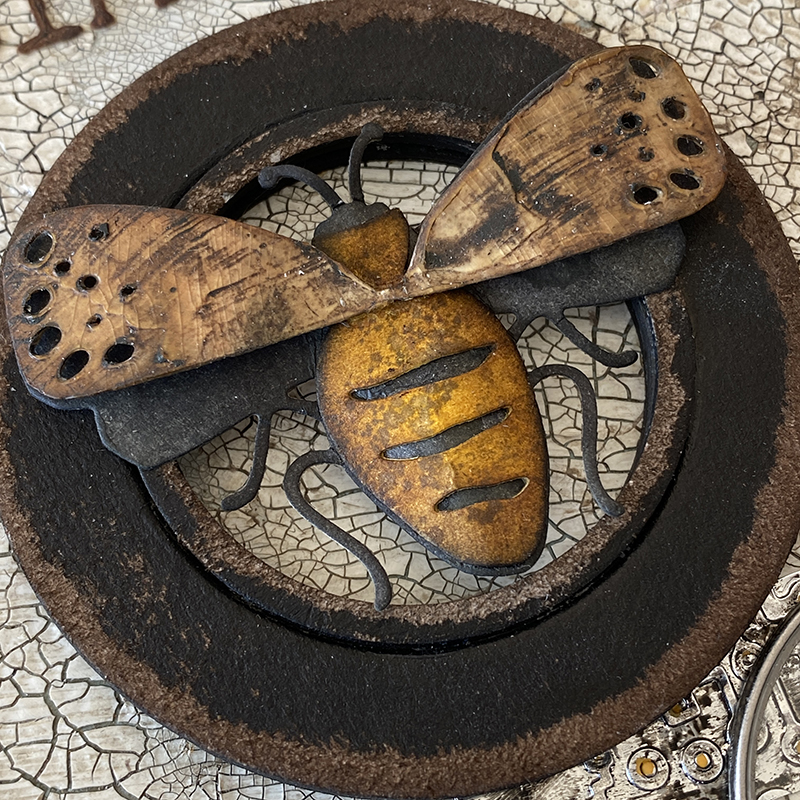
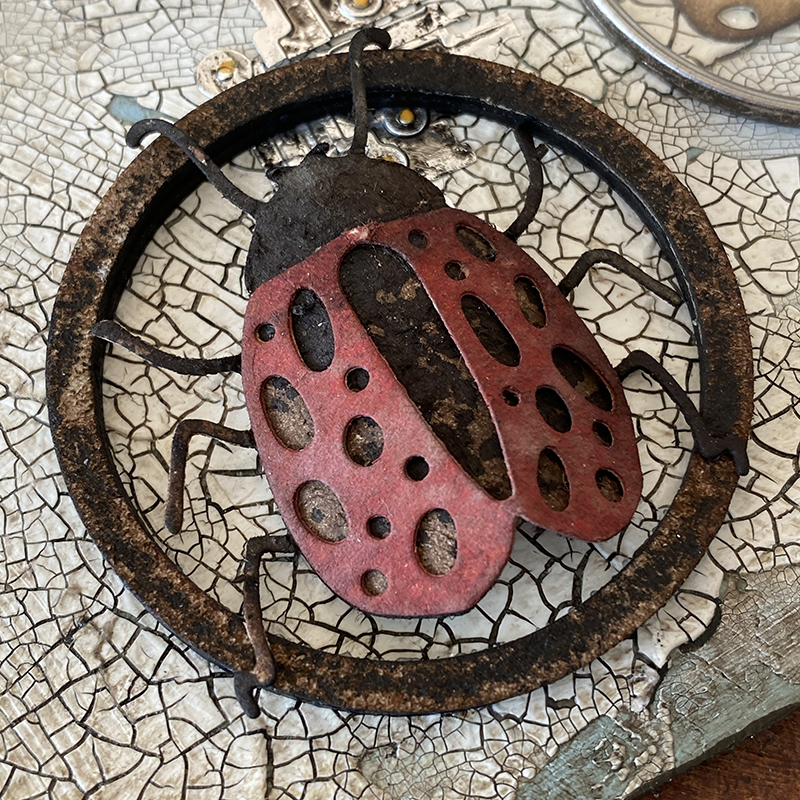
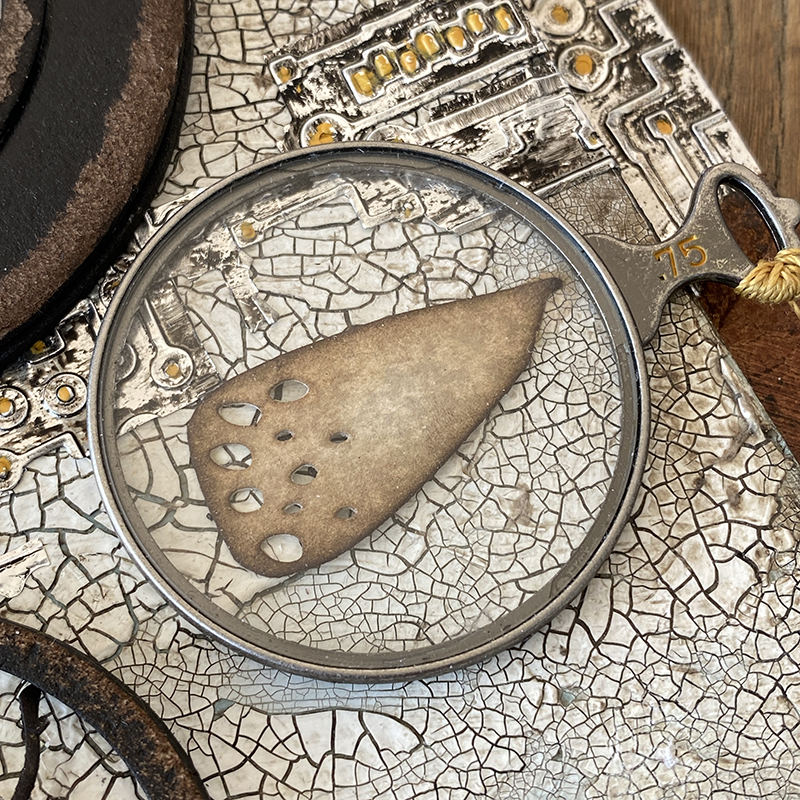
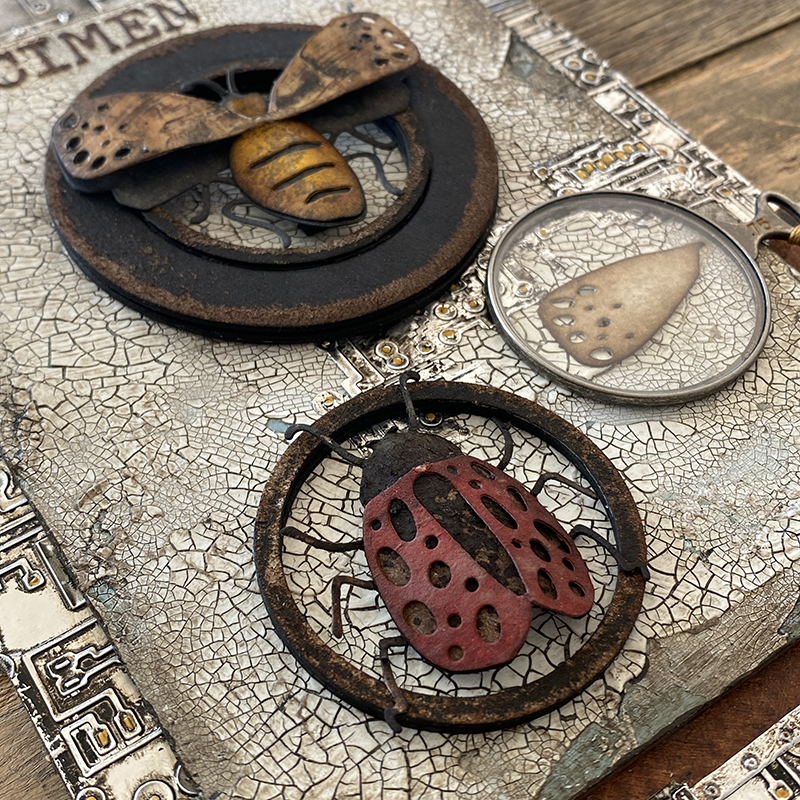
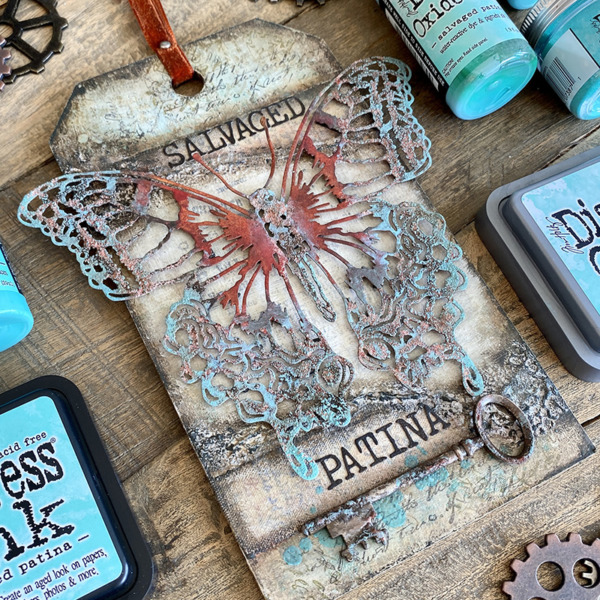
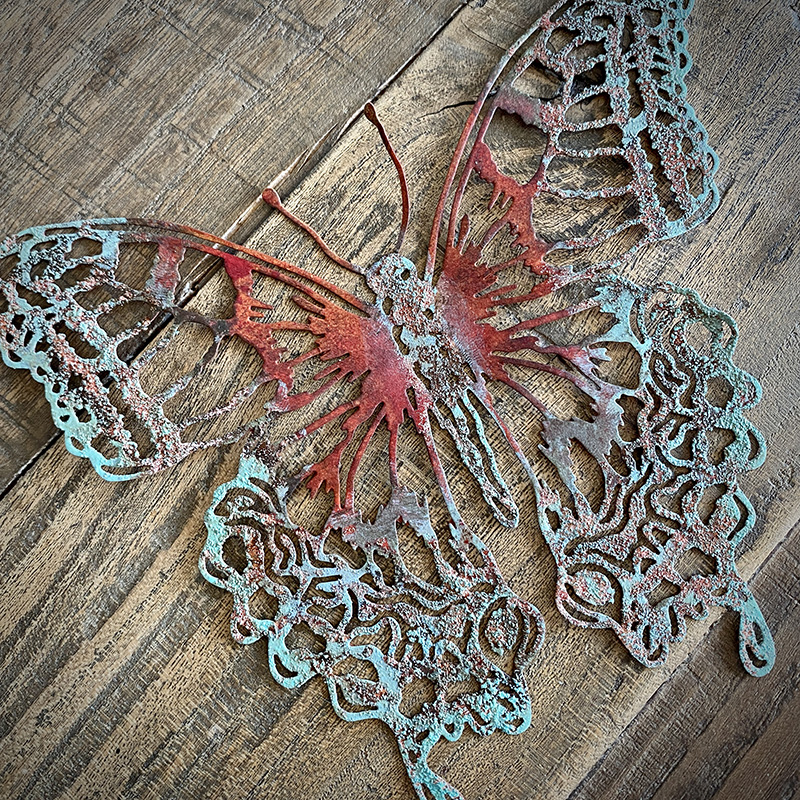
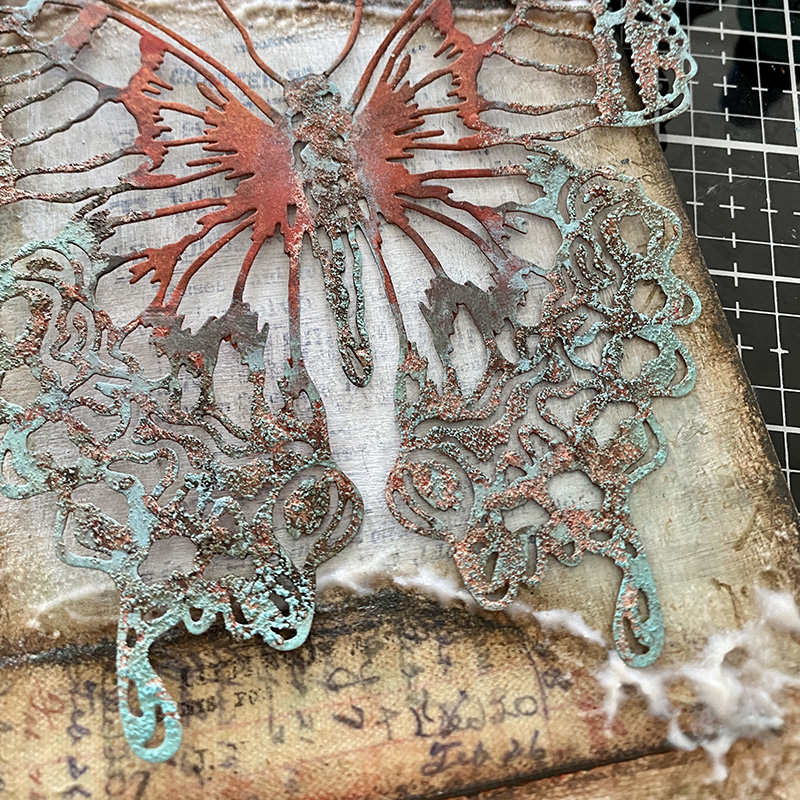
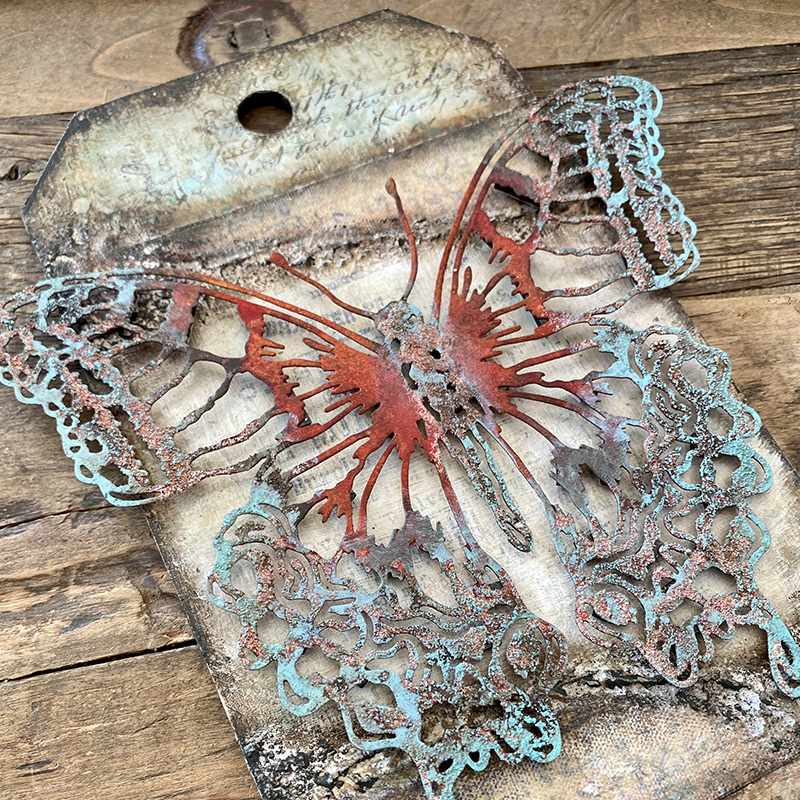
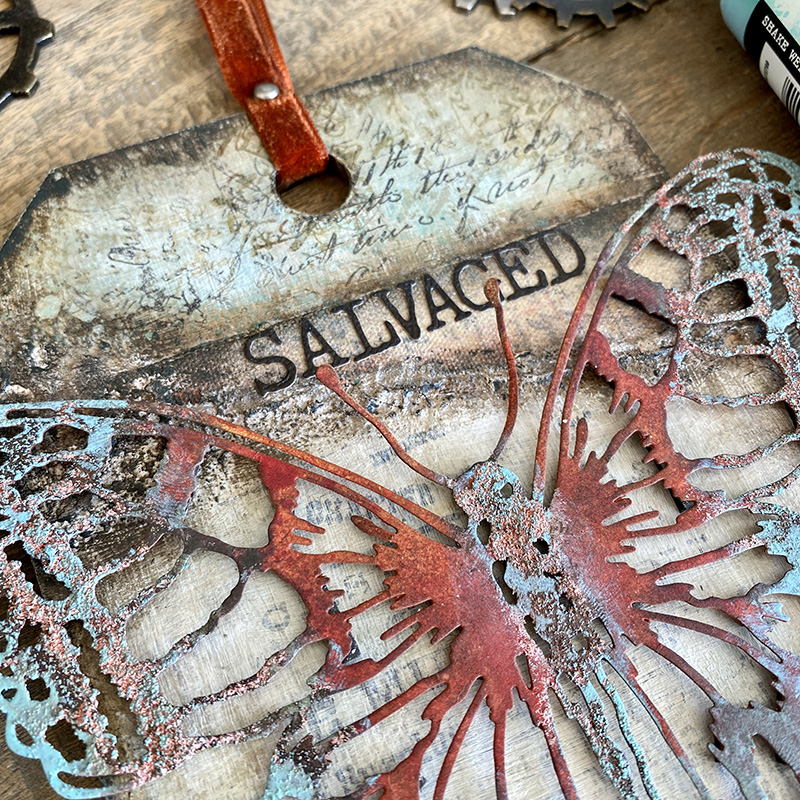
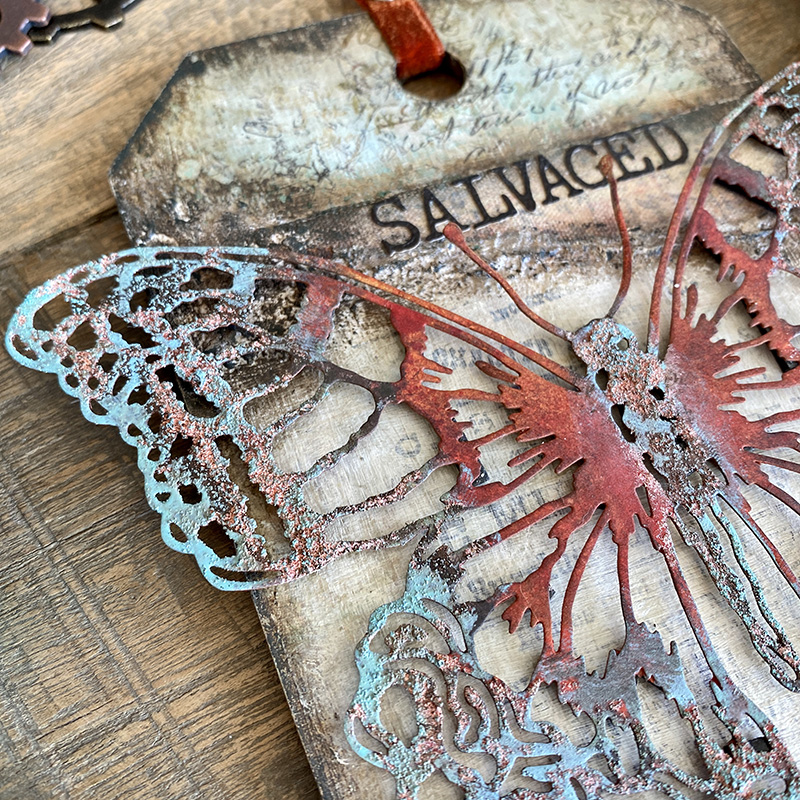
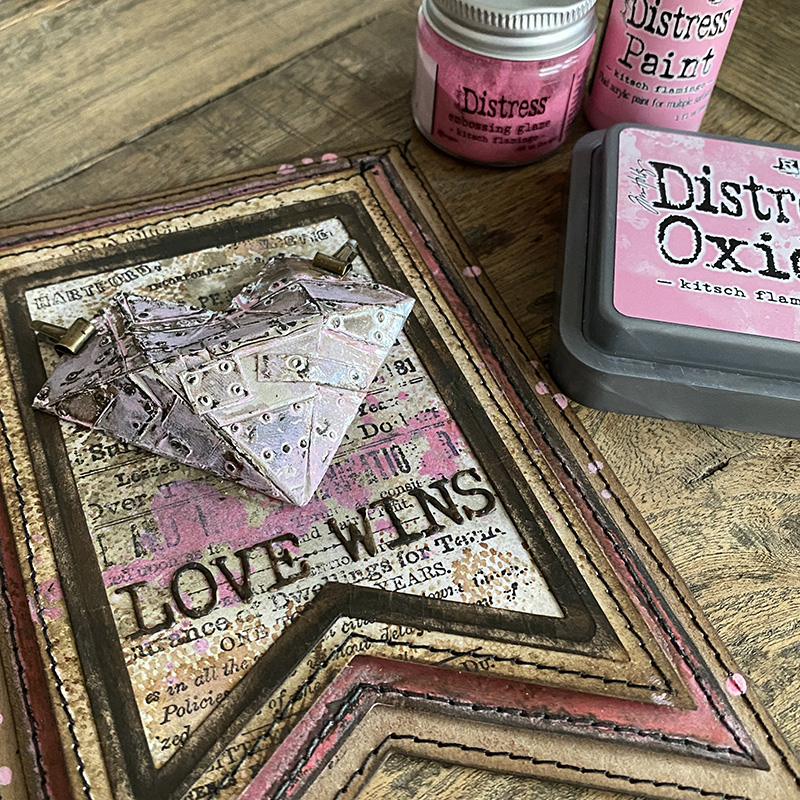
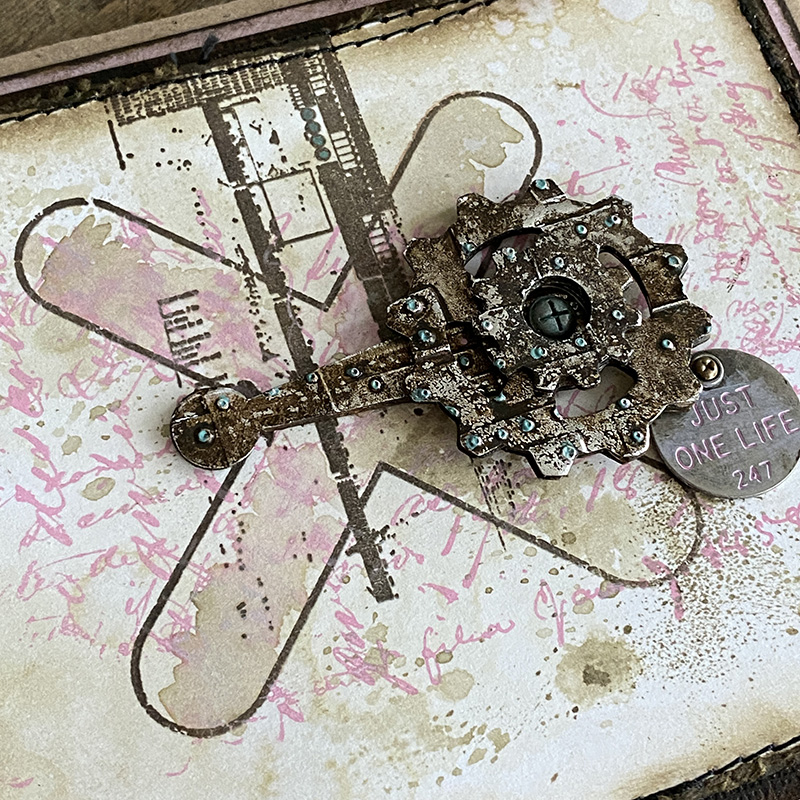
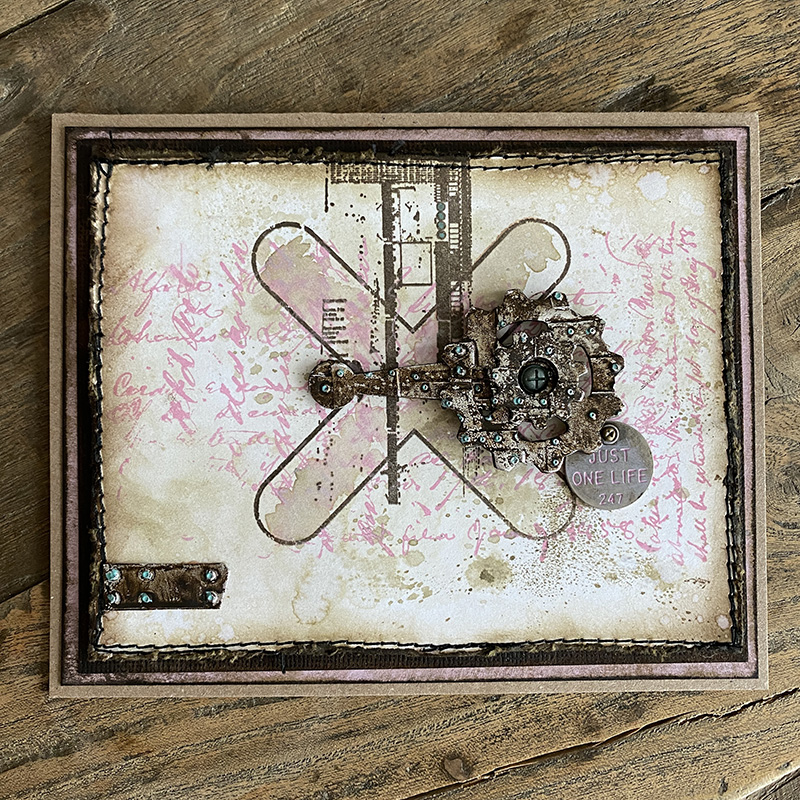
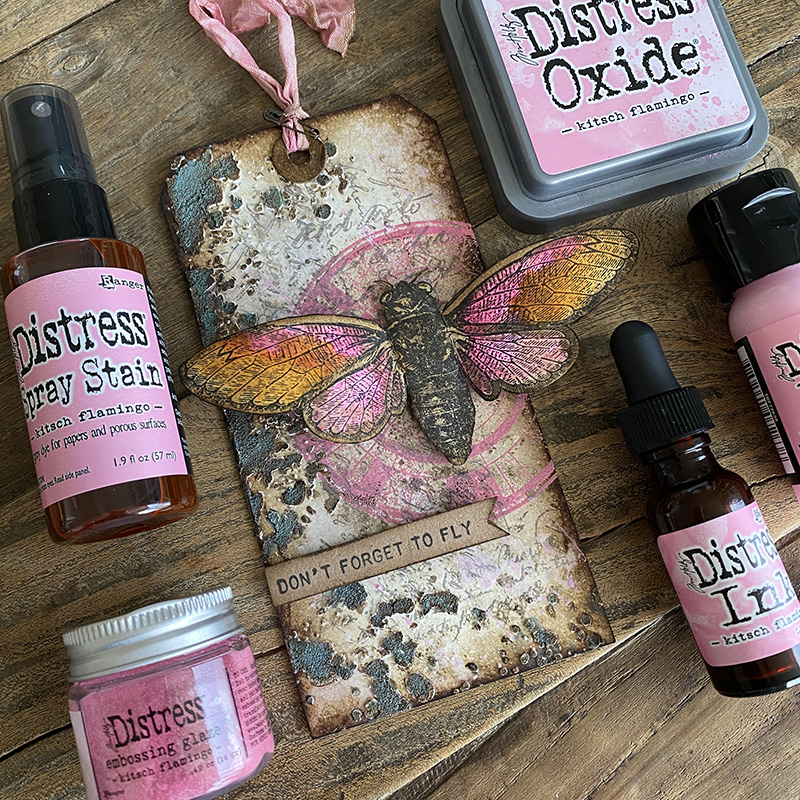
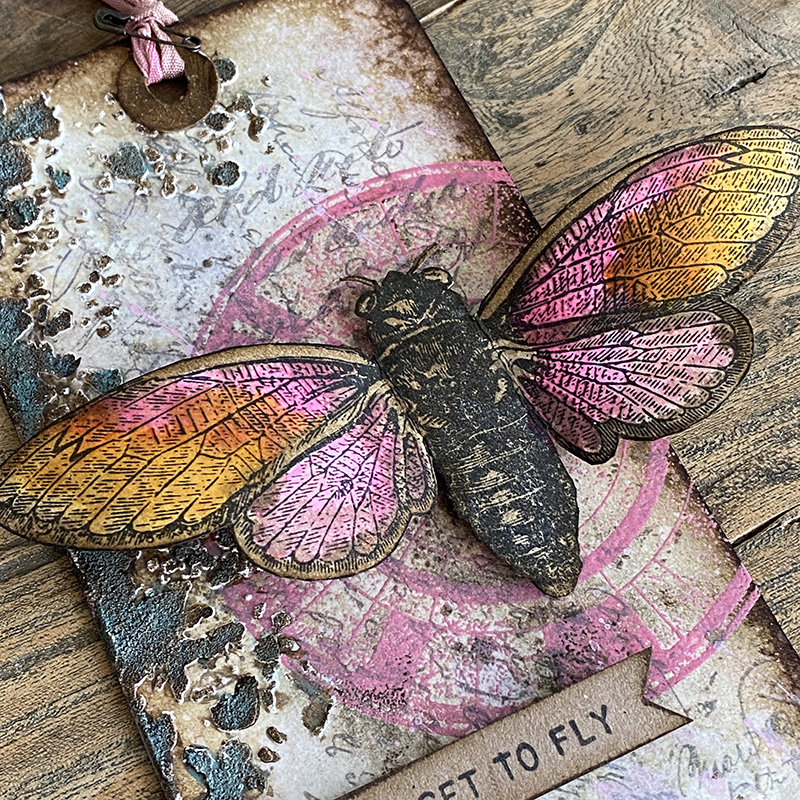
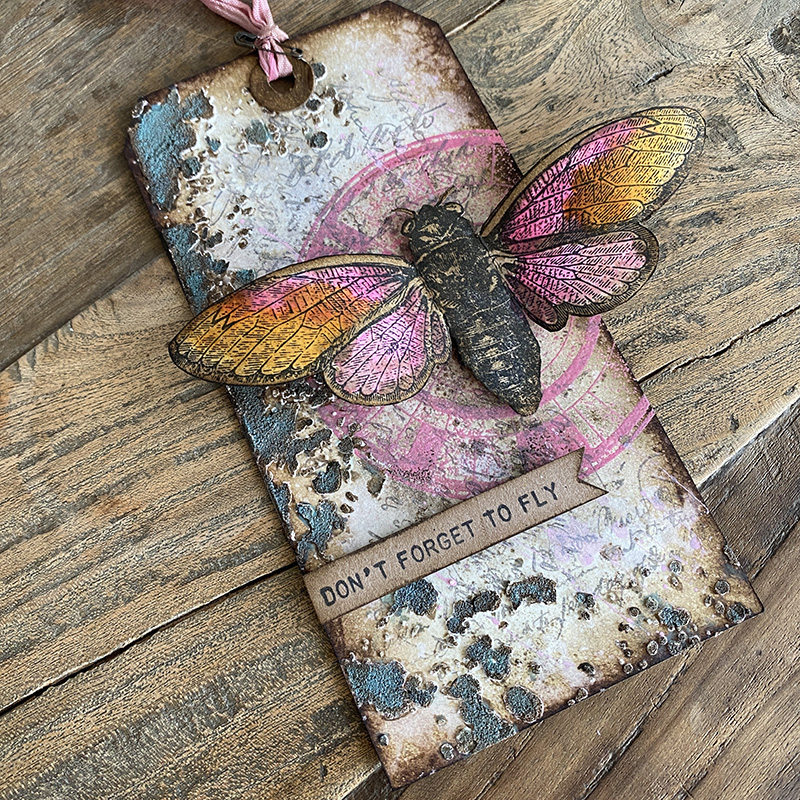
I stamped the butterfly from the specimen stamp set with distress archival ink. If you didn’t already know, distress archival inks have just been released in the full size ink pad stack, comprising of black soot, hickory smoke, ground espresso and vintage photo. As a stamper, I am so grateful to have these. I used the prize ribbon distress reinker to watercolor the butterfly and the outer edges with vintage photo distress reinker. Finally giving the butterfly a spritz with water and letting the ink wick. Truly, something happens when prize ribbon wicks. It’s like magic!

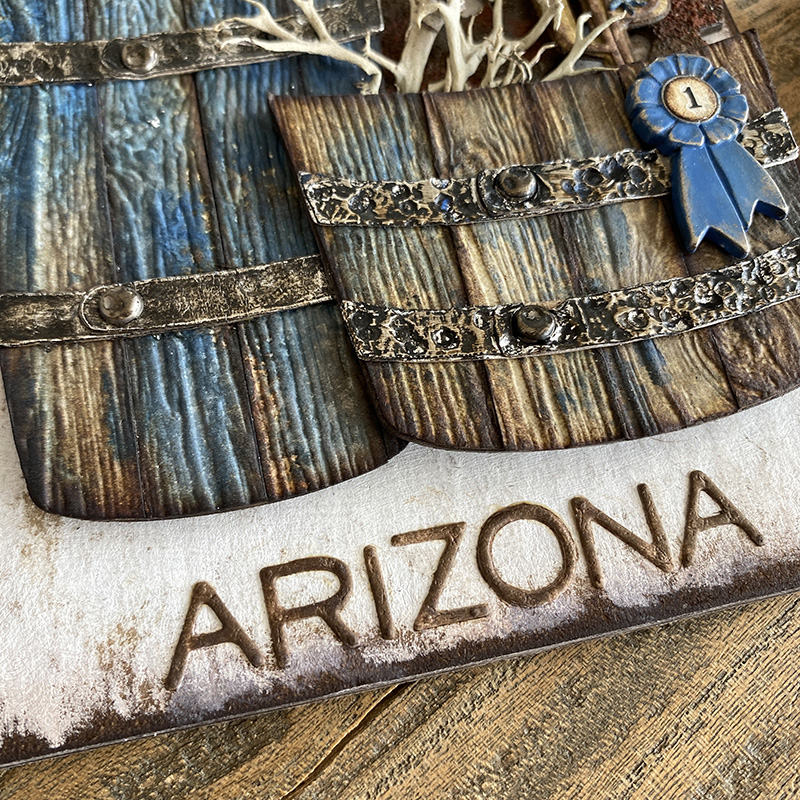
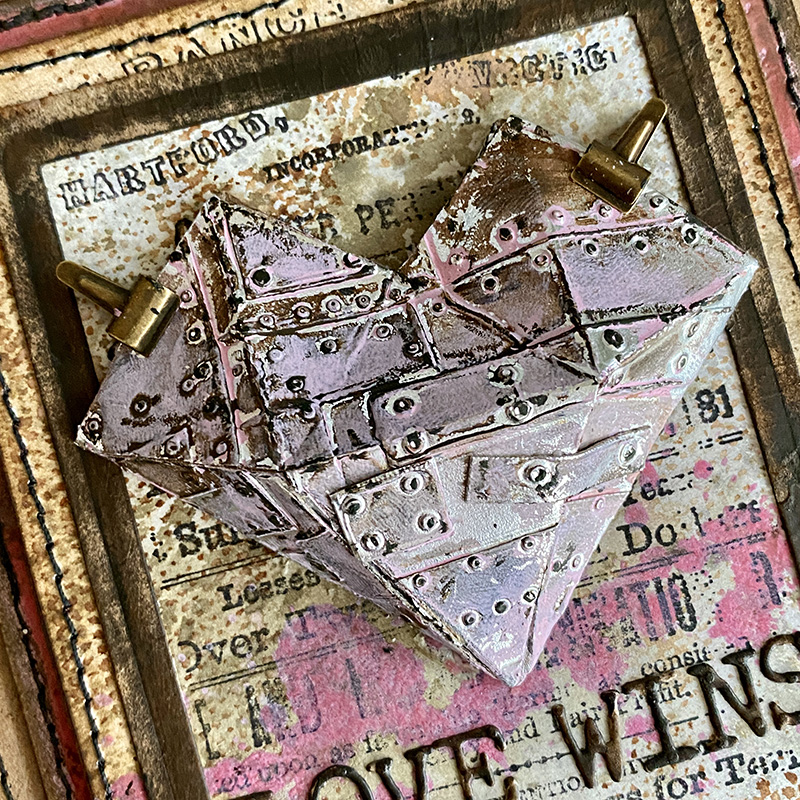
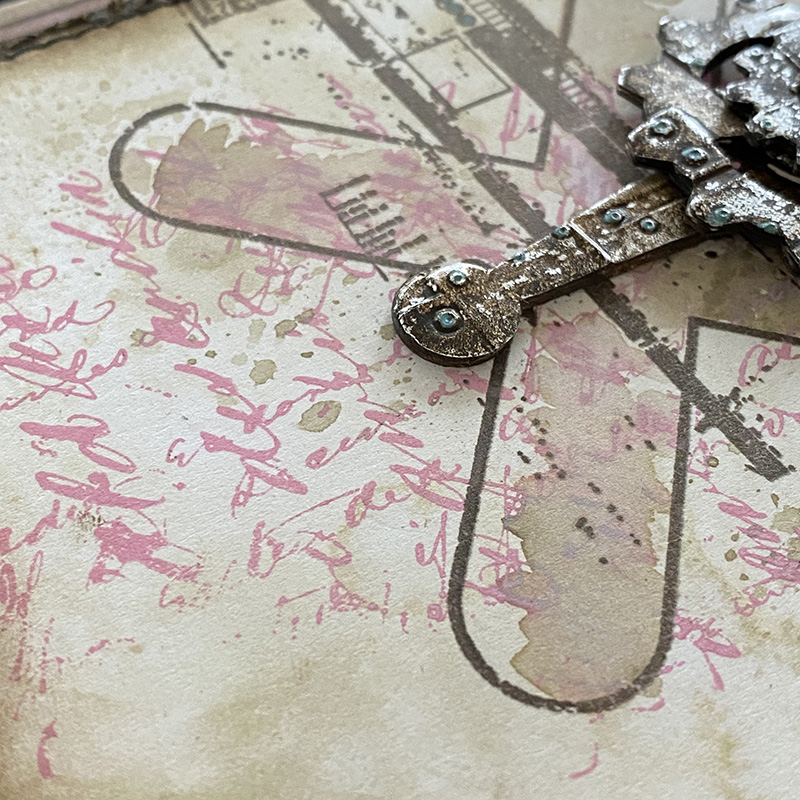
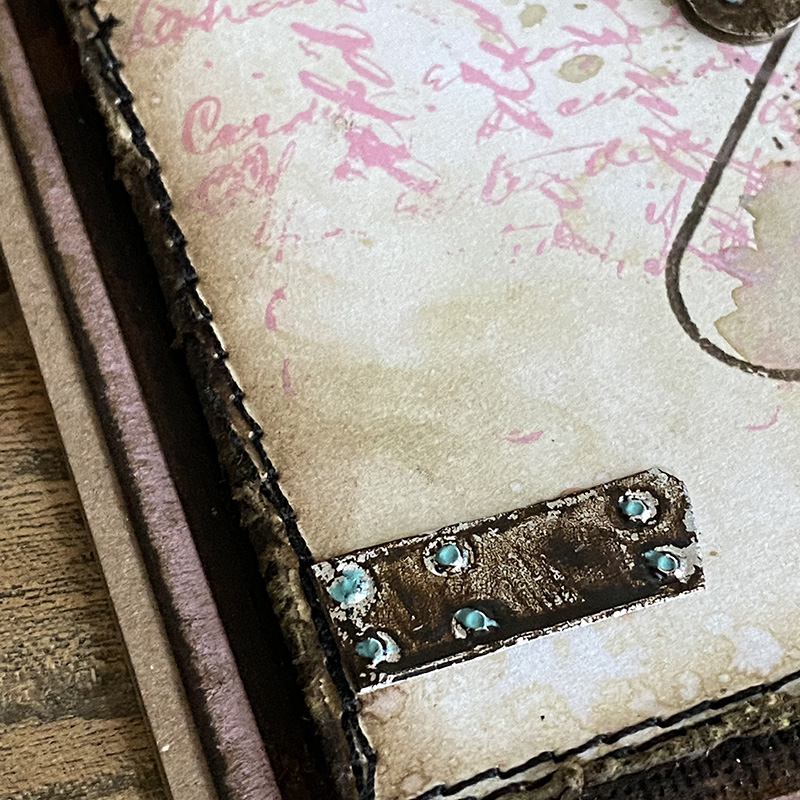
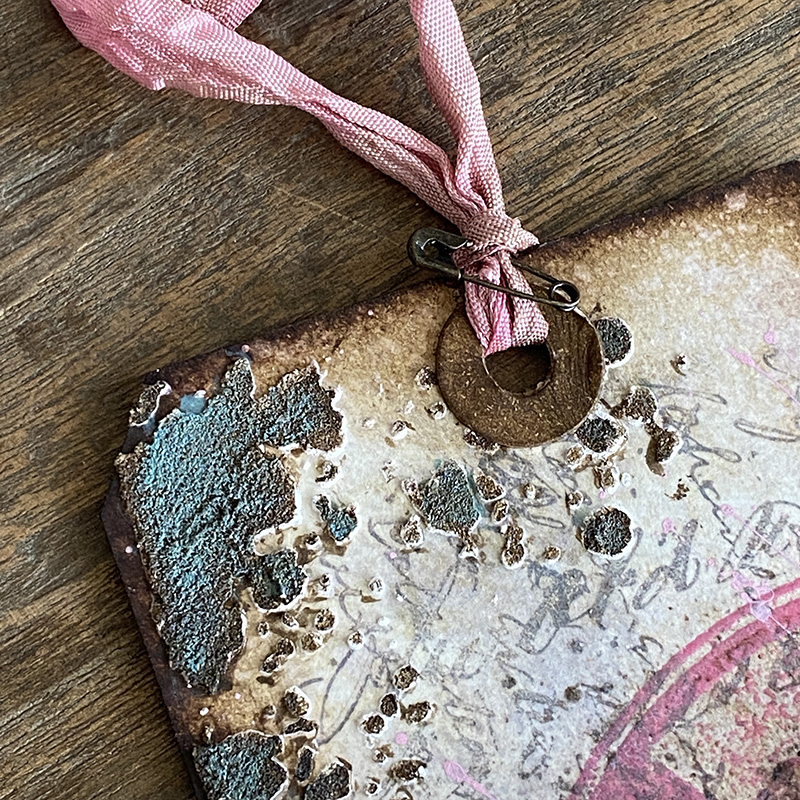
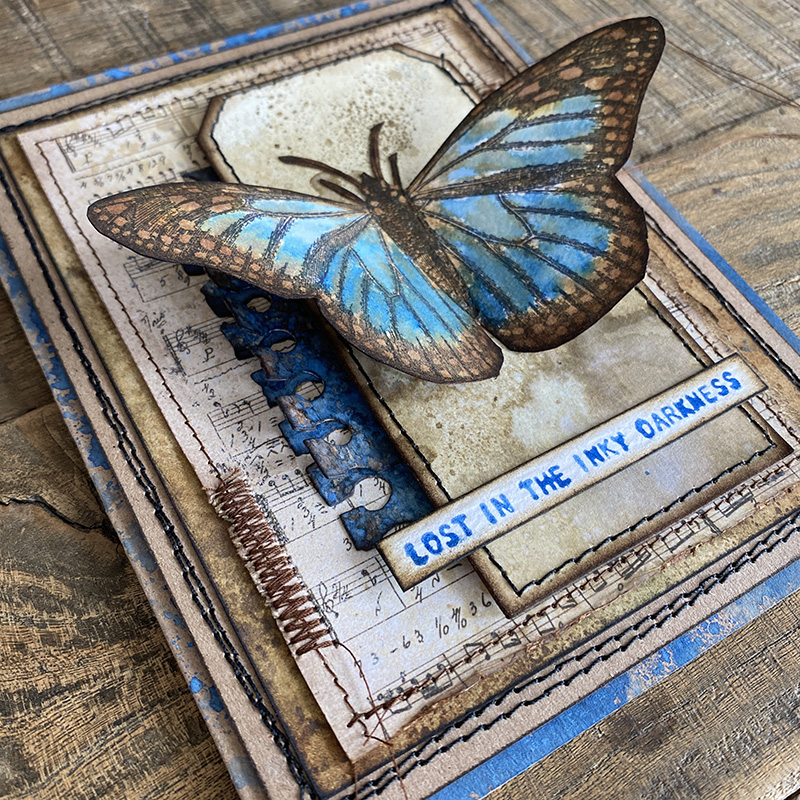
I pulled out an old school torn notebook bigz die which I die cut twice and sprayed with prize ribbon distress spray stain and once dry, blended in walnut stain distress ink. I glued down one of the die cuts and attached the second one at one edge so I could turn up some of the sections for dimension. I LOVE this ink! Seriously, LOVE LOVE LOVE!!
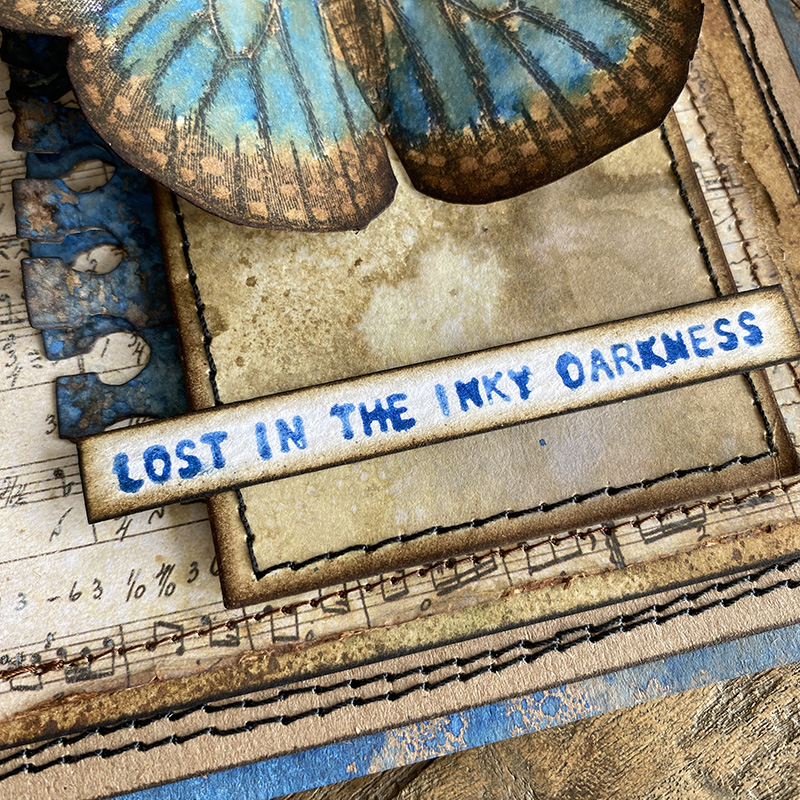
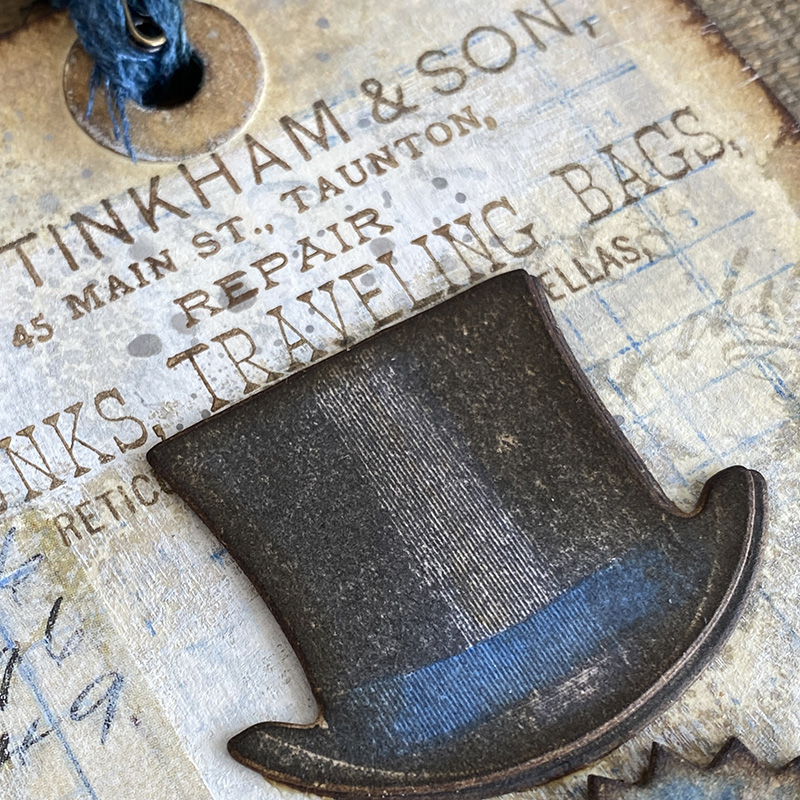
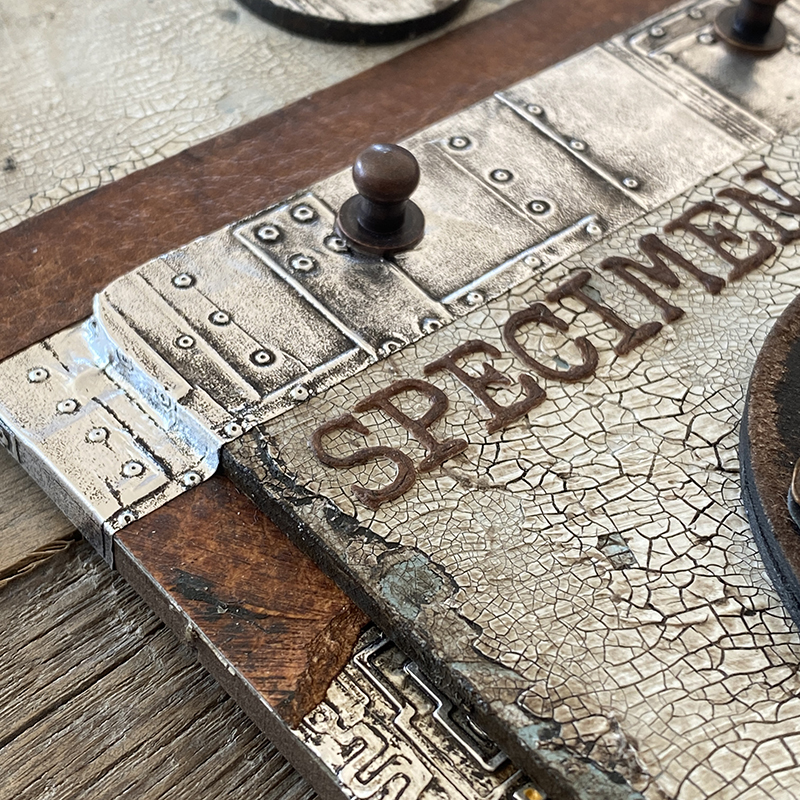
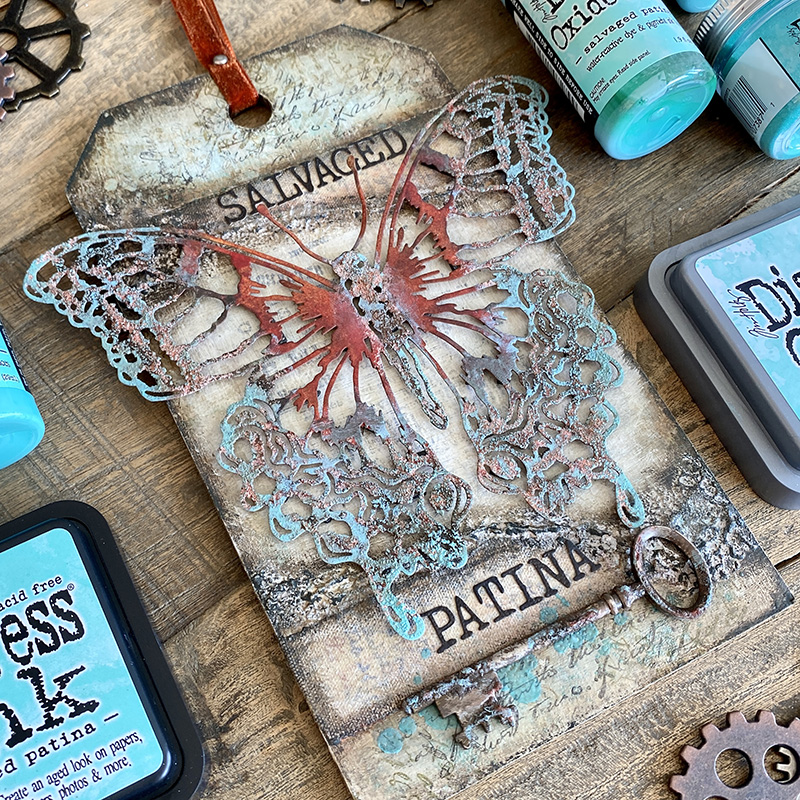
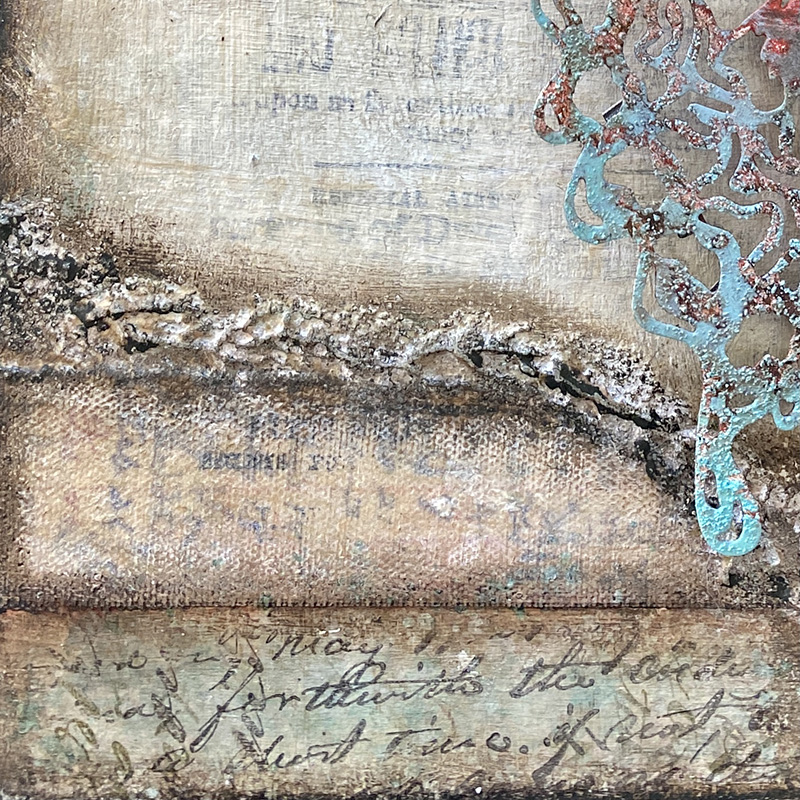
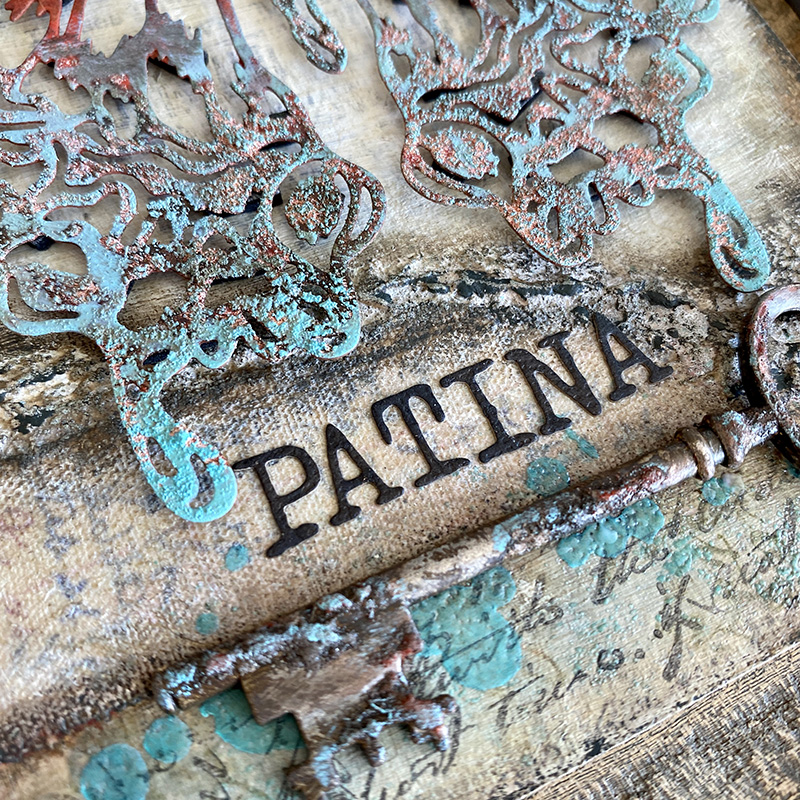
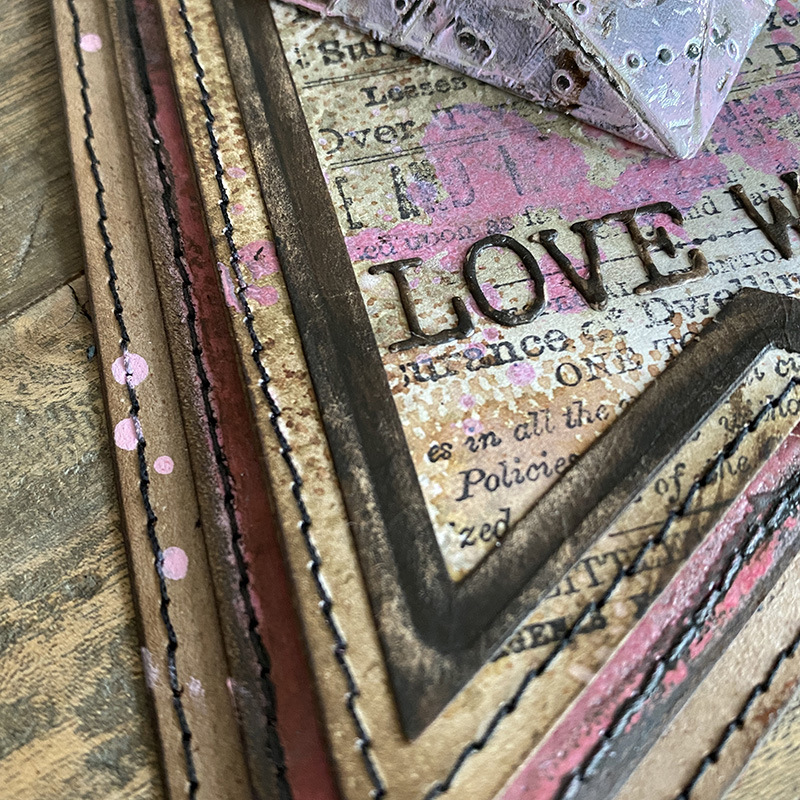
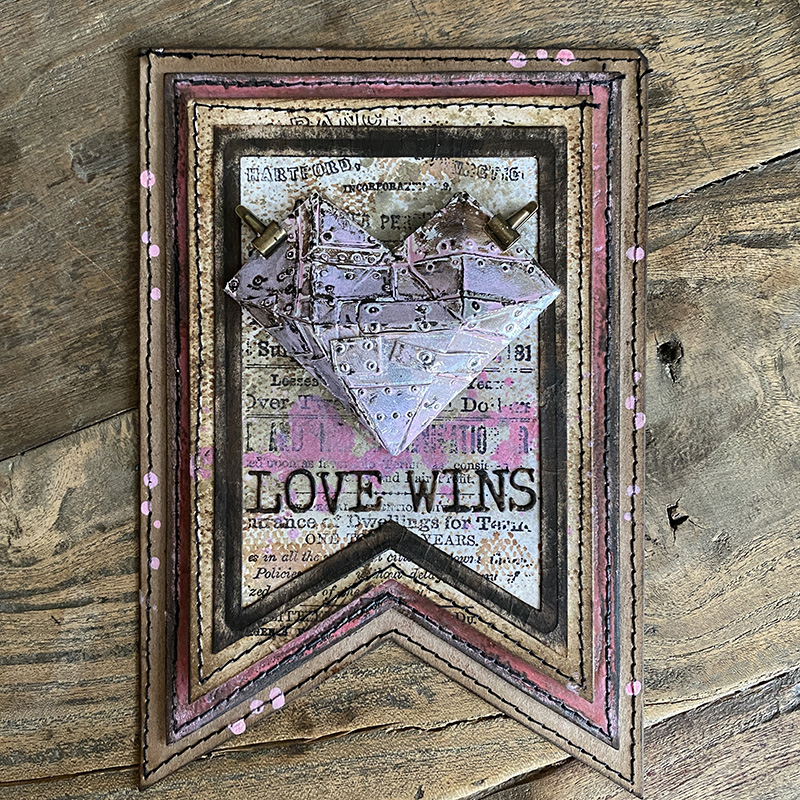
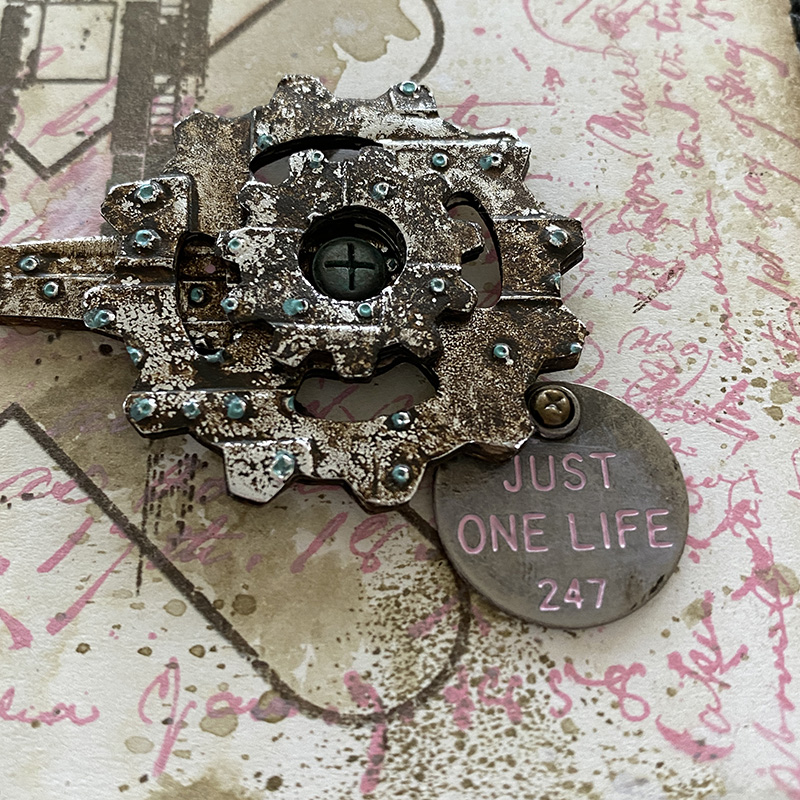
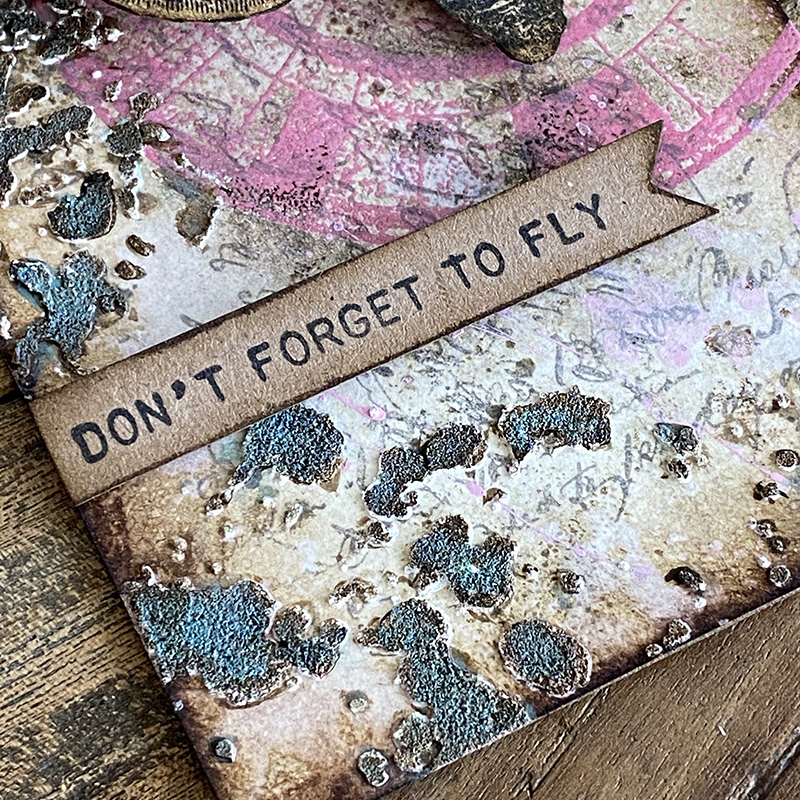
From the moment I saw this ink, this sentiment was on my mind. It’s a favourite of mine from the Tiny Text Halloween stamp set. The Specimen stamp set was also released last Halloween, but I have continued to use them all year! I inked the stamp with prize ribbon distress ink and gave a light mist of water and stamped onto the smooth side of distress watercolor cardstock. I blended a little walnut stain distress ink around the edges and ran my ground espresso distress archival ink pad around edge. It gives it a nice dark edge to finish, which I like.
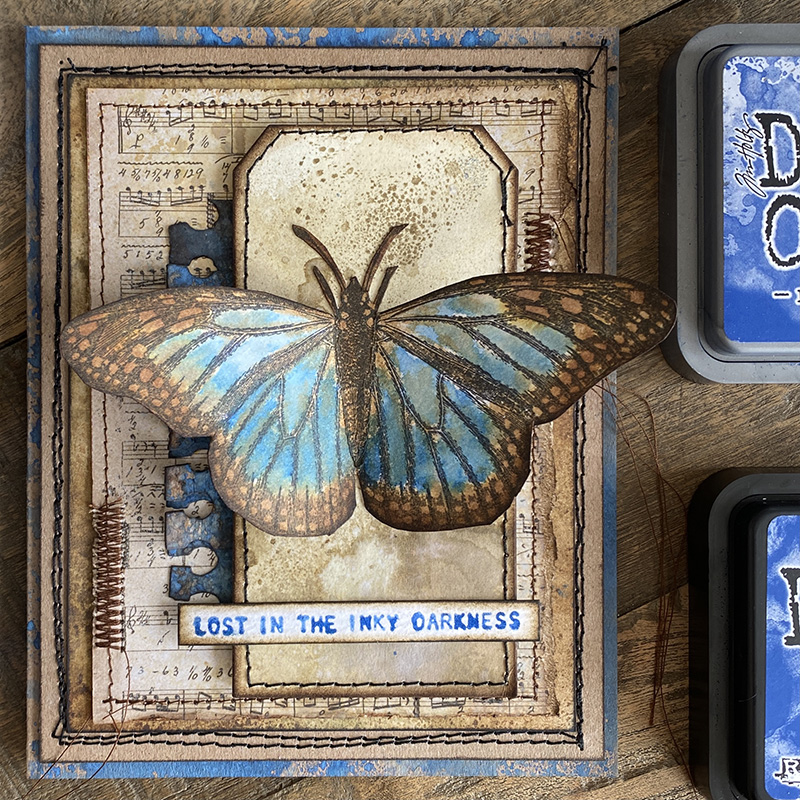
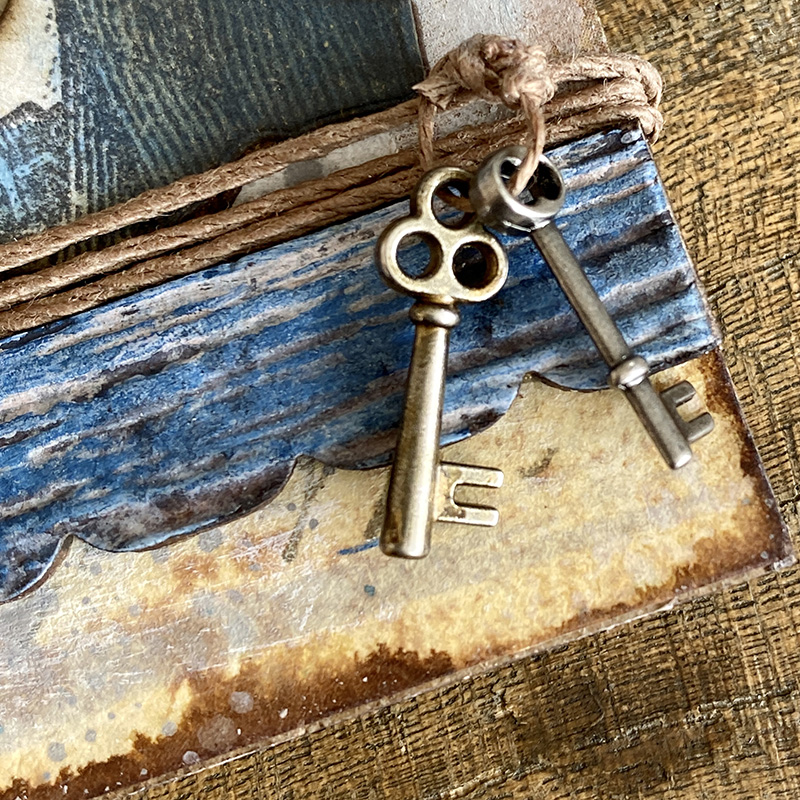
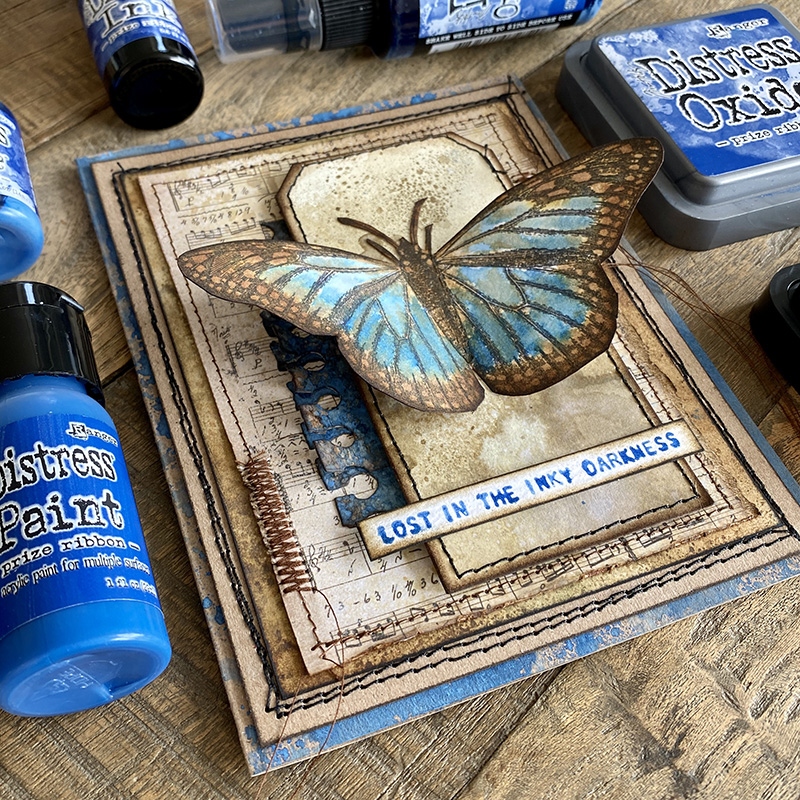
I like to layer my cards so I added some music paper from a an older idea-ology paper stash, you could recreate this using a background music stamp, Tim has some really nice ones! I’ve had a couple of questions about my stitching. I use a singer heavy duty sewing machine with a standard needle. I stitch each piece before assembling. Practice on a scrap piece first and sew slowly. Practice practice practice and if you run off the edge, use a marker to draw on the skipped stitches! Smoke and mirrors my friends, just have fun making.
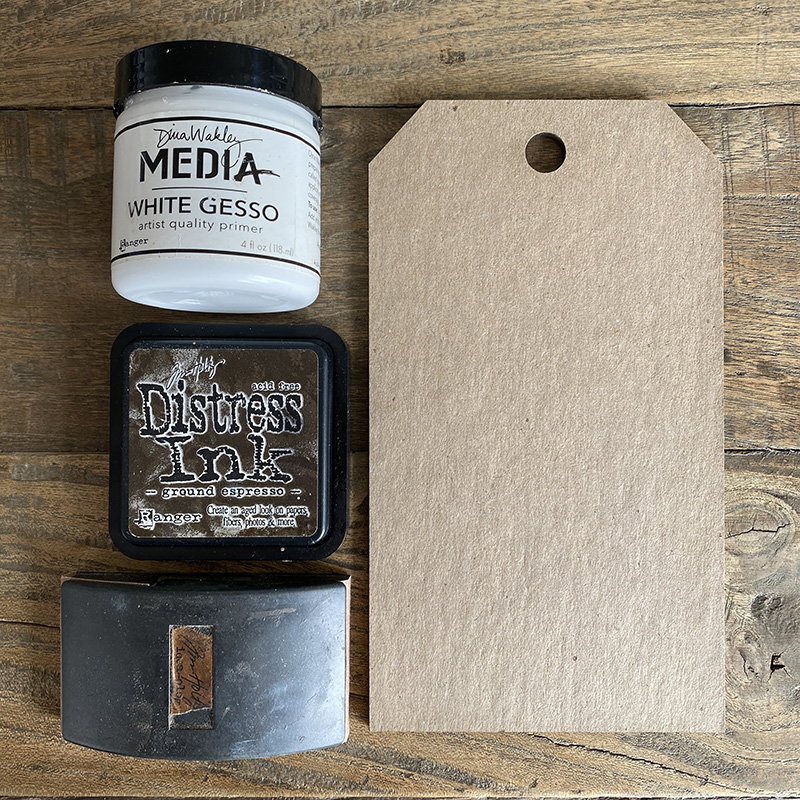
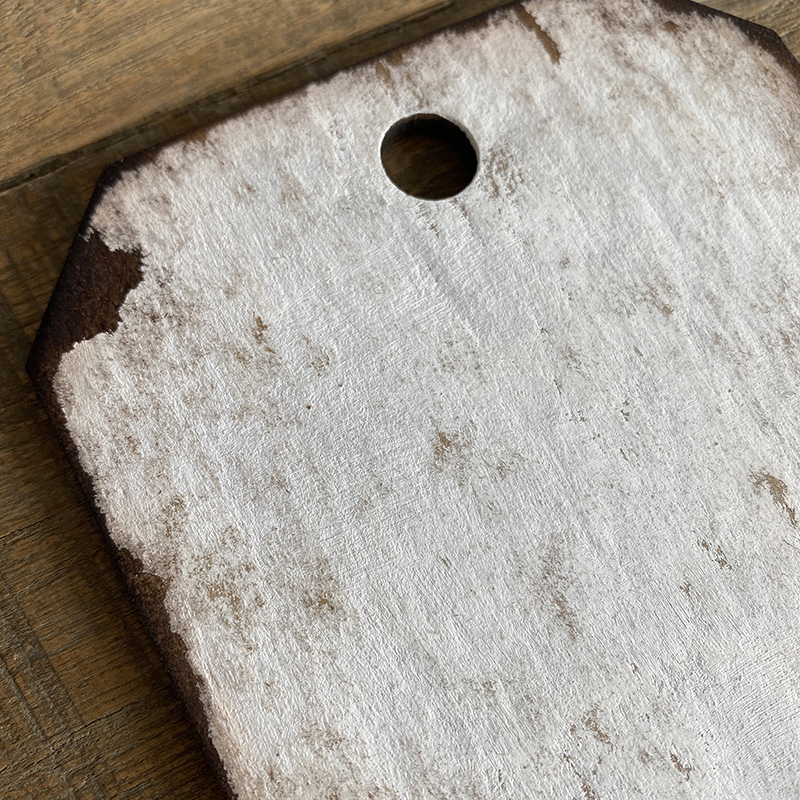
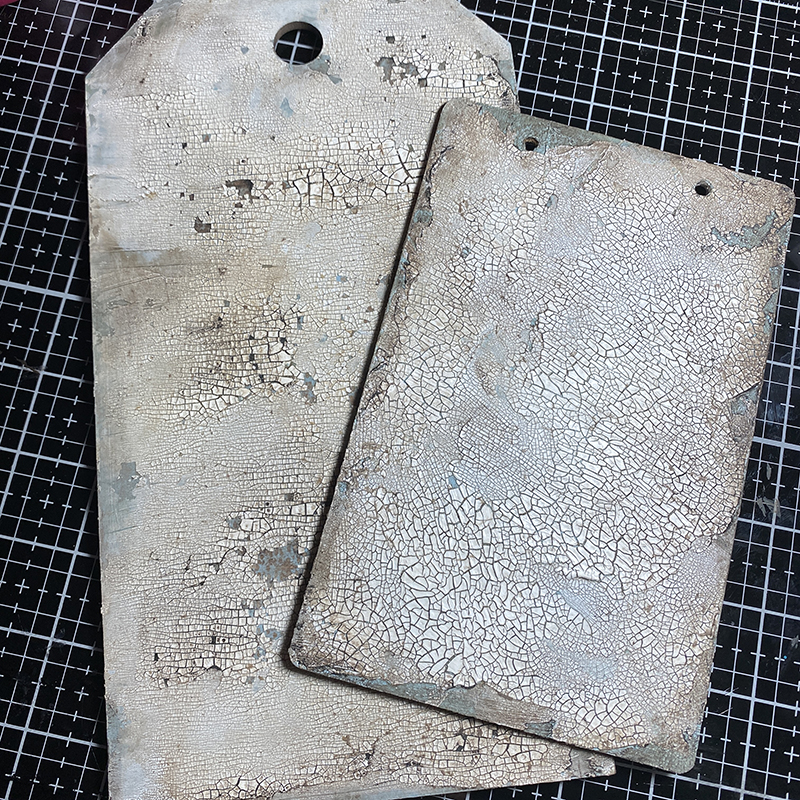
I use distress kraft heavystock as my card base, it’s sturdy and I can cut it to fit my card whatever the size, so I’m not limited to a standard card size. You can make your own envelope or buy slightly bigger ones. If you want to see how to make incredible envelope art using Tim Holtz products, go visit Nathifa – Juicy Christians Studios.
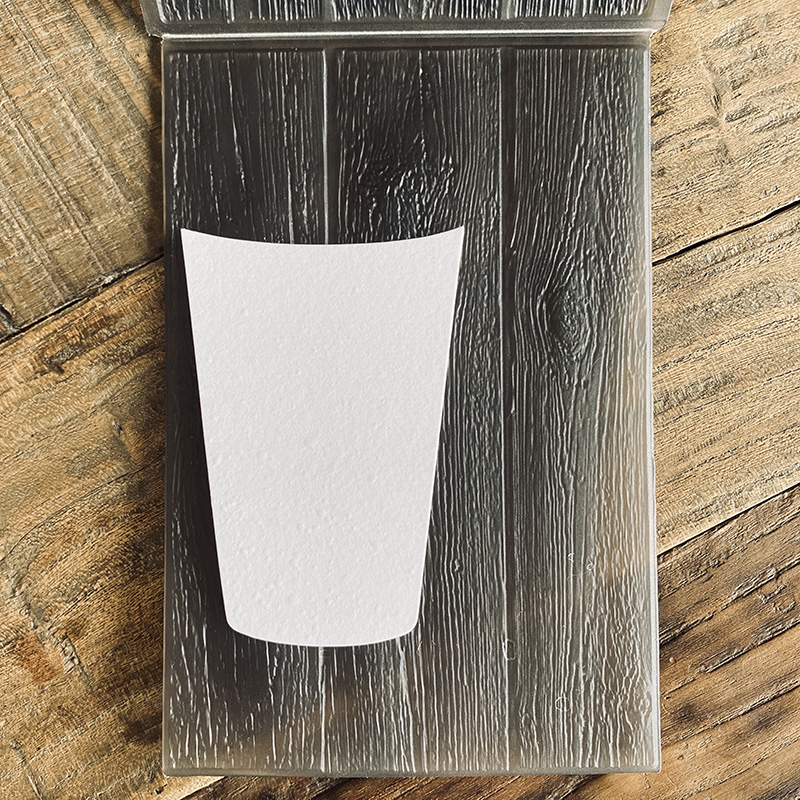
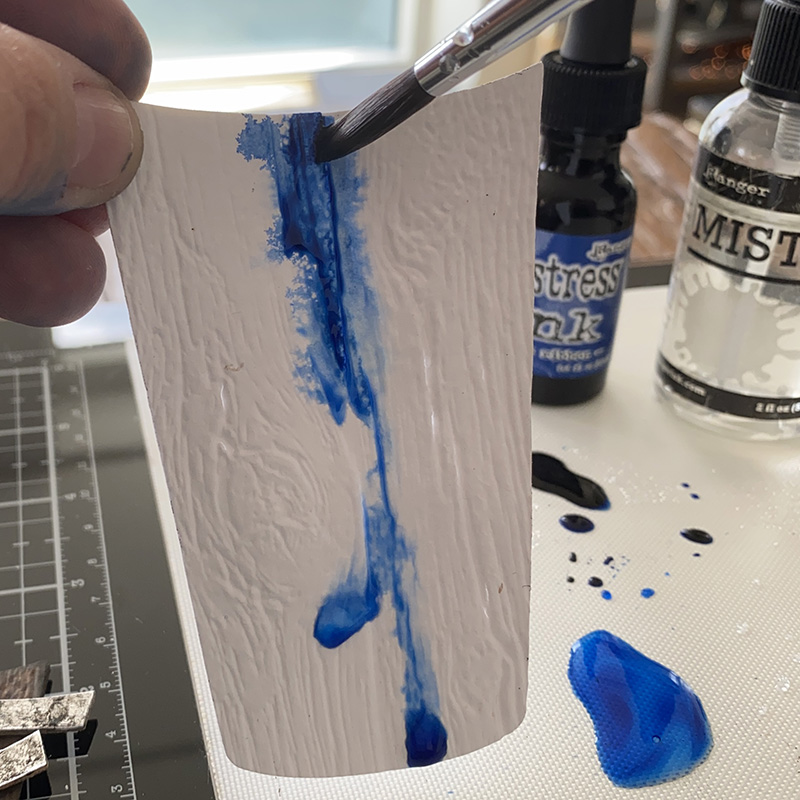
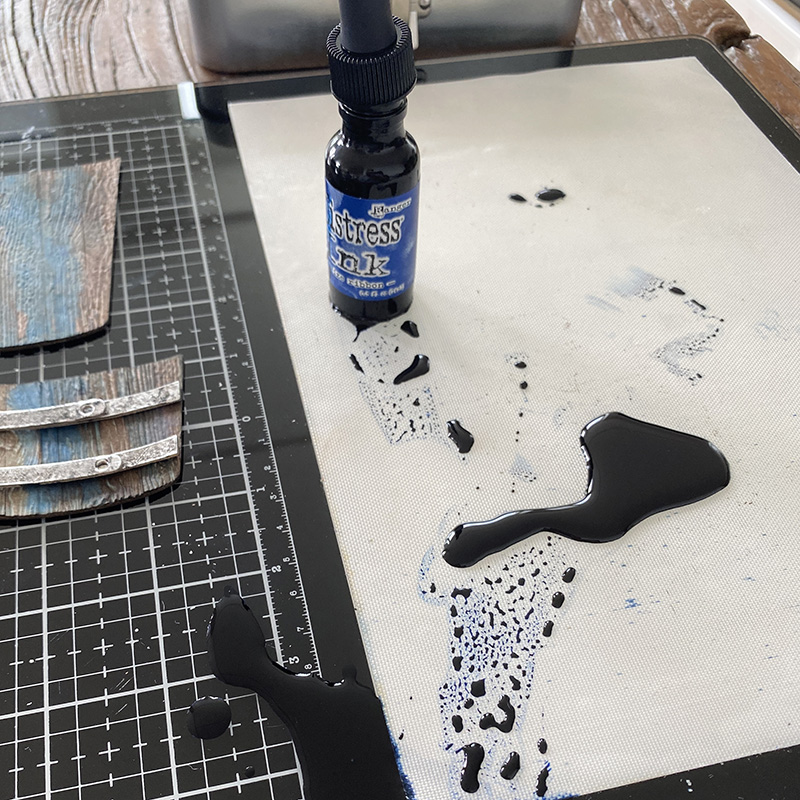
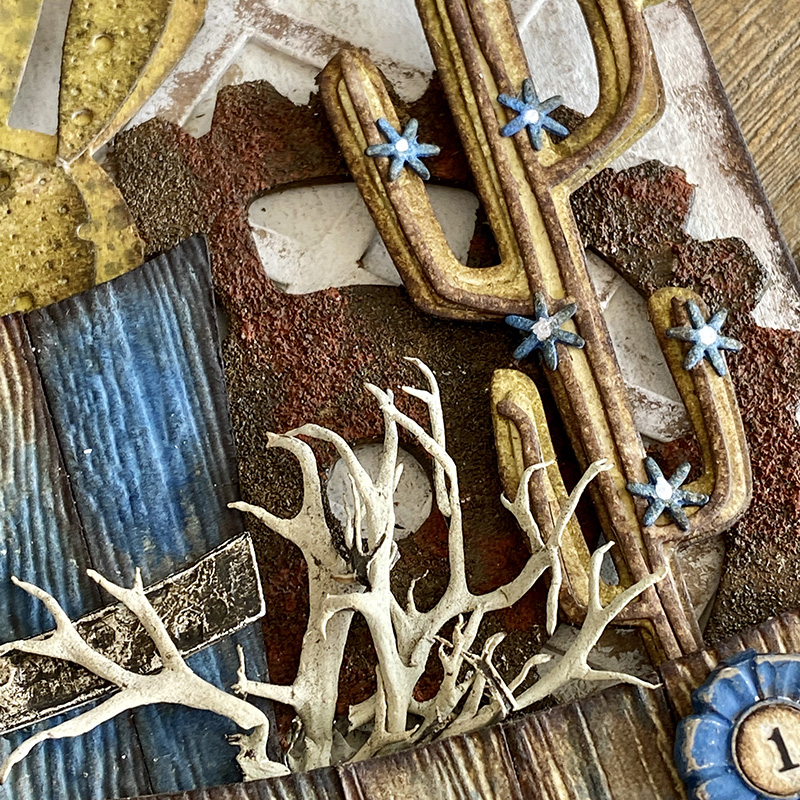
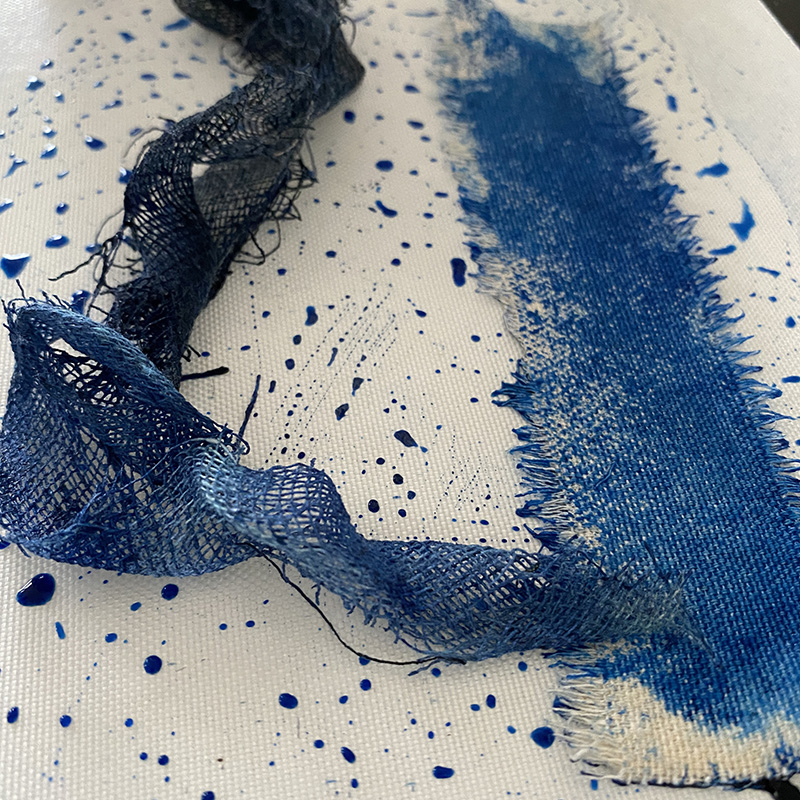
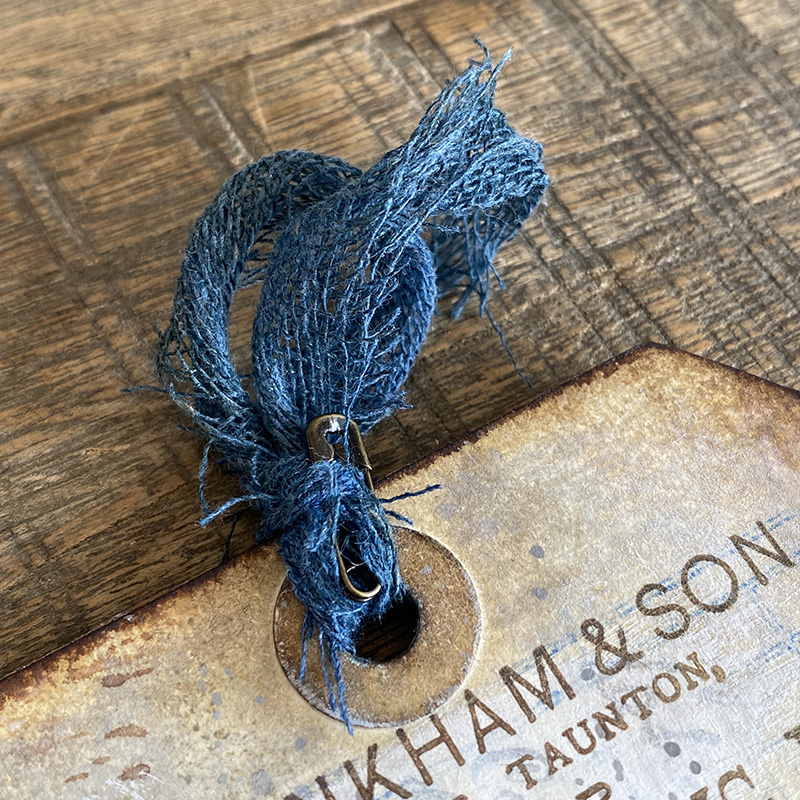
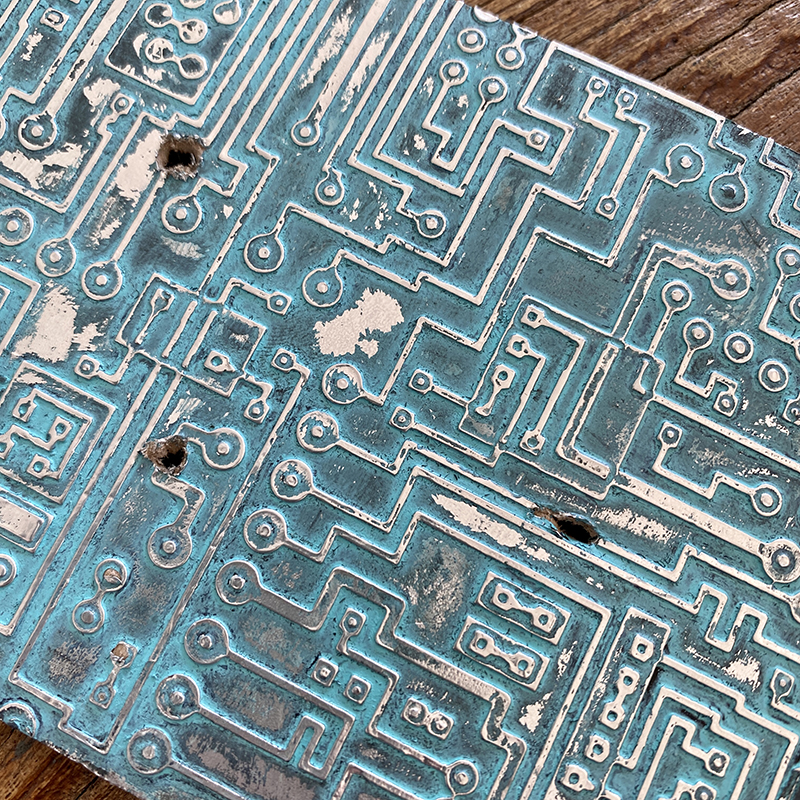
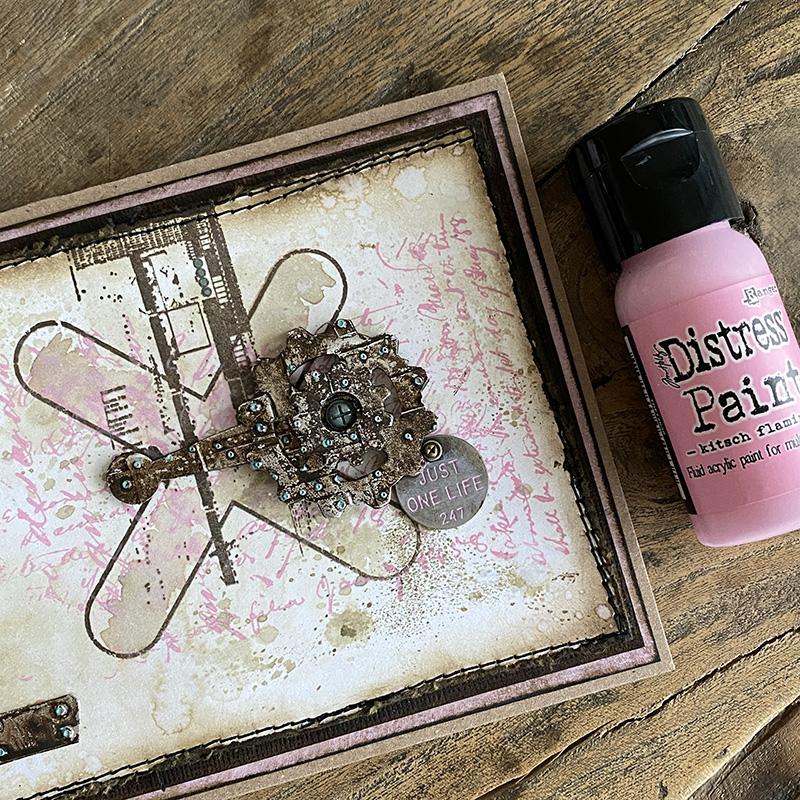
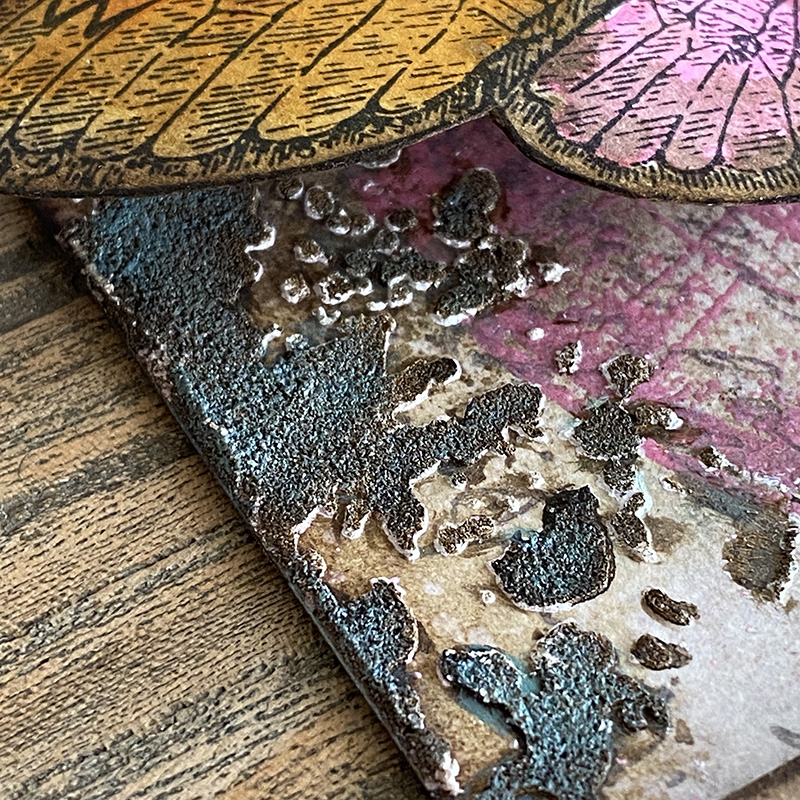
What I especially love about the distress kraft heavystock is how well it takes paints and inks, I mean obviously that’s what it was designed for, but holy batman; check out the prize ribbon distress oxide spray on the distress kraft heavystock! Some of those drips look electric blue and others ocean blue. I am obsessed and can’t wait to play more!!
Thanks for stopping by and hope you take time to make.
Zoe
…
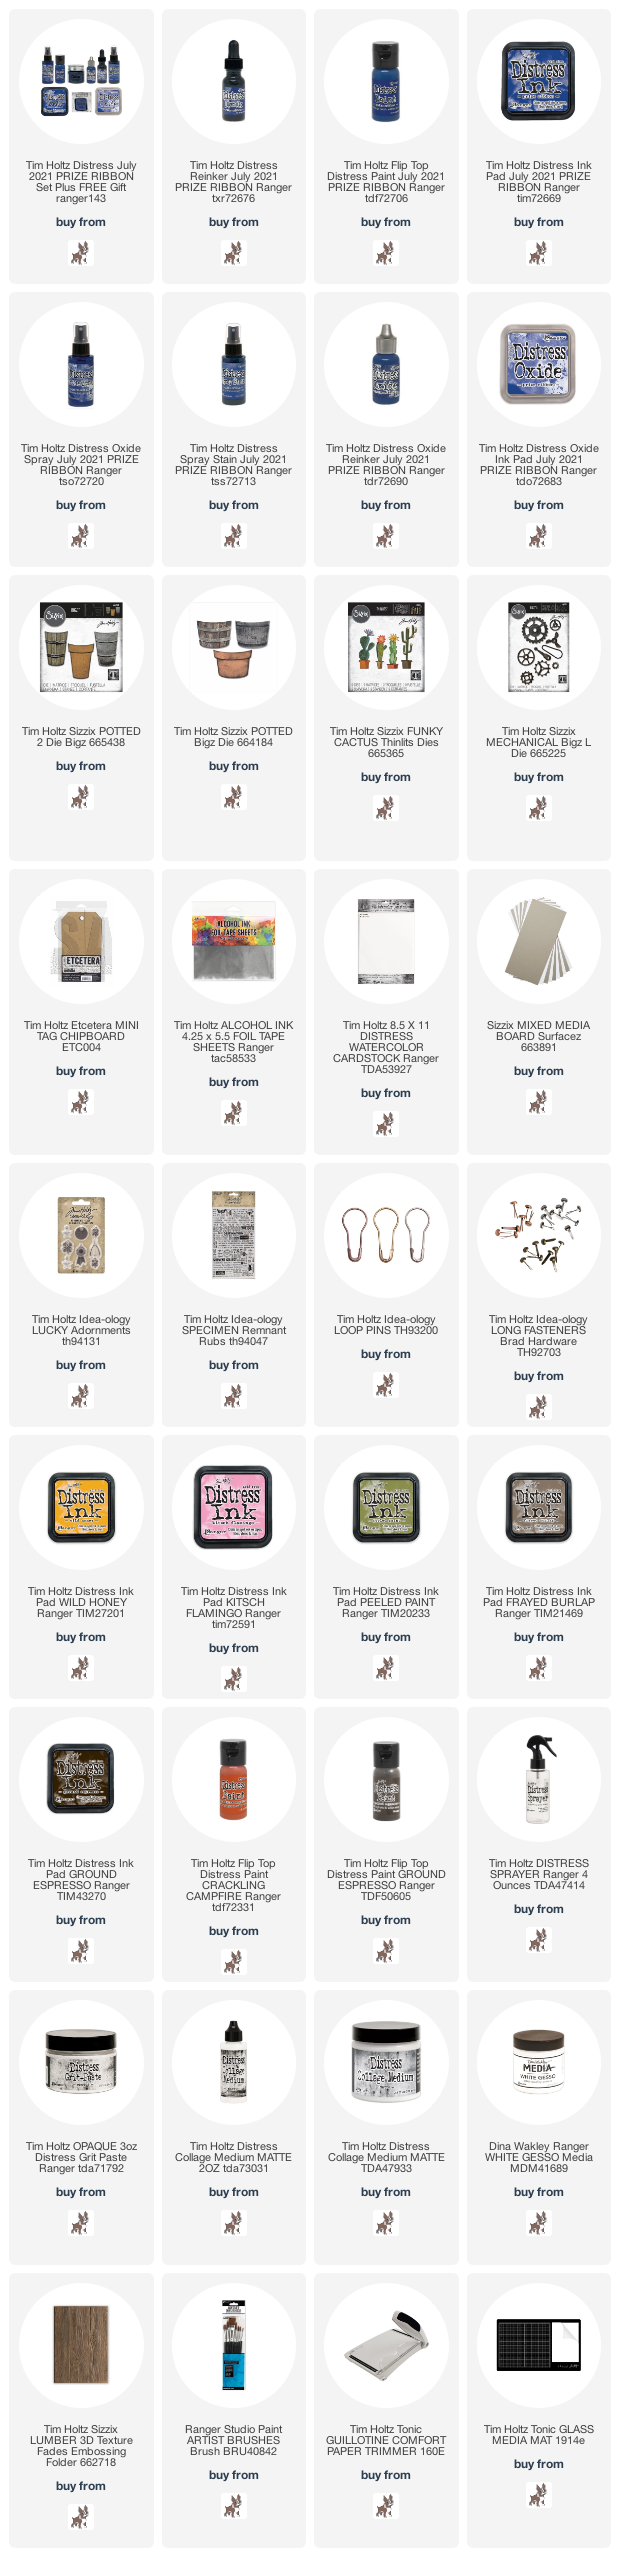
affiliate links used at no cost to you