Happy first day of November friends! I’m not quite ready to give up Halloween and I’m not one of those super organized people who have their makes and blog posts ready to go. I’m the person sticking things down as Fedex arrives and when I post, the ink on the webpage is barely dry. It’s something I hope to work on next year but for now, I’m still playing catch up. So all the underachievers, Halloween lovers and rule breakers follow me and welcome to one more week of my Halloween makes.

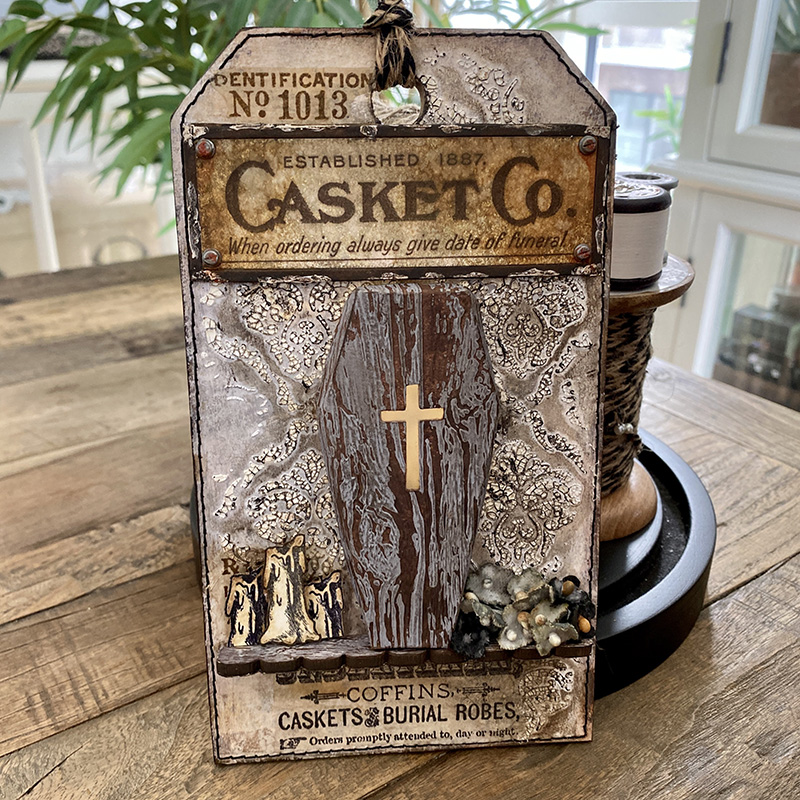
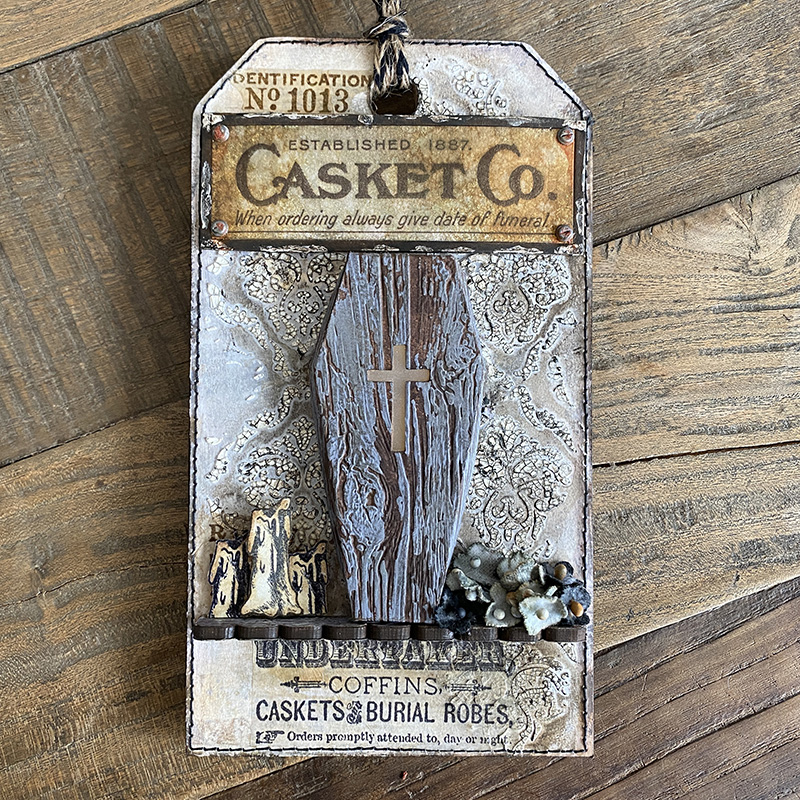
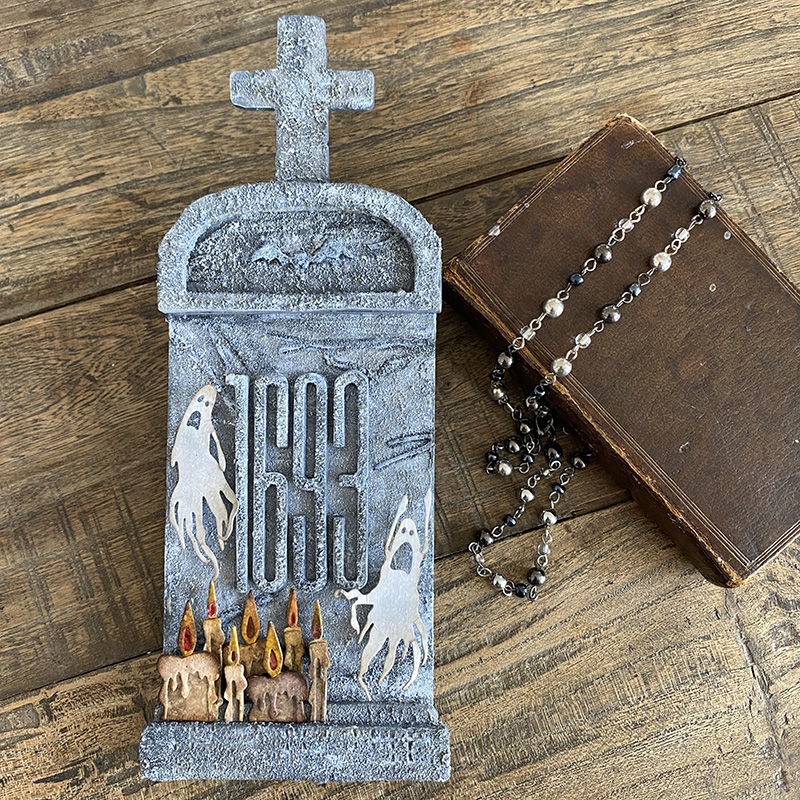
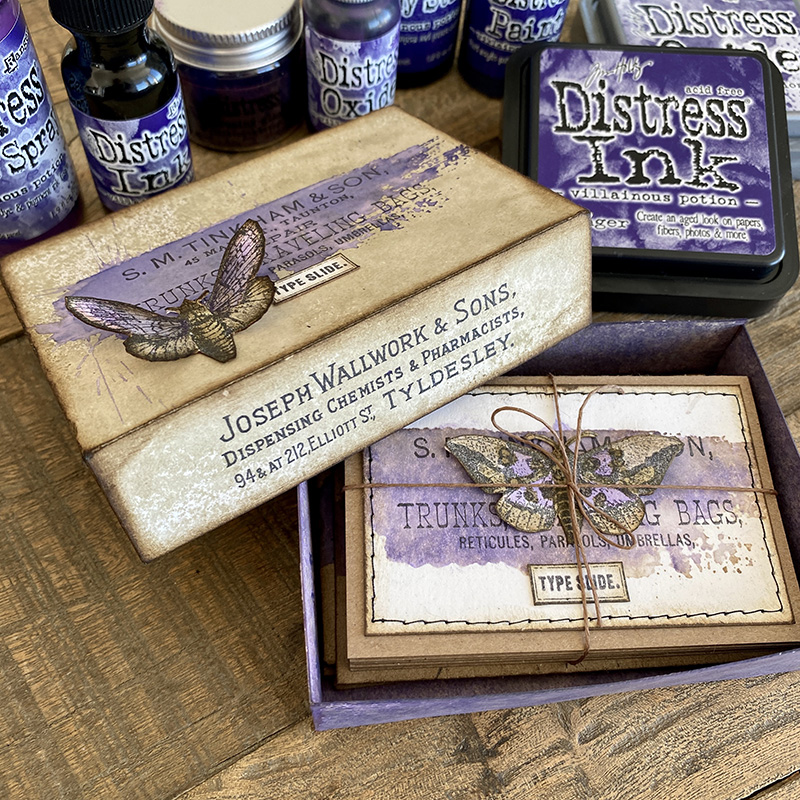
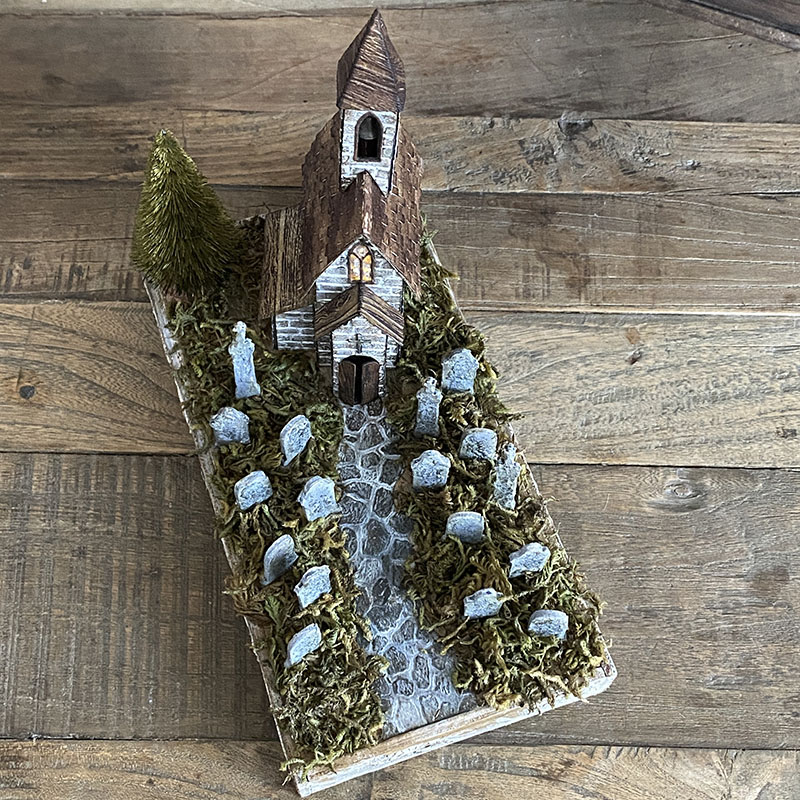
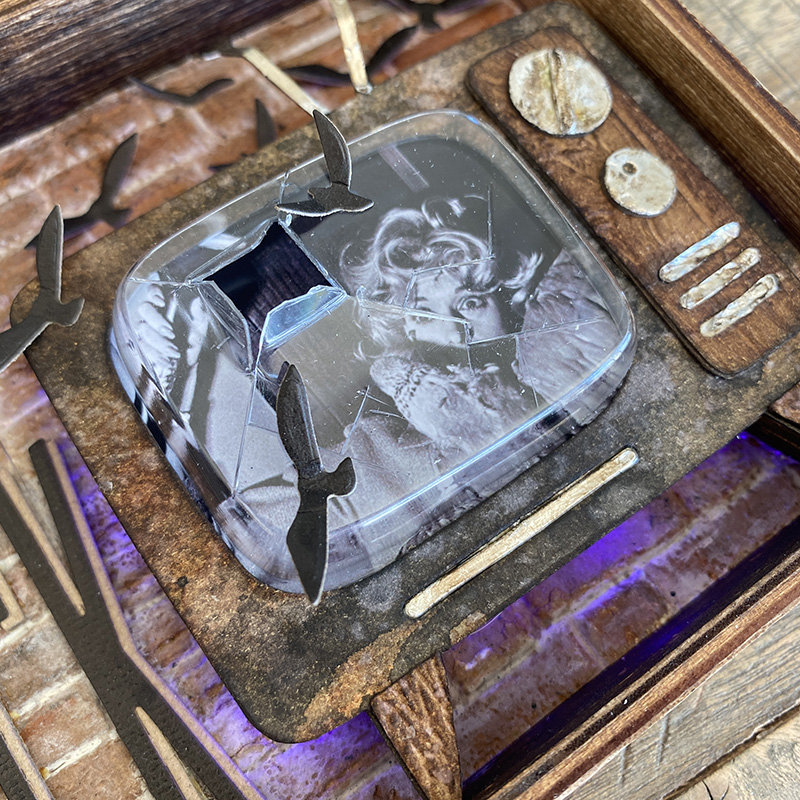
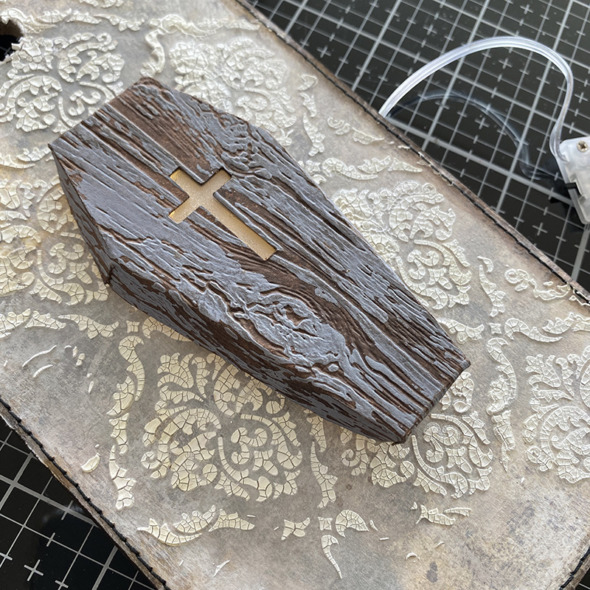
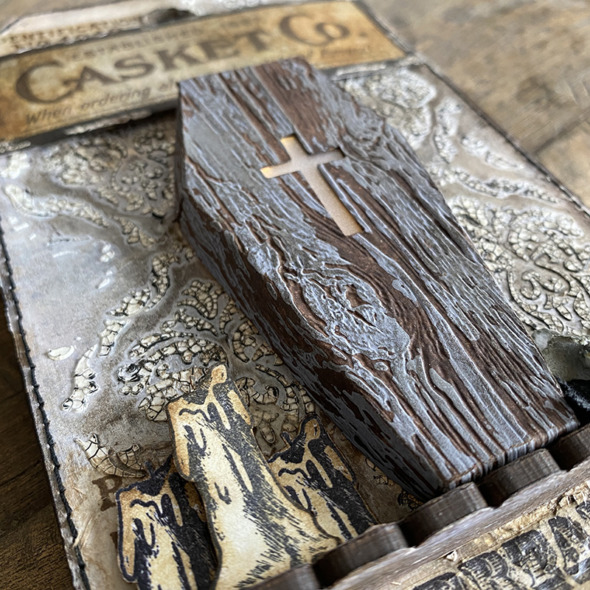
The Casket Company is open for business. To see the spooktacular Tim Holtz Halloween stamp launch, head over to Tim’s blog. The coffin box is a retired die and I dare to dream that one day it will pop up in a vault series! I love to invest in dies and stamps as you can mix and match them over the years and this much older die is the perfect match for the rest in peace CMS435 stamp set. For this piece I just used the lid of the coffin box which has a nice low profile.
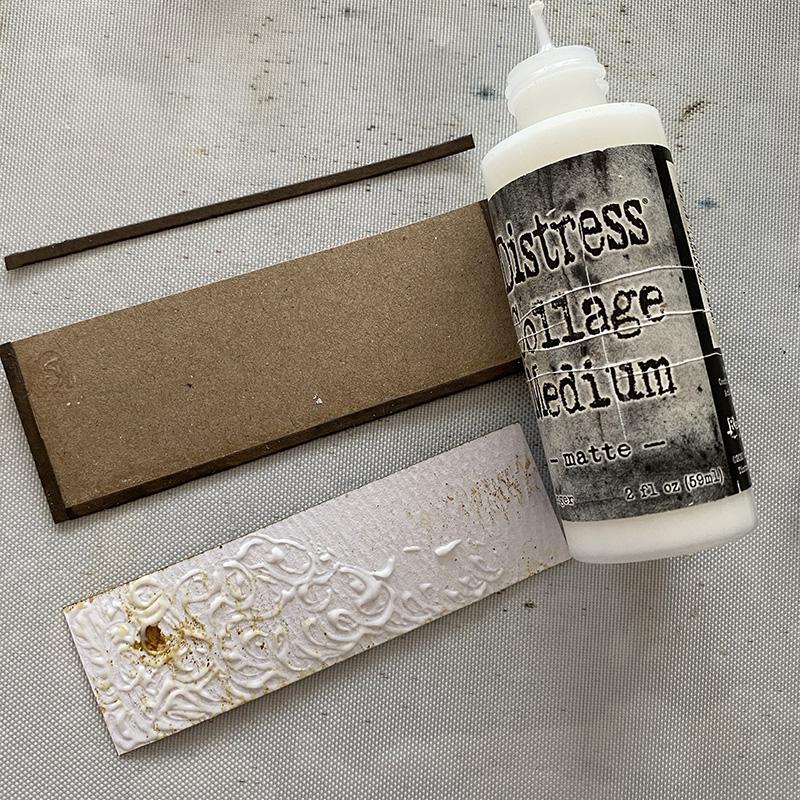
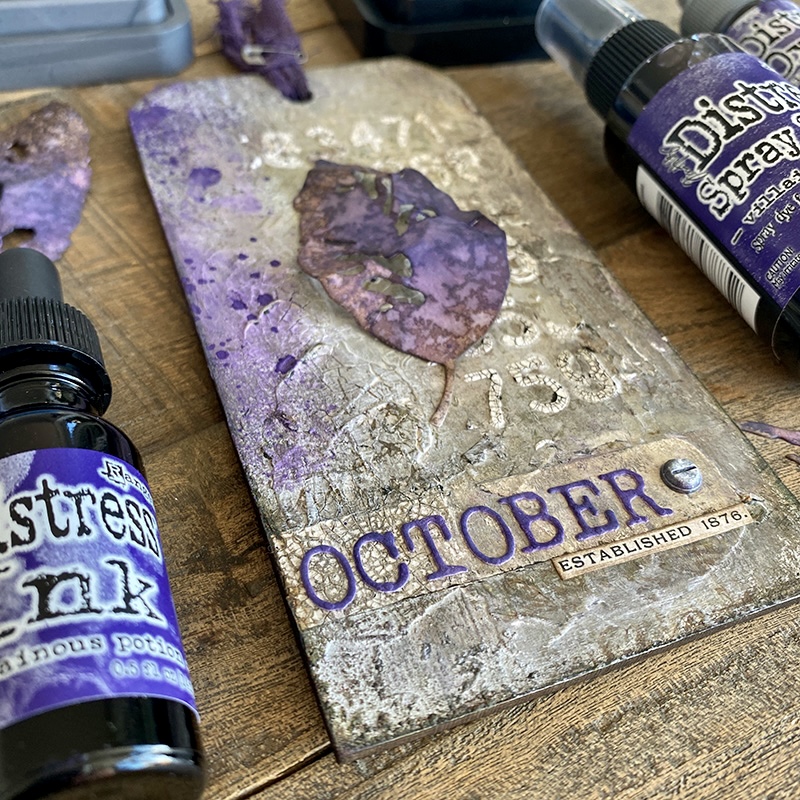
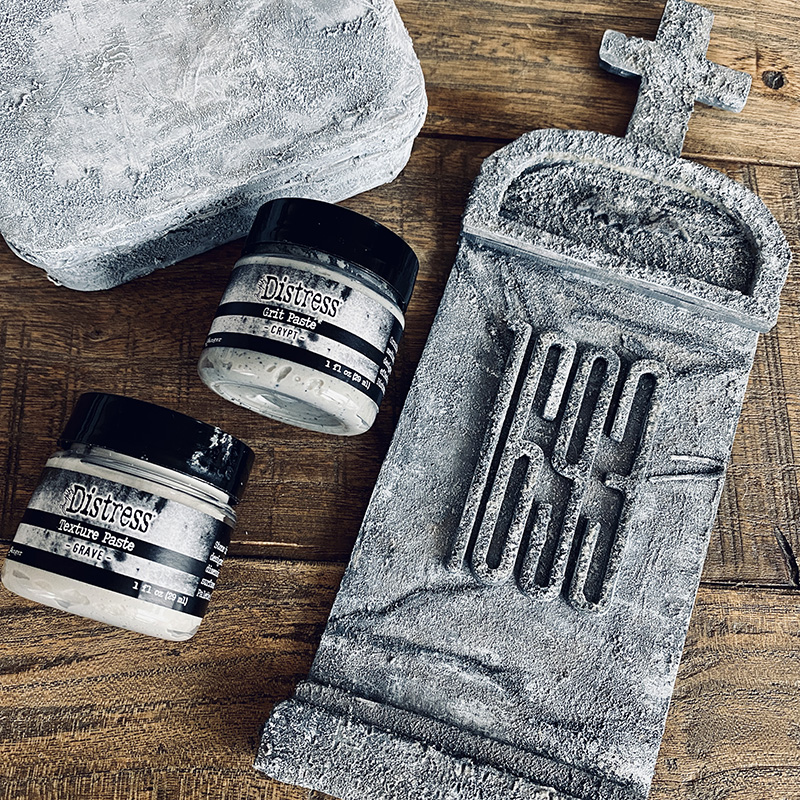
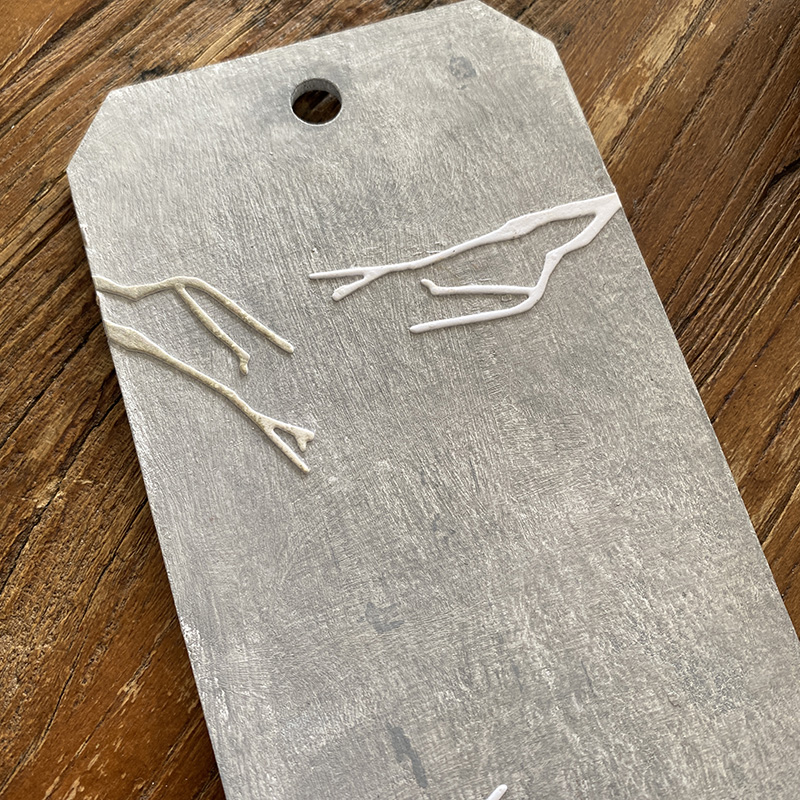
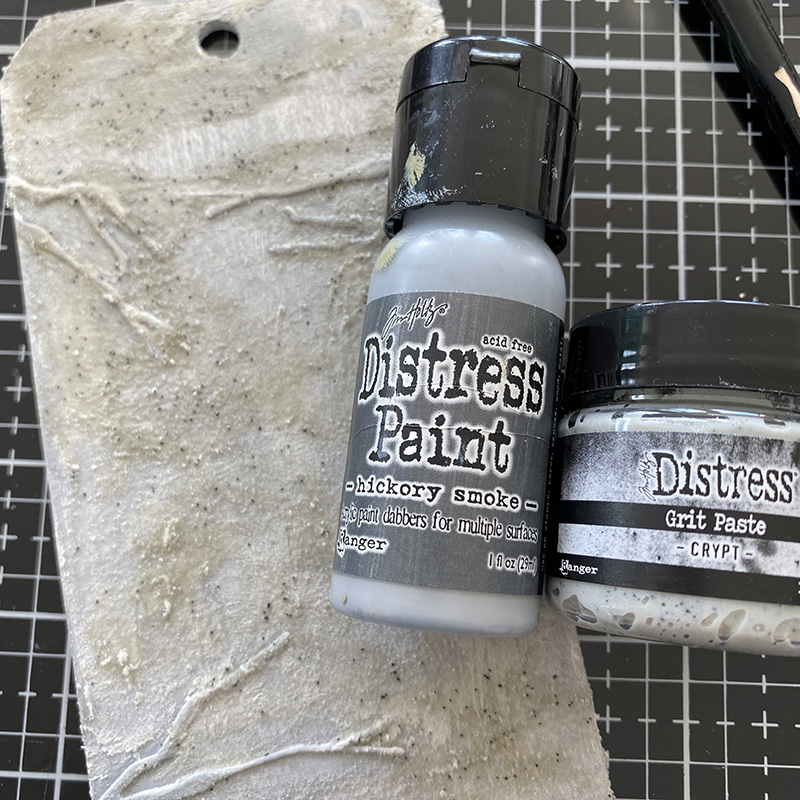
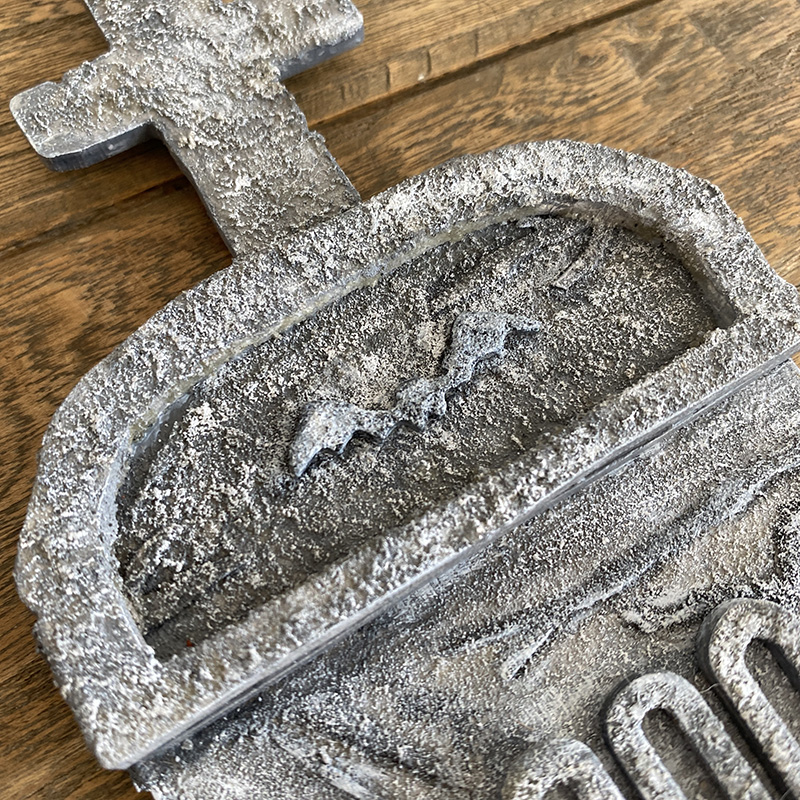
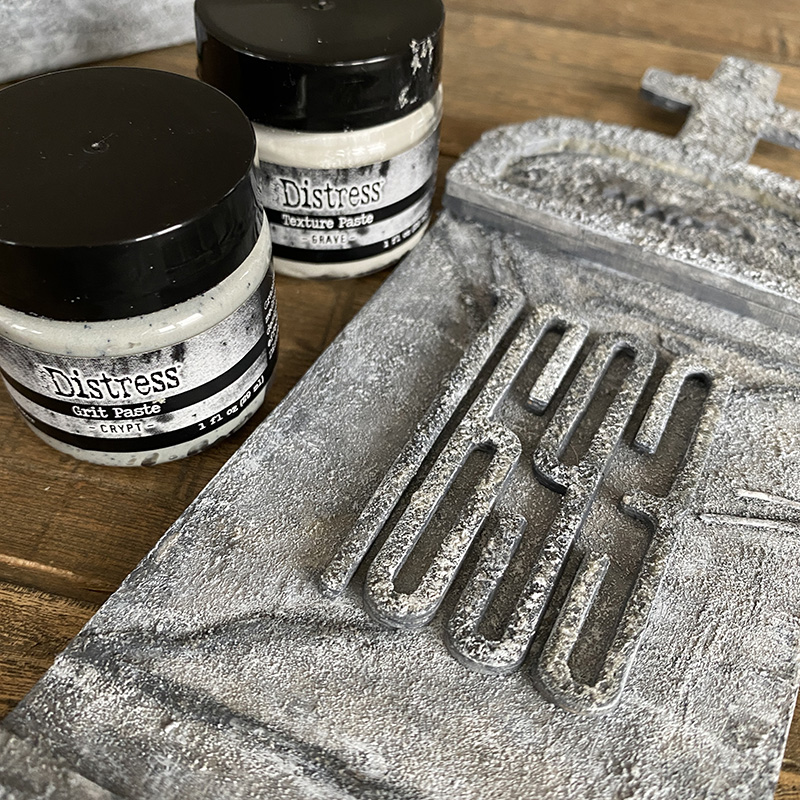
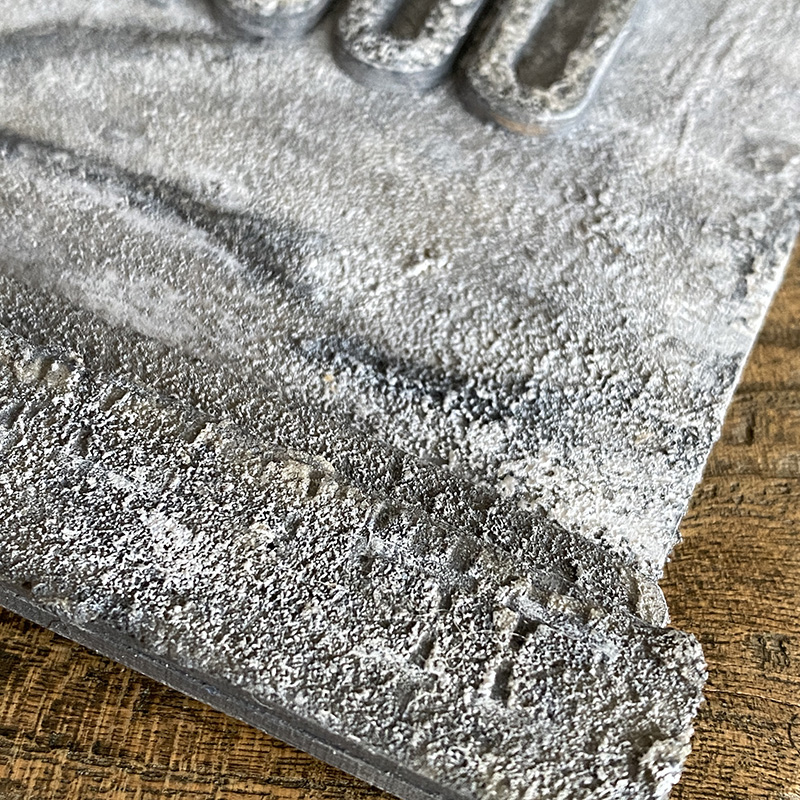
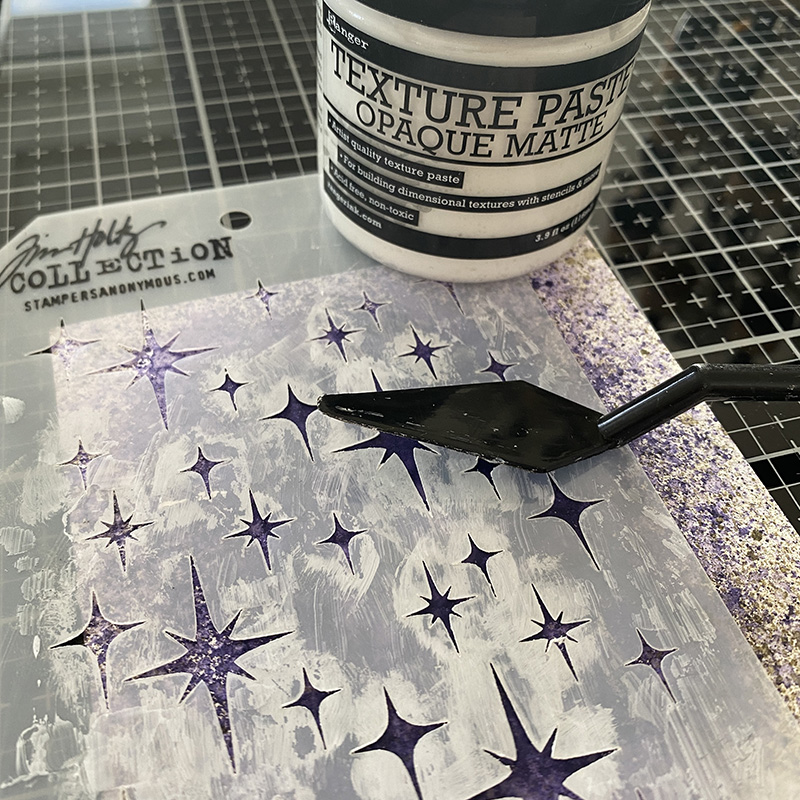
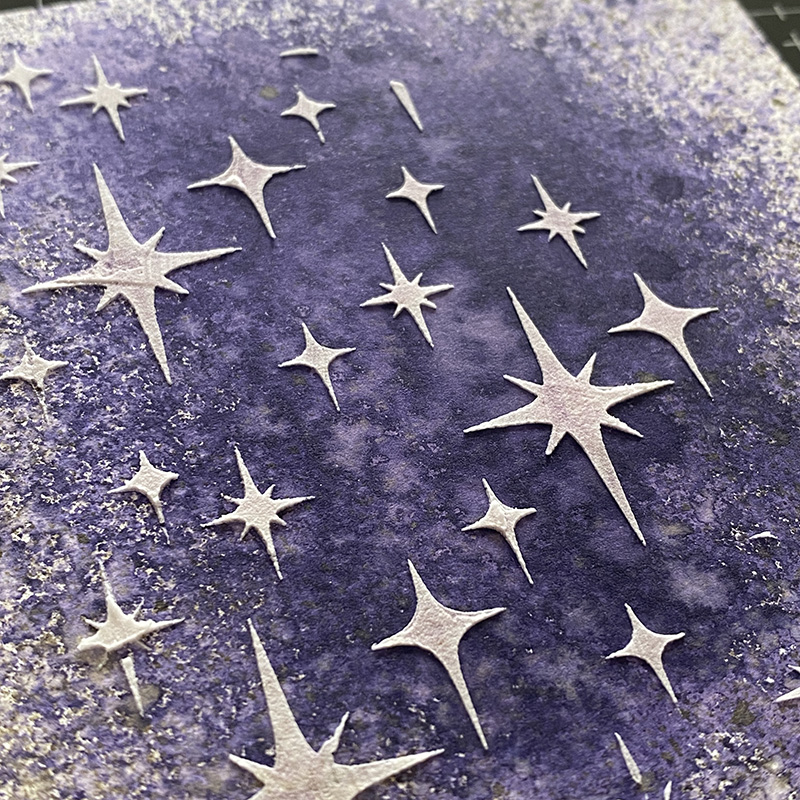
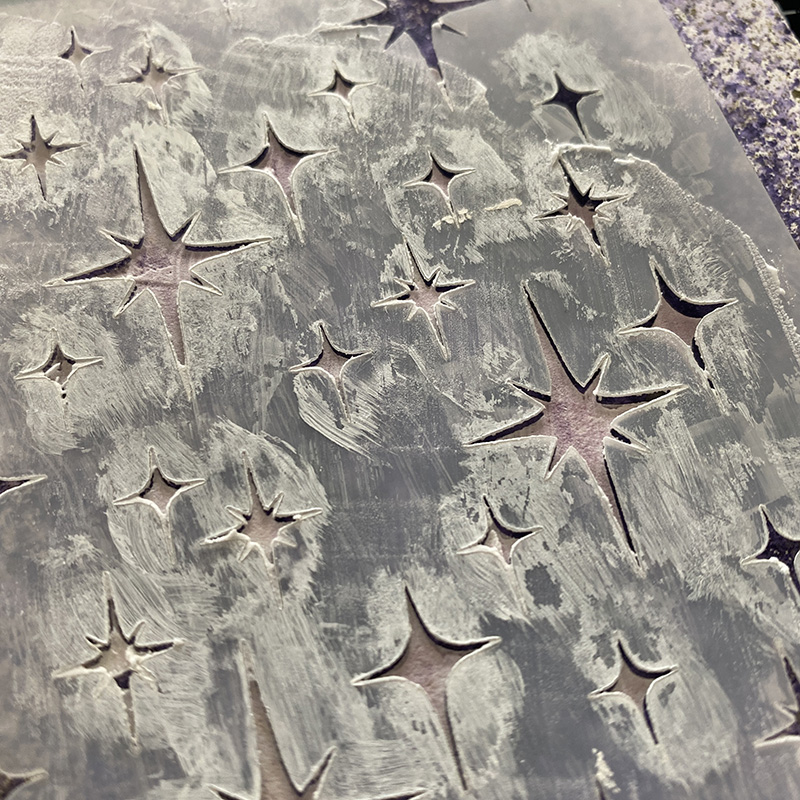
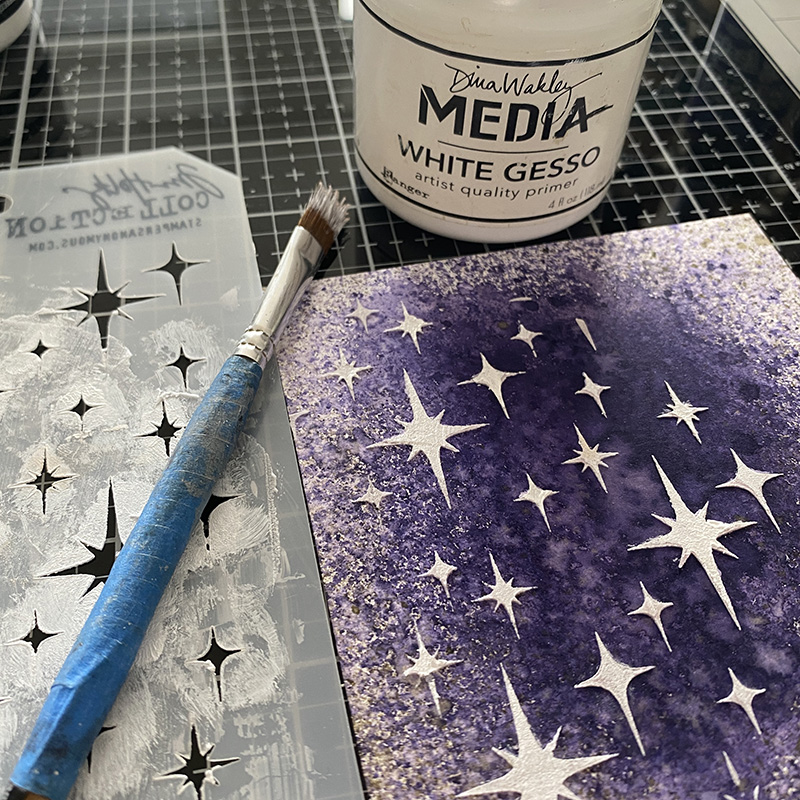
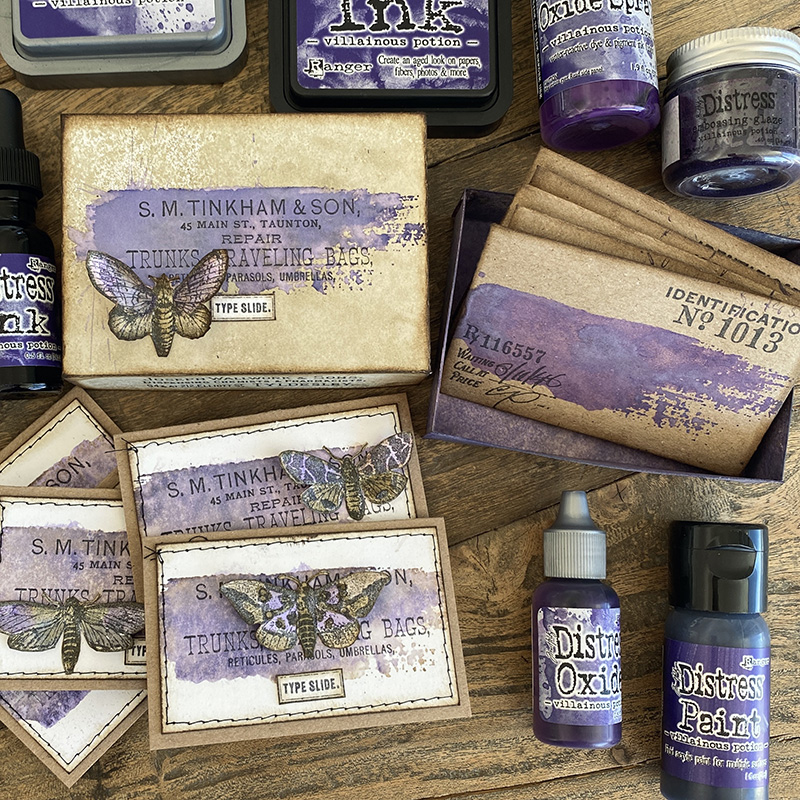
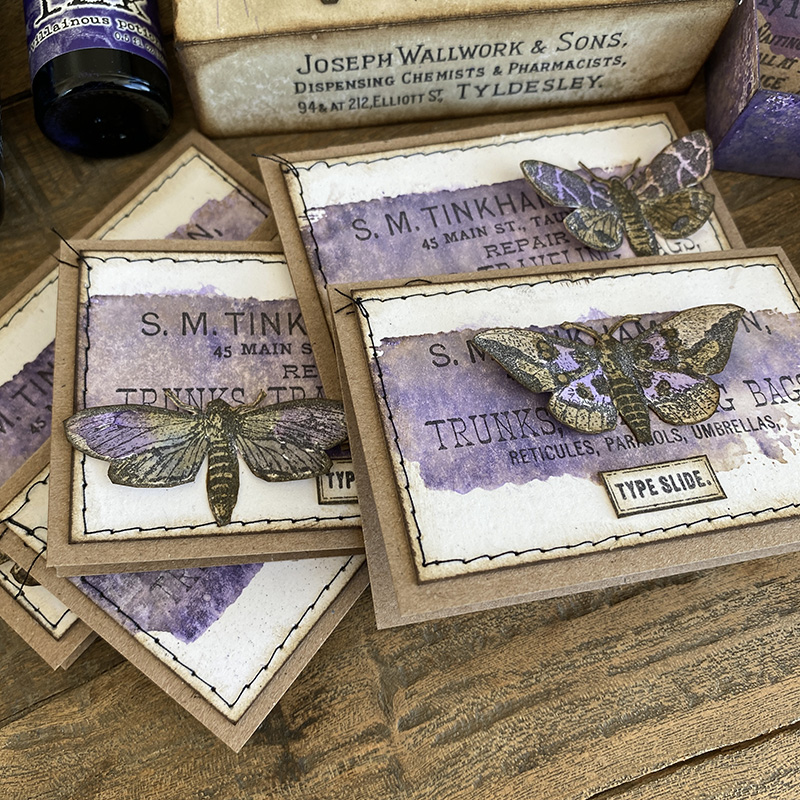
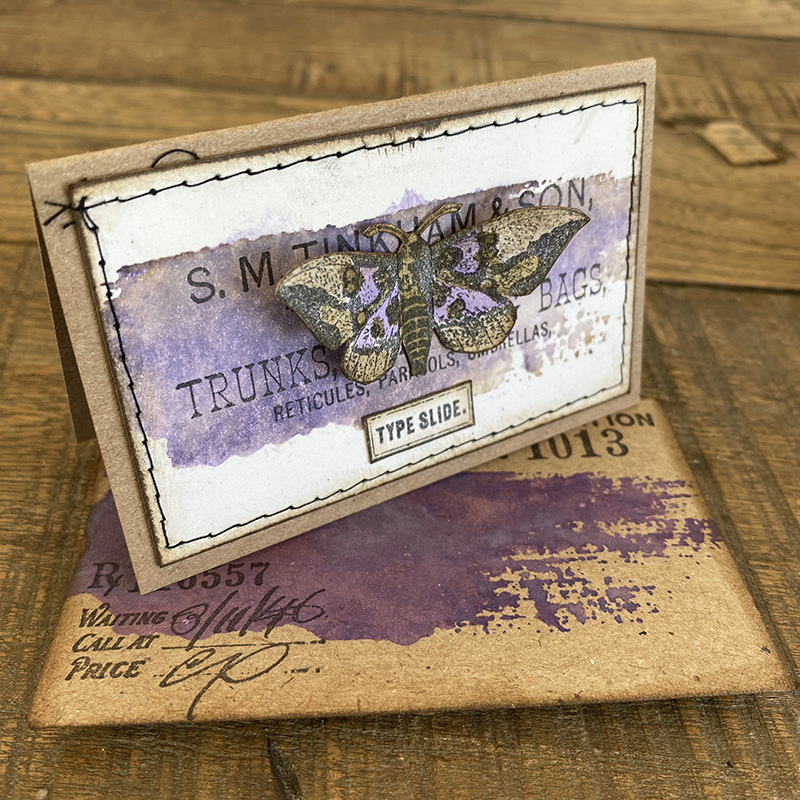
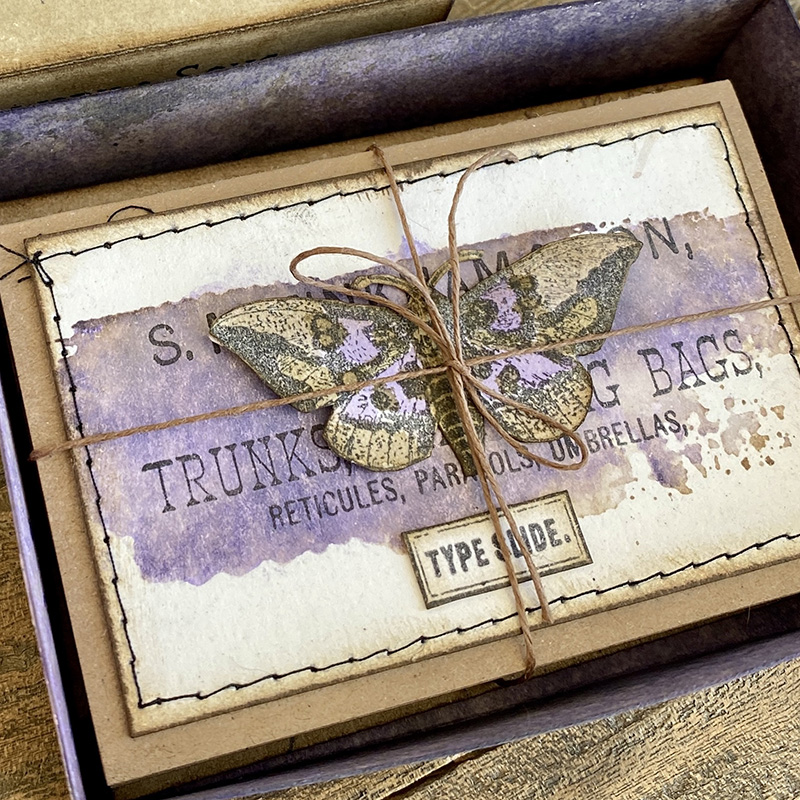
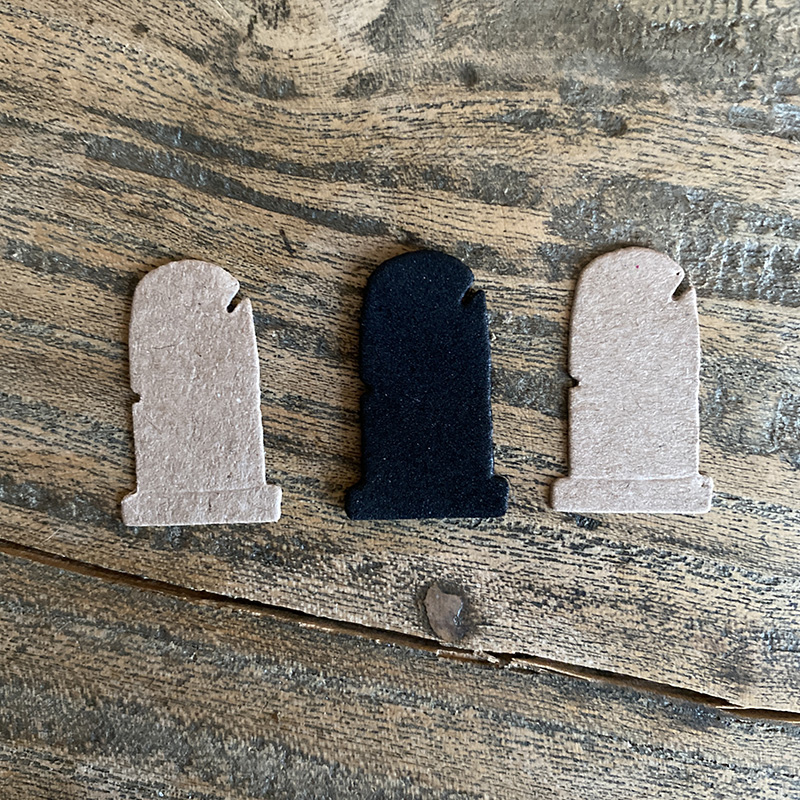
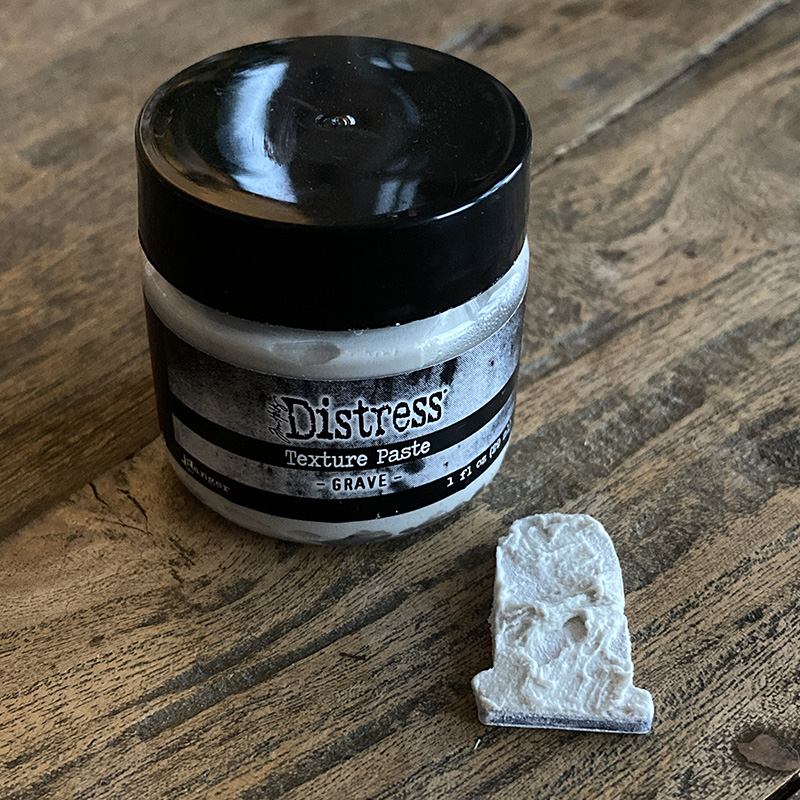
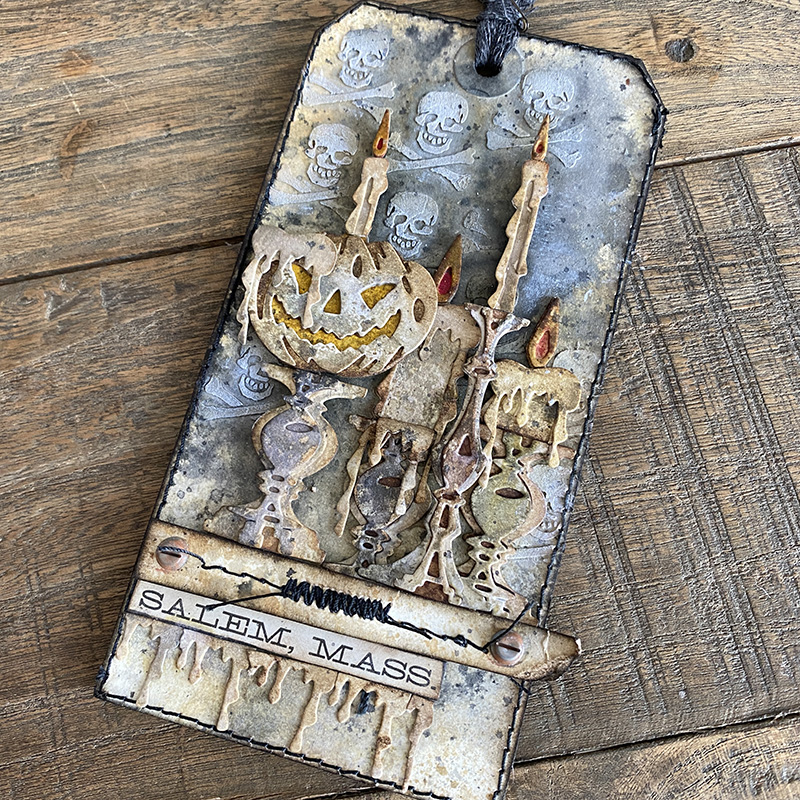
I covered a mini etcetera thickboard tag with distress watercolor cardstock which I stitched with my sewing machine before sticking down. I often work directly on my etcetera tags, but this time I wanted stitched detail, so I traced a tag, fussy cut, stitched and then glued onto the etcetra tag, brayering on a little iced spruce distress paint. Using the gothic stencil, I spread distress crackle texture paste and once dry added distress crayon.
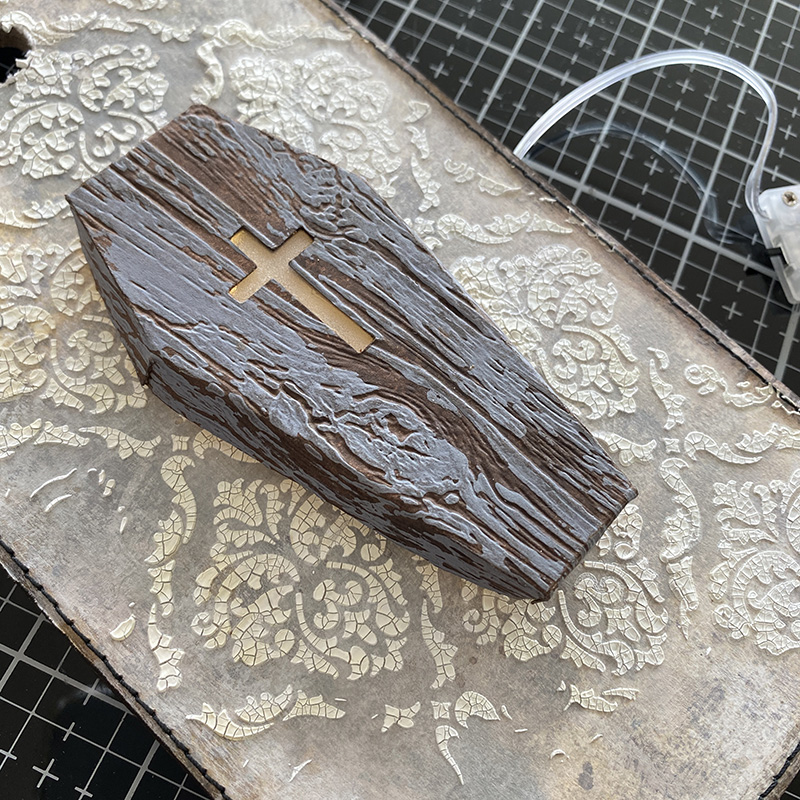
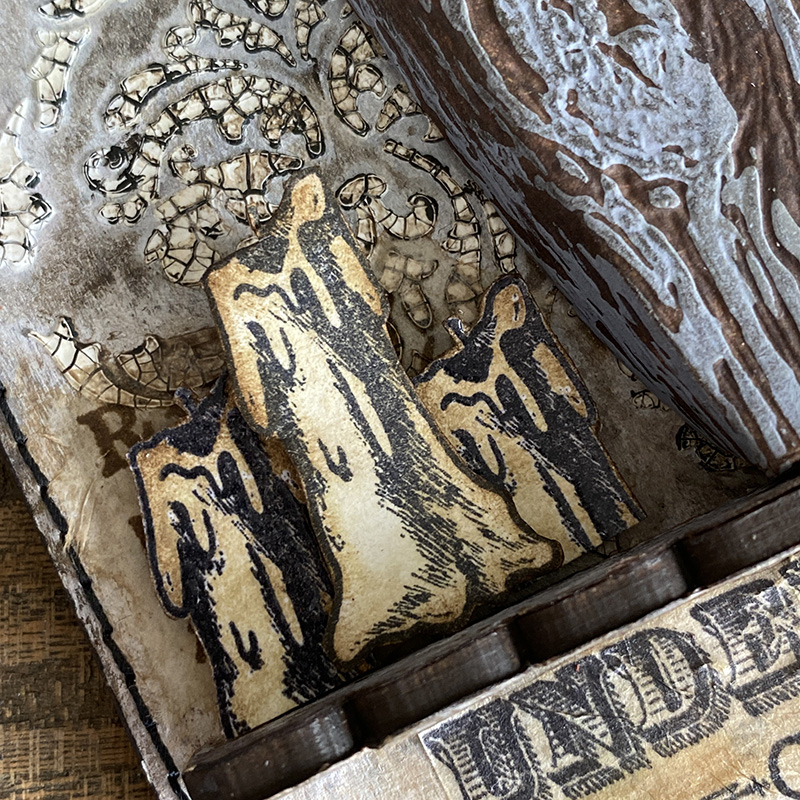
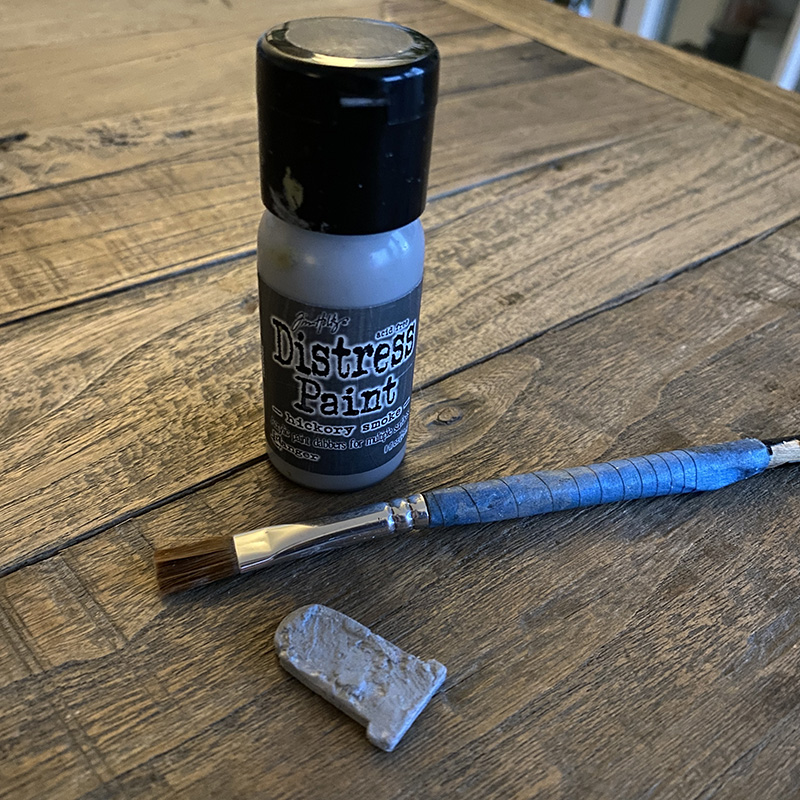
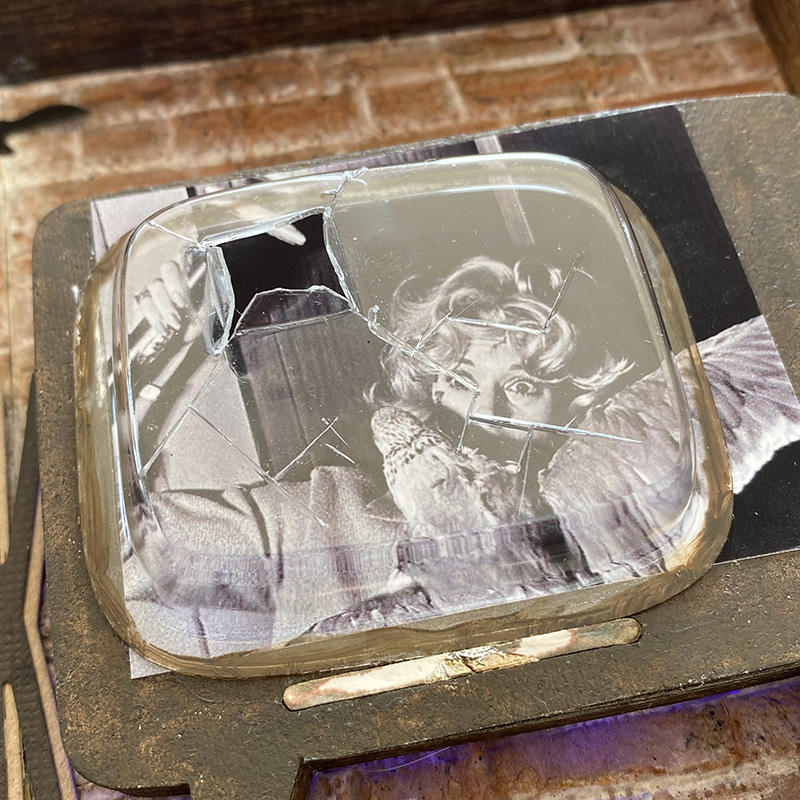
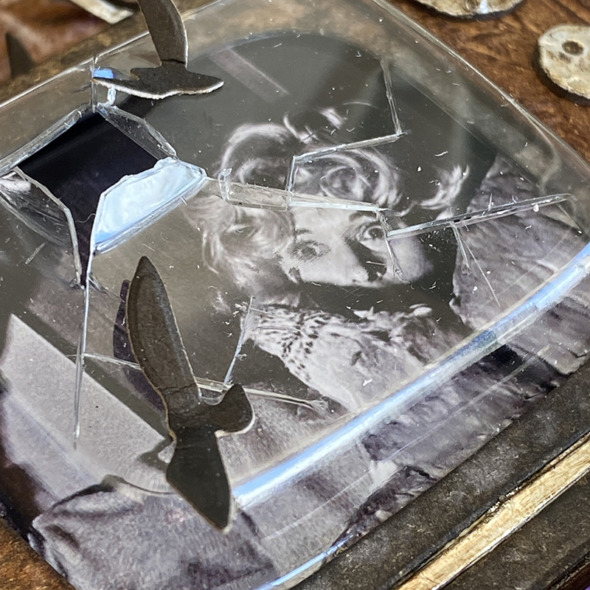
The coffin top is embossed with the lumber 3D embossing folder and brayered with iced spruce distress paint. Once dry, spray with ground espresso distress spray. The paint covered parts will resist the distress spray.

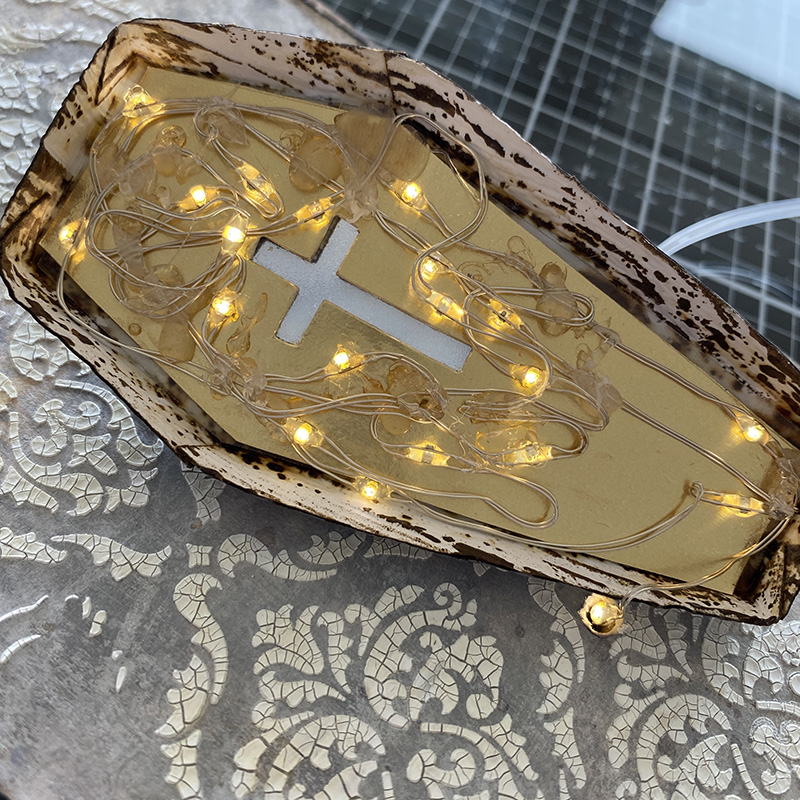
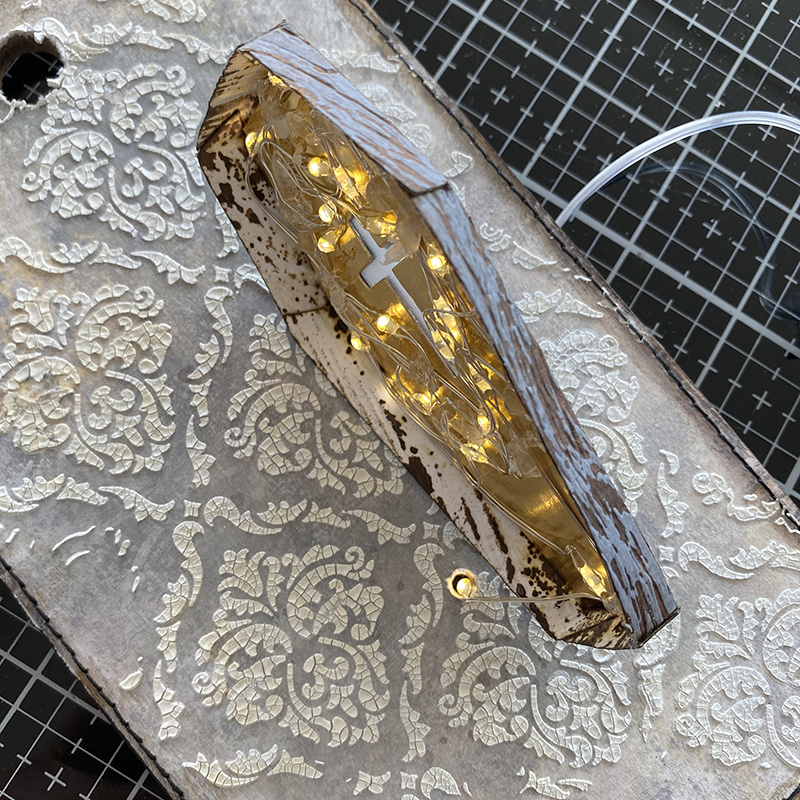
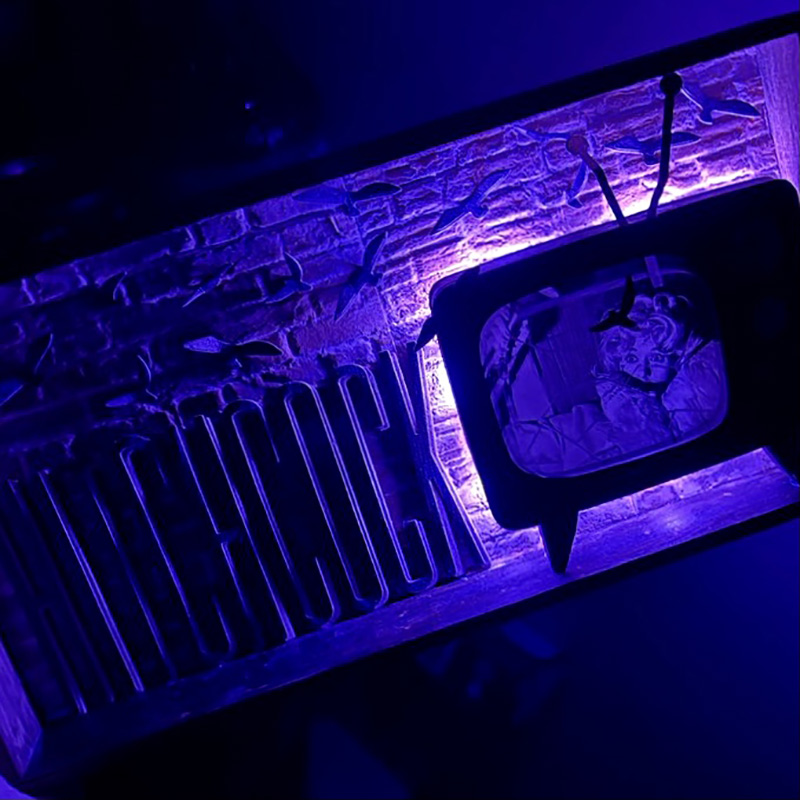
I die cut a piece of metallic kraft stock, trimmed off the edges and mounted inside the coffin box to reflect the lights and make them nice and bright. Mark where the bottom of the coffin will sit on your tag and drill a hole big enough to thread tiny lights through from the back. Using a hot glue cut carefully wind the lights around the inside of the coffin lid and secure. Be careful not to get hot glue on the actual bulbs as this can short them out. I always work with the tiny lights switched on so you can see where you’re placing them.

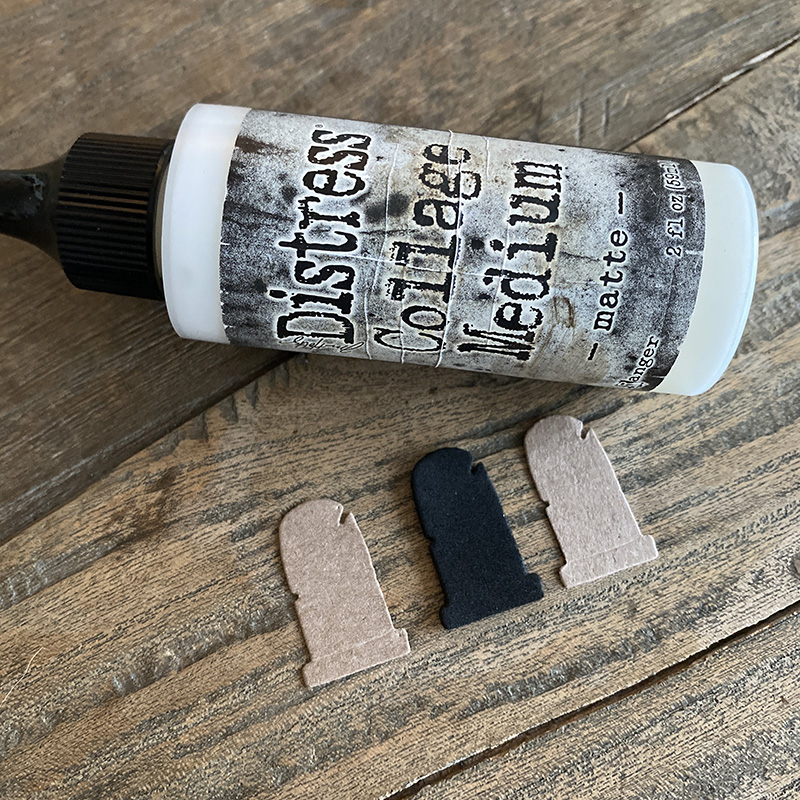
Run a line of distress collage medium to the bottom edge of the coffin lid and glue to the tag.
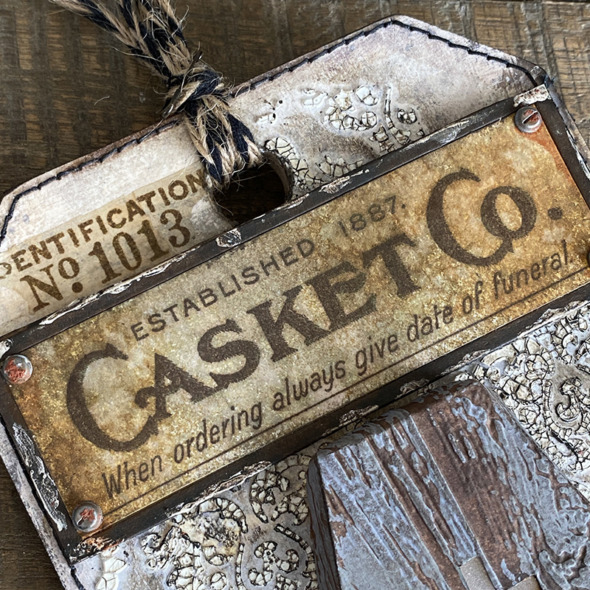
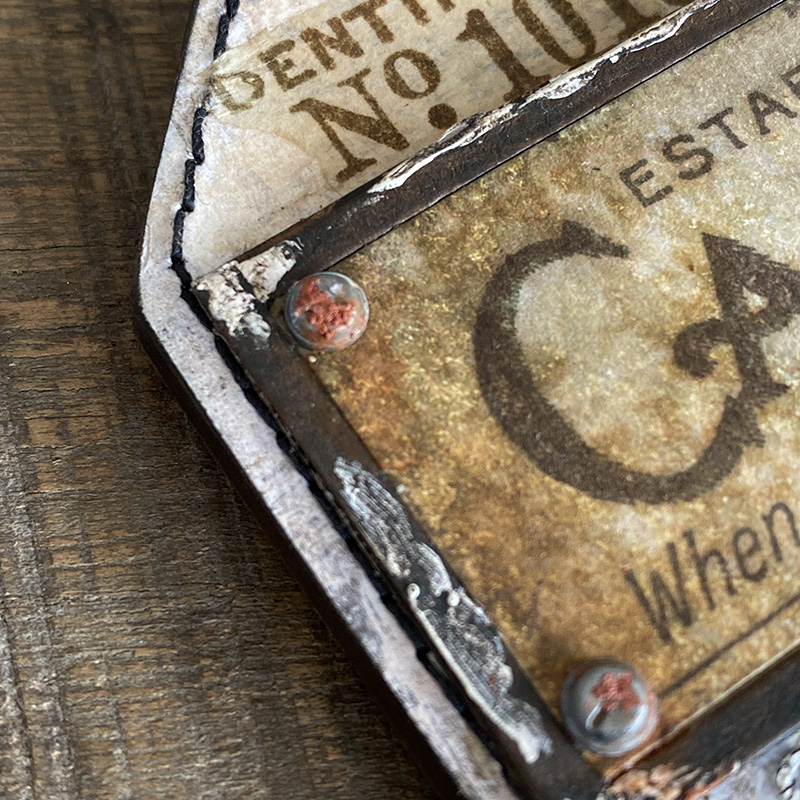
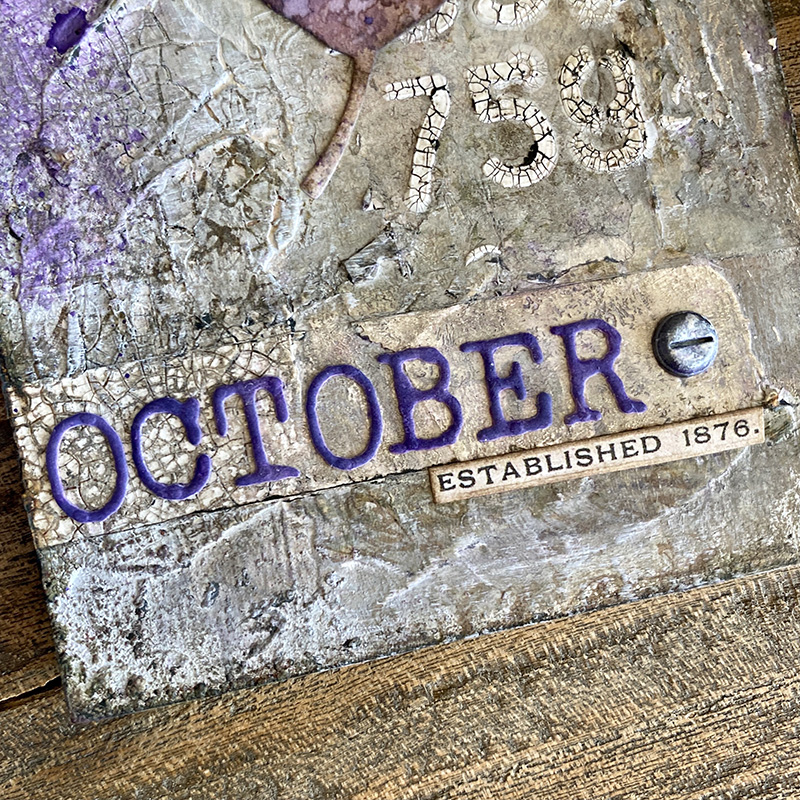
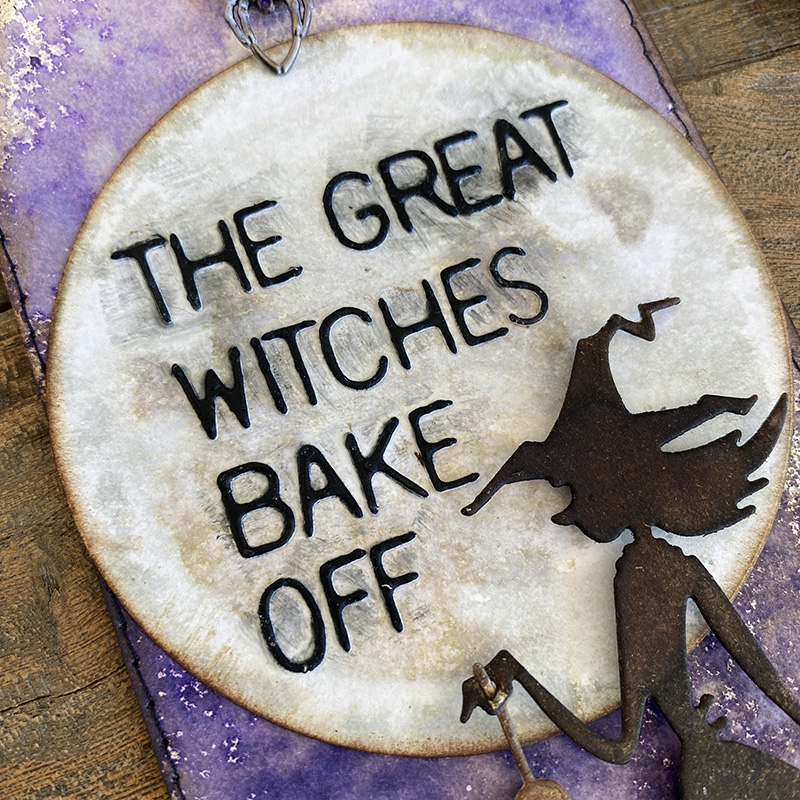
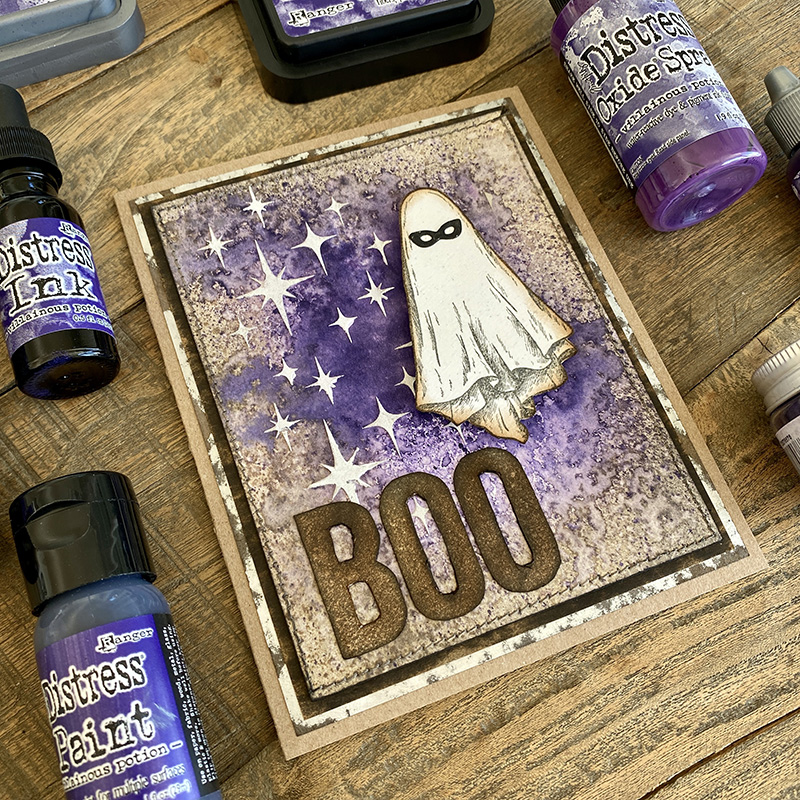
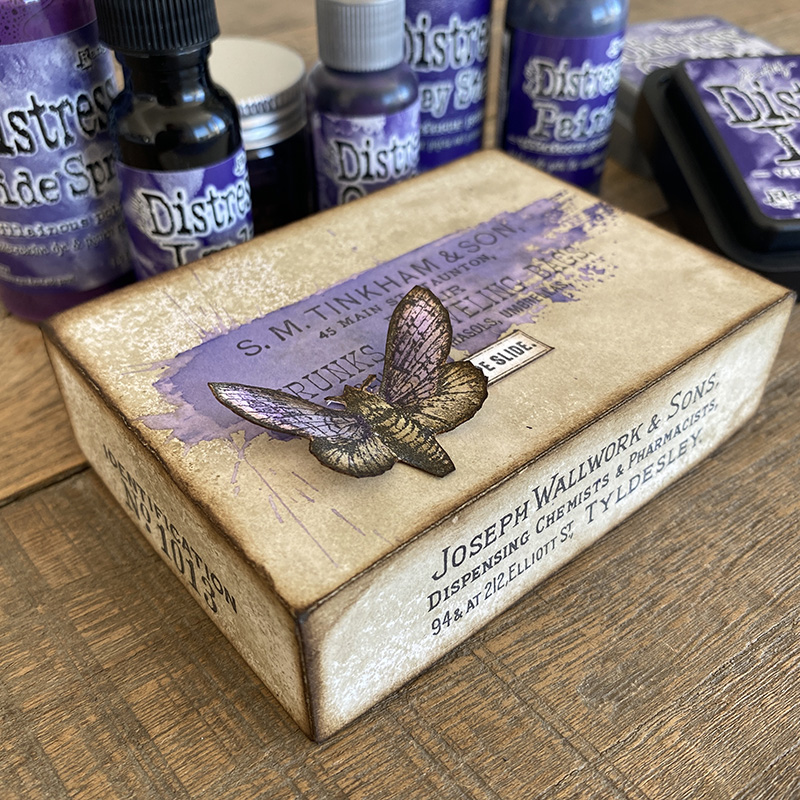
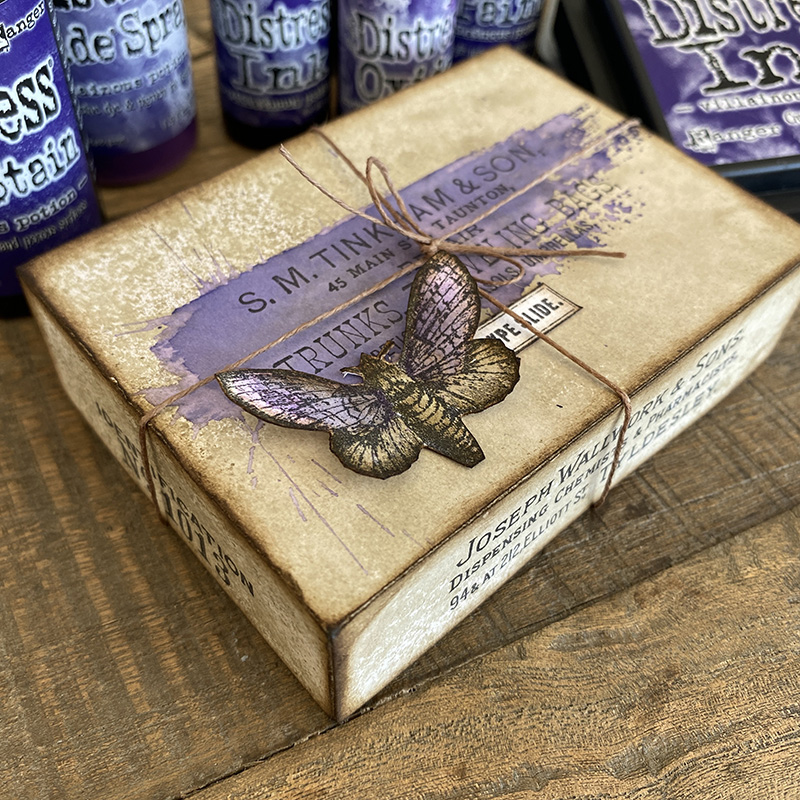
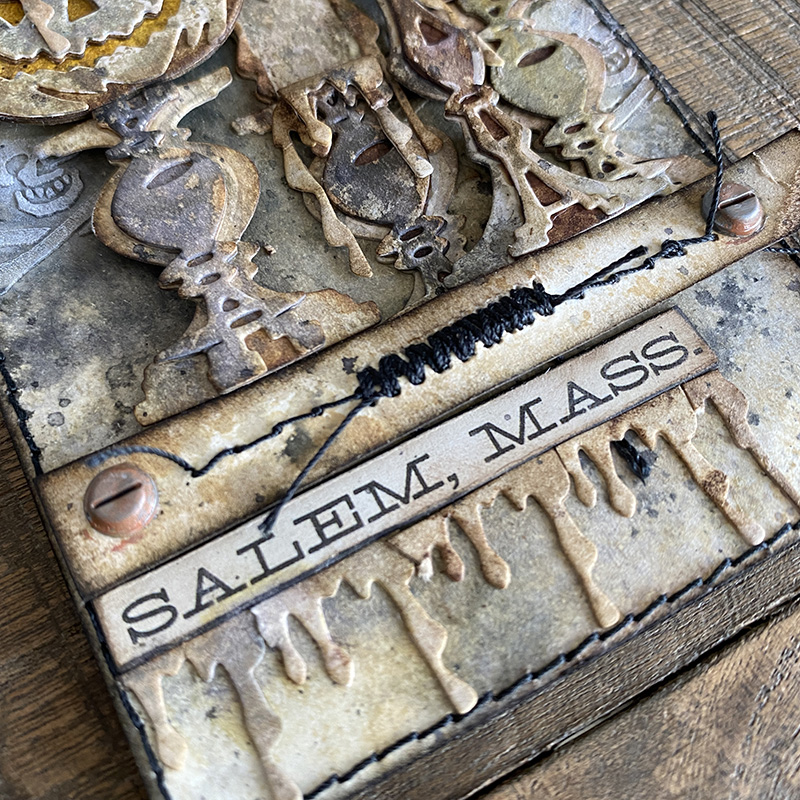
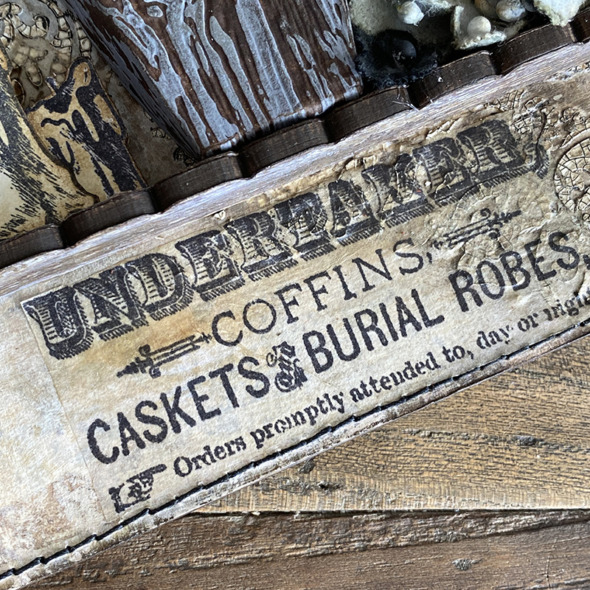
I added a faux sign to the top of the tag using stamps from the new rest in peace CMS435 stamp set.

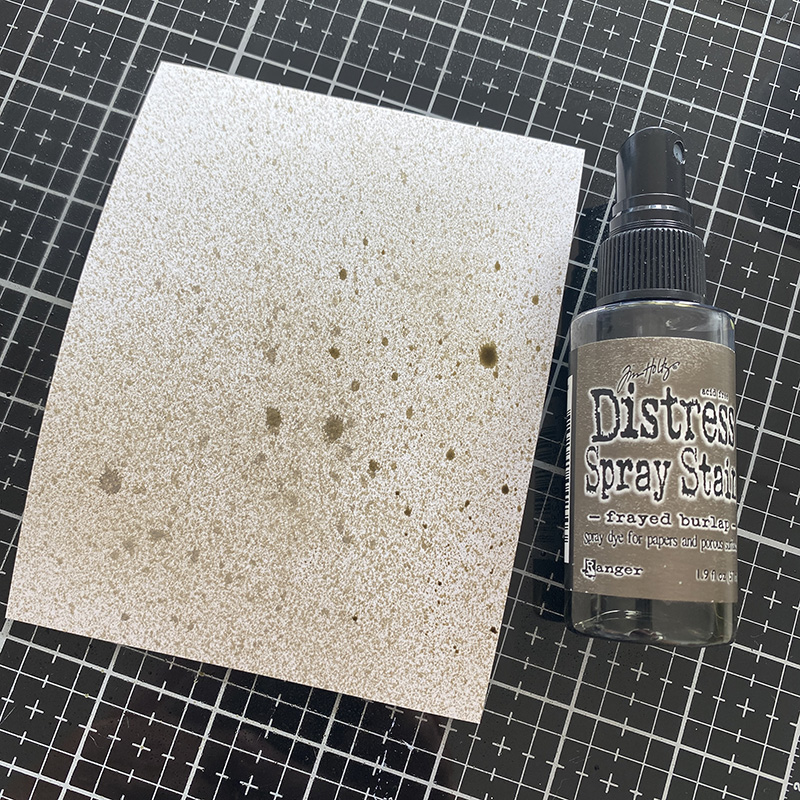
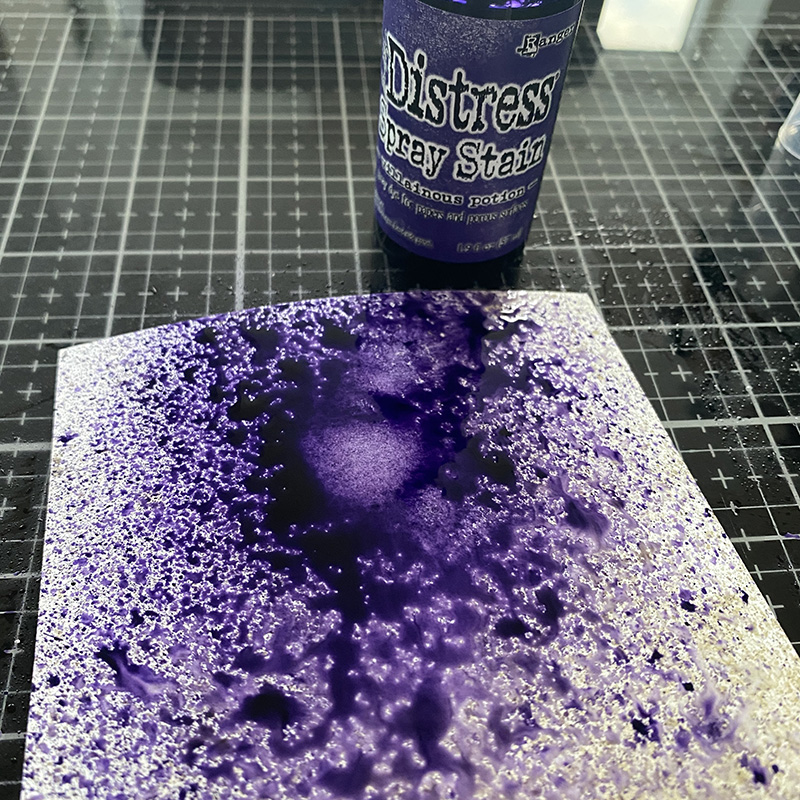
I stamped onto distress watercolor cardstock using distress archival ink and sprayed with distress sprays. I glued it to a piece of chipboard and edged with thin pieces of distress watercolor cardstock painted with ground espresso distress paint.
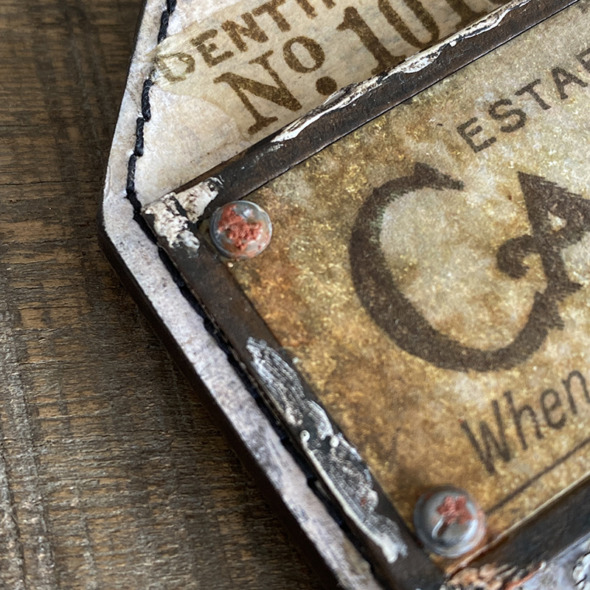
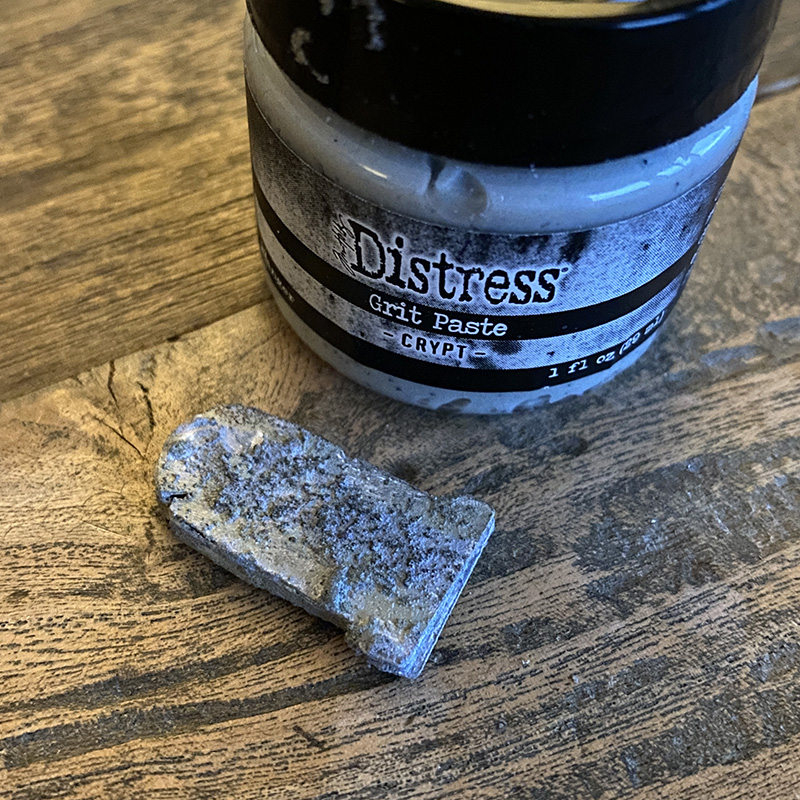
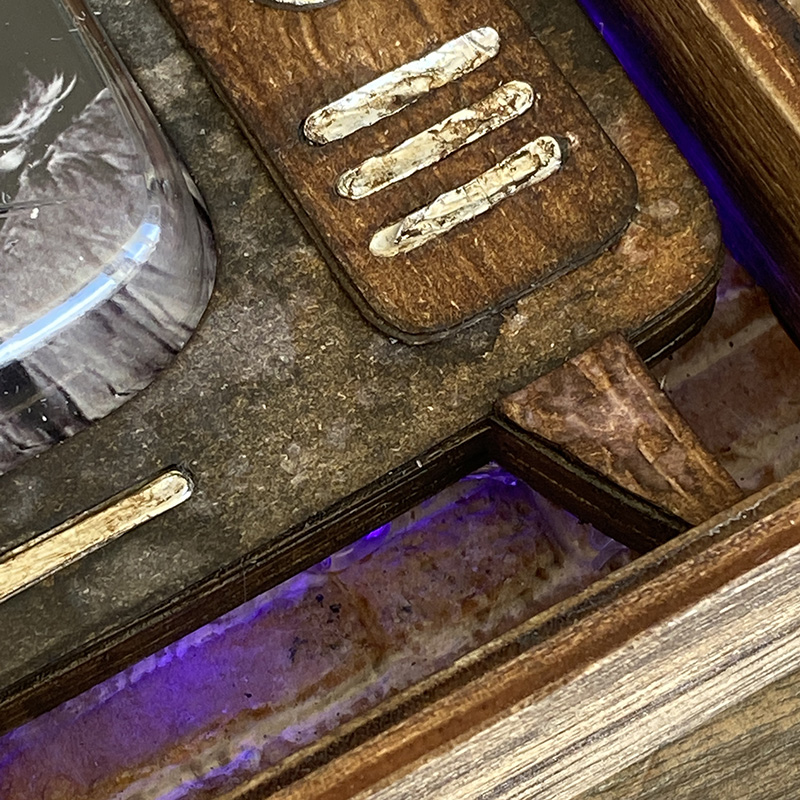
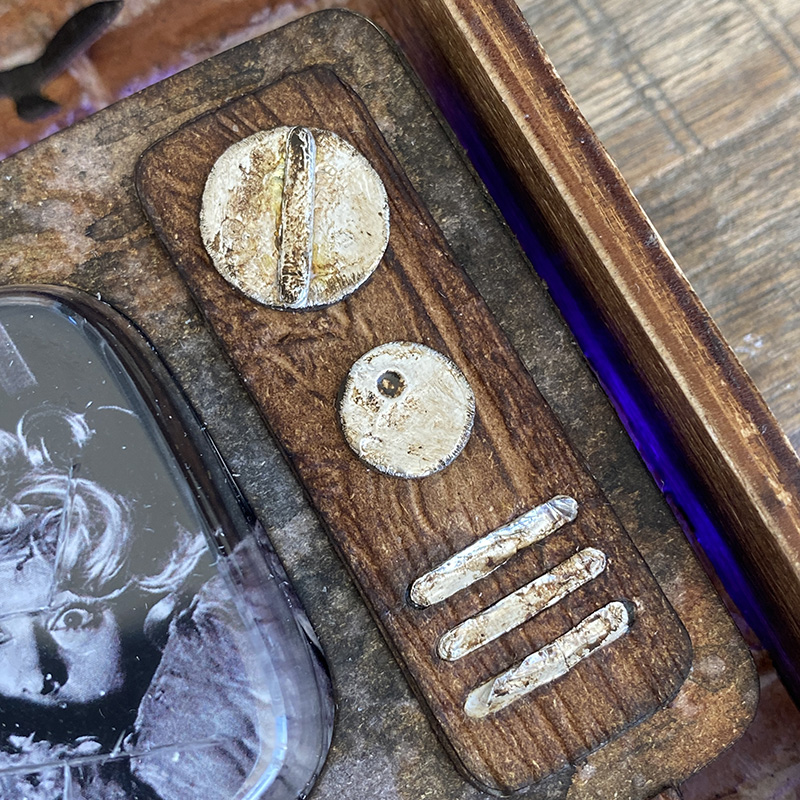
I added a little distress crackle texture paste to the edges of the sign and hardware heads to the corners. I covered them with distress grit-paste and crackling campfire and walnut stain distress crayon.
I used a thickboard scallop trim covered with a die cut using the new decorative trims dies and embossing with the lumber 3D folder. I LOVE these dies because it makes decorating the thickboard trims so easy and the trims make perfect shelves.
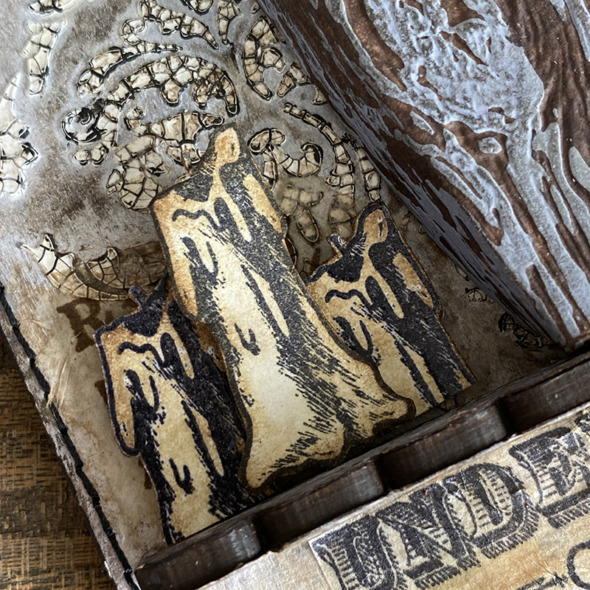
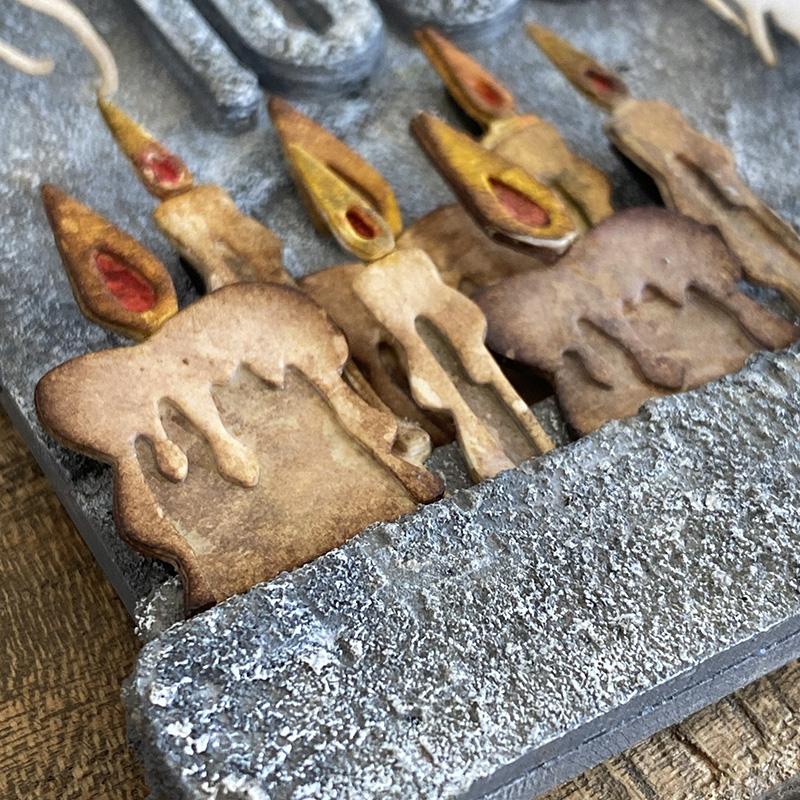
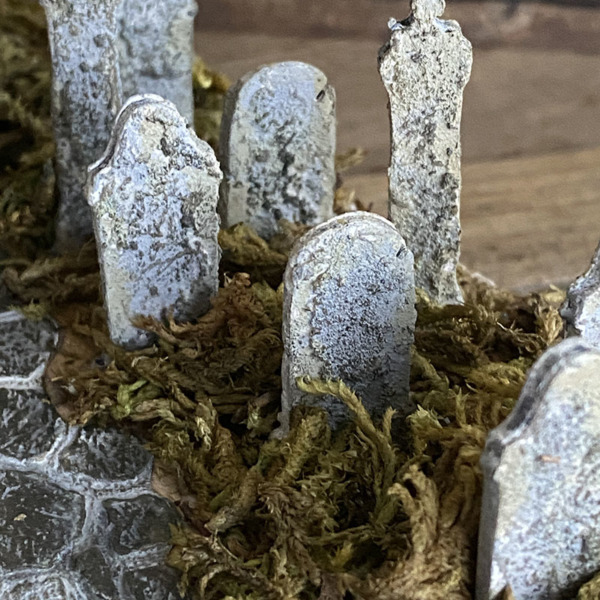
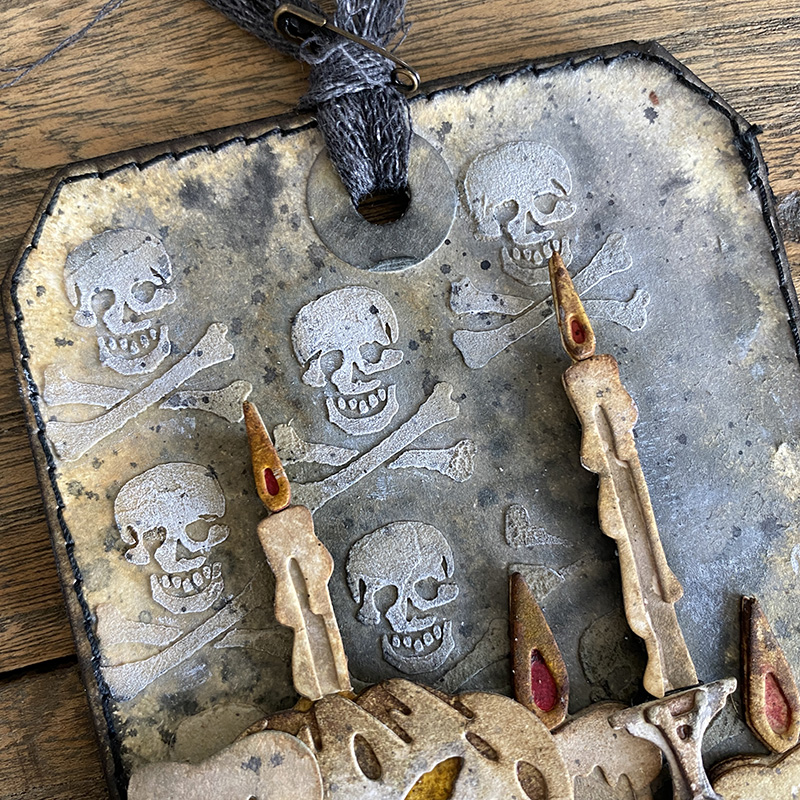
I stamped and fussy cut candles from the halloween doodles CMS437 stamp set and mounted away from the tag with adhesive foam.

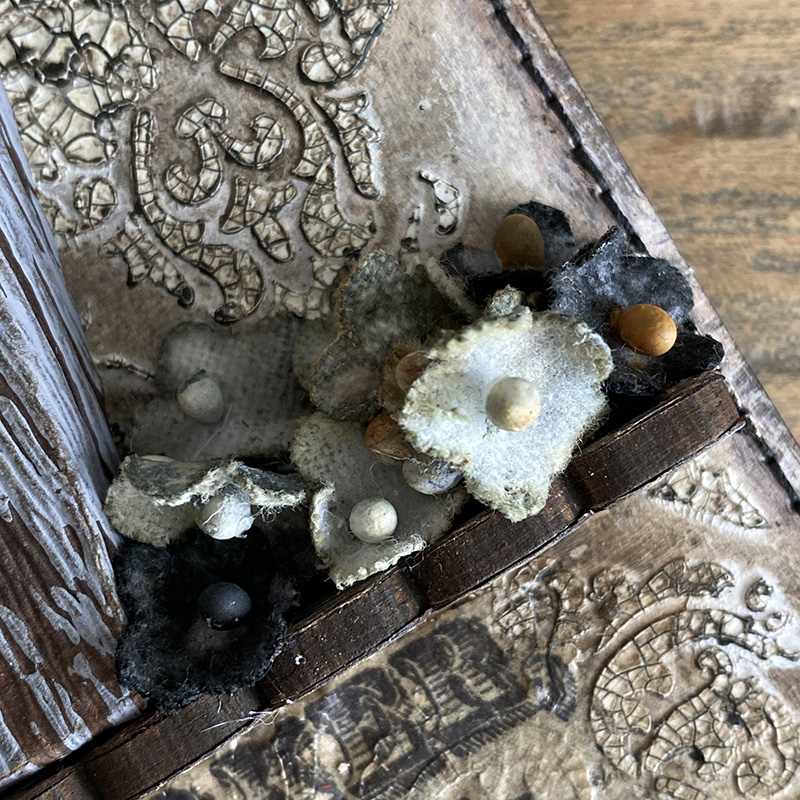
I added idea-ology bouquet flowers to the other side of the trim shelf.
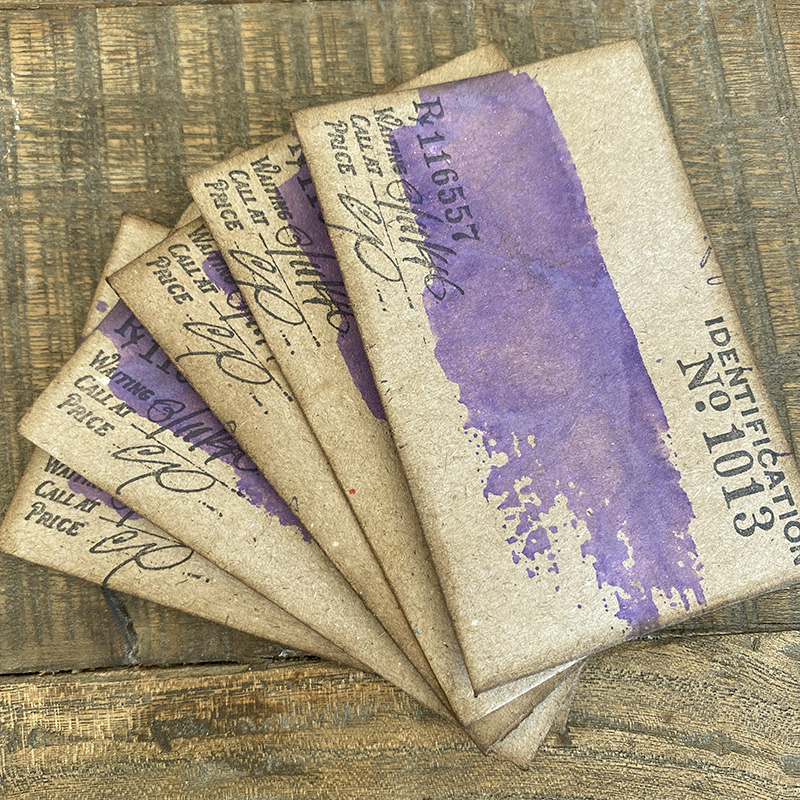
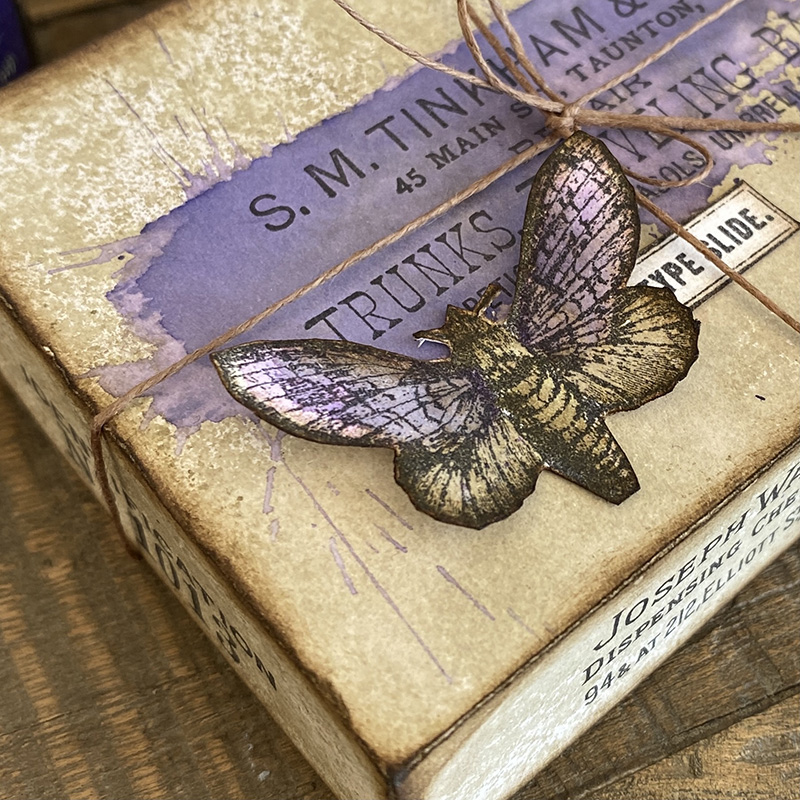
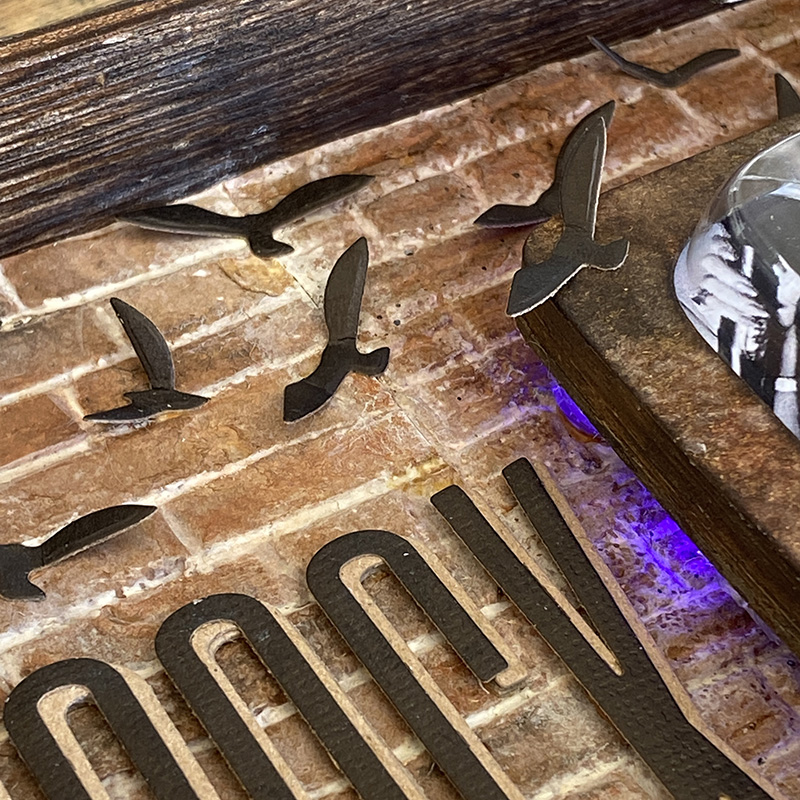
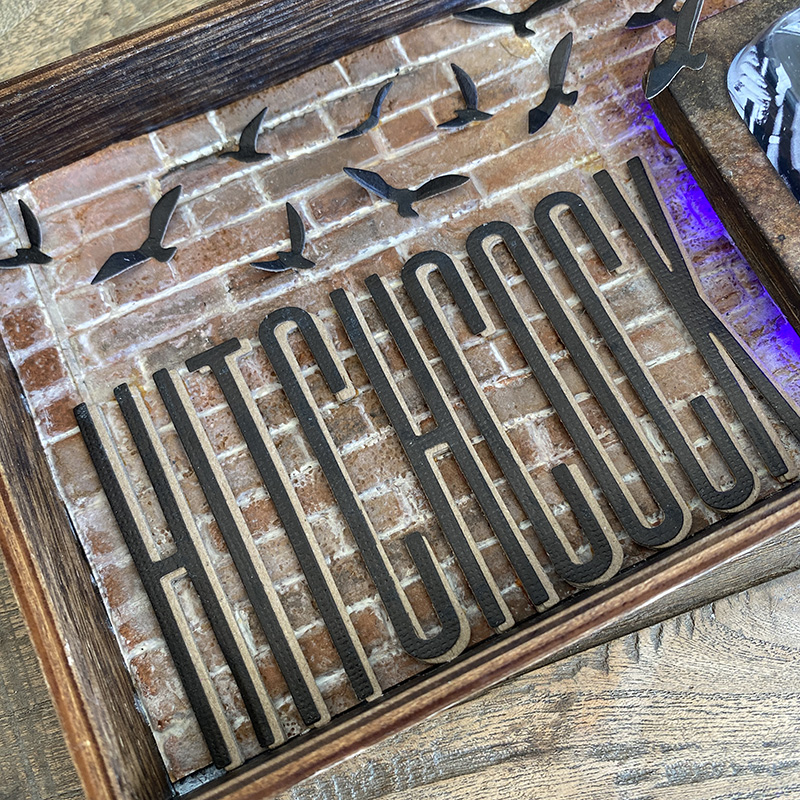
For the base I stamped another stamp from the rest in peace CMS435 stamp set onto idea-ology plain collage paper with distress archival ink and attached using distress vintage collage medium to give it a nice tint. The collage paper disappears into the background when you add the collage medium. I love this method of adding stamps to a background.

Thanks for stopping by and let me know if you have any questions.
Zoe
…
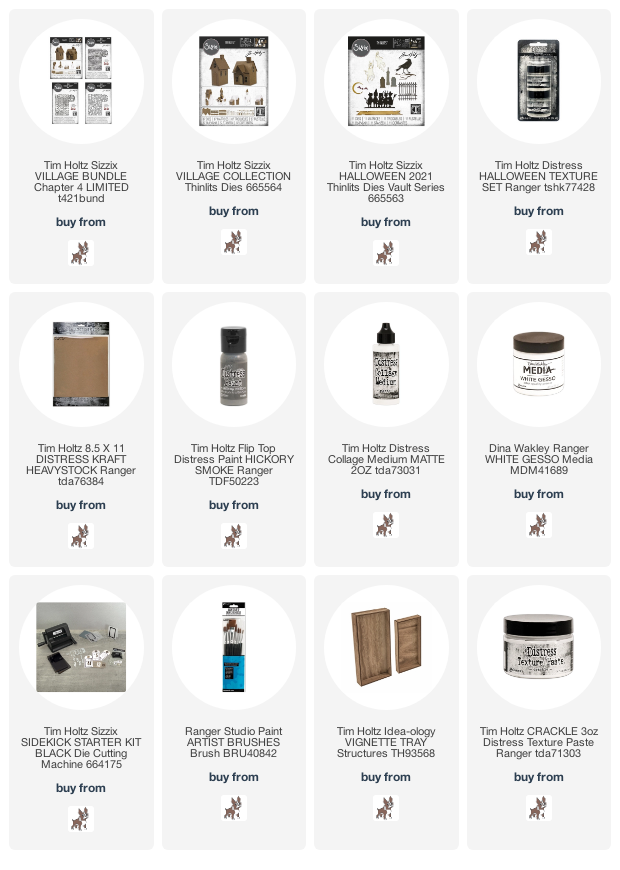
affiliate links used at no cost to you