Hello friends. Hope you’re doing well and having a nice week in your part of the world. I’m sharing a make that I created for the Tim Holtz Sizzix Chapter 2 LIVE launch. You can see all the details, makes and LIVE over on Tim’s blog.
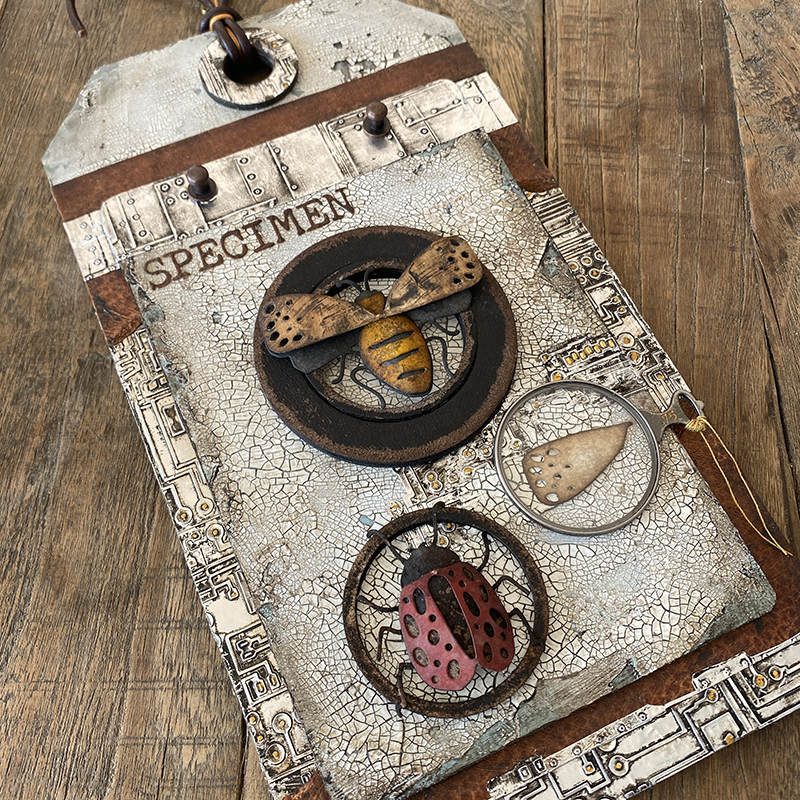
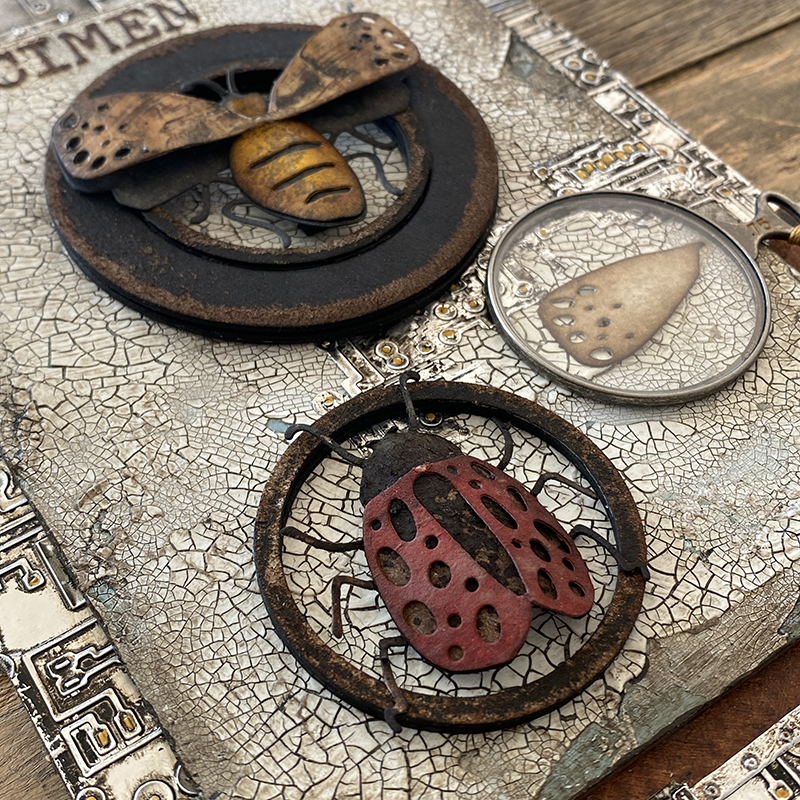
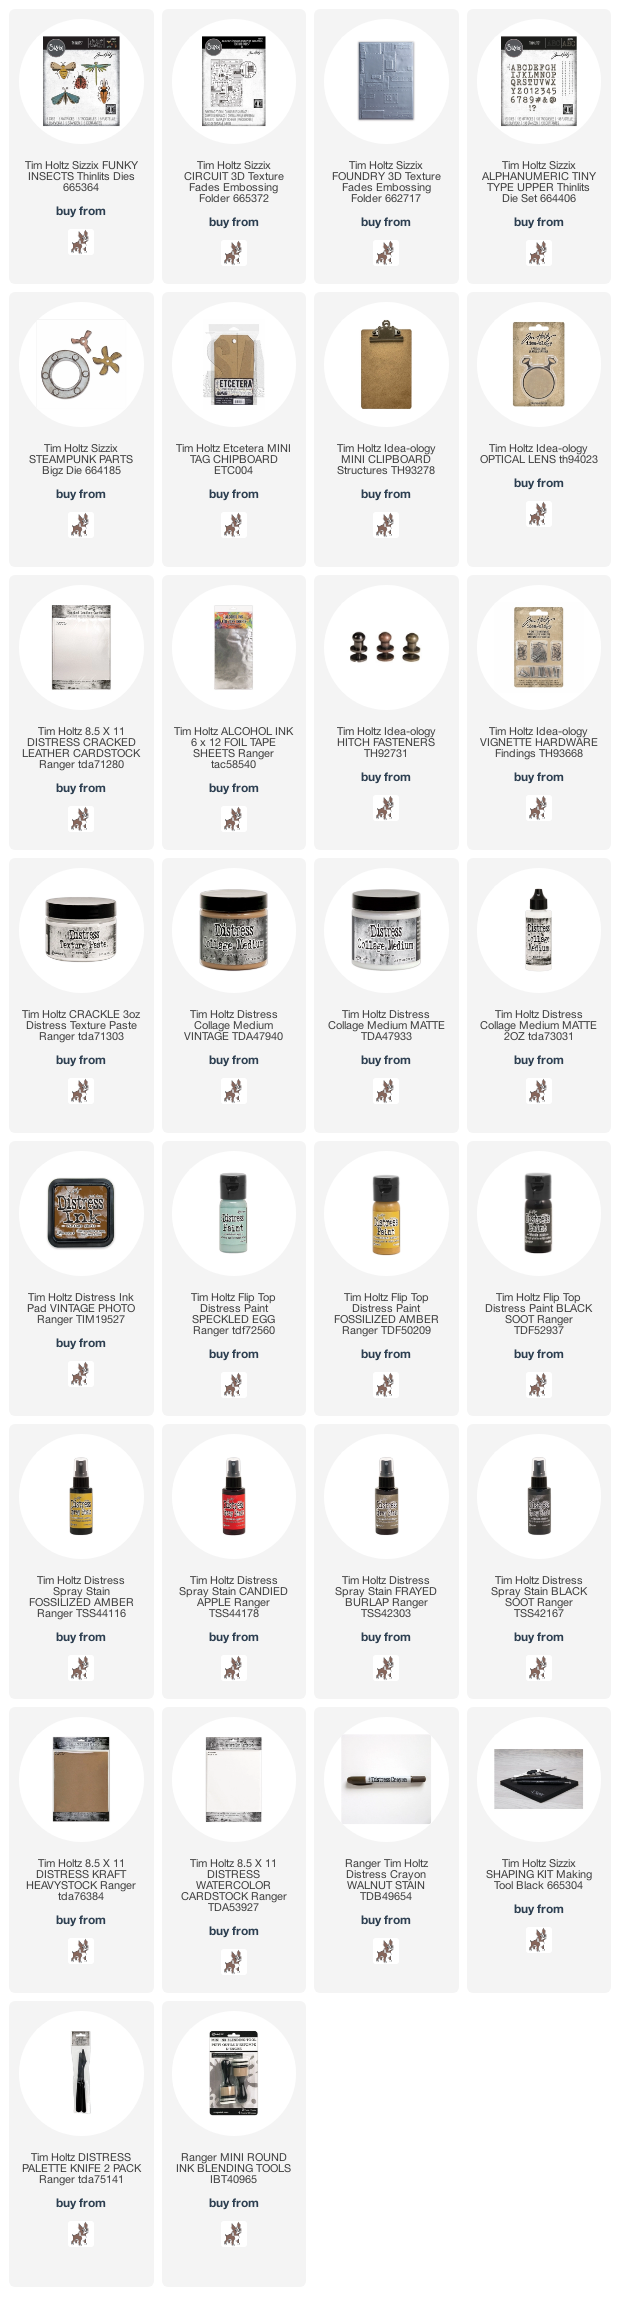
I love the new funky insect (665364) thinlits dies. I used 2 of the 5 bugs on this specimen tag. I went full crackle background with this piece, scroll down to see a crackle texture paste how to…

I used a mini etcetera thickboard tag and idea-ology clipboard for this project.
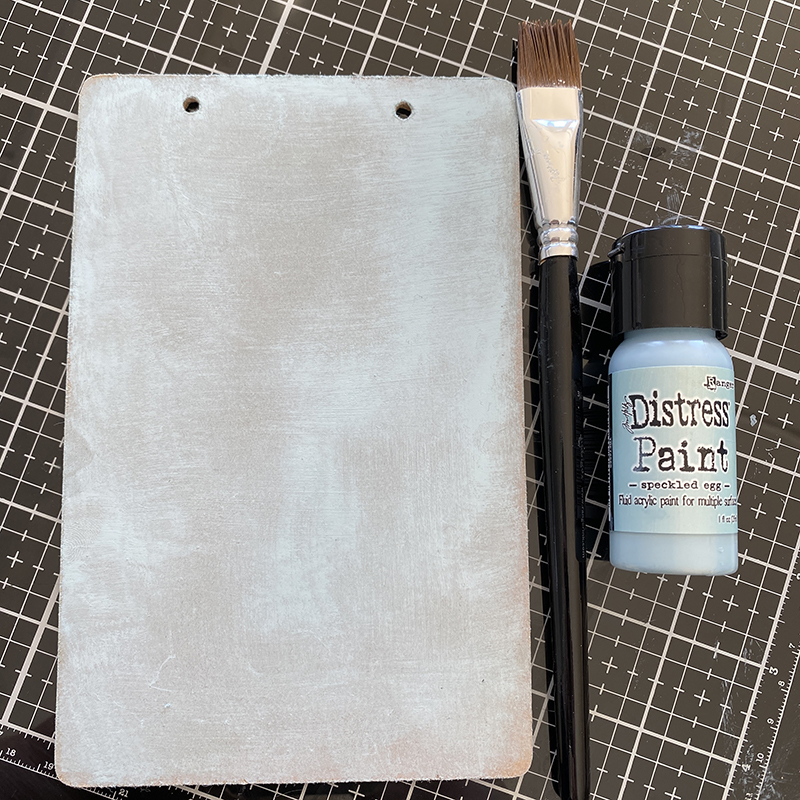
Cover the idea-0logy clipboard and etcetera tag (not pictured) with a layer of speckled egg distress paint and set aside to dry.
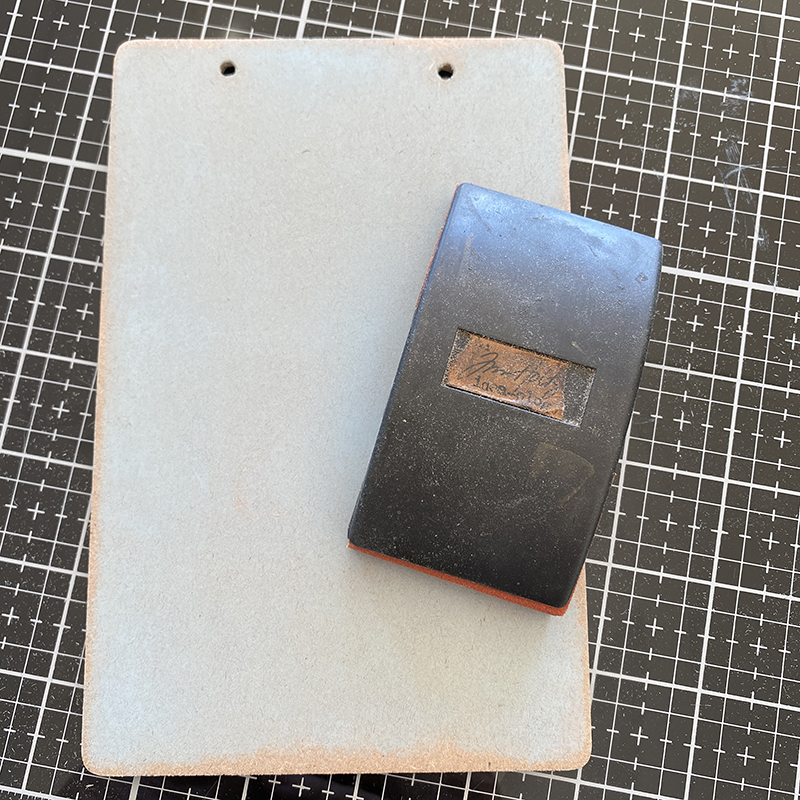
Once dry, lightly sand, especially at the edges.

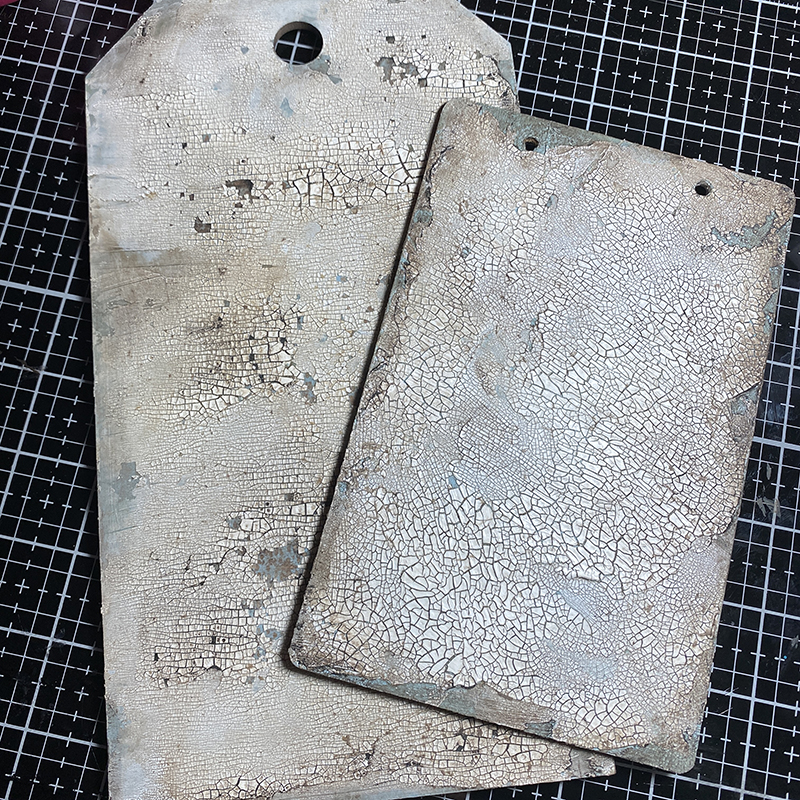
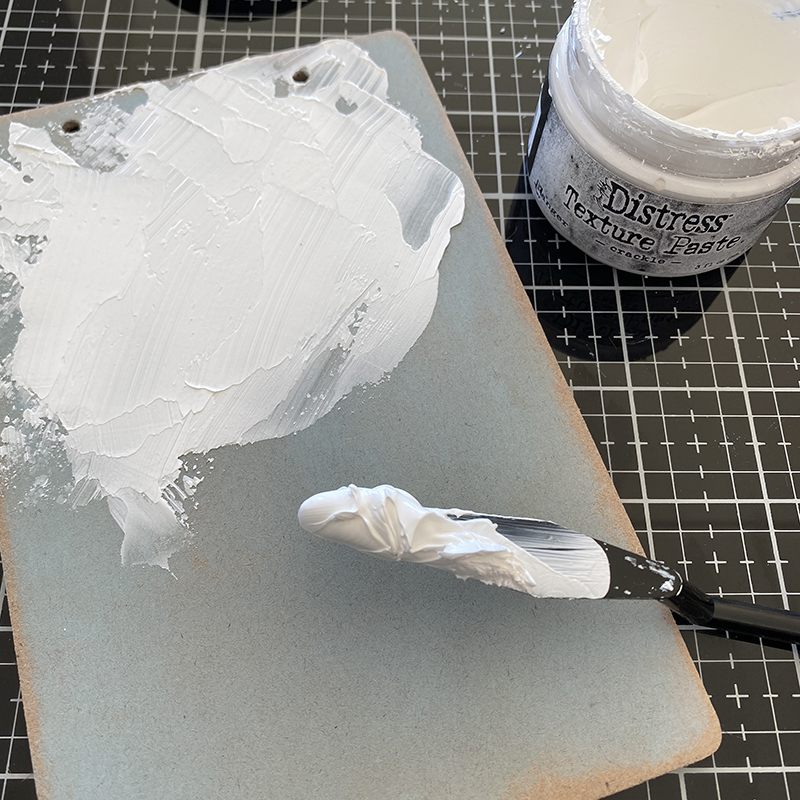
Using a palette knife, add a generous layer of distress crackle texture paste.
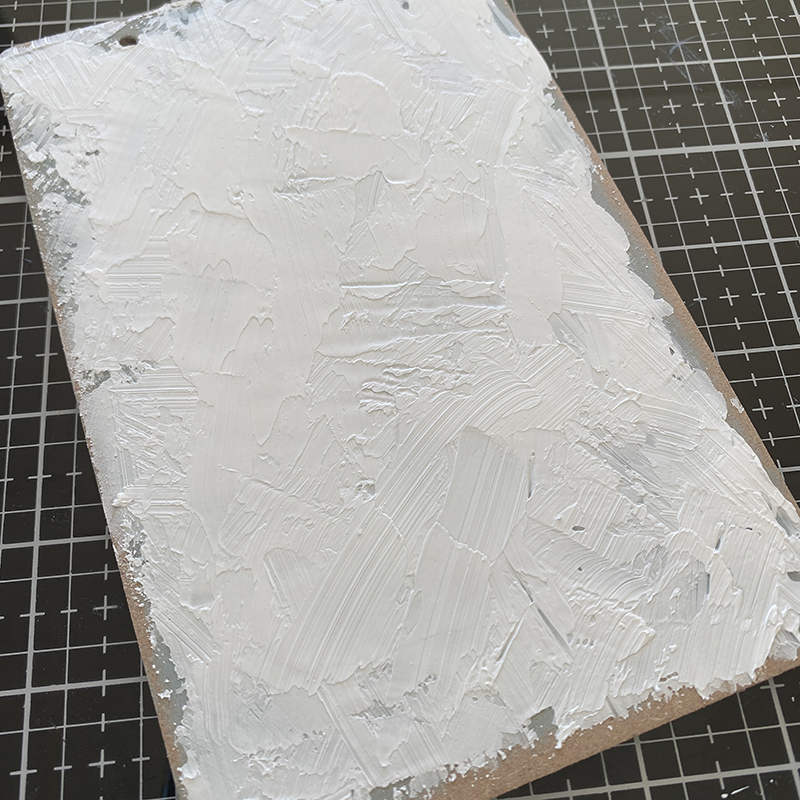
Continue adding paste until the background is mostly covered and set aside to dry.
Before…
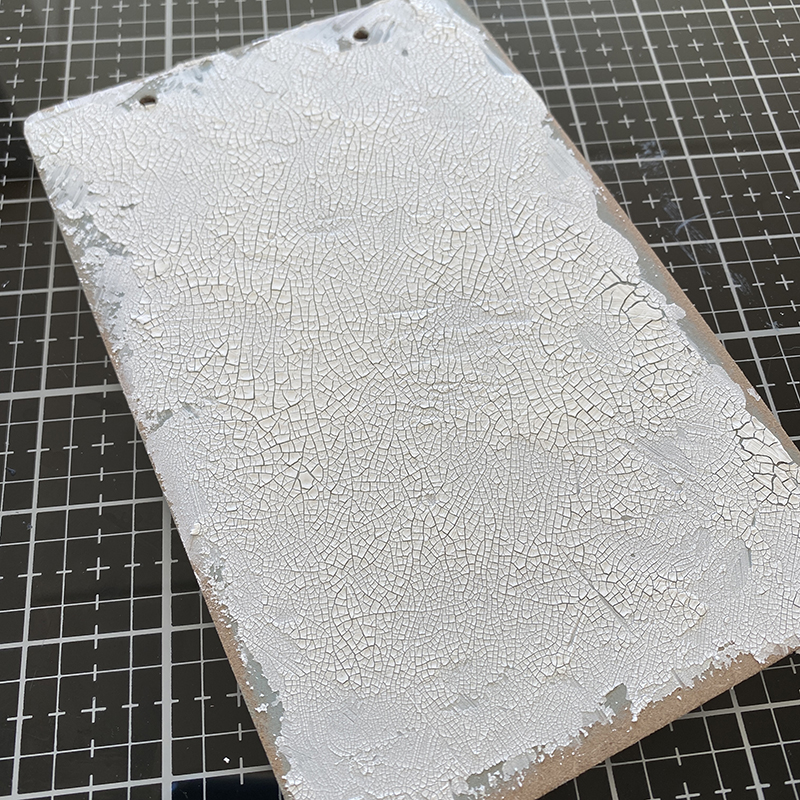
After…
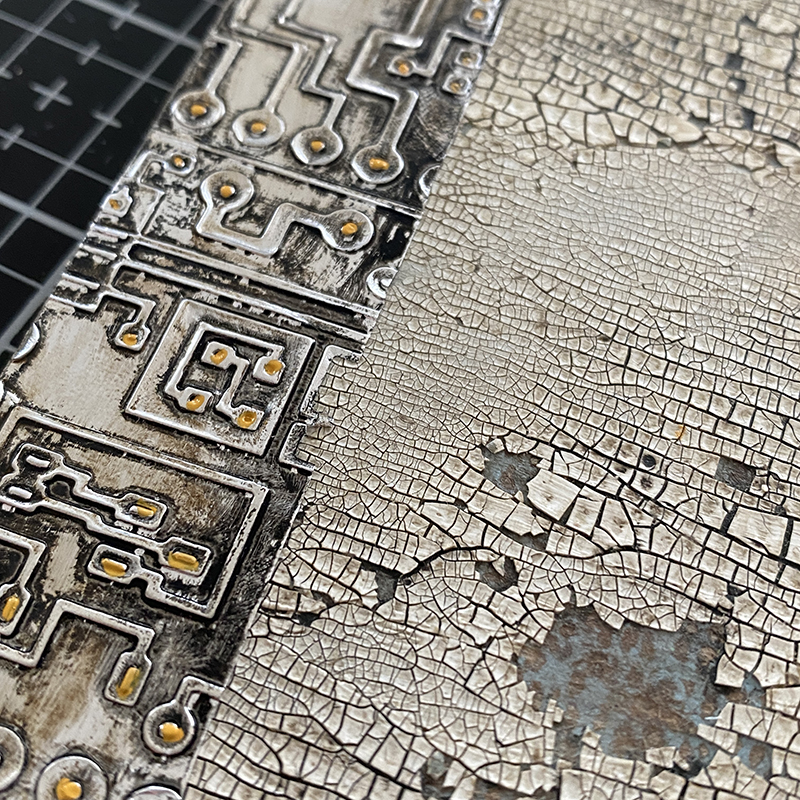
Rub walnut stain distress crayon into the background with your finger, working it into the cracks and wipe excess from the surface with a damp cloth. The cracked paste may flake off and to that I say “thank you!” You can paint a layer of distress collage medium matte or vintage on top to stop further flaking. The vintage distress collage medium will give a nice vintage tint.
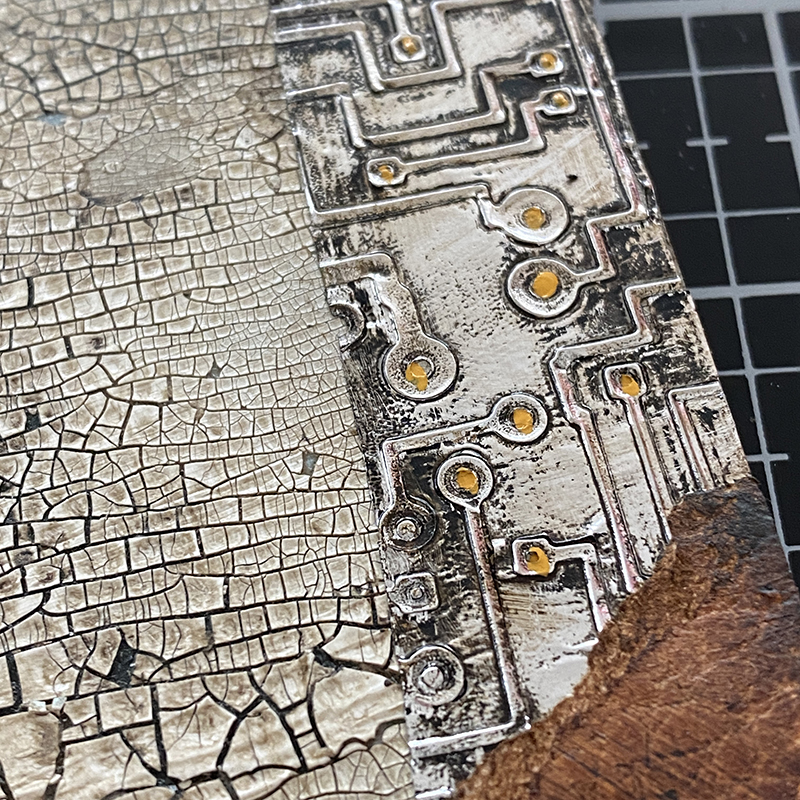
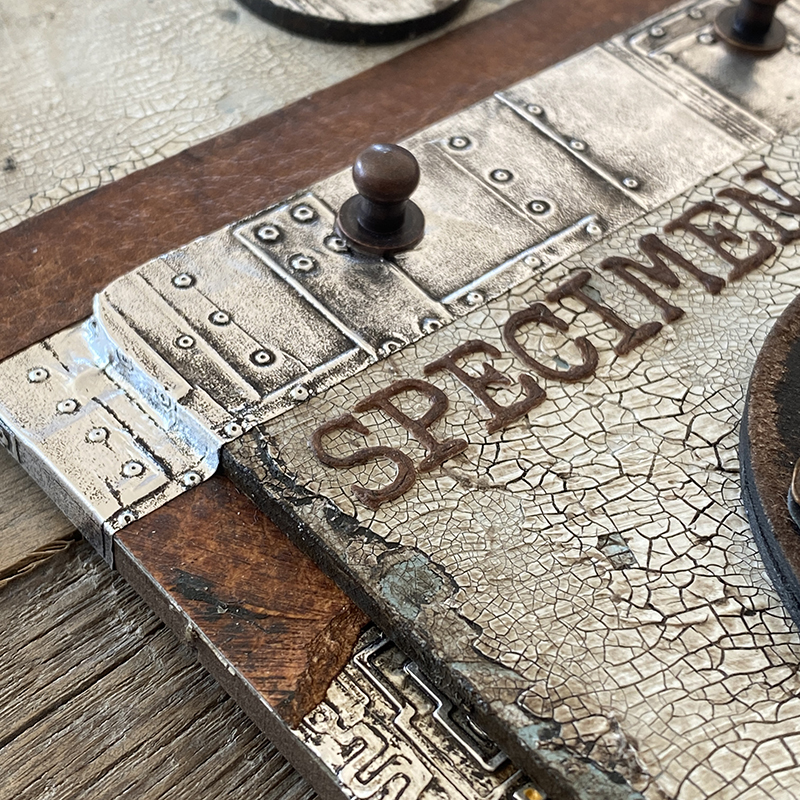
Run alcohol foil tape through your machine with the new 3D circuit embossing folder (665372), adding fossilized amber distress paint to portions of the embossed circuit background. Blend vintage photo distress ink into distress cracked leather cardstock ready to add to the etcetera tag.
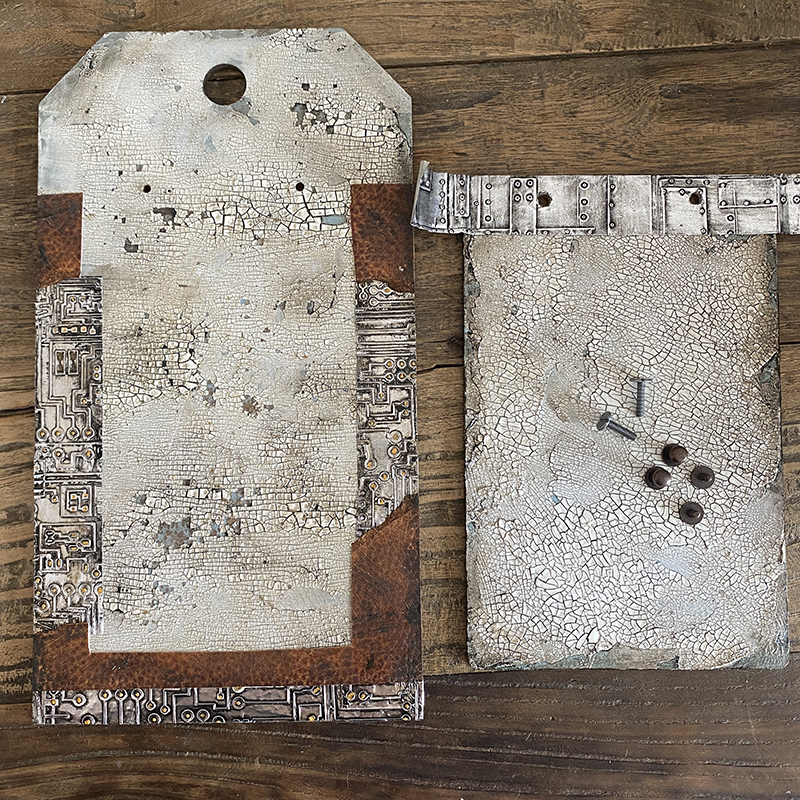
Cover the edges of the etcetera thickboard tag with the alcohol foil and cracked leather. I ran more alcohol foil tape through the foundry 3D embossing folder (662717) and added this to the top of the idea-ology clipboard so it had a welded look.
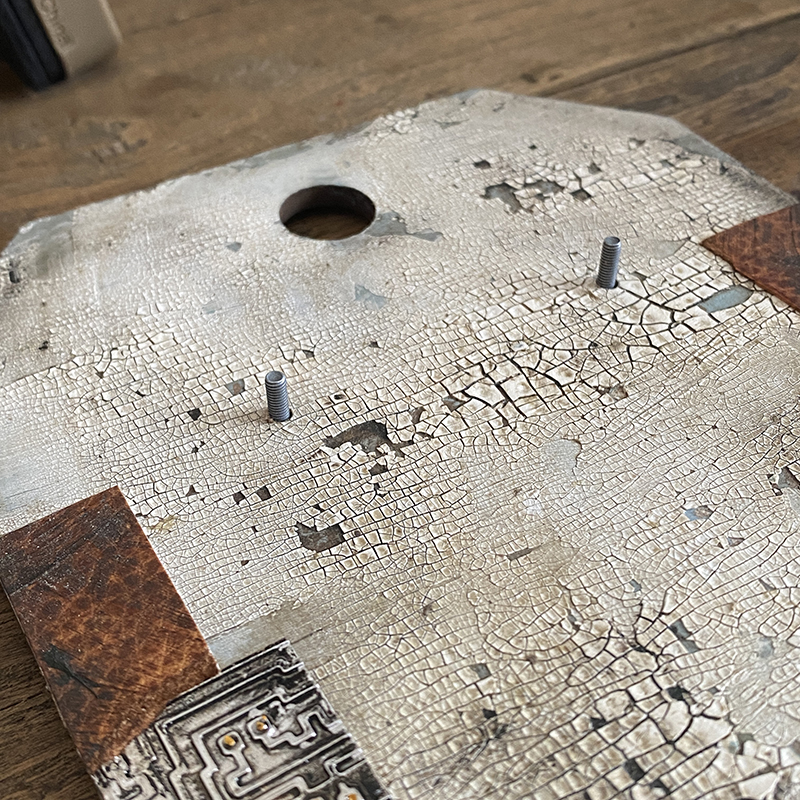
Drill holes where the clipboard will sit and push the long screws from the idea-ology vignette hardware set in through from the back and idea-ology hitch fasteners added to the top.
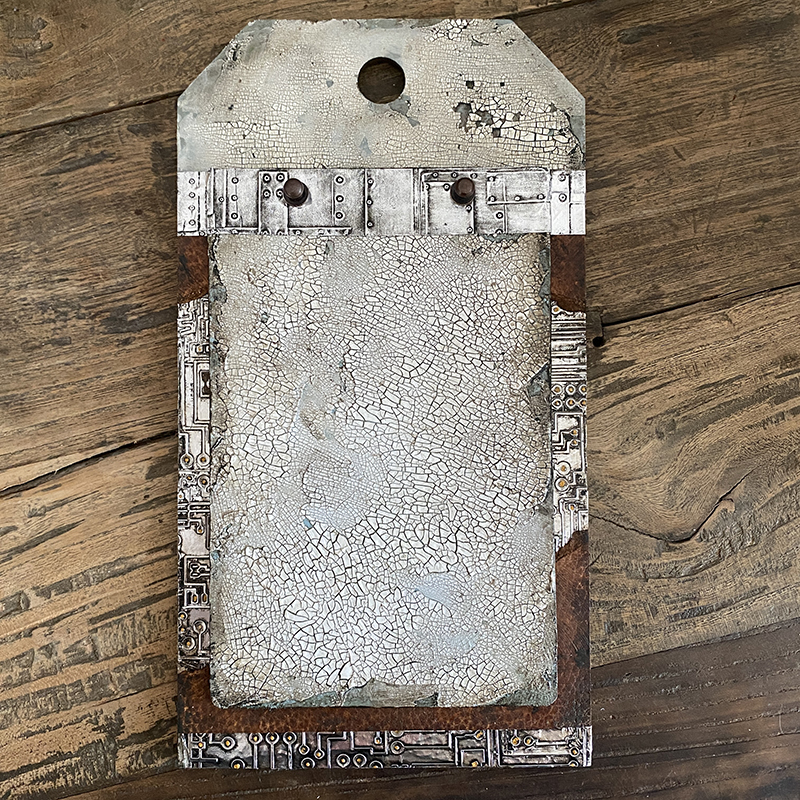
This is how your base will look, ready to add your funky insects.
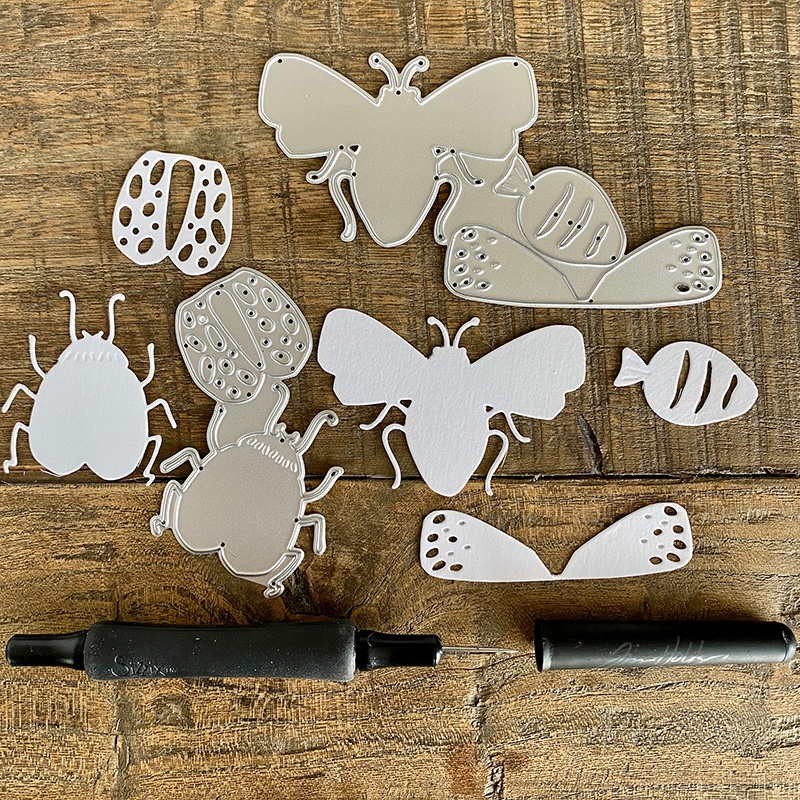
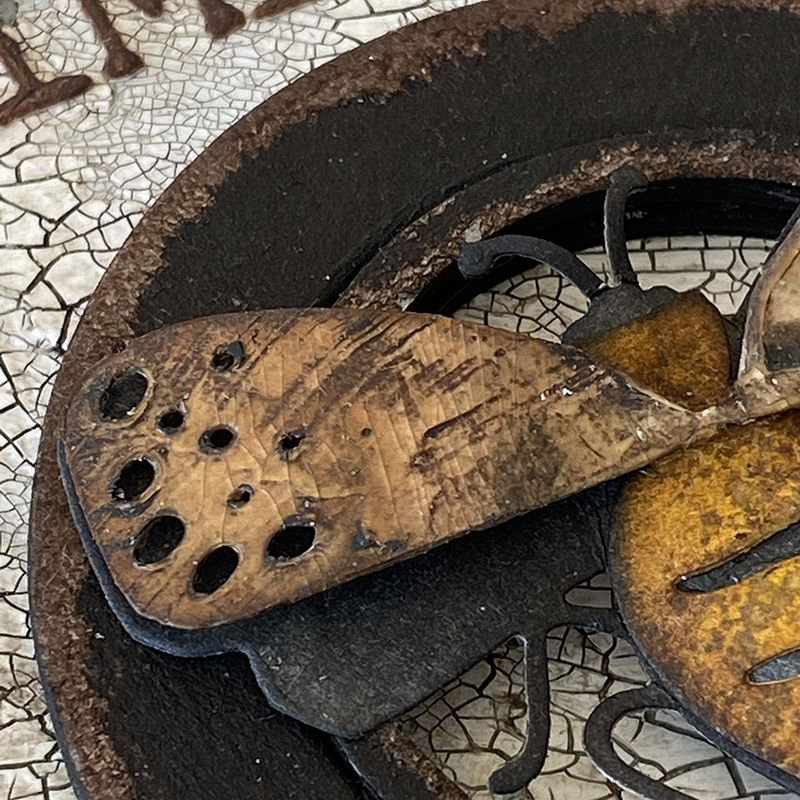
The funky insects are very easy to put together and each comes on a separate die plate, making it even easier to see which piece goes with which insect.
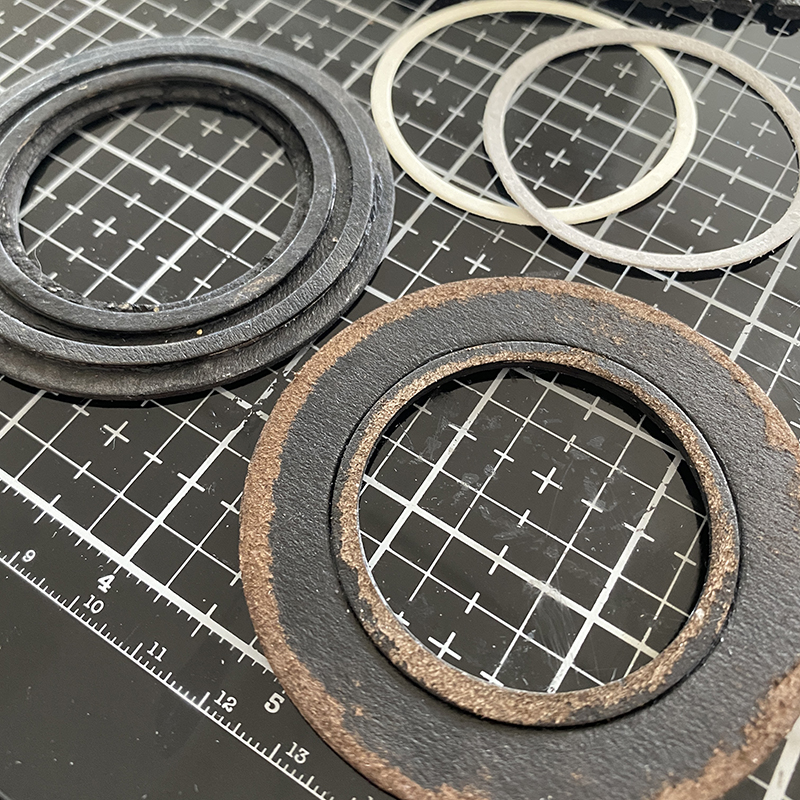
Die cut circles from the steampunk parts bigz die (664185) cover with distress paint and ink, sanding back and drying between layers for a grunge effect.
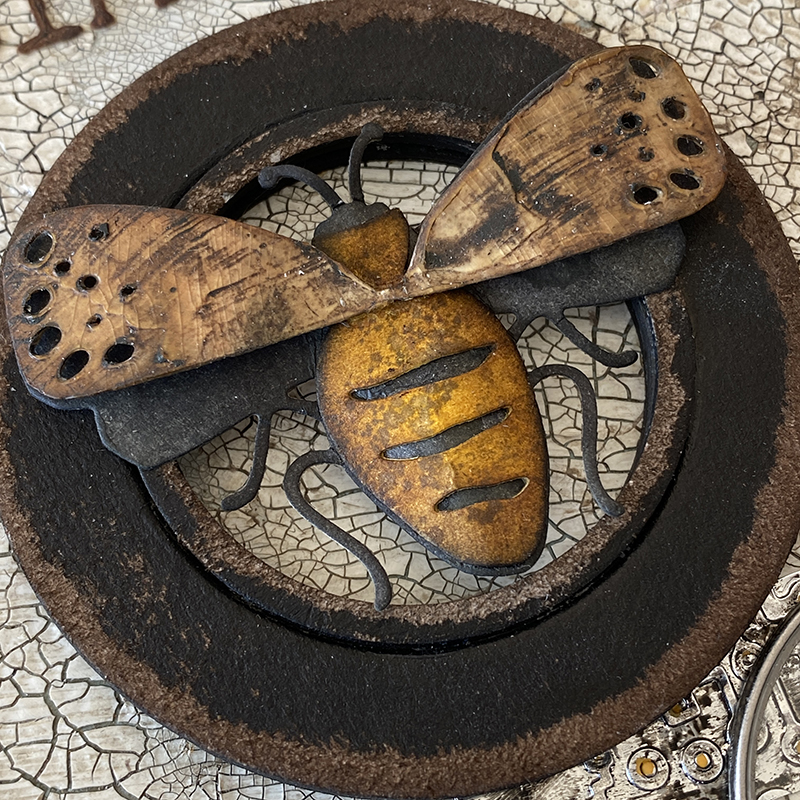
I painted vintage distress collage medium onto the wings of the bee and once dry, rubbed walnut stain over the top to pick up the brush strokes.
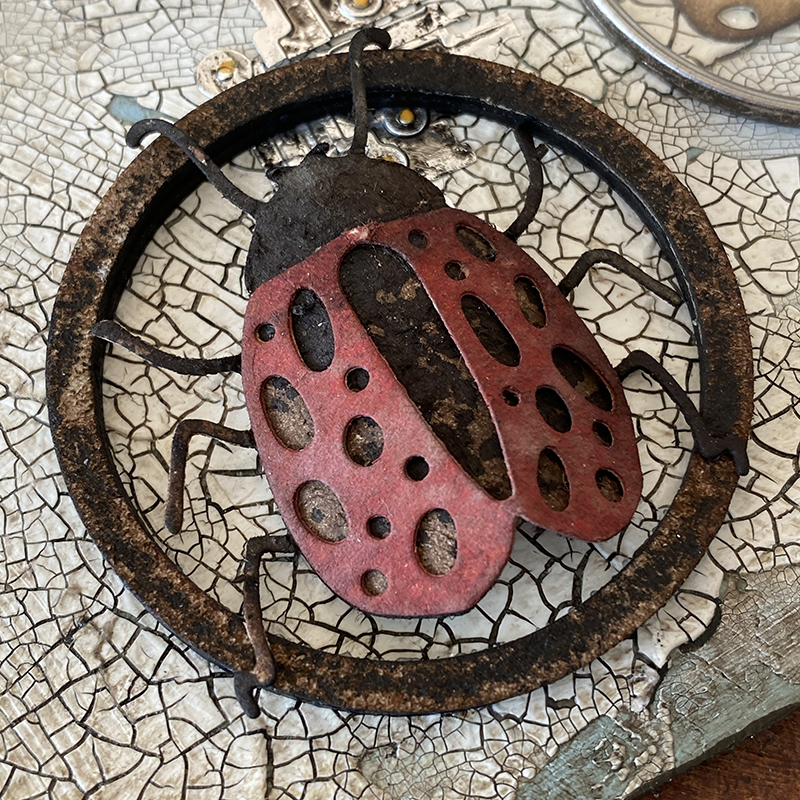
The new Tim Holtz shaping kit to creates real dimension, as used here for this ladybug.
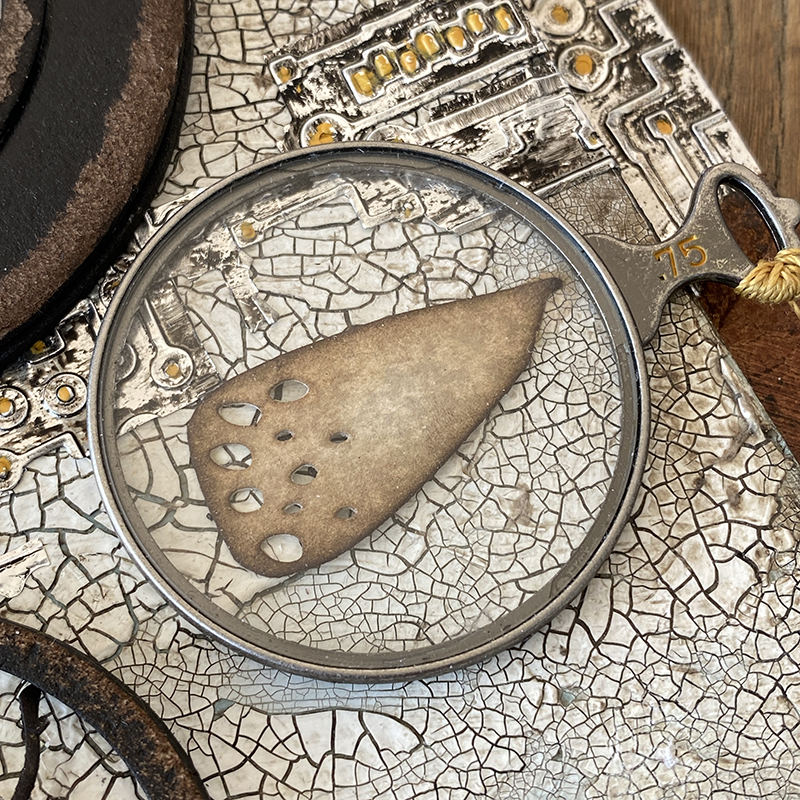
One of the wings became detached during handling, but it worked perfectly under an idea-ology optical lens with a little frayed burlap distress to colour the solo wing.
I love the alphanumeric tiny type upper thinlits dies (664406).
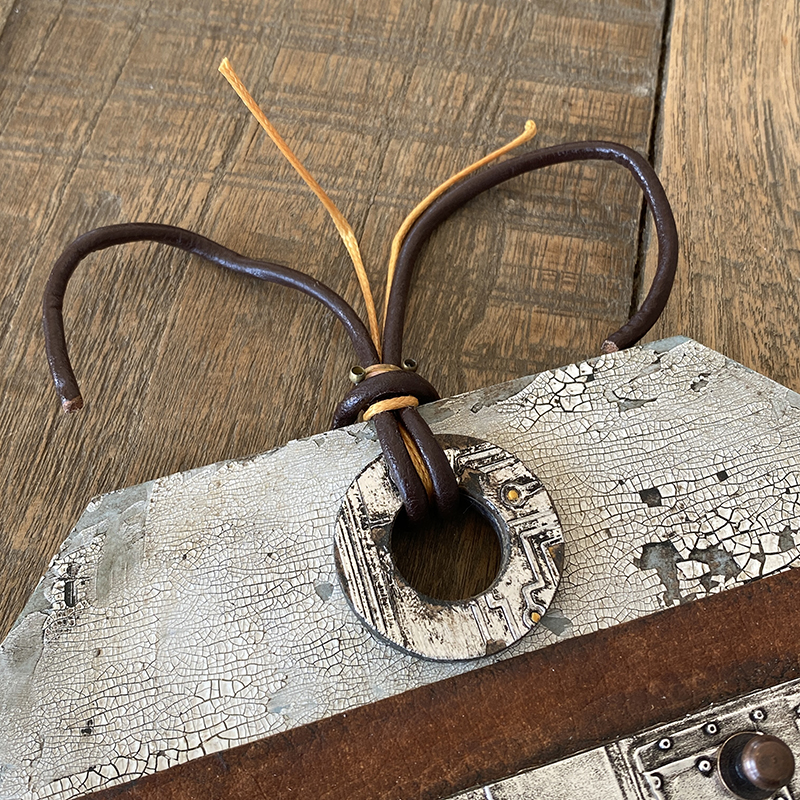
Finally, I added some leather and silk cord, bent to look like insect antenna.
Thanks for stopping by and have a great rest of your week.
Zoe


I can say that this is absolutely one of my favorite projects! The crackle, the circuit embossing folder and of course the BUGGIES! Fantastic job my friend and thank you for sharing the technique with us!
Fabulous project, Zoe! The way you tint the crackle is everything; you have the magic touch with giving an authentic vintage look to your pieces.
WoW my friend. Thnx so much for taking us through on how you achieved the amazing crackle. Love all the grungy goodness. xxx
Love everything about this. I see I need to do a little more shopping. 😉 Thank you so much for taking the time and trouble to send this out!
Magical, just magical, and drool worthy grunge! Thanks for sharing the magical process.♥️♥️♥️
Quite simply – grungy perfection, loved seeing how you brought it all together! xx
Simply gorgeous Zoe thank you for the easy to follow instructions! Love it
Totally love this Zoe, Wow!!
Your insects like made of wood, so awesome.
Often the little details you do makes your work outstanding.
Thank you so much for sharing your awesome inspiration, stay safe and have a wonderful weekend.
Fabulous Project. The crackling is to die for!!!!
thanks for this tutorial – totally trying the crackle over the tag today.
[…] and inks. Perfect for mixed media makes. I have a how to with tips for applying the paste on a previous blog post. For this one I added some plain collage paper which I had stamped with the ledger script stamp in […]