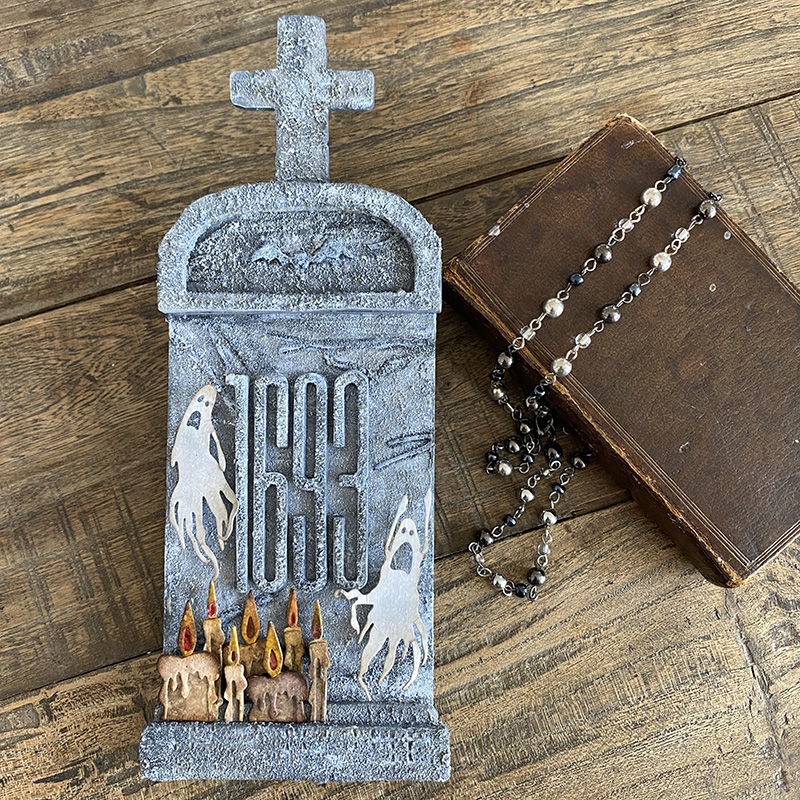
Hello friends. I’ve climbed into my time machine today and I’m going way back to the launch of the Tim Holtz Halloween seasonal distress and Halloween dies. It feels like I made this so long ago and yet here we are in Halloween season and the timing couldn’t be more perfect to share this tombstone with a date inspired by the movie Hocus Pocus.
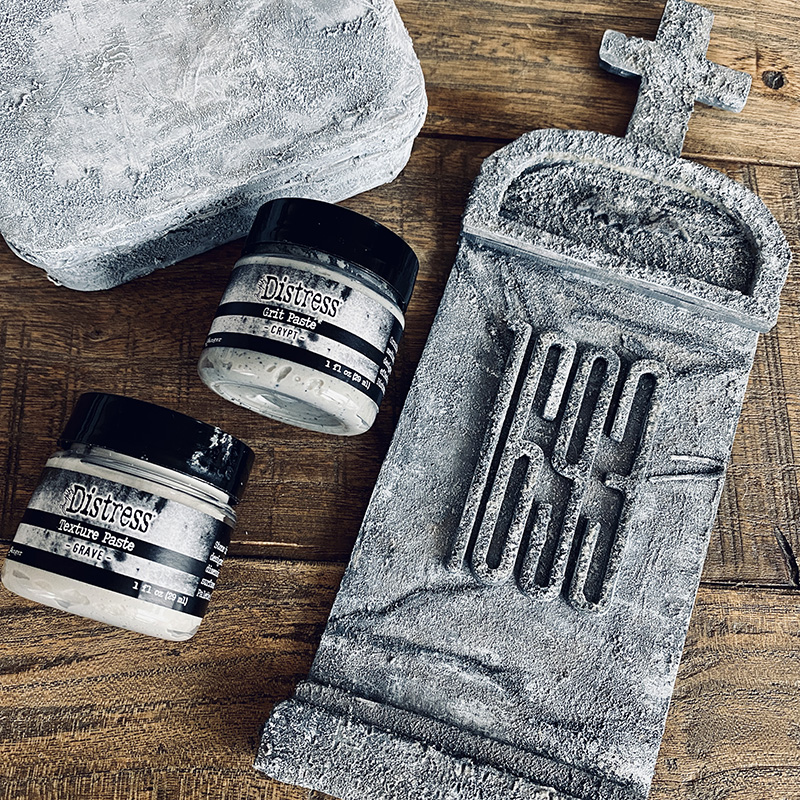
It’s no surprise that my favourite of all the new seasonal distress products and the one that stole my grunge loving heart was the crypt grit-paste (crypt-paste)! Oh my goodness this stuff is AMAZING. It’s truly the grittiest grit of a paste!
If you’re still looking for the Halloween Texture Set, there’s a link at the end of the post to some in stock (at the time of posting)!
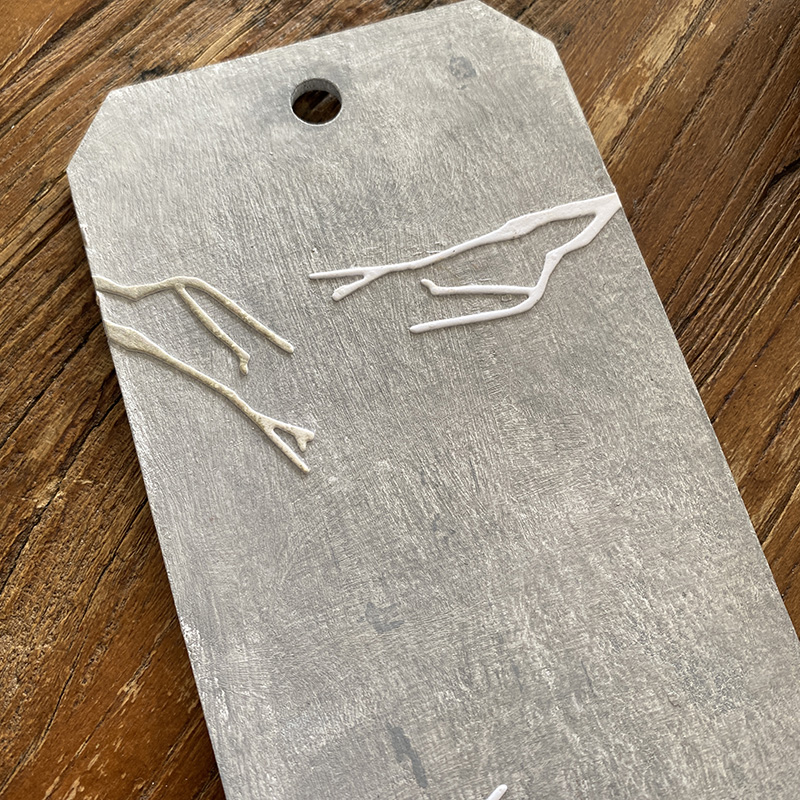
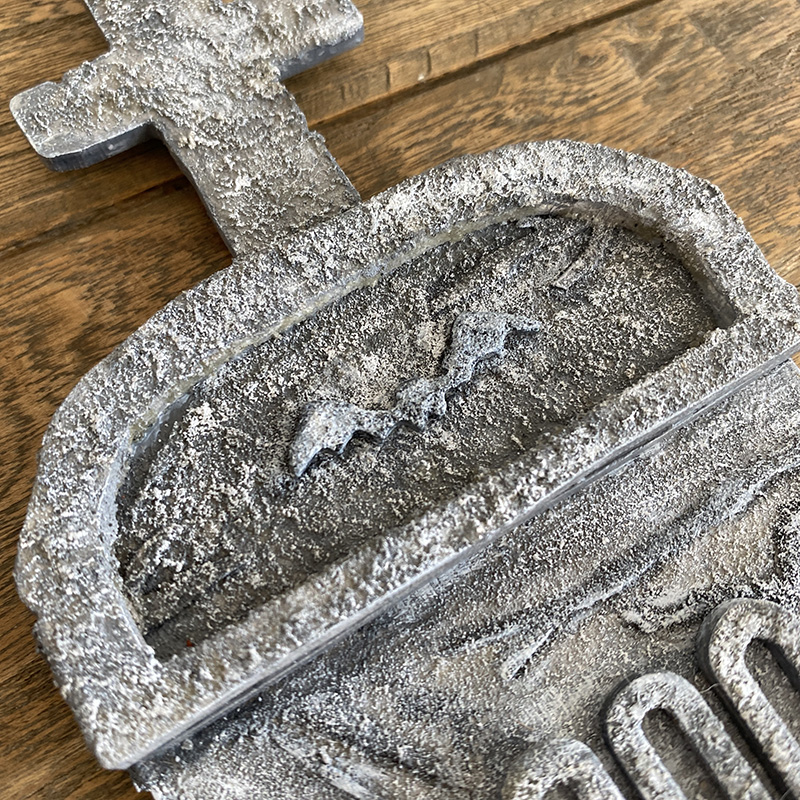
I covered a #8 etcetera thickboard tag with a light layer of white gesso. Once dry, covered with a layer of hickory smoke distress paint. Using the new vault series halloween die set, I cut several of the branches and glued them onto the tag to simulate cracks in the tombstone.
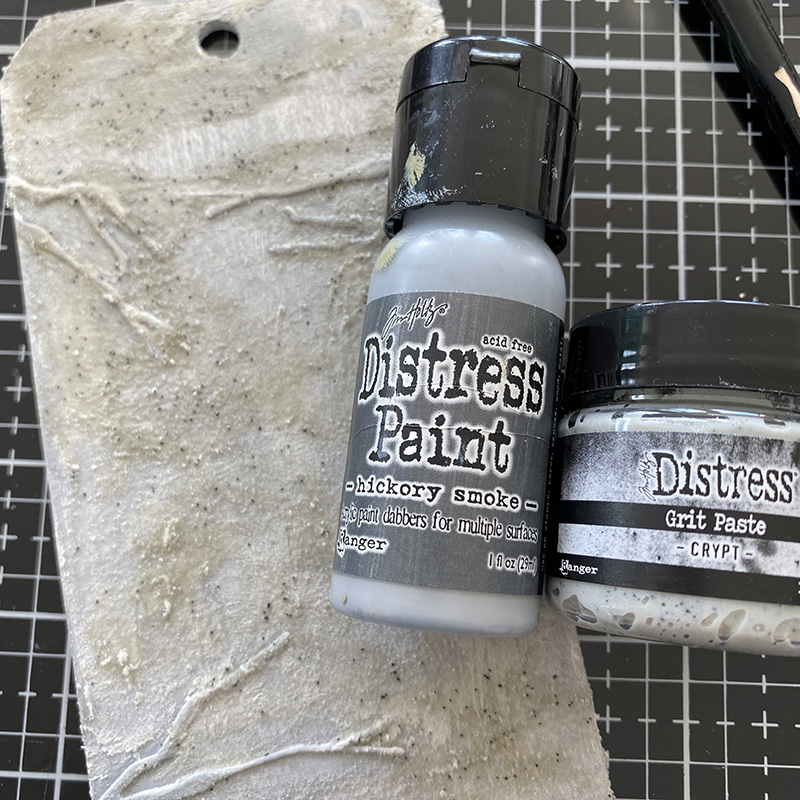
Cover parts of the tag with crypt grit-paste, distress grave texture paste (not pictured) and hickory smoke distress paint drying between each medium. I apply texture paste with a palette knife and grit-paste with my finger, sort of tapping it on to create the really gritty texture.
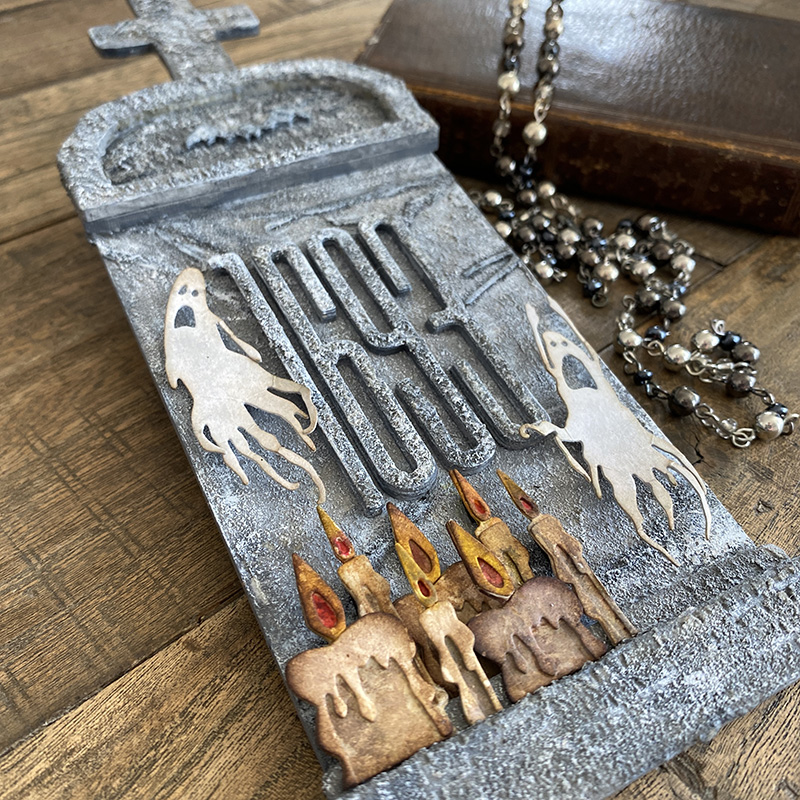
Add the #8 etcetera tag tombstone overlay parts and covered with the pastes and paint as before.
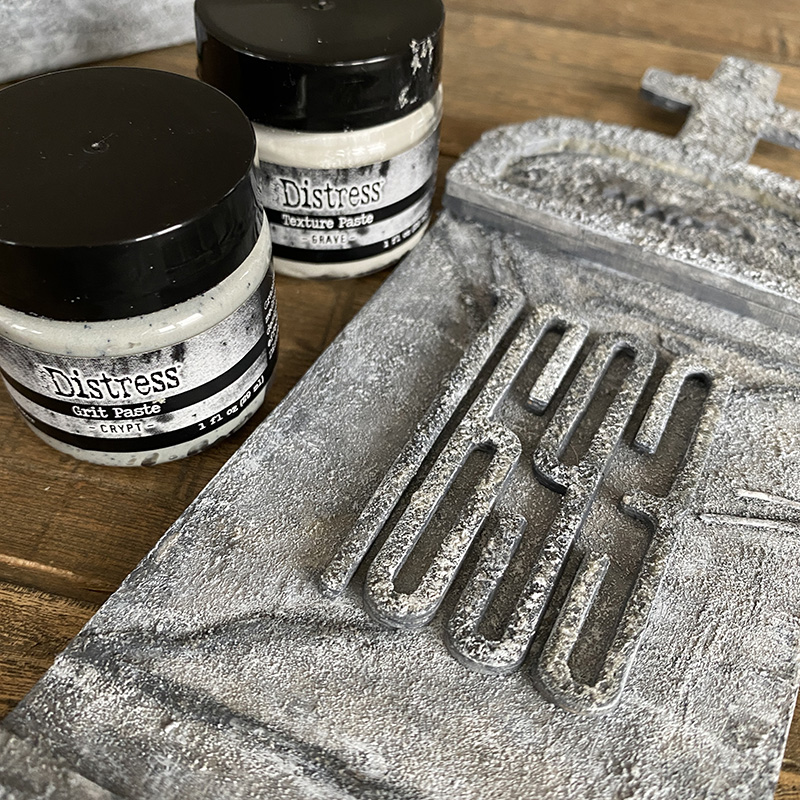
Die cut numbers from the alphanumeric stretch upper thinlits die set several times and mount on top of each other. NOTE: This was before Tim gave me the game changing fun foam tip. See my gravestones post for details. Glue them to the tag and cover with distress crypt grit-paste, distress gravy texture paste and hickory smoke distress paint.
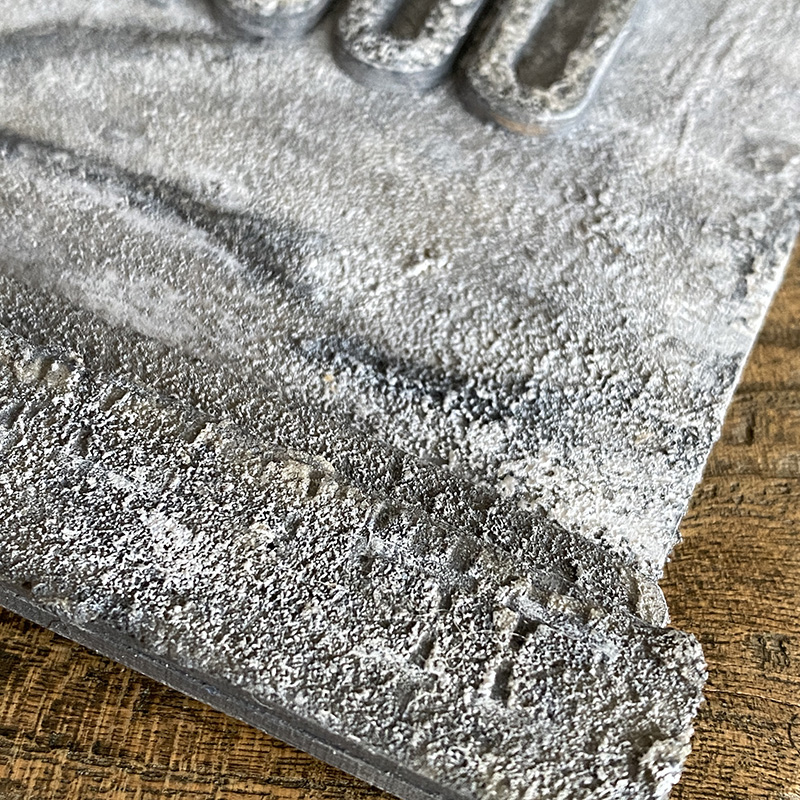
Dry brush black soot distress paint over the die cut branches to darken and dry brush white gesso over parts of the tombstone to highlight.

I added the ghosts from the new vault series halloween die set. I LOVE these and I’m so happy to have them in a smaller size and what a great opportunity to own them if you don’t have the retired set they were part of.
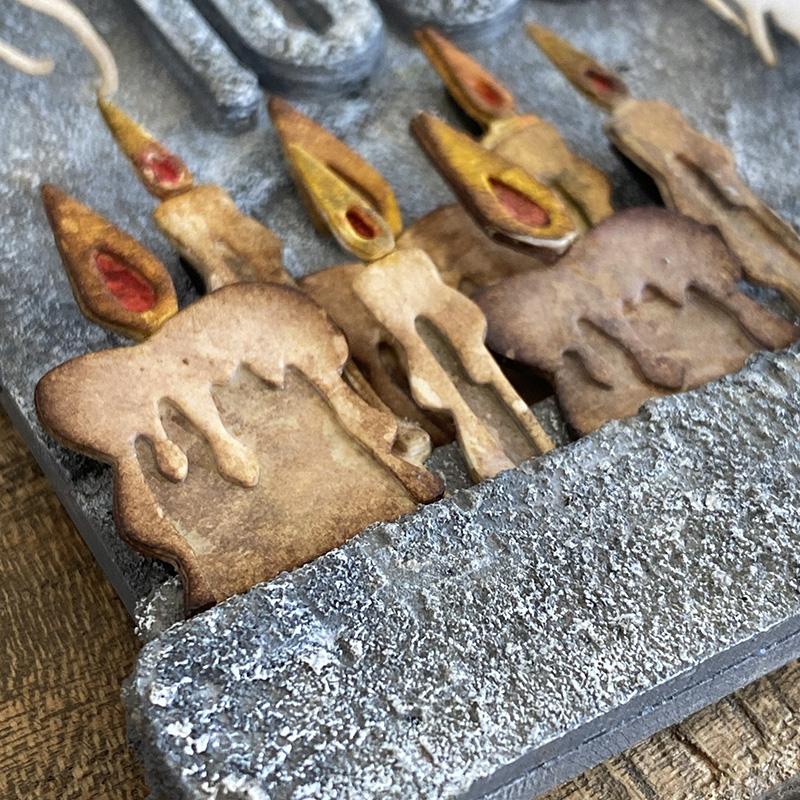
I cut candles from the candlelight colorize die set, another favourite of mine from the halloween die release. This colorize is super simple to put together but if you need any help, let me know and I can put up a step out for you. I trimmed them at the base to different sizes and stacked them along the raised lower ledge of the tombstone.
Thanks for stopping by and I’ll be back with a graveyard in a tin using these grungetastic texture pastes and the vault series halloween die set in an idea-ology tin.
Zoe
…
affiliate links used at no cost to you


Stony fabulousness – crypt grit for the win!
Alison x
This is just the coolest stuff and you made it look like a real headstone! I can’t wait to find time to play with this stuff.
Thank you for your step-by-step tutorial.
Thank you for sharing this fabulous make!! I so appreciate your tips on how you achieve the incredible effects!! Love Halloween 👻
This is crazy good! LOVE the make!!!
I love this,such beautiful work.Could you please tell me what materials you used for the ghosts.
Thank you.
Nancy
I!!!
LOVE!!!
THIIIIIIS!!!!
Love it
Thank you for sharing!! You are not only a phenomenal human being but a great artist craft maker!! Thanks again for your generosity in helping others learn new techniques and tips of the craft!! I appreciate it more than you know!!
Amazingly brilliant Zoe!!!! Must try!
Wow so real looking!
I love this sooooo Much!!!!
I am such a fan of your work. Love everything you do. Thank you for sharing and teaching others so many brilliant techniques to use on their own projects.
Love the tutorial. Thanks
you really made that tombstone look like the really thing. I don’t think I have the patience to do that but I’m glad you do because it looks amazing.