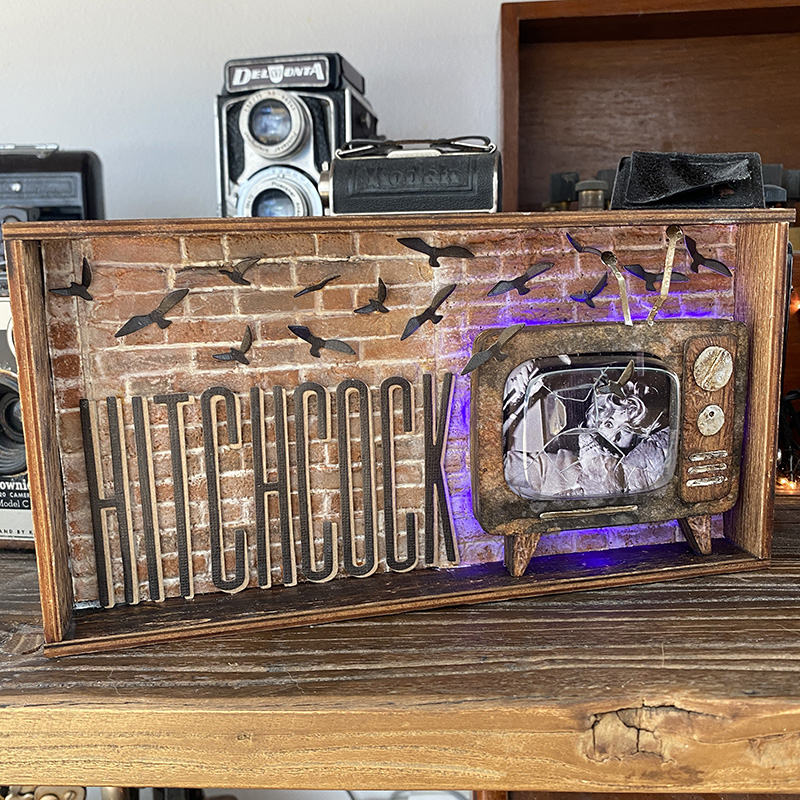
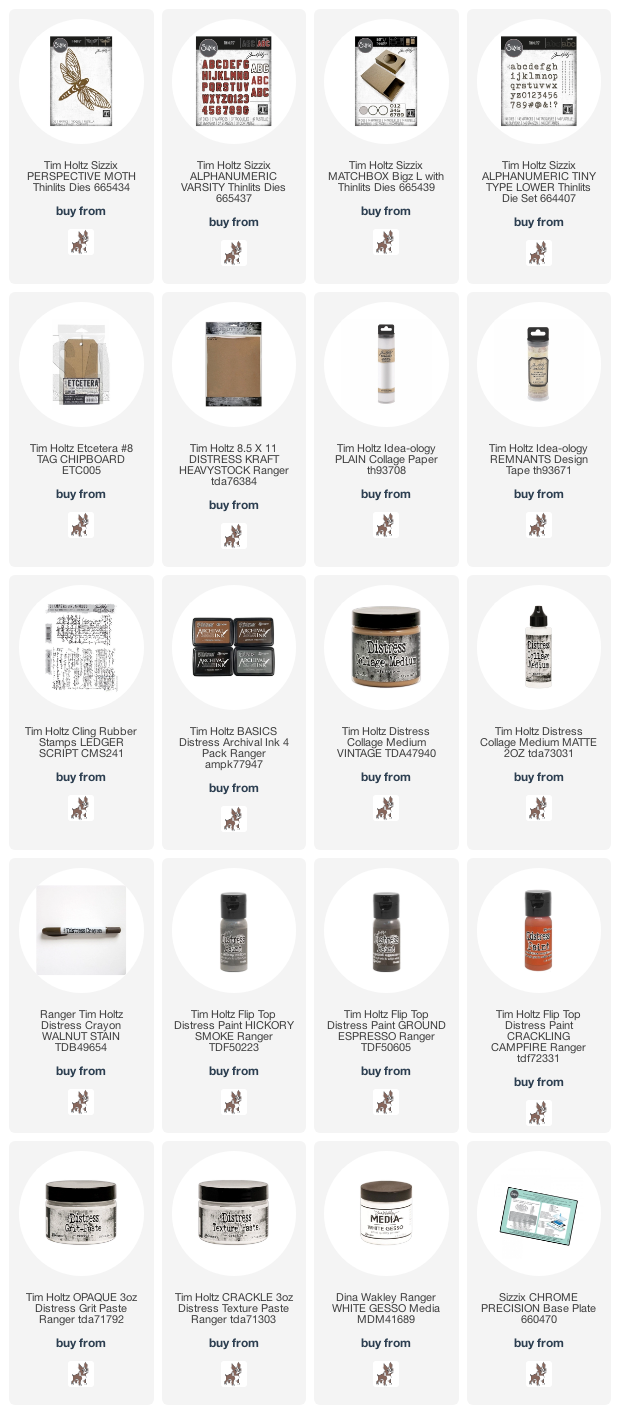
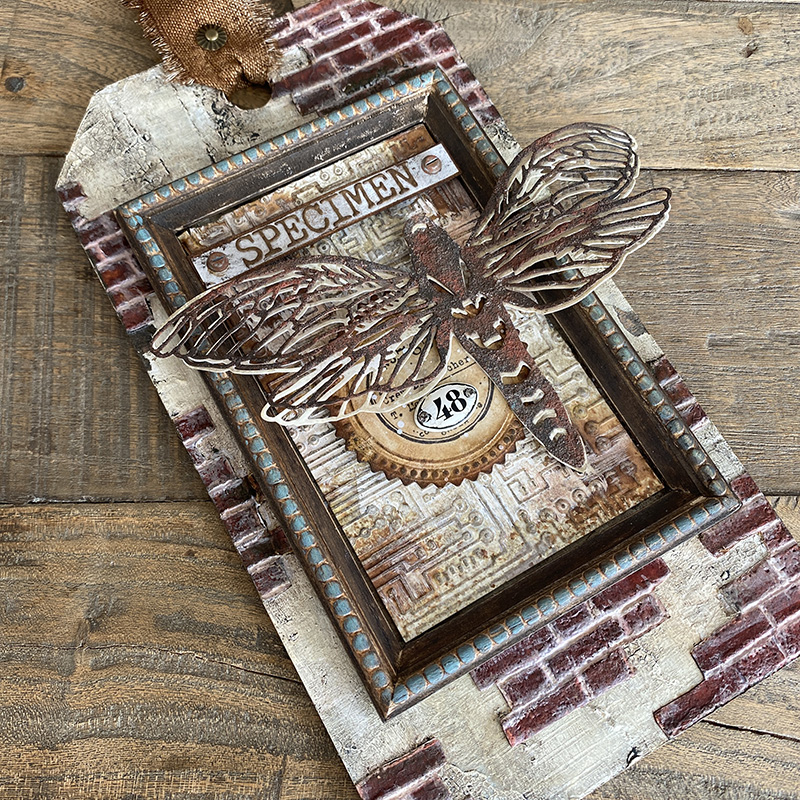
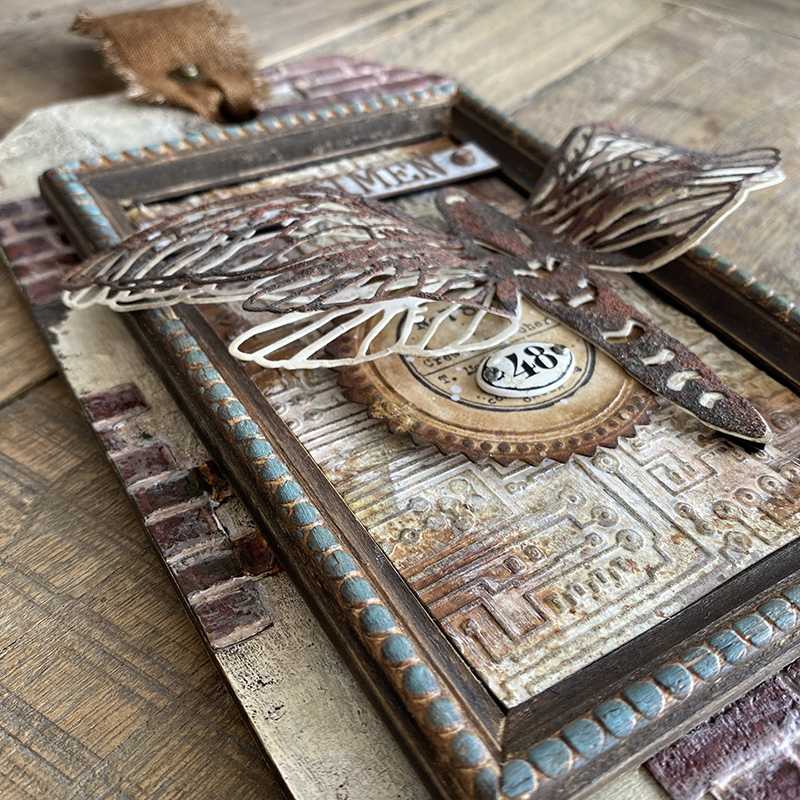
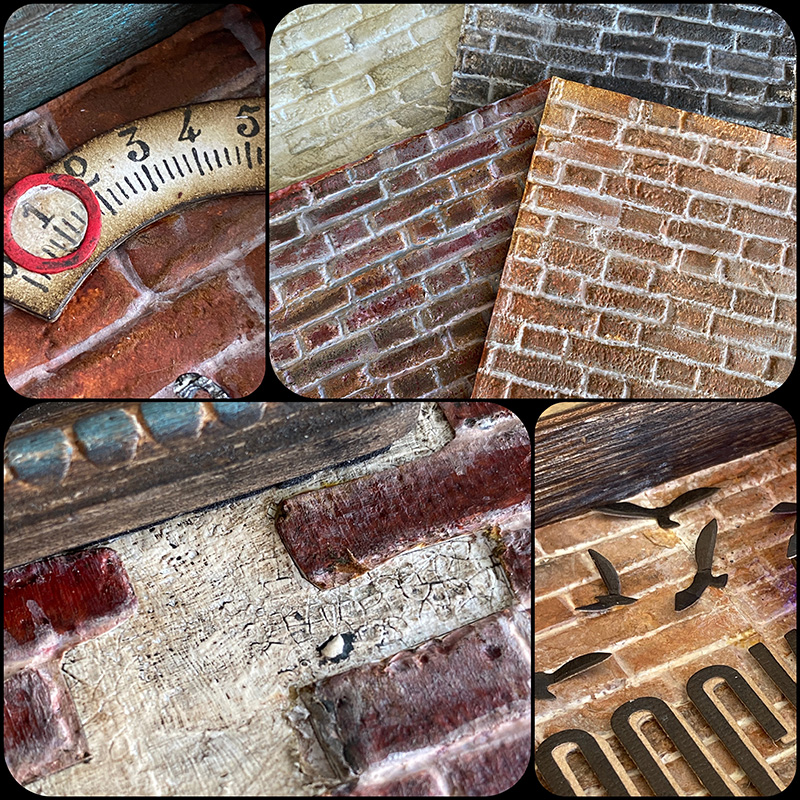
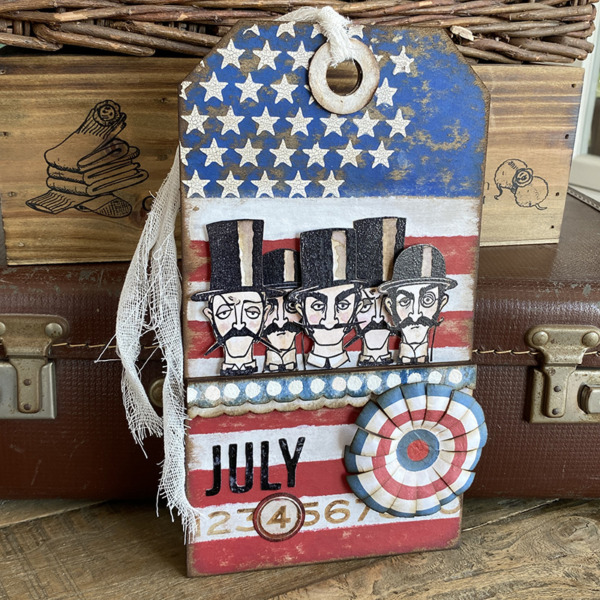
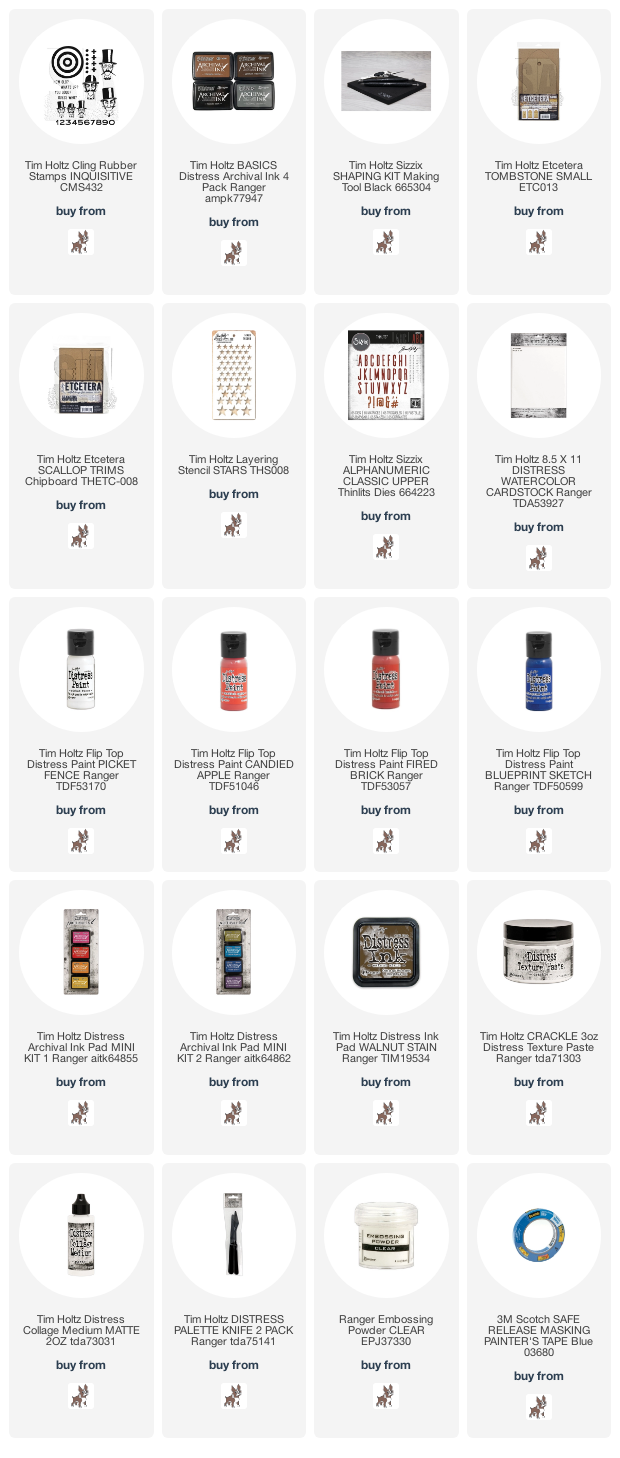
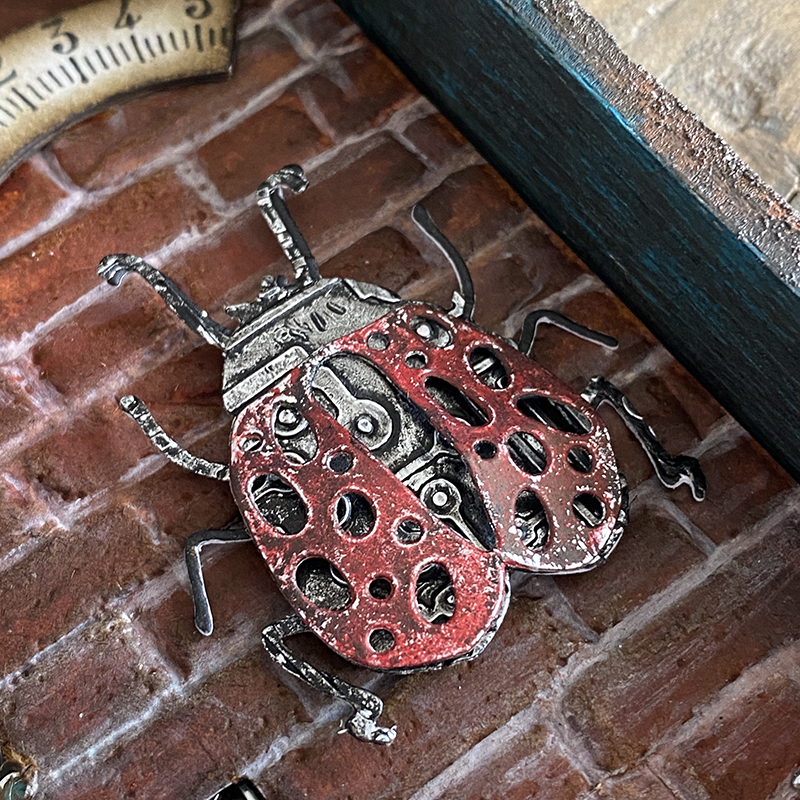
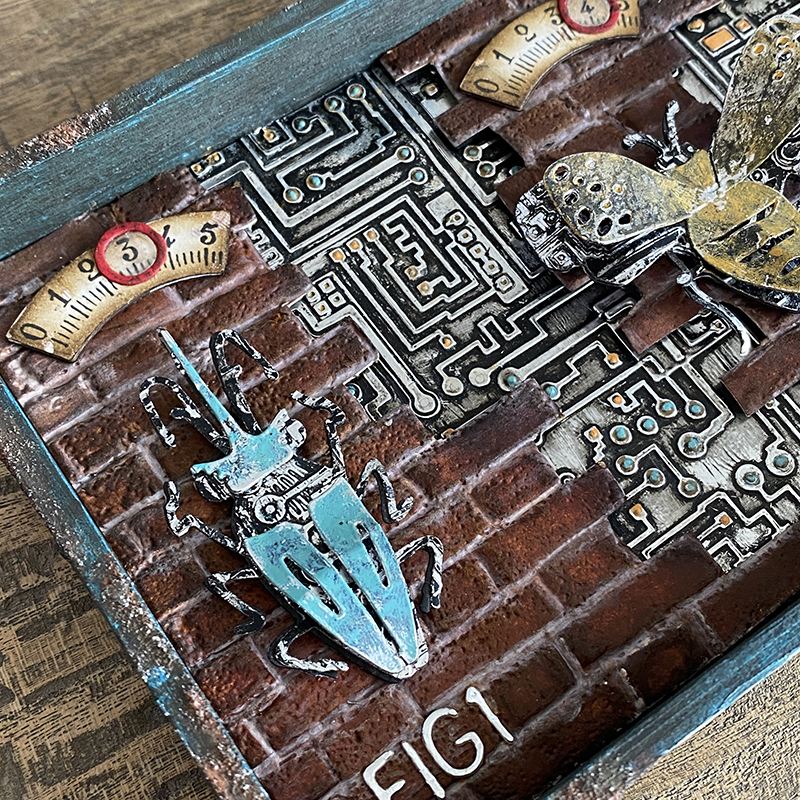
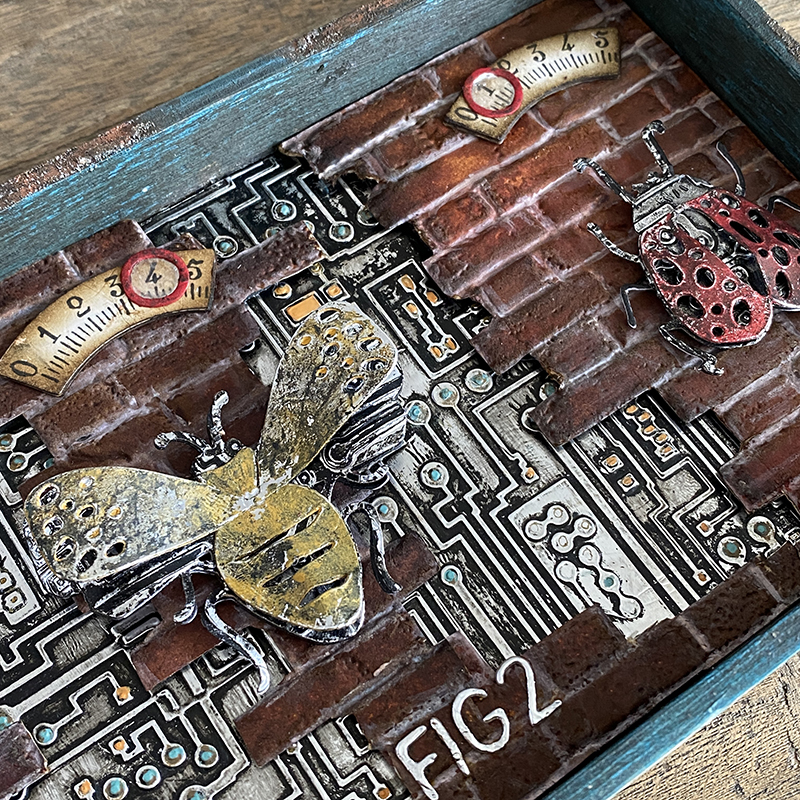
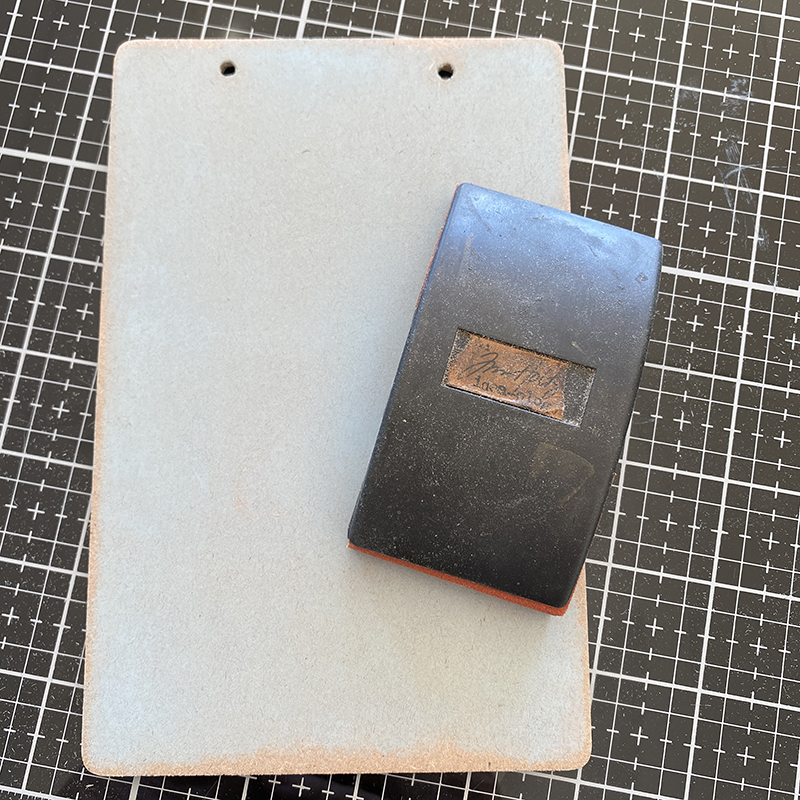
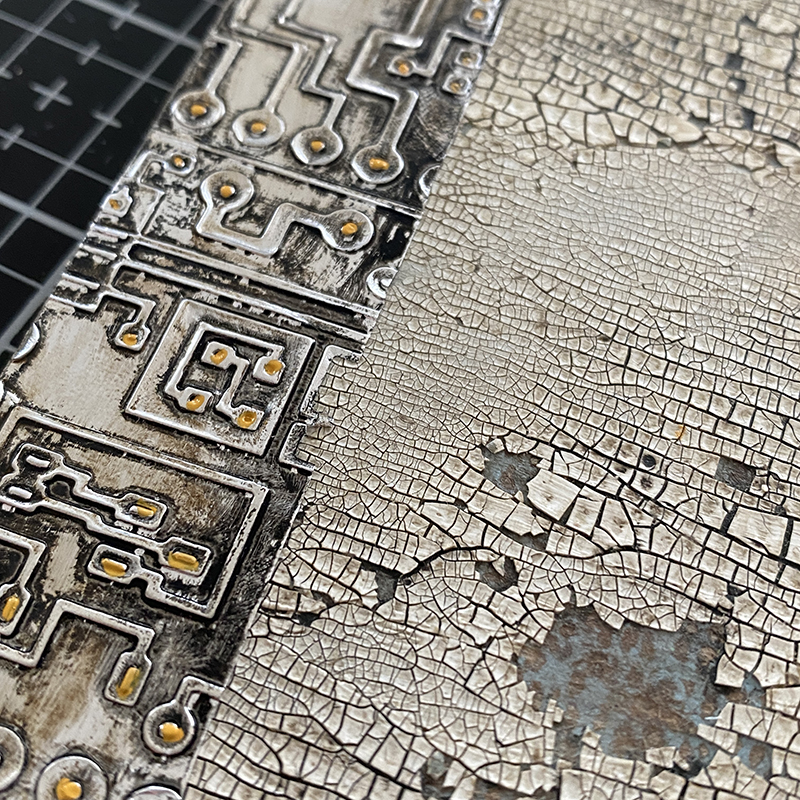
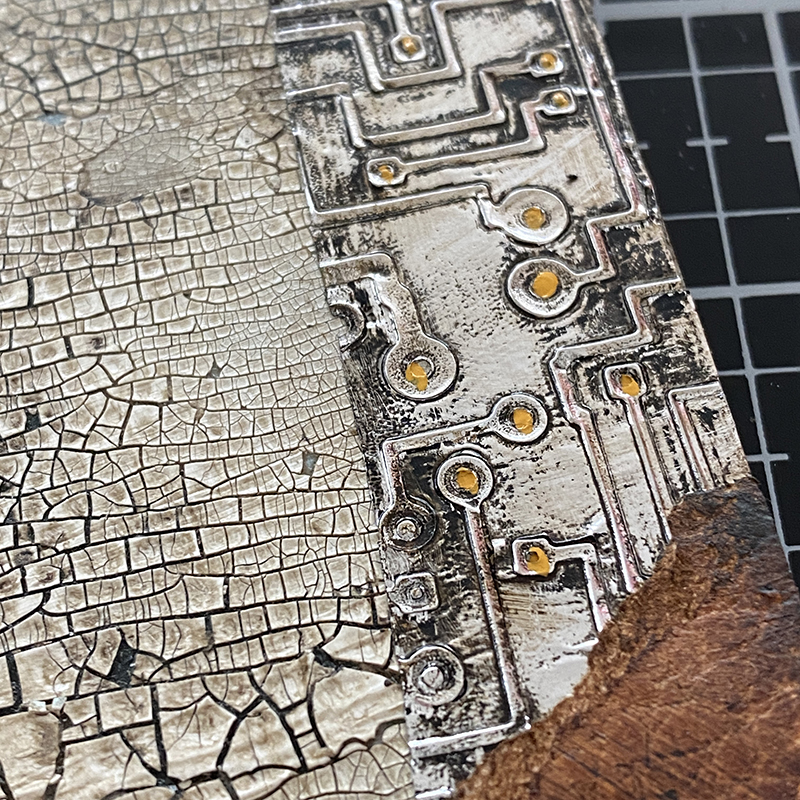
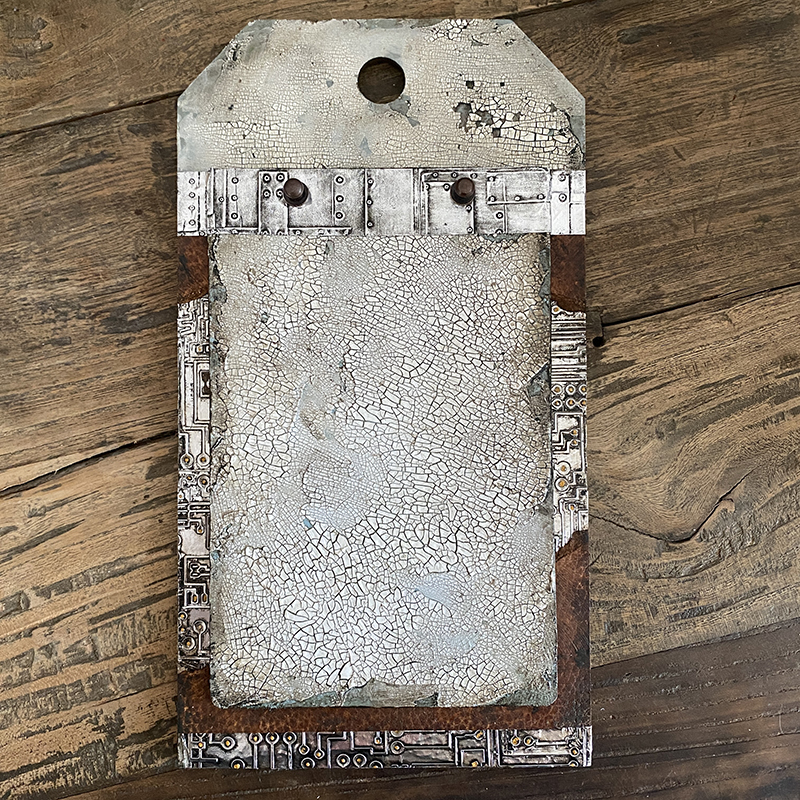
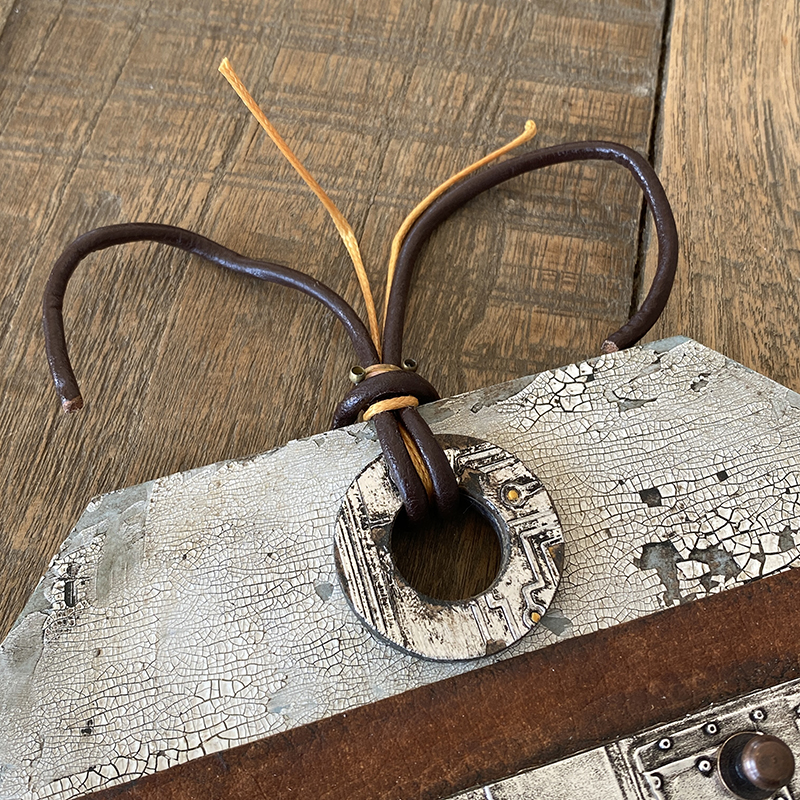
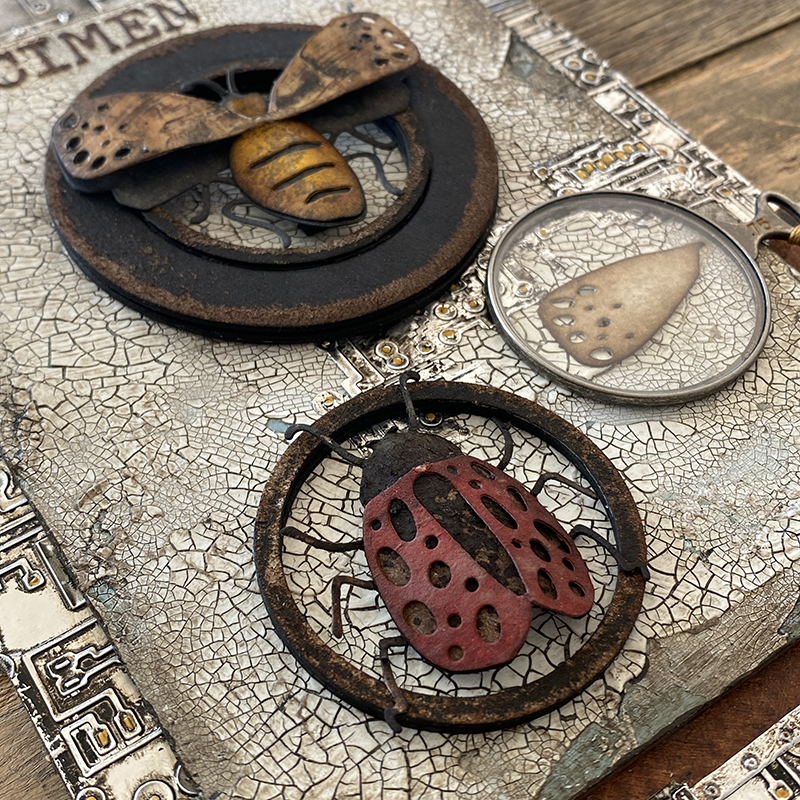
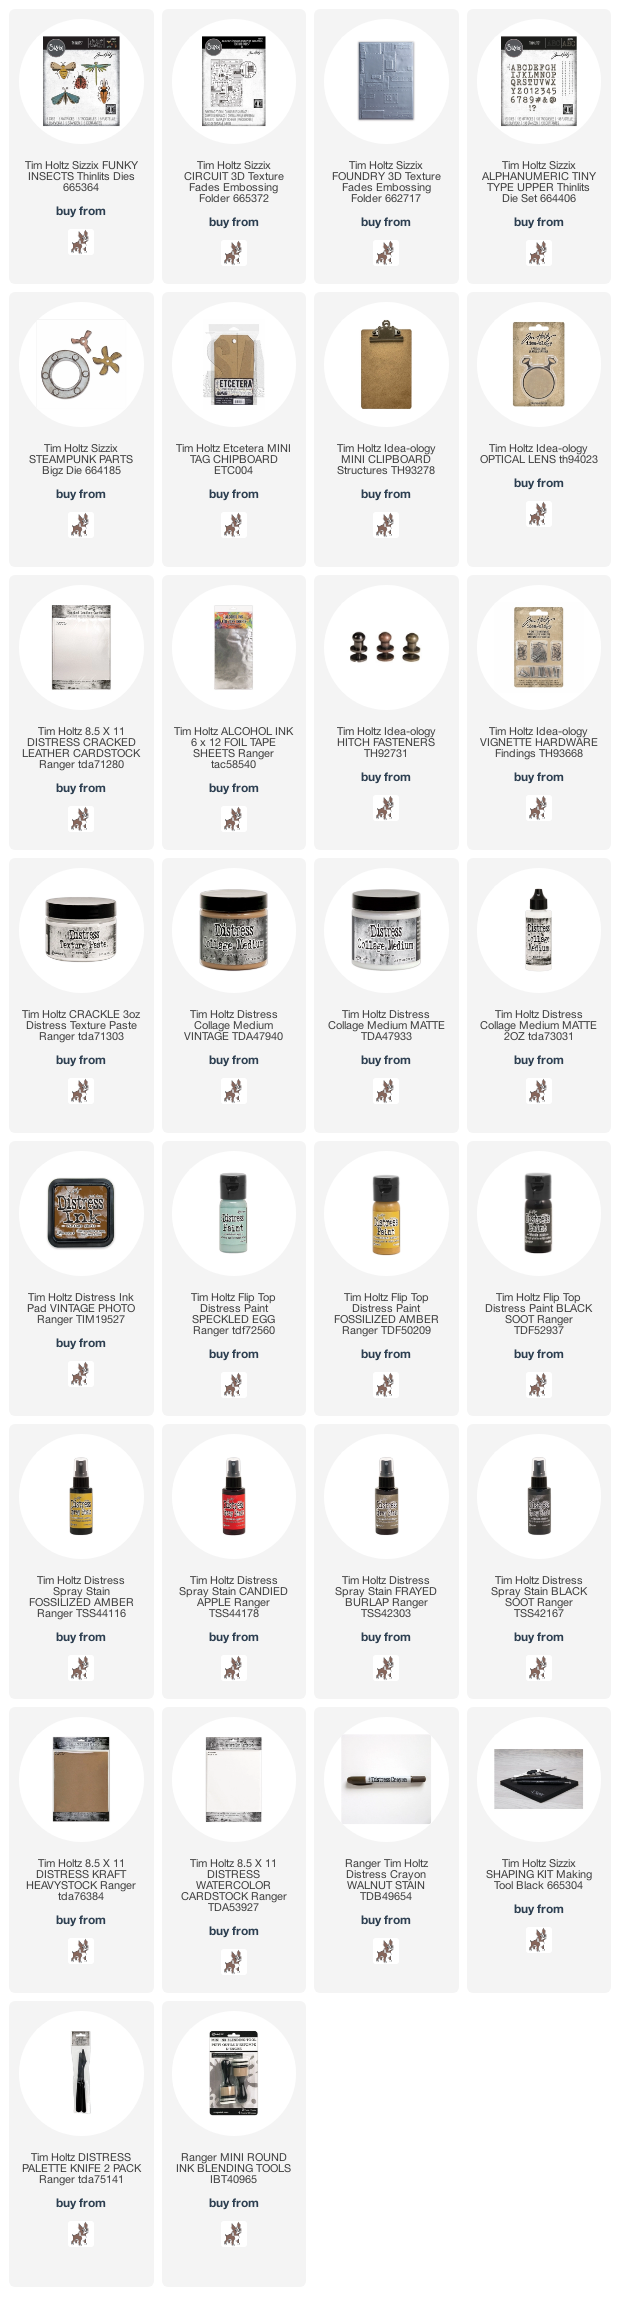
Hello friends! Did you catch the LIVE launch of the Tim Holtz Village Collection? This is such an exciting day for all the village lovers out there and for those new to the Tim Holtz brand, this is your chance to own your very own set of Village Collection dies.
Despite the heroic efforts by Mario and his buddy at Fedex, my box didn’t quite make it in time for the LIVE, so Tim came up with a Plan B. I’m very grateful to them both for always looking out for their makers.
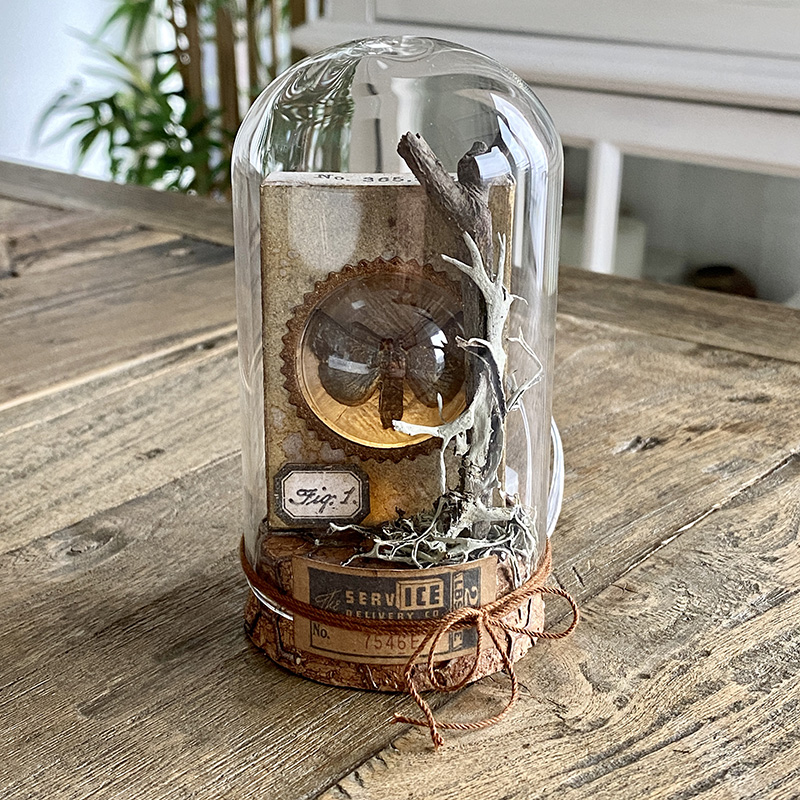
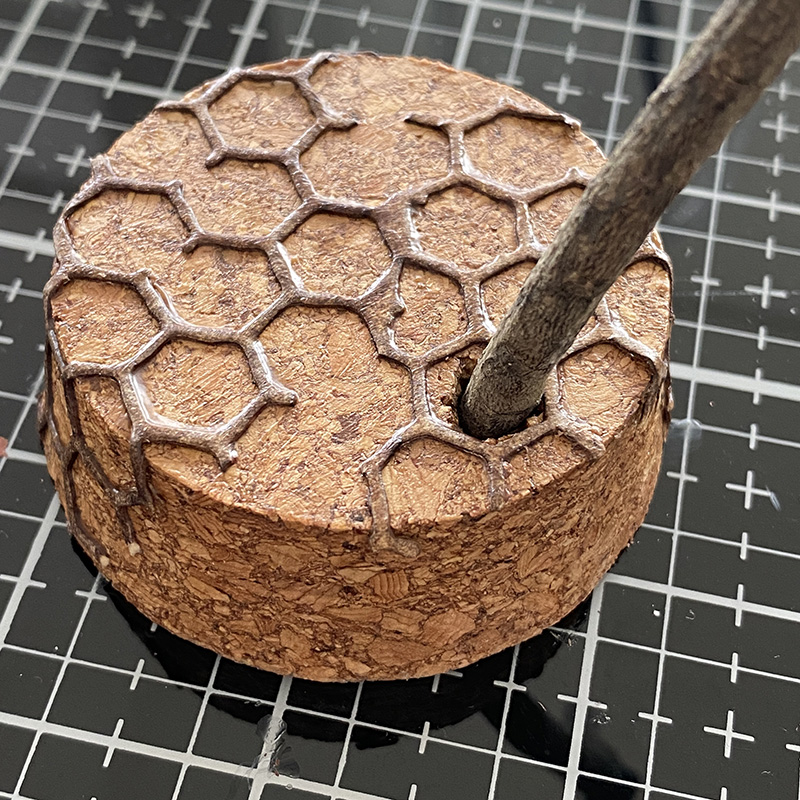
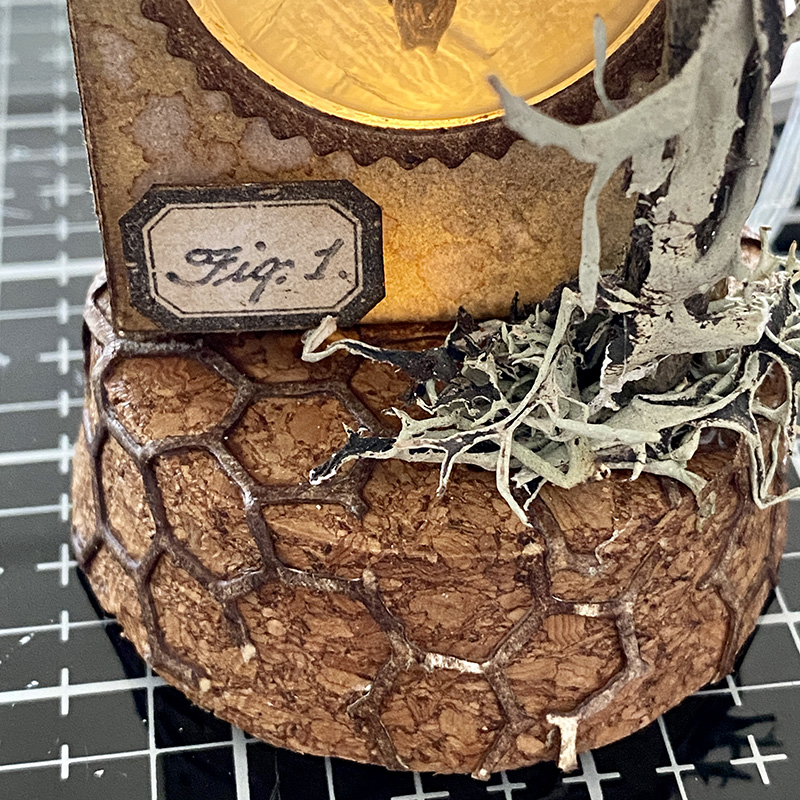
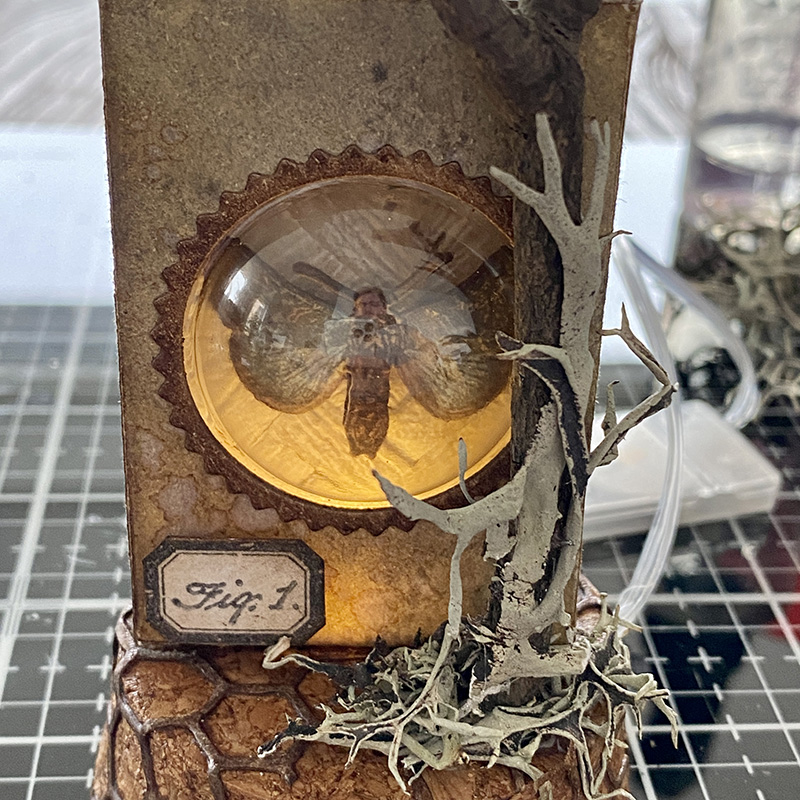
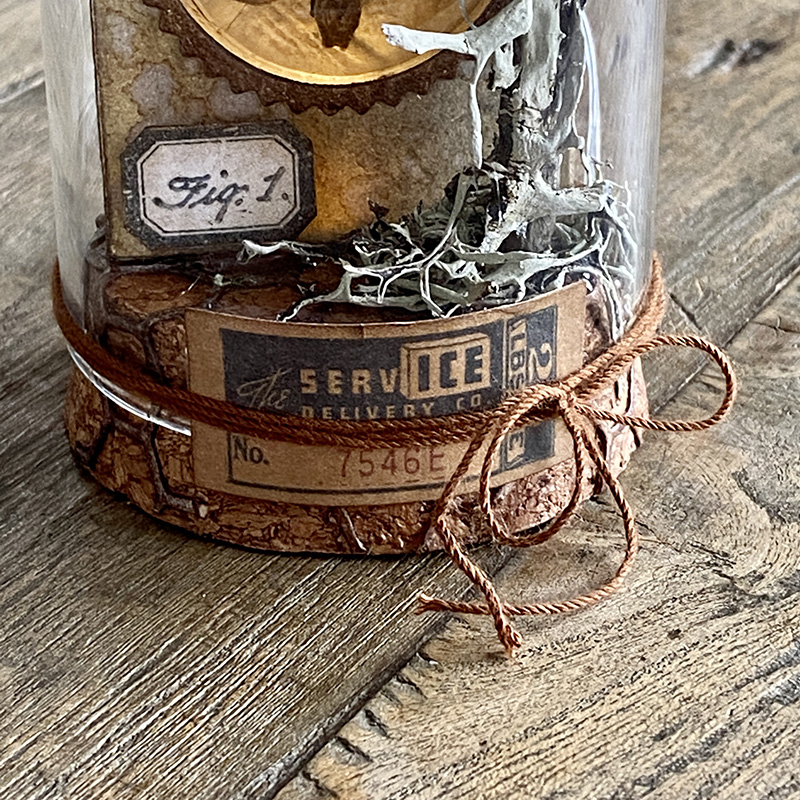
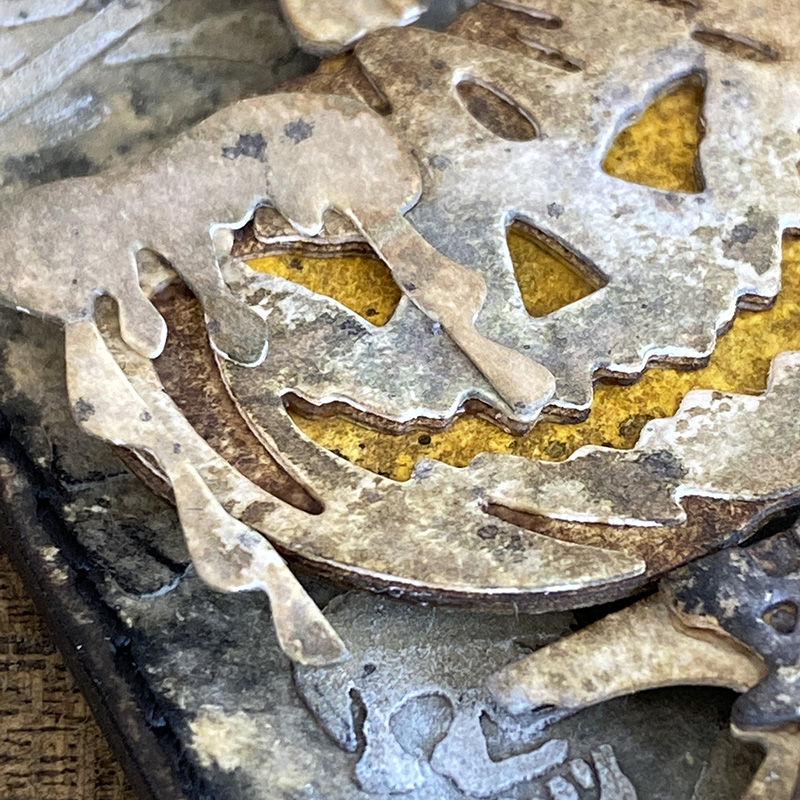
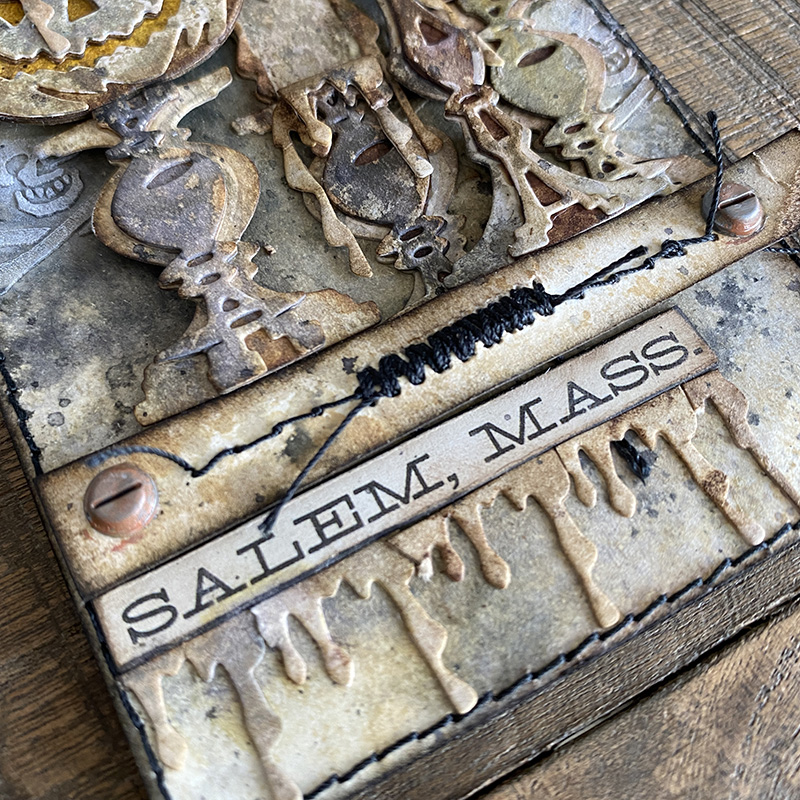
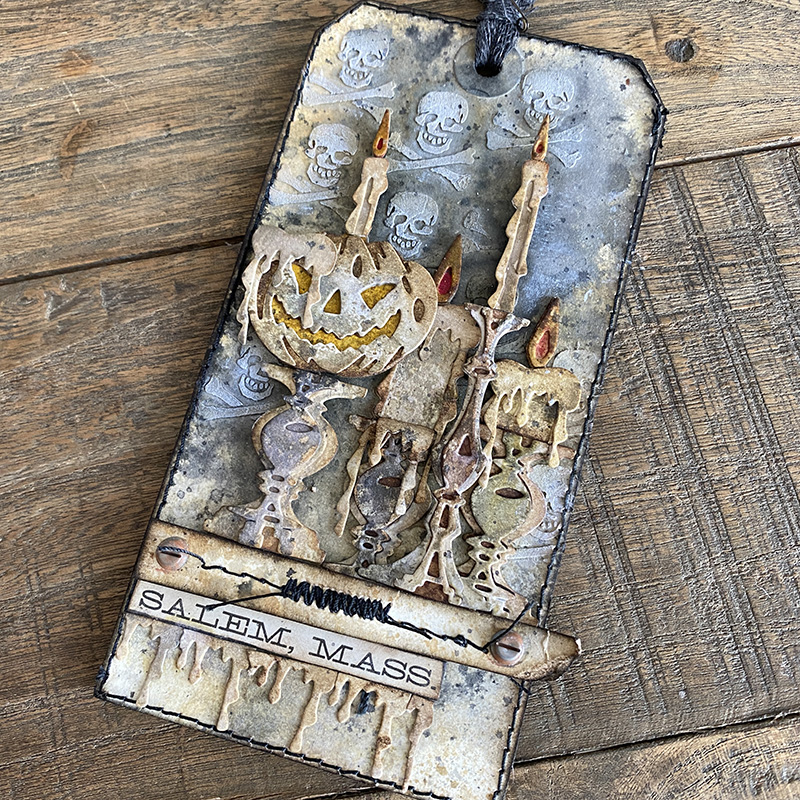
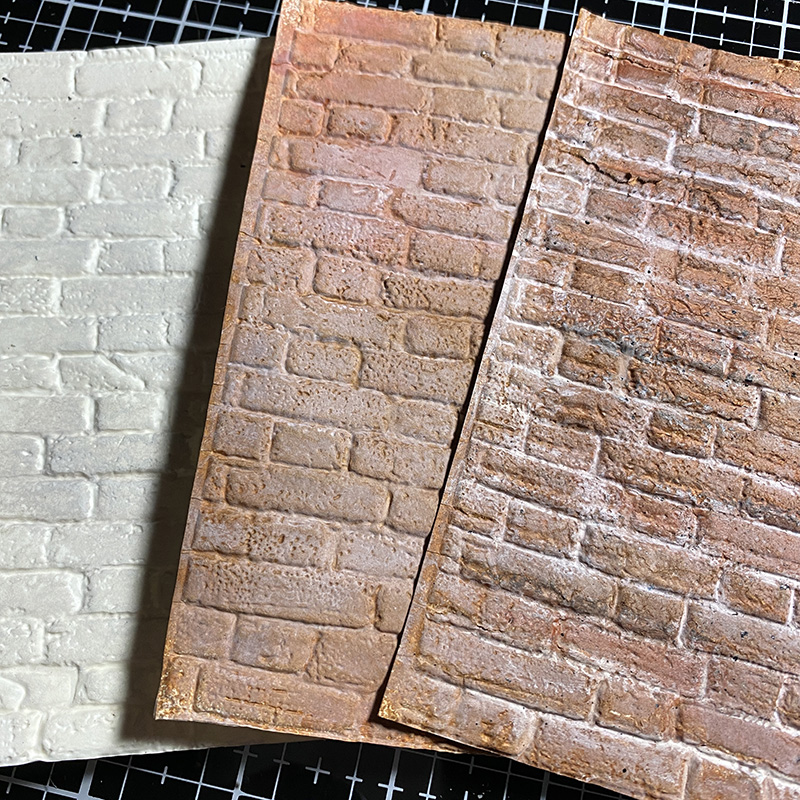
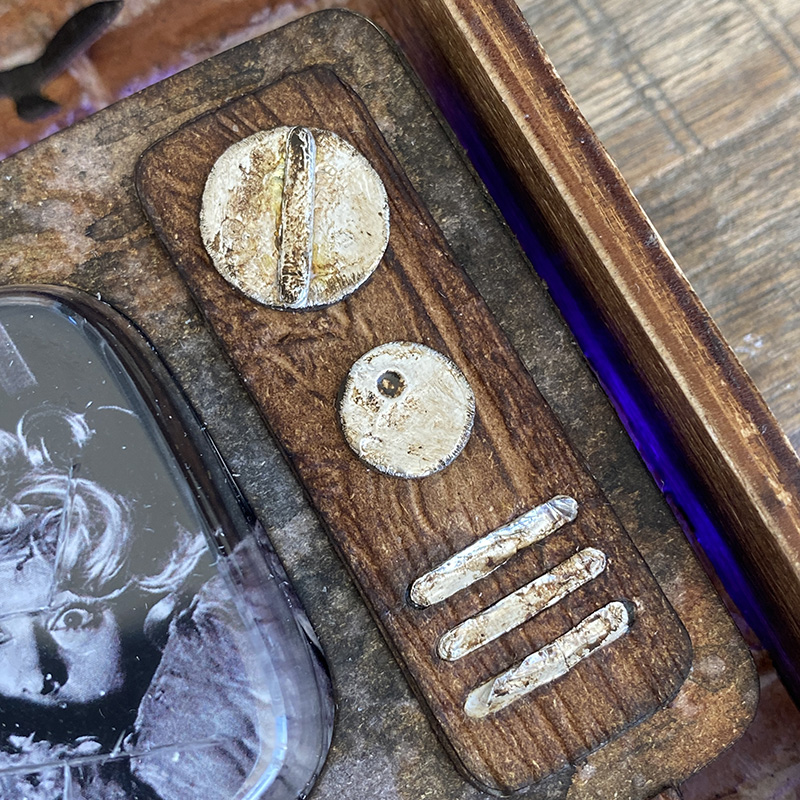
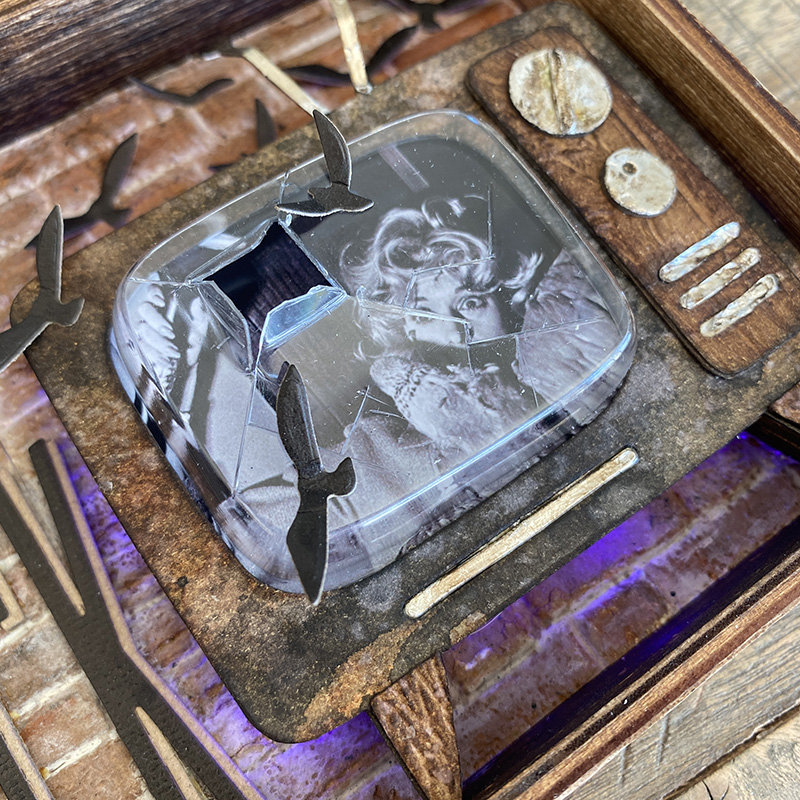
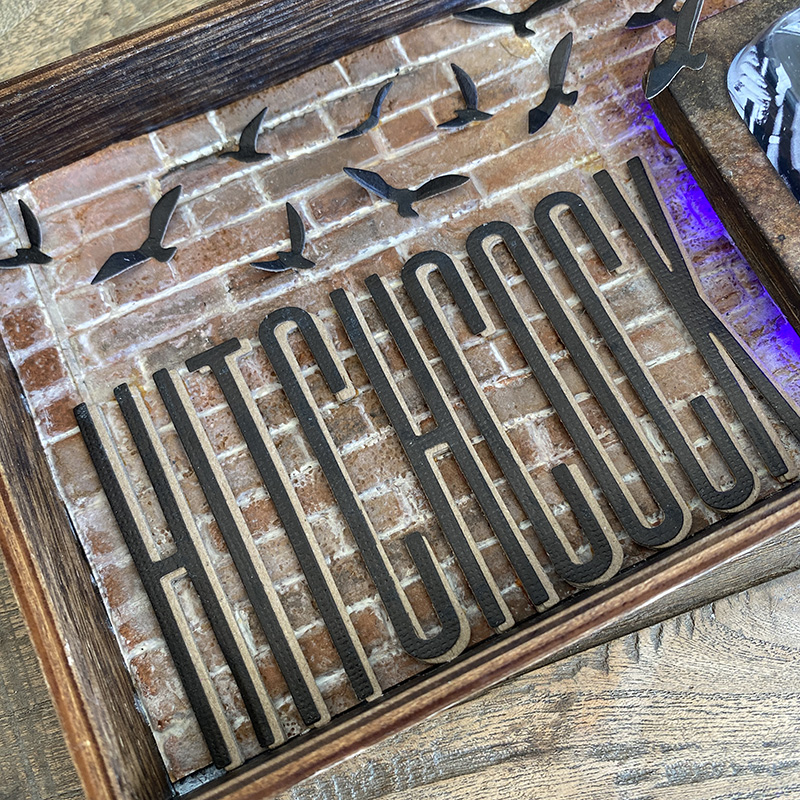
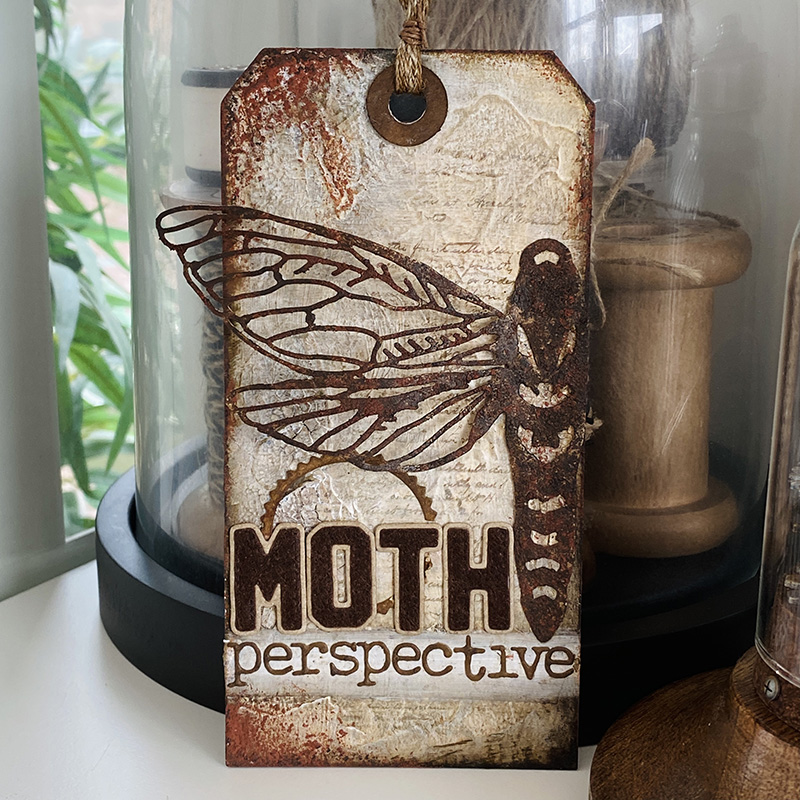
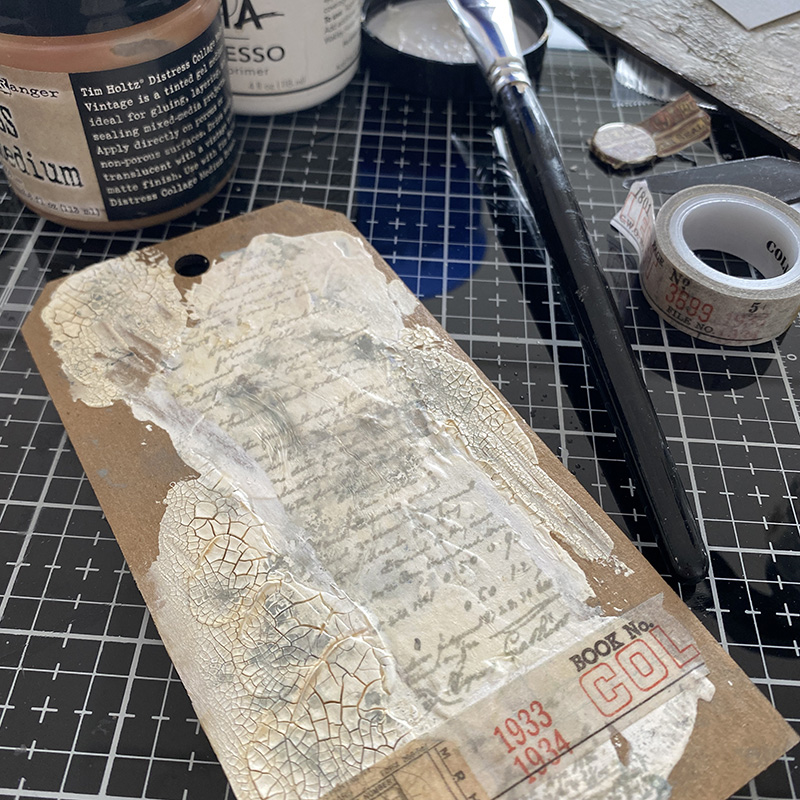
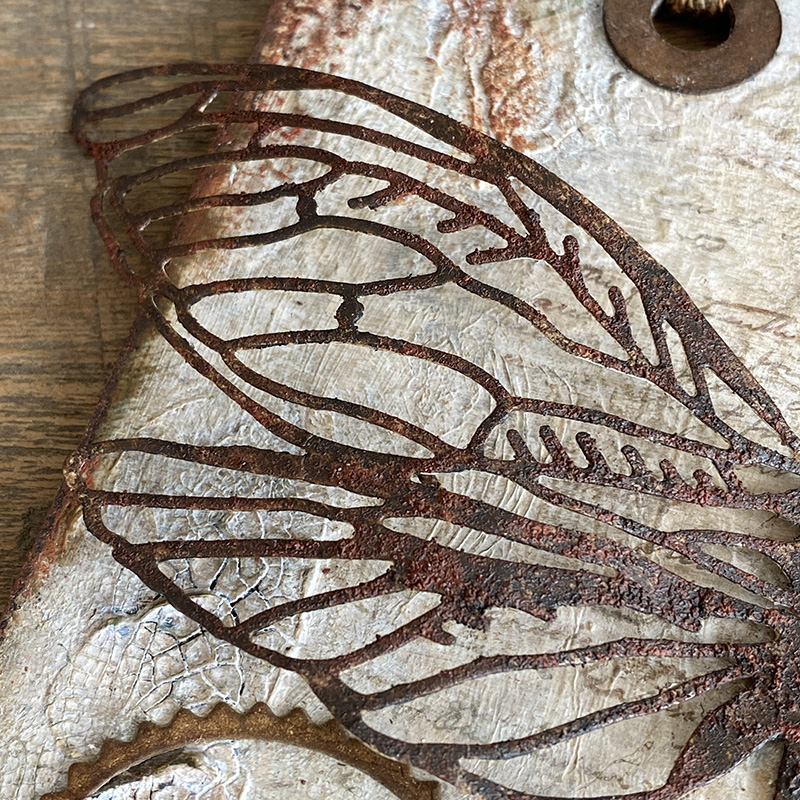
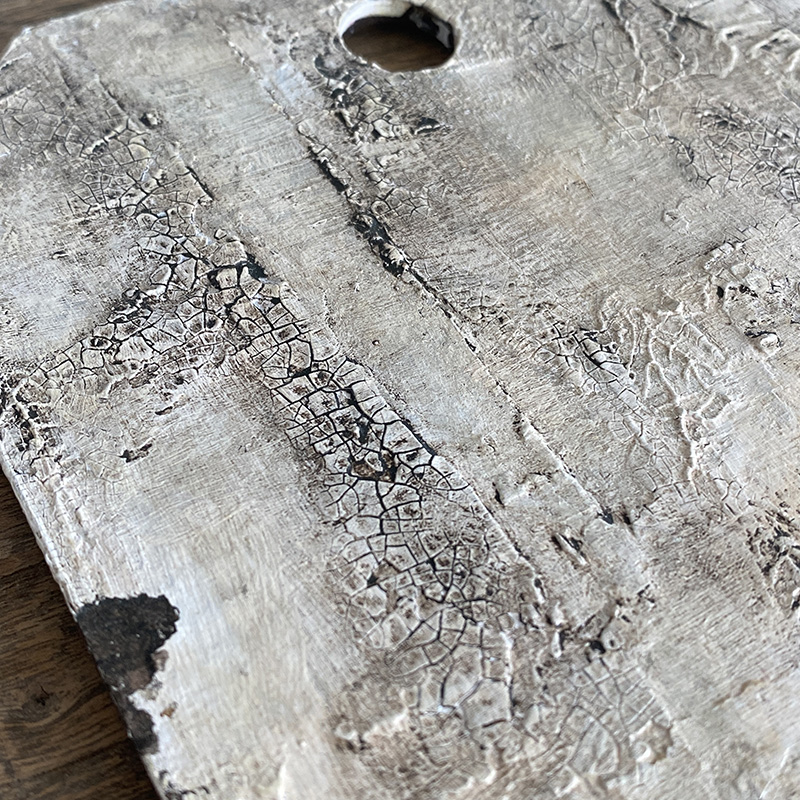
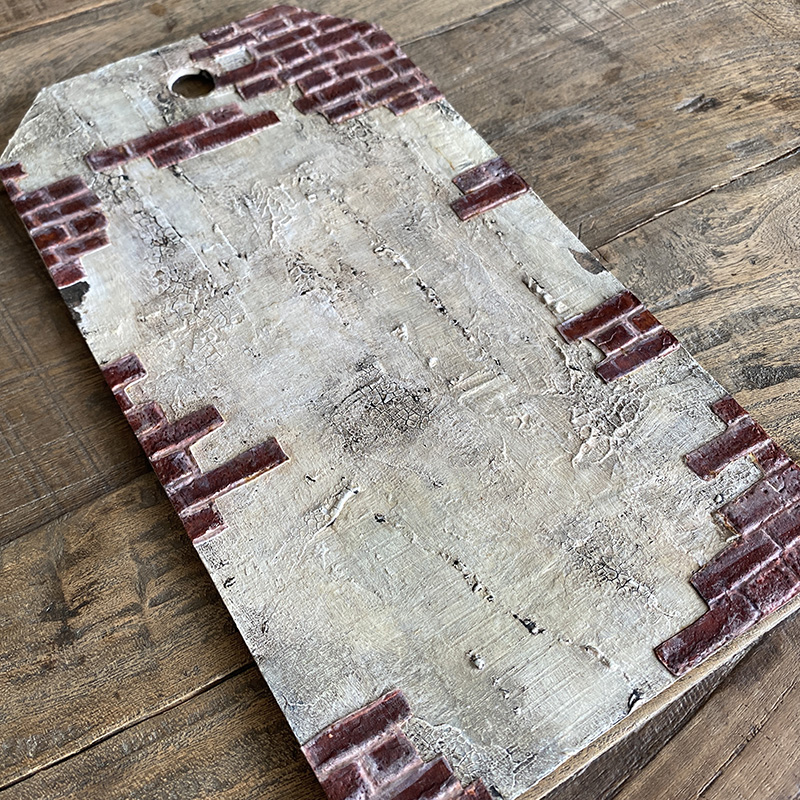
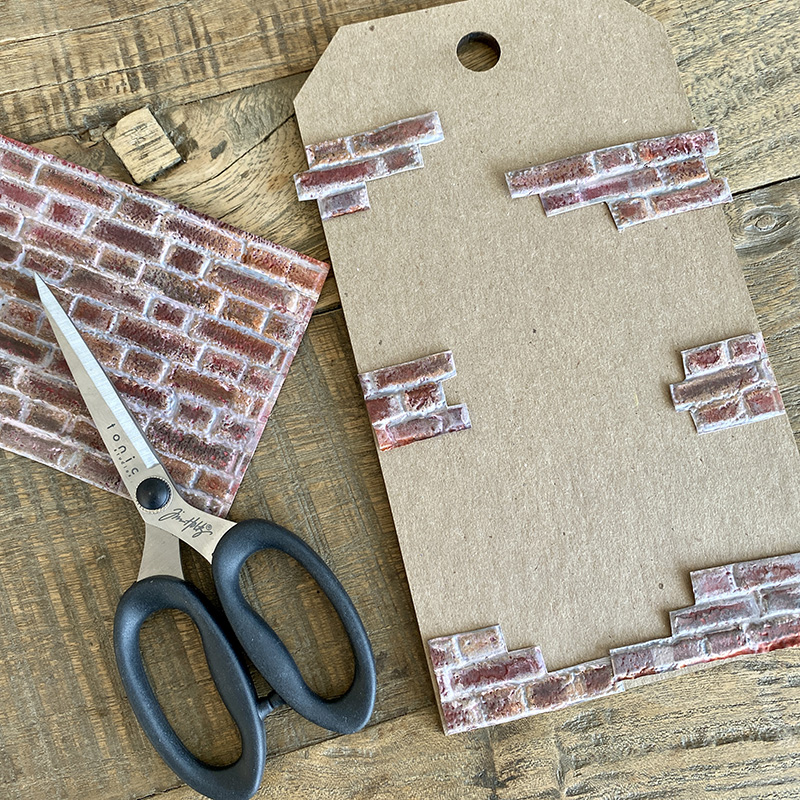
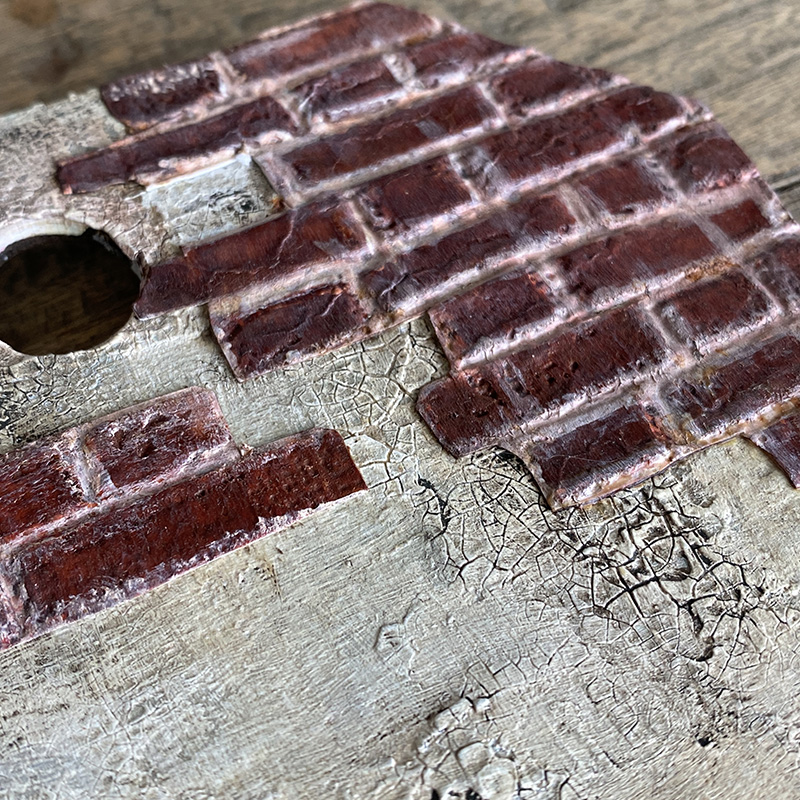
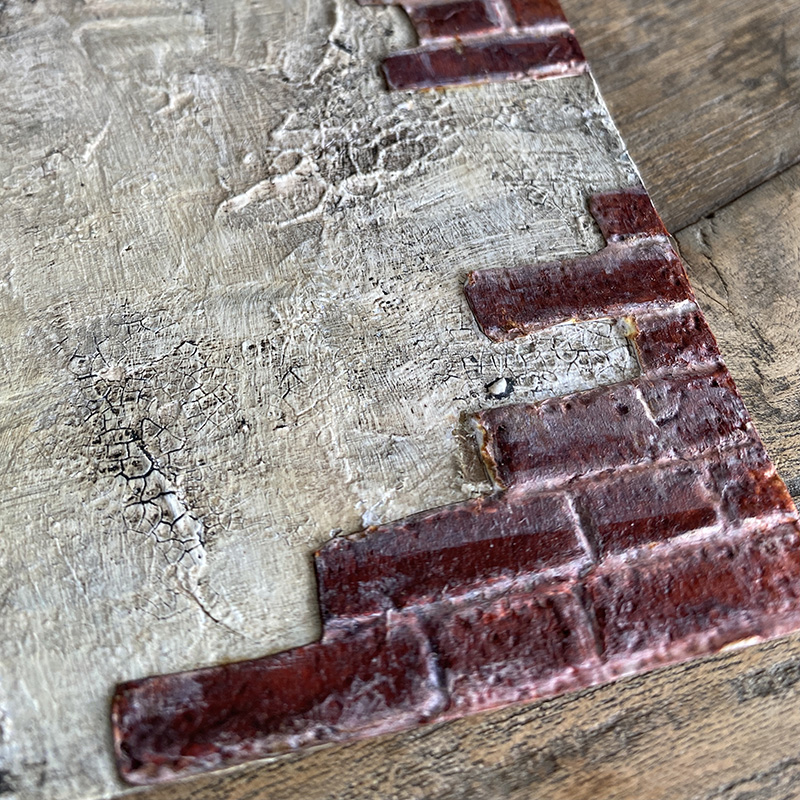
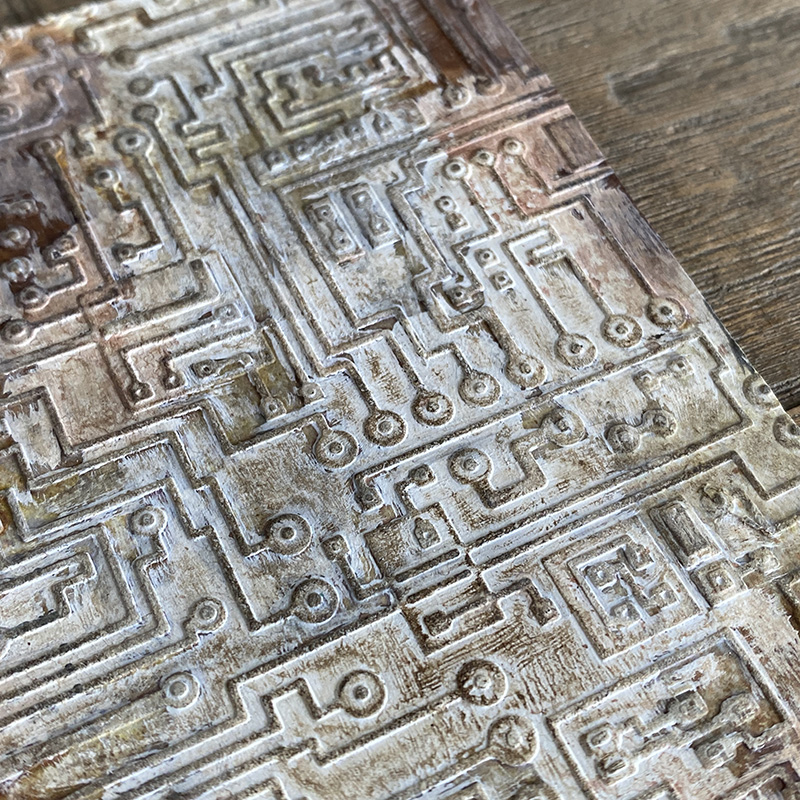
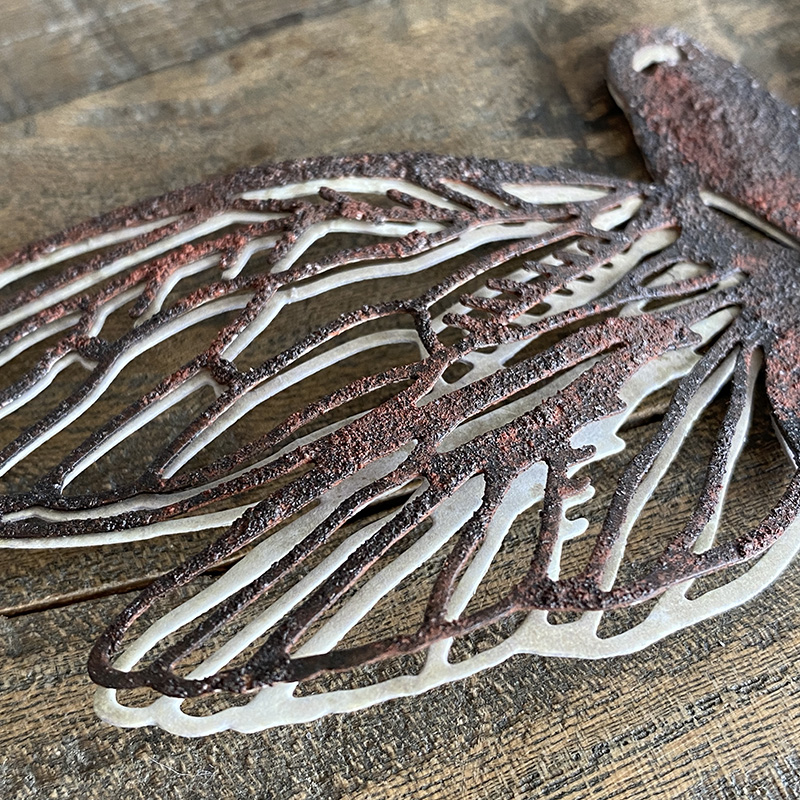
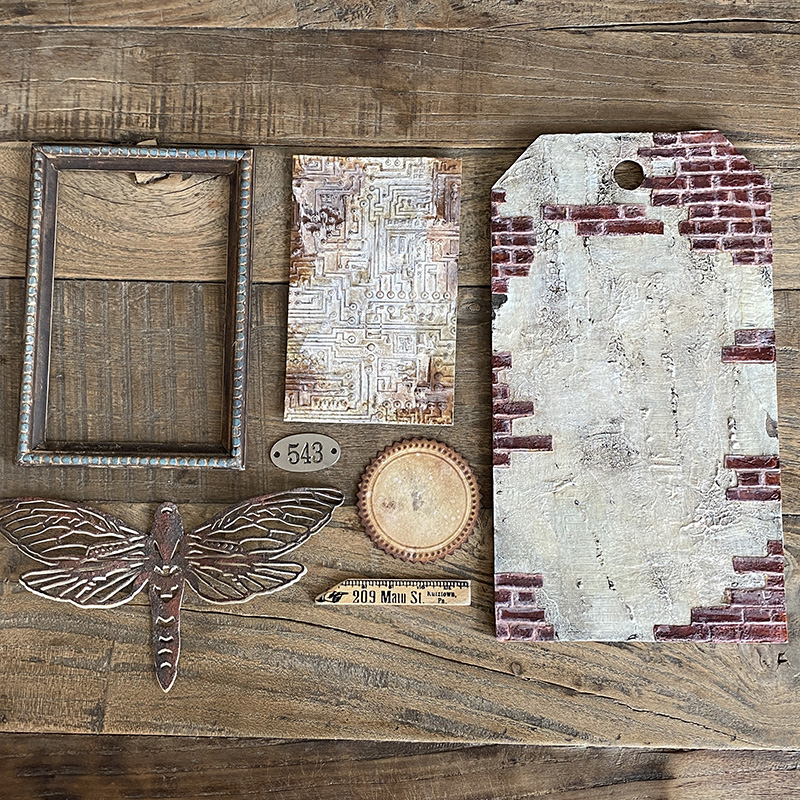
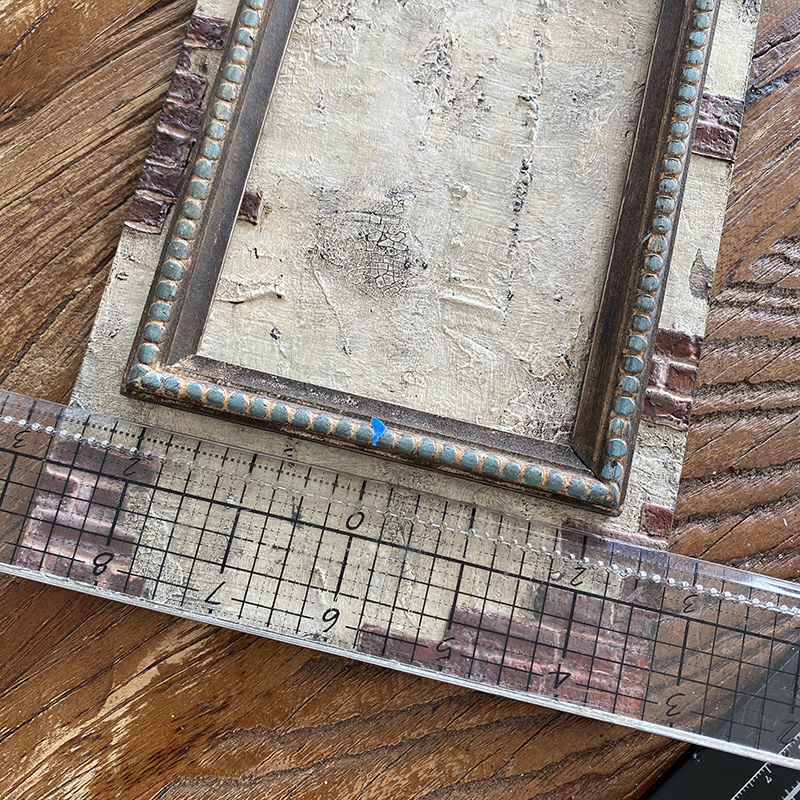
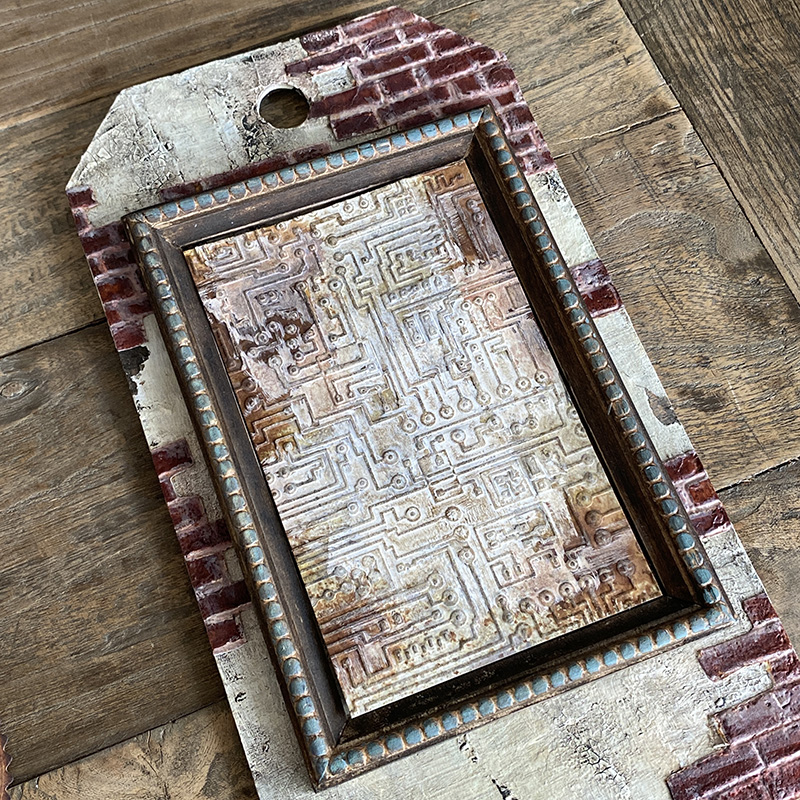
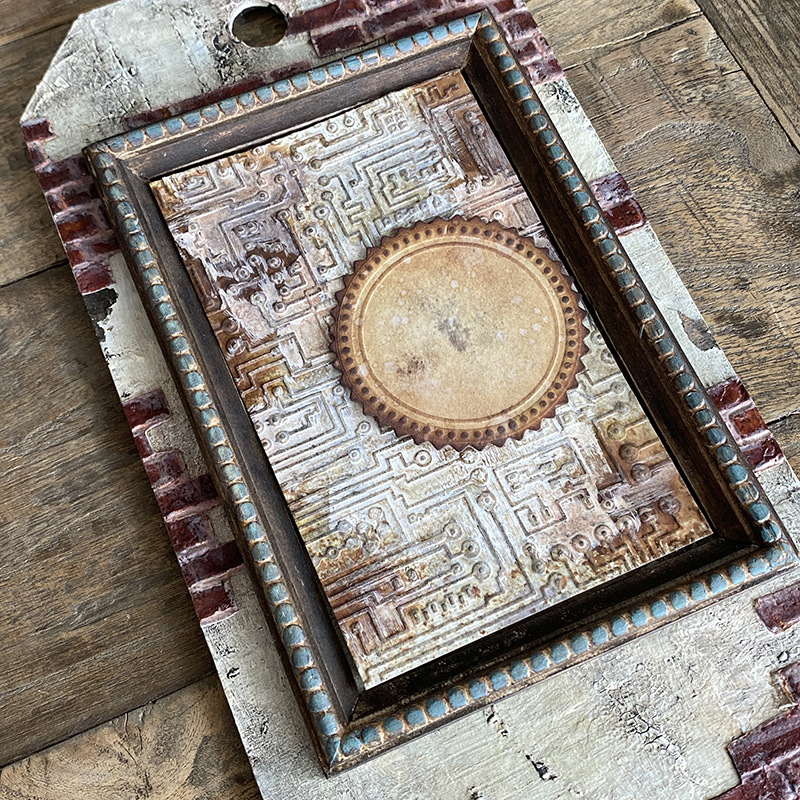
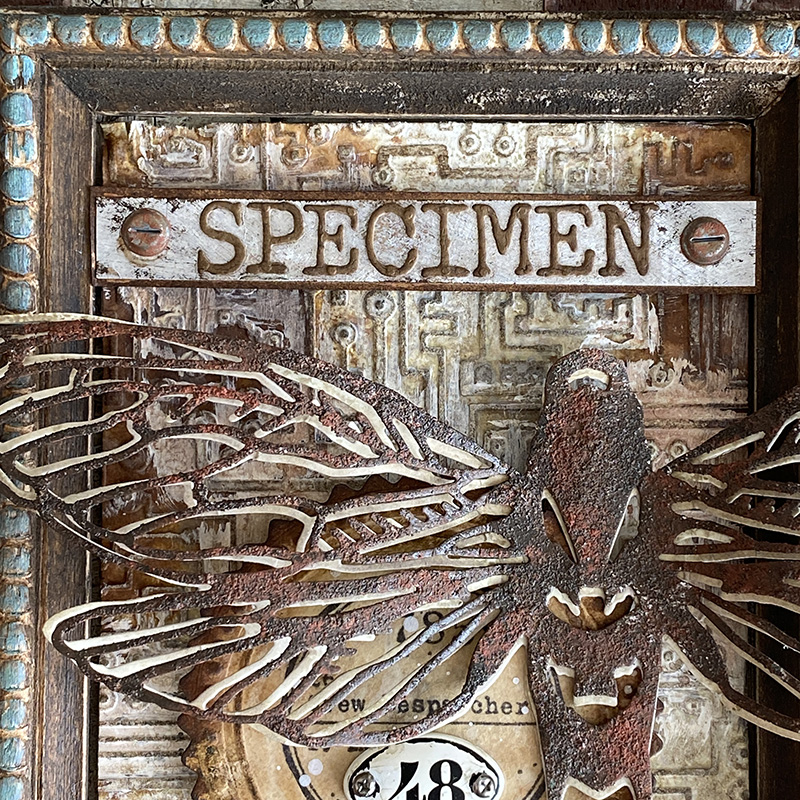
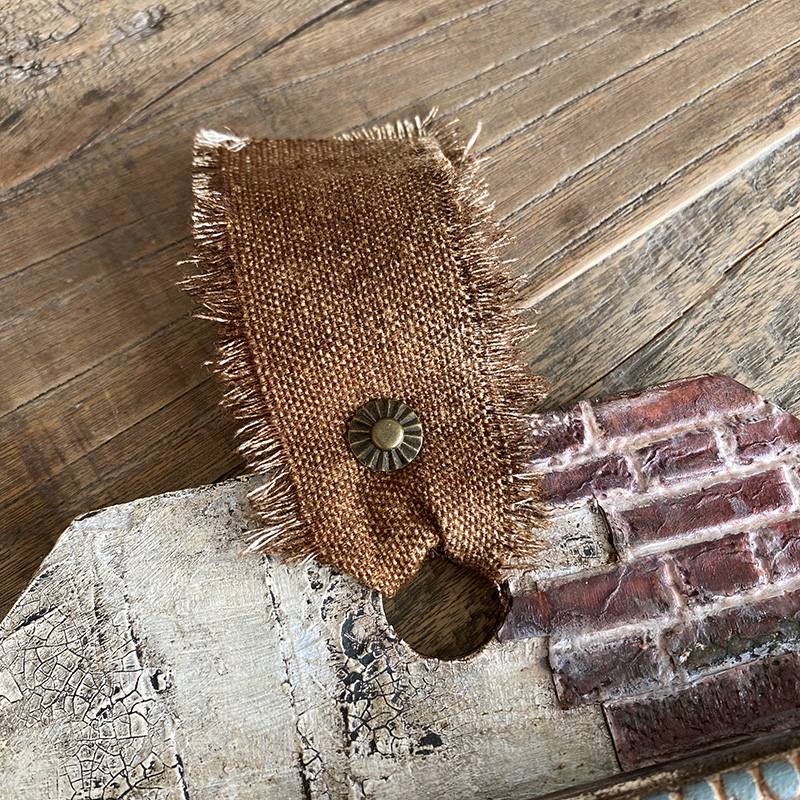
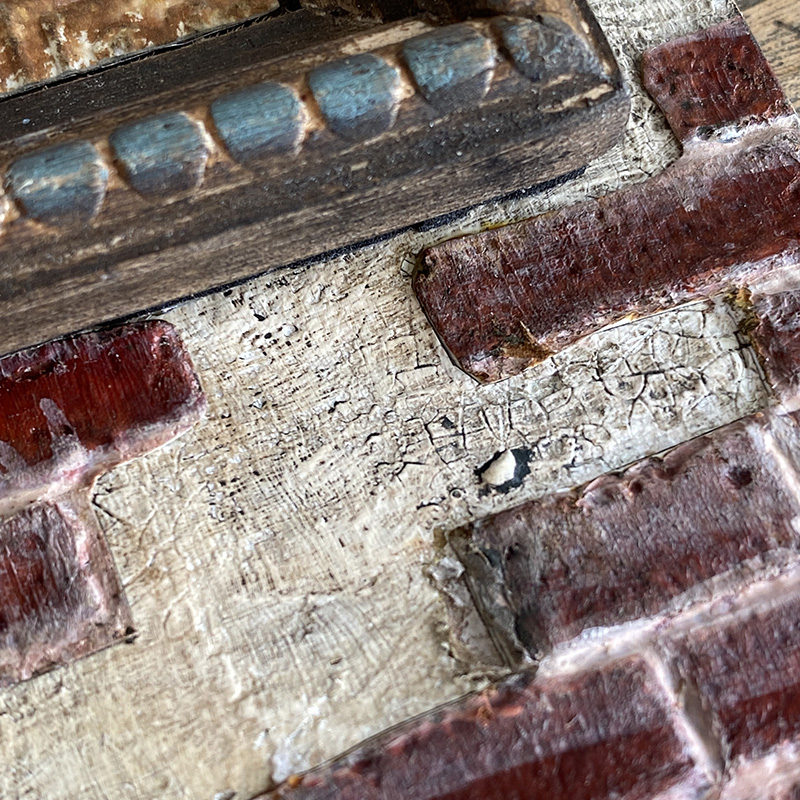
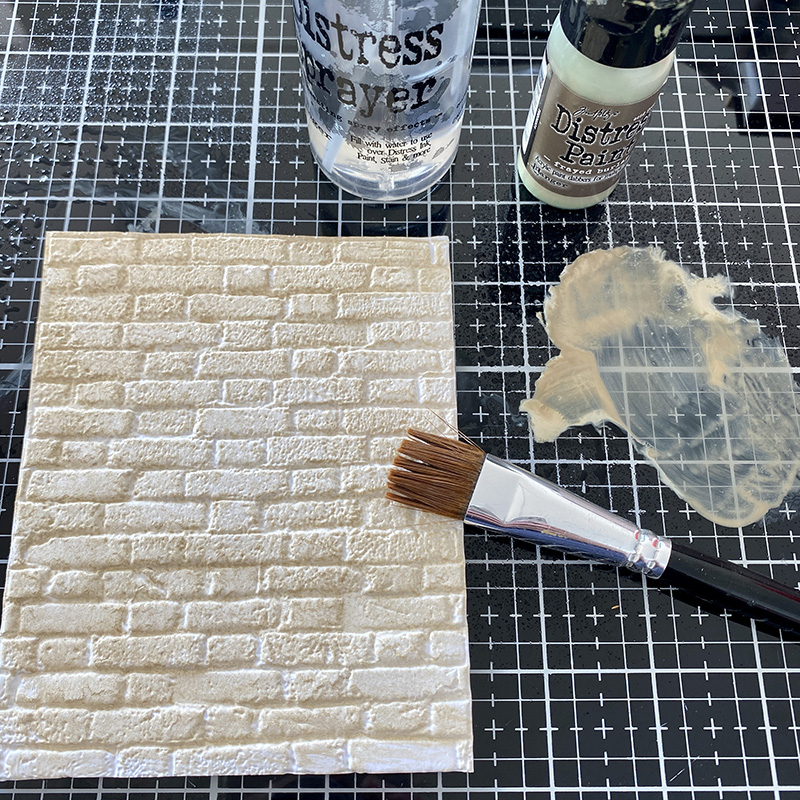
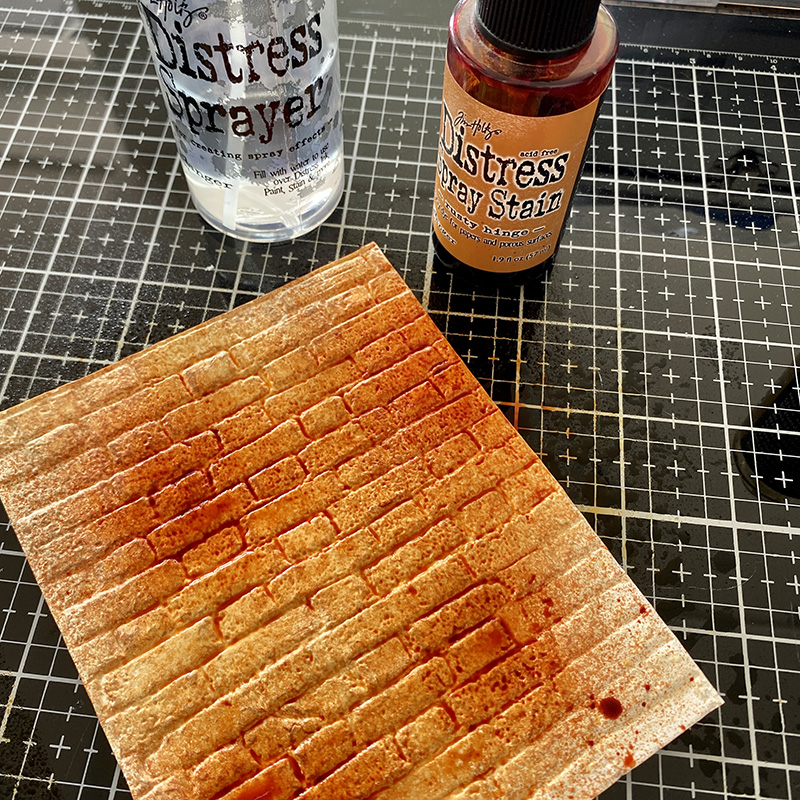
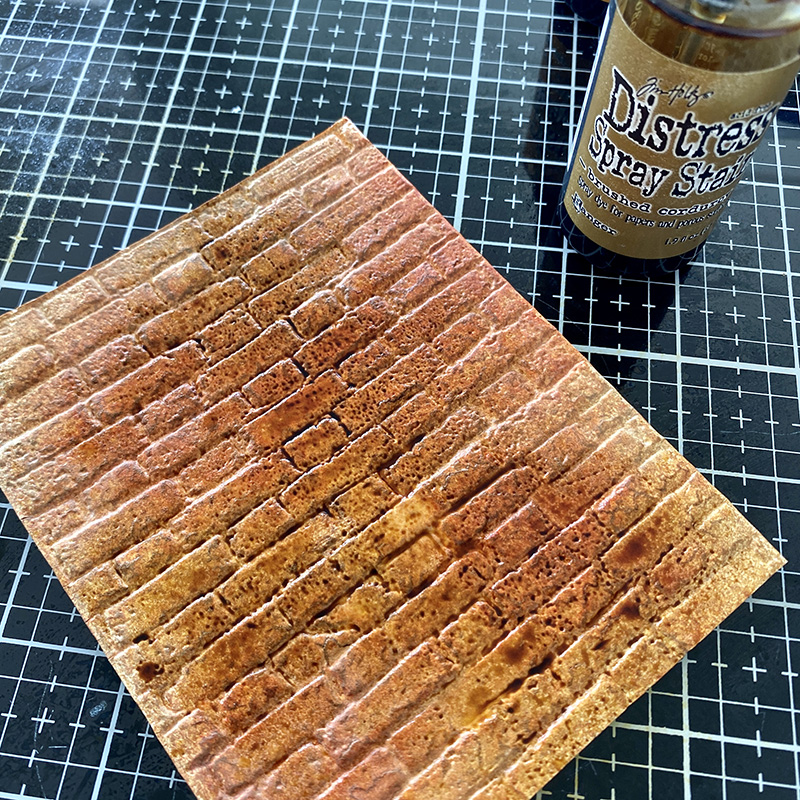
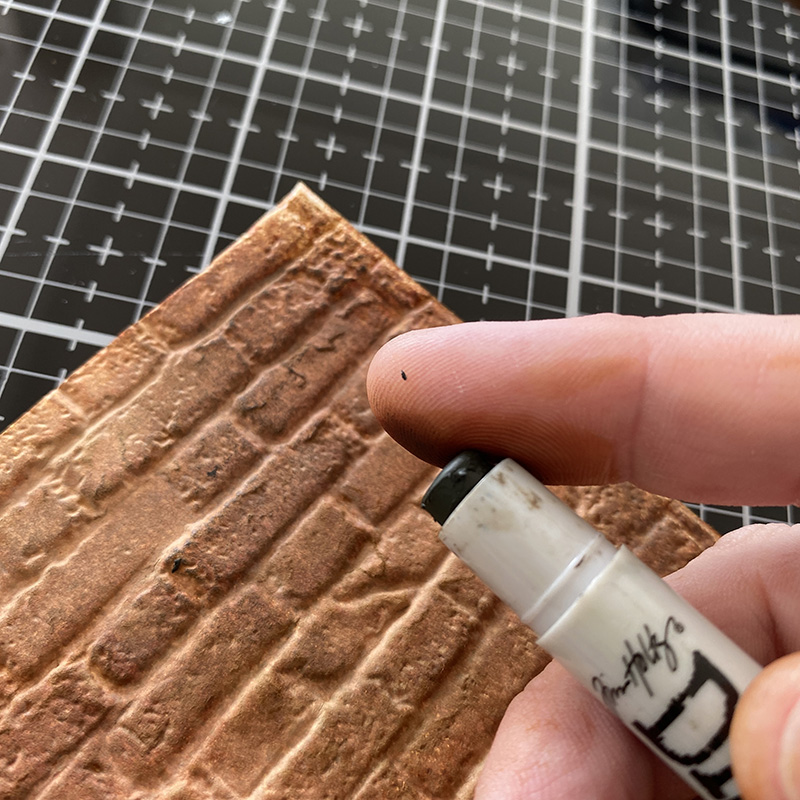
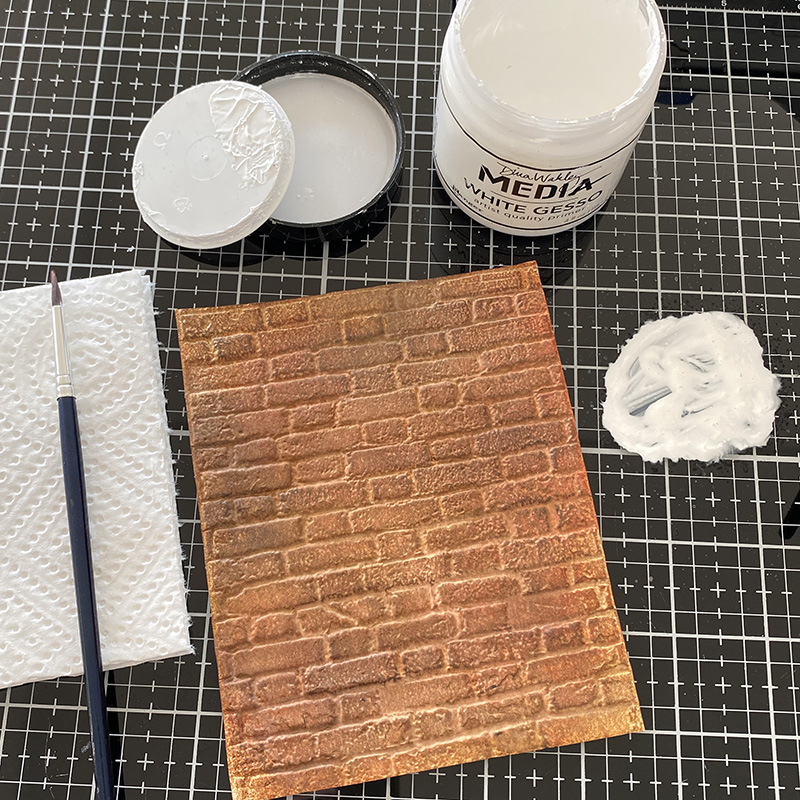
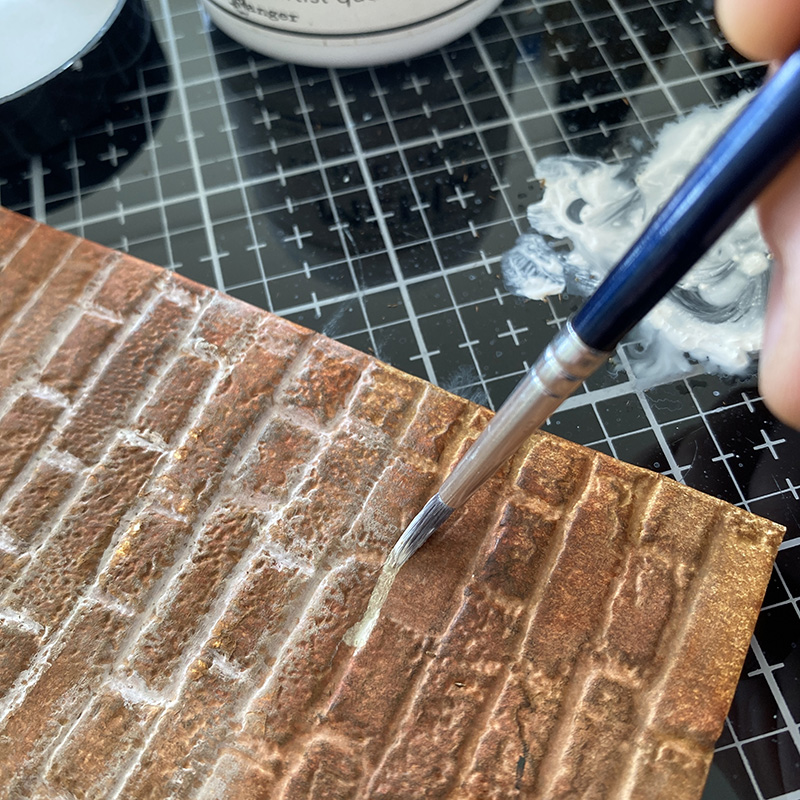
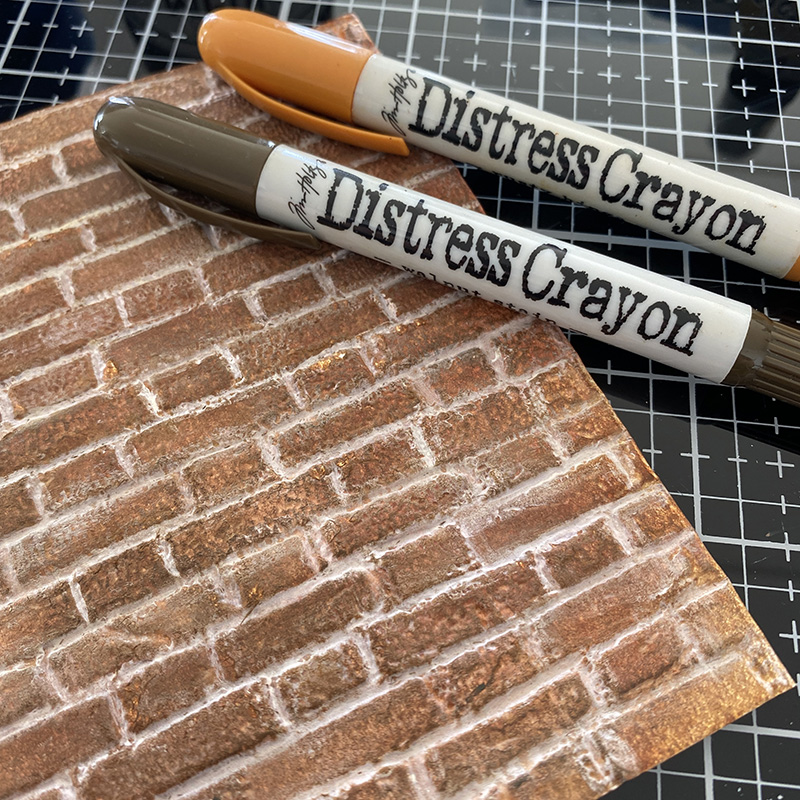
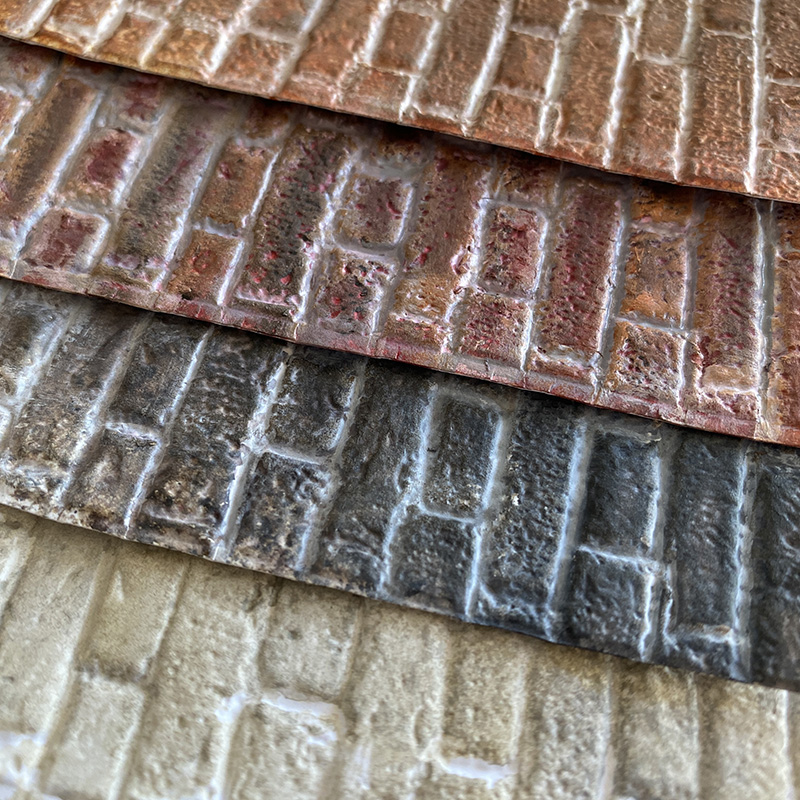
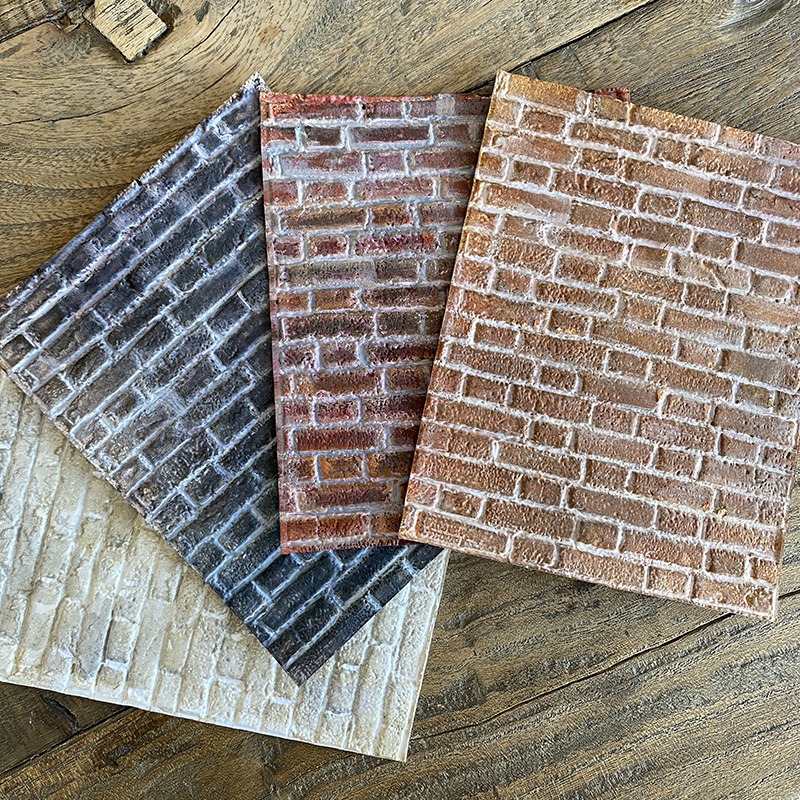
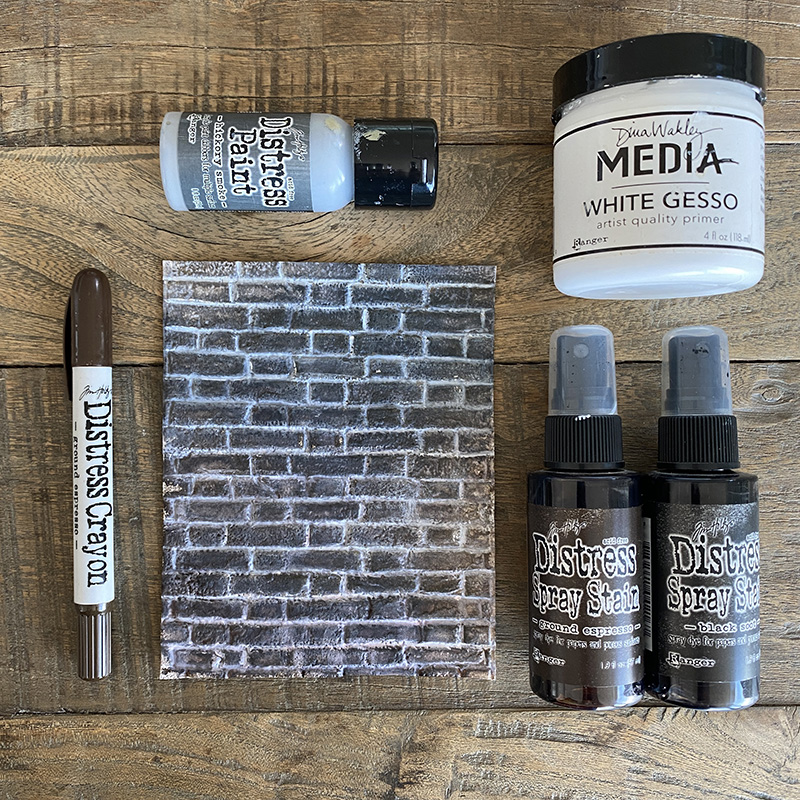
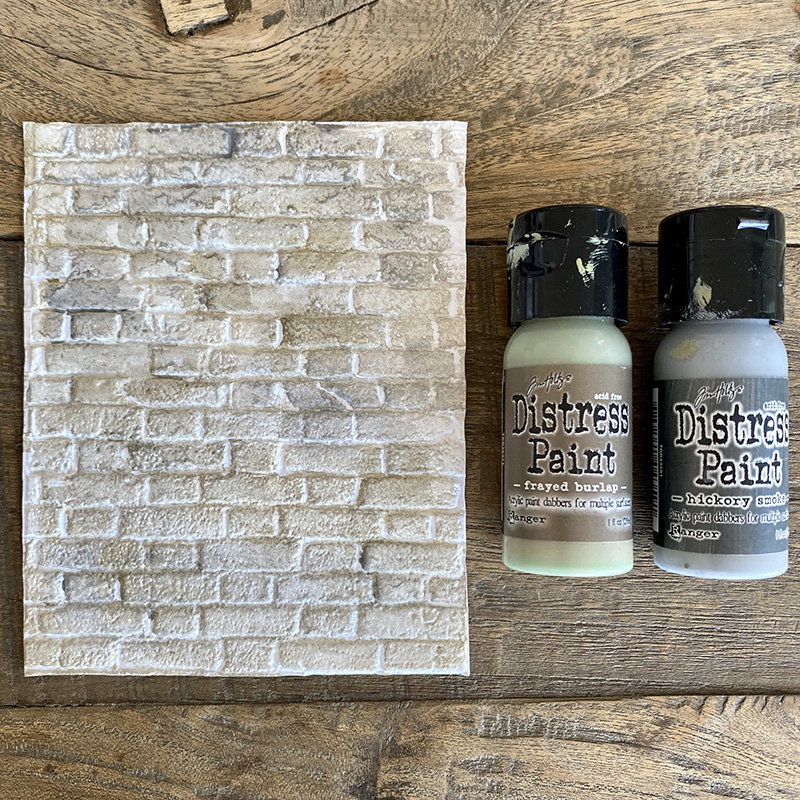
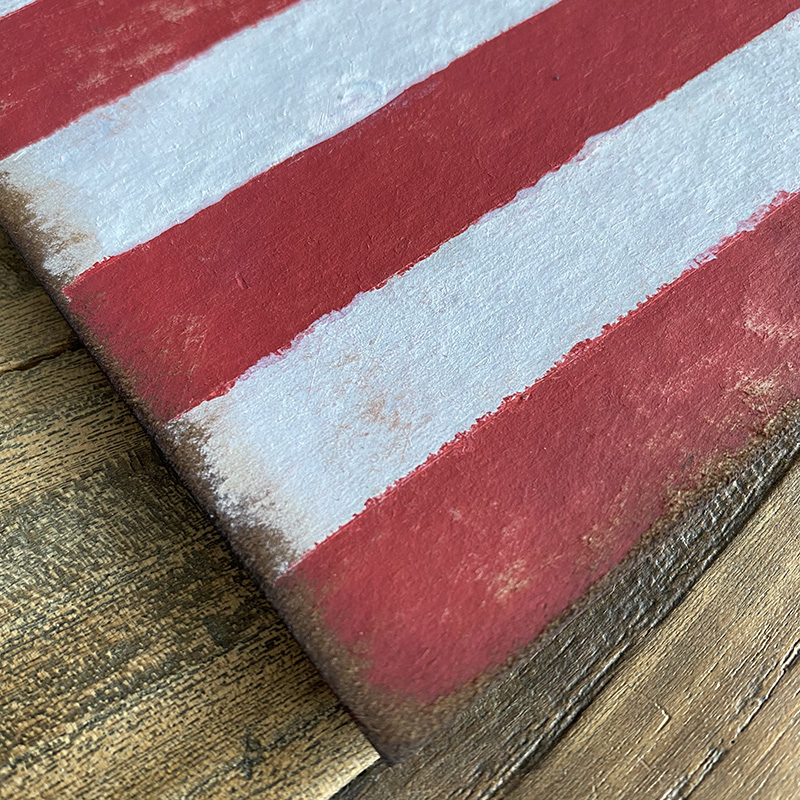
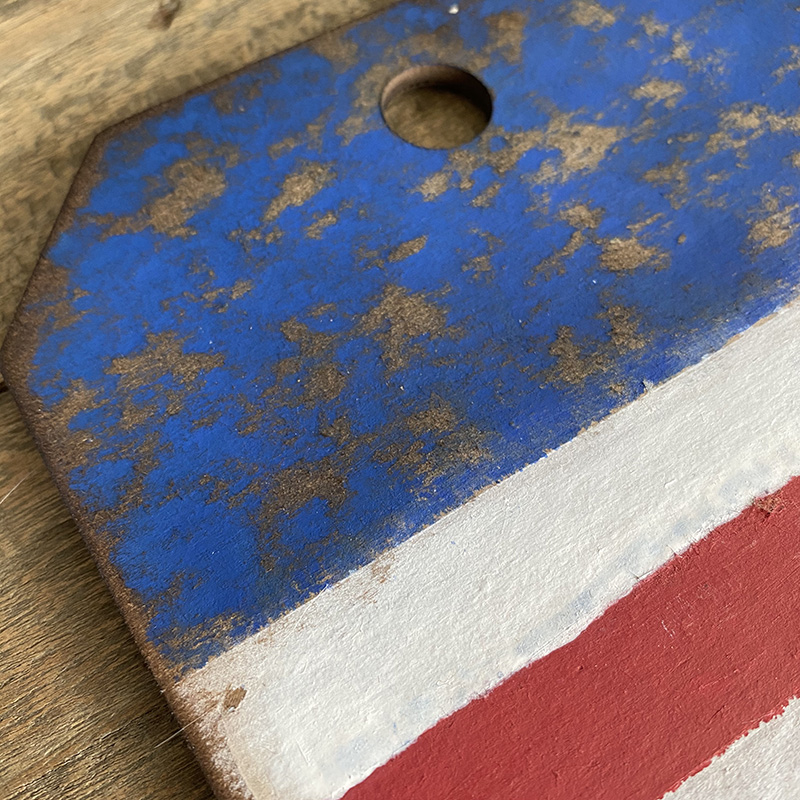
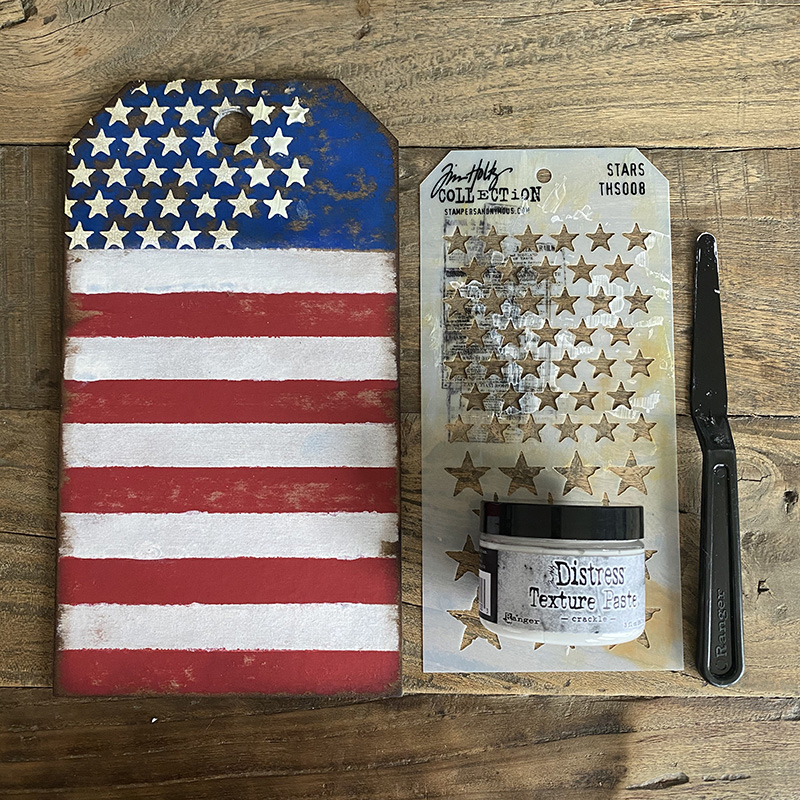
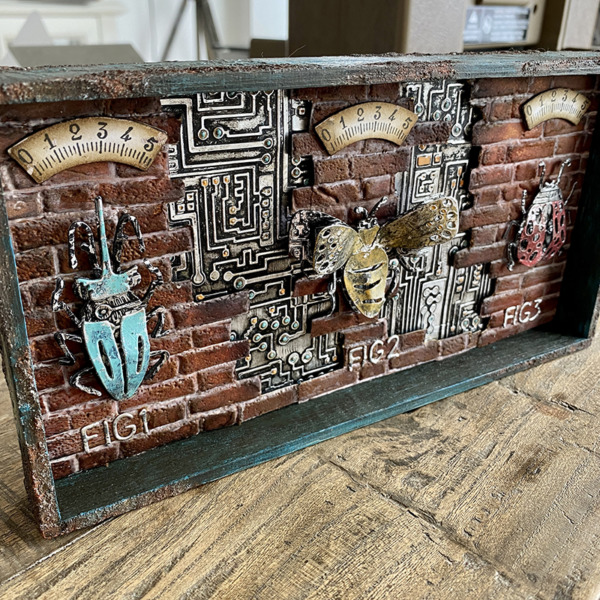
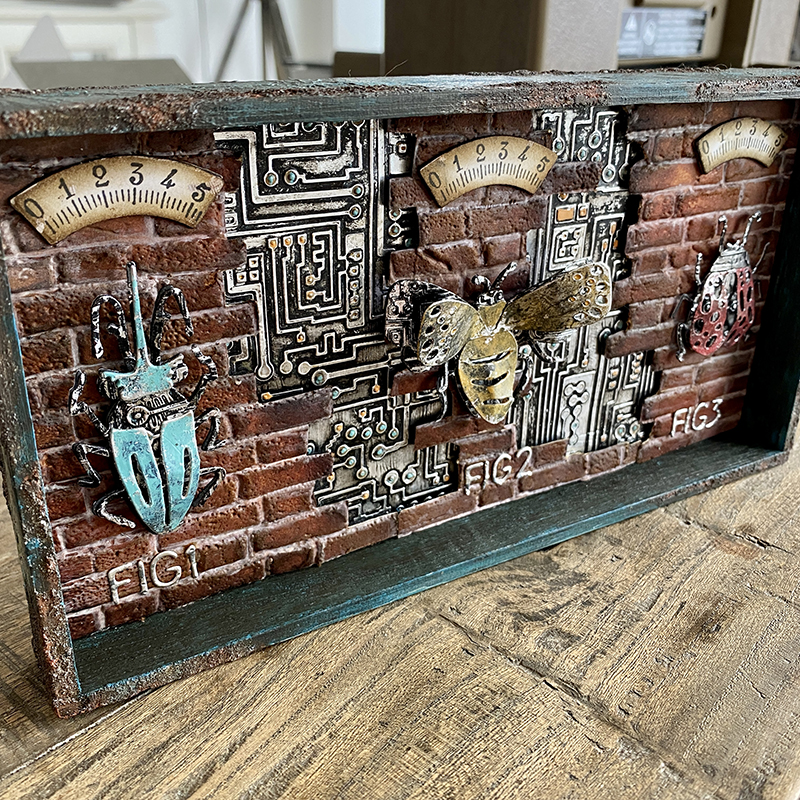
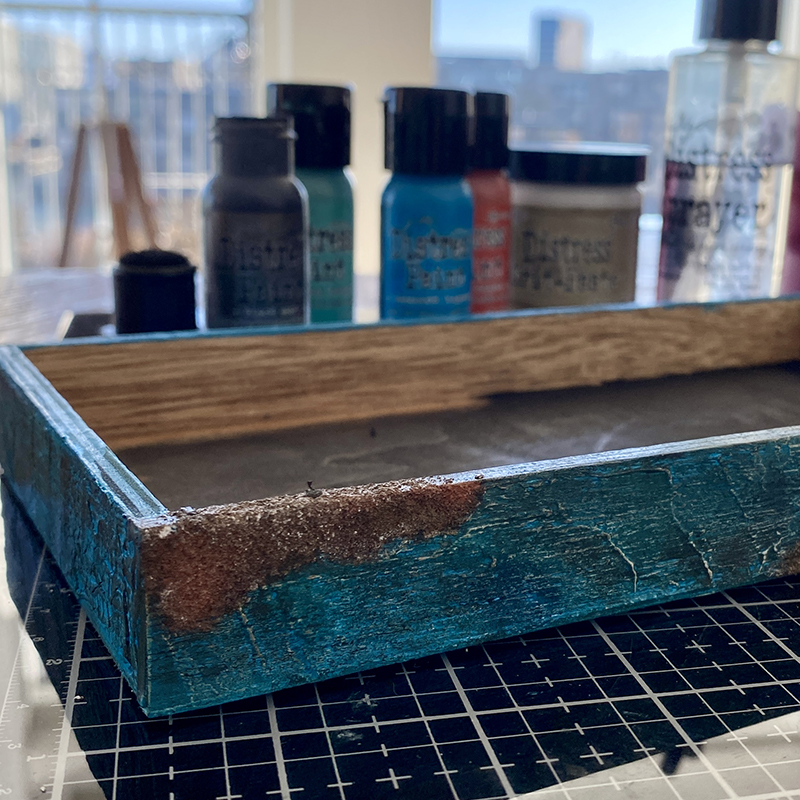
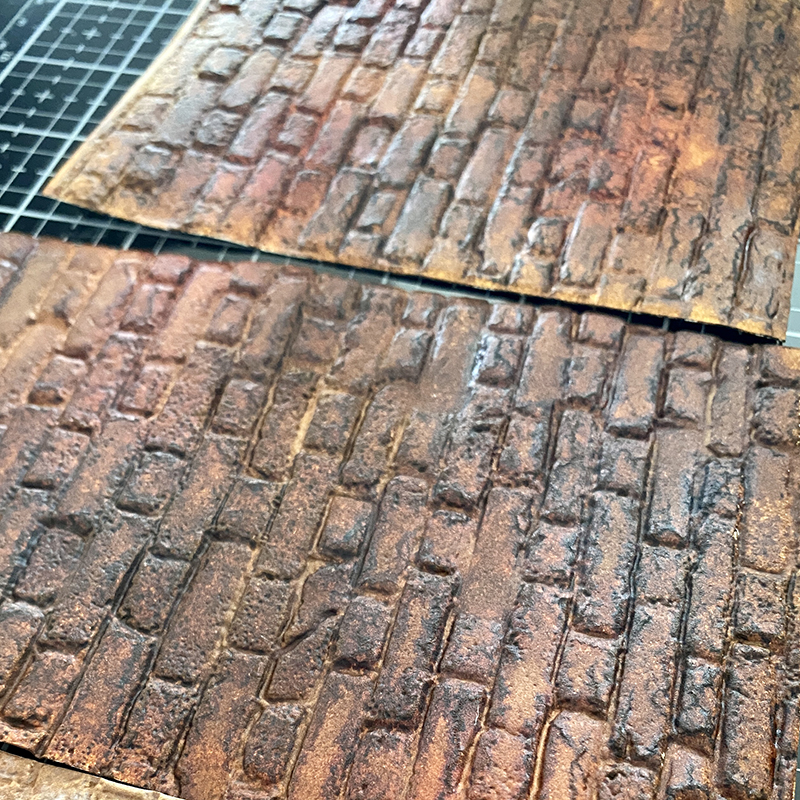
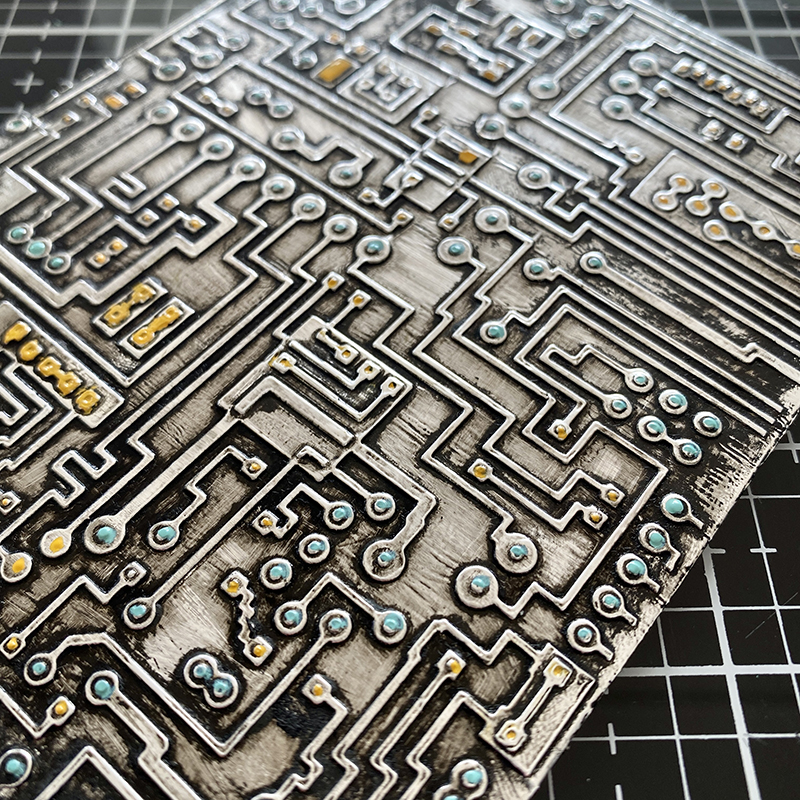
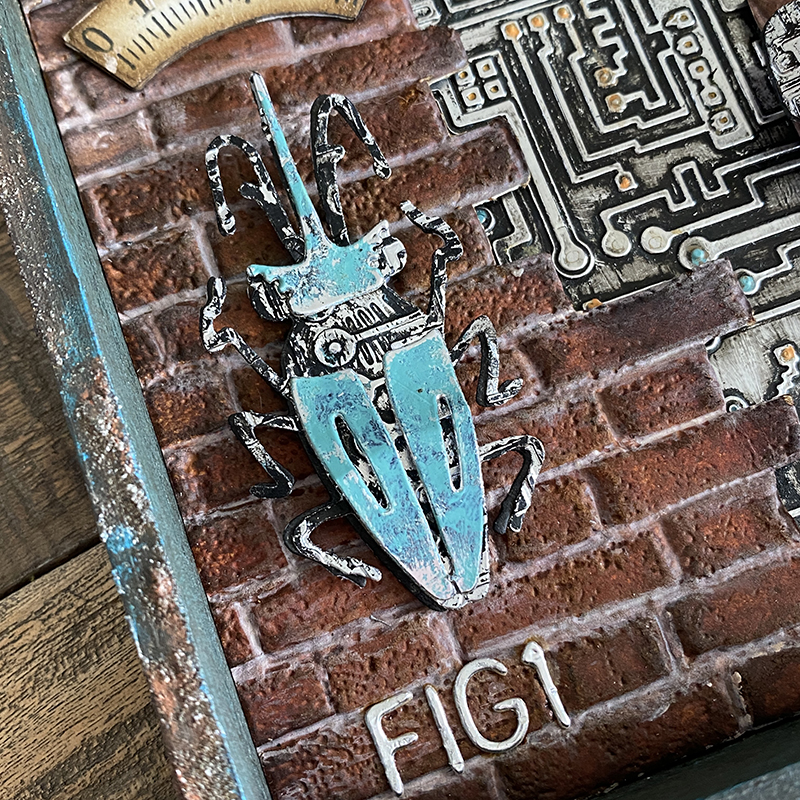
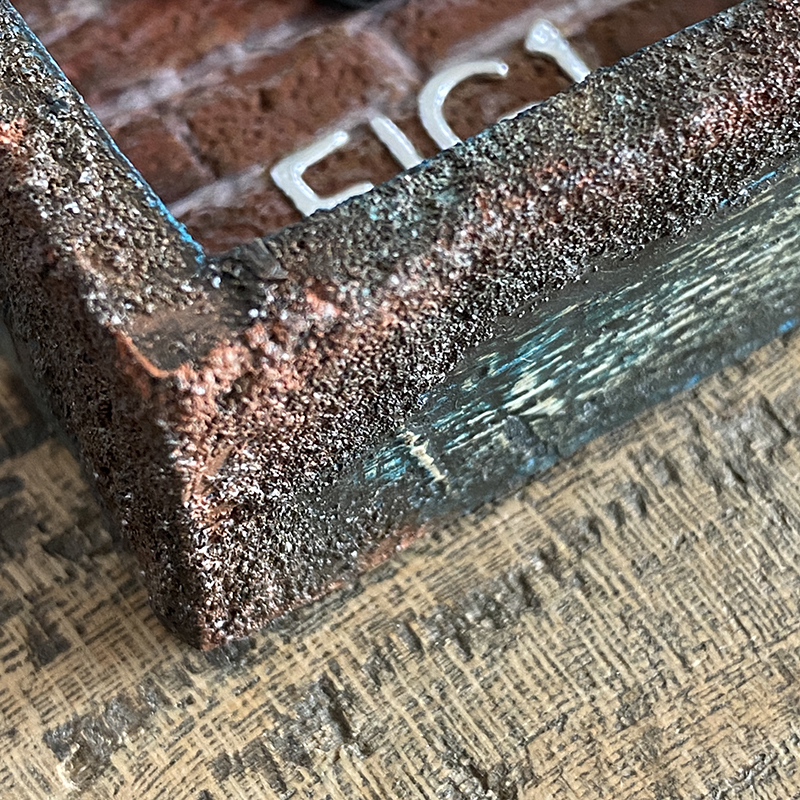
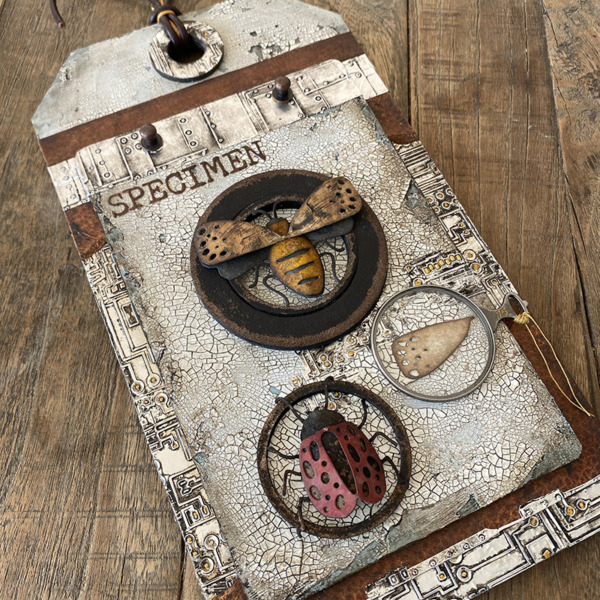
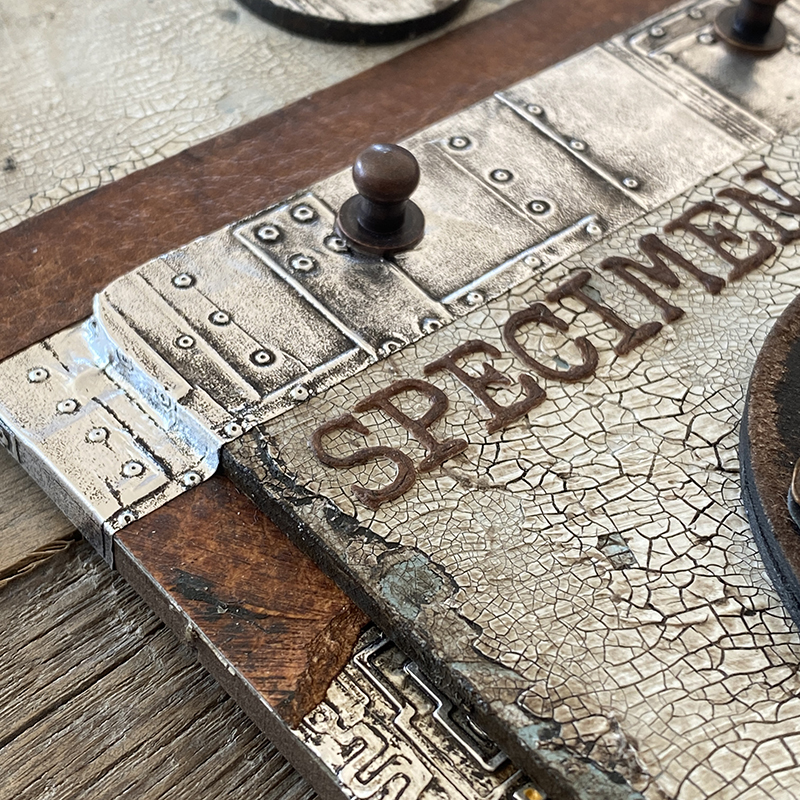
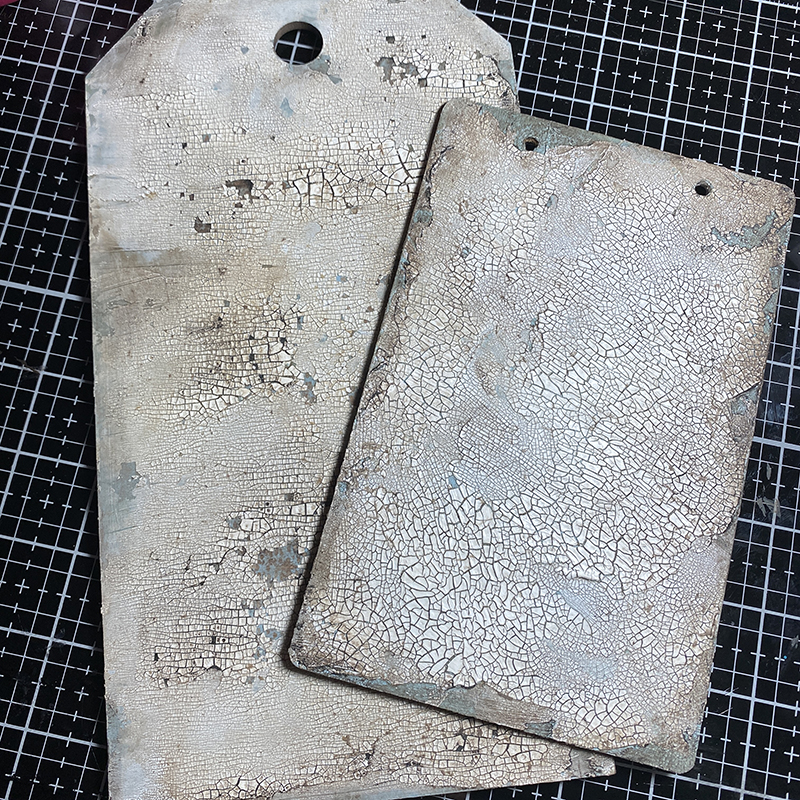
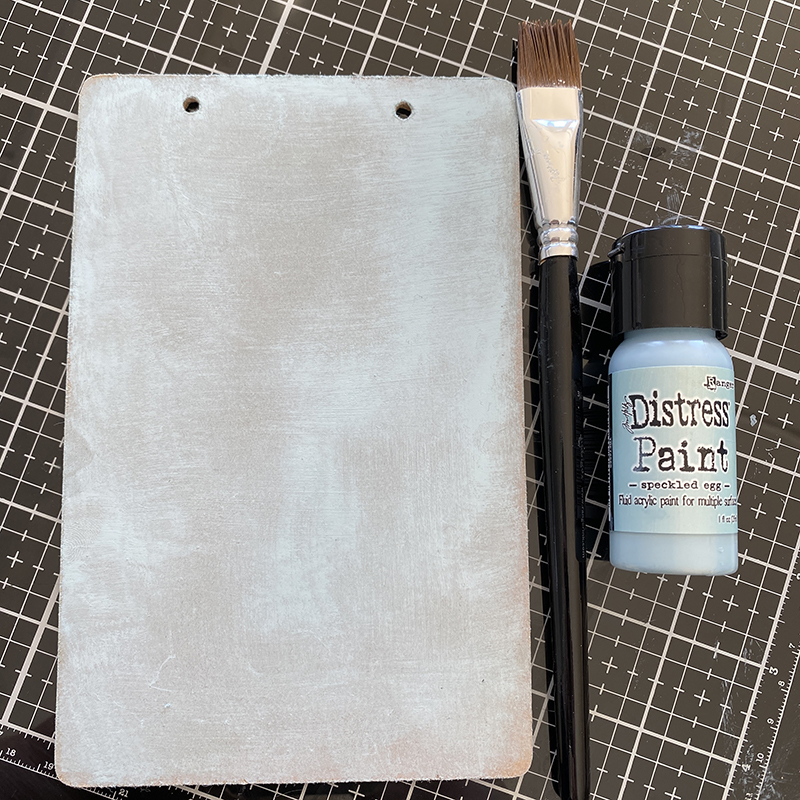
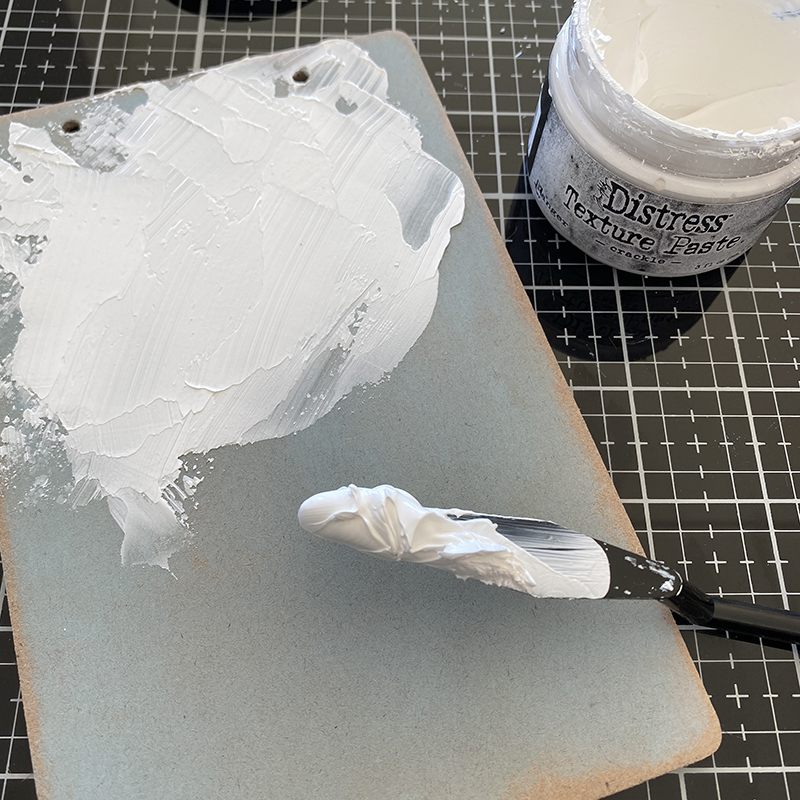
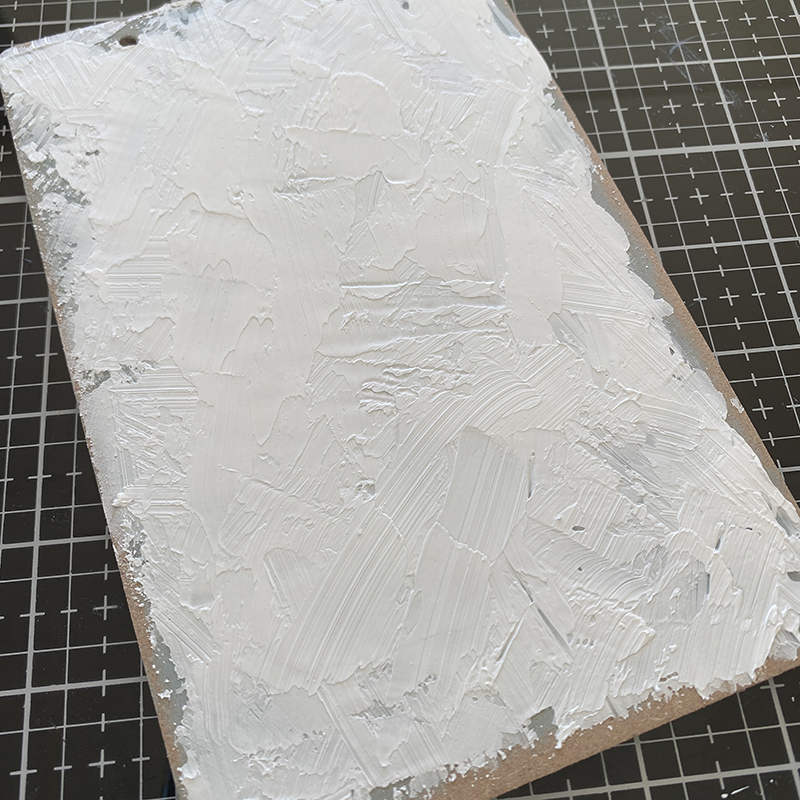
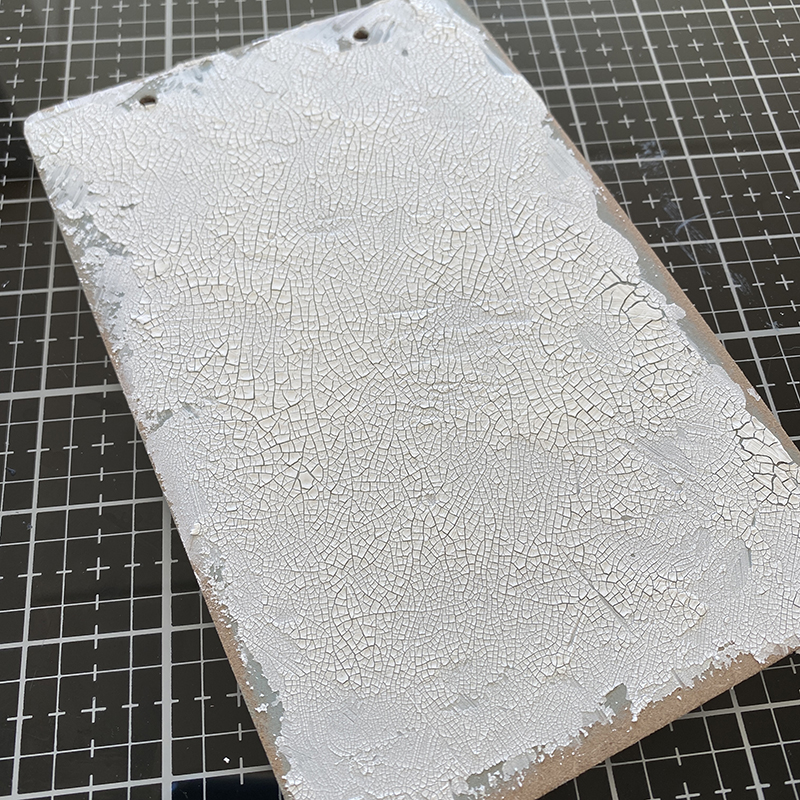
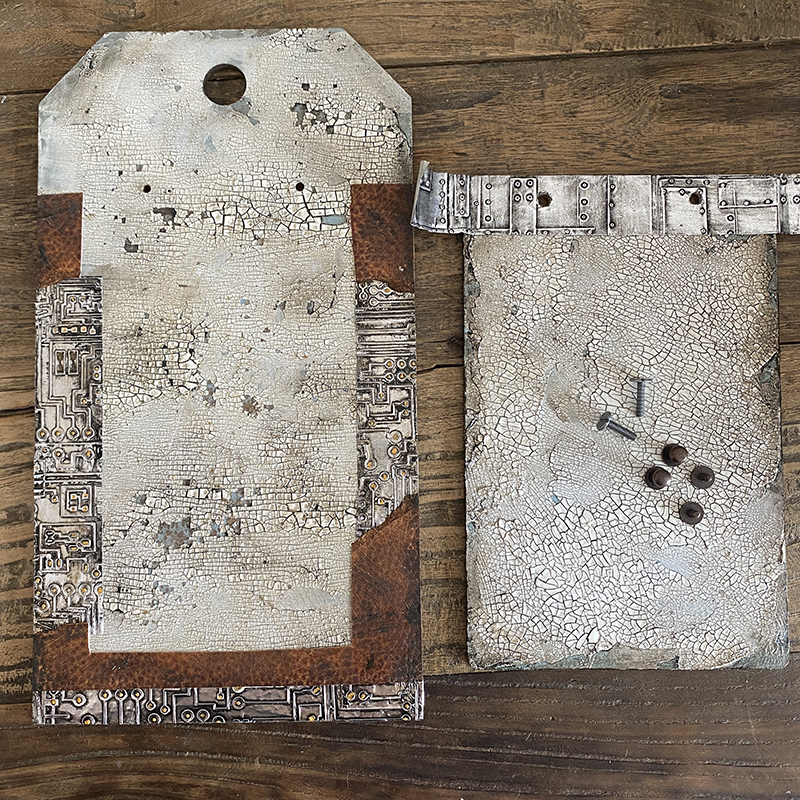
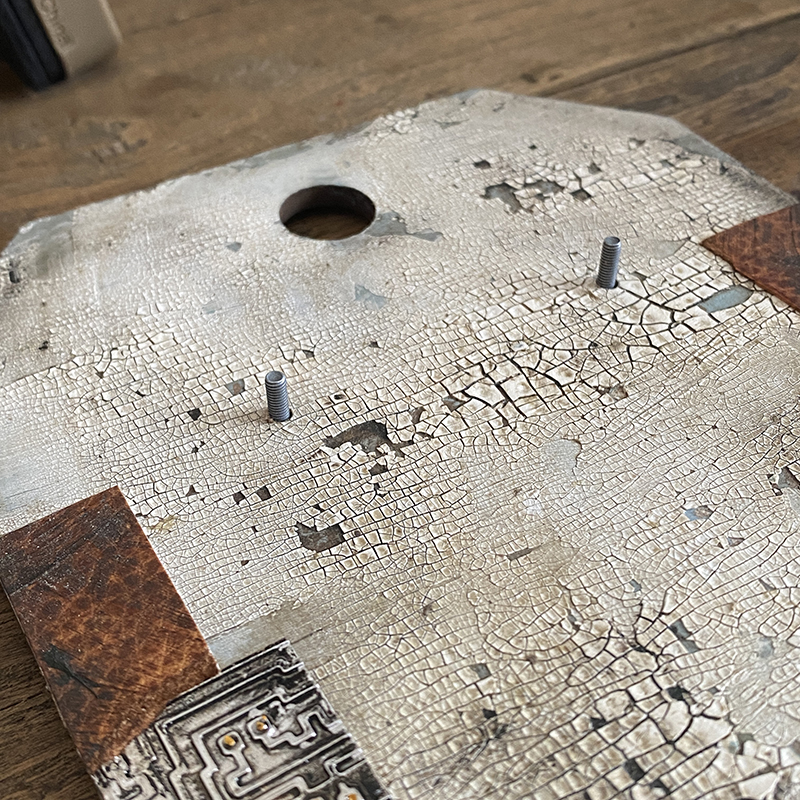
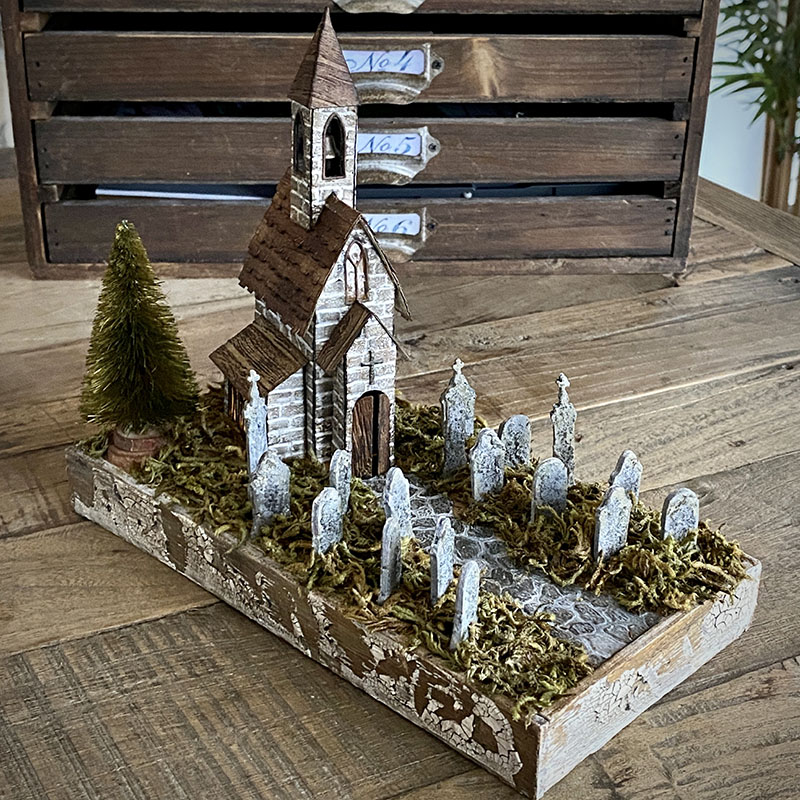
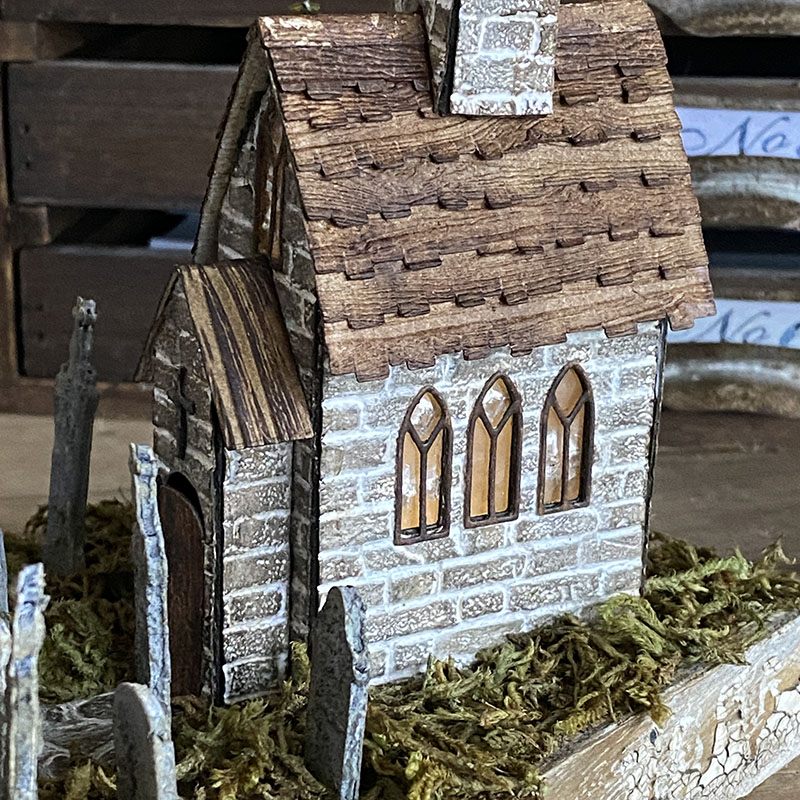
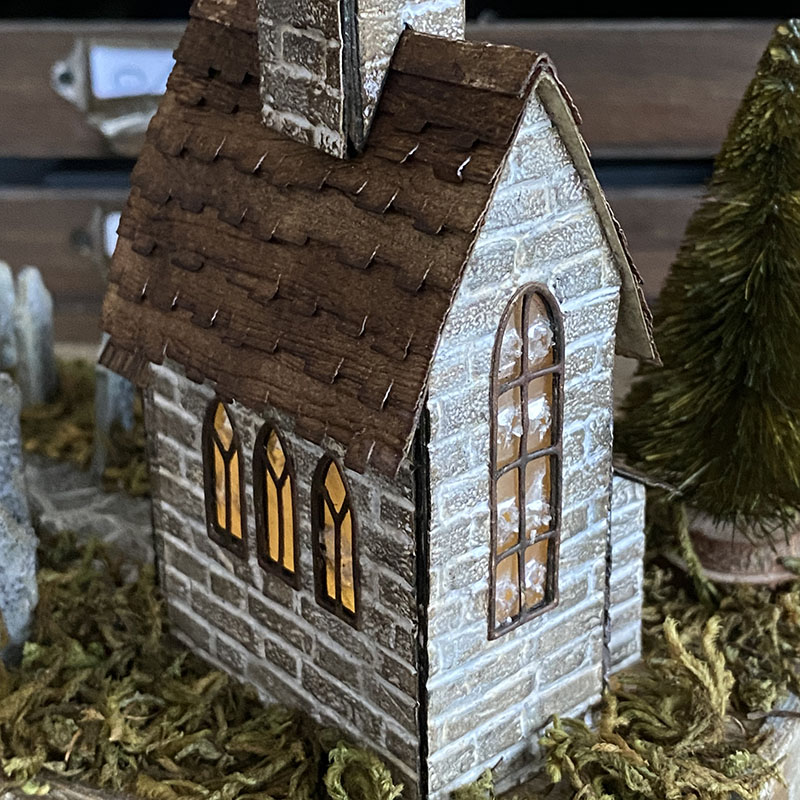
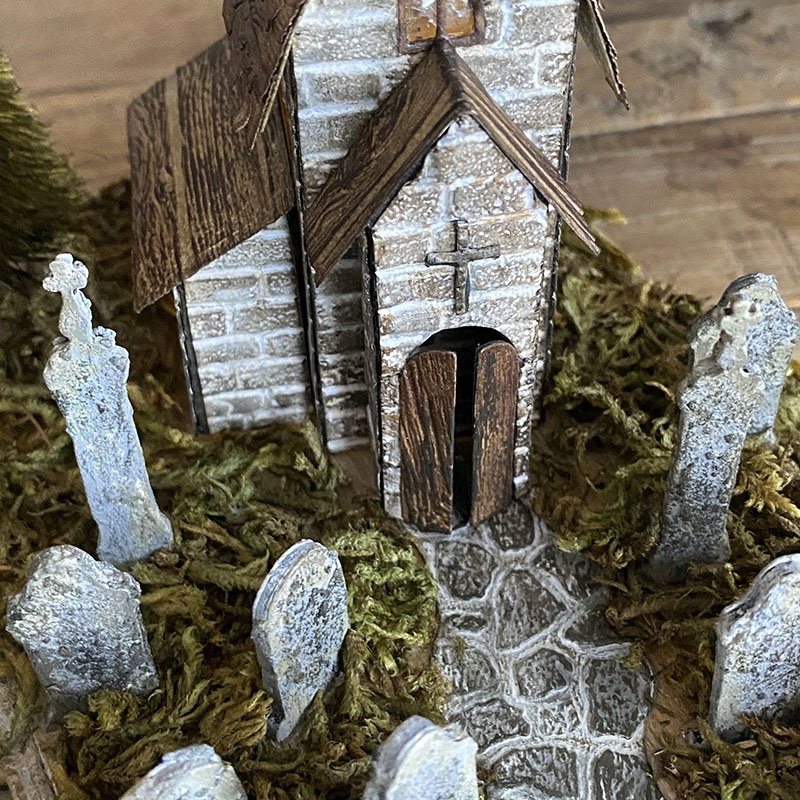
Today I’m sharing some close ups and if you keep scrolling there’s a storage idea too. In another post I’ll share how I put this together, the mistakes I made and the things I learned as a first time village builder.
EDIT: You can see my cemetery showcased on Tim’s instagram.


…
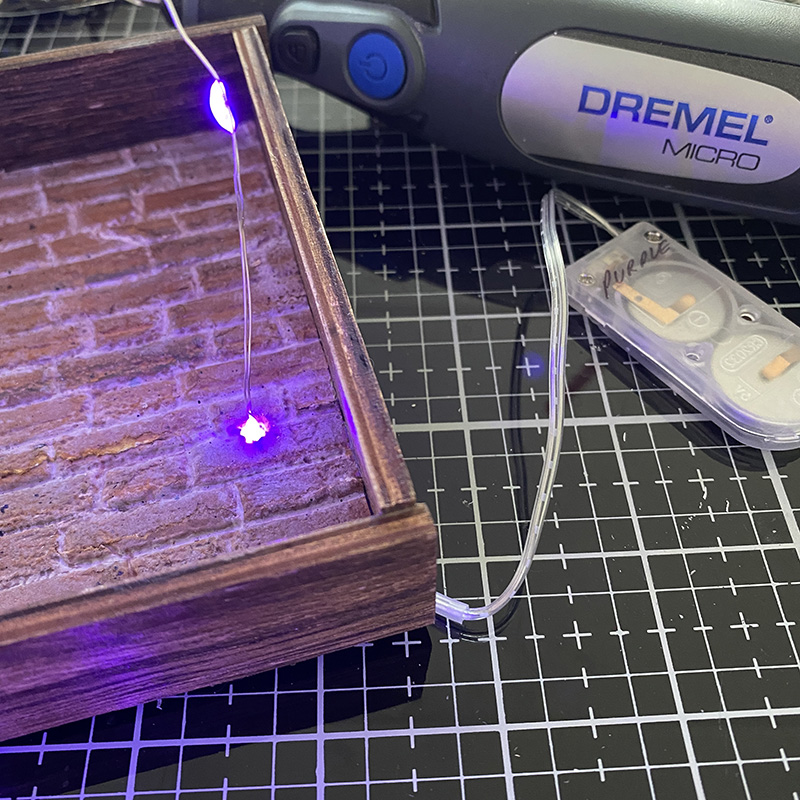
STORAGE
EDIT: You can see my village collection storage idea showcased on Tim’s instagram.
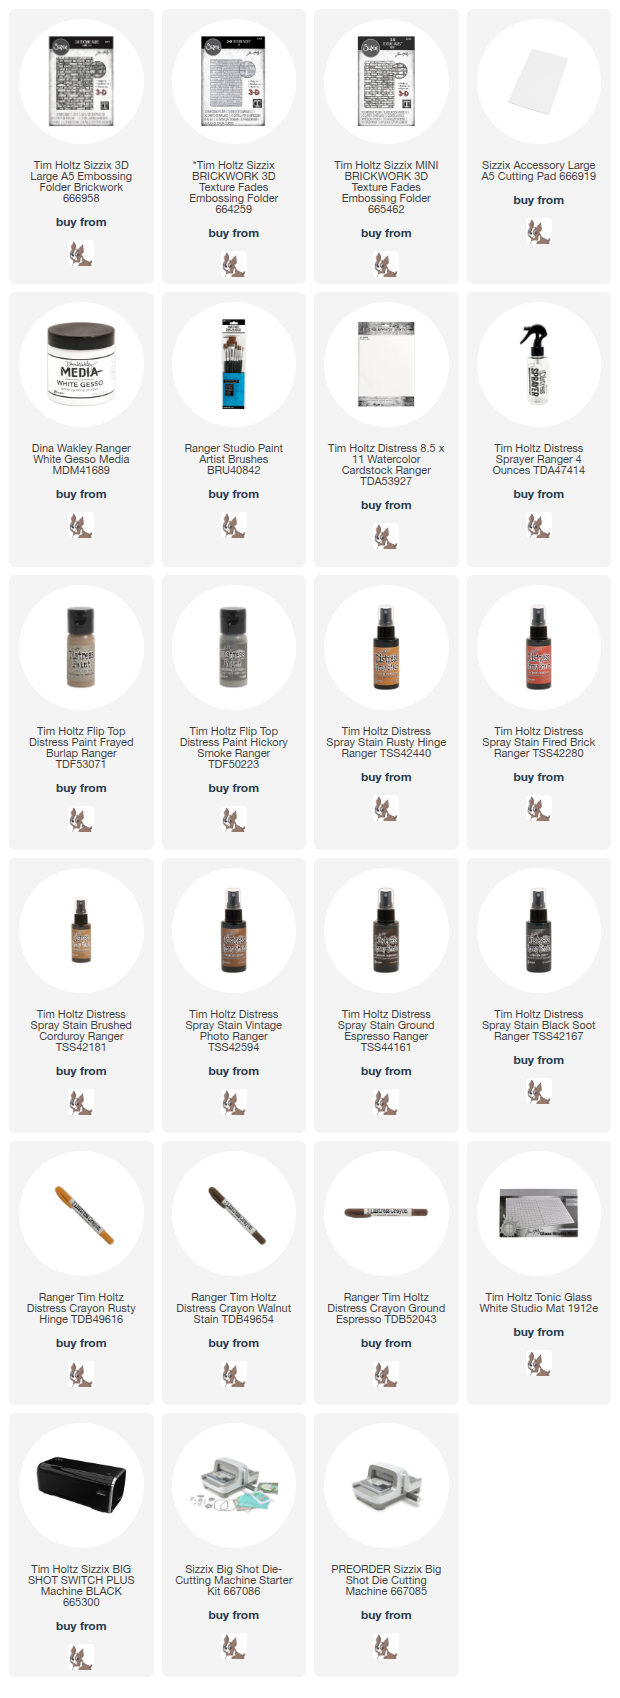
I wanted to easily see what options I had when building so I used this system to organize and store my dies.
For the storage I used:
2x packs of Tim Holtz Sizzix envelopes (+ 2 envelopes from the village collection – totaling 8)
1x pack Home Depot magnetic vent covers
2x sheets of Tim Holtz distress white heavystock
posca pen
scor-tape
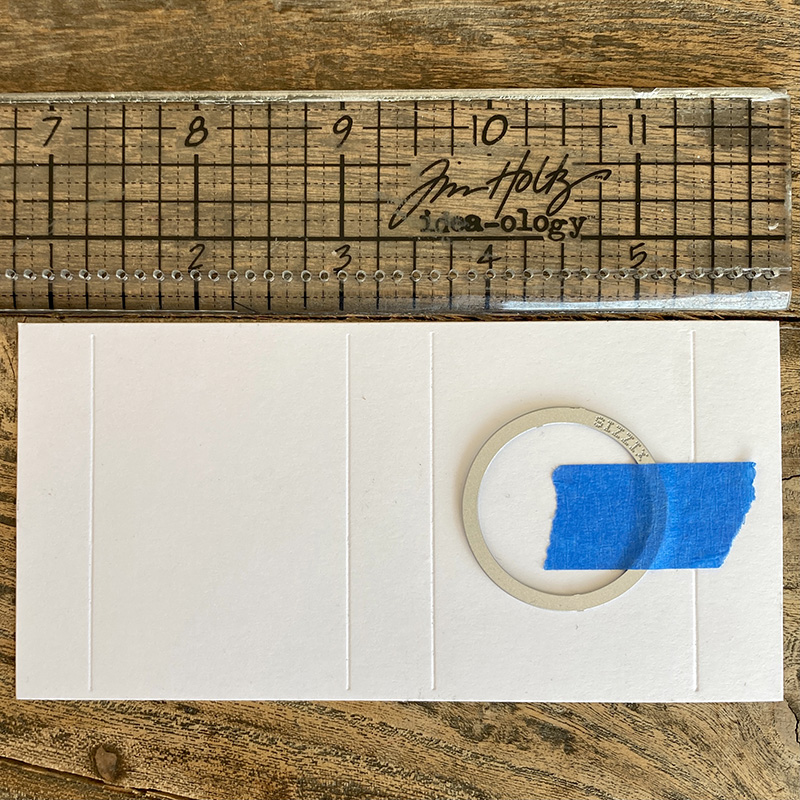
I cut vent covers to fit the envelopes, mounted onto distress heavystock using scor tape to make the sheet sturdy and used a white posca pen to identify each sheet. The posca pen can be removed with a damp cloth if you make a mistake.
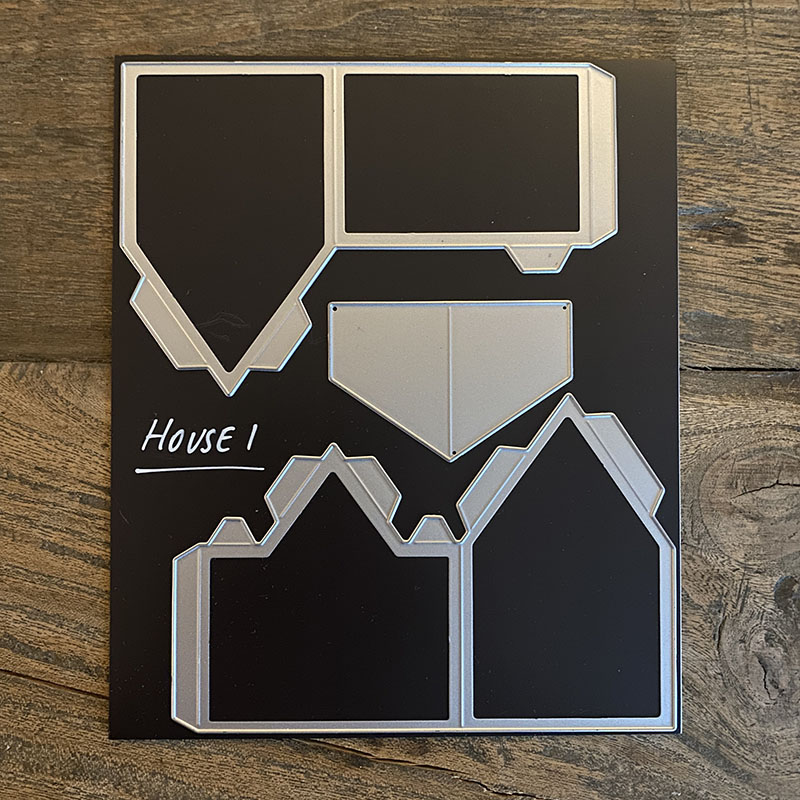
House 1
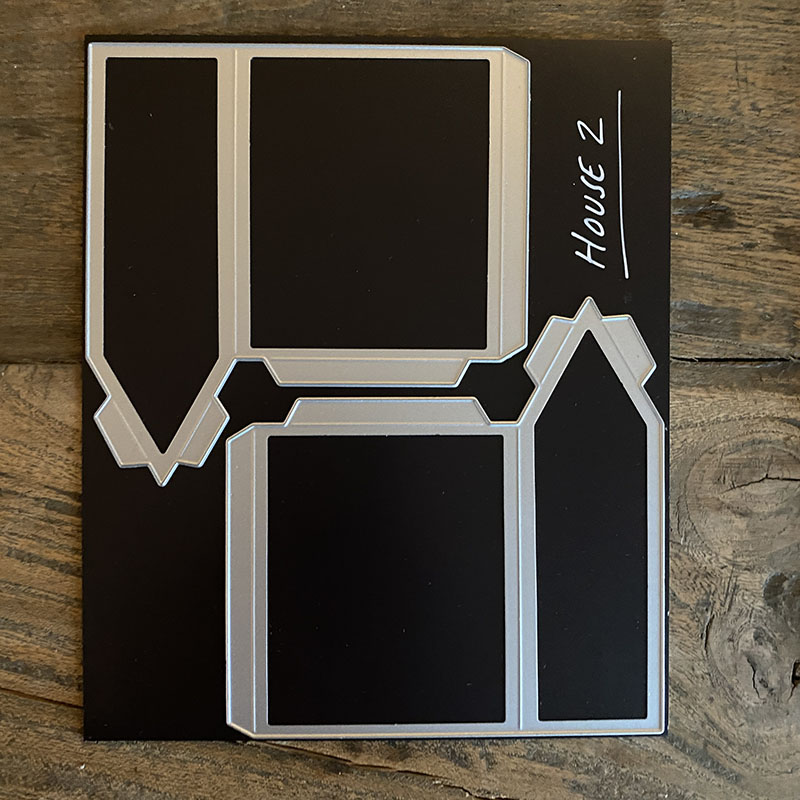
House 2
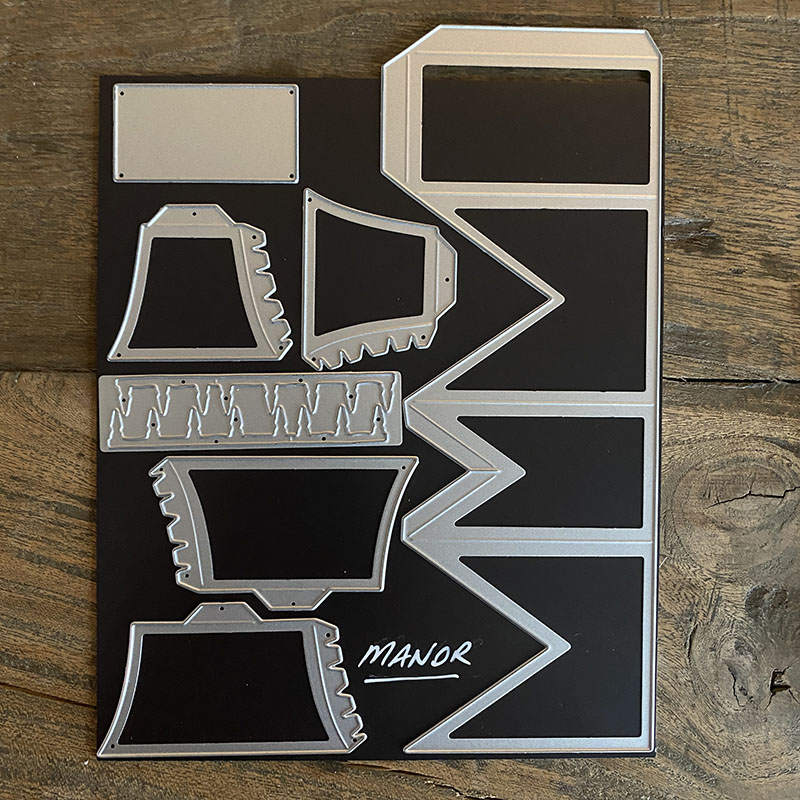
Manor
*cut halfway across the envelope flap join to allow the longer die to stick out the top
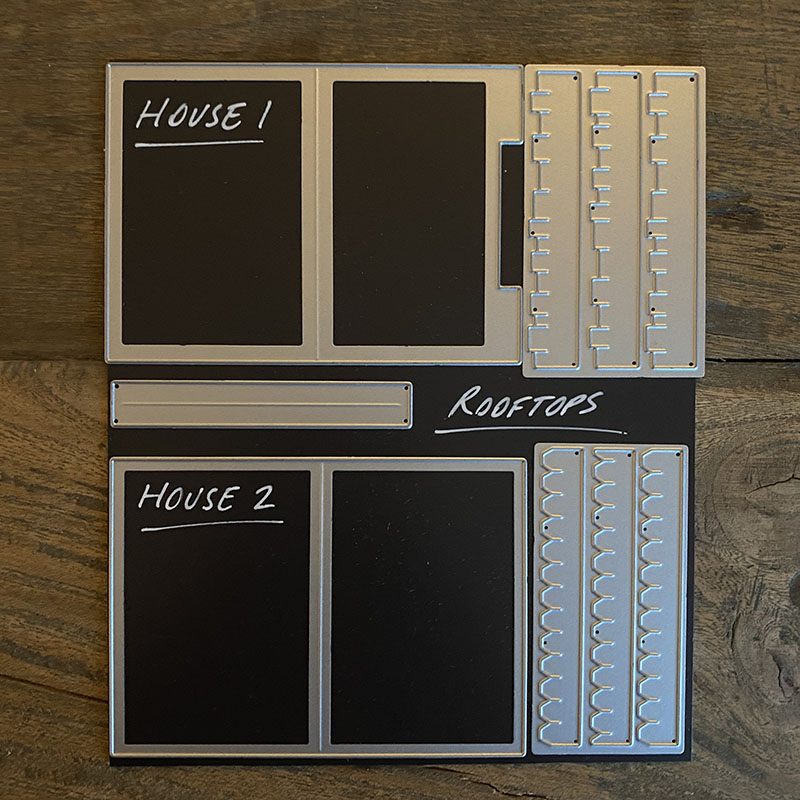
Rooftops
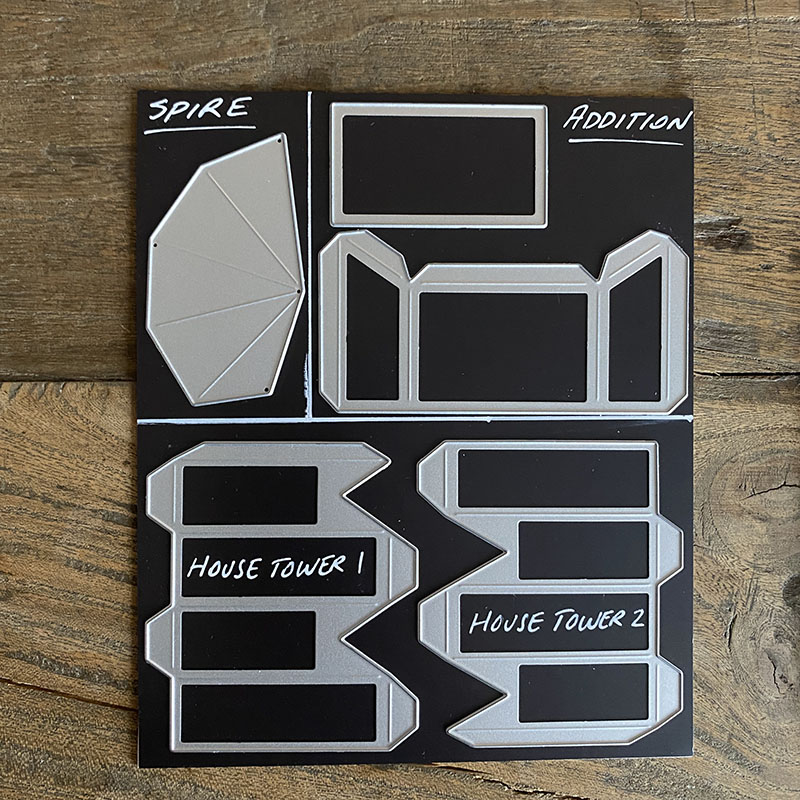
Spire + Addition + Towers
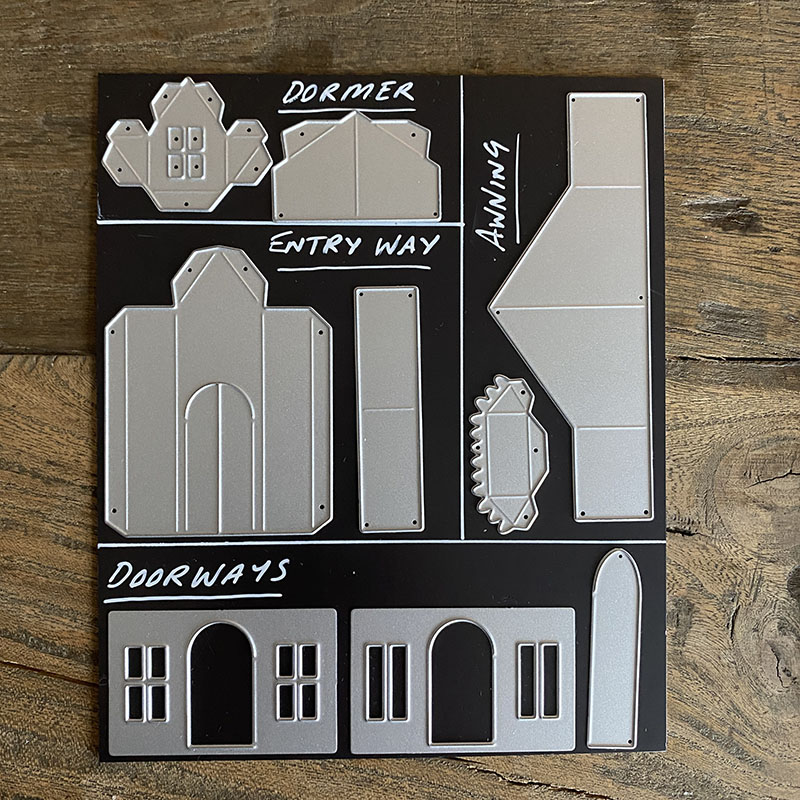
Dormer + Entry Way + Awning + Doorways
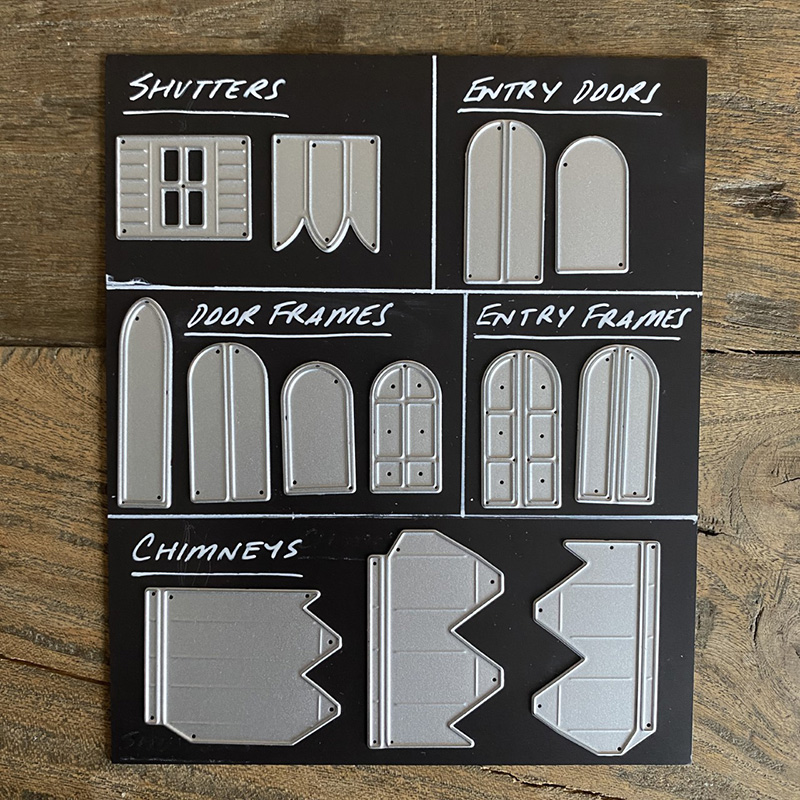
Shutters + Entry Doors + Door Frames + Entry Frames + Chimneys
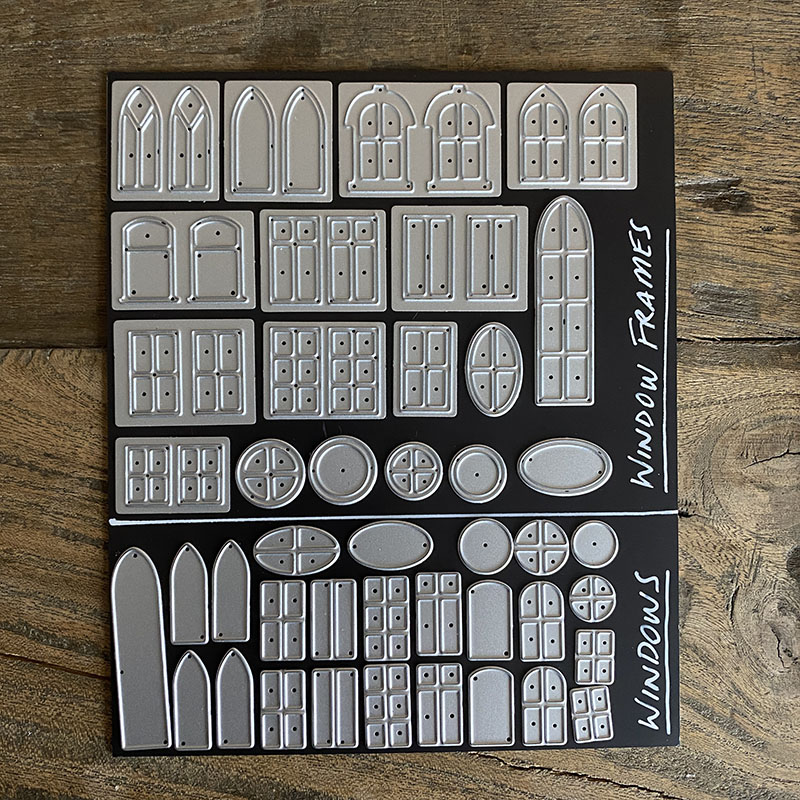
Windows + Window Frames
Thanks for stopping by. I’ll be back soon with more details of my cemetery and a funny story behind those gravestones.
Zoe
…
affiliate links used at no cost to you