Hello Friends. Hope you had a nice weekend. I wanted to share a sample that I made for the Tim Holtz Sizzix Chapter 2 launch. You can see all of the details on Tim’s blog.
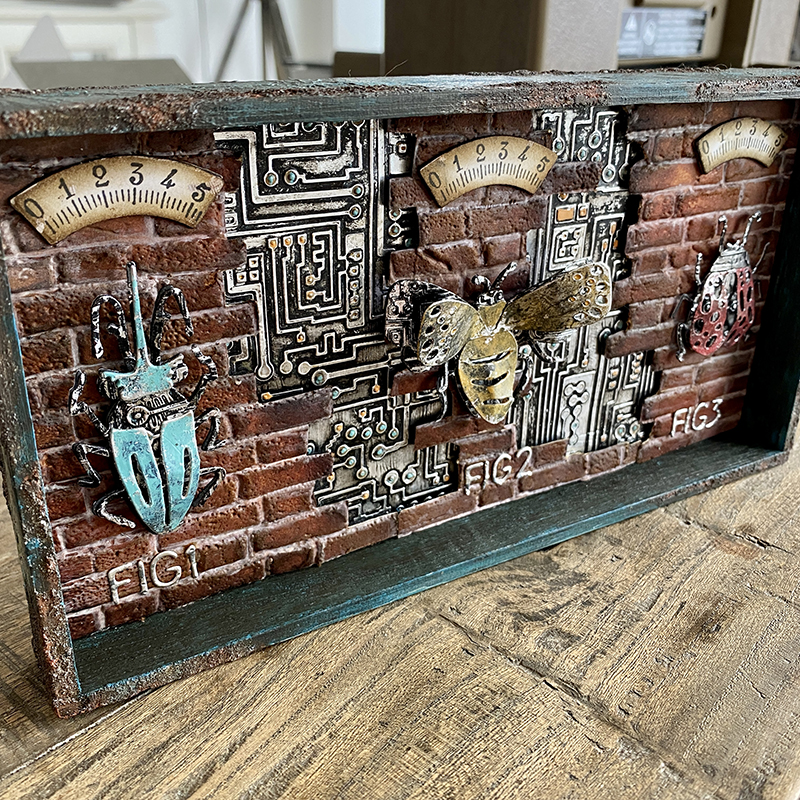
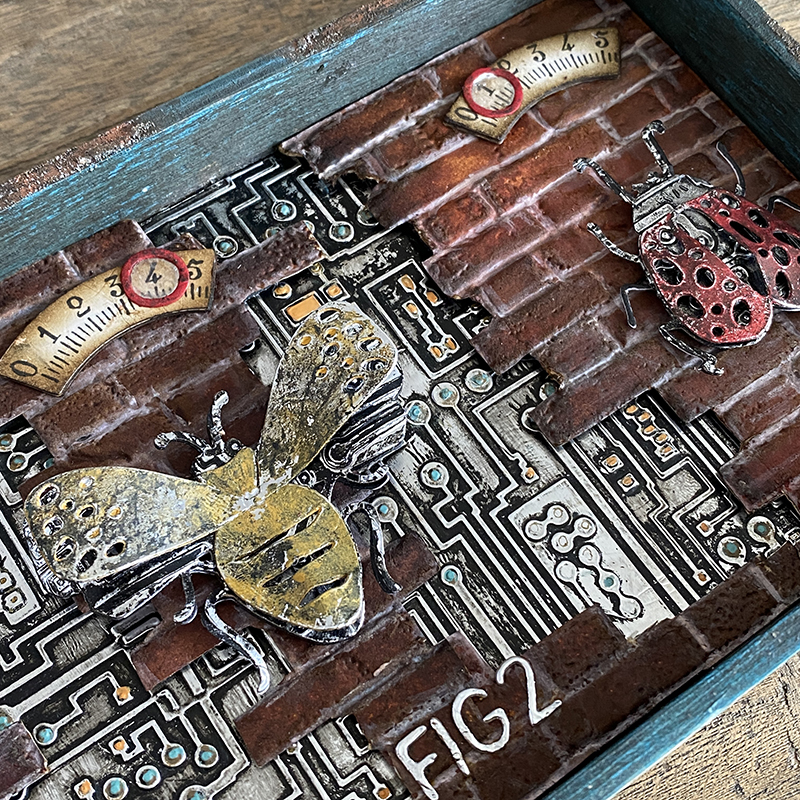
Welcome to the funky insect charging station. This is a little tongue in cheek because to know me is to know that I never have a charged battery and often plug my charger in without it being connected to the wall outlet! I know I know… life on the edge LOL! A funny conversation I had in a group chat about my phone battery “sparked” the inspiration for this project (thanks me perps). Funnier still, I forgot to add the indicator circles on the gauges to show where the insects are at in their charging cycle, so you’ll see these red indicator circles appear in photos further down the post.
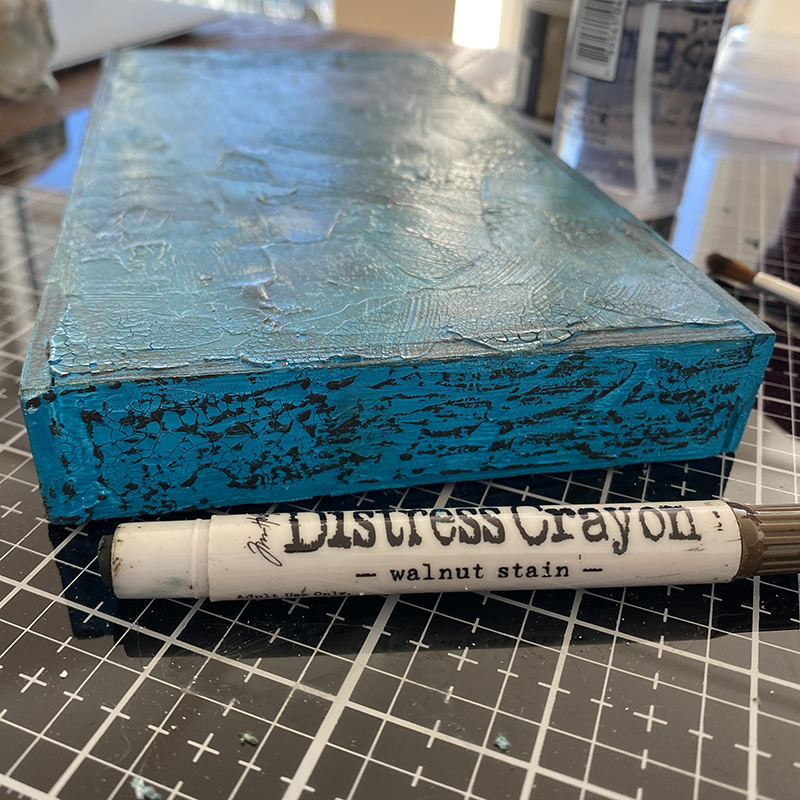
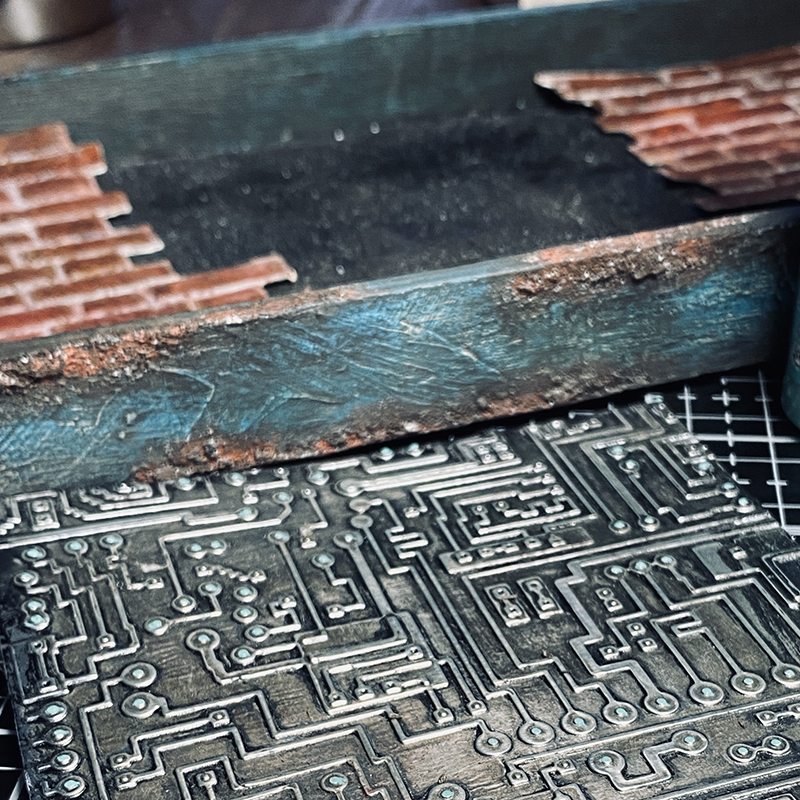
Cover an idea-ology vignette tray in gesso and distress texture crackle paste and allow to dry. I covered in a layer of mermaid lagoon distress paint and once dry, scribbled walnut stain distress crayon over the top and blended in with my finger to highlight the texture.
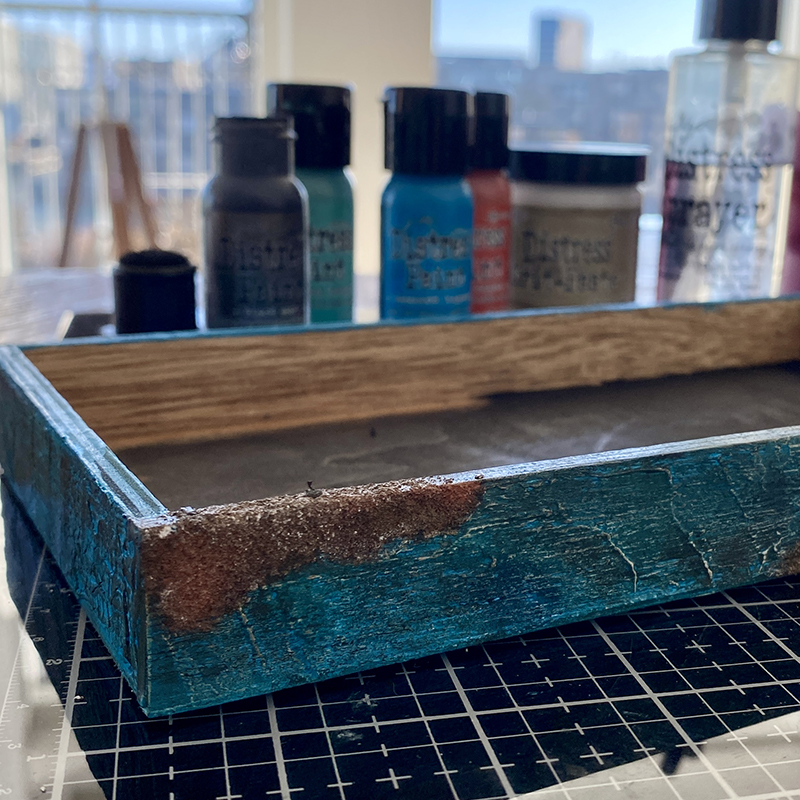
I added distress opaque grit-pate and covered with distress paint to create rust. You don’t need to paint the base of the tray as it will be covered in brickwork. I painted it when it was going to be used for another project and I changed my mind last minute, I do that a lot, but it’s ok, it’s just craft, there are no rules! 😉
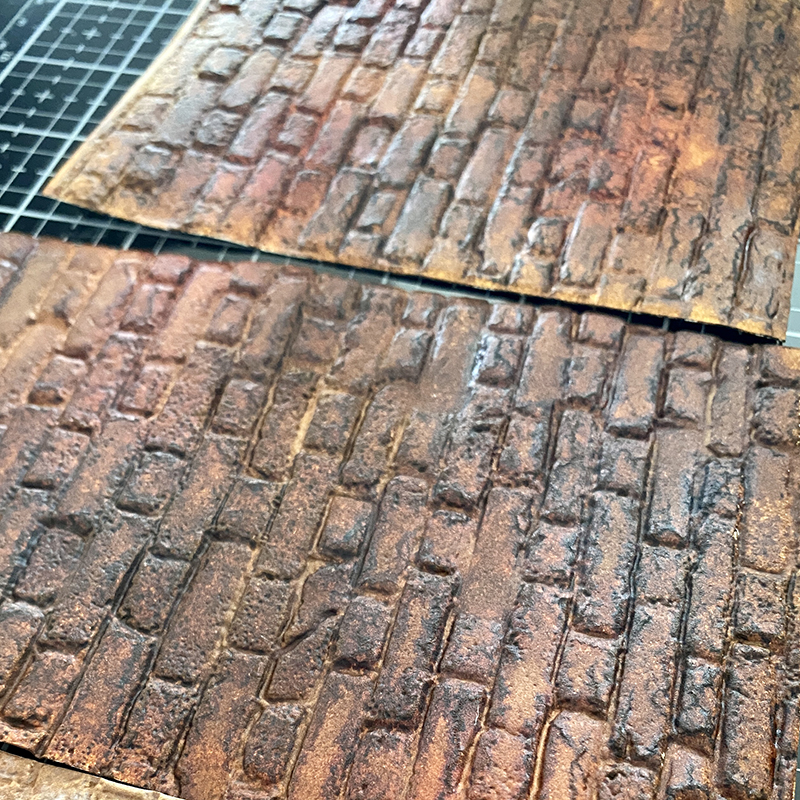
Using the AWESOME brickwork 3D embossing folder and distress sprays to create the background. Check back this week for a tutorial on this, it’s so incredibly easy and the brickwork looks real because of the pitted detail that the folder creates. I can’t praise this enough, the 3D technology in embossing is just so cool. There’s also a brickwork tutorial on my friend Stacy’s blog Tattered Nest Designs, which is a different method and effect to mine, so definitely check that out.
Speaking of 3D embossing folders, the circuit folder was a new edition in Chapter 2 and I am obsessed with it. I’m starting to wonder if I can make anything without using it, even a tiny (how tiny) bit! 😉
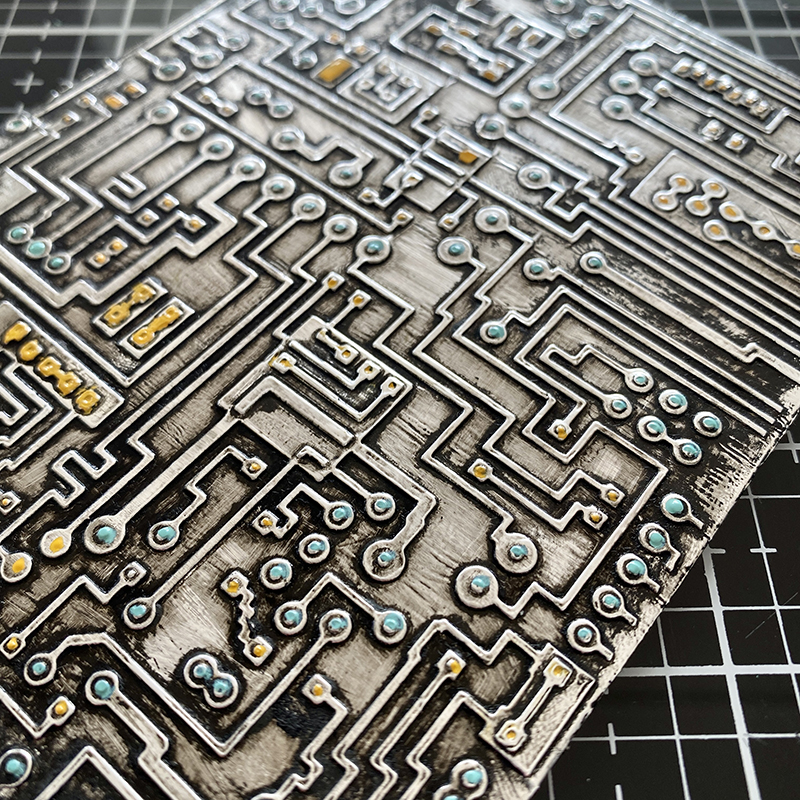
The circuit folder looks fantastic when you emboss alcohol ink foil tape and cover with a layer of black soot distress paint and wipe away. I added paint dots with distress paint and a fine tip paintbrush. It takes a couple of minutes and is really relaxing.
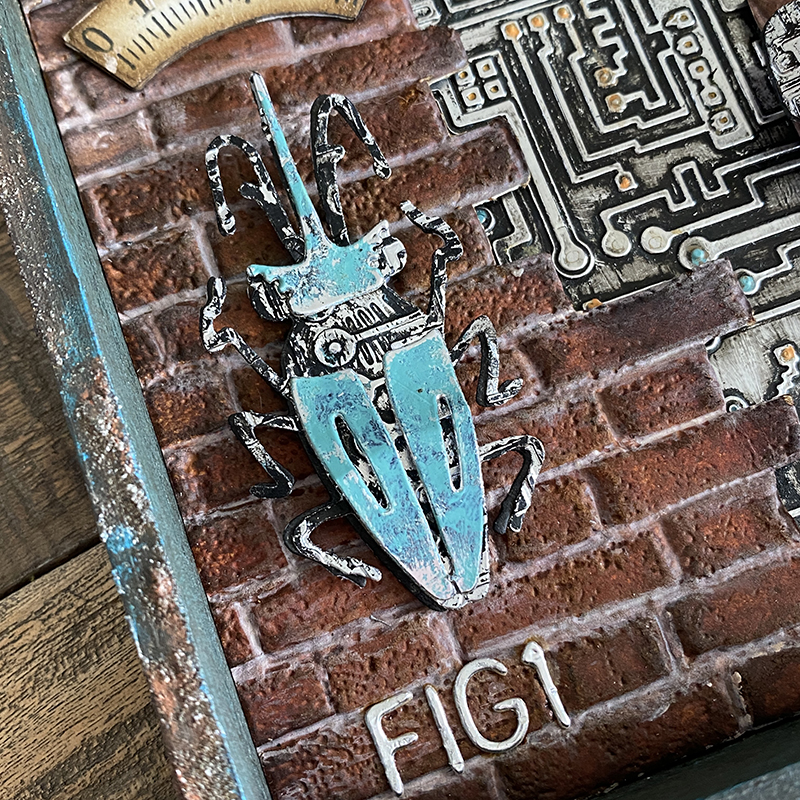
I love the funky insect thinlits dies. They are so simple to assemble, just 2 or 3 pieces and you’re done.
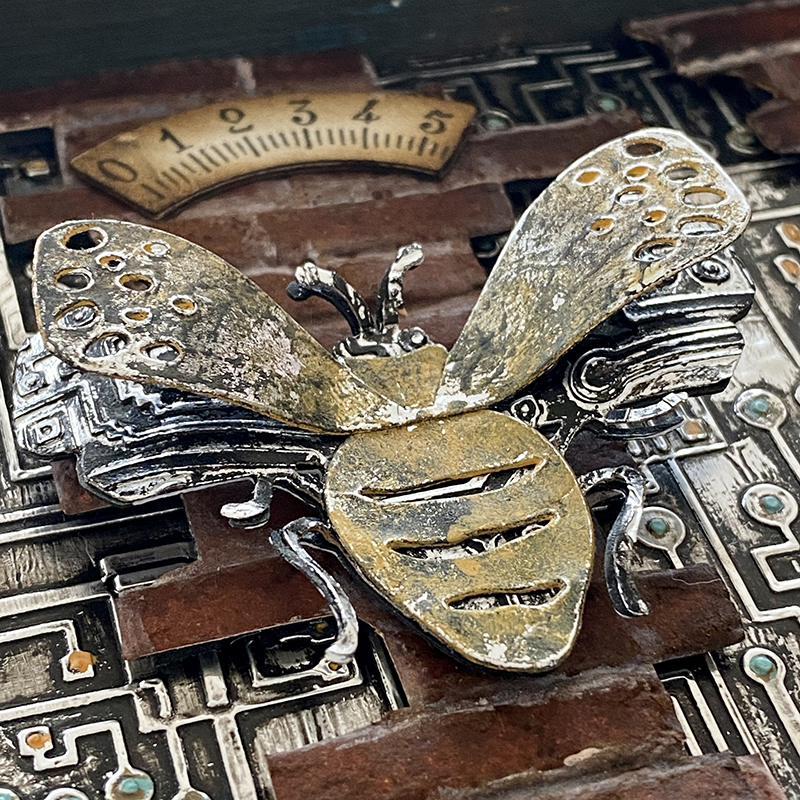
I cut them from alcohol ink foil tape backed with cardstock to make them sturdy and painted with a layer of black soot distress paint, wiping away the excess and then painting the insect body with another colour of distress paint.
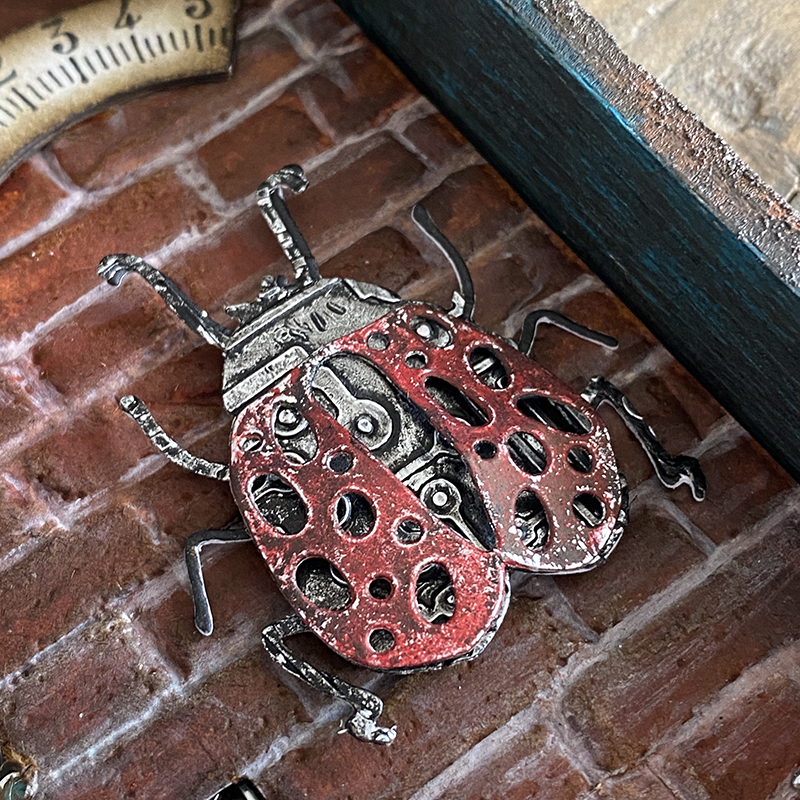
The base layers were all embossed with the circuit 3D embossing folder and mounted on adhesive foam.
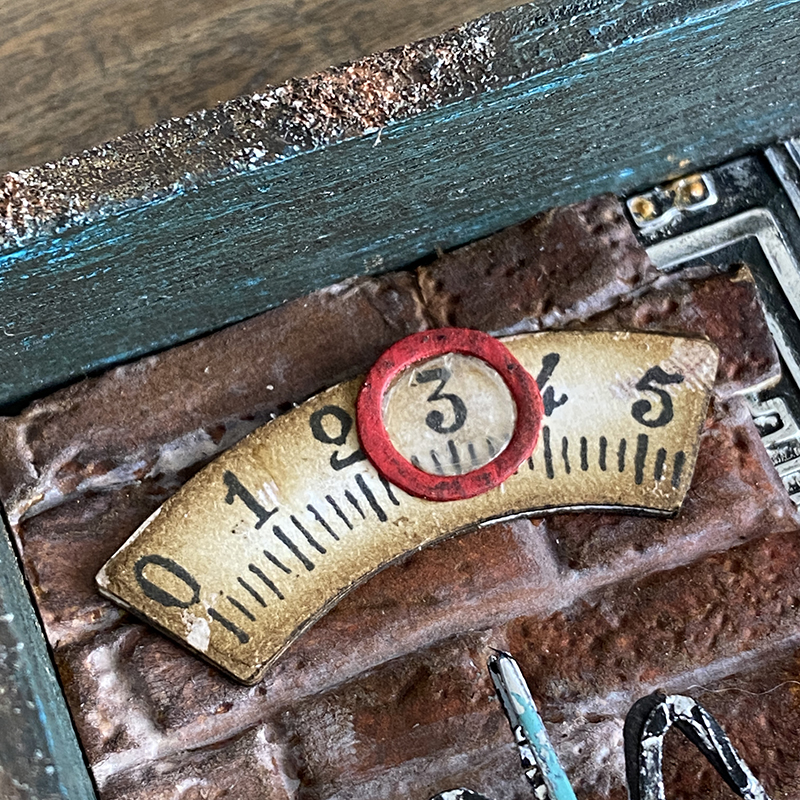
I used the letter “O” from the alphanumeric thin thinlits dies (662226), cut from distress watercolor cardstock and covered with candied apple distress paint and a little walnut stain distress crayons to grunge. Using the same letter to die cut mica, I used the inner piece to give the appearance of glass. The gauge dial is cut from the Bigz voltage die and the numbers stamped with the professor 2 stamp set CMS373. You would think that Tim designed this stuff to go together or something. 😉
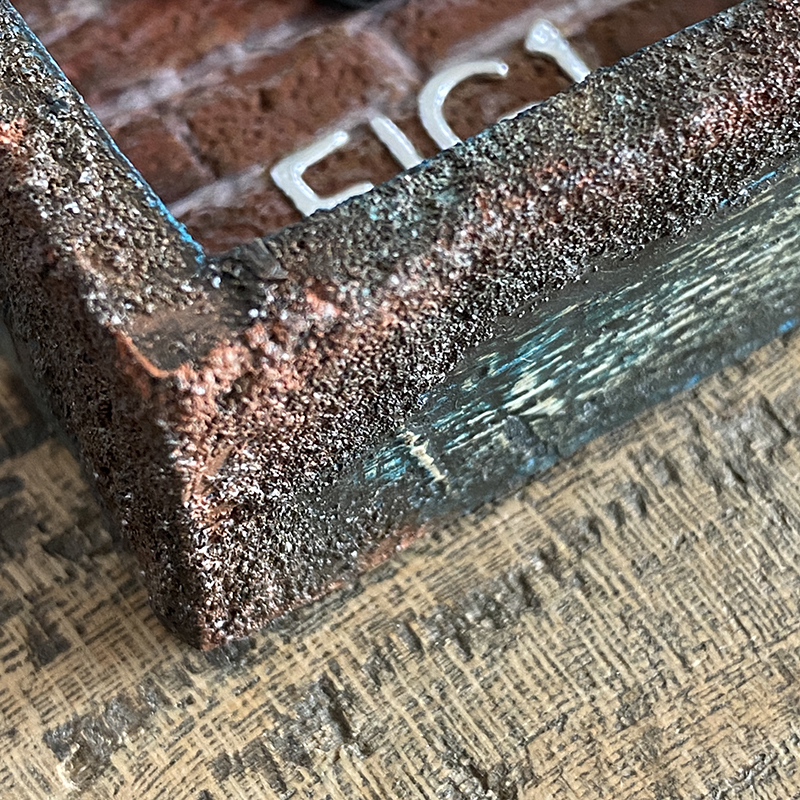
I included this photo so you could see the texture that distress opaque grit-paste makes. You have to apply it with your finger to get the really crusty look, but don’t panic!! it comes off with water or a baby wipe.
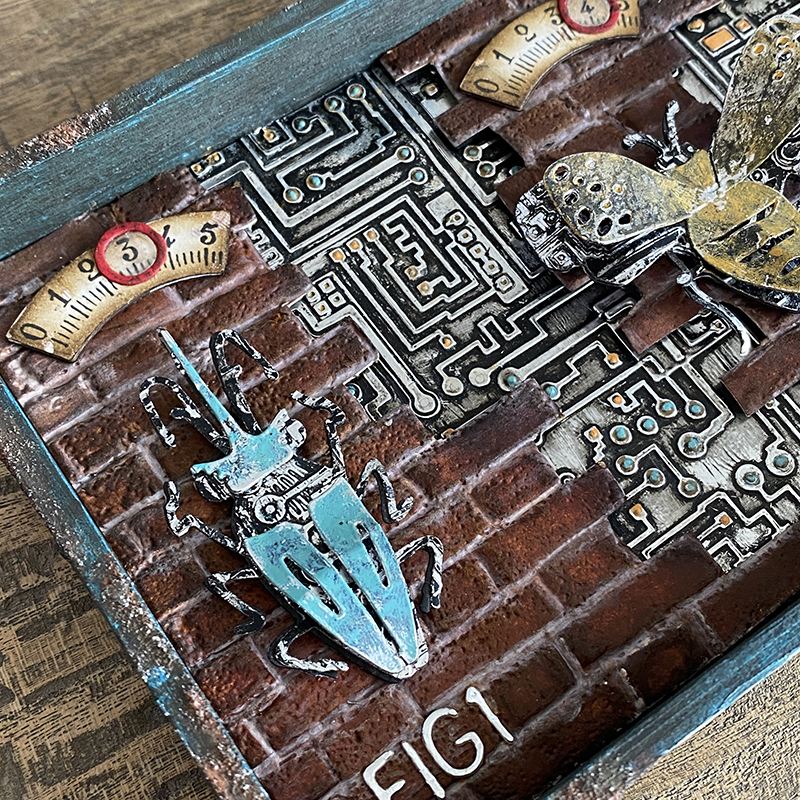
I mounted the circuit background to the base of the vignette tray with distress collage medium. Cutting sections of the brickwork, I mounted them with adhesive foam to give a little dimension and show peeks of the circuit background. Adding the insects and gauges to indicate where they are in their charging cycle.
Thanks for stopping by. I will be back with a step by step tutorial for this and some other styles of brickwork using the 3D brickwork embossing folder so clear some space on your desk ready to make bricks with me.
Zoe


This is AWESOME Zoe…I forgot to order the embossing folder, but I will soon. I want to make something similar on a canvas I have hanging around.
Thanks so much for sharing your process; it’s a great help to me.
Have a great day!
AMAZING!!
Be still my brick laying heart! I so love the technique you used or I mean the results. It’s fantastic and I learn so much from you and Im always in awe and inspired! Thank you
So cool!!!
Again a stunning make Zoe. It’s so awesome to read how you made this. Your writing reads as if you are sitting next to me explaining how and what you did.
Thank you so much for sharing your inspiration, stay safe and have a wonderful week.
This is a GREAT creation. Your work is so inspiring. Thank you for sharing.
I love your work! I’m really curious about your staining process on the Brick :~)
You are amazing!
I can’t believe I didn’t get the circuit board folder. Your project is so inspiring.
Thank you for all you share.
Just ordered tonight. Great instructions. Thank you
Saw this wonderful project on PINTEREST and had to take a closer look. LOVE how you made the insect base layer into a re-chargable unit…fantastic & very original idea!! So creative!!