Hello Friends. I hope you’re well. Can you believe that it’s already March?! I’ve been so busy that I’m not sure February happened but I am finally getting caught up with my blogging.
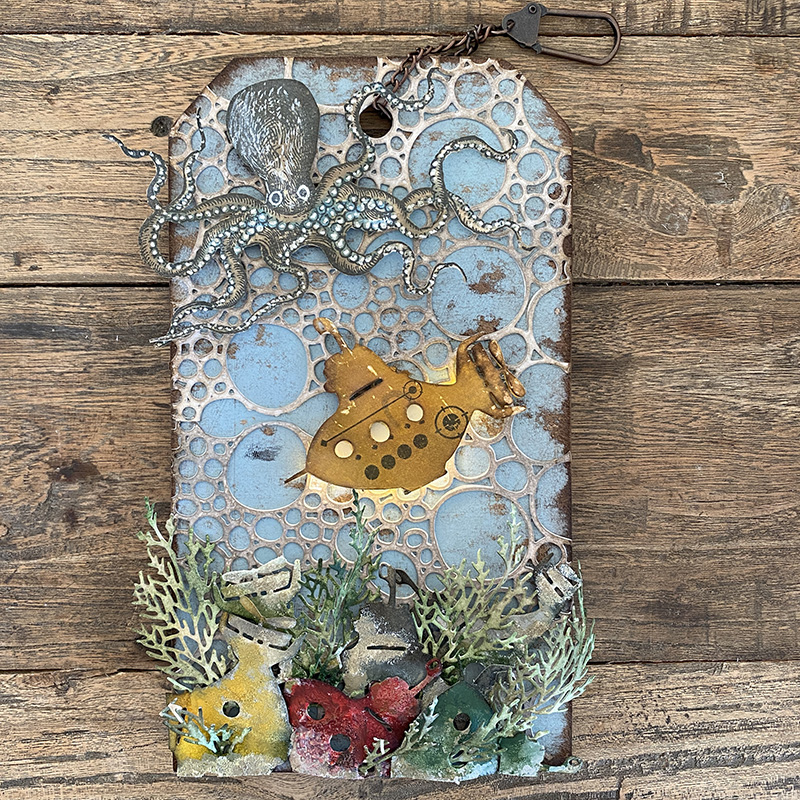
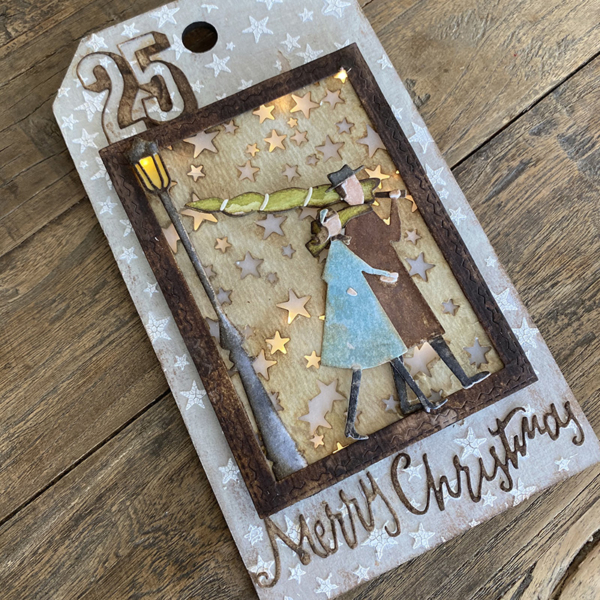
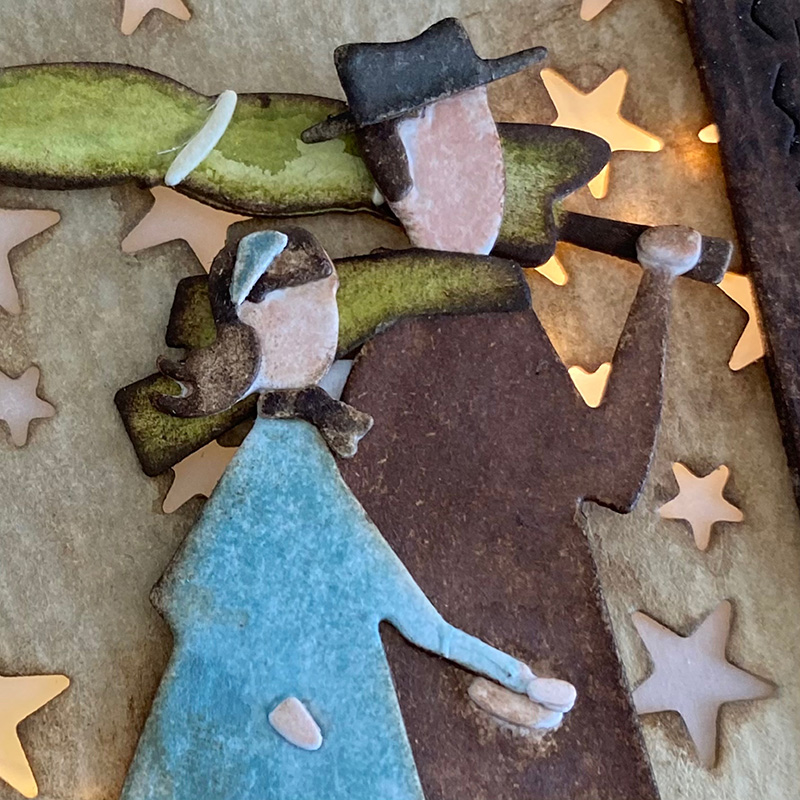
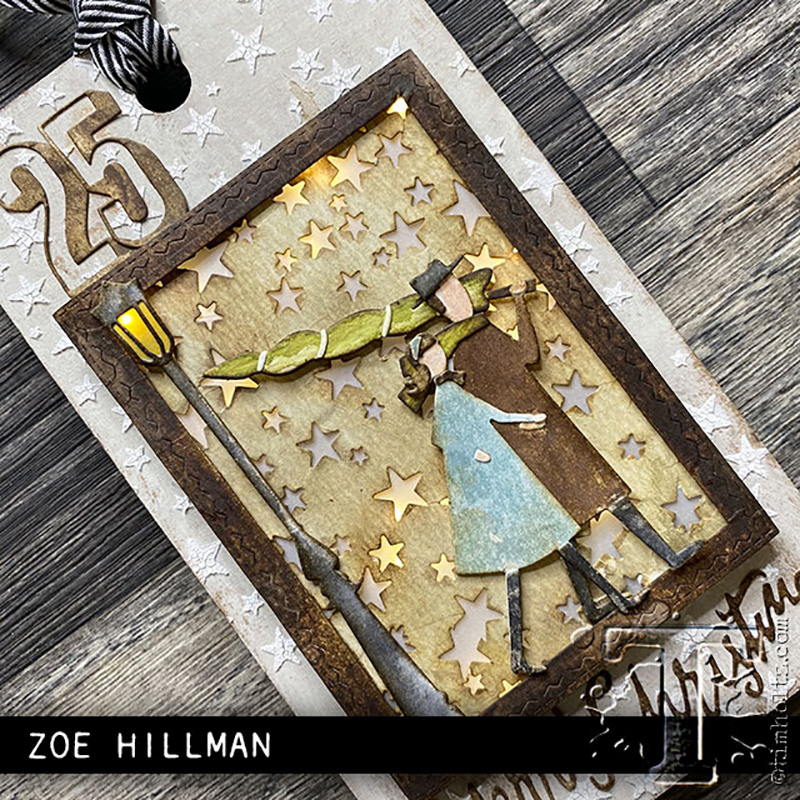
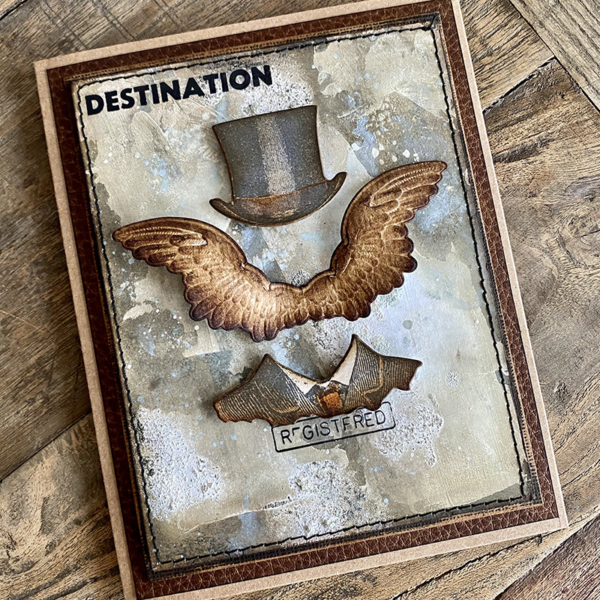
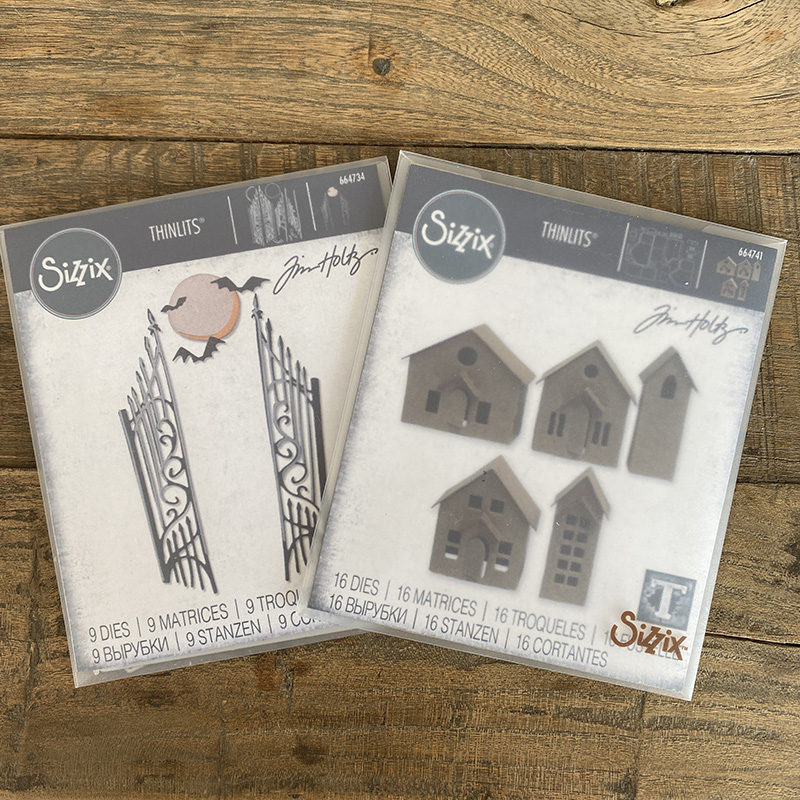
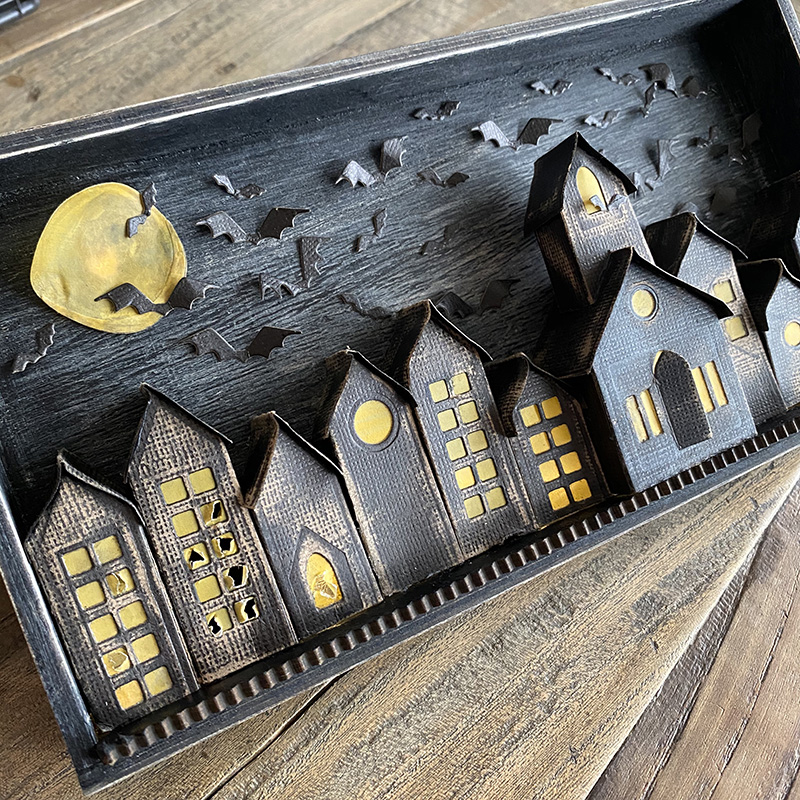
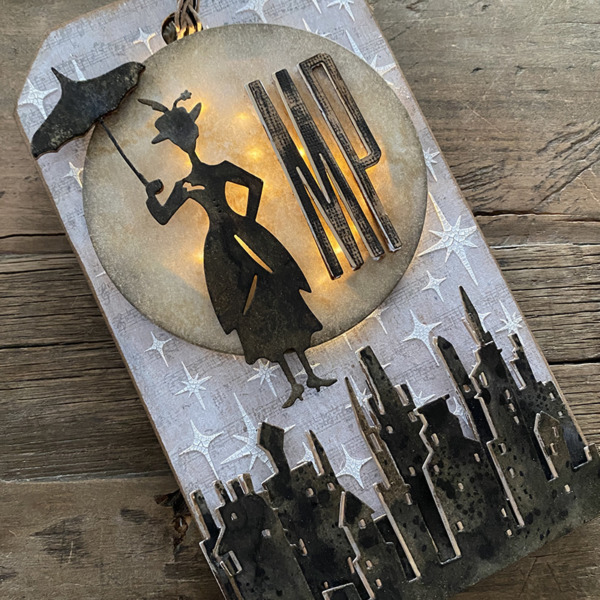
This home decor piece I made for the Tim Holtz Sizzix Chapter 1 release using one of my favourite dies from that release, The Park (665204). I imagined the opening scene of Mary Poppins when the East wind blows her in over the rooftops of Cherry Tree Lane with her open umbrella.
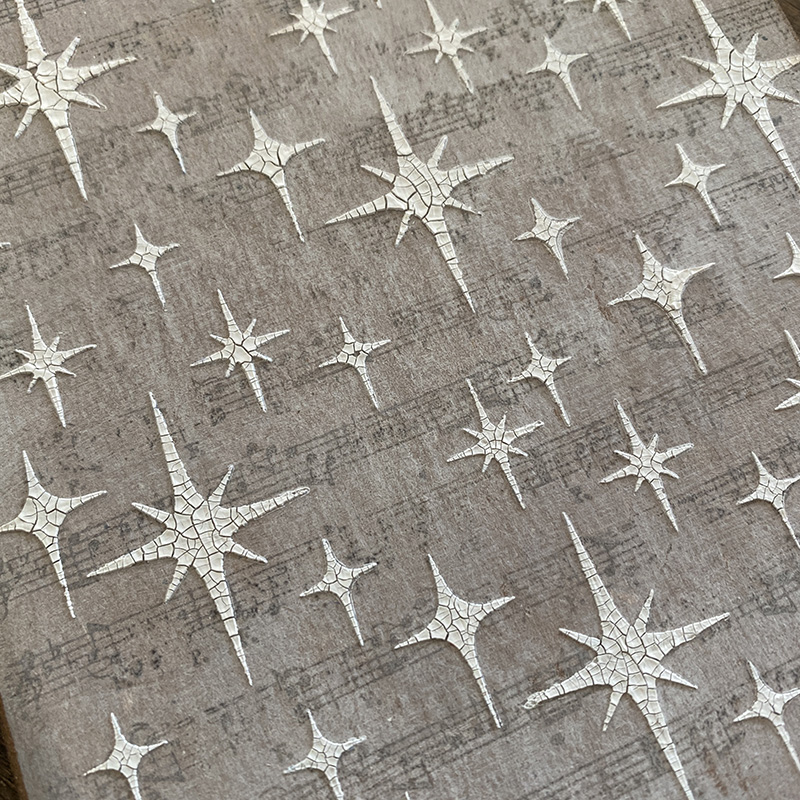
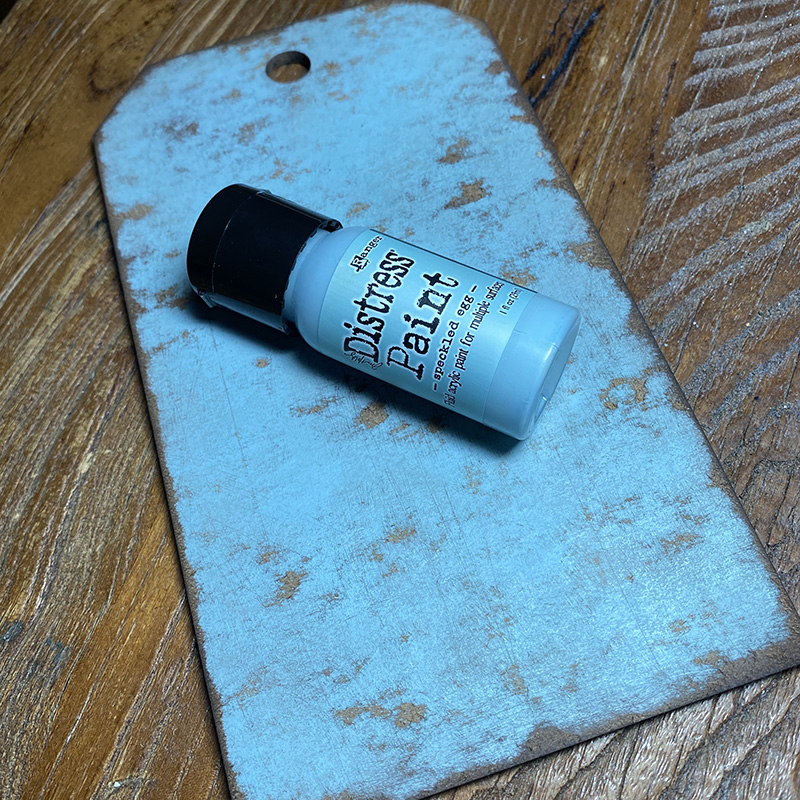
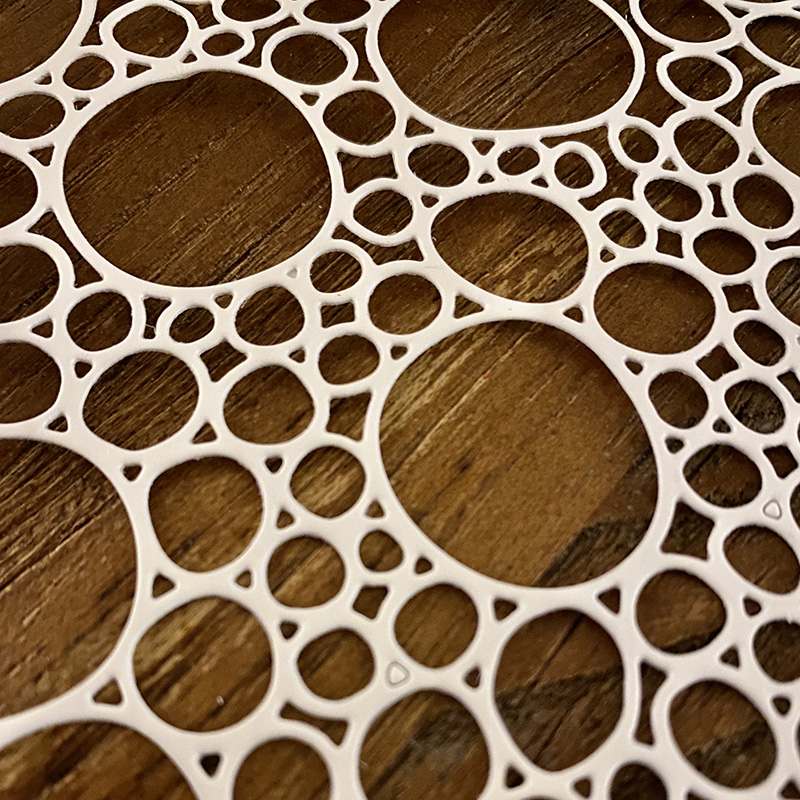
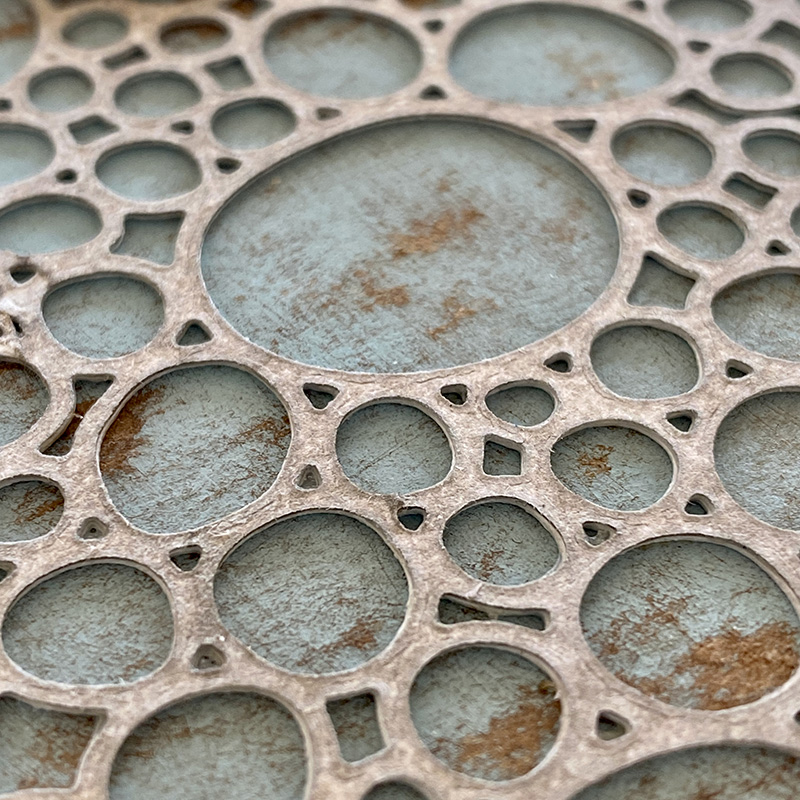
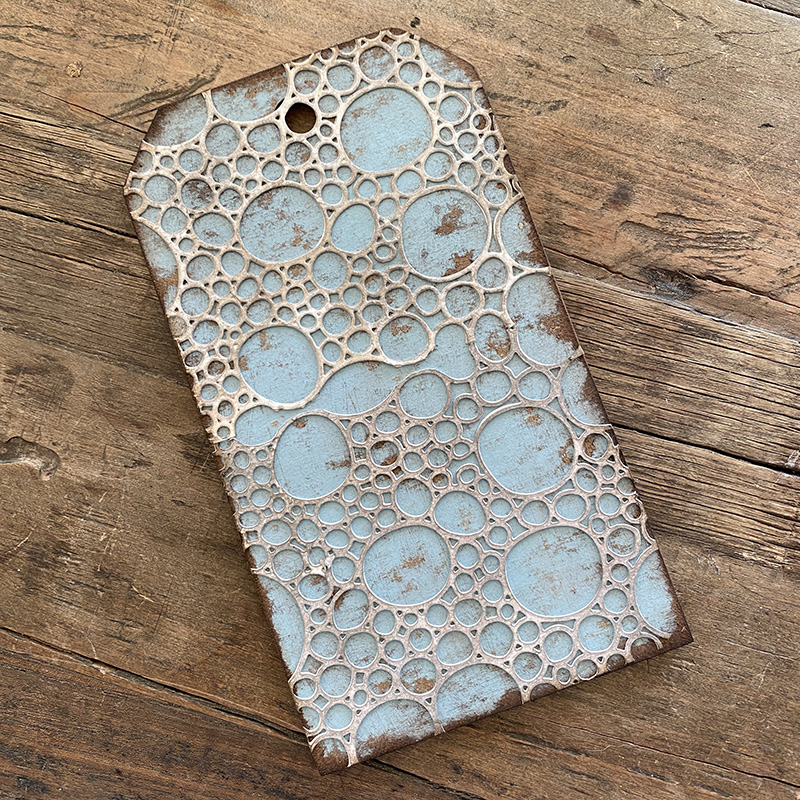
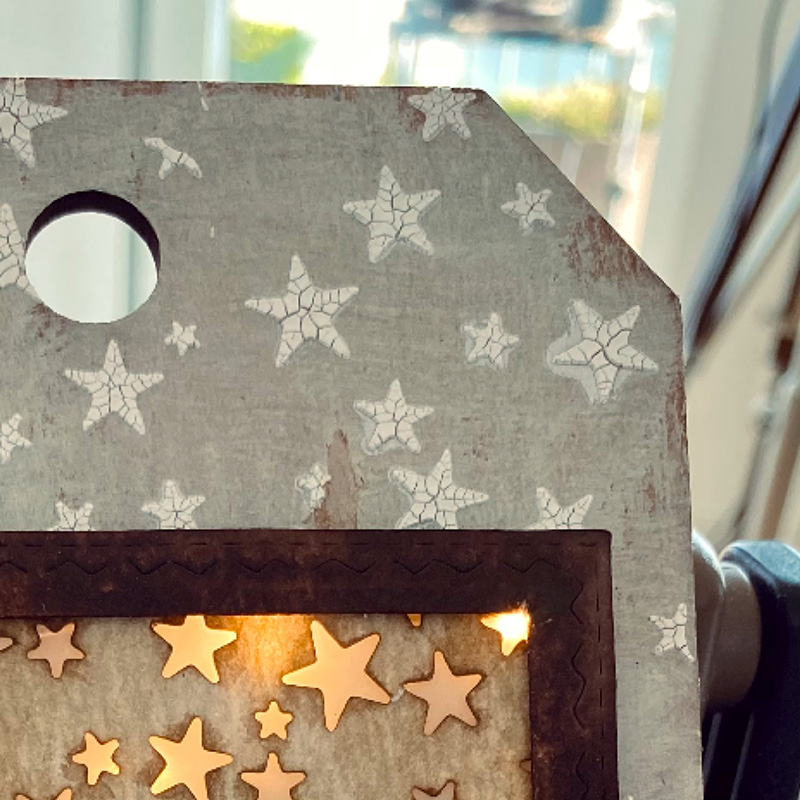
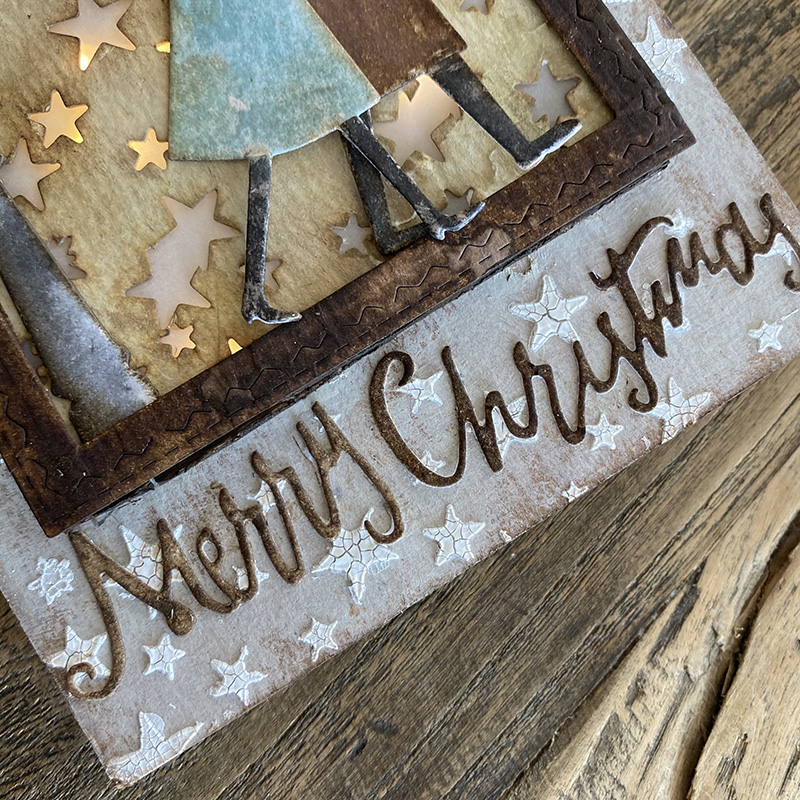
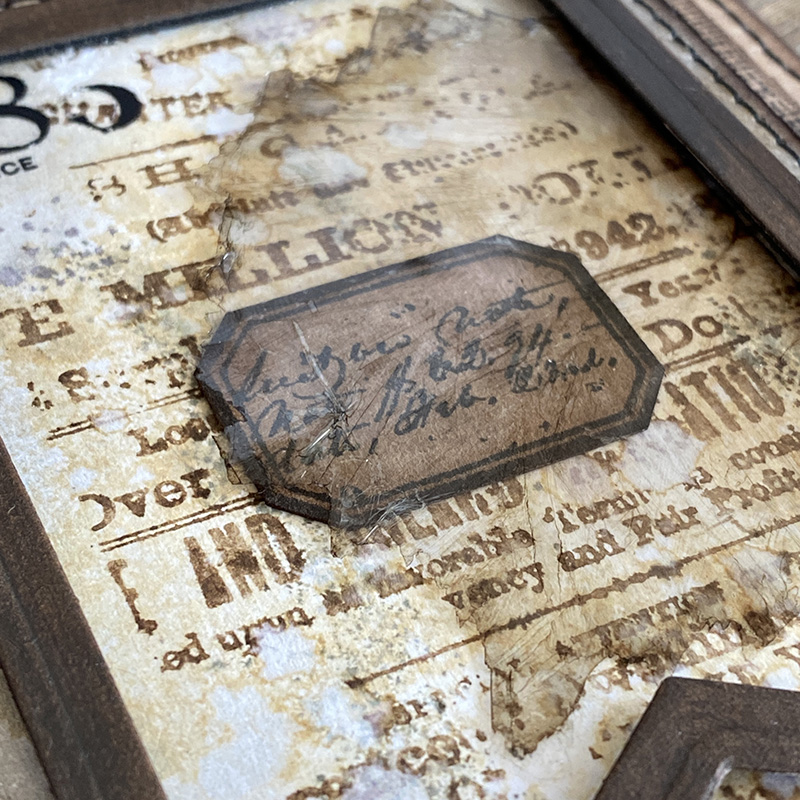
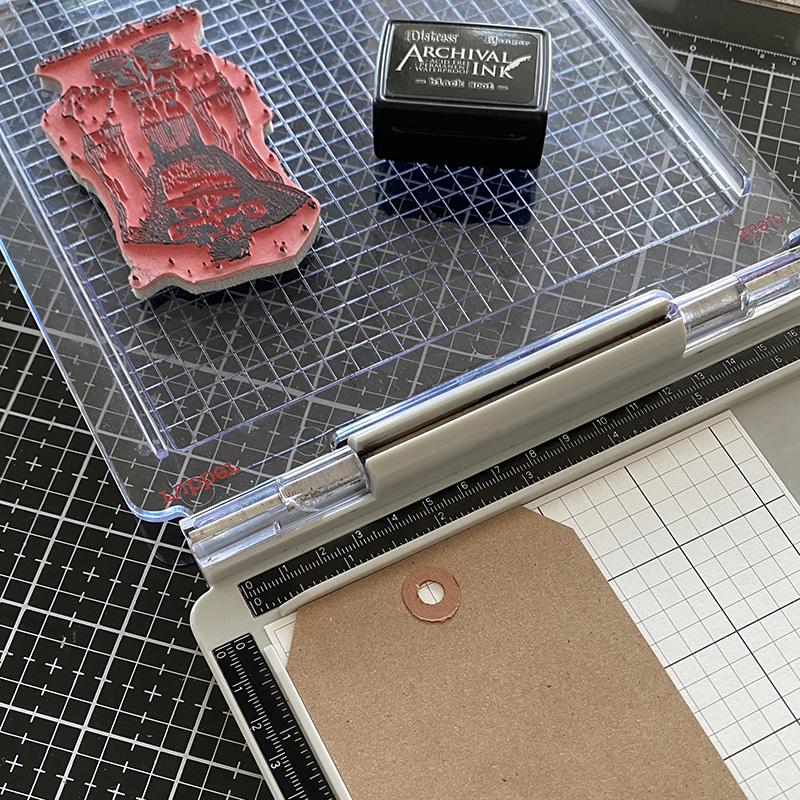
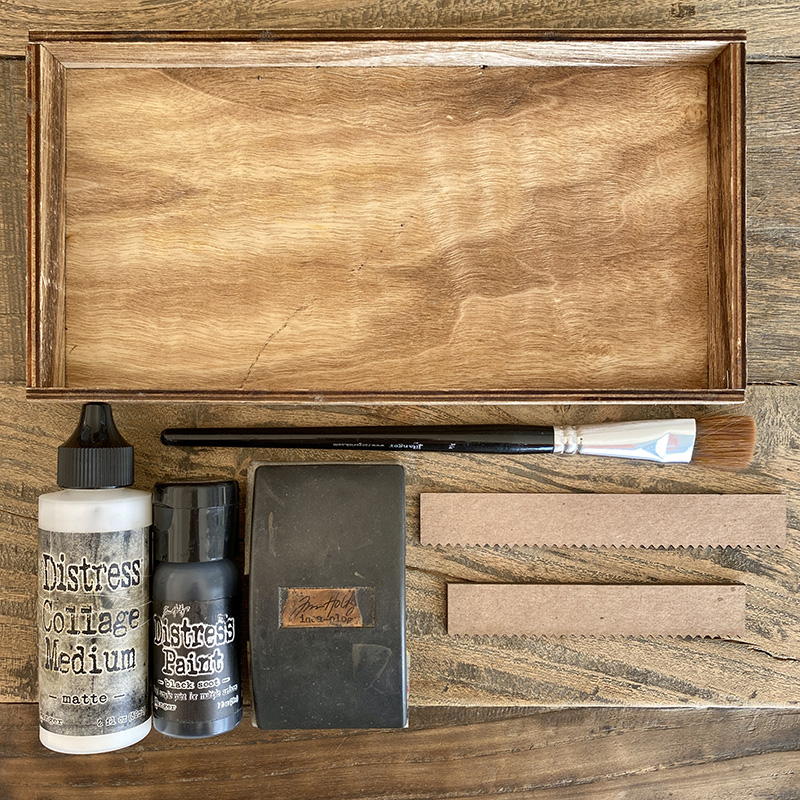
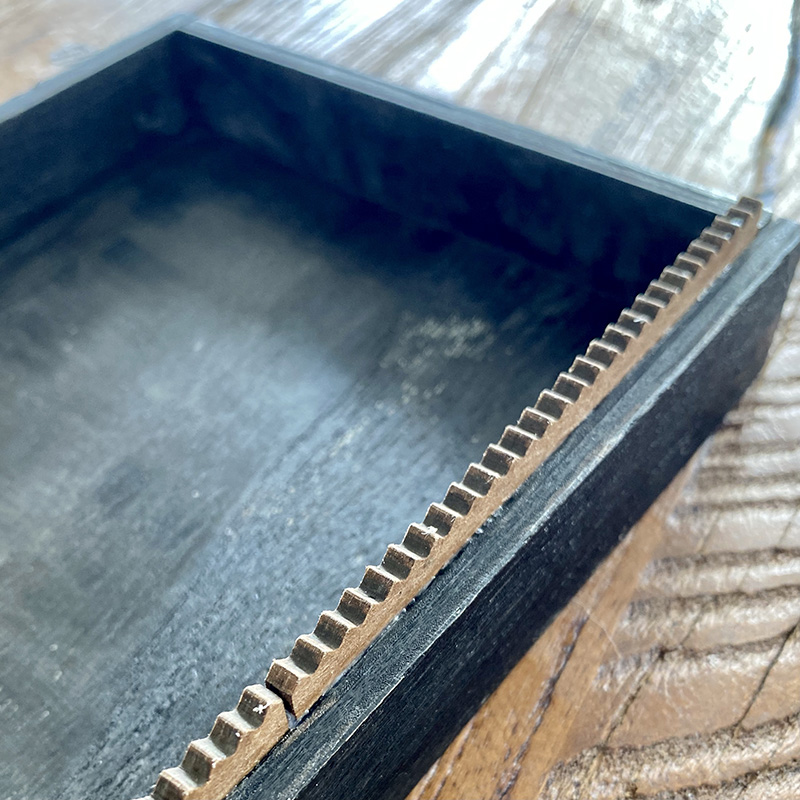
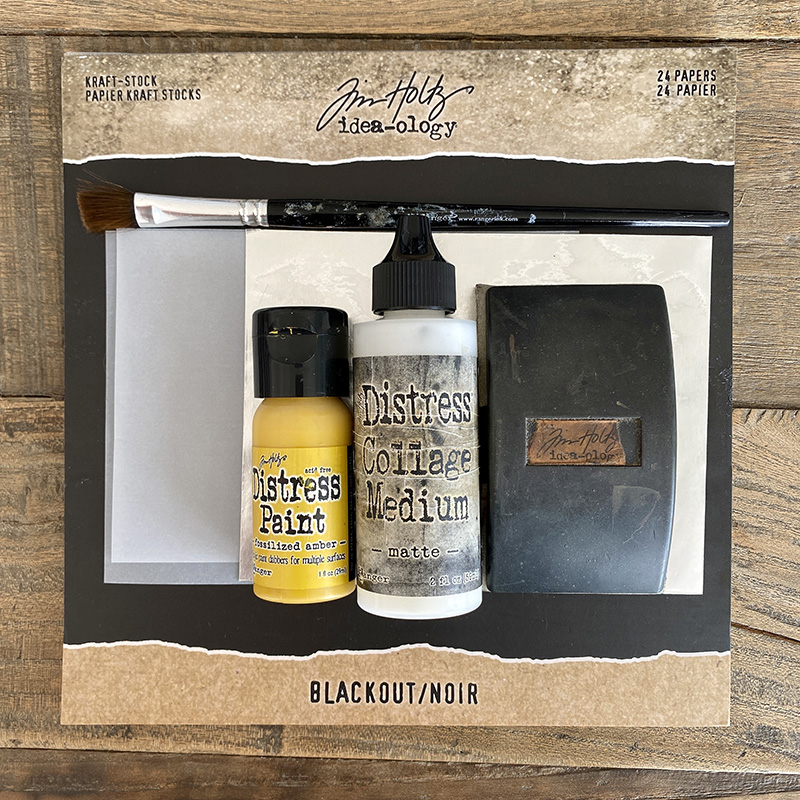
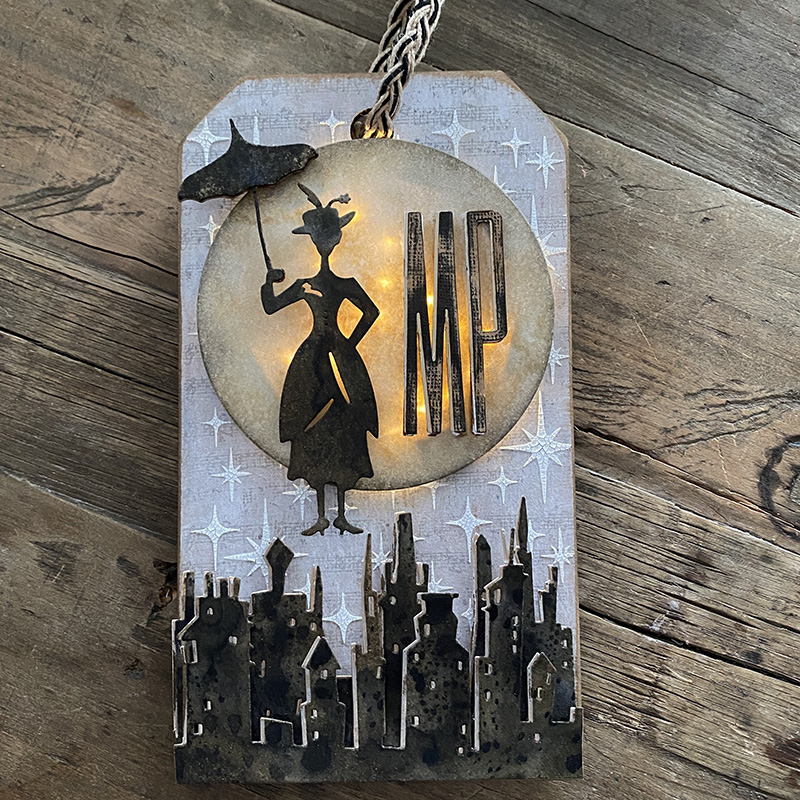
I started with an etcetera thickboard tag – small, which I covered with a layer of picket fence distress paint wash (just spritz water onto distress paint and mix with a paintbrush). It will be absorbed into the tag so you can still see some of the kraft poking through, which I like. I stamped the music strip stamp from the poinsettia CMS426 stamp set with hickory smoke distress archival ink. Once dry I spread distress crackle texture paste through the sparkle stencil THS132 and set aside to dry and crack.
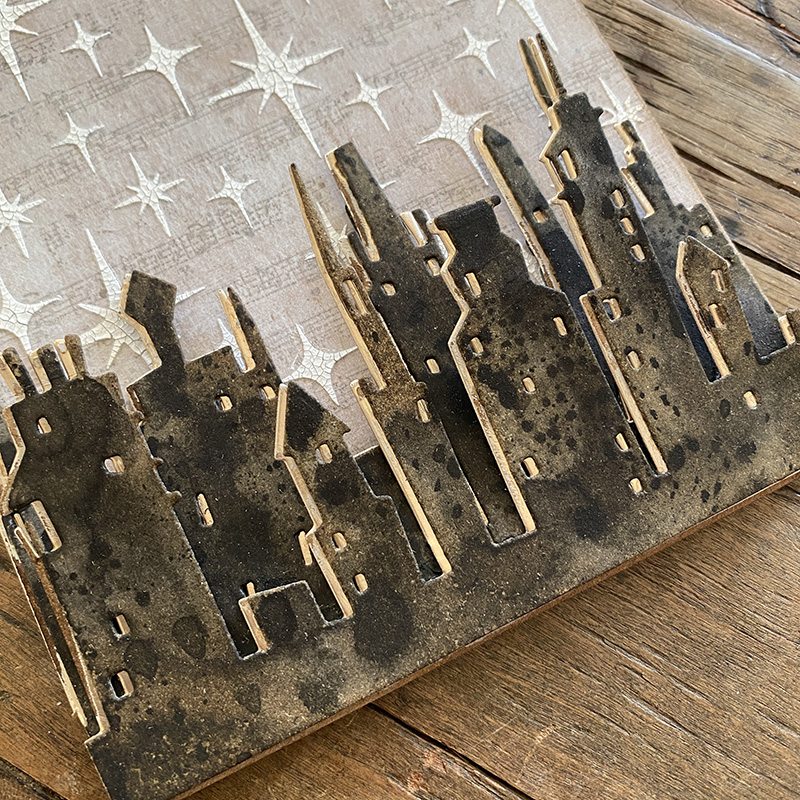
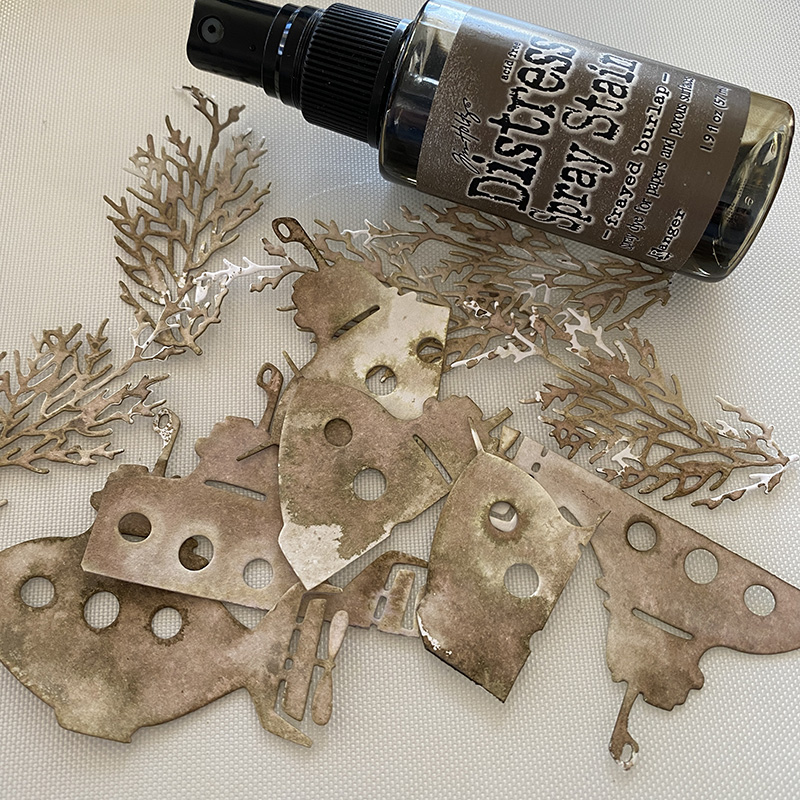
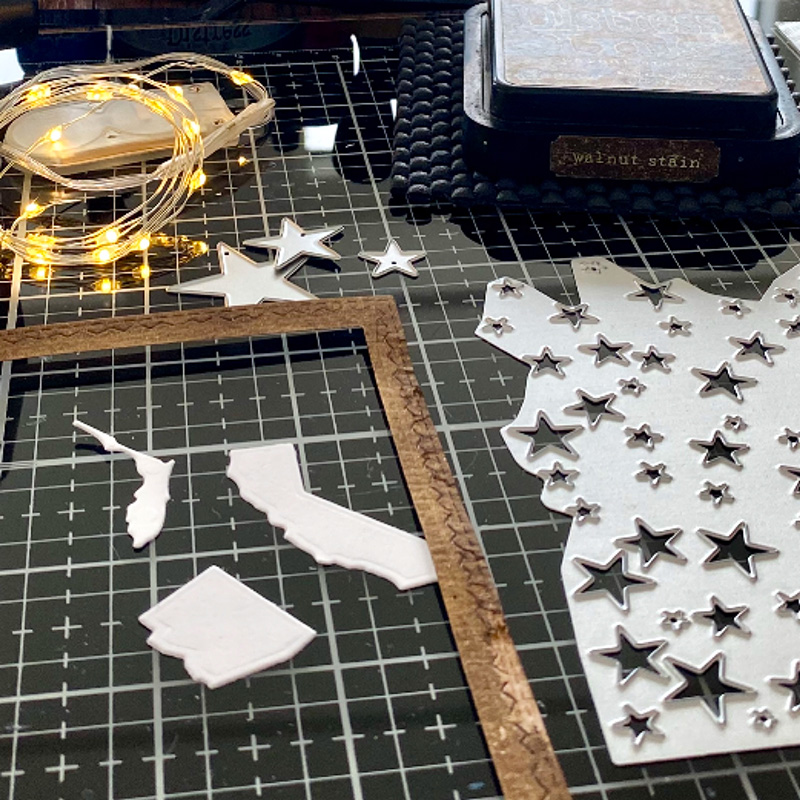
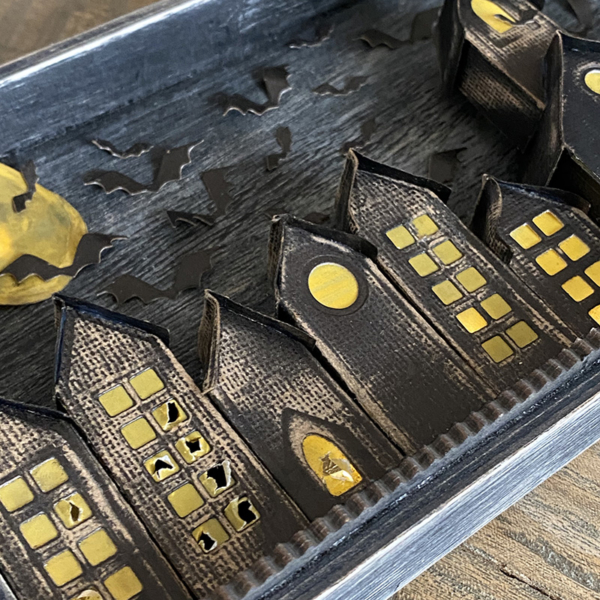
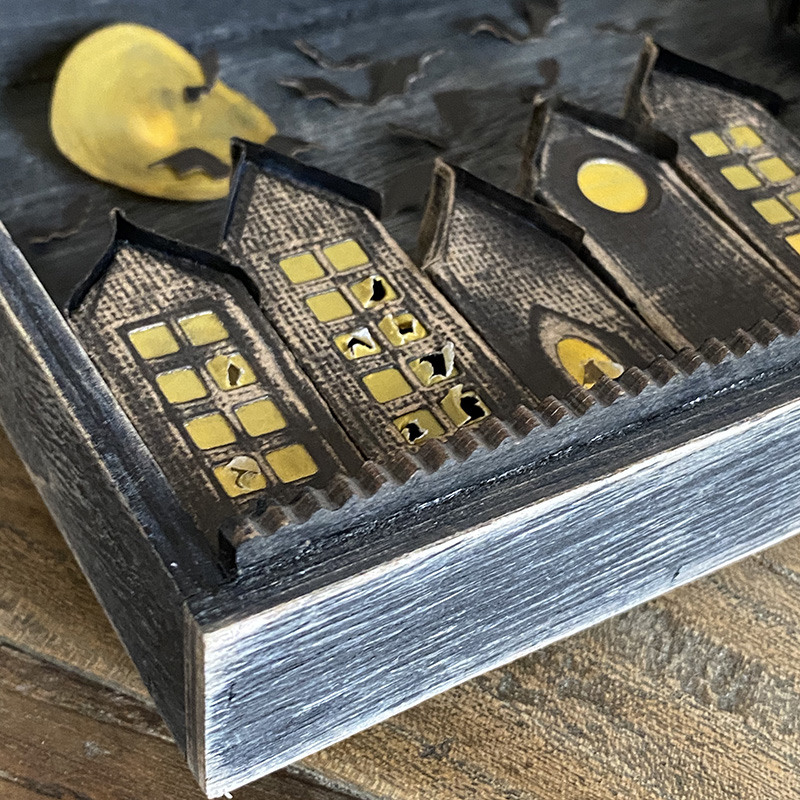
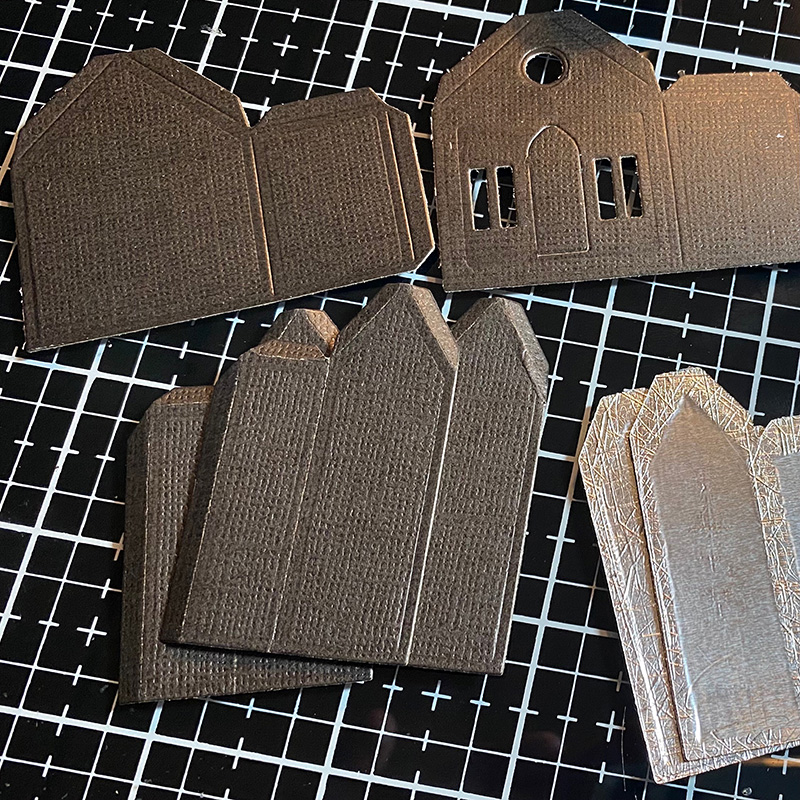
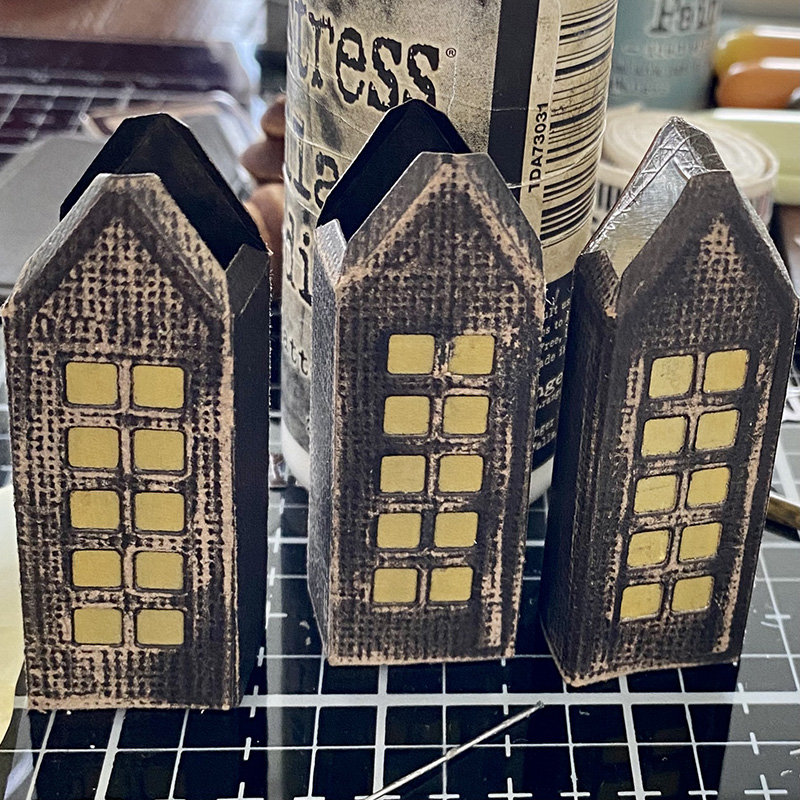
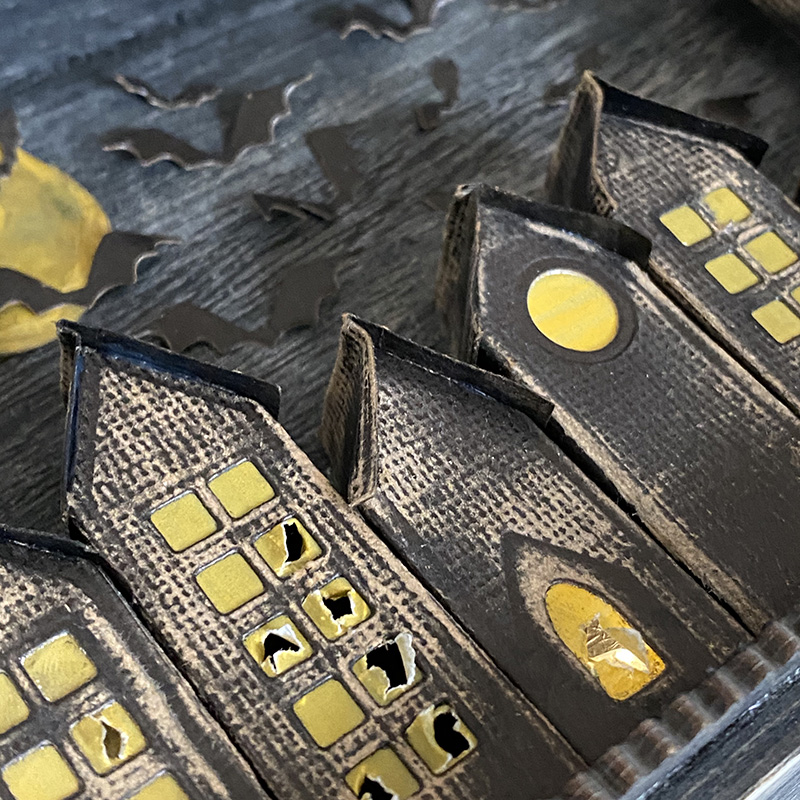
I die cut distress watercolor cardstock and idea-ology metallic kraftstock from the cityscape skyline thinlits die set (661810). I sprayed the watercolor cardstock die cuts with black soot distress spray and dried. I sanded the metallic kraft-stock die cuts and blended in walnut stain distress ink. I mounted the watercolor cardstock over the metallic kraft-stock, offsetting slightly to create a drop shadow. I used a little adhesive foam to give the cityscape some dimension.
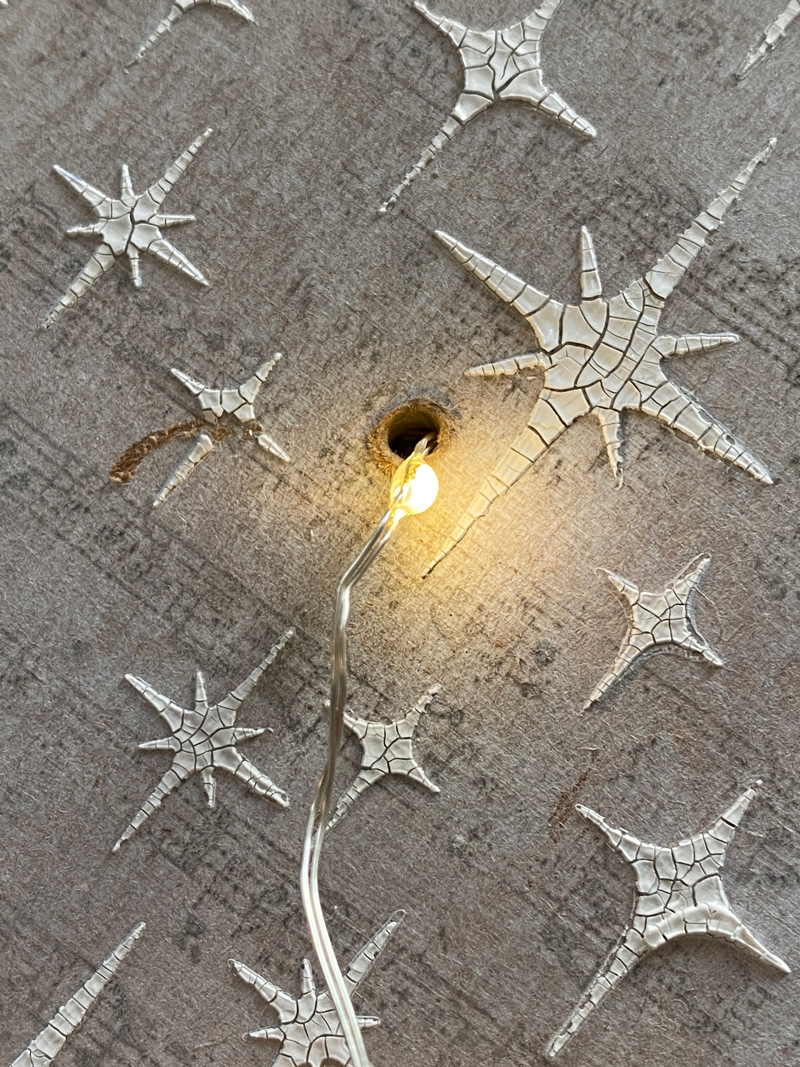
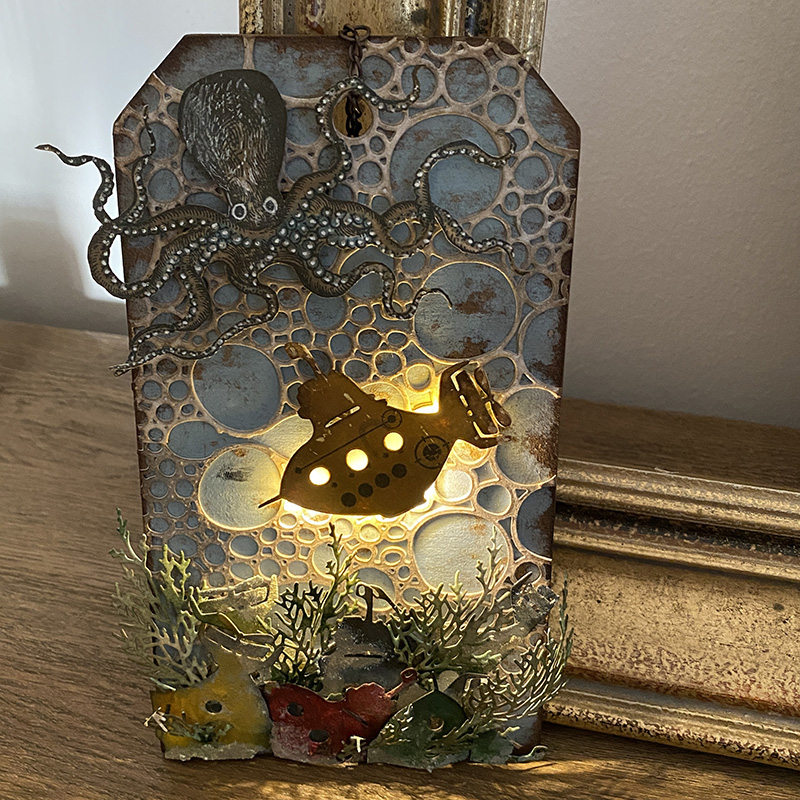
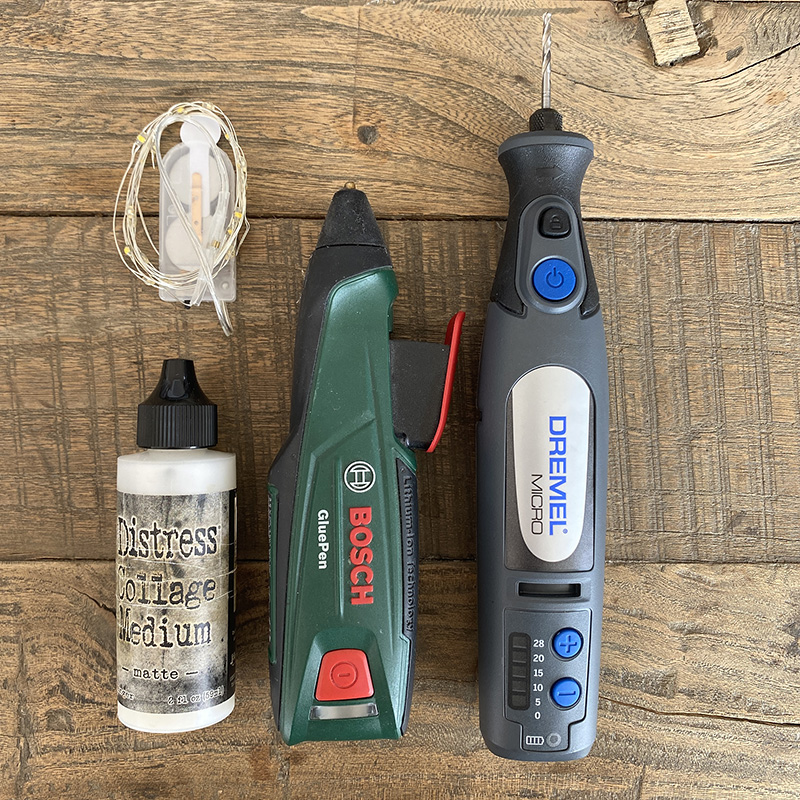
I drilled a hole through the etcetera tag using a Dremel micro tool and the mini drill accessories kit. I make sure the hole is big enough to pull tiny lights through from the back of the tag.
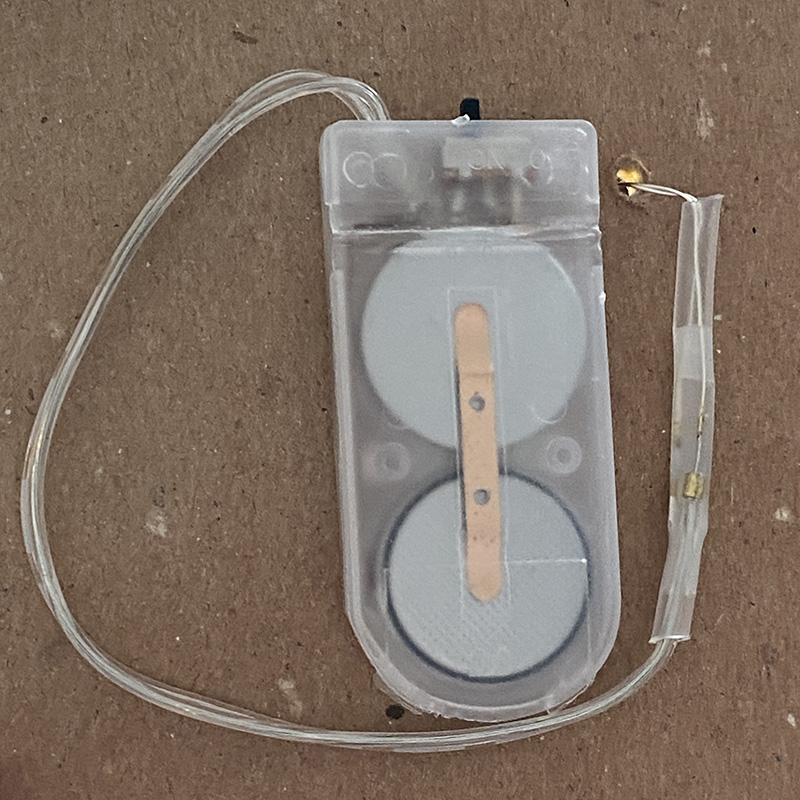
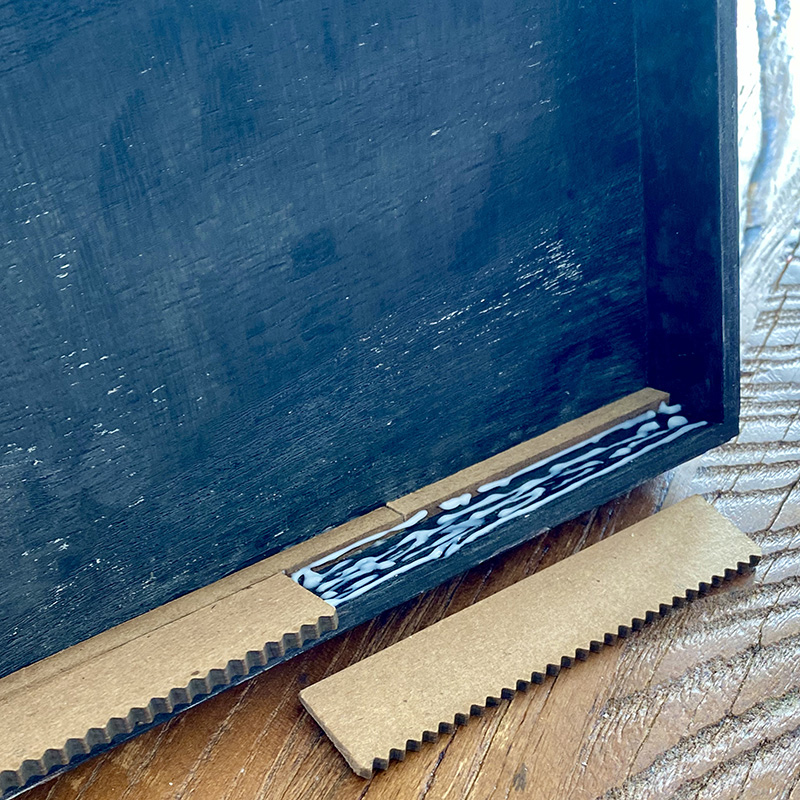
I attach the battery pack to the back of the tag so it’s out the way, making sure the batter pack opening is toward you. I used velcro strips to attach mine but you could use double sided adhesive tape or distress collage medium. TIP * Don’t attach it to the back until you’ve finished your project or it will sit unevenly on your work surface.
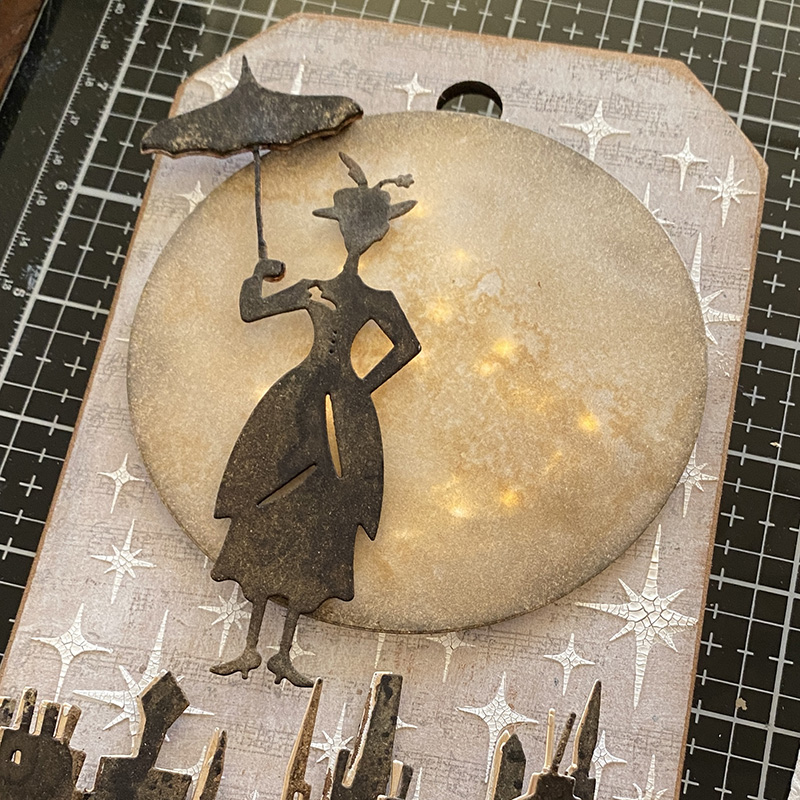
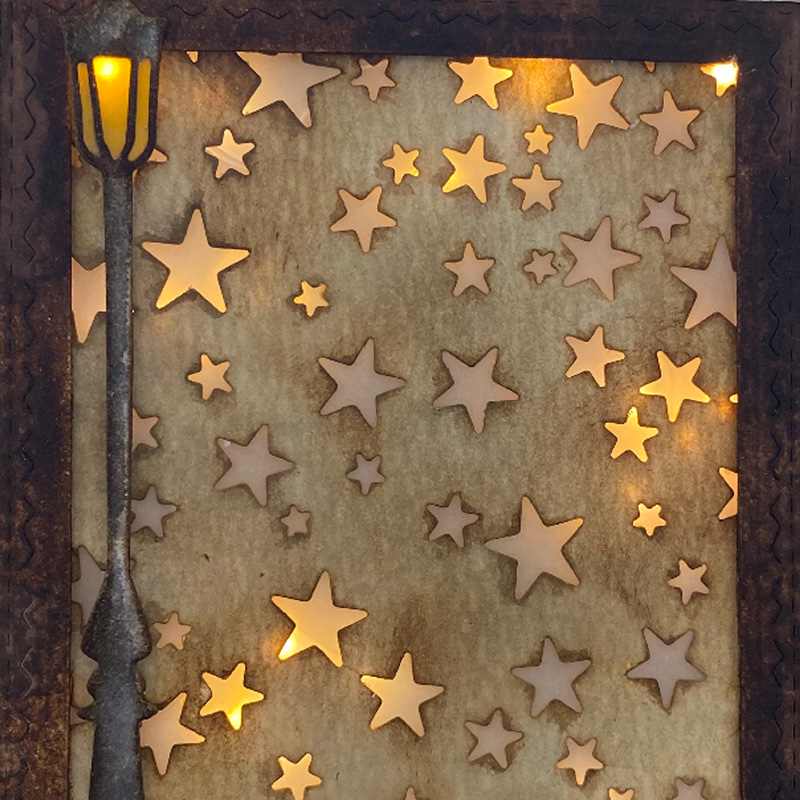
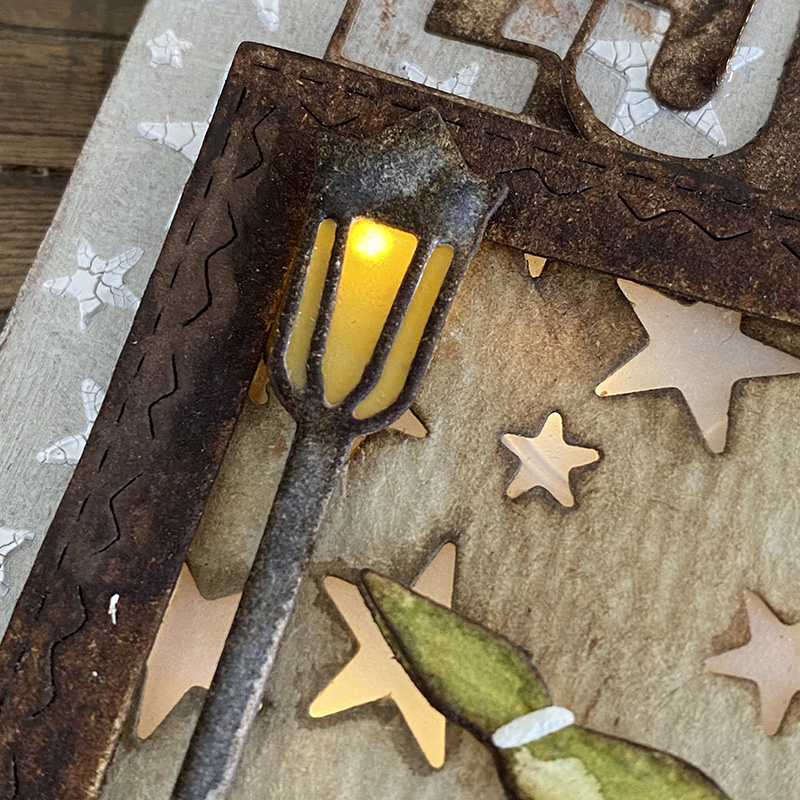
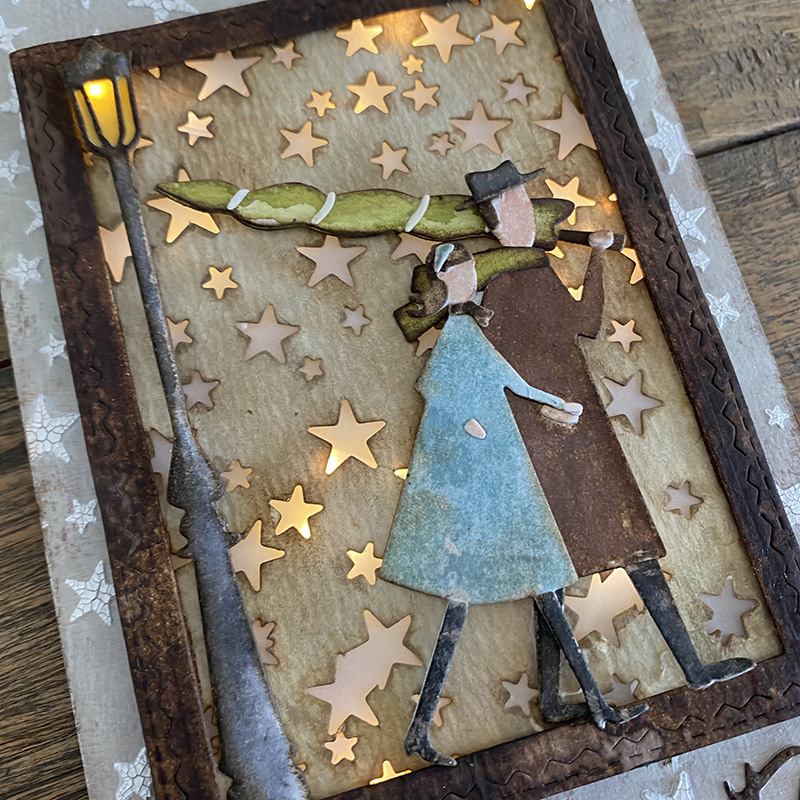
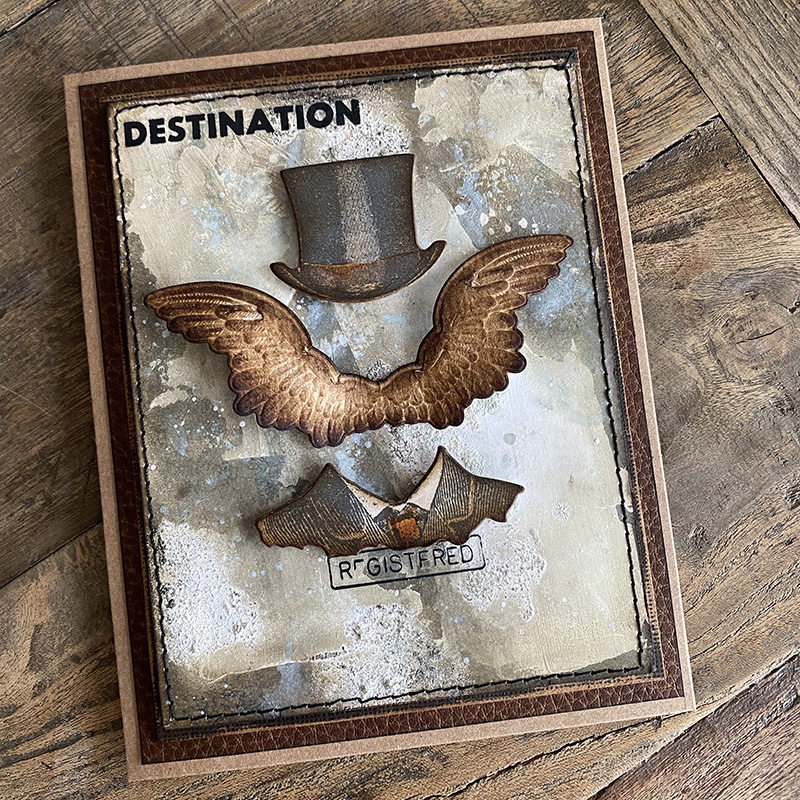
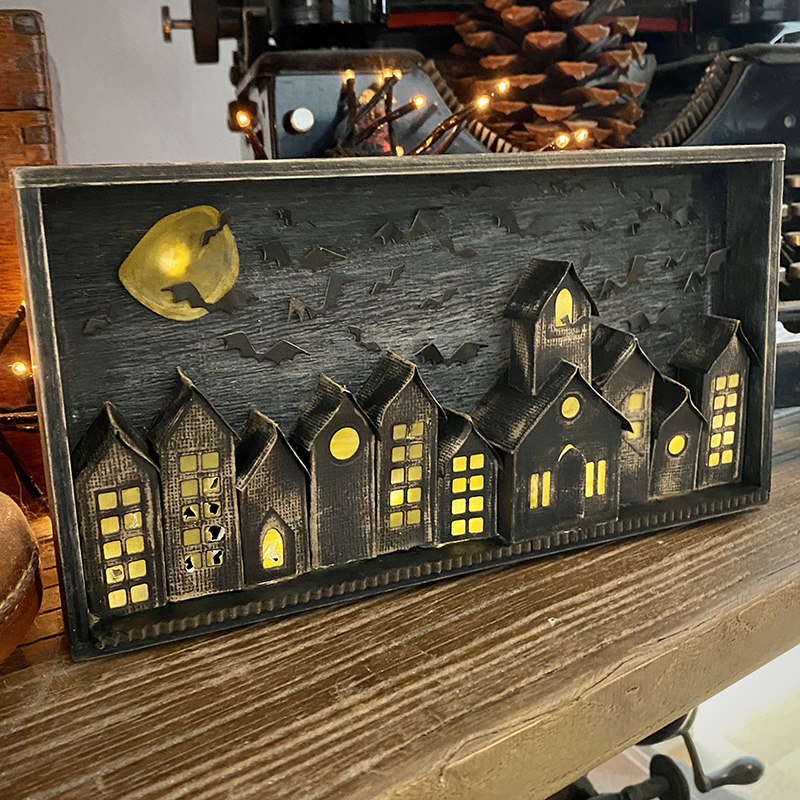
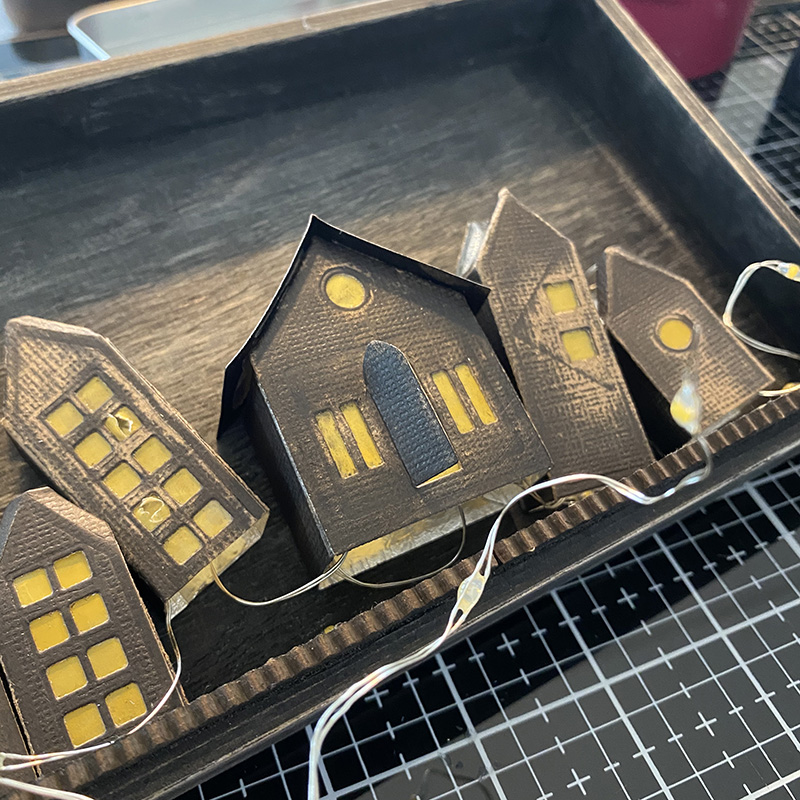
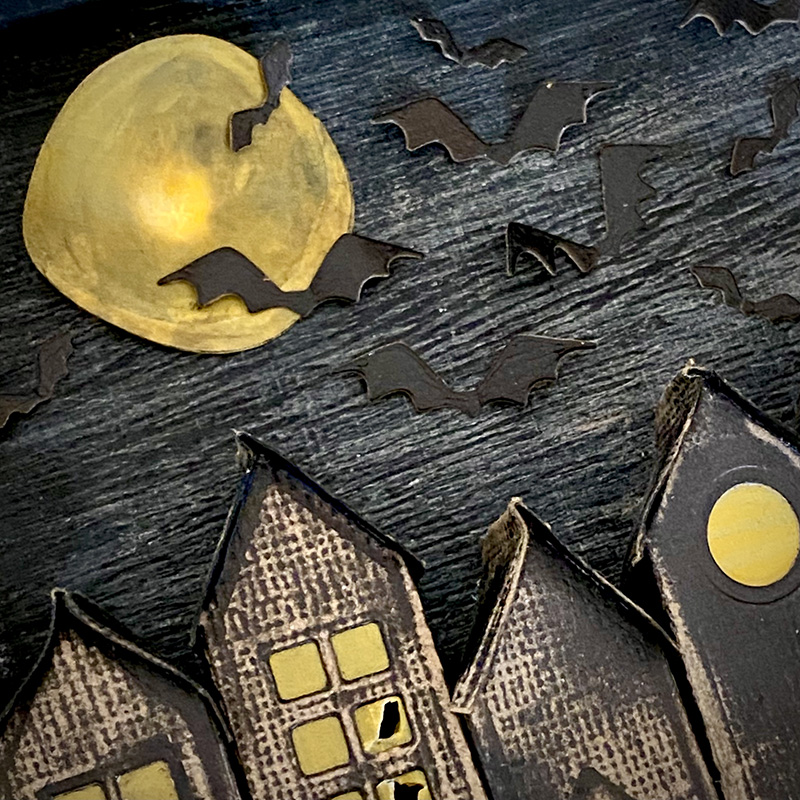
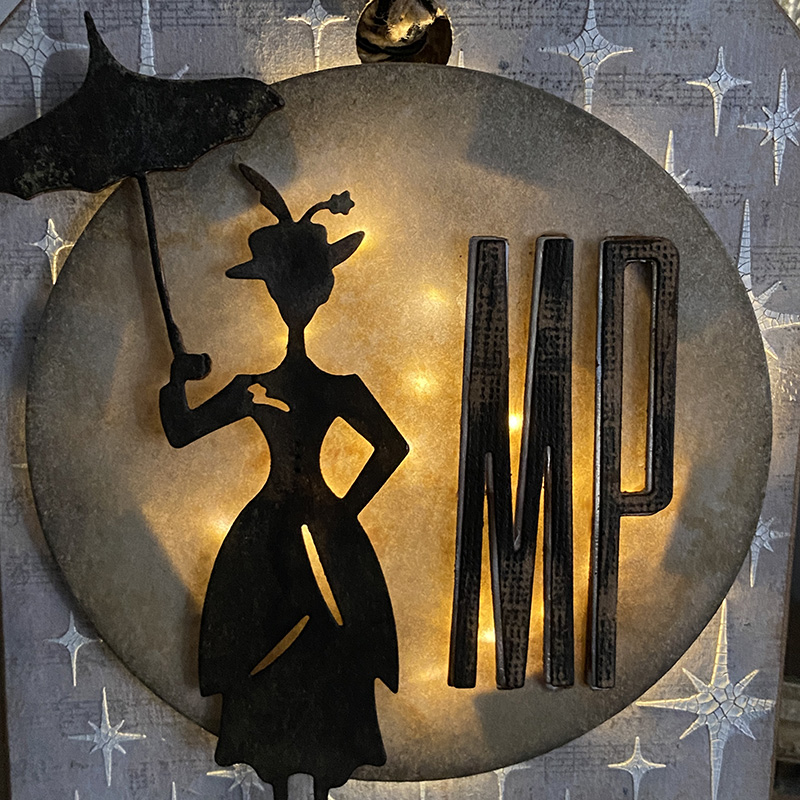
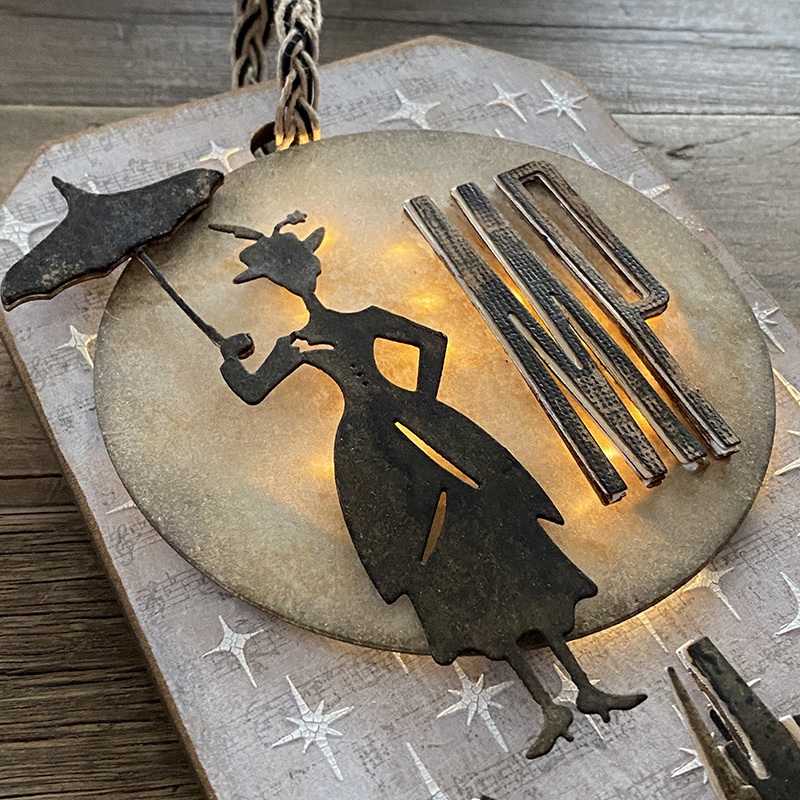
I die cut a large circle from distress watercolor cardstock and sprayed lightly with antique linen distress spray and water. Blended in hickory smoke distress ink to the edges. I put adhesive foam squares around the underside of the moon creating a ring for the lights to sit inside. I gathered the lights into the center of where the moon was going to be and then placed the moon down, carefully tucking in any lights attempting to escape. I used adhesive foam to add the the park die cut. The umbrella comes separately so I added it to her hand with distress collage medium and put adhesive foam under the top of the umbrella.

It created this pretty firefly type effect behind the watercolor cardstock and raised the moon up enough to fit the lights and give the tag dimension.
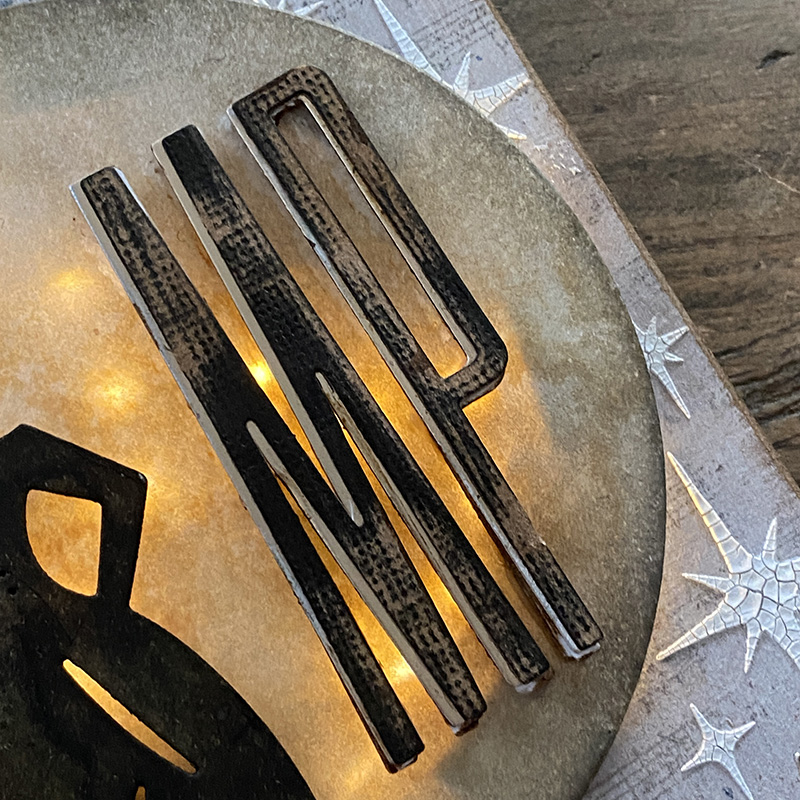
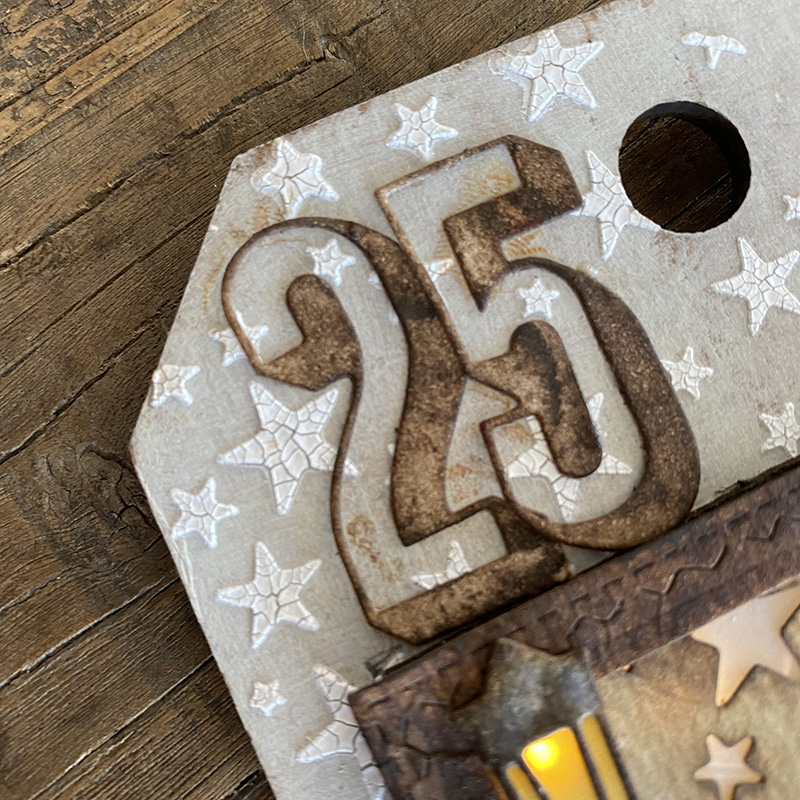
Next I added the letters “MP” which will now forever more be “Mario Poppins” after Tim called it out during the LIVE! I die cut idea-ology blackout and metallic kraft-stock with the new alphanumeric stretch upper thinlits dies (665206) I added these with distress collage medium.
I added some rope ribbon from my stash to the top of the tag to finish.
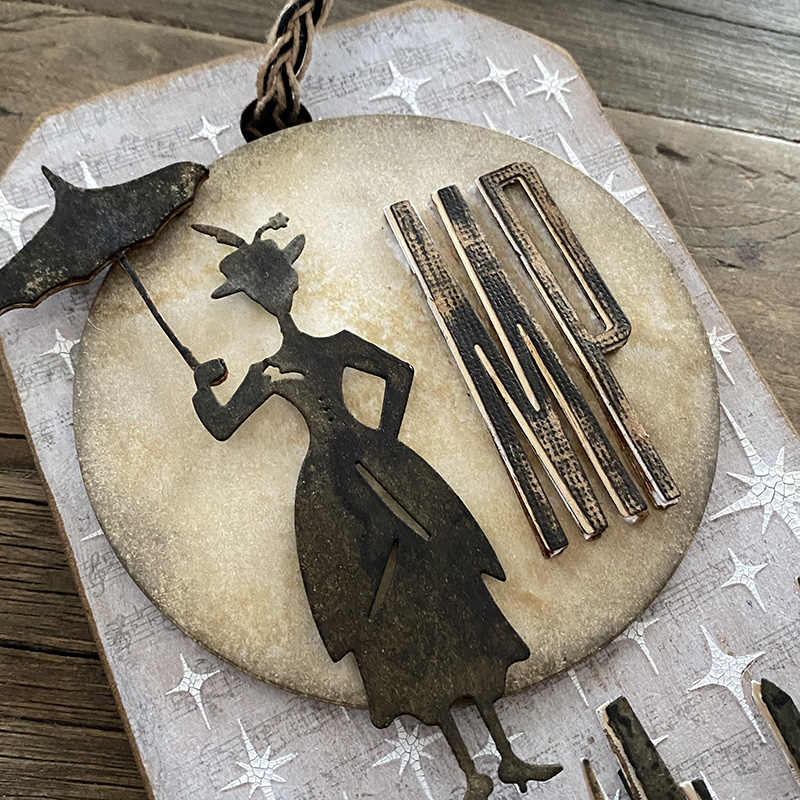
With the tiny lights switched off.

When you break it down into sections, this is actually a simple piece to make and you could adapt it and make it smaller to fit onto a card. I hope this inspires you to try and make something yourself.
Thanks for stopping by…
Zoe