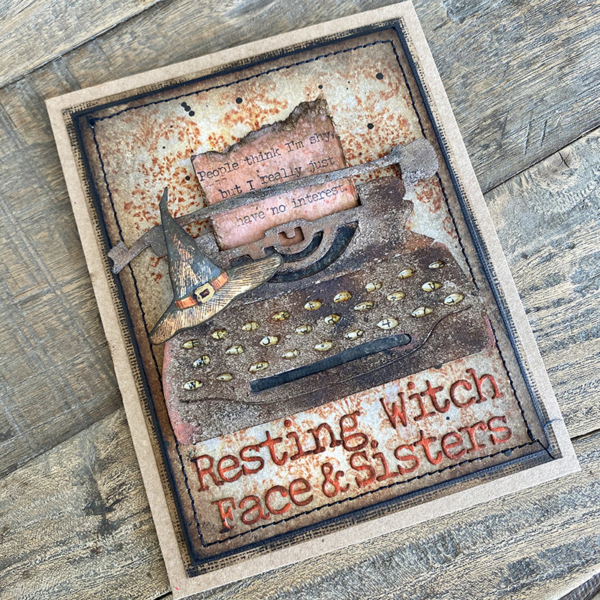
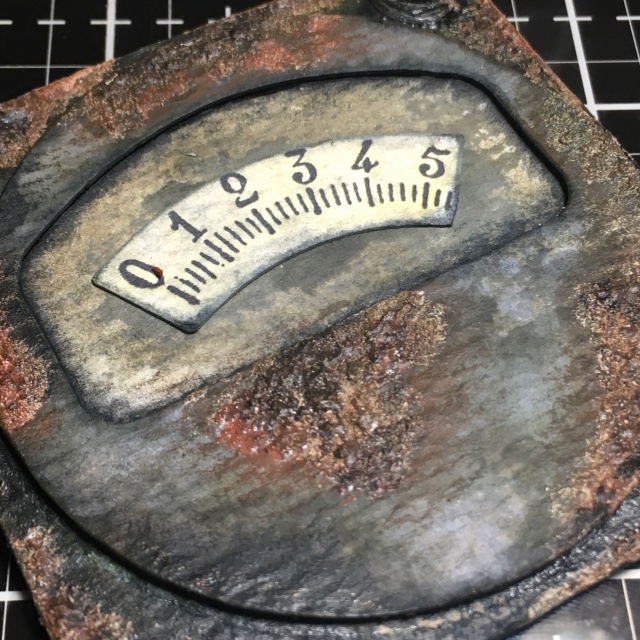
Hello friends. Thanks for joining me, I hope you have snacks because this is quite a long post. I’ve been quite the makey maker recently and have lots of posts coming. First up is a fun tag I made using the new Snarky Christmas CMS416 stamp set for the Tim Holtz Stampers Anonymous Christmas stamp release. If you missed the facebook LIVE on Saturday you can catch up on all the action on Tim’s blog.
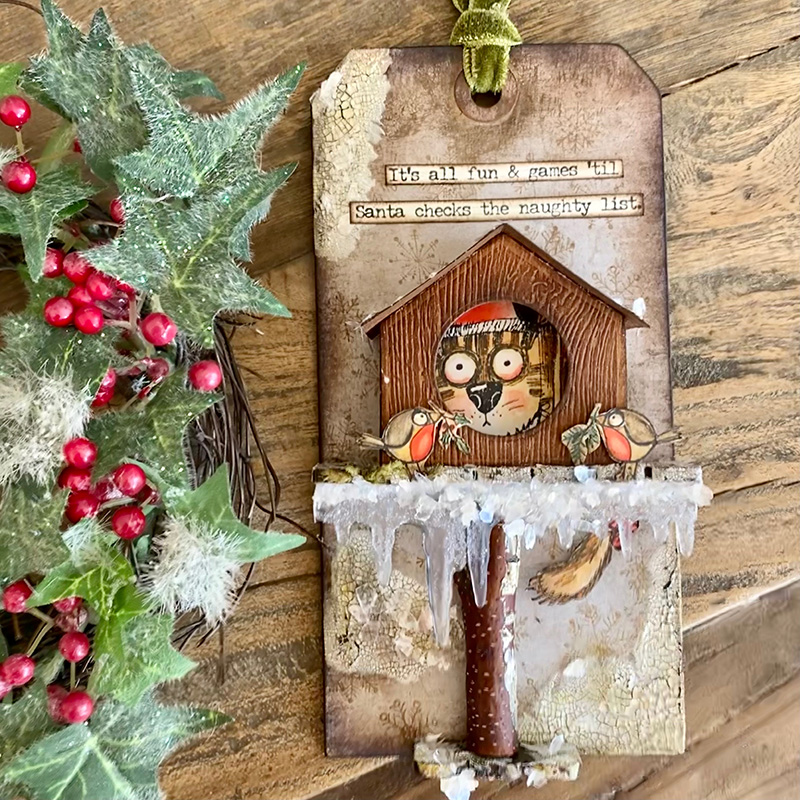
I’ve added some “how to” steps and hope that this helps you to make your own birdhouse tag. This could be adapted for Valentines with the addition of a heart above the birdhouse or for Spring, Halloween or Easter by just swapping out a few items.

When the Snarky STAMPtember stamps were released, I was really taken with the tiny bird and I was so excited to see him return, facing in the opposite direction and with different foliage on the snarky christmas set. I wanted to make something that included them both and this was my starting point for this tag.
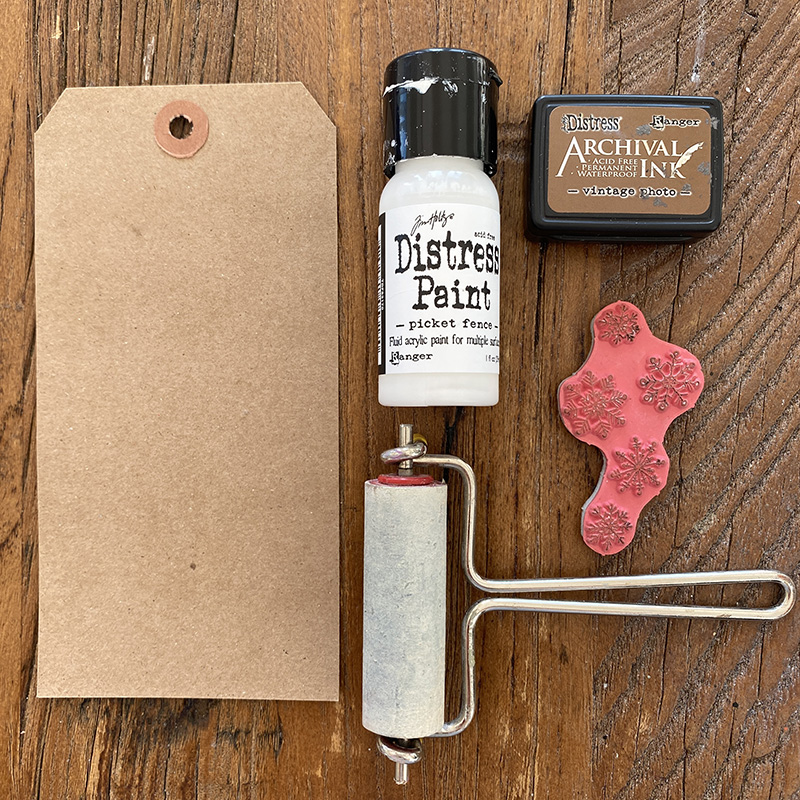
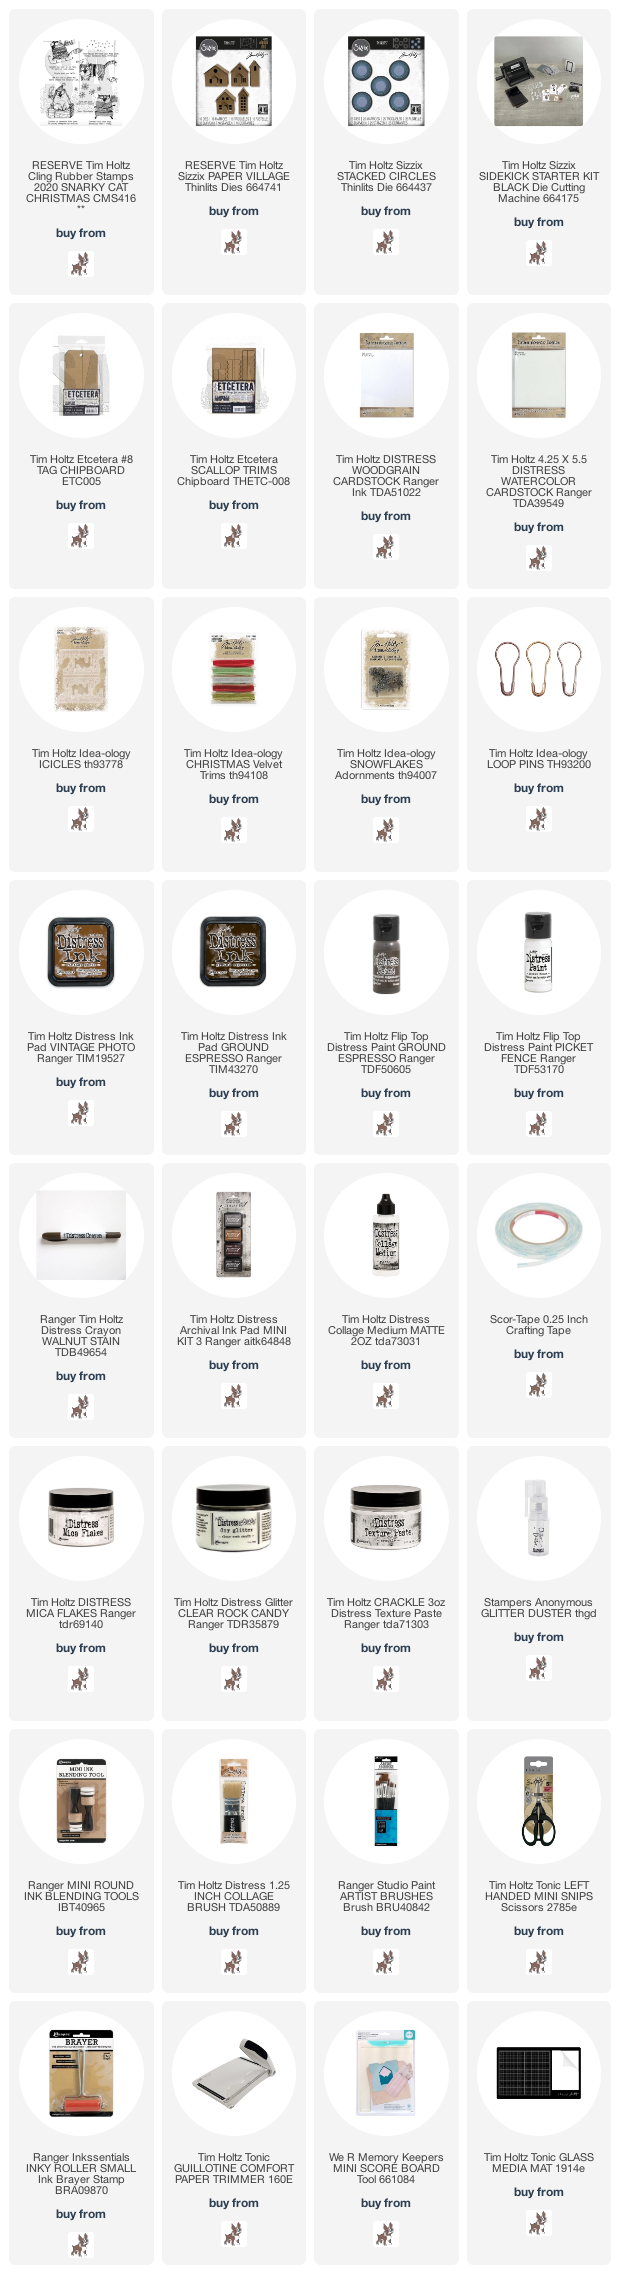
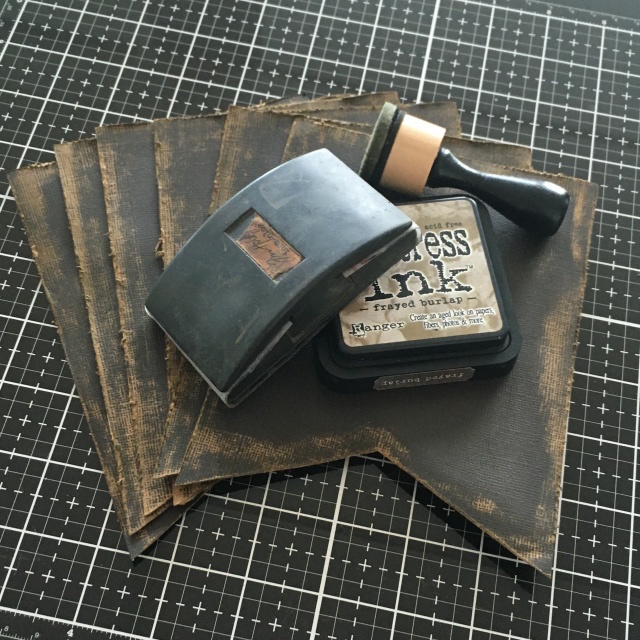
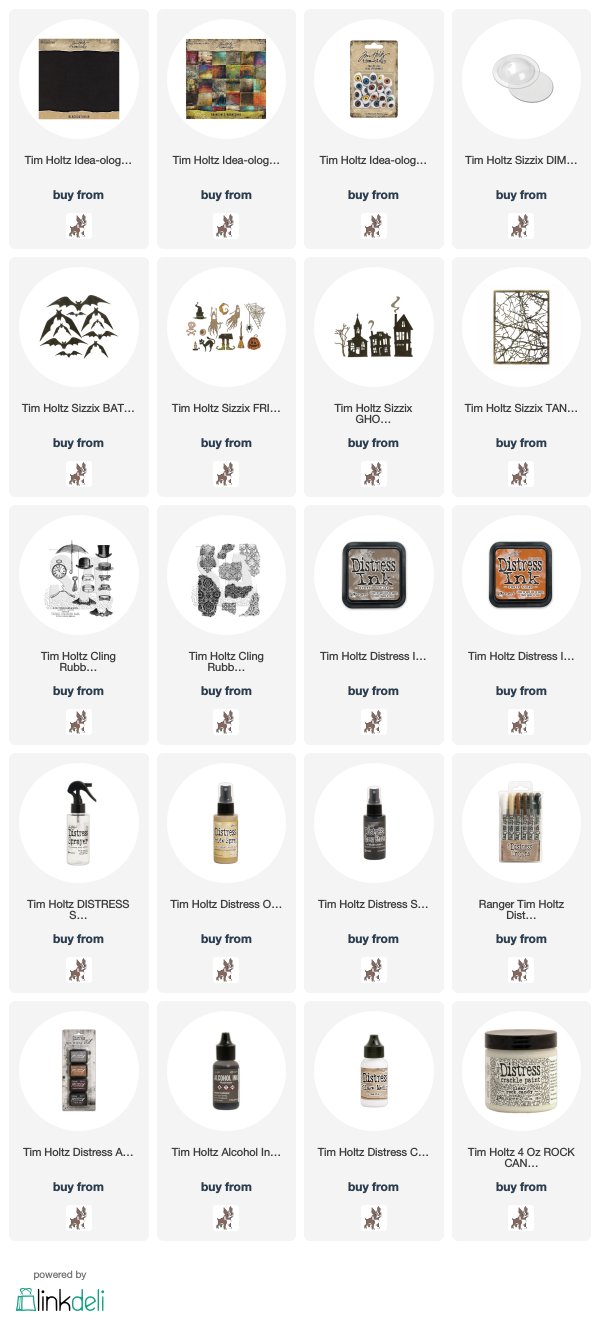
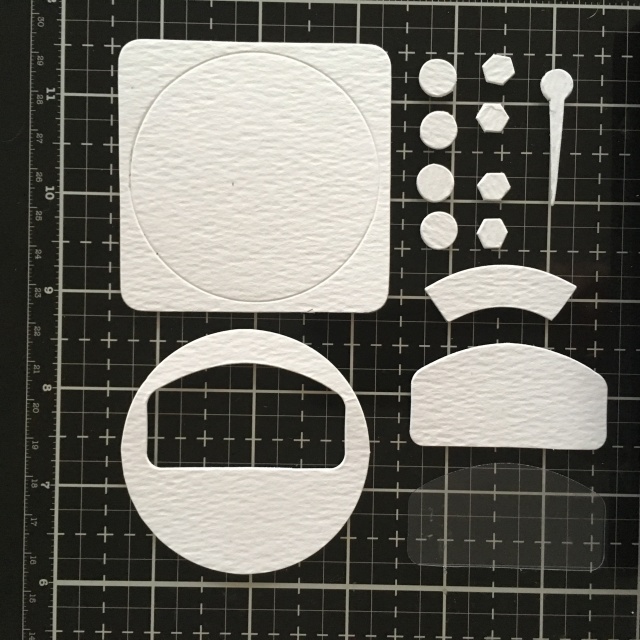
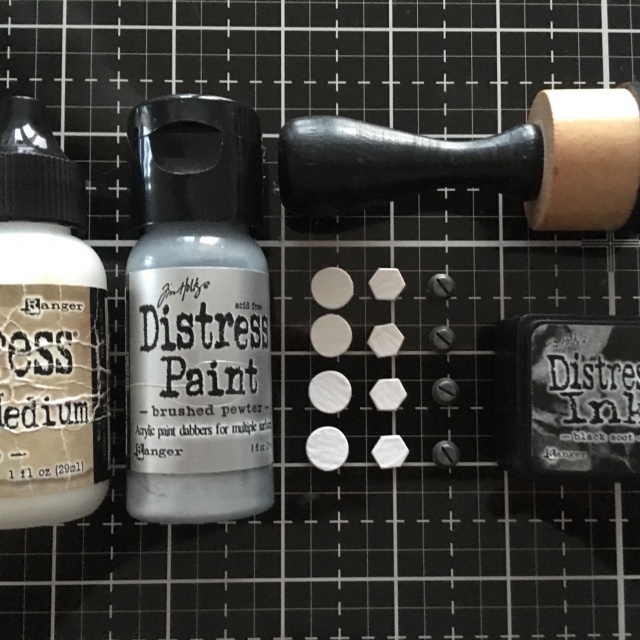
Gather a #8 kraft tag, mini brayer, picket fence distress paint, vintage photo distress archival ink and the snowflake stamp from the snarky christmas CMS416 stamp set.
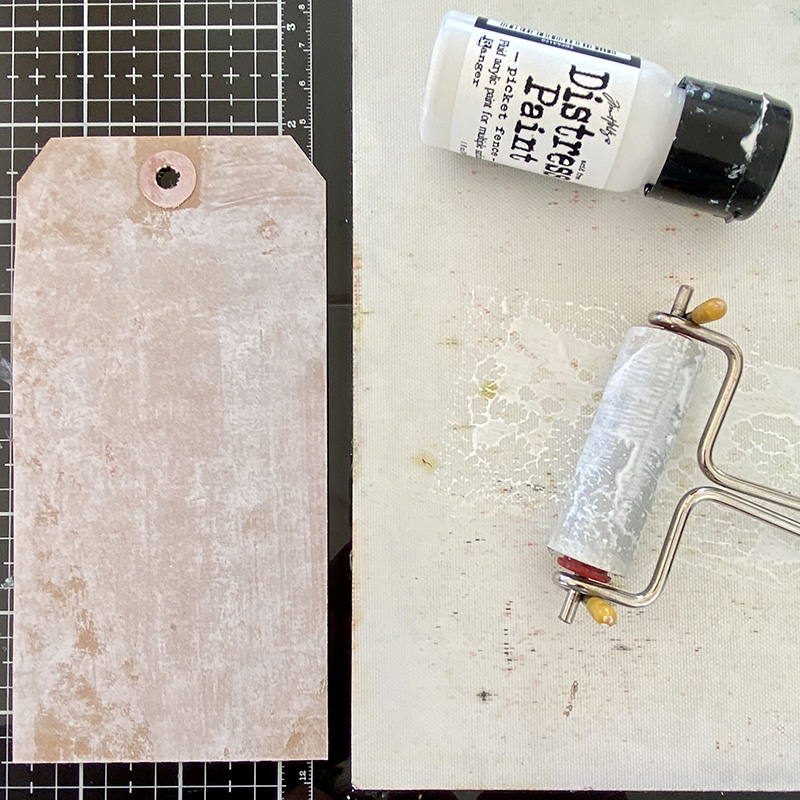
Add a few drops of the paint to your glass media mat or non stick surface, roll the brayer in the paint and roll over the kraft tag. Any direction, messy is perfect and don’t go too heavy on the paint. Allow it to air dry.
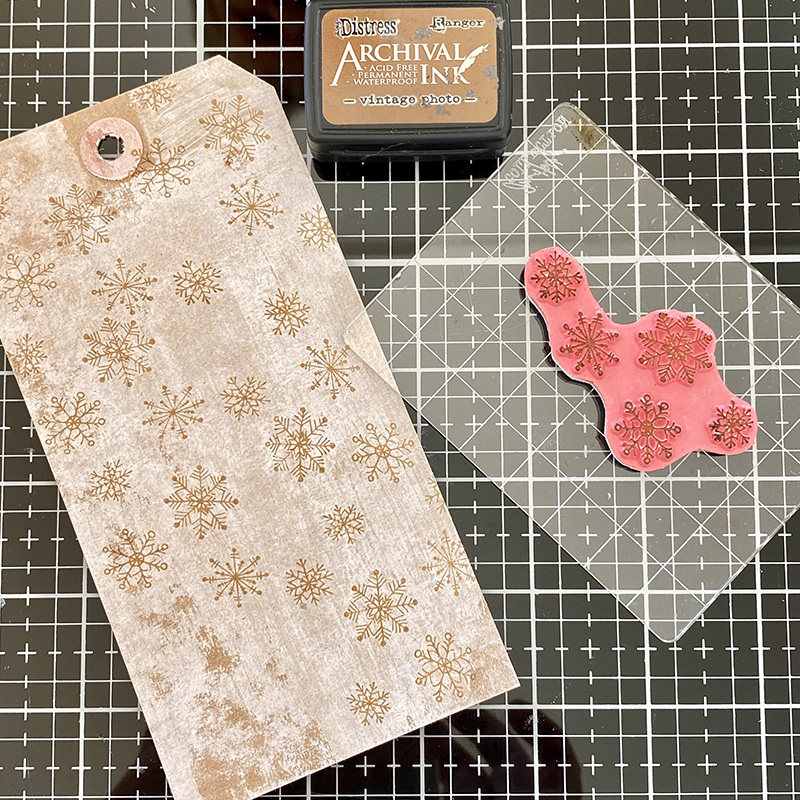
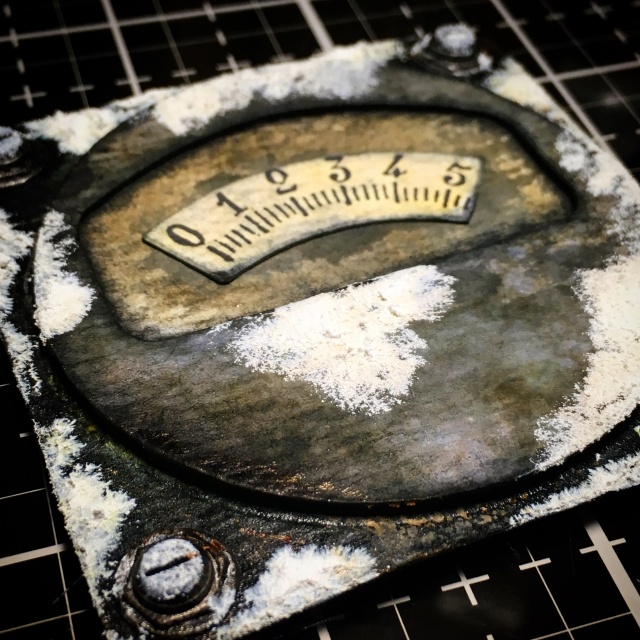
Ink up the snowflake stamp with the distress archival ink and stamp several times over the tag. The colour is a great match and gives the illusion of the snowflakes having resisted the paint you brayered on in the last step.
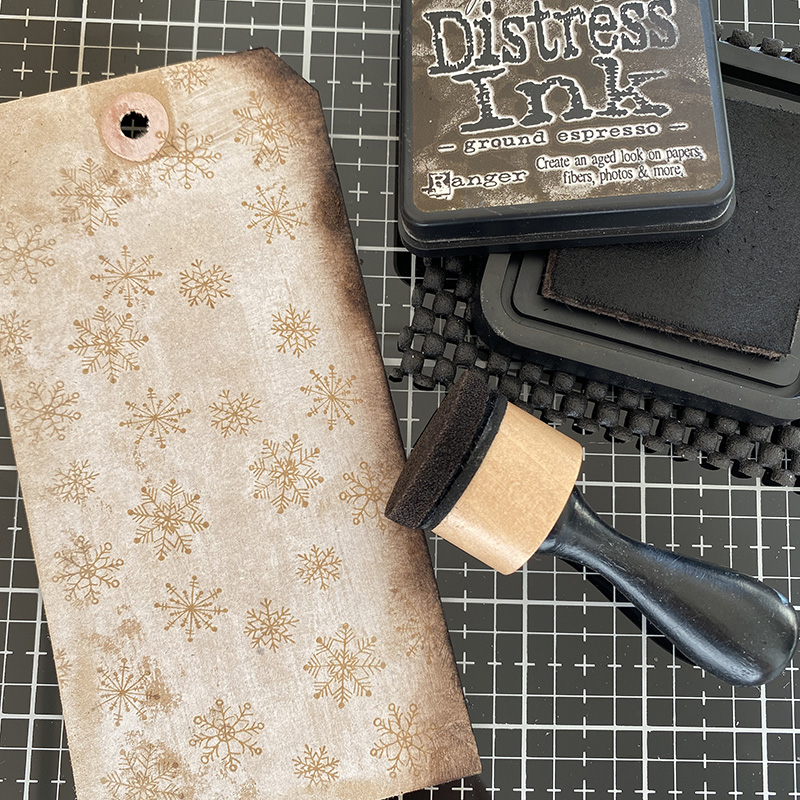
Lightly sand the edges of your tag (you can skip this if you like it less grungy). Using a mini blending tool, blend distress ink into the edges. I used ground espresso.

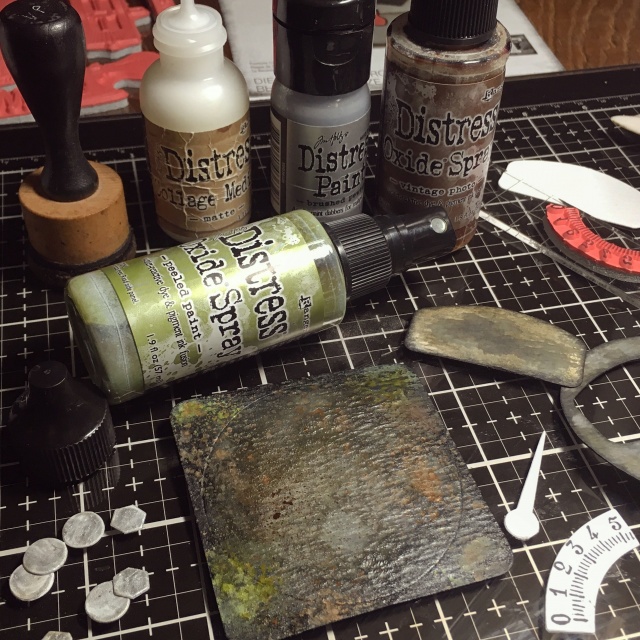
Gather your decorated kraft tag, a #8 thickboard etcetera tag, paintbrush, distress brush, distress collage medium and ground espresso distress paint.
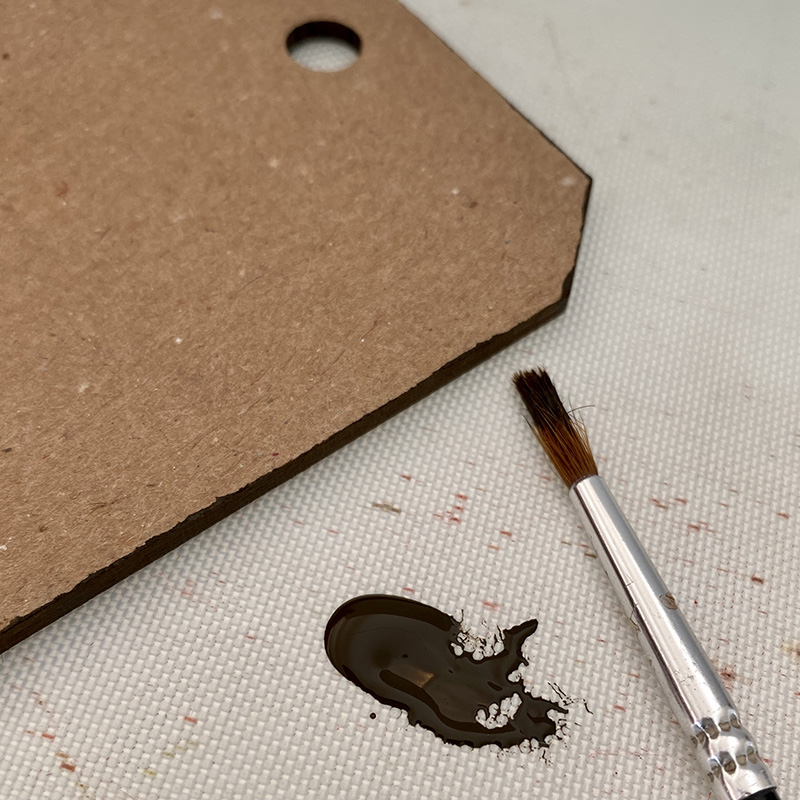
I like to paint around the edge of the etcetera tags with ground espresso distress paint because it gives it a nice dark edge that looks like burnt wood. You could add distress ink or leave it natural.

Using the distress brush, cover the etcetera tag with distress collage medium matte and adhere the kraft tag over the top. Distress collage medium dries fast, so work quickly.
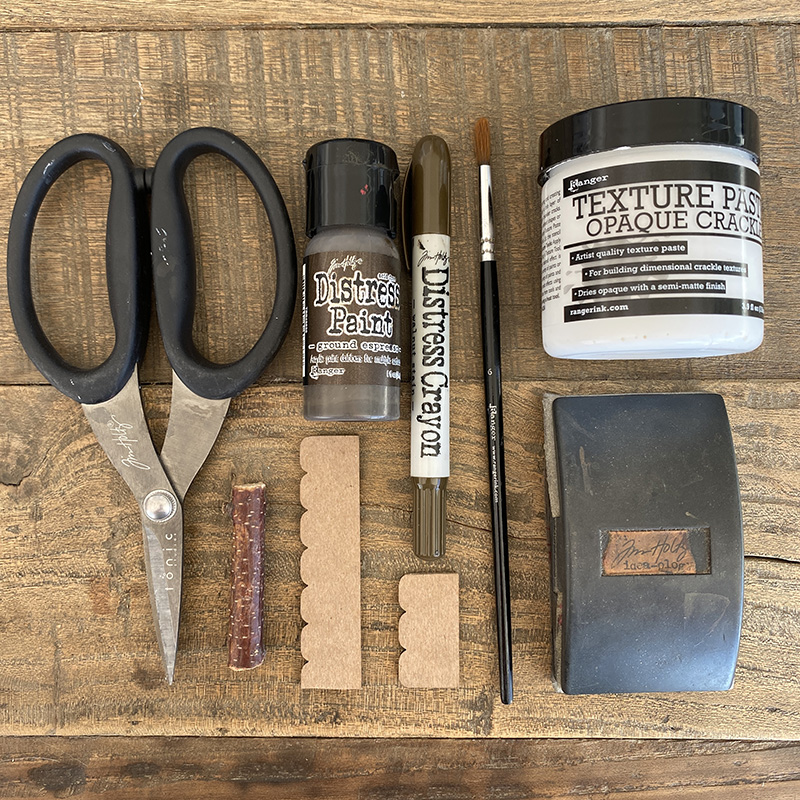
Gather scissors (you will need heavy duty ones like the Tim Holtz Tonic Snips), etcetera thickboard scallop trim, distress crackle texture paste, paint brush, ground espresso distress paint, walnut stain distress crayon, a stick and a sanding grip or sandpaper.
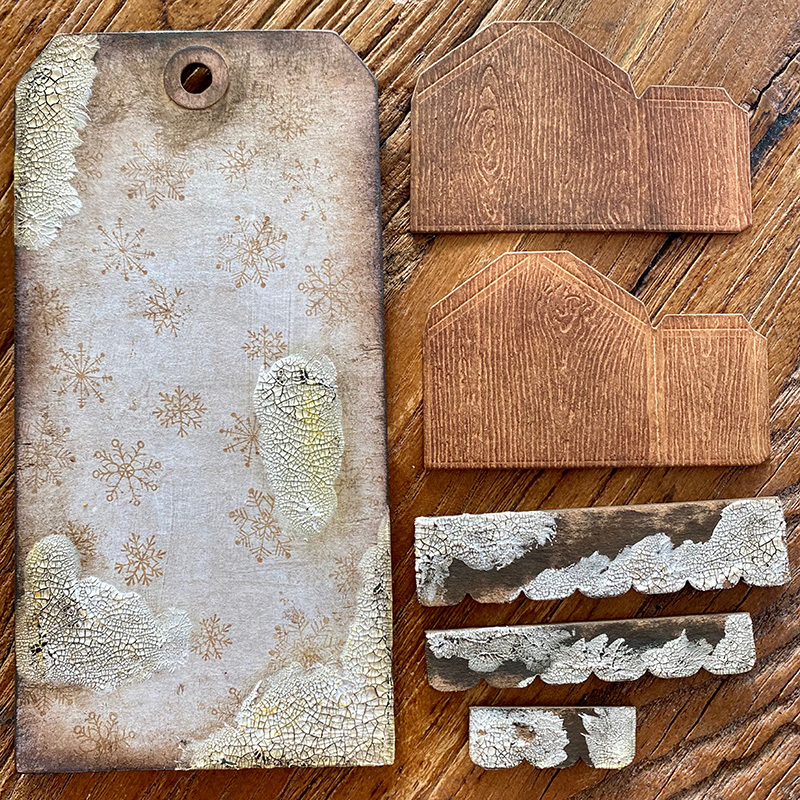
Cut the etcetera scallop trim to fit the tag and keep the excess. Paint both with ground espresso distress paint and when dry, sand back the edges. Using your finger, add distress crackle texture paste to parts of the tag and parts of the trim and set aside to dry. Once dry, add walnut stain distress crayon and rub in with your finger. Using a babywipe or damp cloth, remove some of the crayon. Set aside whilst you build your birdhouse…
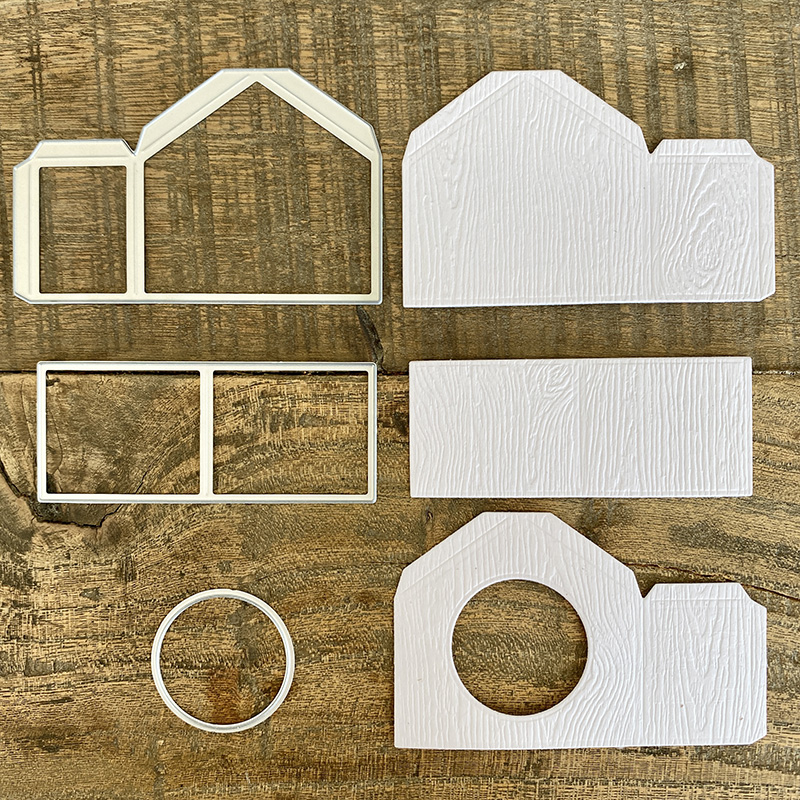
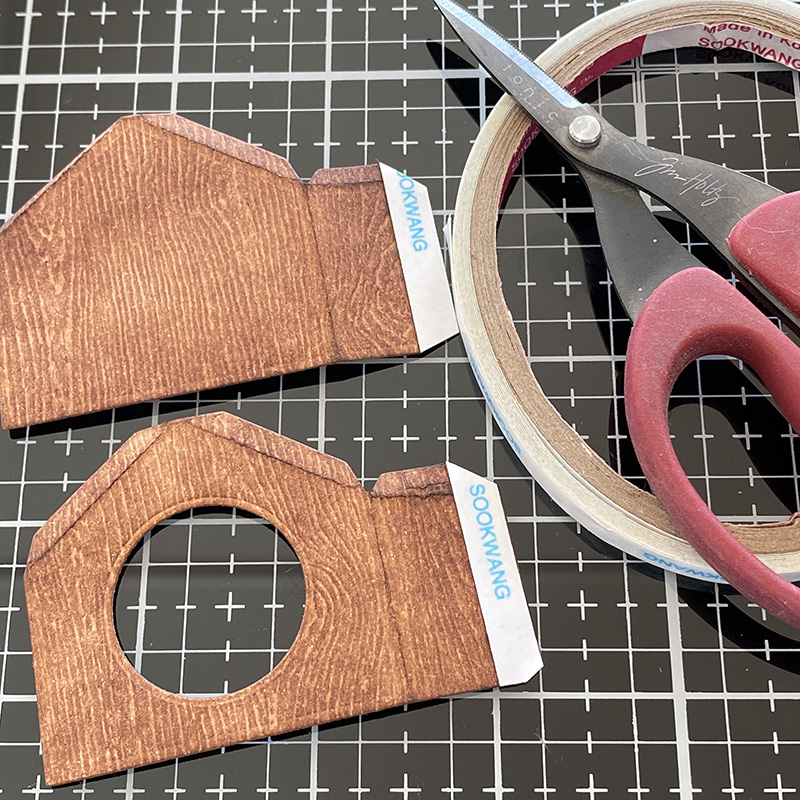
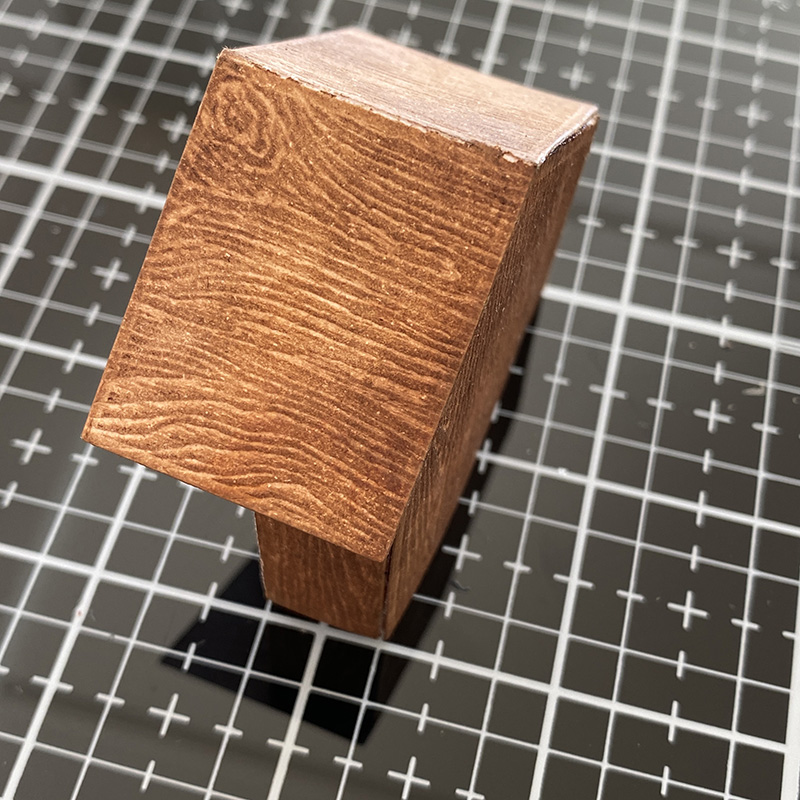
Using the largest house from the paper village and a circle from the stacked circles thinlits die sets, die cut from distress woodgrain cardstock. The paper village thinlits dies are perfect with the Sizzix sidekick. So easy right?!
In order to get the house to sit comfortably on the trim and make the roof seem larger, I altered the die cut. Here’s how…
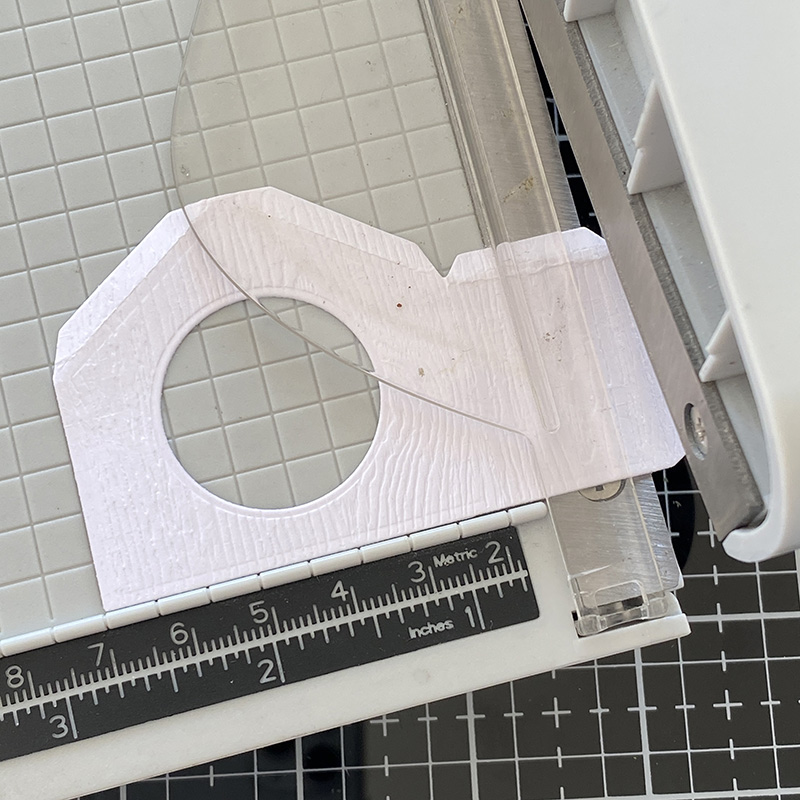
Using my Tim Holtz Tonic guillotine, I trimmed off a quarter of an inch from the side tab. I repeated this on the other die cut, (the back of the house).
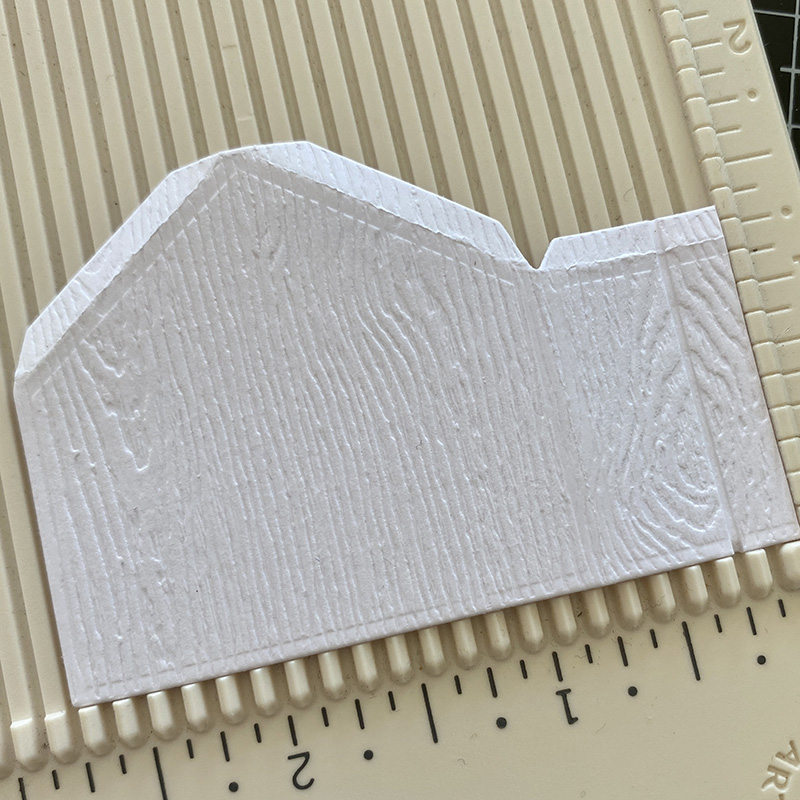
Using a score board, I created a new tab by scoring a quarter inch in from the edge. I repeated this on the other die cut, (the front of the house).
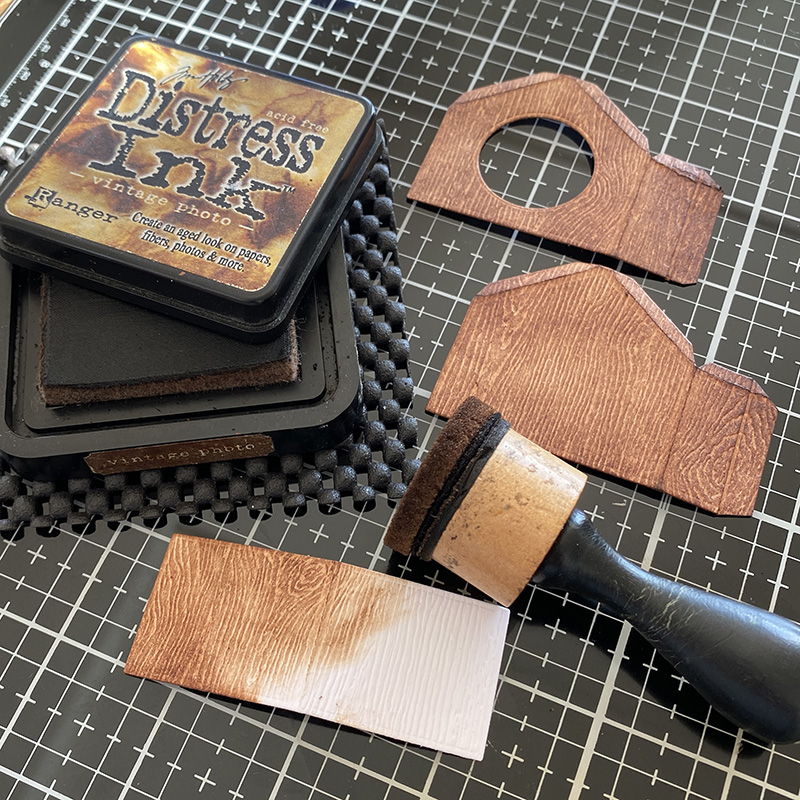
Using a mini blending tool, blend in vintage photo distress ink. I covered both sides with ink as you will see portions of the underneath of the roof and inside of the birdhouse once it’s assembled.
You can use distress collage medium to put these together and I do for the roof but I find scor-tape is perfect for the side tabs. Cut the top of the tab at a slight angle (see pic above).
TIP: Make sure the ink is dry before using the scor-tape or it will slide off.
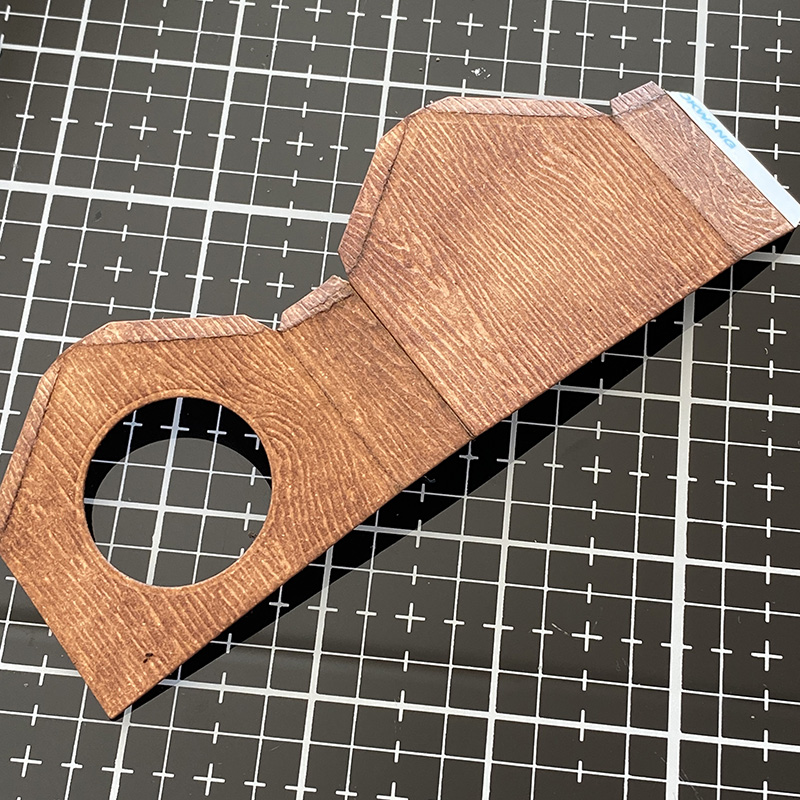
Assemble the house by laying the back of the house over the tab on the front of the house (see pic above).
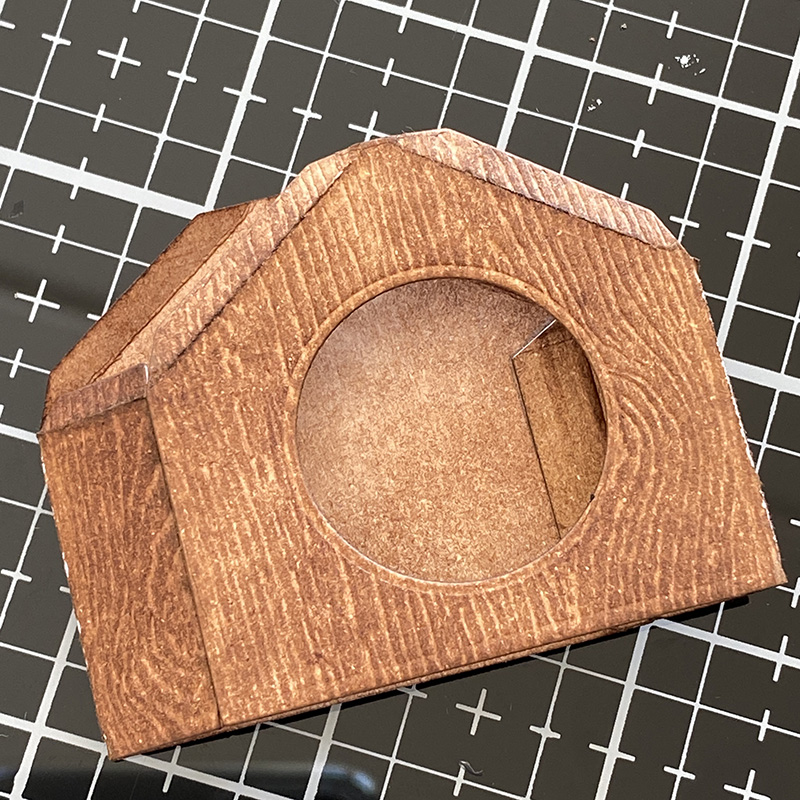
Fold the house over (see pic above) and add the second tab in the same way as the first and then press down so the house is flat and the tabs are secure.
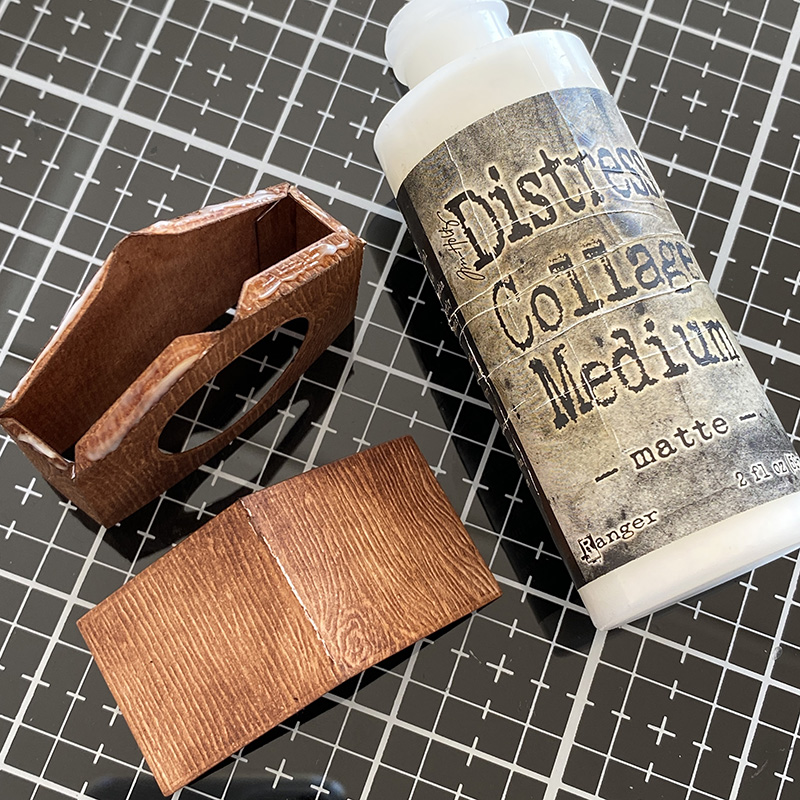
Pop the house up and add distress collage medium to the tabs on the top where the roof will sit.
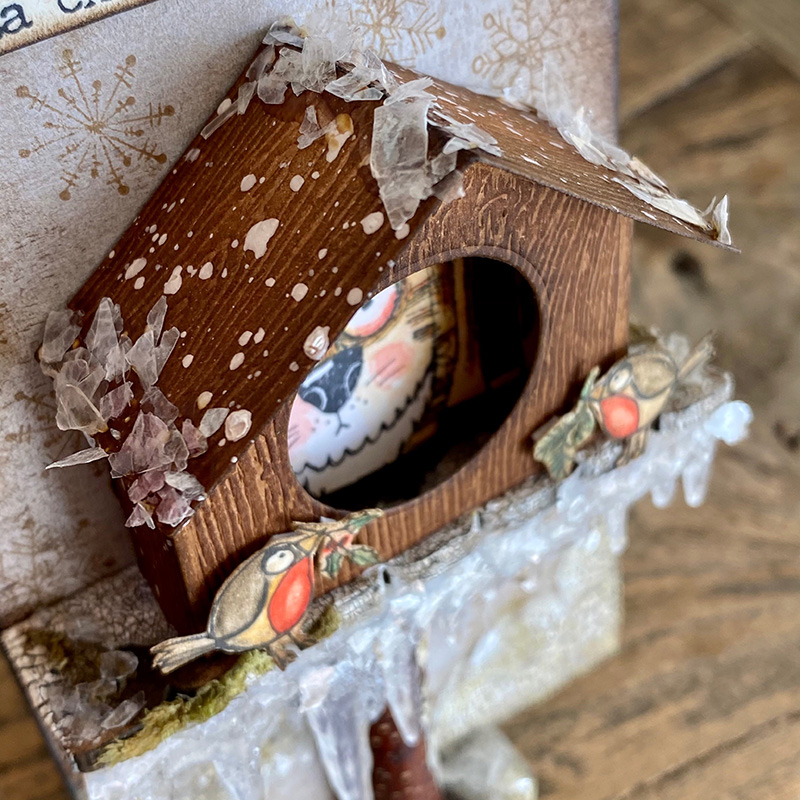
Add the roof and hold down with your fingers for a few moments until bonded. I positioned the roof flush with the back of the house so it would sit flush against my tag and give more overhang.
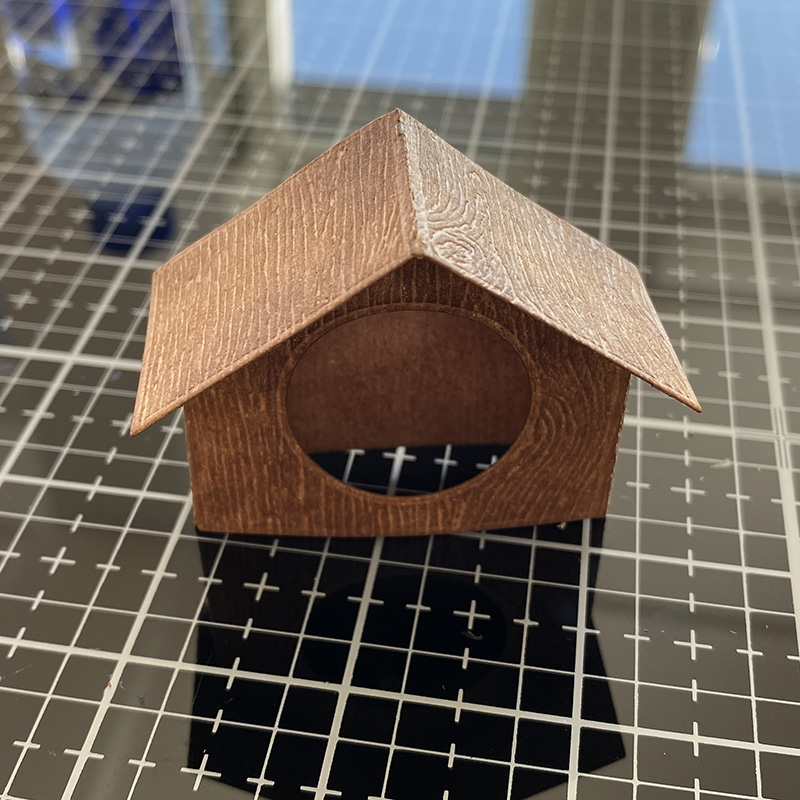
Like this…
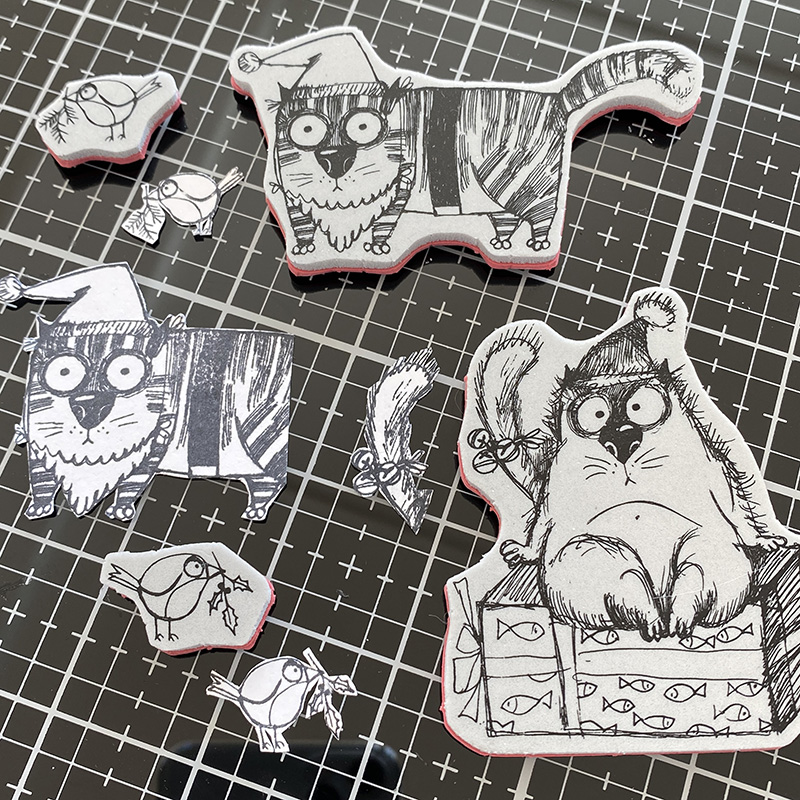
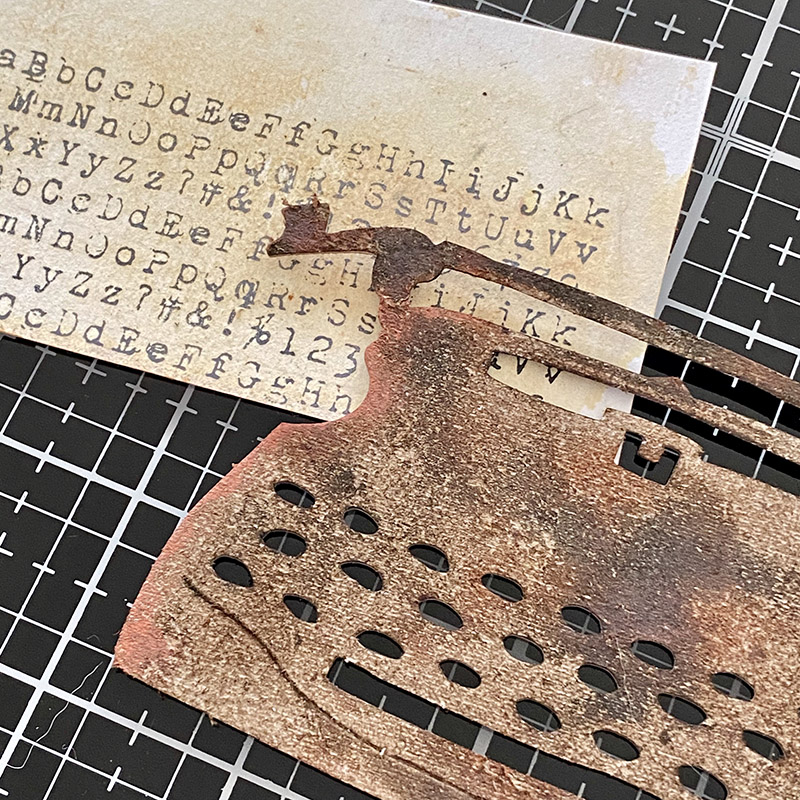
Using stamps from Snarky Christmas CMS416 set, stamp with distress archival ink onto distress watercolor cardstock (smooth side) and fussy cut. I used a tail from one cat and the body from another (you’ll see why later on). I stamped the tiny bird from this set and the one from the STAMPtember 2020 set.
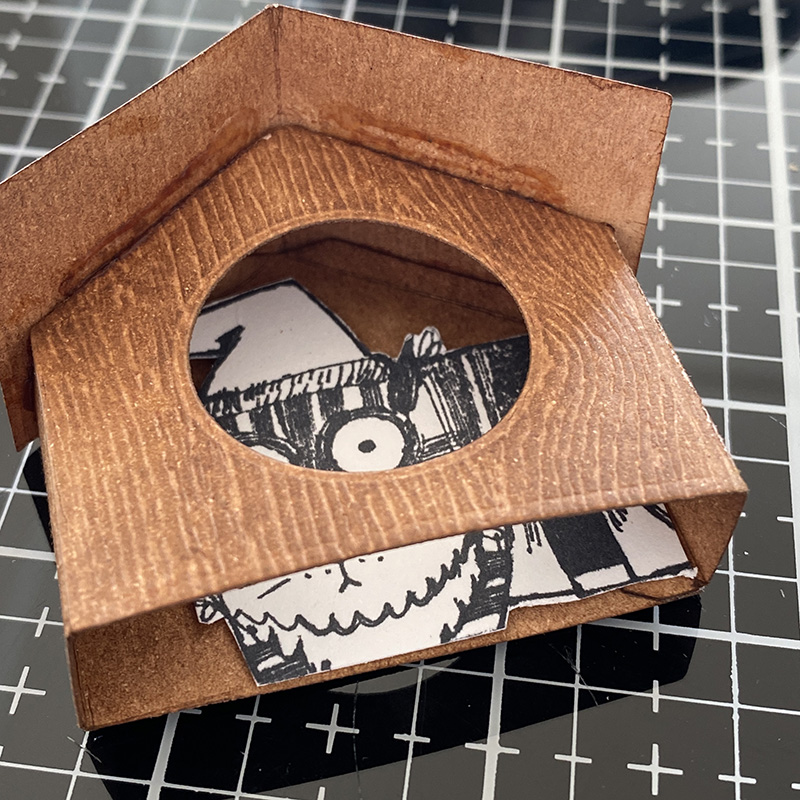
Place your fussy cut snarky cat into the back of the birdhouse and trim to fit. Color and then adhere him to the inside with a little 3D foam so he pops forward a little.
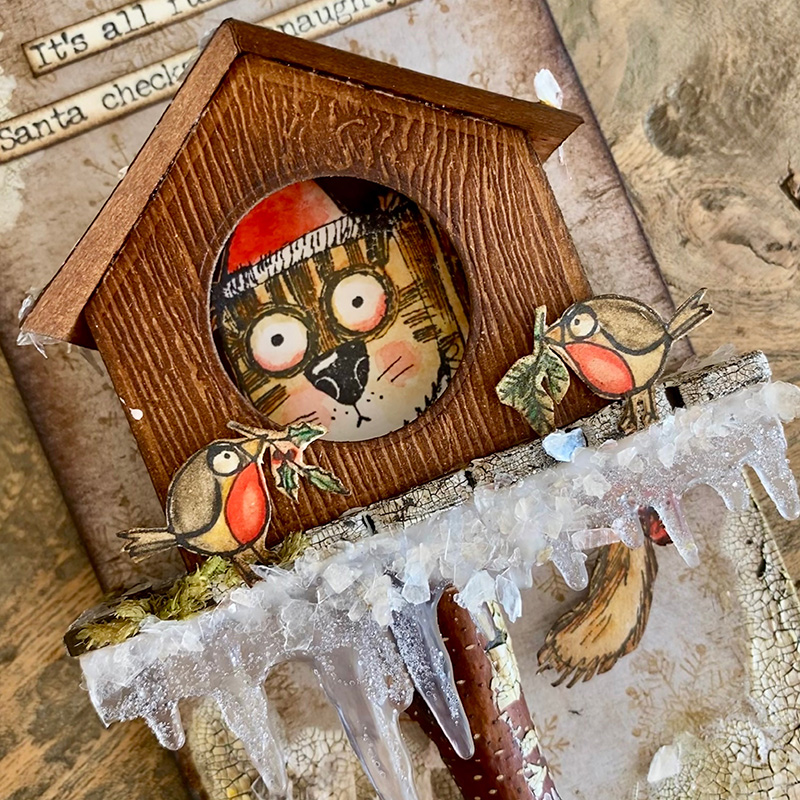
Now it’s time to assemble the tag. Using distress collage medium, glue the etcetera thickboard scallop trim across the tag. Once dry, add the stick and base trim underneath and finally the bird house, with the tiny birds in front.
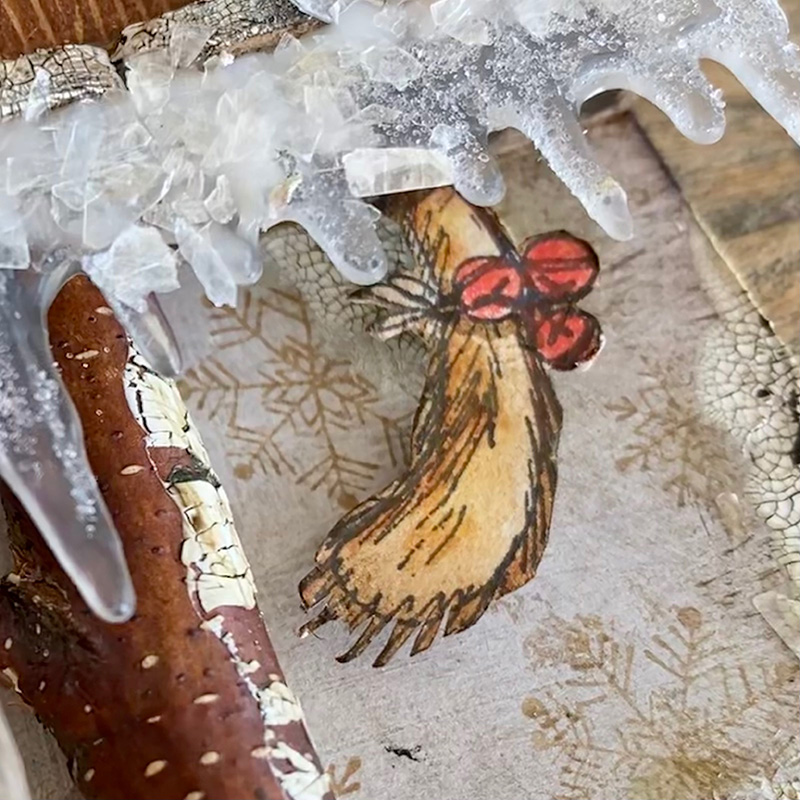
Using 3D foam, mount the cat tail (from the other snarky cat) under the bottom of the trim, the join will be covered by the icicles.
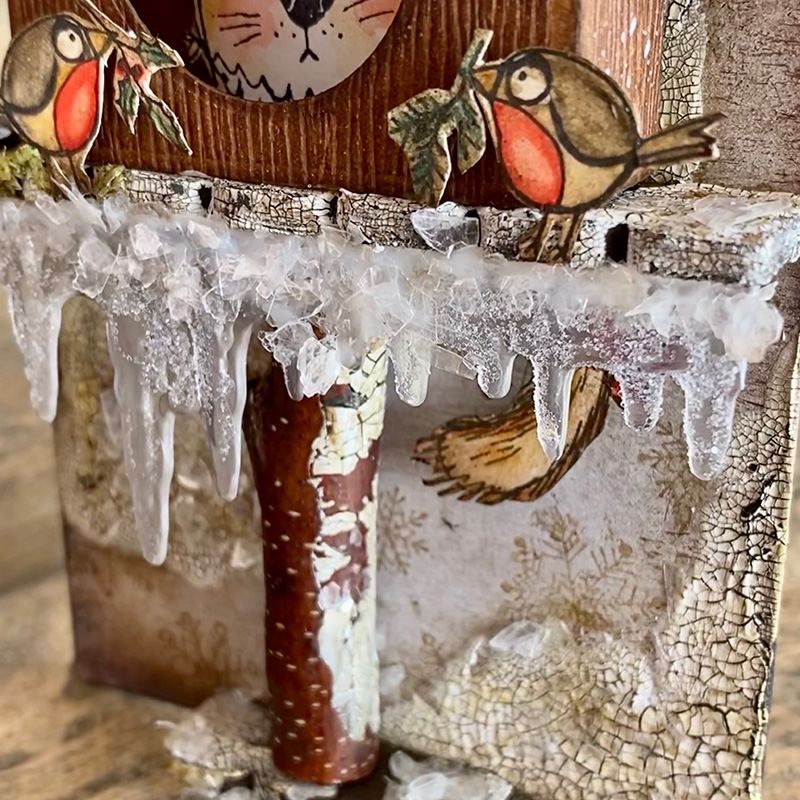
Add distress collage medium to idea-ology icicles and cover with distress glitter using the glitter duster. I hate glitter, I really do and I have to say that the glitter duster eliminates a lot of escaped glitter. I used a splat box and did the glitter work on my balcony… I wish to apologise to my neighbours! LOL
I added more distress collage medium and sprinkled with distress mica. I LOVE DISTRESS MICA! It’s not glitter, it’s like shards of vintage sugar glass….
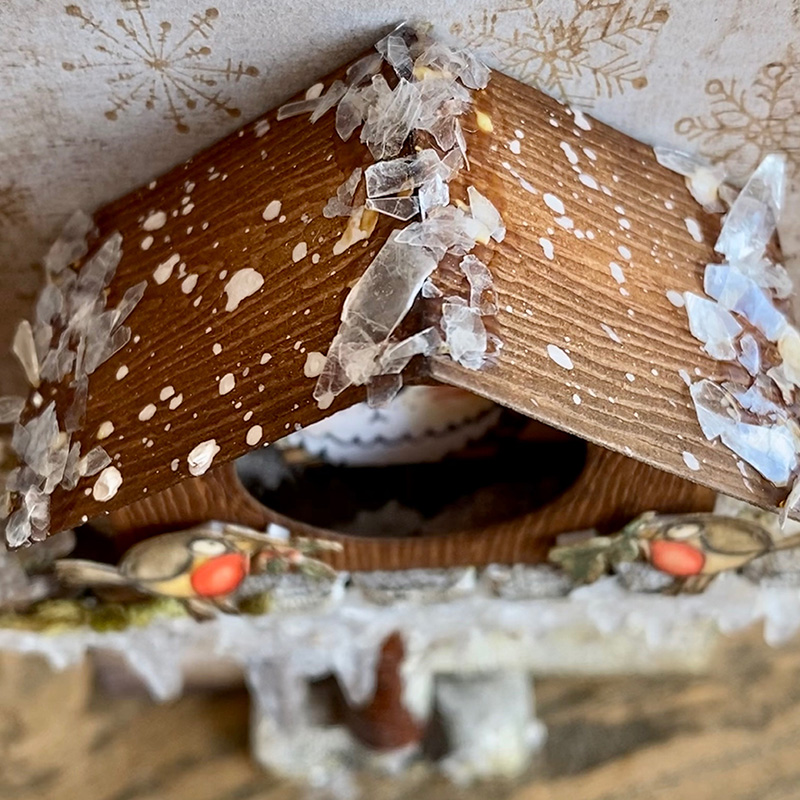
I added mica to the roof and splatted it with some picket fence distress paint to give the appearance of snow… or bird poop… you decide! 😉
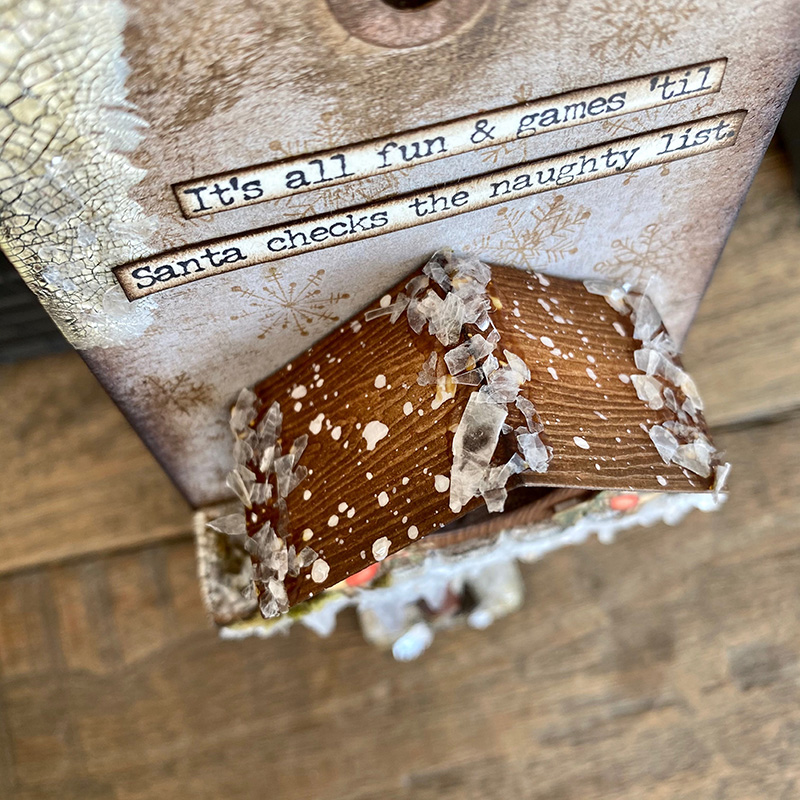
As there’s a very naughty snarky cat hiding in the birdhouse, I thought this snarky sentiment from the Snarky Christmas CMS416 set was perfect. I stamped it with distress archival ink onto distress watercolor cardstock, cut with my scissors and edged with a little ground espresso distress ink.
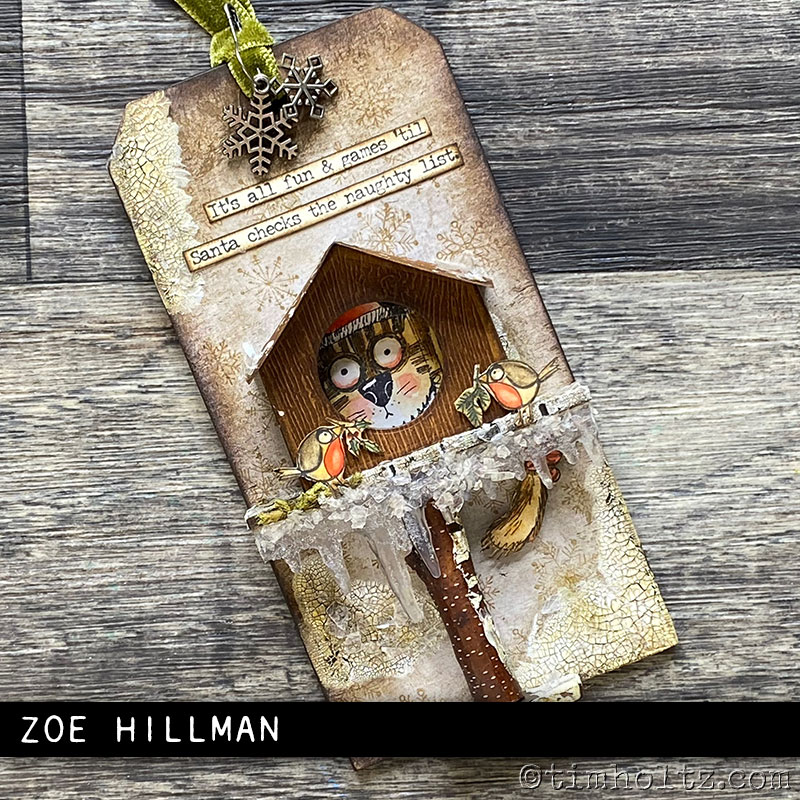
Thank you Tim for adding the idea-ology snowflakes adornments with an idea-ology loop pin to hold the GORGEOUS new idea-ology christmas velvet trim in place. I would love to see these trims in shades of brown in the every day line, it’s so nice… stock up!
A big thank you to Tim Holtz, Mario Rossi and Paula Cheney for all they do for the makers and a big thank you to you for stopping by. If you have any questions, please let me know and I’ll do my best to help.
If you’re a Tim Holtz Addict looking for a home, check out the Tim Holtz Addicts group on facebook. For an encyclopedia of demos, techniques, tips and tricks, check out the 16 weeks of demo magic on Tim’s blog.
Have a great Thursday and see you tomorrow for my next project.
Zoe