Hello Friends, I hope this finds you well. Did you catch the Tim Holtz Stamp LIVE launch party on Saturday?! There were very early morning coffees and early evening cocktails being poured from the various world time zones while we took our front row seats for the show… If you missed the party, you can watch the replay and see all the maker inspiration over on Tim’s blog.

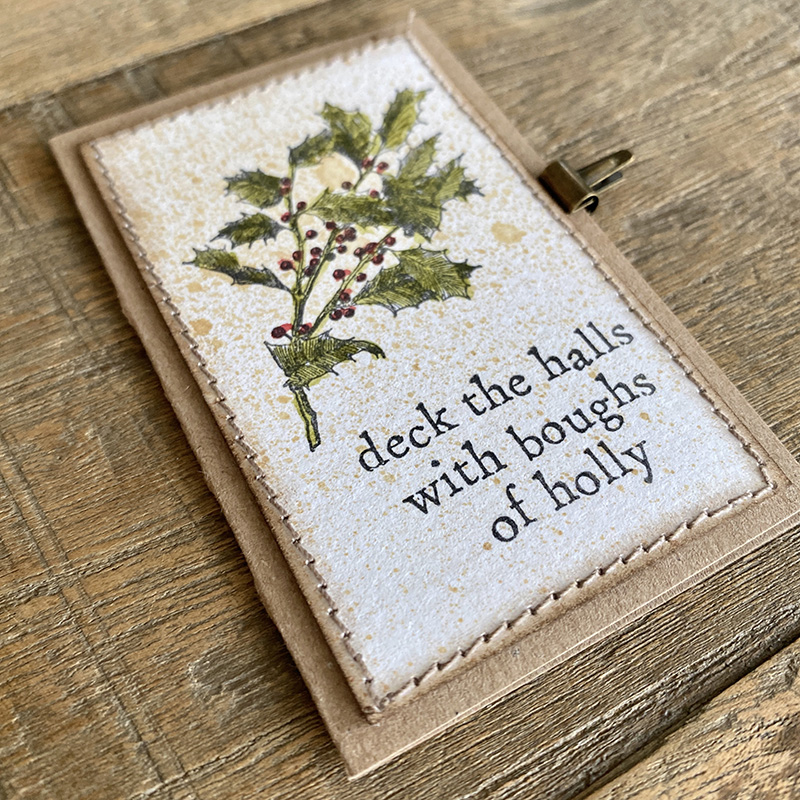
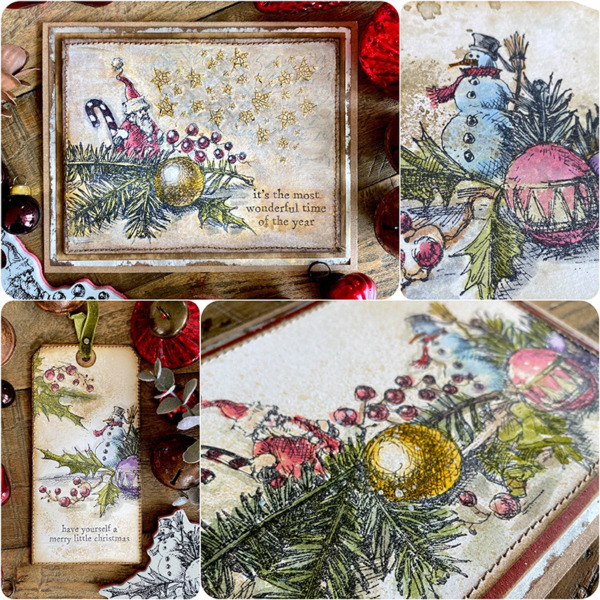
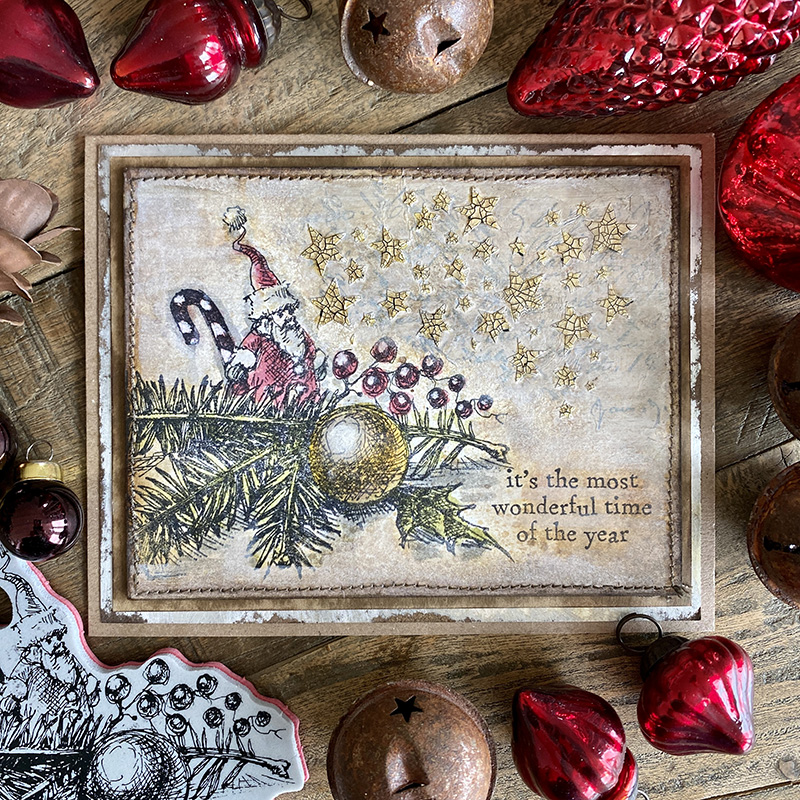
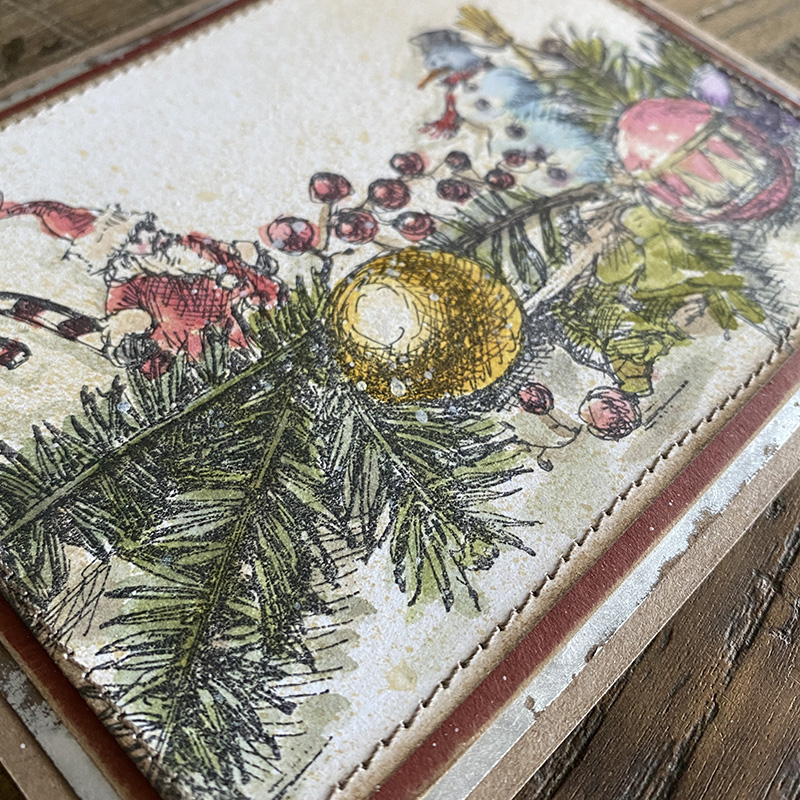
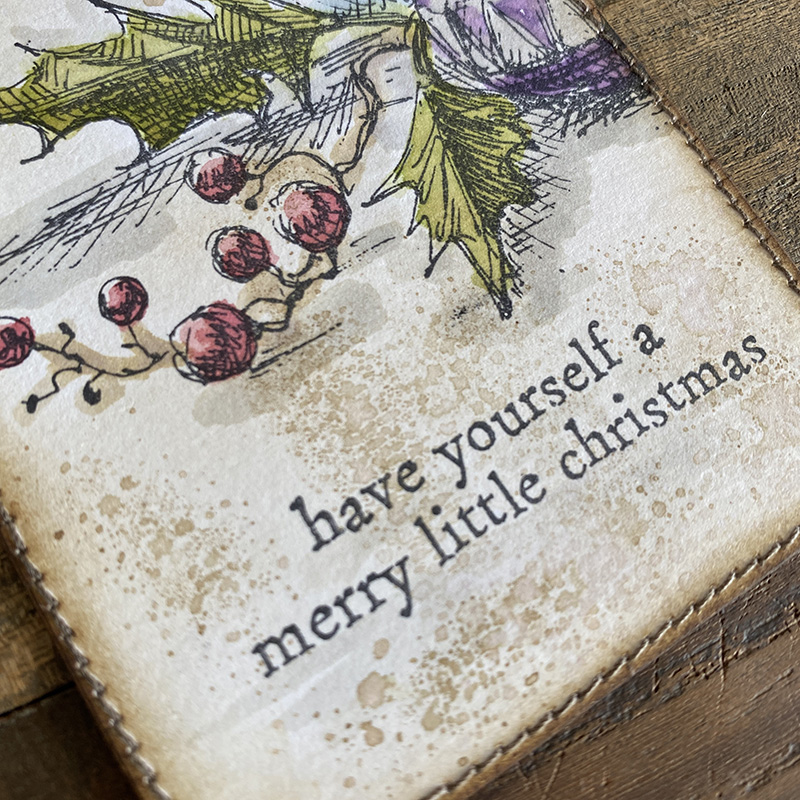
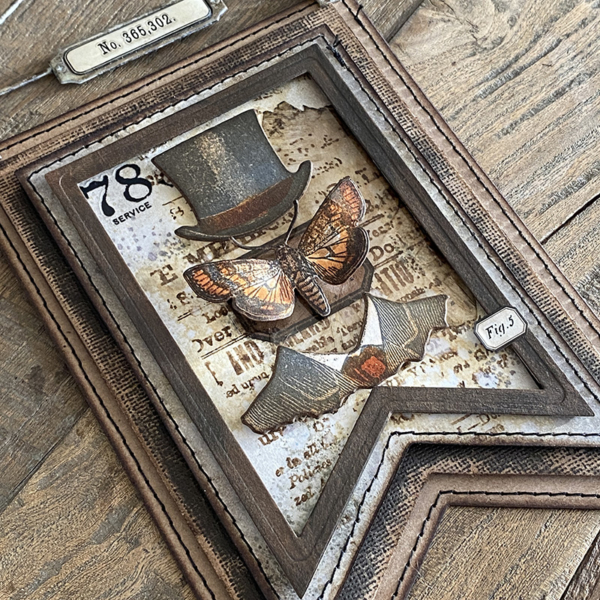
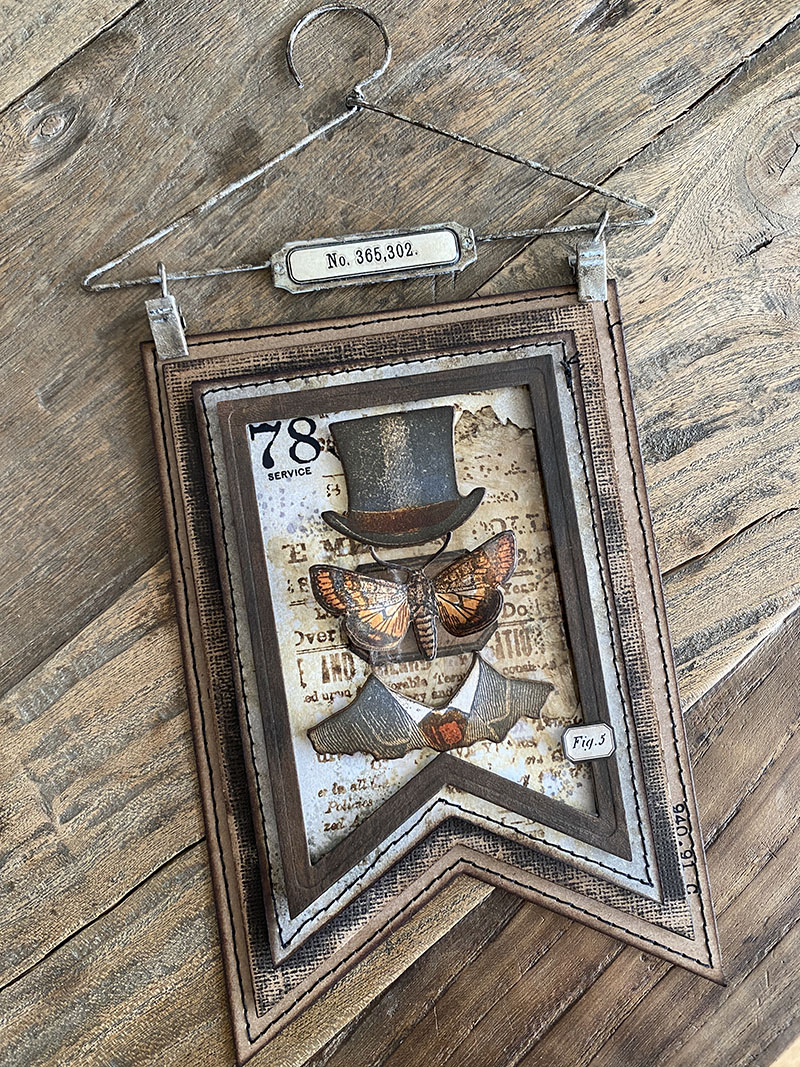
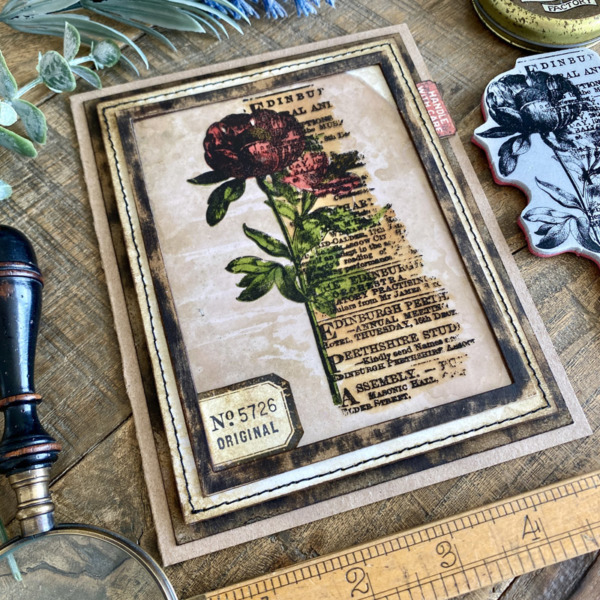
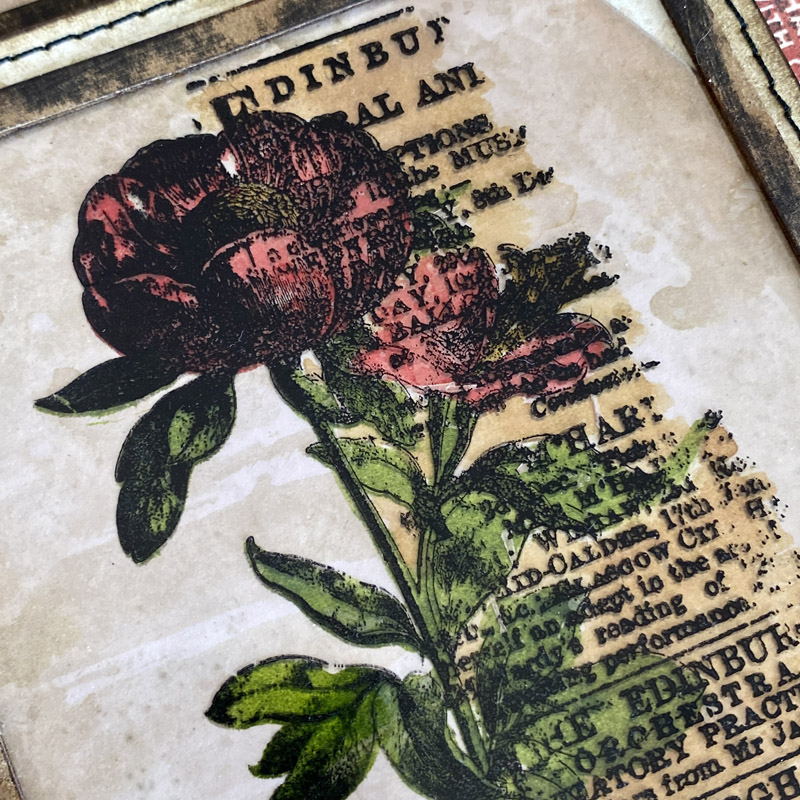
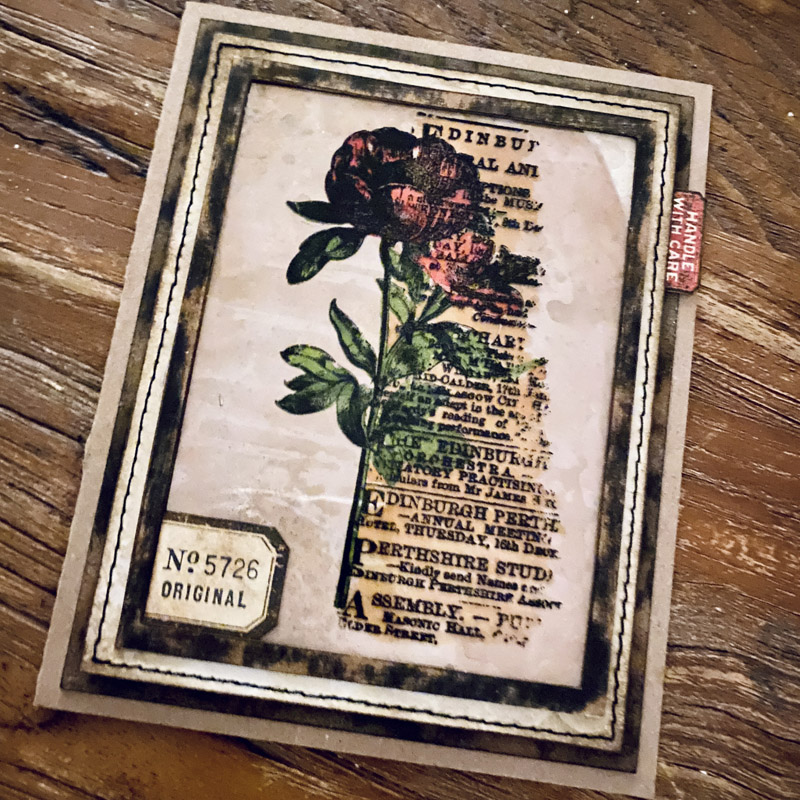
I made this card using the new Botanic Collage stamp set (CMS447). I’m not usually drawn to the floral side of the force, but the newsprint background gives these stamps such a cool vibe for me that I had to use them.
Let’s get into how I made it and the secret beneath the mica sheets! 😉
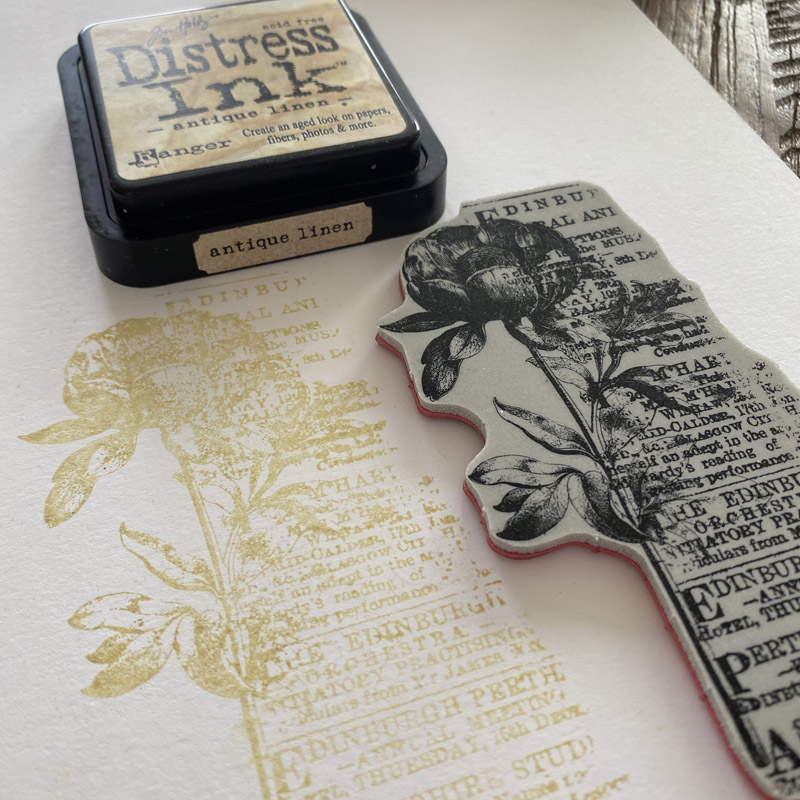
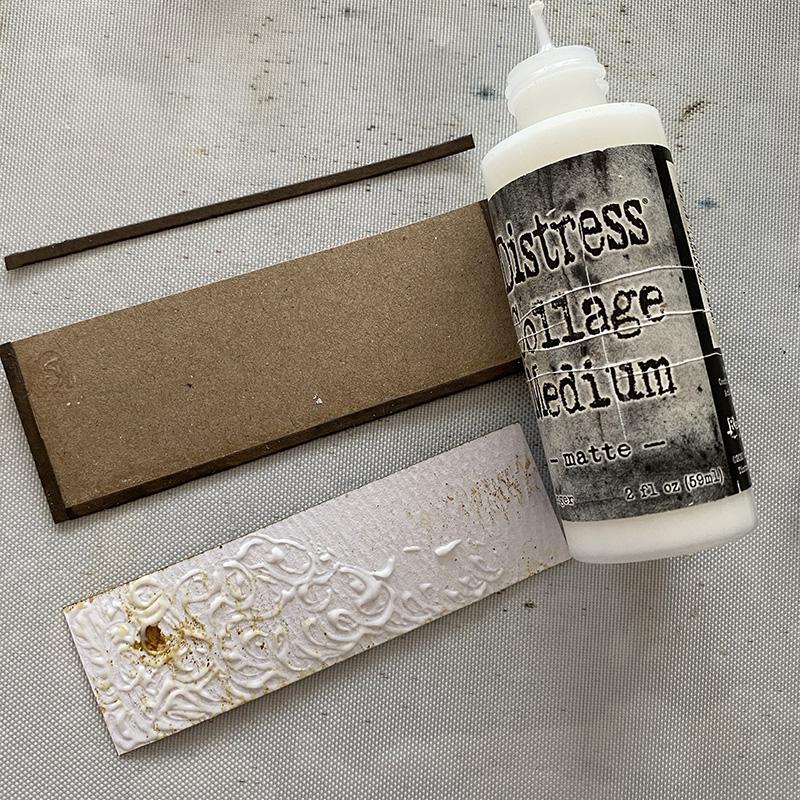
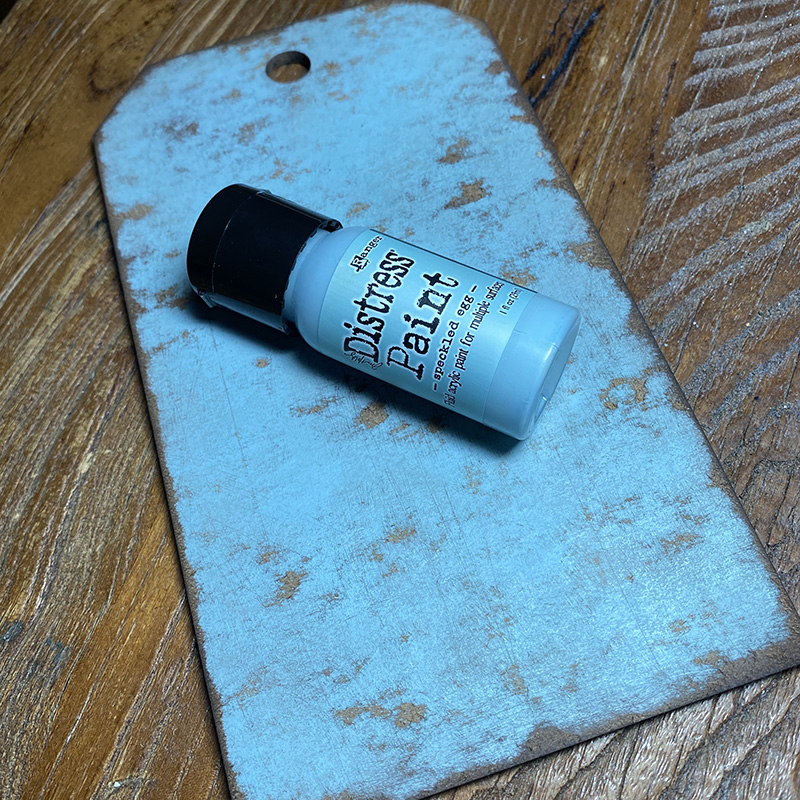
Ink up your stamp with antique linen distress ink or another very light distress ink and stamp onto the smooth side of distress watercolor cardstock.

Choose the distress reinker colors you want to watercolor your stamped image with. Put a tiny drop of each on your glass media mat ready to pick up with your paintbrush to watercolor.
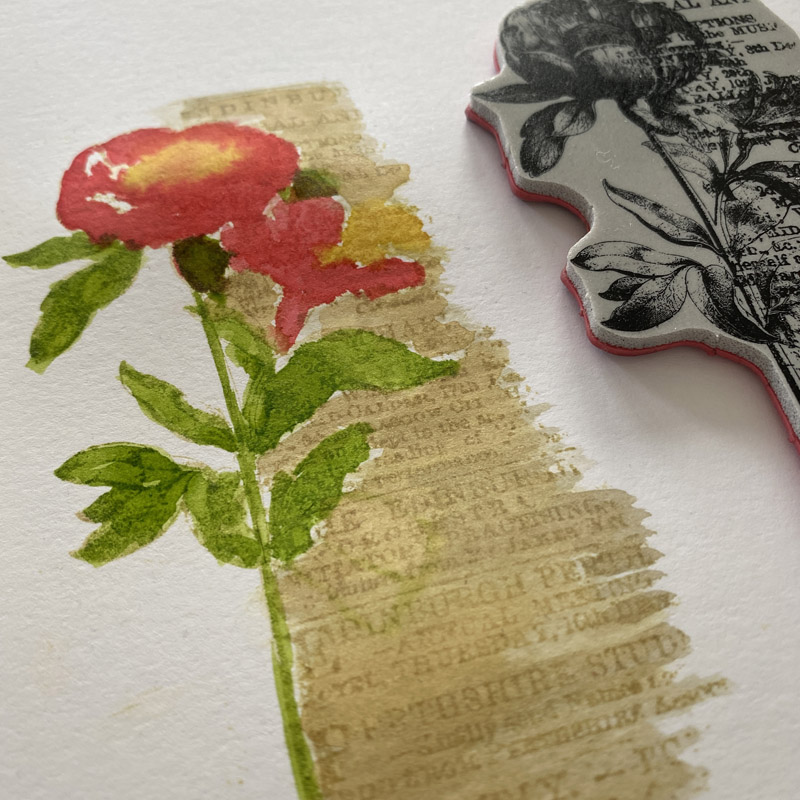
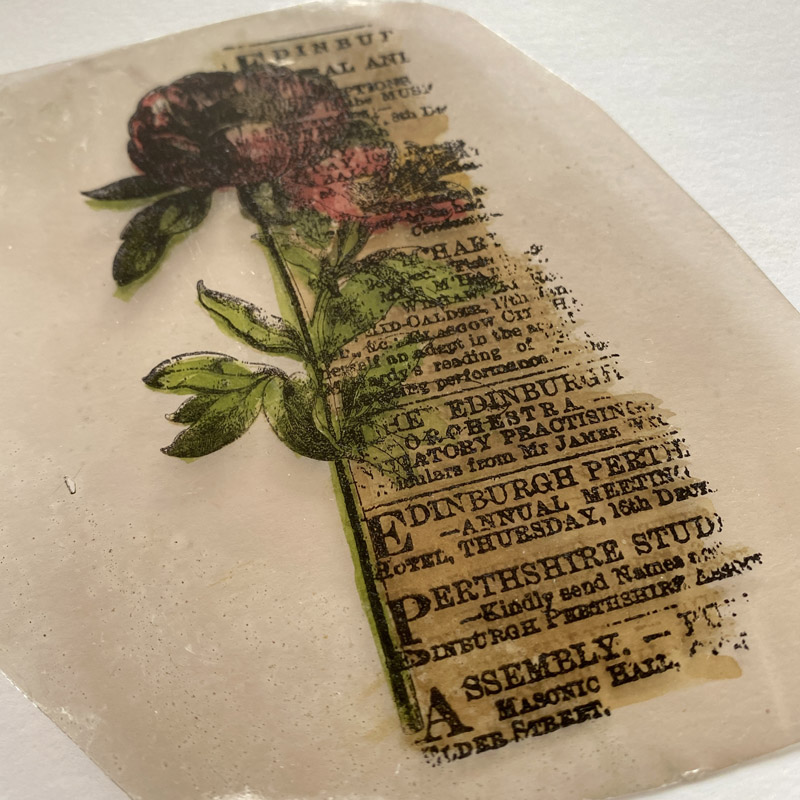
As you watercolor the stamped image, you will see the antique linen stamped lines become less prominent. You don’t need to be too delicate with this, however, do try to stay within the lines-ish. I set the stamp next to me when I’m watercoloring so I can check the design where the stamped image lines are feint.

I know it looks like a hot mess, but stay with me…
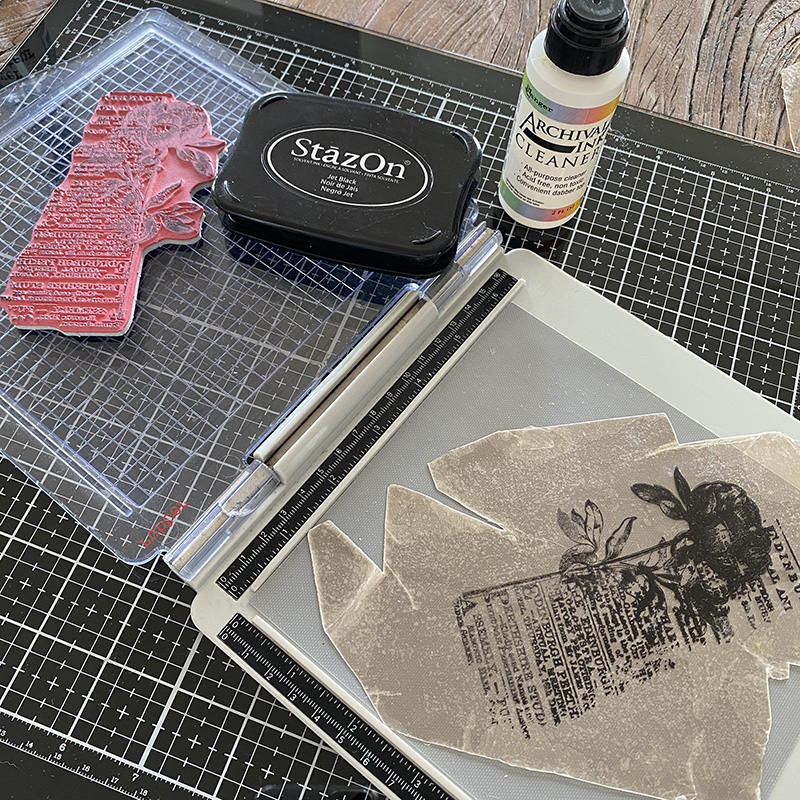
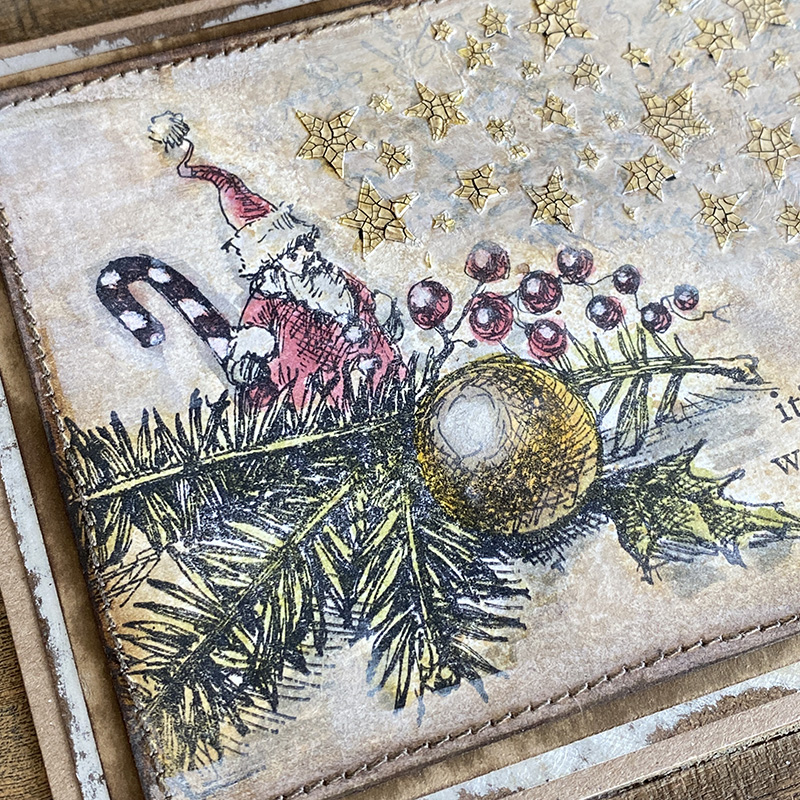
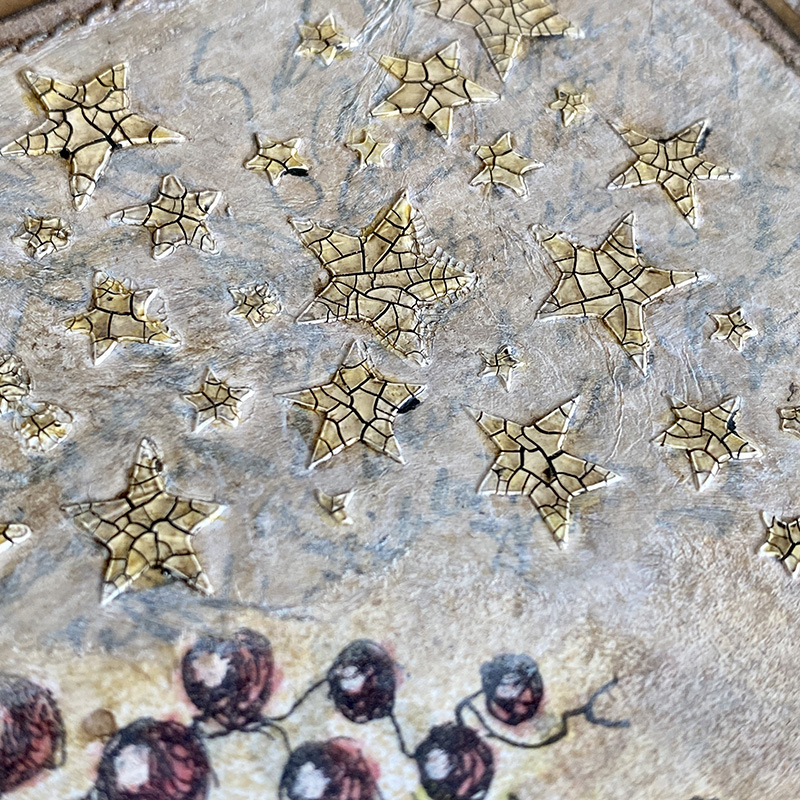
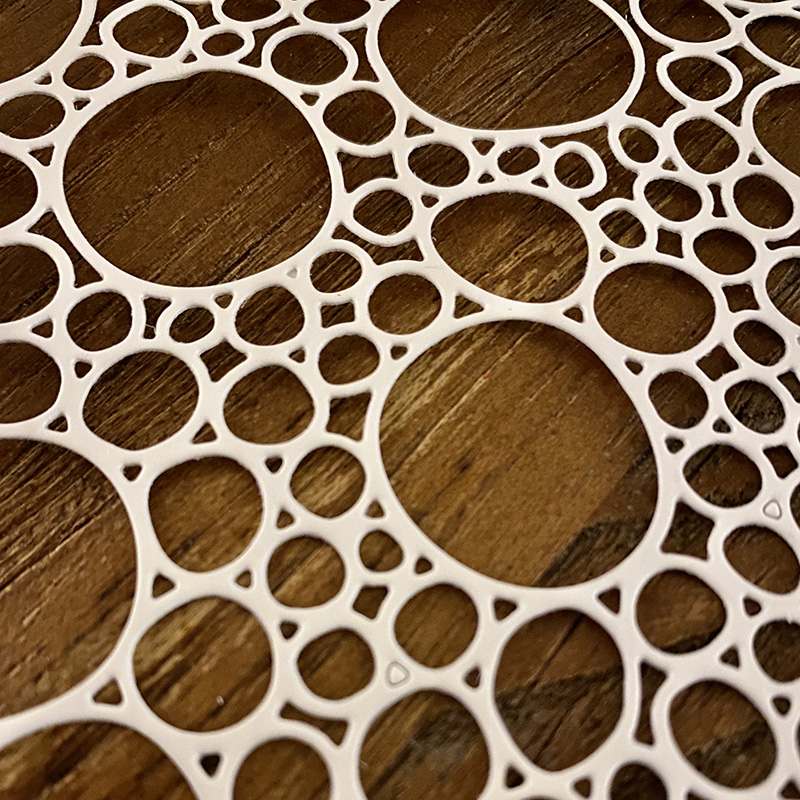
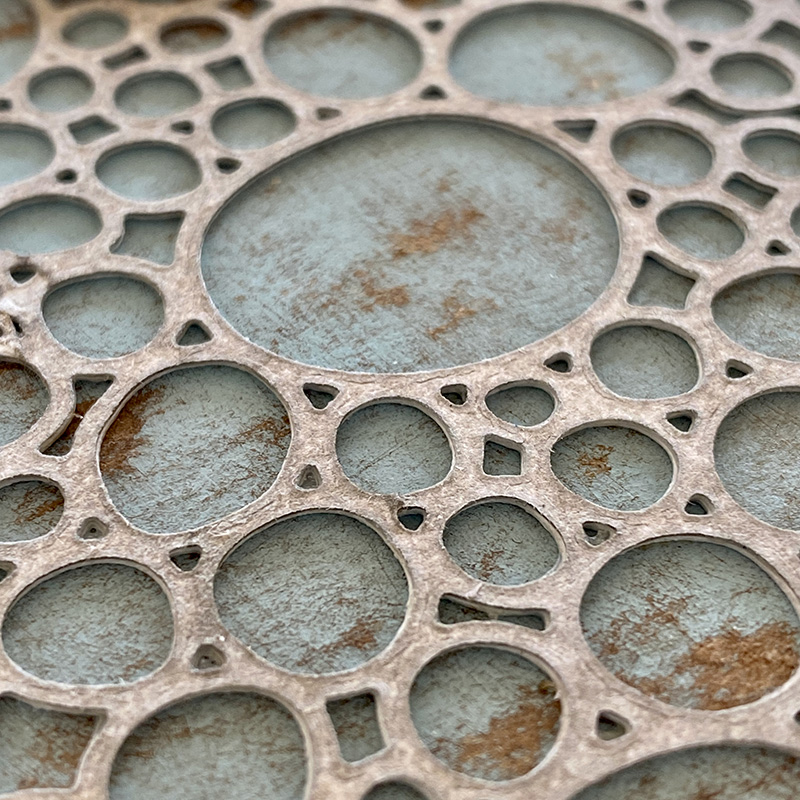
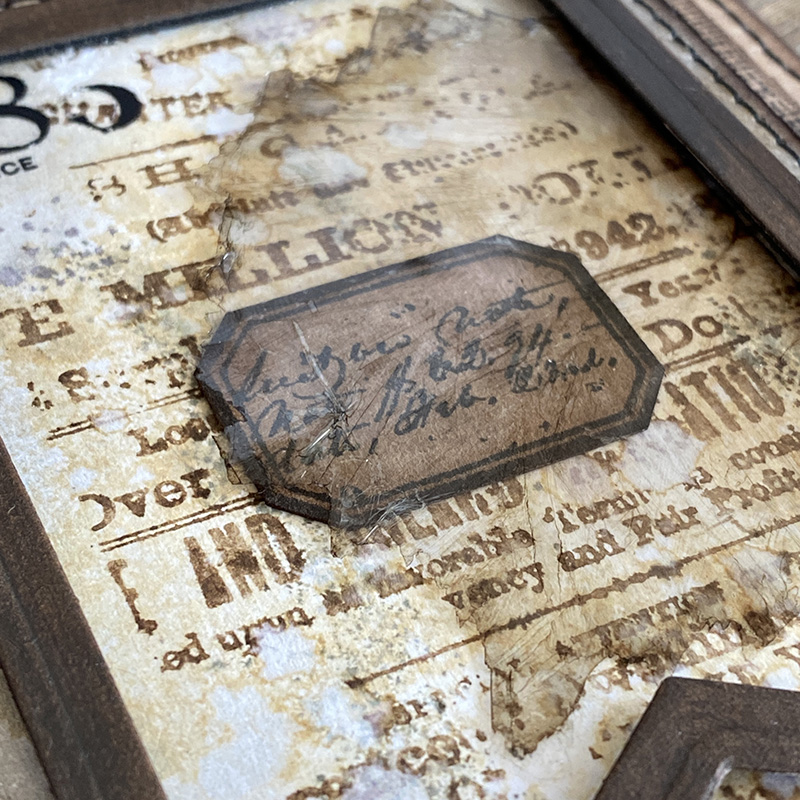
Place your mica onto your stamp platform. The Tim Holtz Tonic Media Grip Mat will keep the mica tile from moving. Magnets will work, but I wouldn’t use sticky grid because it makes a mess of the back of the mica. Position your stamp, ink with Stazon and stamp onto the mica tile. Because it’s Stazon ink, you will need to use stamp cleaner afterwards and then wash the stamp cleaner off with dish soap and water.
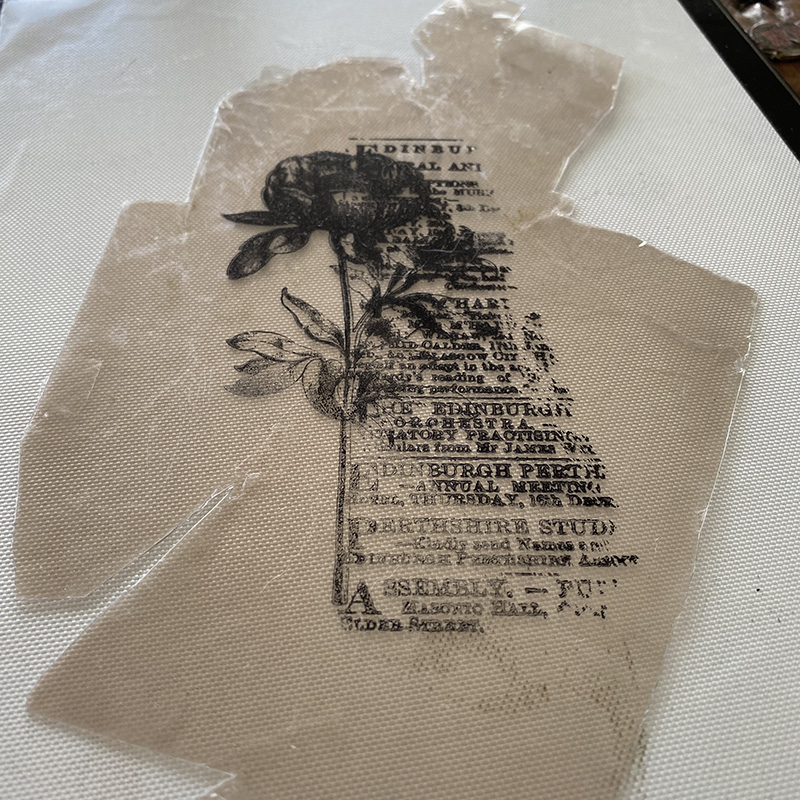
Your mica tile is now ready to place over the top of your hot mess watercolor background.
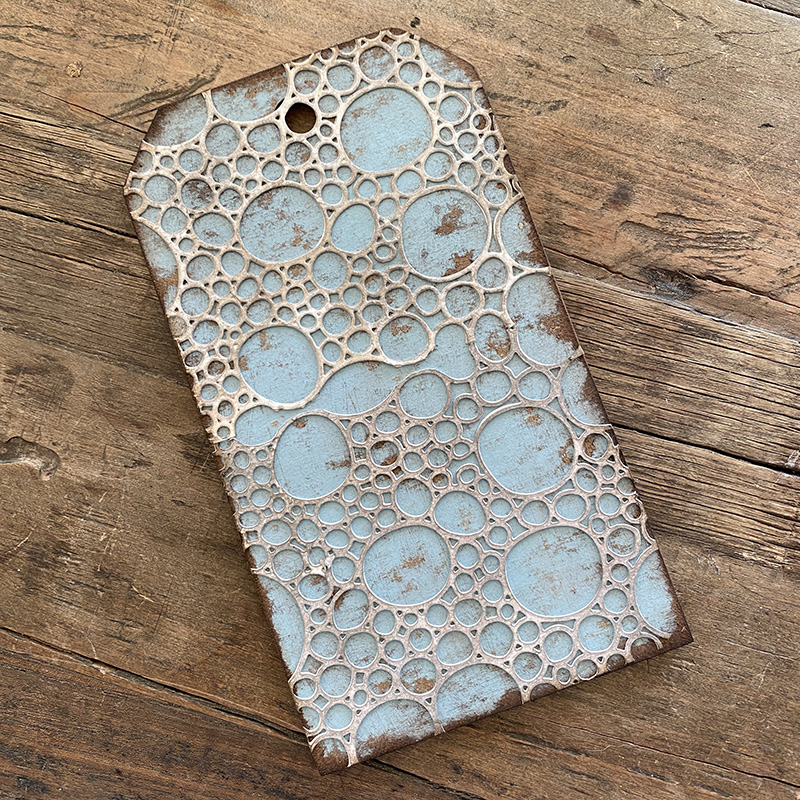
Ta Dah!
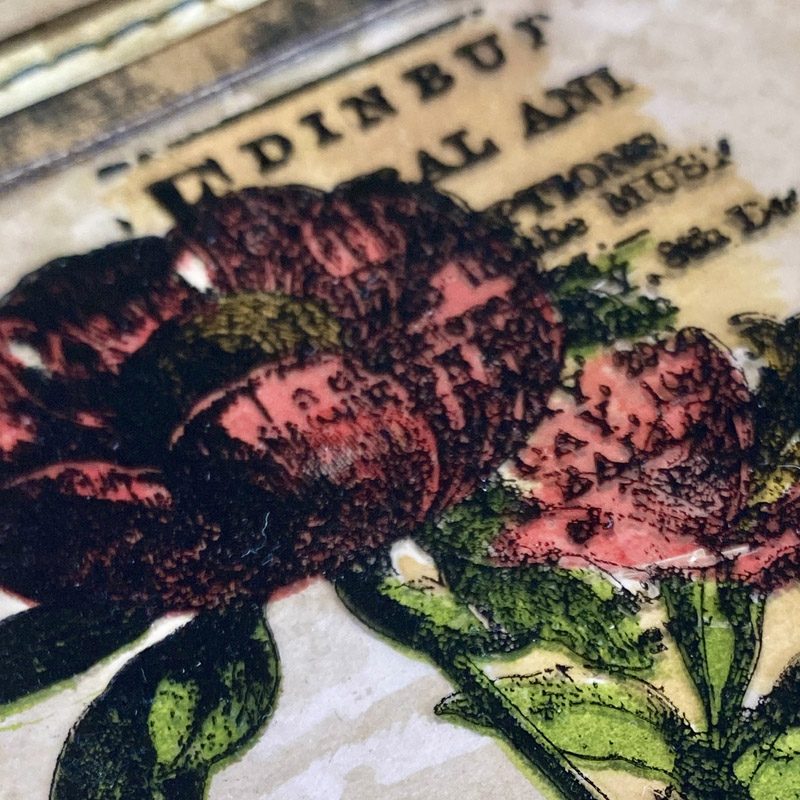
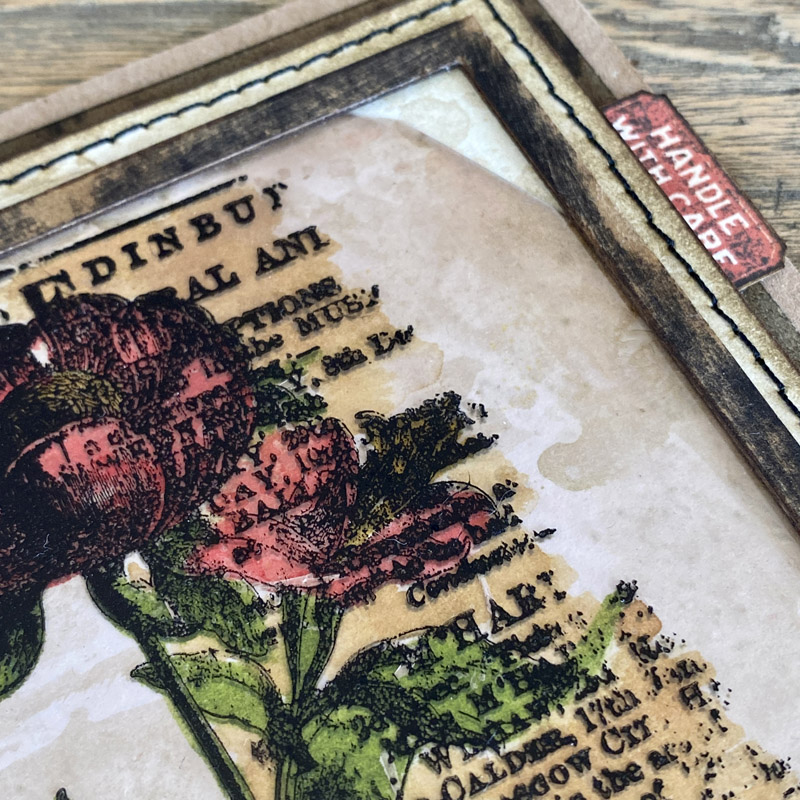
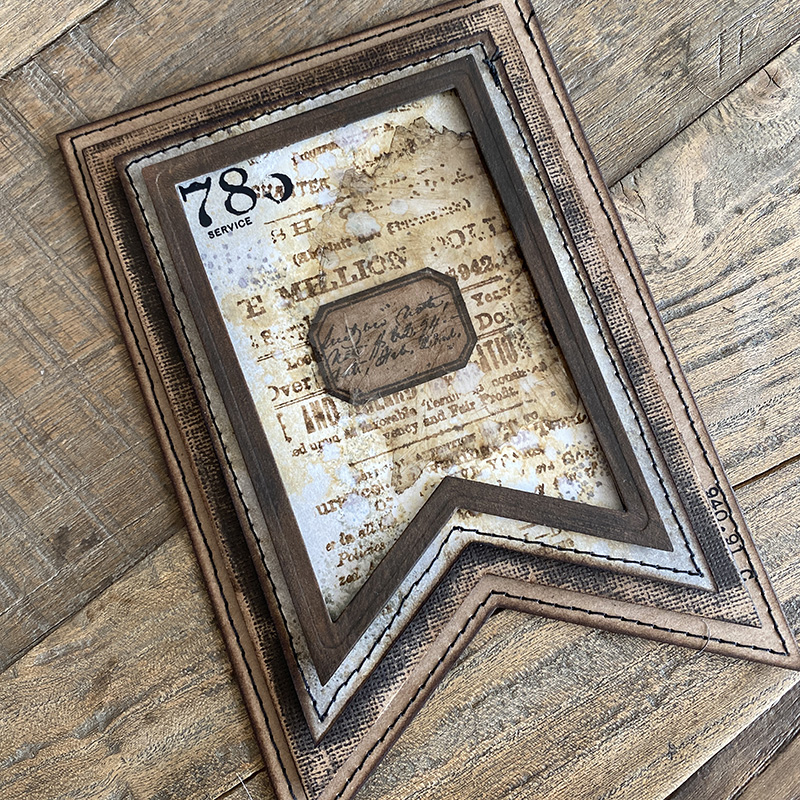
I added a frame over the top and trimmed the mica to size. Using distress collage medium to attach the mica tile at the edges and leave the center to sit slightly above the background.
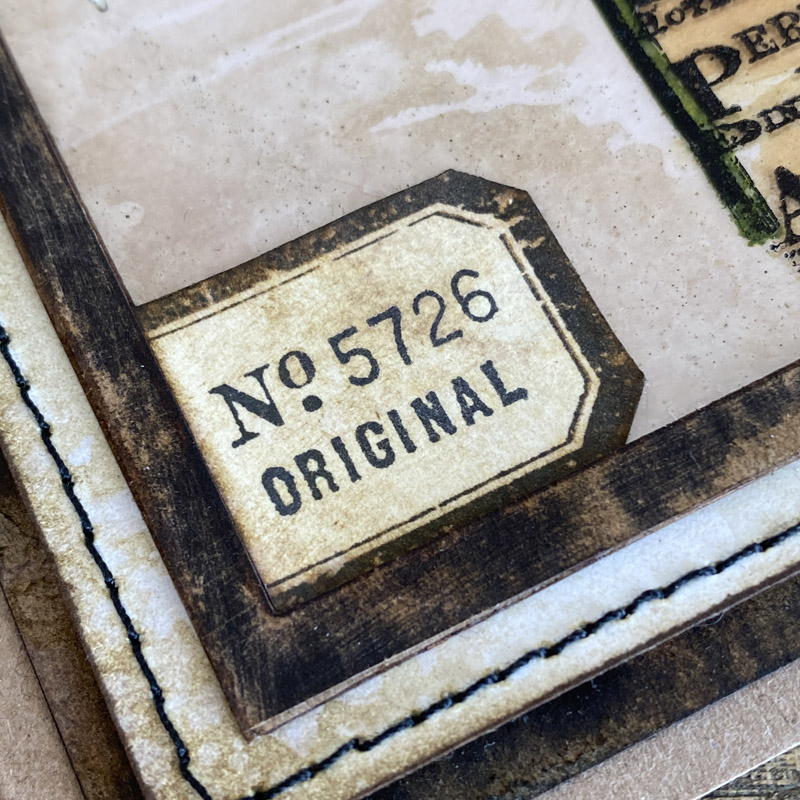
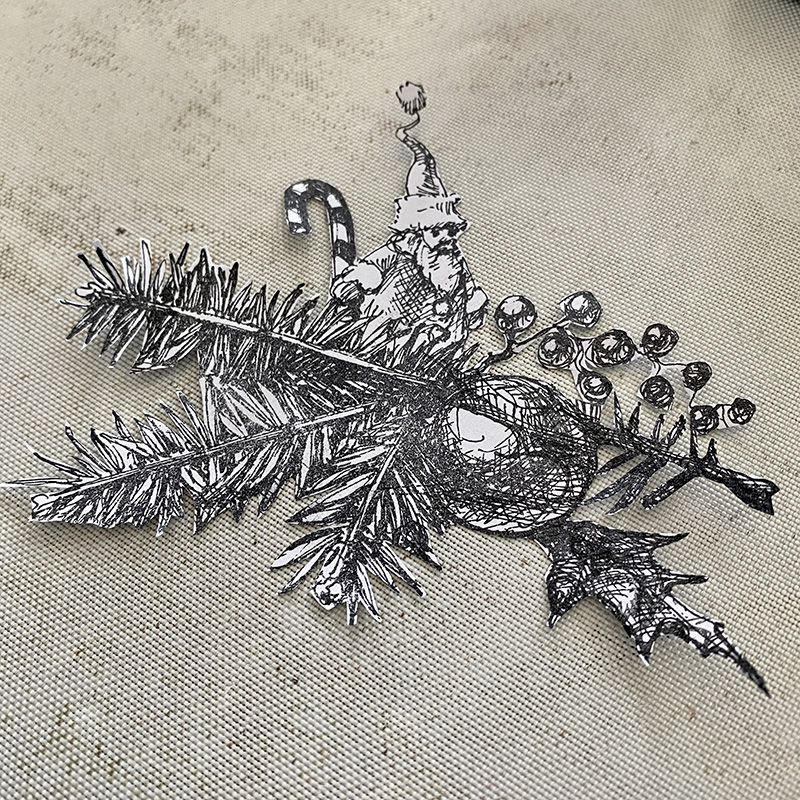
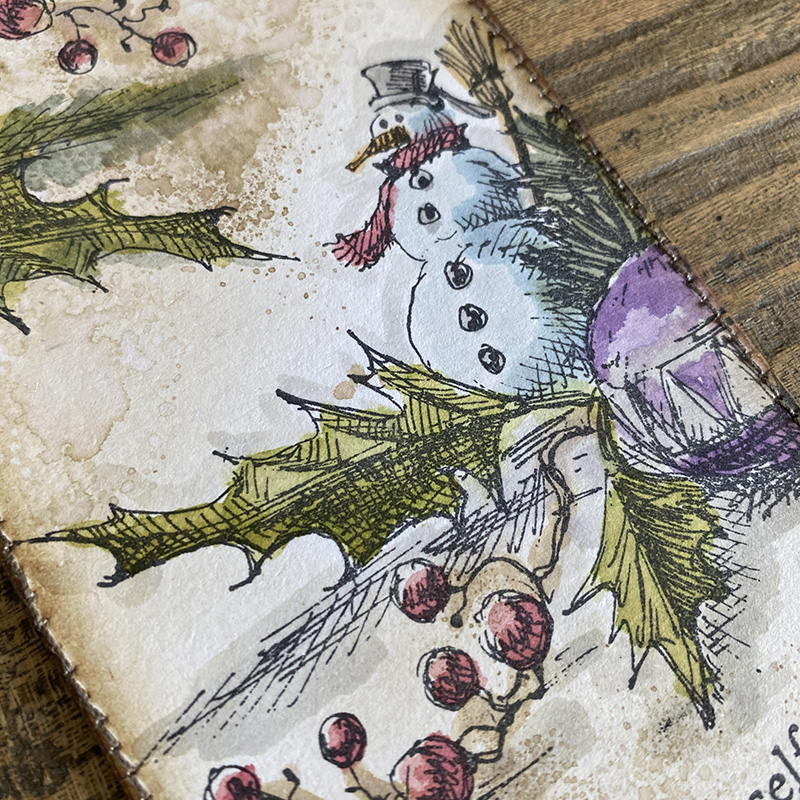
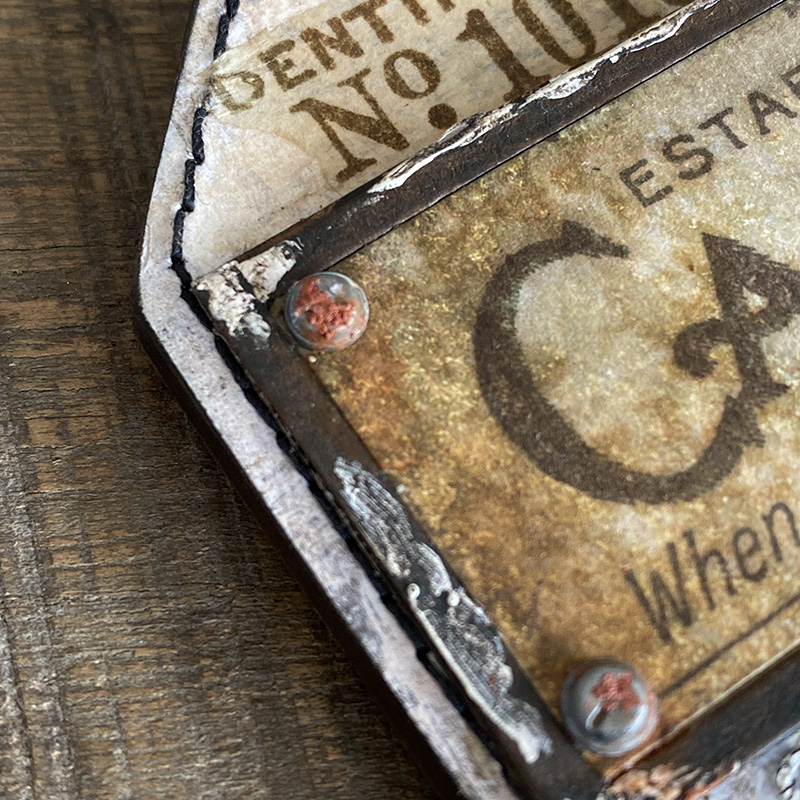
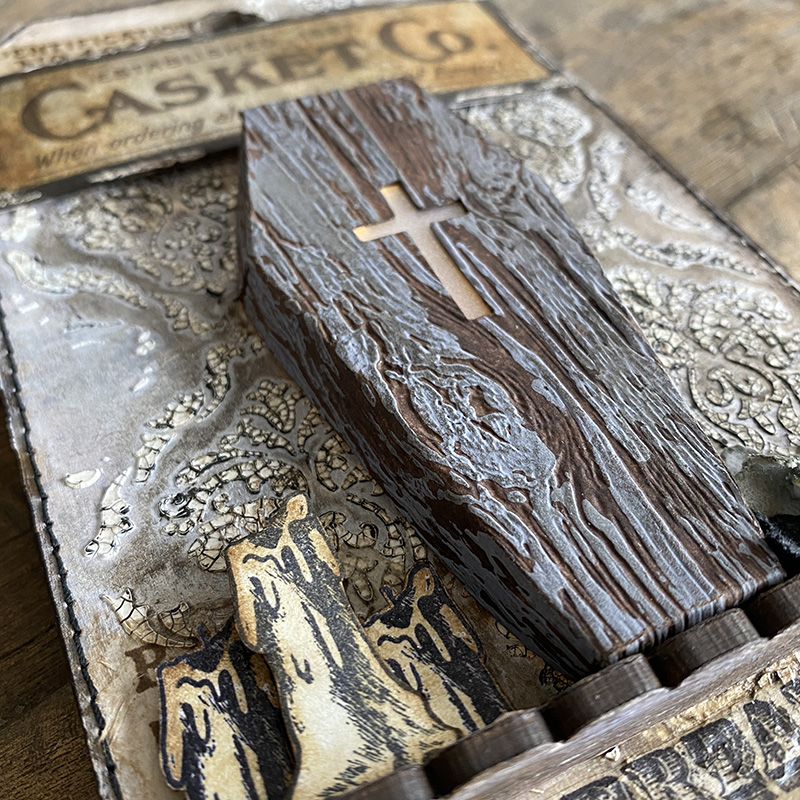
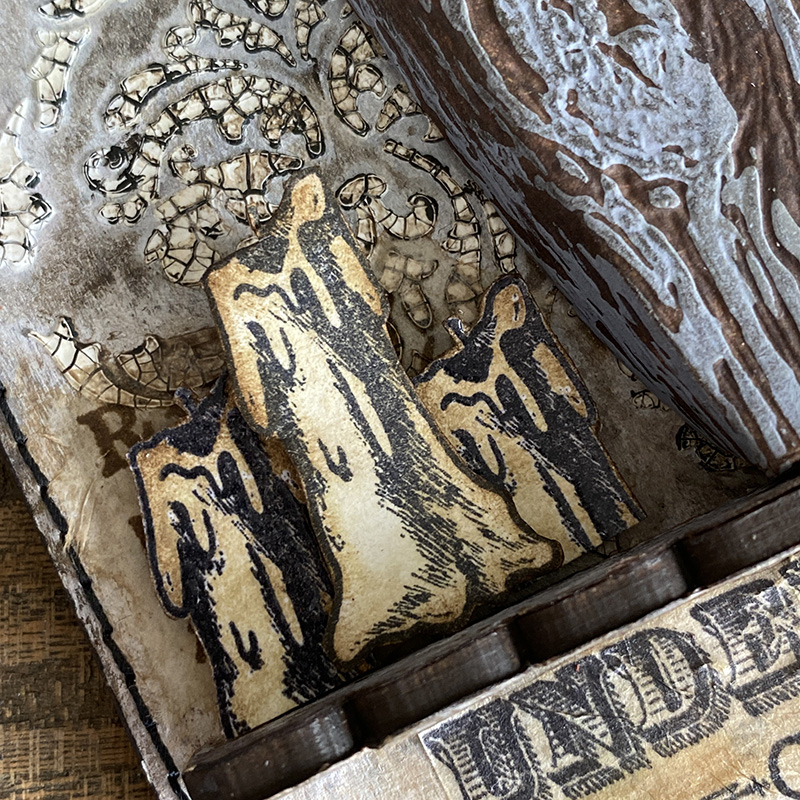
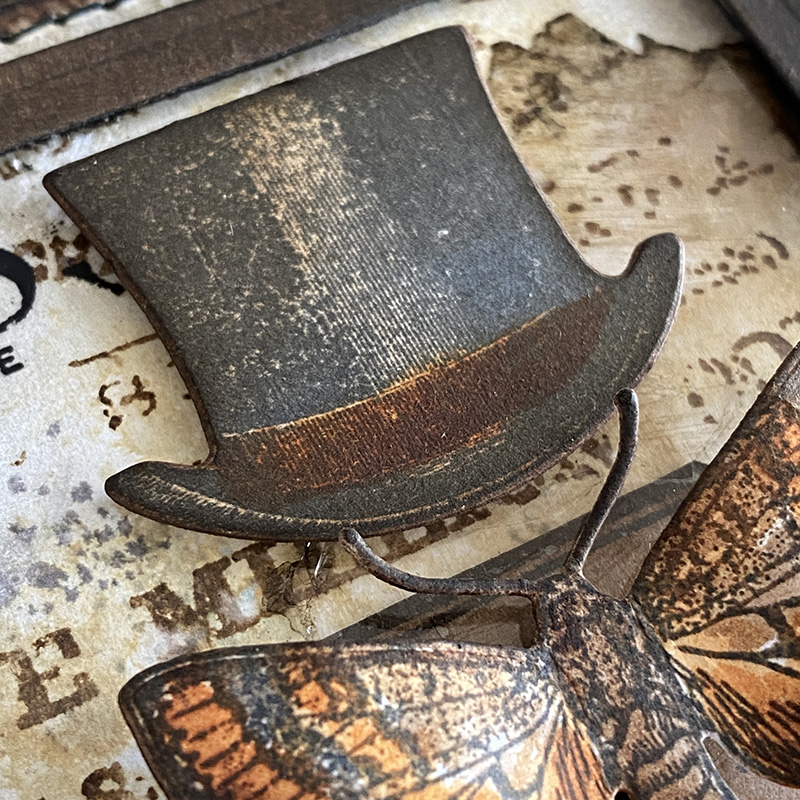
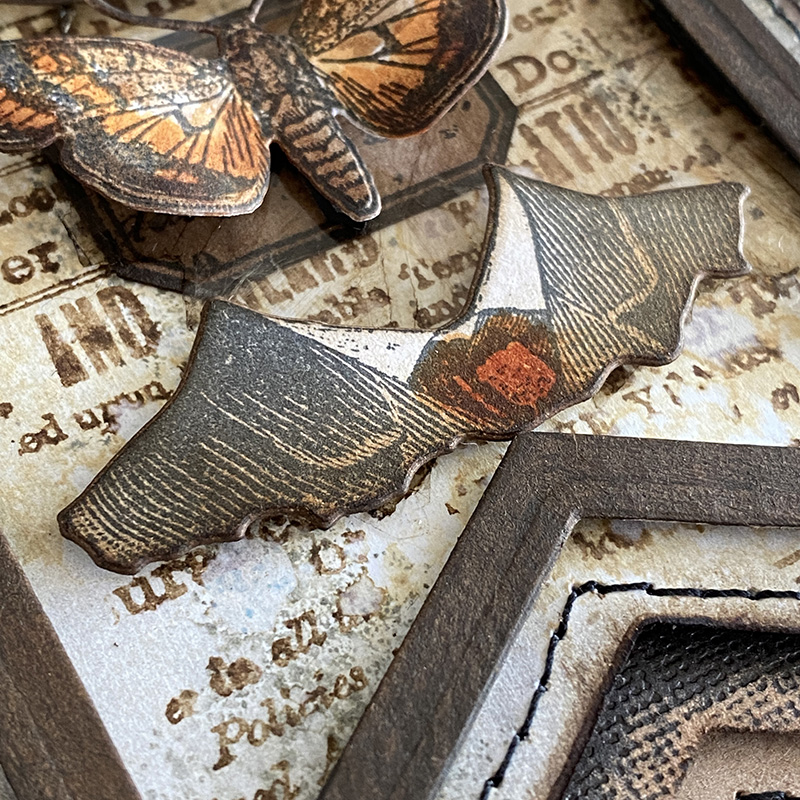
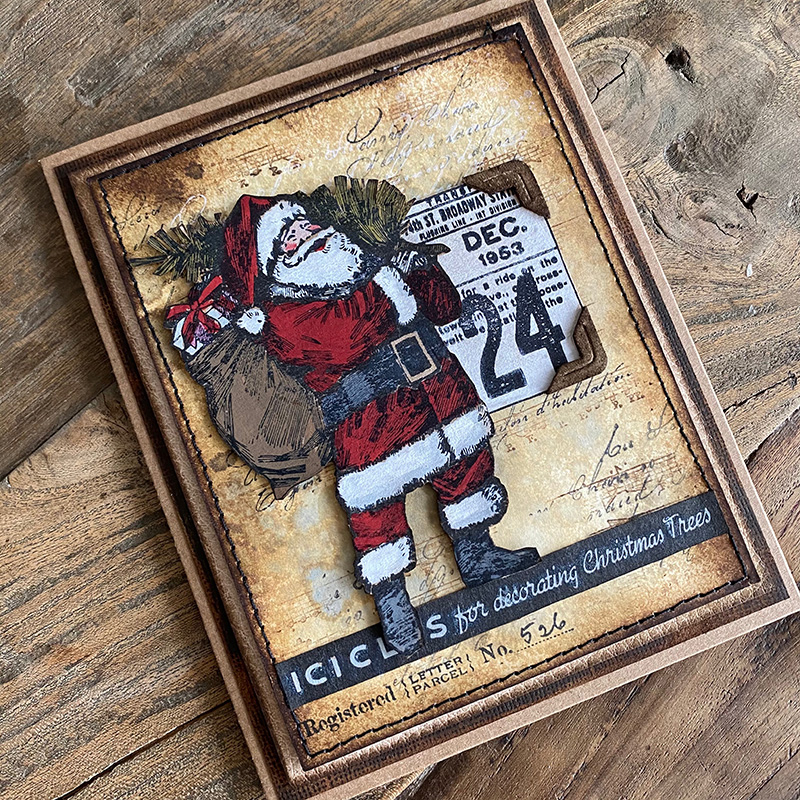
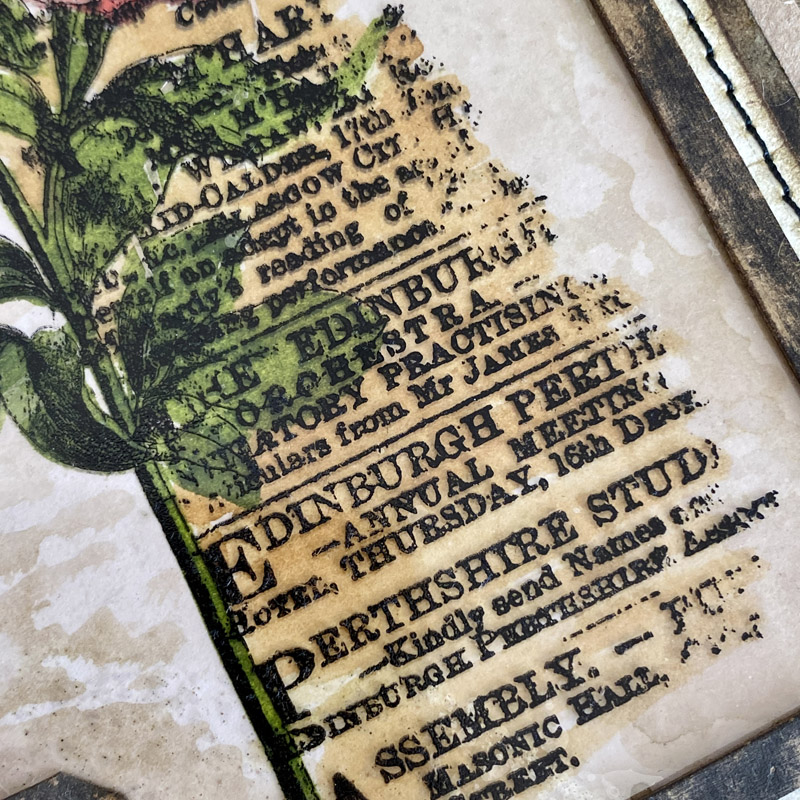
I added a couple of stamped images from the new Eccentric stamp set (CMS448) which I am OBSESSED with!
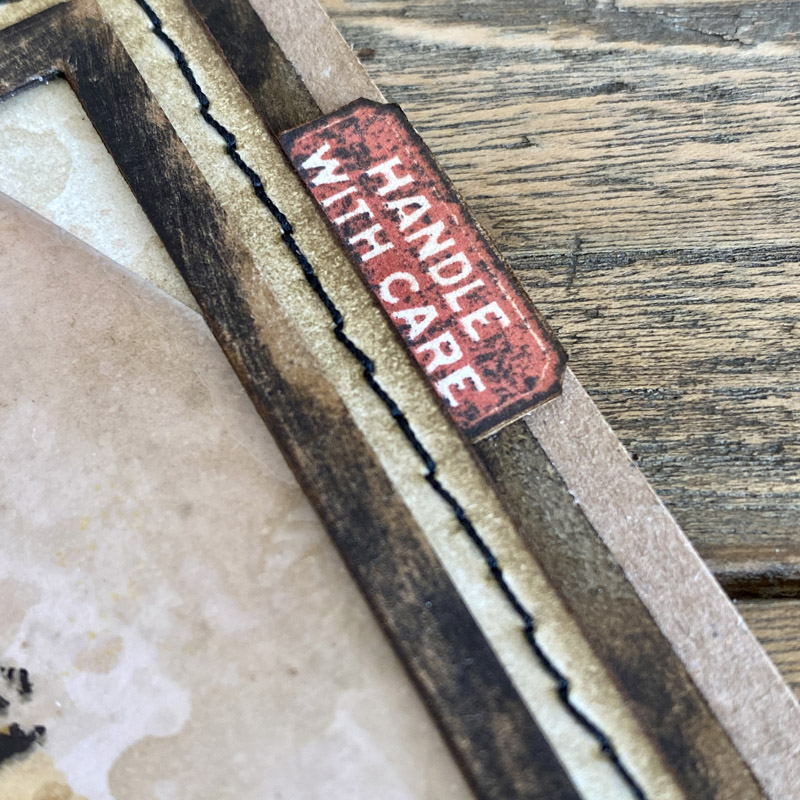
I stamped the “handle with care” stamp with barn door distress archival ink once and then lightly touched the stamp with a black soot distress archival ink pad and stamped very lightly. I fussy cut and tucked under the background layer which I stitched.
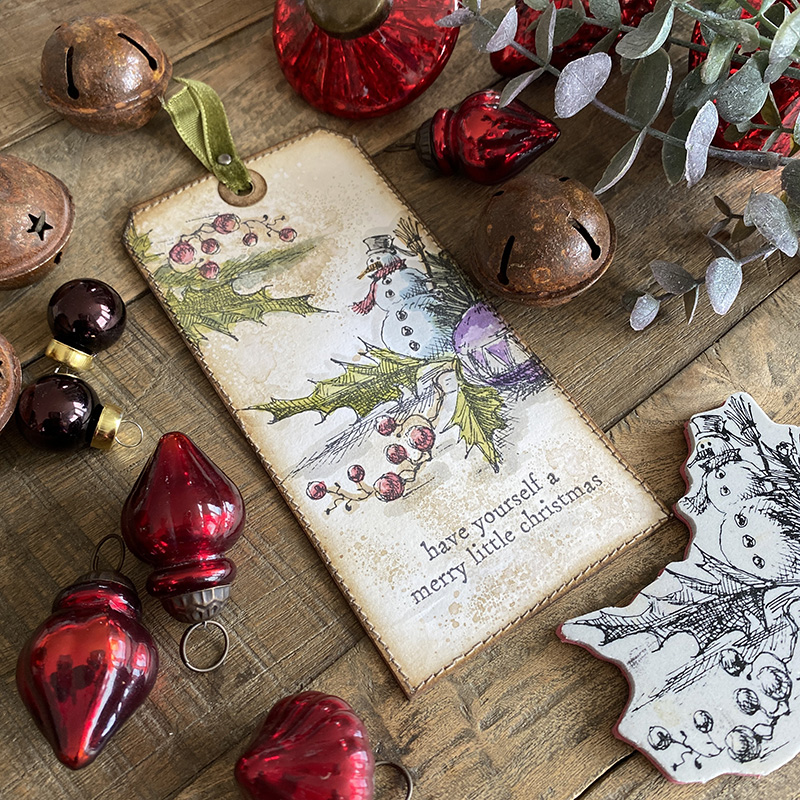
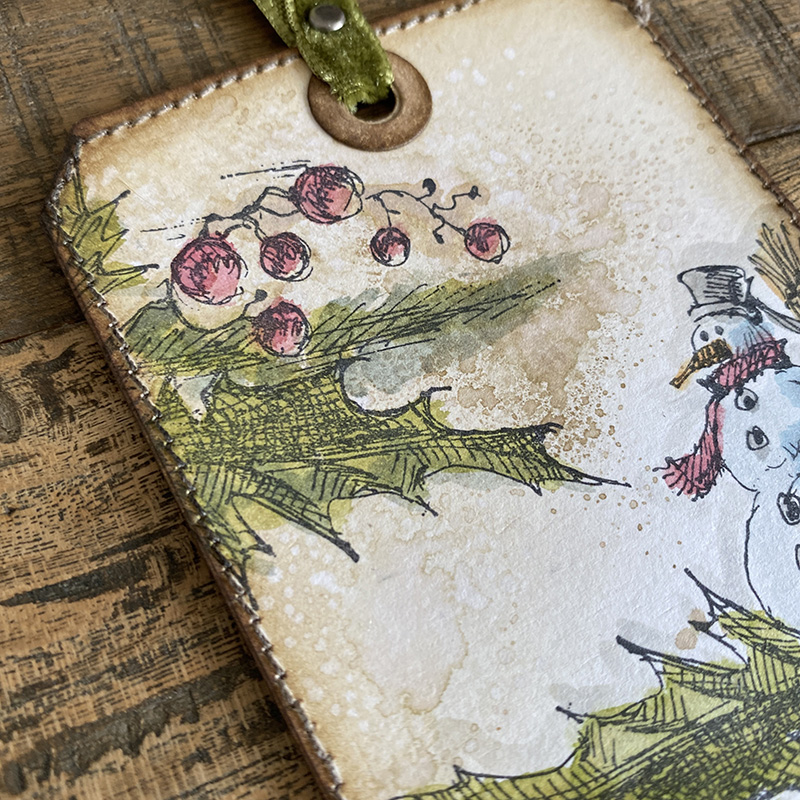
It’s a pretty quick card to make and you could easily adapt this to a slimline card or tag.
Thanks for stopping by and let me know if you have any questions.
Zoe
…
affiliate links used at no cost to you