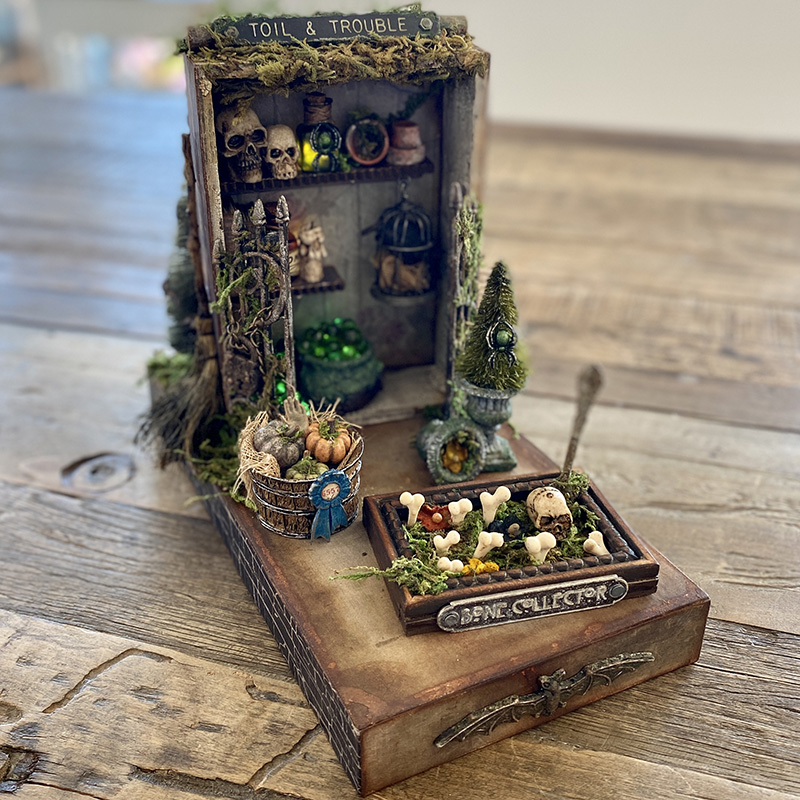
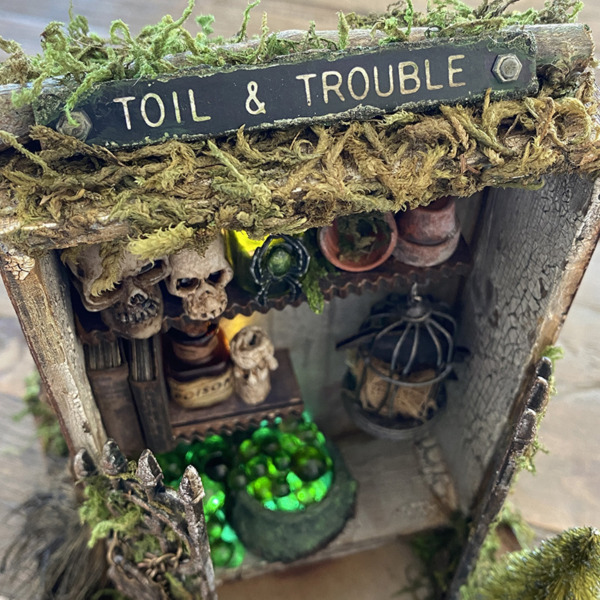
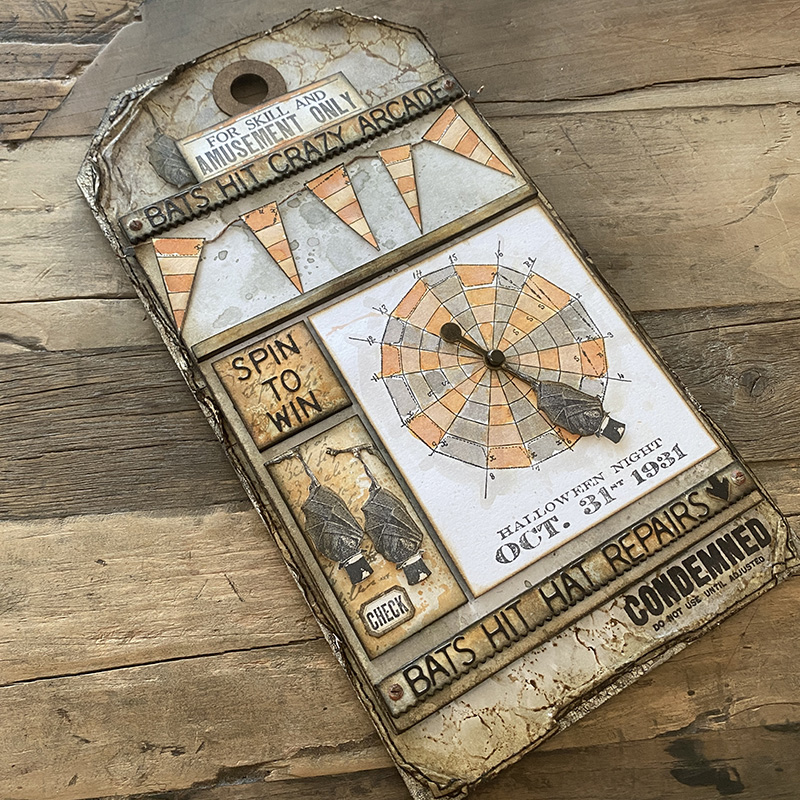
Happy September friends and welcome to the Bats Hit Crazy Arcade. Say that 3 times quickly! Summer has made a comeback this week in Copenhagen and I’m posting Halloween makes while making for Christmas! The seasonal confusion is real!
Anyway, back to Halloween (lol) and if you saw the Tim Holtz 2023 Halloween Stampers Anonymous LIVE launch you will have seen these crazy bats from the Bats Hit Crazy Arcade. If you missed it or want a replay and a little more “pre-Halloween” Halloween, head over to Tim’s blog.
The Obscure stamp set from Tim Holtz 2023 Halloween stamps was my favorite and that little bat was part of the reason why! The detail on the bat is incredible and I love that it’s just hanging out, or spinning.
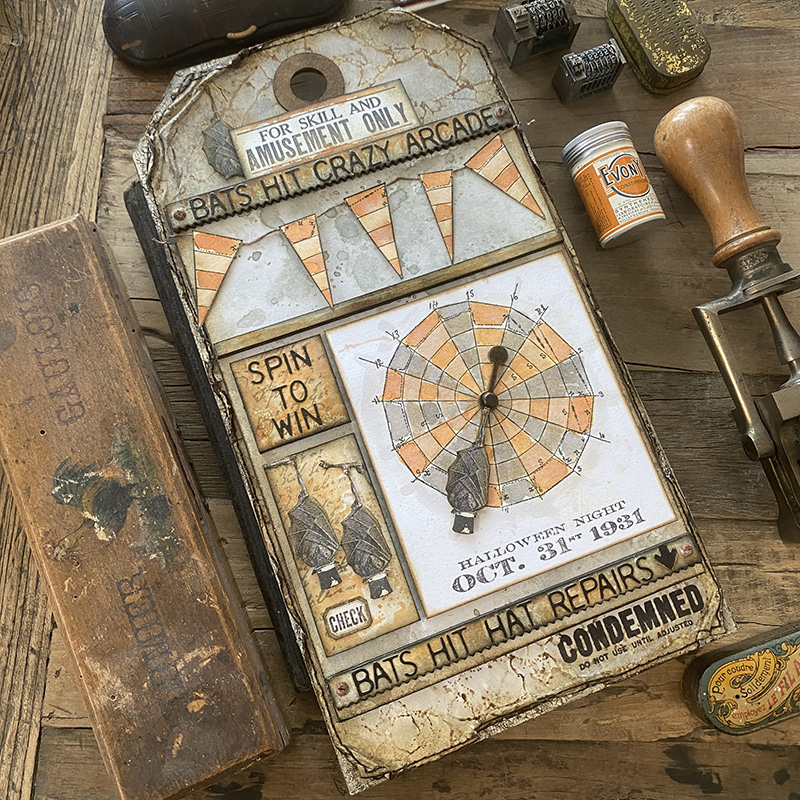
See what I mean about the bats just hanging out?! Welcome to Bats Hit Crazy Arcade! Let’s get into some of the details…
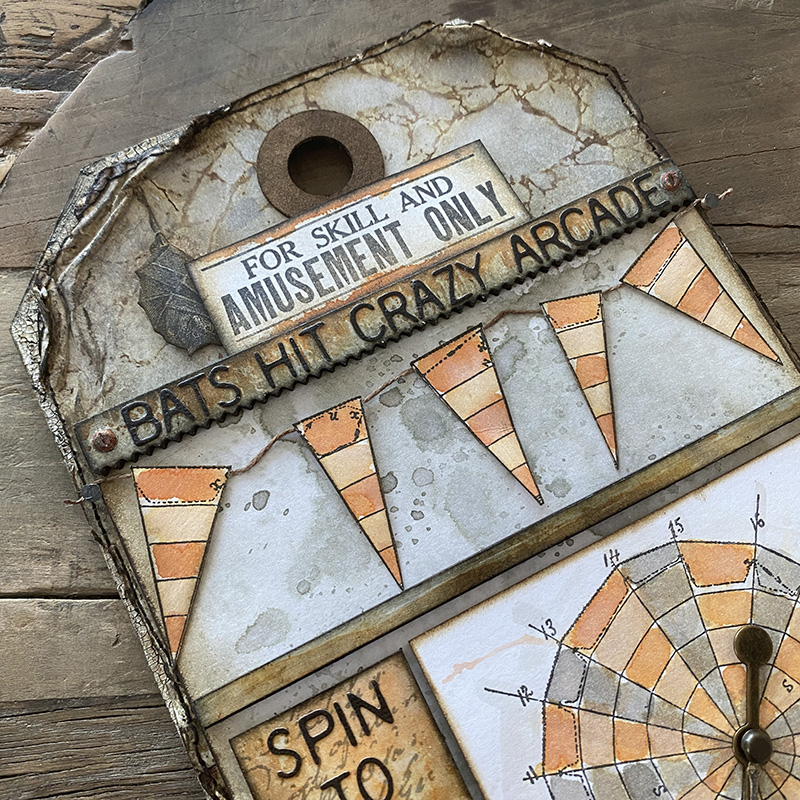
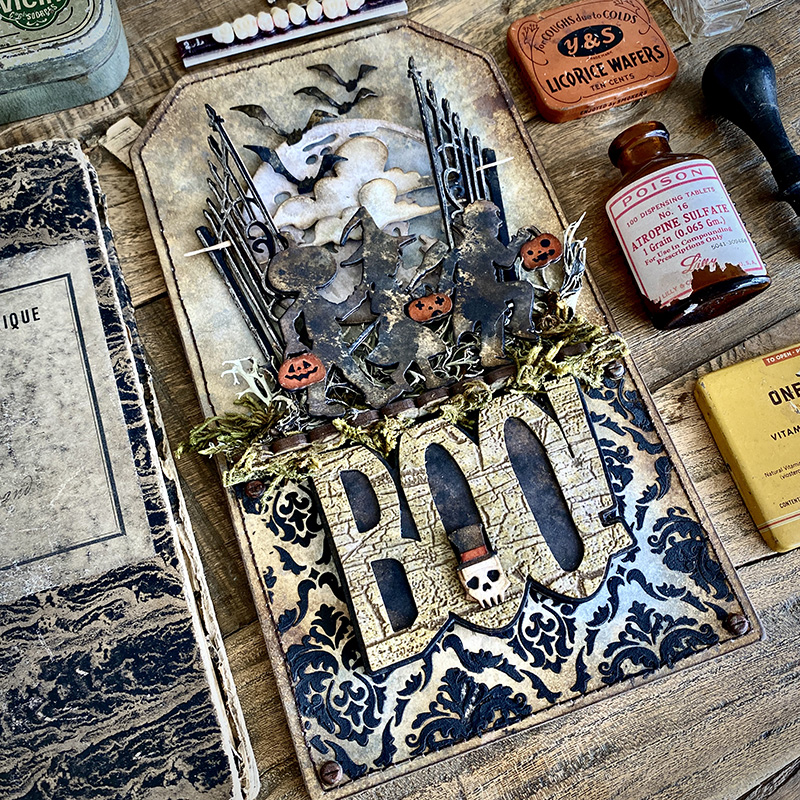
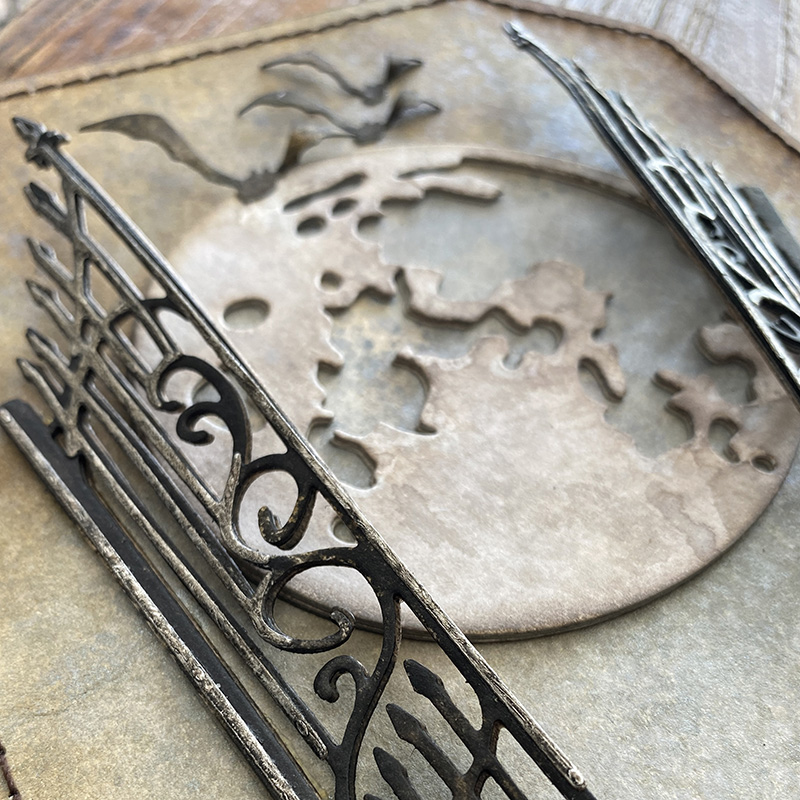
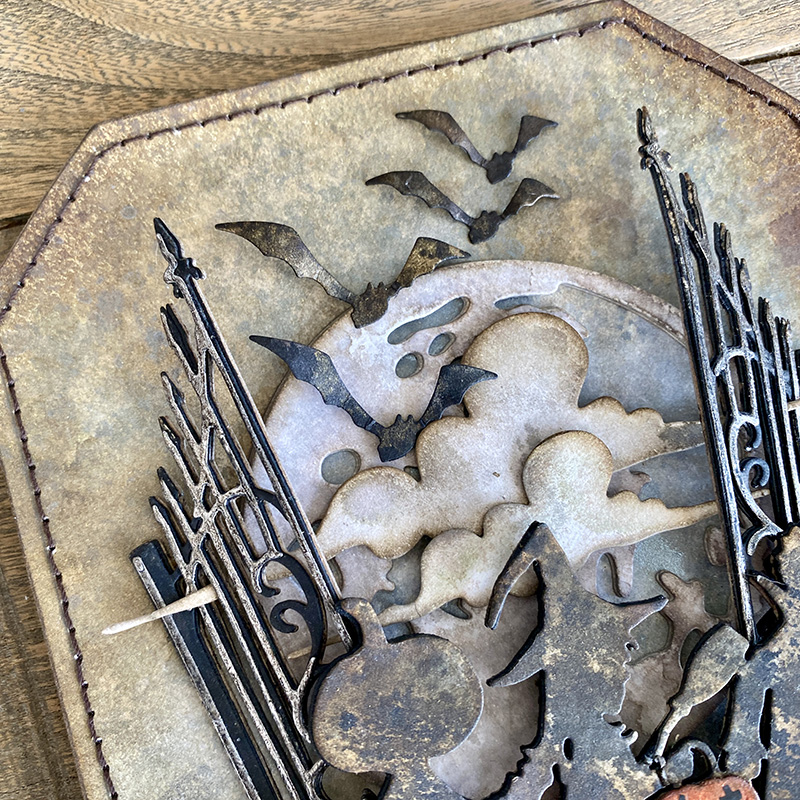
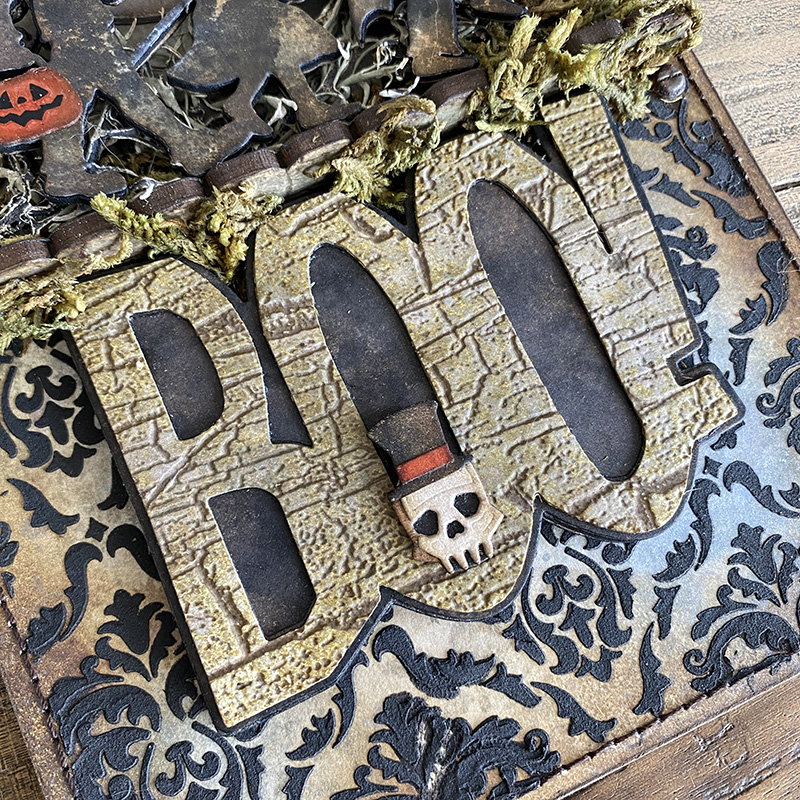
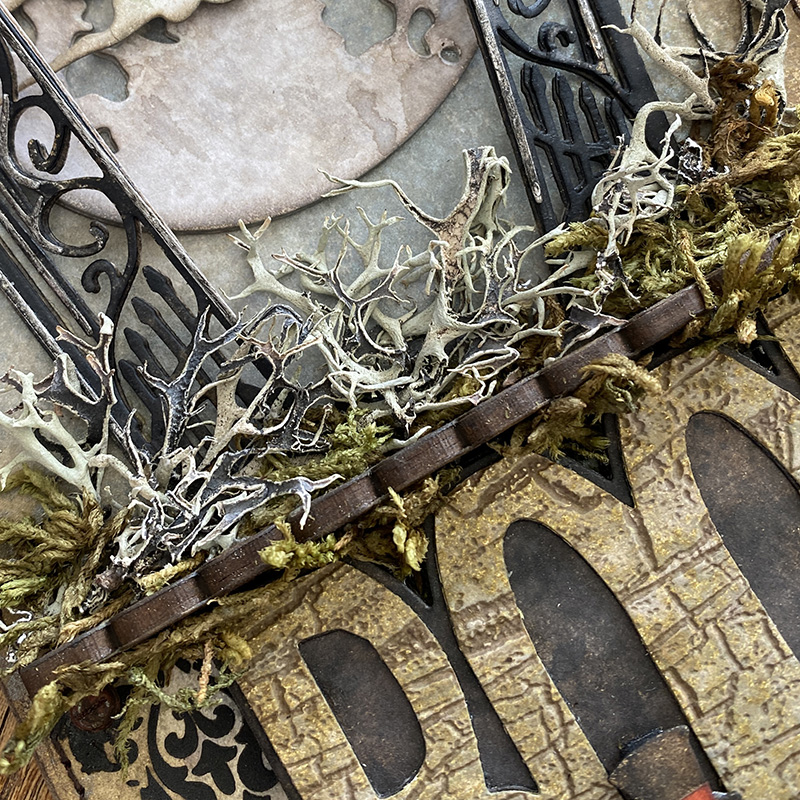
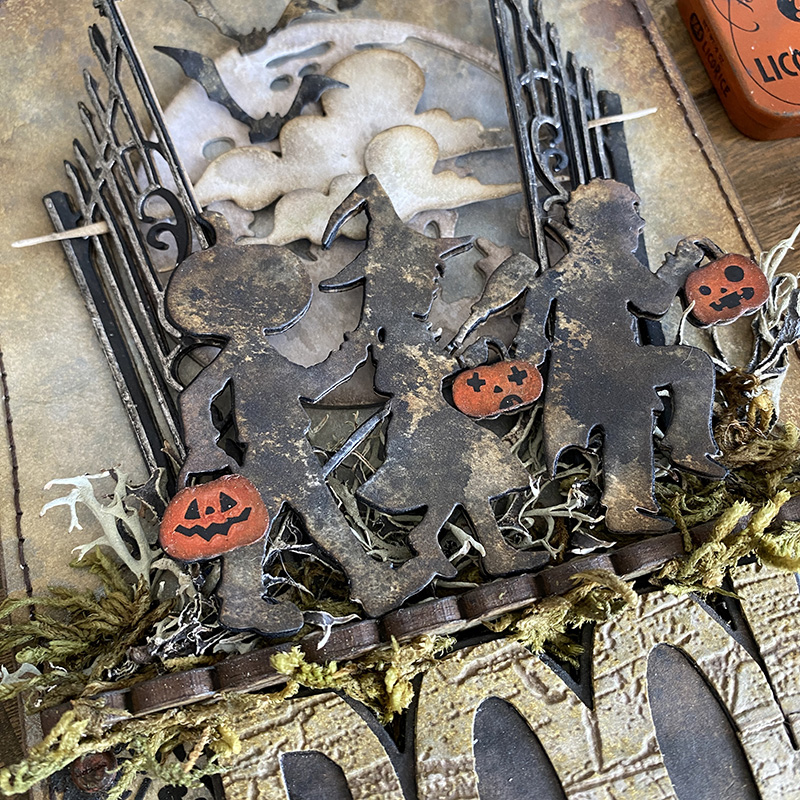
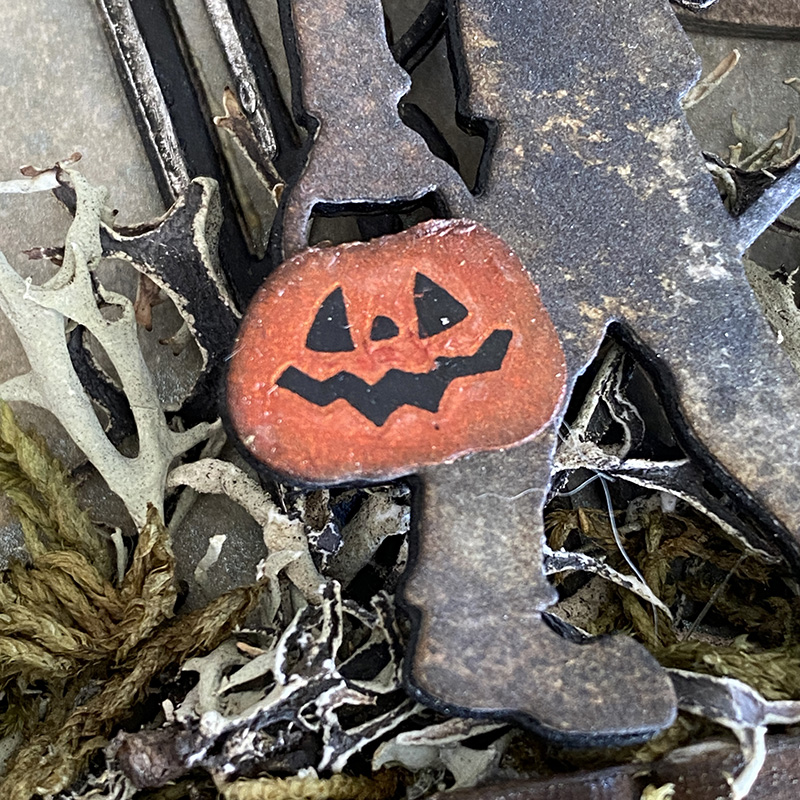
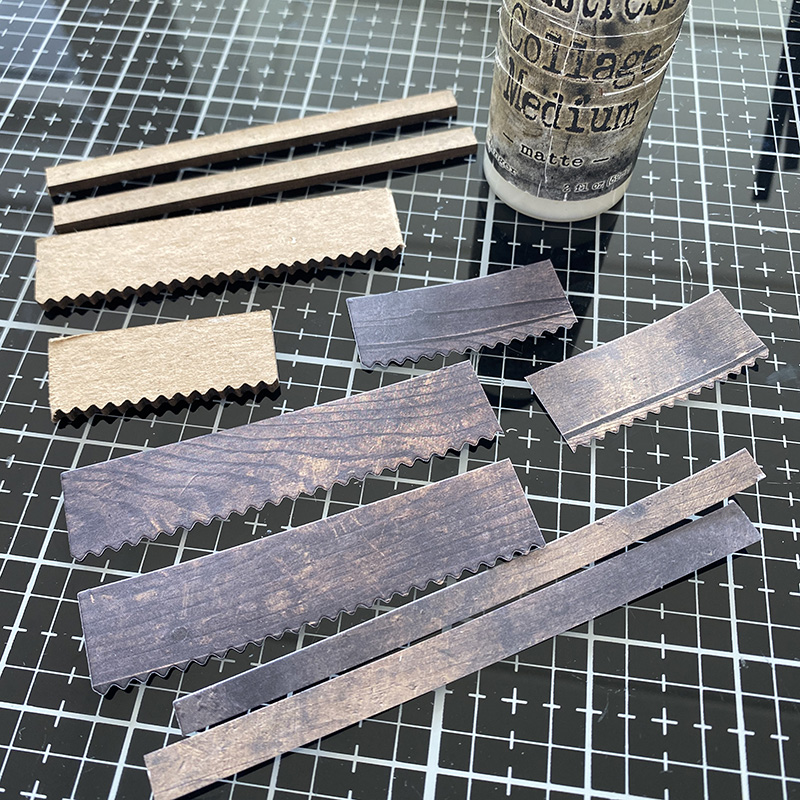
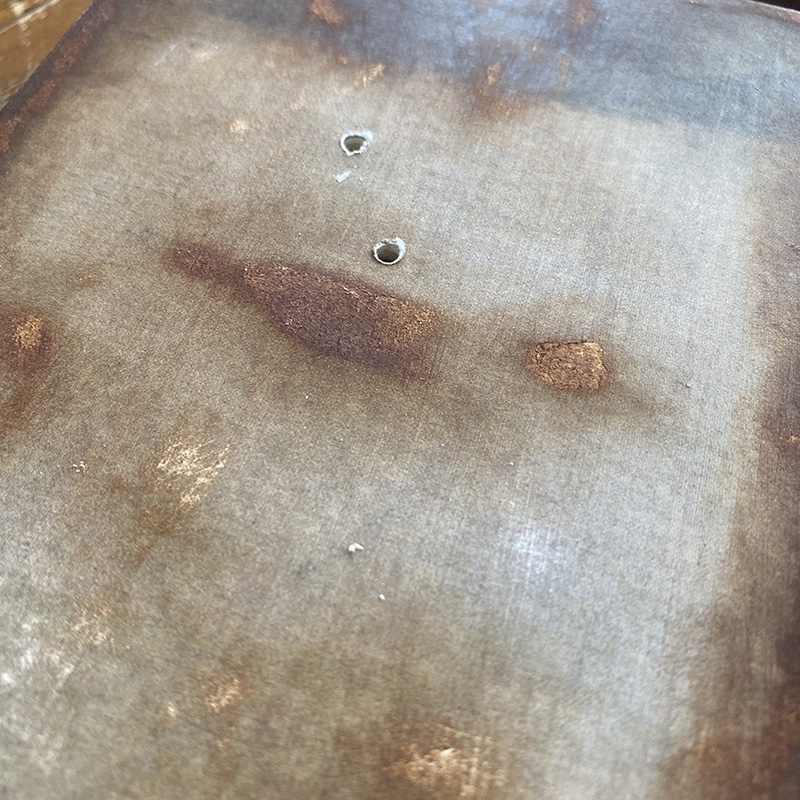
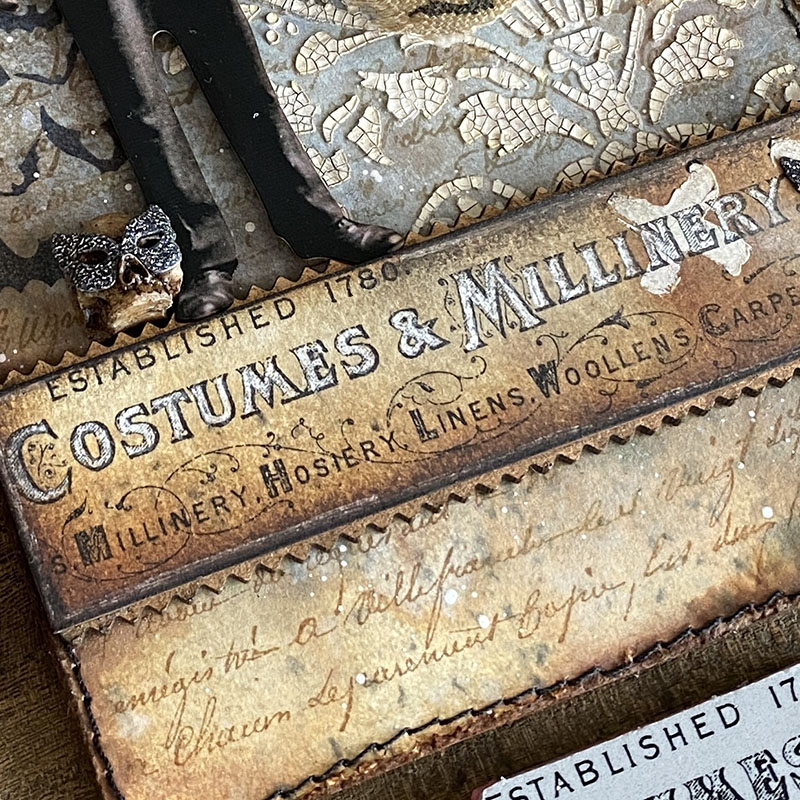
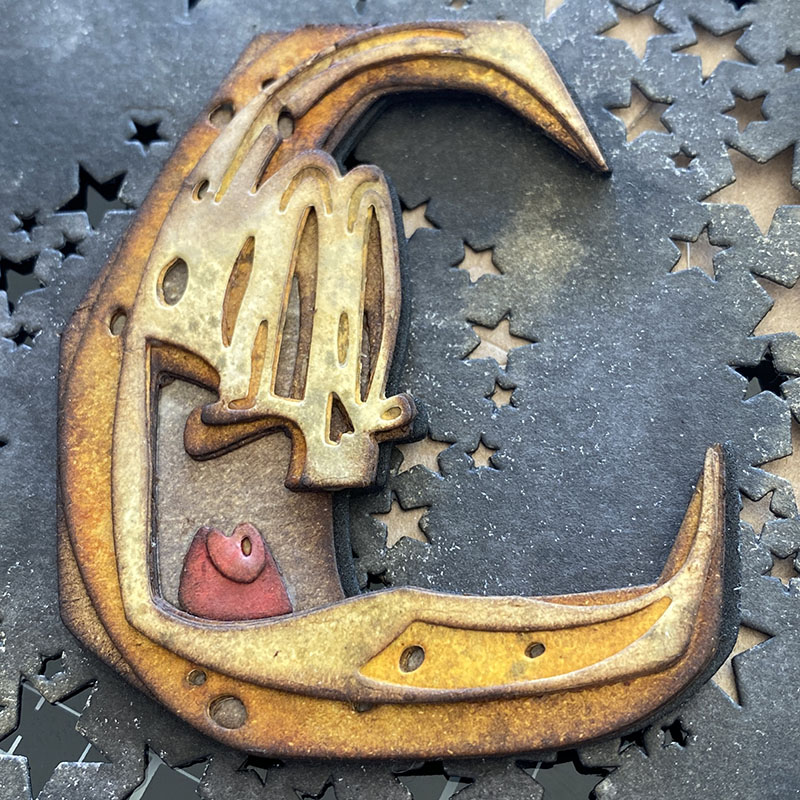
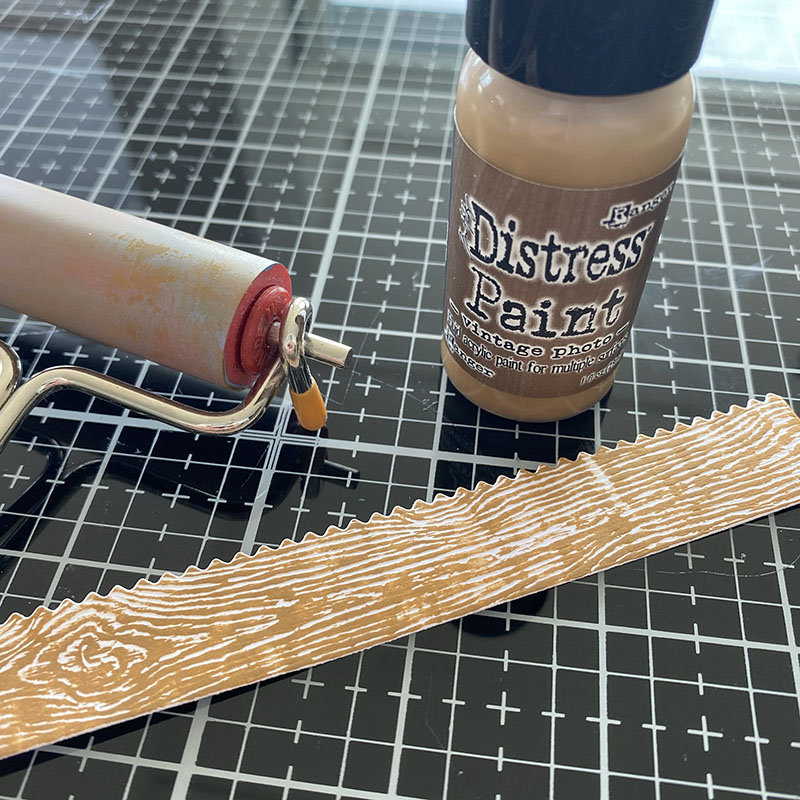
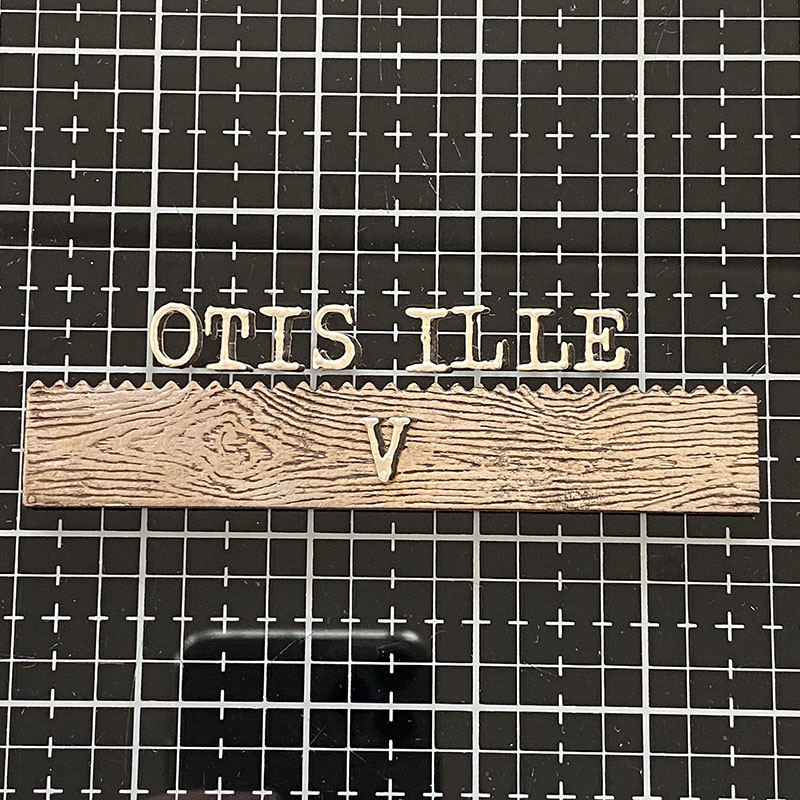
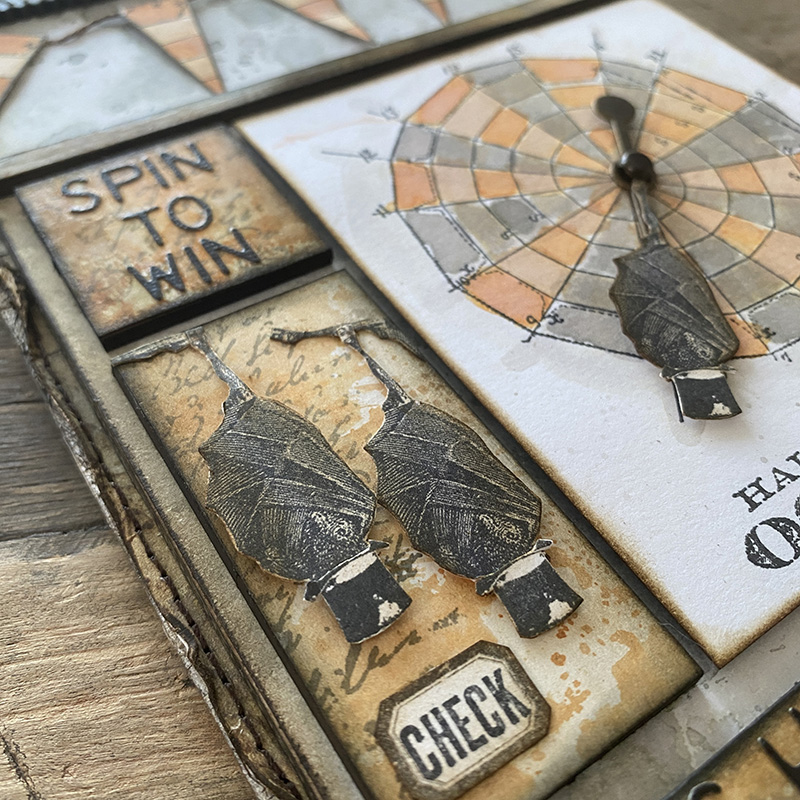
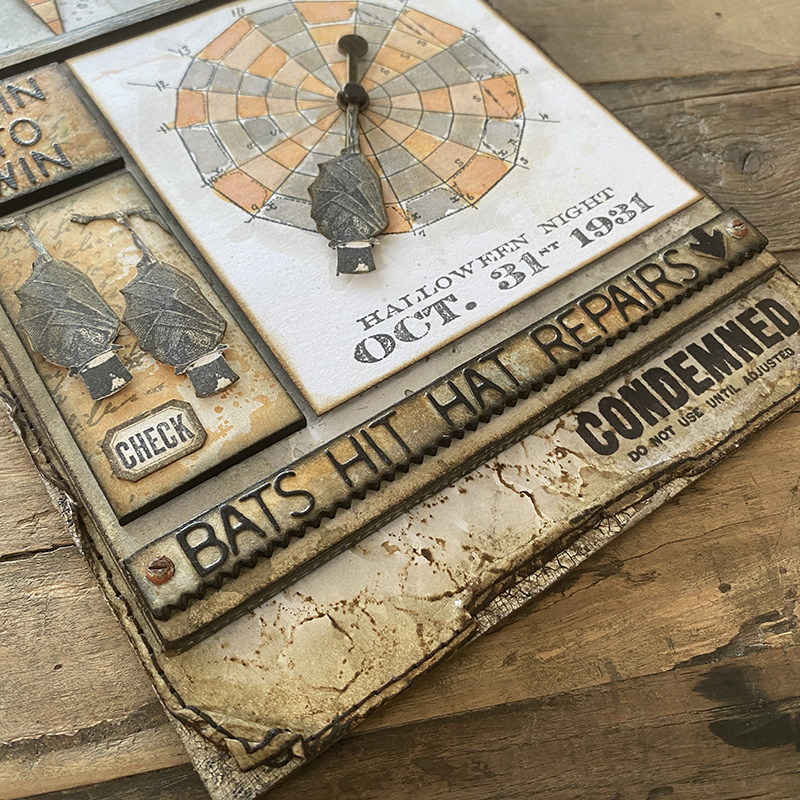
The base of this make is an Etcetera Thickboard Tag in the Mini size. Covered with distress watercolor cardstock and stamped with the new Shattered stamp. To make bunting, stamp the circle from The Obscure stamp set and watercolor with distress ink. Fussy cut and glue to a piece of string using distress collage medium. The Bats Hit Crazy Arcade is die cut from Alphanumeric Label thinlits dies and glued to an Etcetera Pinked Trim with the background die cut with the Decorative Trims thinlits dies.
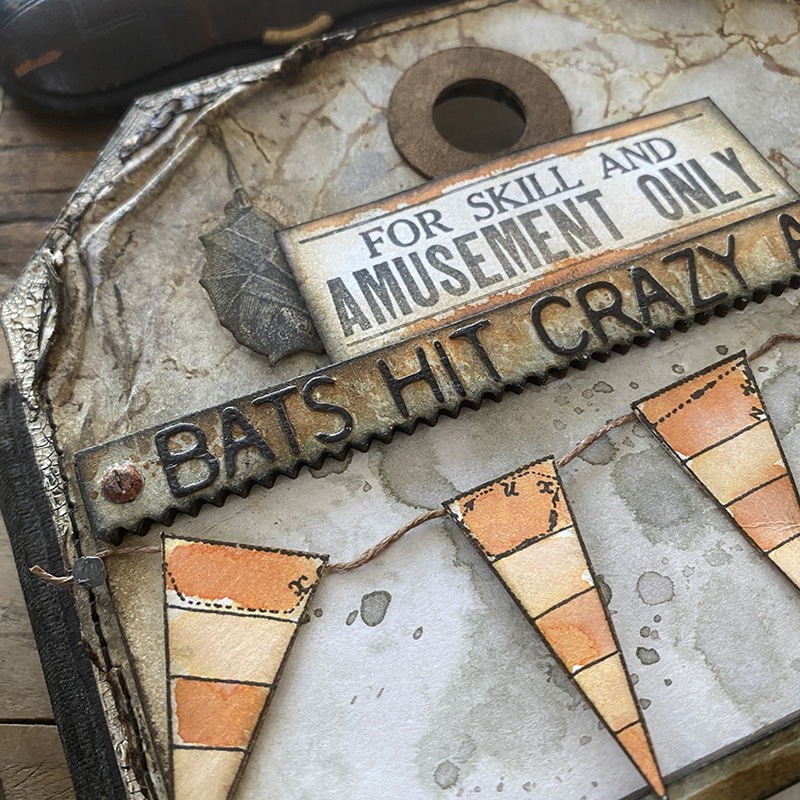
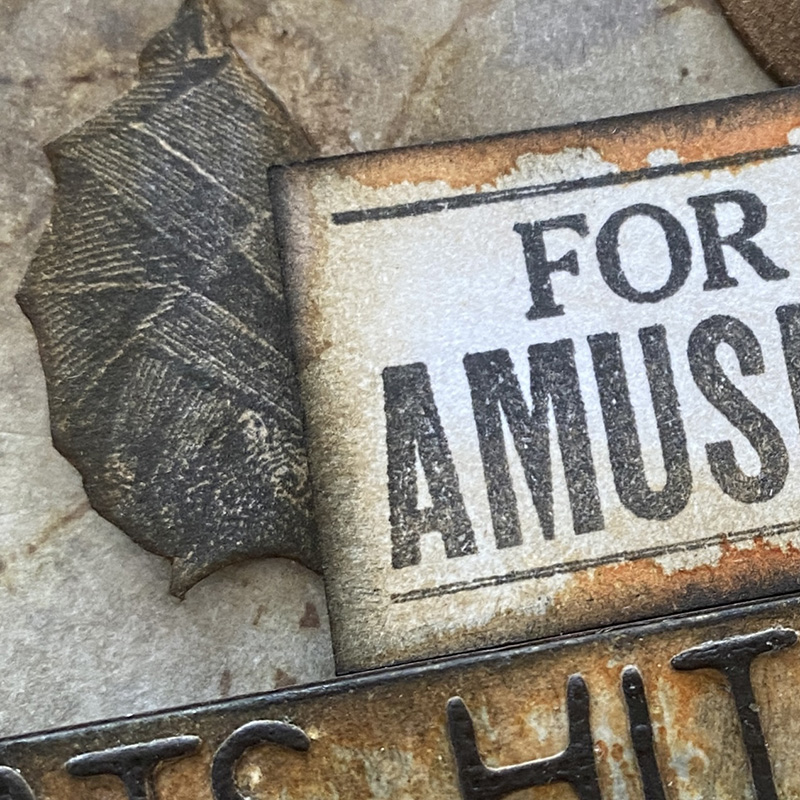
The “For Skill and Amusement Only” stamp from Eccentric stamp set was the perfect addition. I love that Tim’s stamps mix and match so well. It’s such great fun mixing up the new stamps with the old as you get them. As Stampers Anonymous never retire Tim’s CMS numbered stamps, there’s always chance to add to your collection.
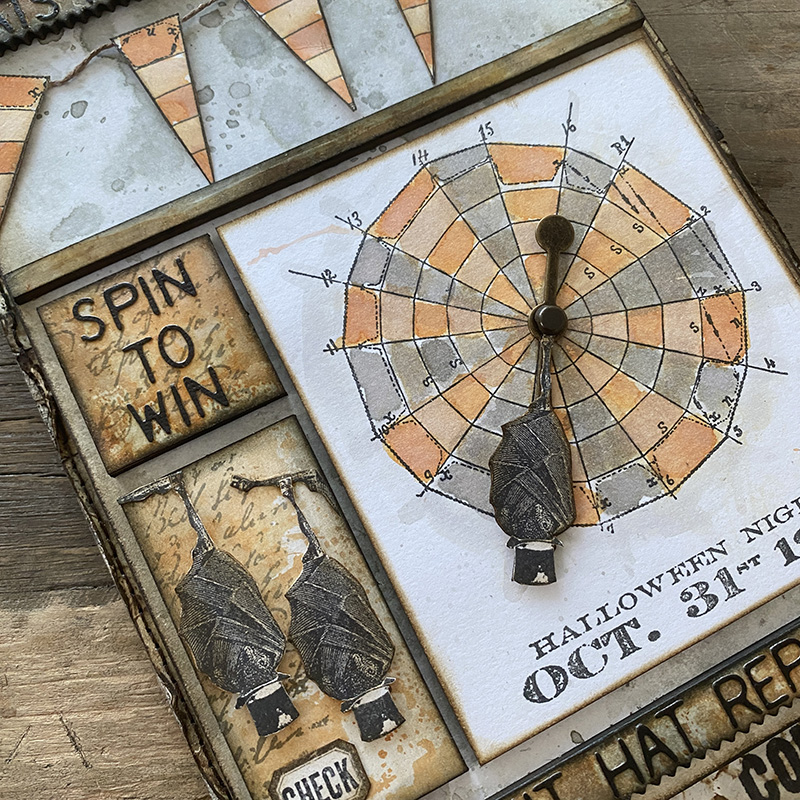
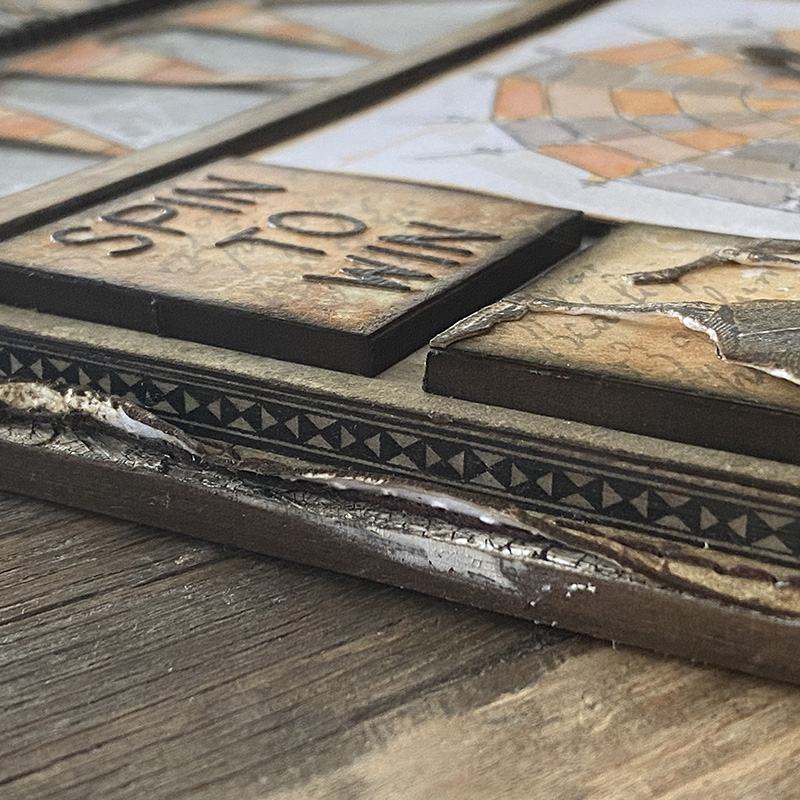
Are you ready to SPIN TO WIN???
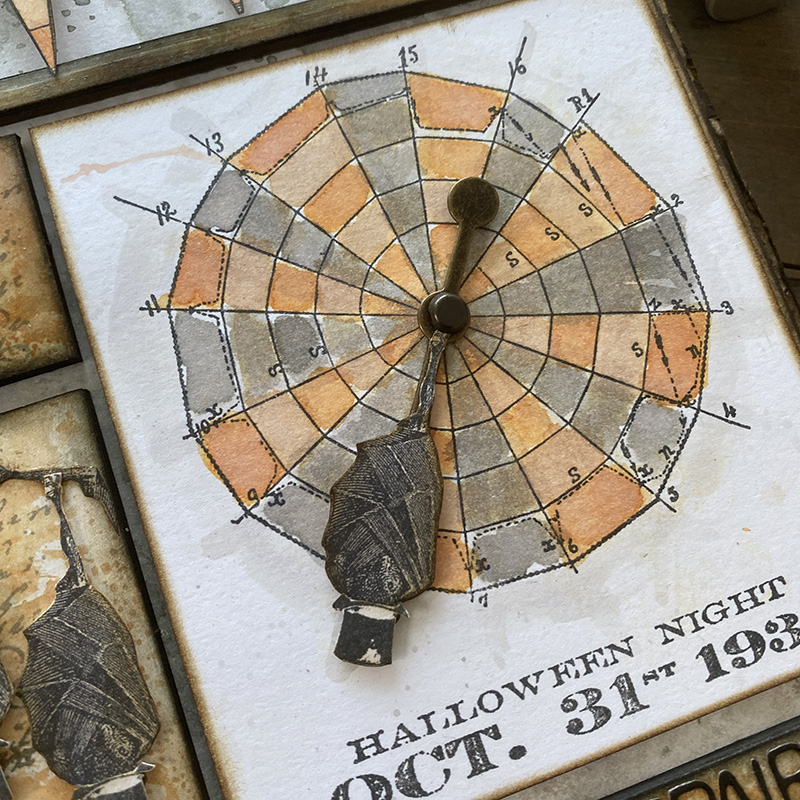
Stamping the circle from The Obscure stamp set and watercolor with distress ink. Stamp a bat from the same set and glue to an idea-ology game spinner. Use an idea-ology long fastener to attach to the center of the circle. Don’t tighten the fastener too much at the back as you want the spinner to spin. Adjust before adding the card panel to the Etcetera Tag.
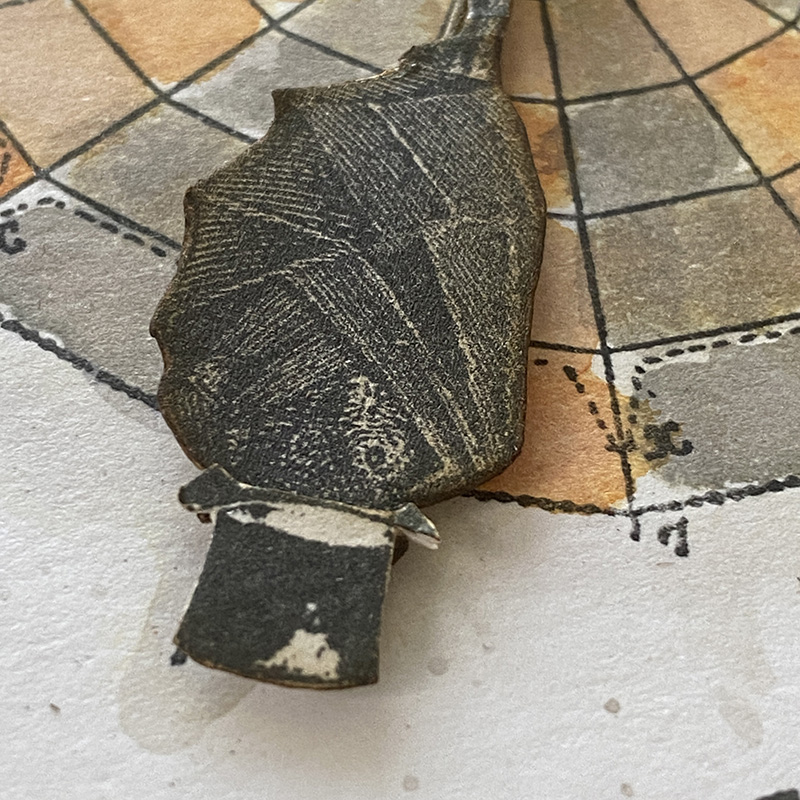
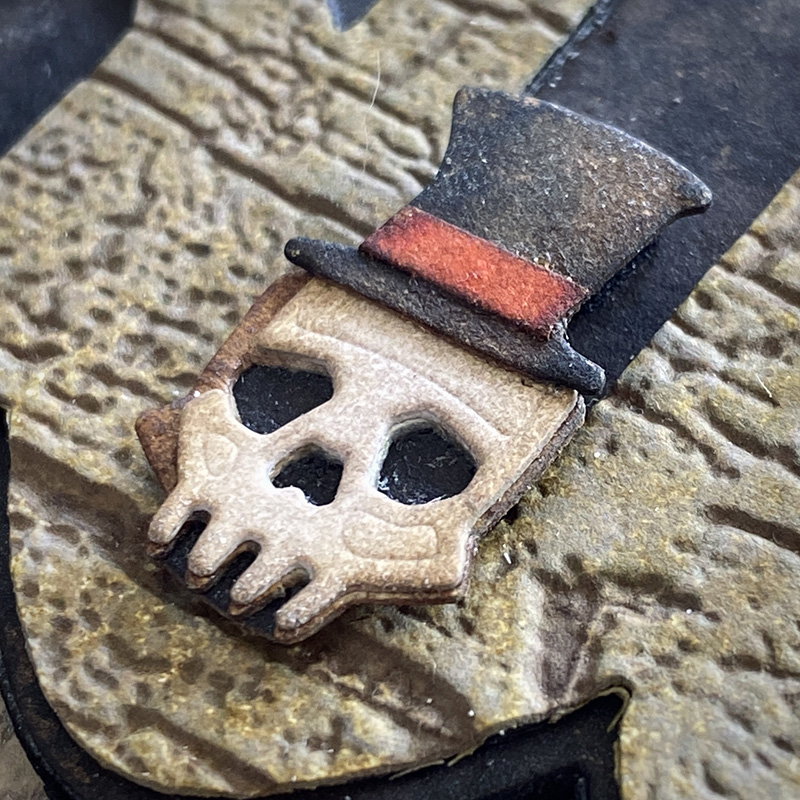
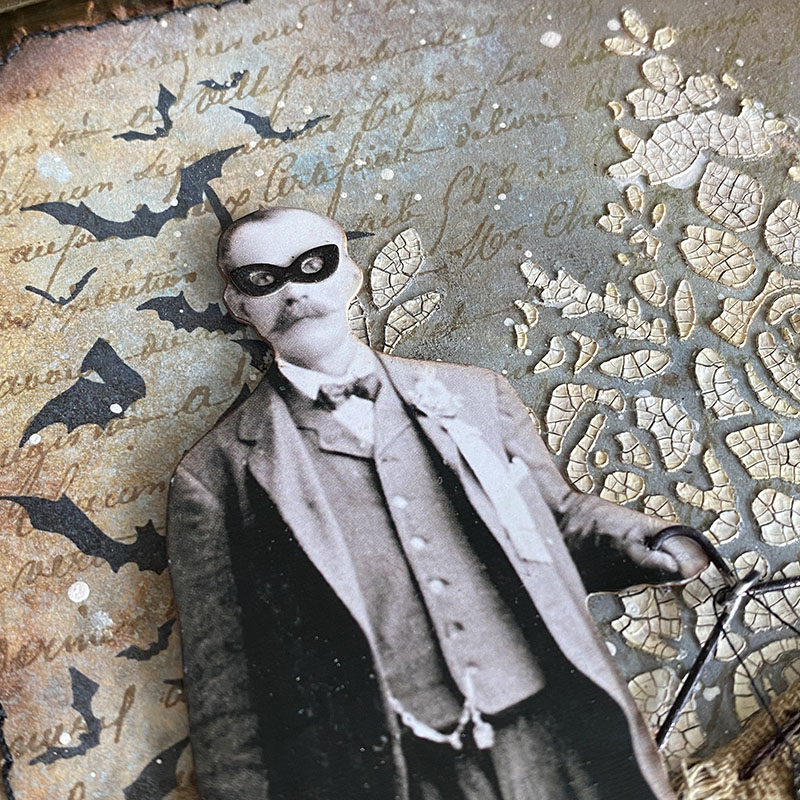
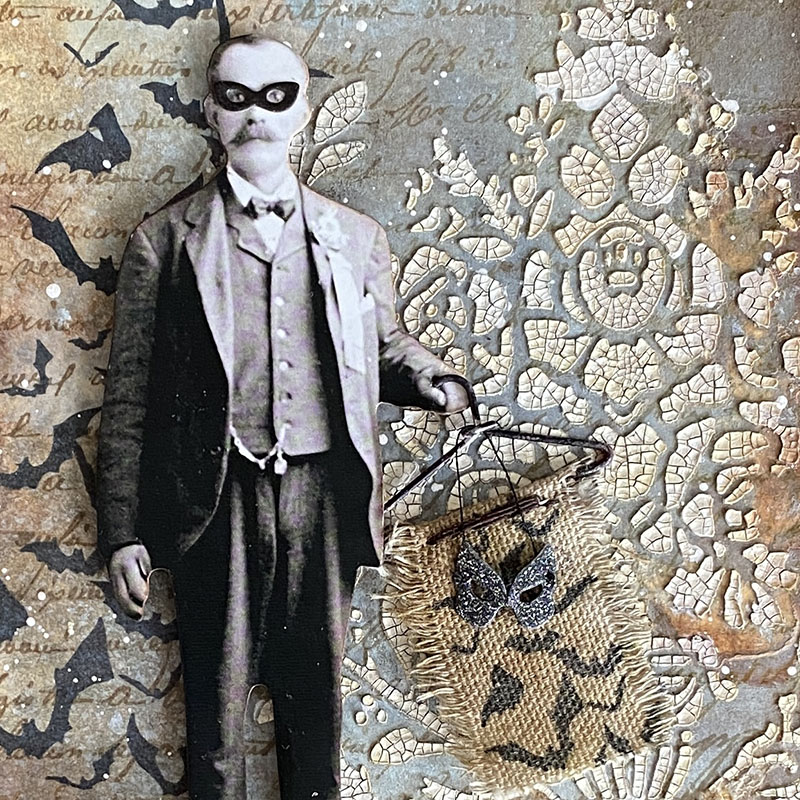
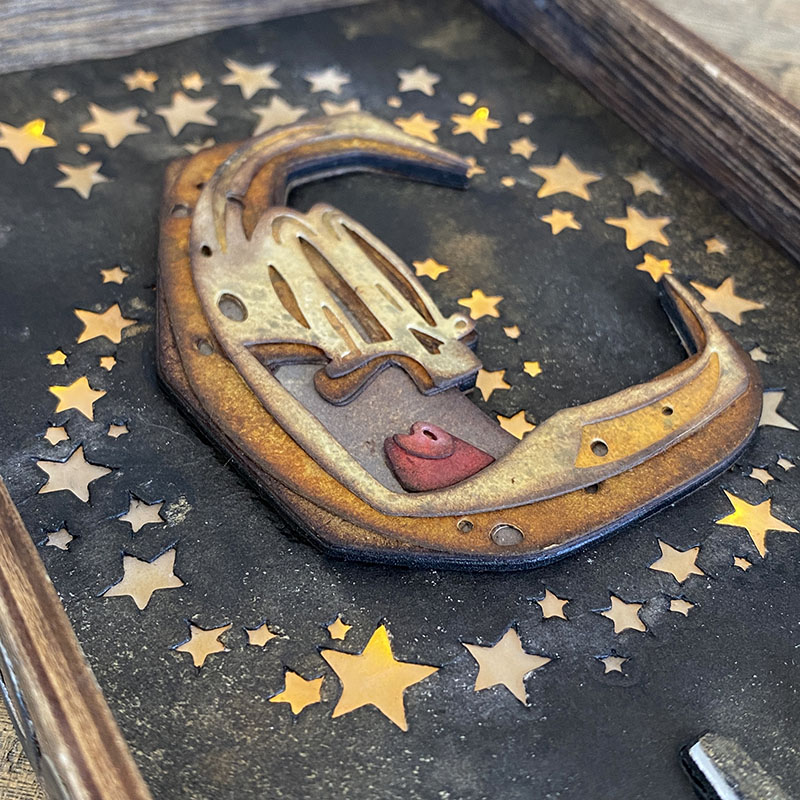
Of course my bats had to have hats and the hat from the Paris to London stamp set was made to measure! I added a strip of card stock to the back of the bat to give something to stick the hat to.
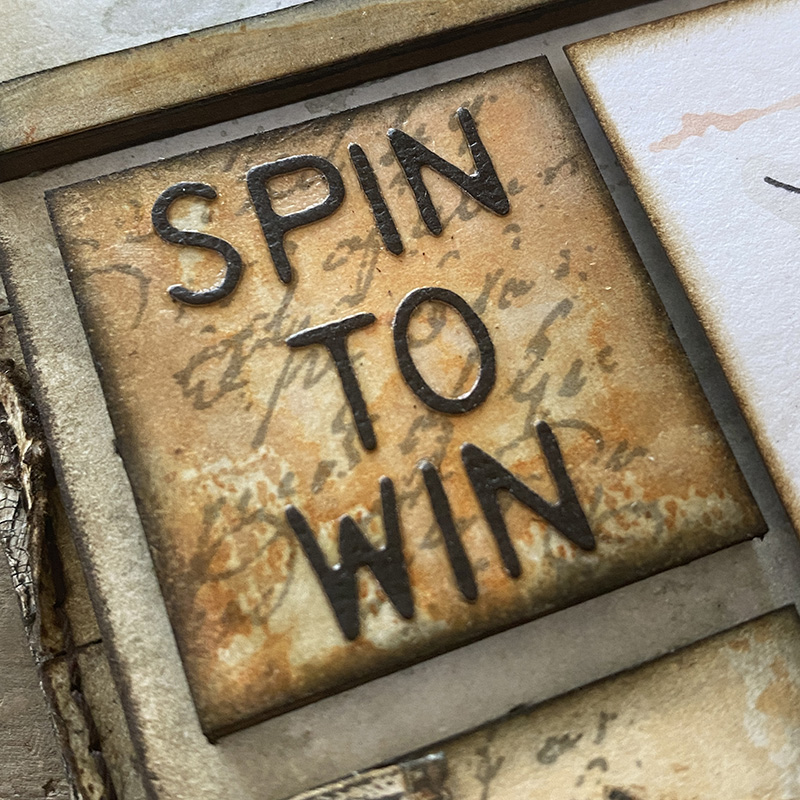
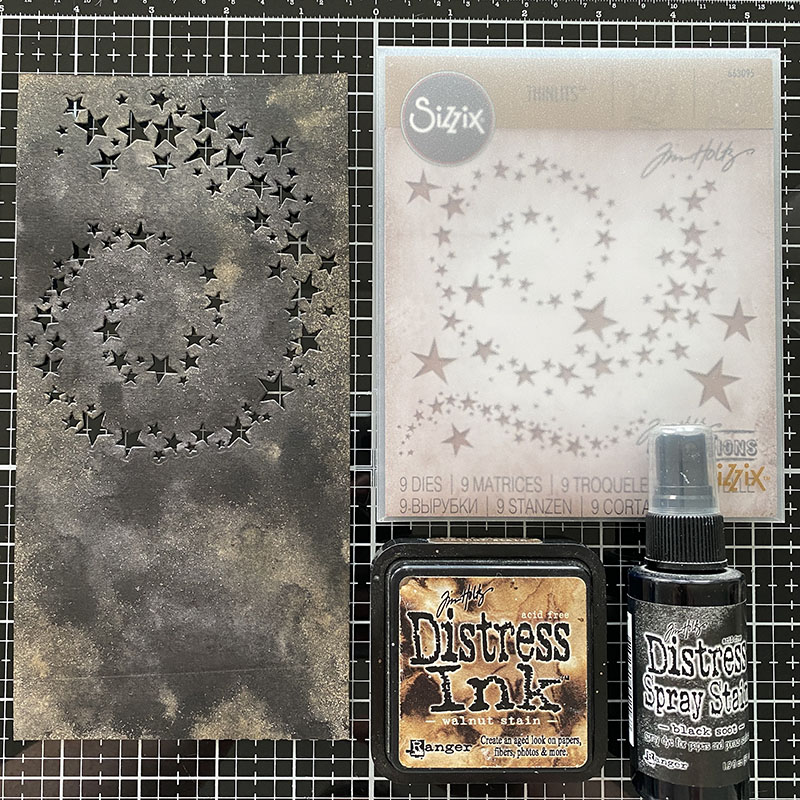
Spin to Win is die cut from the same Alphanumeric Label thinlits dies as used for the Bats Hit Crazy Arcade and added to an Etcetera mosaic tile. The background stamped with The Obscure stamp set in distress archival ink.
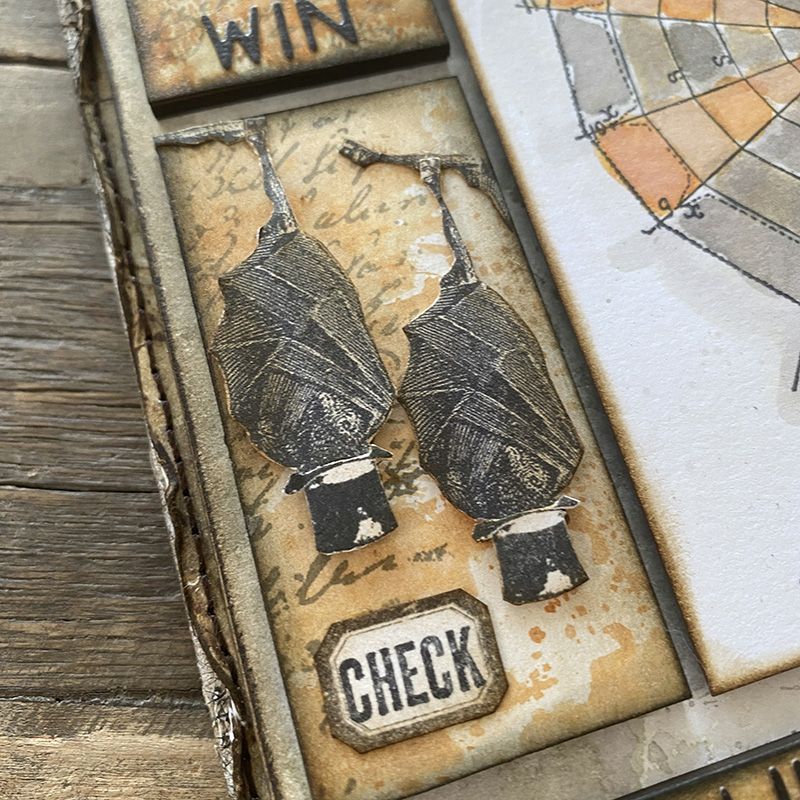
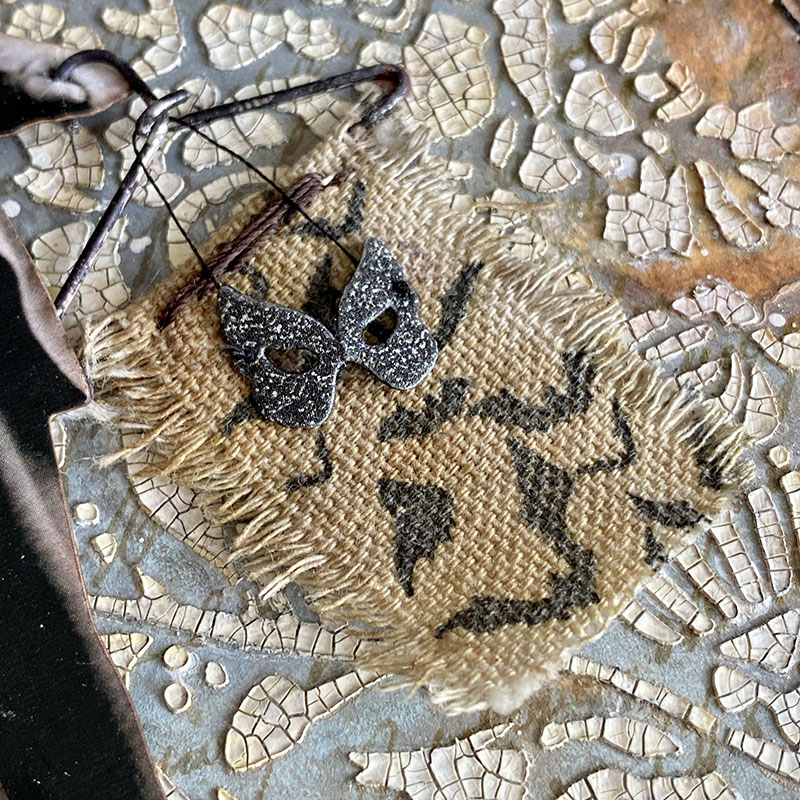
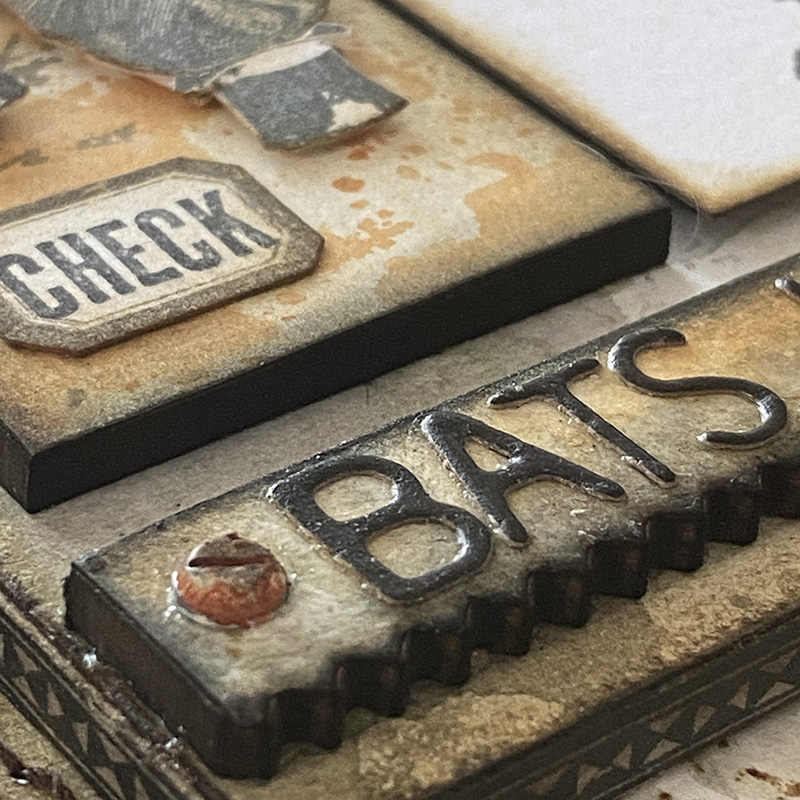
I used bat legs which I stamped and fussy cut to create faux branches for the bats to hang from in their “Hat Check” area.
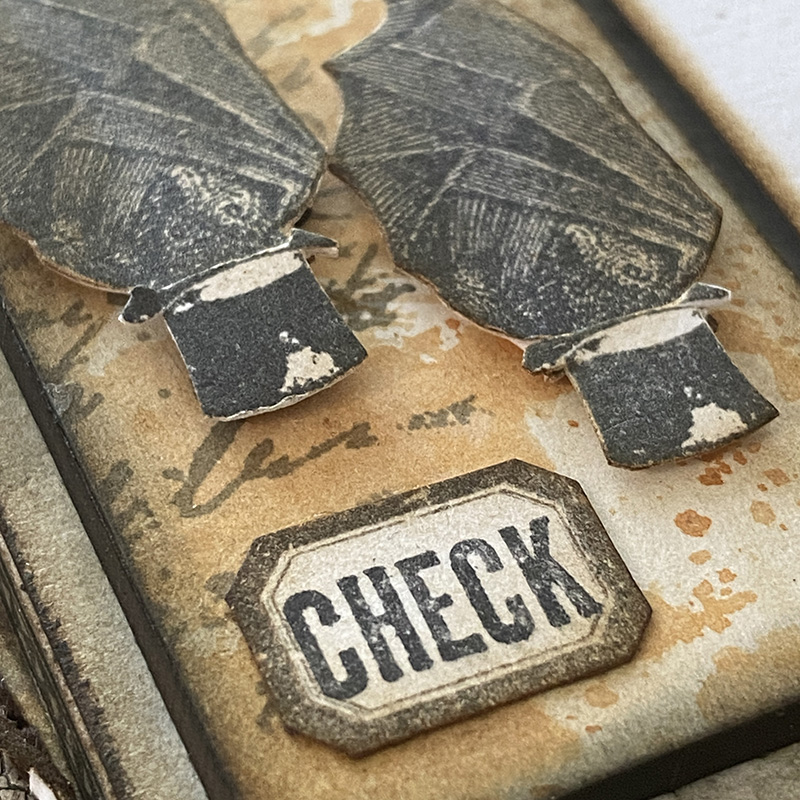
That tiny label stamp is one of the most used in my collection and one I never put away. It’s from the Mini Halloween 3 stamp set. The “CHECK” was from a portion of a stamp from the Eccentric stamp set.
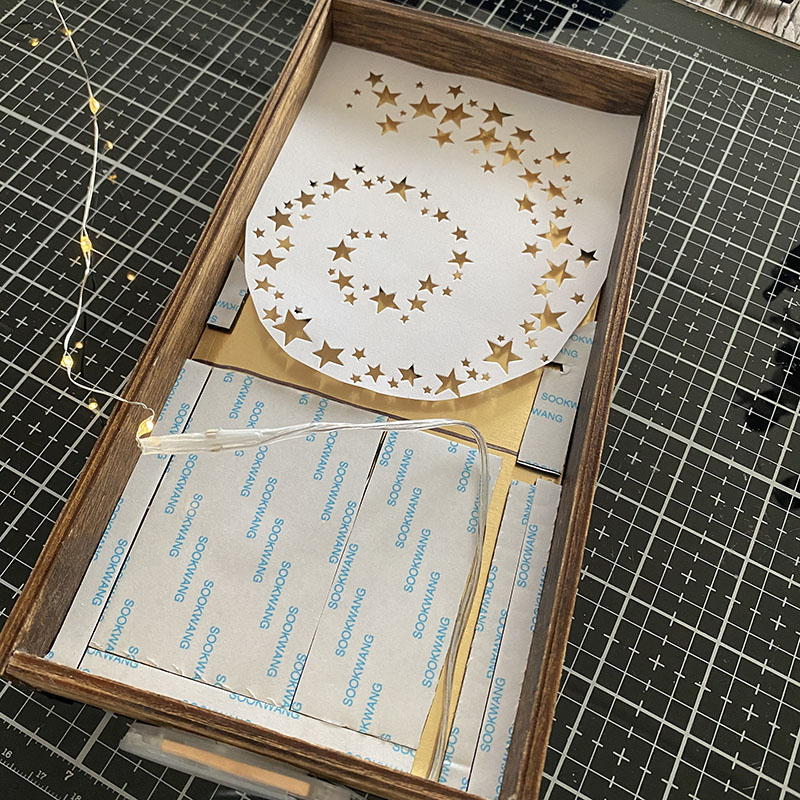
You can see how the new Etcetera Tiles give depth to a make and it’s easier to work on a tile and then add it to a larger background.
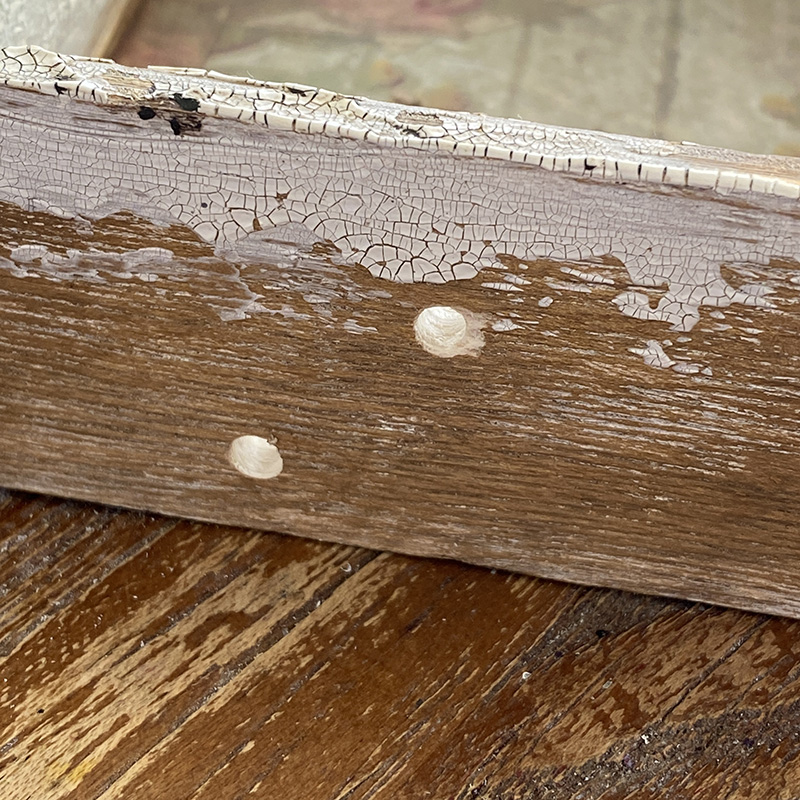
I added idea-ology design tape to the edges of the larger Etcetera Panel I used. I love the layers the Etcetera range allows you to create.
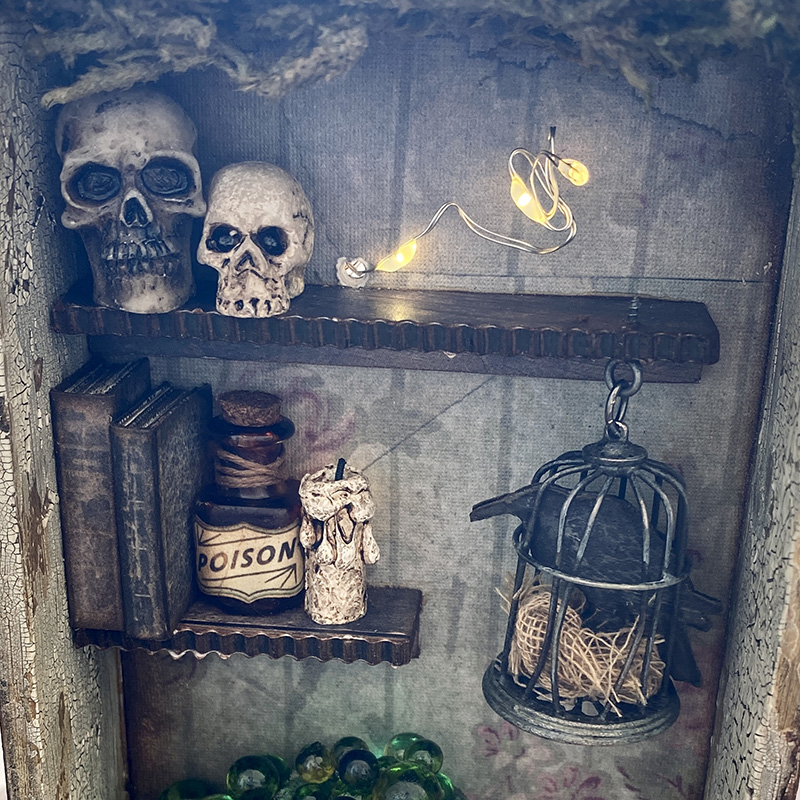
I’m obsessed with the idea-ology Hardware Heads. They are perfect to add to the end of Etcetera Trims.
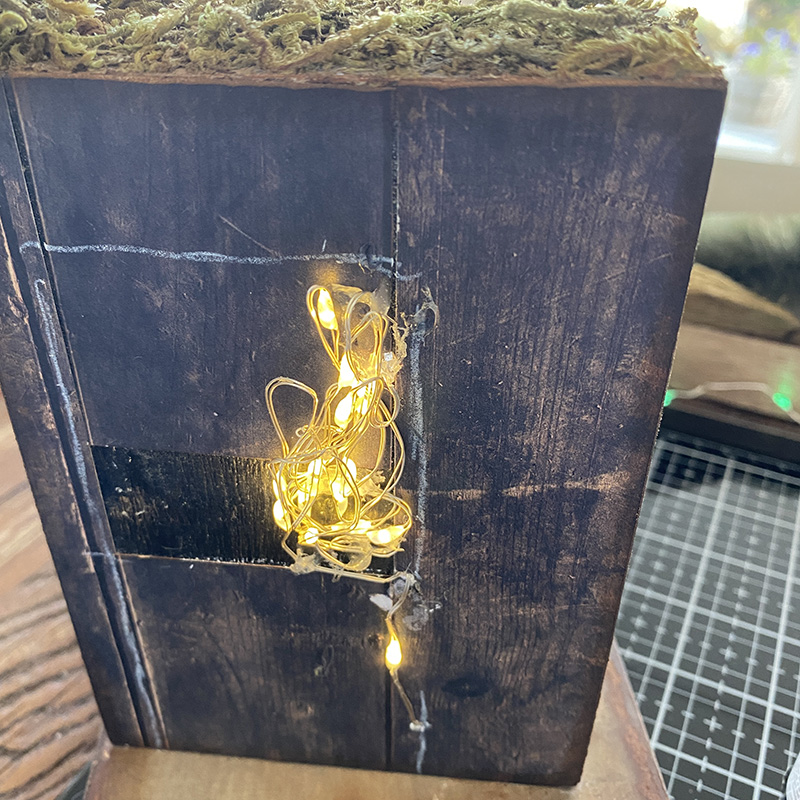
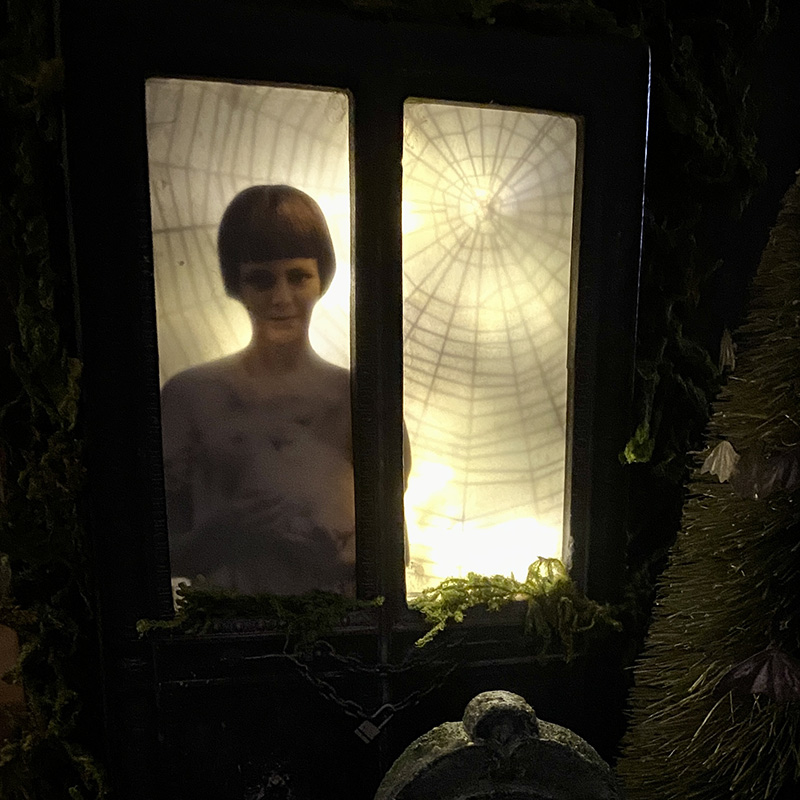
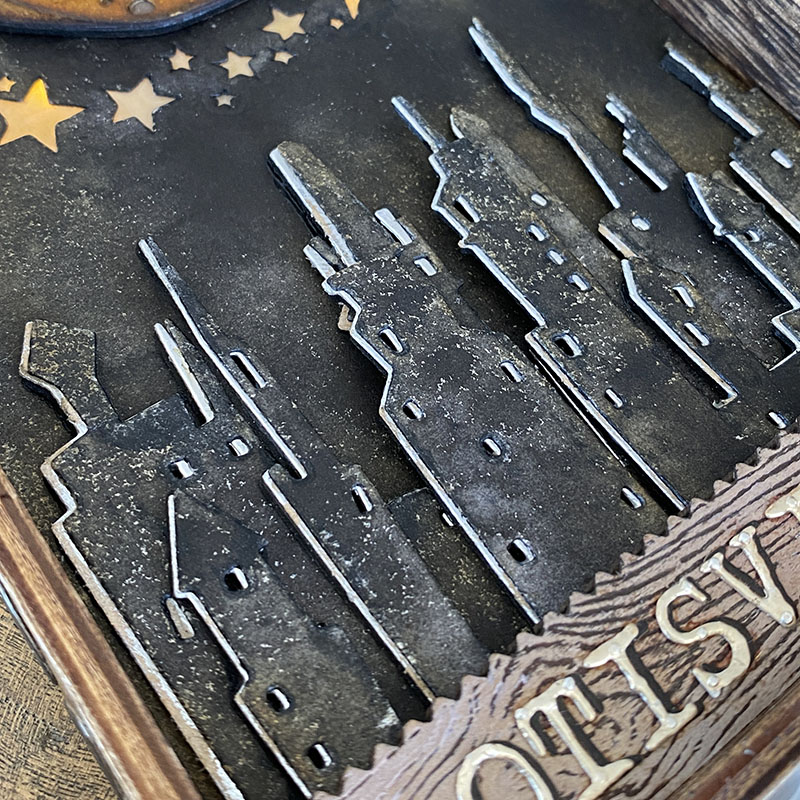
Downstairs for the Bat Hat Repair Workshop and Condemned Bat Storage!
DO NOT GO DOWN THERE!!!
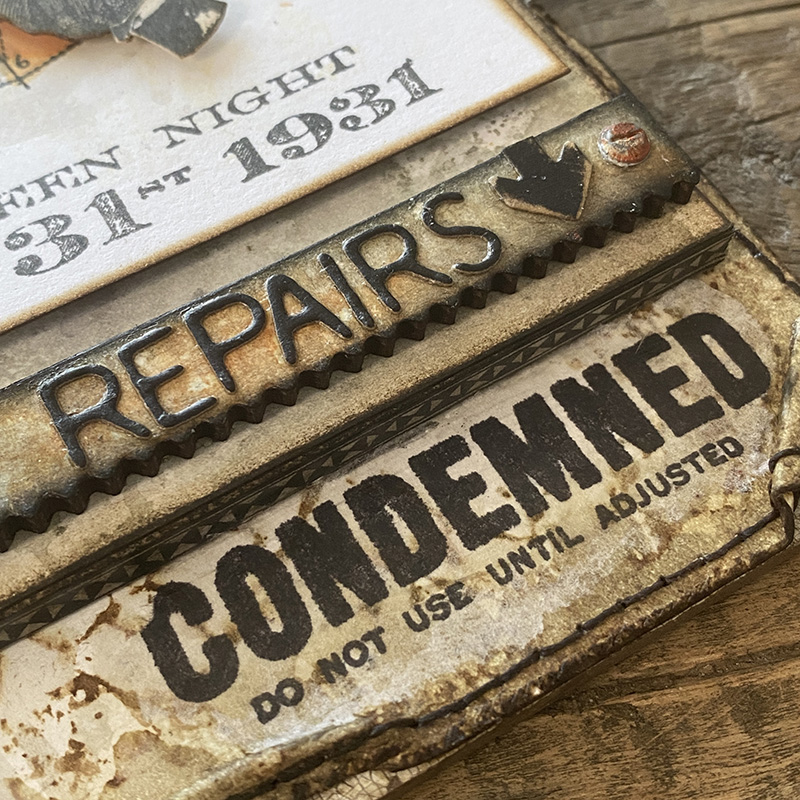
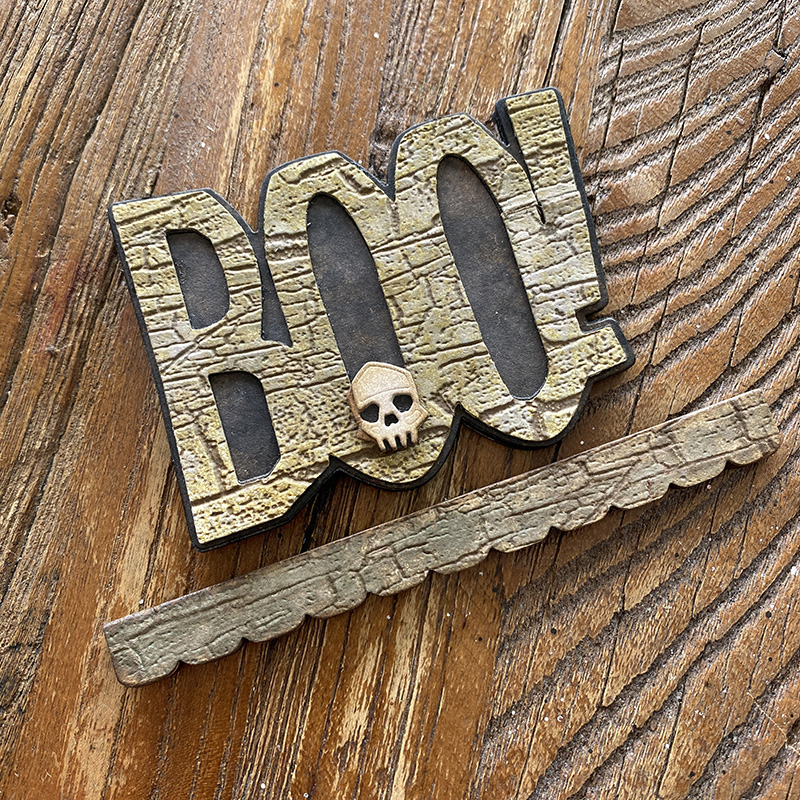
The title is die cut from the Alphanumeric Label thinlits set again and that perfect little arrow is from the Chapter 3 Postale thinlits die set. One of my favorite stamps from the Eccentric stamp set in distress archival ink was perfect to finish this story.
Thanks for stopping by and let me know if you have any questions.
Zoe
…
affiliate links used at no cost to you