Hello friends. With Halloween on the horizon, have you stocked up on your Tim Holtz Halloween idea-ology? I like to make for the dark side all year round, so I’ve stocked up on seasonal products to last me… Some people collect purses and shoes, others collect cauldrons, skulls and pumpkins! 😉
To see all the Halloween idea-ology products and incredible makes, head over to Tim’s blog for the LIVE replay.
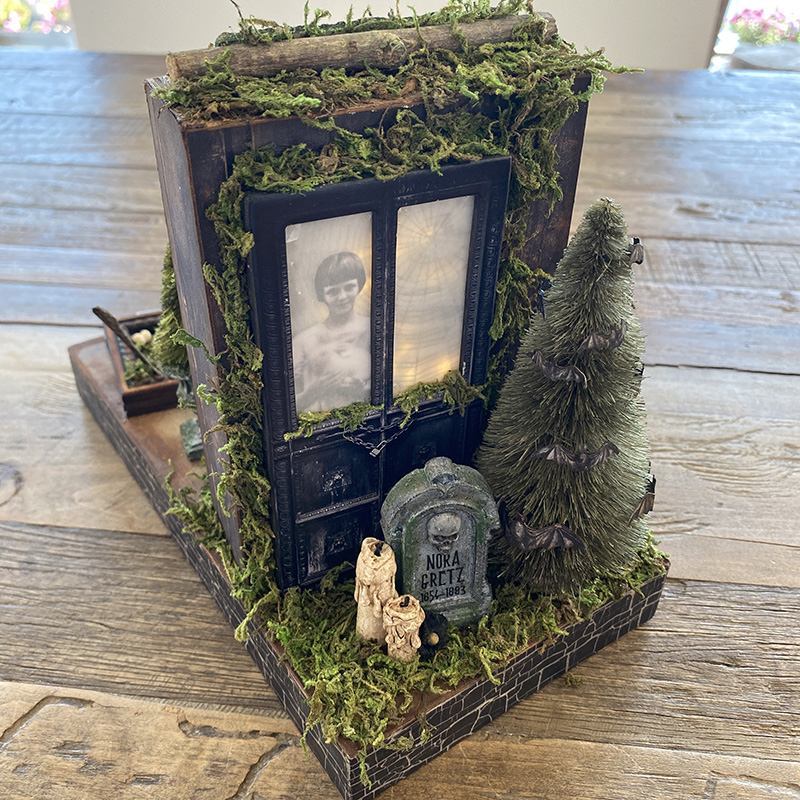
Today I’m sharing part 1 of the witches potting shed made for the LIVE launch. You can see the introduction and close ups in my first post. Let’s get into the details…
BASES + BACK DOOR
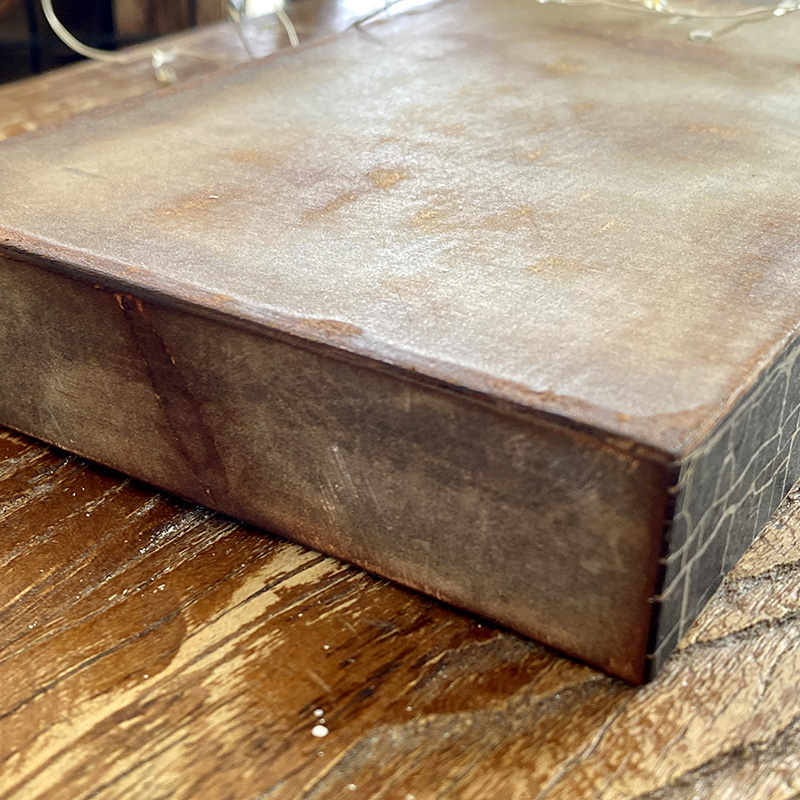
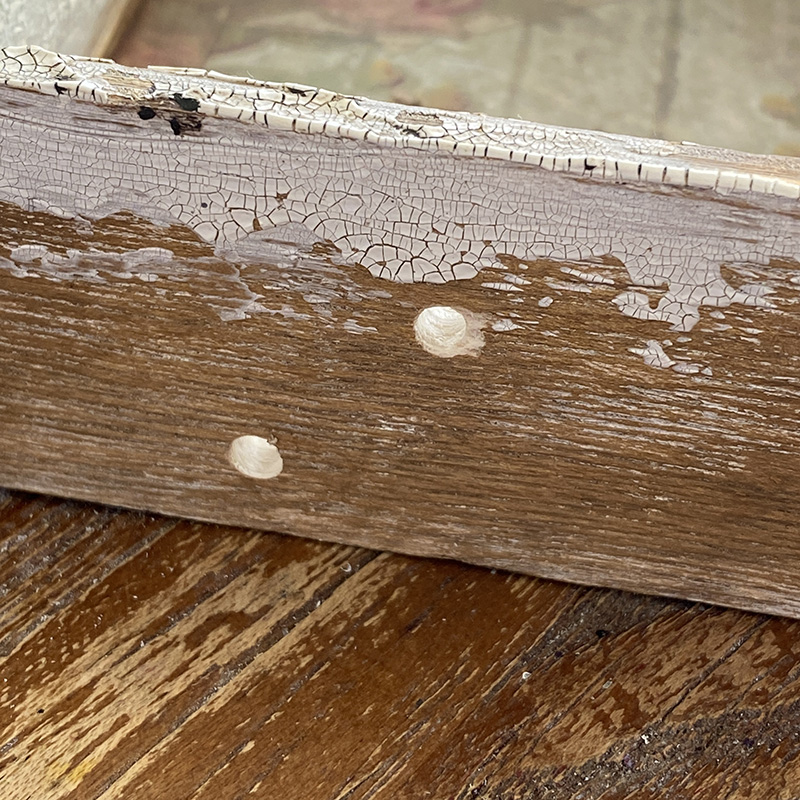
To start with I covered the smaller vignette tray from the idea-ology vignette tray set with paper from halloween backdrops. I used the halloween design tape to cover 3 sides of the vignette and used the halloween backdrop paper to cover the front.
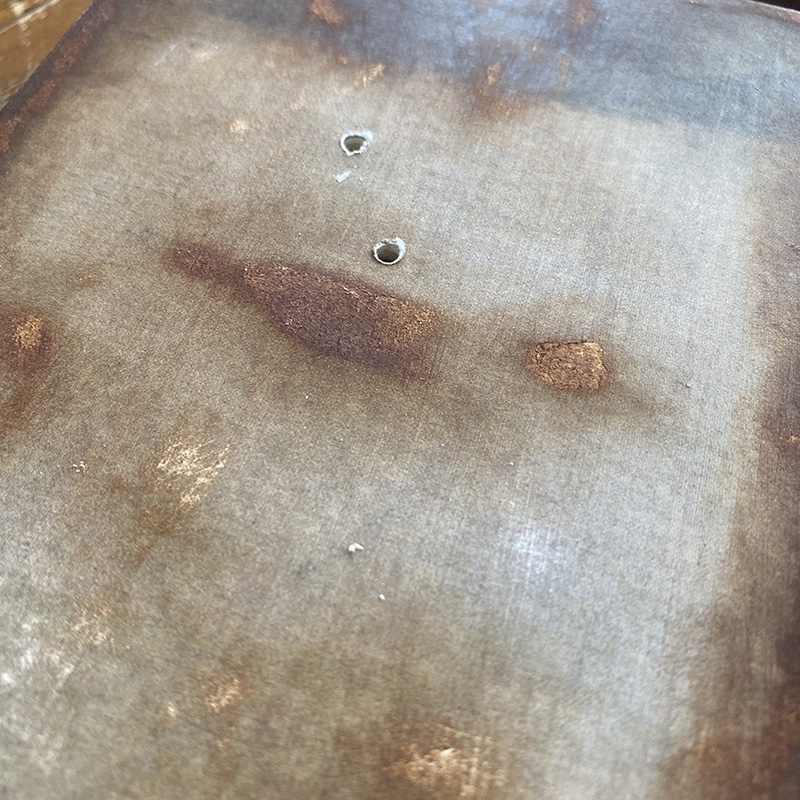
I sanded and inked parts of the background for extra grunge and decided on the placement of potting shed and drilled 2 holes in the base with my Dremel micro. You can use a hand drill or any drill with a small drill bit or an awl to do this. I like using a Dremel micro as it’s small and light weight.
PLEASE WEAR PROTECTIVE EYEWEAR WHEN USING POWER TOOLS!
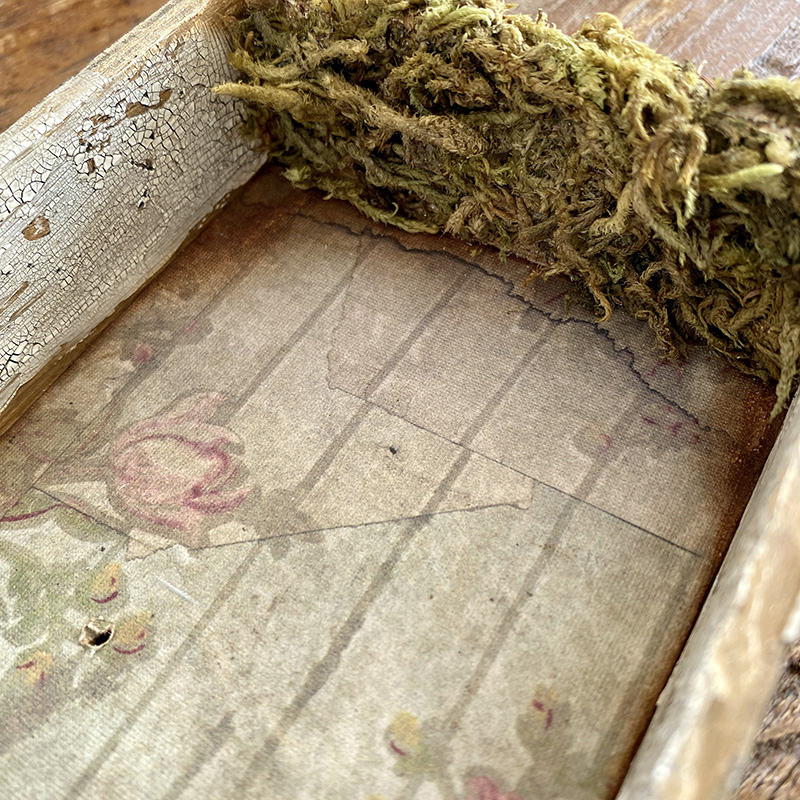
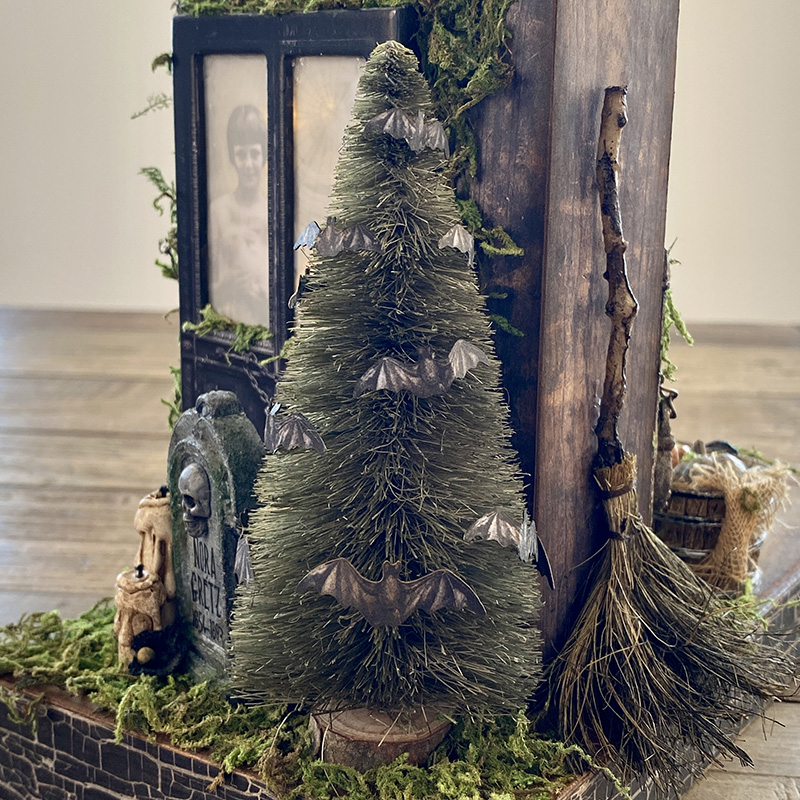
Cover the back of the largest vignette from the vignette box set with idea-ology halloween worn wallpaper. Adding distress opaque crackle paste to the inside sides. I covered the inside top of the vignette with a generous layer of distress collage medium and pushed moss into place and allowed to dry. Some of the moss will fall off but you can add more if you need to. Remember, perfect doesn’t look natural, moss in nature is a hot mess.
Line up your vignette box over the vignette tray base and use a marker or pokey tool up through the holes in the vignette tray to mark the underside of the vignette box. If you don’t care about the exact placement of the holes you can eyeball it.
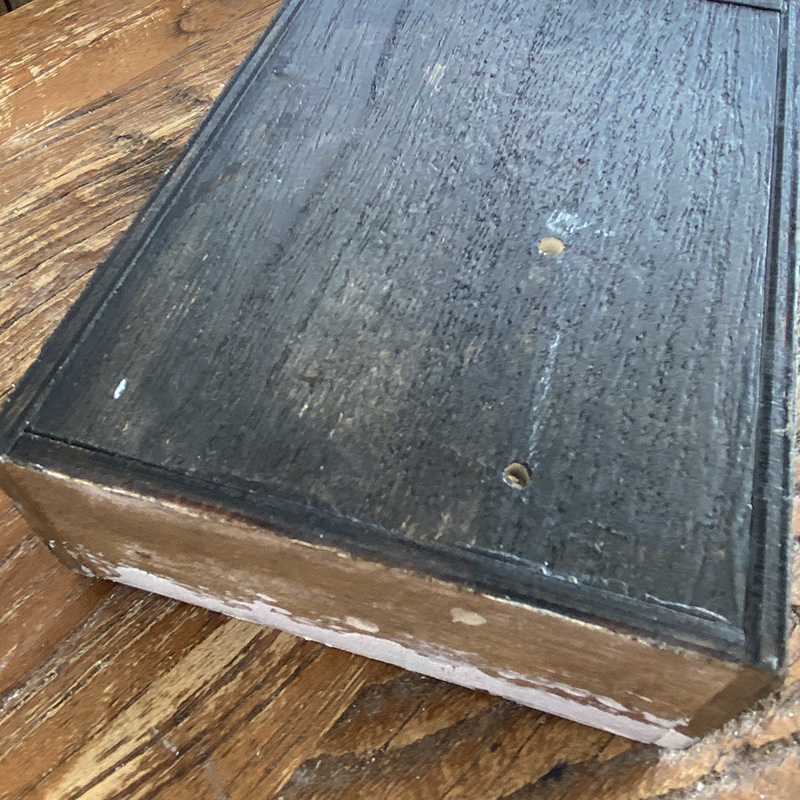
The placement of the holes in the back of the vignette box are more important as they need to sit underneath where the door frame is going to be. I used chalk to mark out where the door would be.
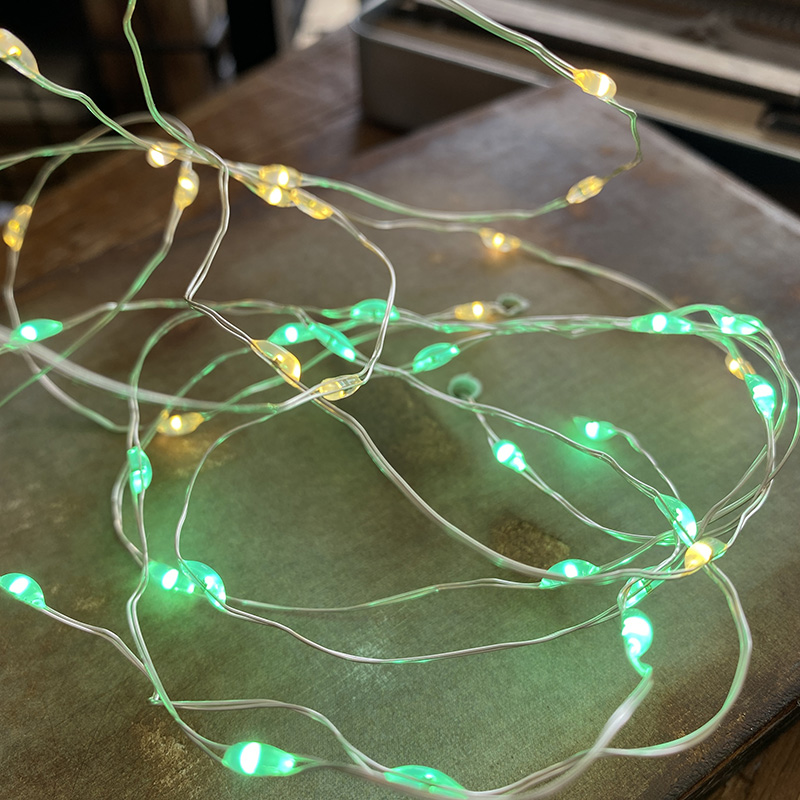
I used 2 sets of tiny lights, a set of everyday tiny lights (white) and a set of Halloween tiny lights (green), thread up through the underside of the vignette tray. The battery packs are stuck to the underside of the vignette tray out of sight. I work with the tiny lights on as it’s easier to see positioning.
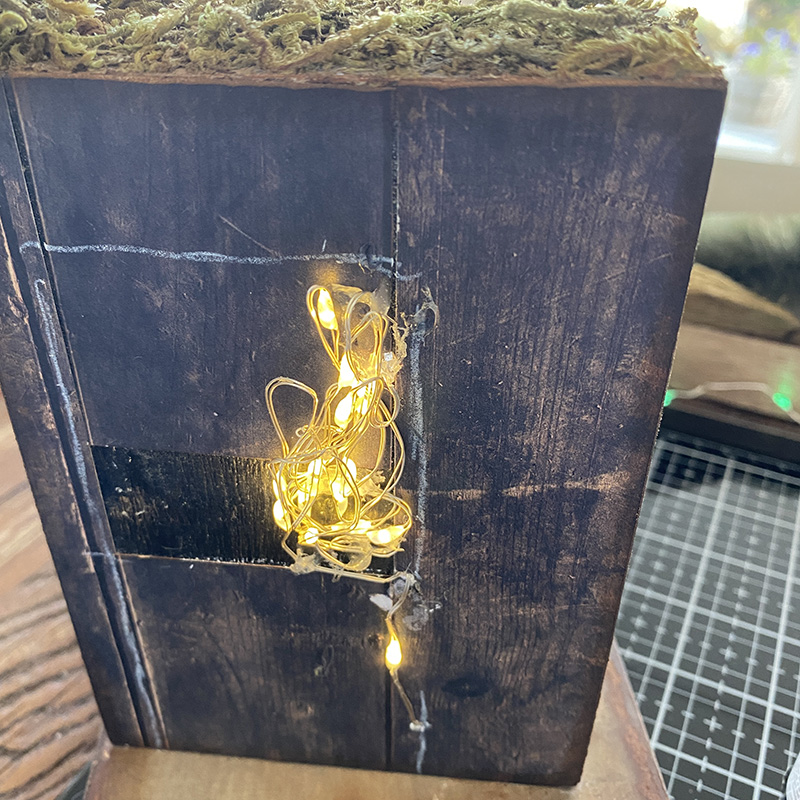
I cut a piece of paper from the backdrops halloween collection into strips and covered the back and sides of the vignette box. You can see here where I marked a chalk line of where the windows were going to be versus the base of the door. The tiny lights have wire in them so it’s easy to bunch them together and they hold their place. I added a tiny dot of hot glue at the top and bottoms to hold them in place. DO NOT get hot glue on the bulbs as it can short the lights out.
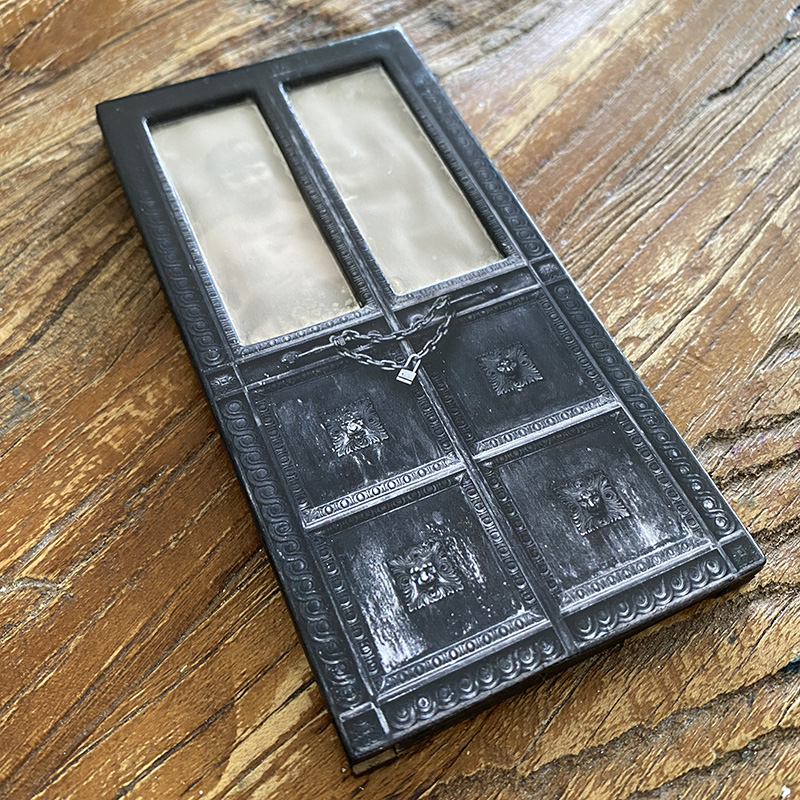
Taking the door from the baseboards halloween set (pictured above)…
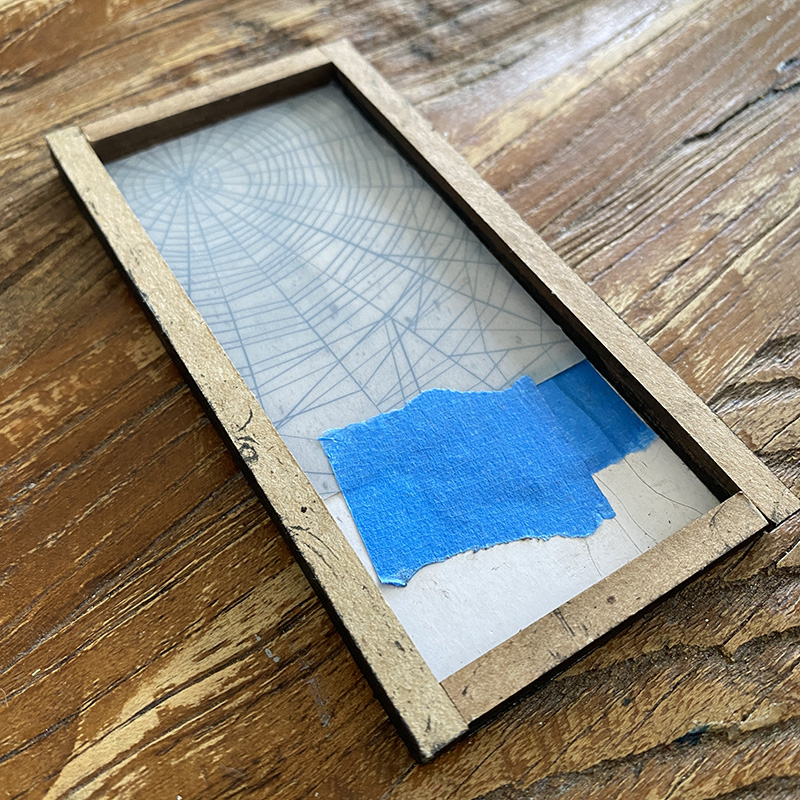
I flipped it over and added a piece of vellum, a paper doll and a sheet of transparency (in that order) over the window. I built a frame using the straight trims from the etcetera bat and cobweb trims from stampers anonymous. It needs to be deep enough for the lights to sit behind the door and back light the cobweb transparency.
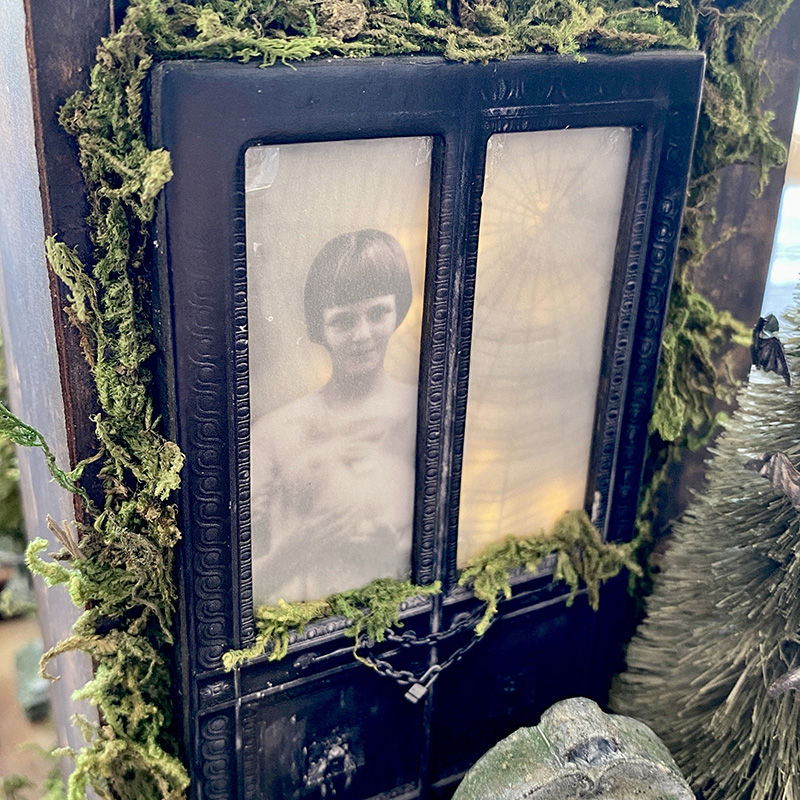
I glued the door to the back of the vignette box with distress collage medium and added moss around the edges.
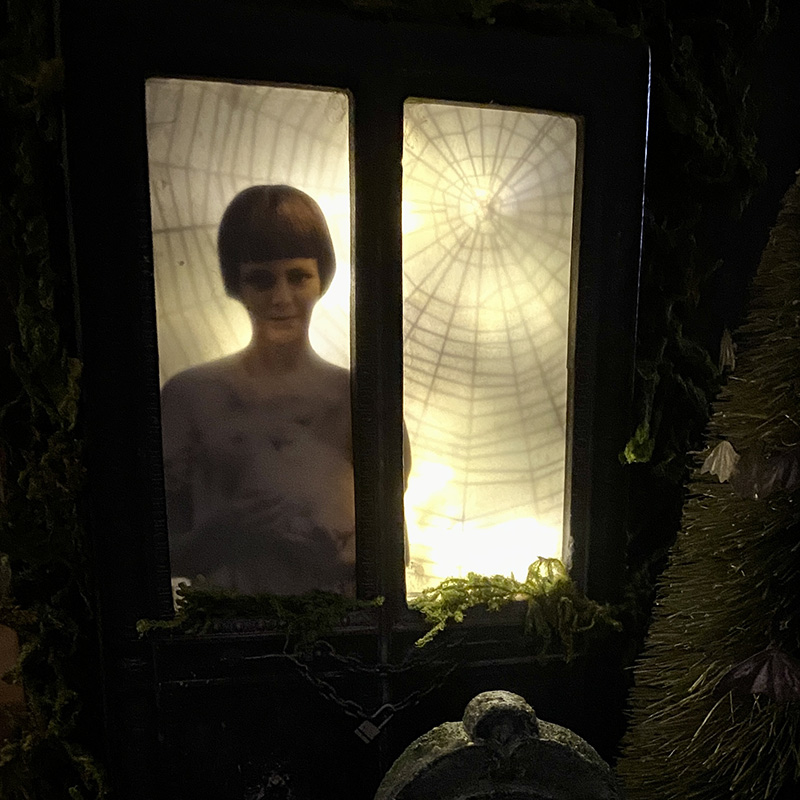
So creepy right?! Trapped in the doorway forever…
Thanks for stopping by, I hope you found this post helpful and it has inspired you to make. Let me know if you have any questions.
Back as soon as I can with the next installment in the witches potting shed…
Part 2 – Potting Shed, Cauldron + Gates
Zoe
…
affiliate links used at no cost to you


absolutely love this project. great detail photos. thanks as always for sharing and all the inspiration.
Absolutely fantastic!
Love this one so much…can hardly wait for the next installment…
This is great! My kids would want a clown in the window…they’re weird, but they think it’s funny because it kinda creeps me out.
Have a great day!!
This is soooo cool!
This is so great, Zoe!! I love it!! xxx
Amazing! Love it. You are certainly gifted!
Oh this is so goody creepy!! Love it Zoe!!
I love this! Great work!
This is soooo creepy good!!!! Can’t wait for part 2
I got this part made. I think I can see what you did with most of the rest of the pieces except for the bird cage. what’s inside? such a fun concept with the girl trapped inside. and fun to make. keeping this as a technique moving forward. thanks again for sharing.
Stay with me… I’m writing part 2 right now.
I have a Master Gardener, best friend, that I want to make this for. When will you have the remaining instructions available? I would appreciate a quick reply. Thank you, Whitney Acker
This is just stunningly creepy! I love it and I cannot wait for the other parts of the tutorial 🙂
Your makes for the Tim Holtz Lives are ALWAYS my favorite! You seriously rock!