‘Craft’ Category

  1. Pumpkin Patch

    21st September, 2015 by iGirlZoe

    Hello Everyone. Autumn is definitely in the air so I was inspired to make a couple of cards to send to friends who love this season as much as I do.

    iGirlZoe: Pumpkin Patch
    I used the pumpkin stamp from the Halloween Blueprints 2 set by Tim Holtz. I’ve said this before, but the blueprint stamps are made for colouring!

    iGirlZoe: Pumpkin Patch
    I watercoloured the pumpkin with distress markers and a waterbrush. I also coloured directly onto a background stamp, which I then spritzed with water and stamped.

    iGirlZoe: Pumpkin Patch
    I created background borders with the new regions beyond tissue tape from Tim Holtz. This is part of the LIMITED** seasonal Halloween range by Tim Holtz.
    **start hoarding immediately

    iGirlZoe: Pumpkin Patch
    I embossed core-dinations kraft core cardstock with Autumn themed texture fades embossing folders.

    iGirlZoe: Pumpkin Patch
    Thanks for stopping by. I’ll be back with some exciting news on Thursday!


  2. Beware Trouble!

    16th September, 2015 by iGirlZoe

    The temperature here in Switzerland has dipped considerably and the trees are starting to show the first signs of Autumn, so Halloween is ON!

    iGirlZoe: Beware TroubleToday I have a quick and simple card which could easily be adapted to make Halloween party invitations, a canvas or other home decor piece.

    iGirlZoe: Beware Trouble
    Take a base card and cover the edges with regions beyond tissue tape.

    iGirlZoe: Beware Trouble
    Emboss core-dinations kraft core cardstock with the new cobwebs texture fades folder and sand lightly over the top and edges with a sanding grip.

    iGirlZoe: Beware Trouble
    Place the zigzag stencil over distress watercolor cardstock and blend rusty hinge distress ink through with a blending tool. Dry with a heal tool. Move the stencil so it covers the inked parts and repeat the process with hickory smoke distress ink. Once dry, stamp randomly using background stamps from the undertaker stamp set with jet black archival ink. Spritz with water droplets and dry with heat tool. Paint a thin layer of glue ‘n seal over the top. It will spread the ink a little but give a nice vintage hue.

    iGirlZoe: Beware Trouble
    Mix a few drops of black soot distress reinker and texture paste with a palette knife on a craft mat. Place the batground stencil over one side of the card and using the palette knife, scrape through a portion of the stencil. Carefully lift the stencil and rinse immediately. Allow the texture paste to air dry.

    iGirlZoe: Beware Trouble
    Stamp the large skull from the undertaker stamp set and fussy cut. Blend with a vintage photo distress ink. Stamp a second time and fussy cut the hat and teeth. Colour the teeth with a white gel pen and glue both the hat and teeth on top of the skull with glue ‘n seal. Add a little black soot distress marker around the outside of the skull and blend with your finger to create a shadow.

    iGirlZoe: Beware Trouble
    Die cut “beware” and “trouble” from the handwritten halloween thinlits die set with core-dinations kraft core cardstock. Assemble card with glue ‘n seal.

    Thanks for stopping by, I really appreciate it. I’ll be back with LOTS more Halloween projects over the coming weeks. I hope you’ll stop by again and take a look.


  3. Butterfly Birthday Card

    14th September, 2015 by iGirlZoe

    Hello friends. I meant to come back last week with another bird crazy post but got distracted by some exciting news that I will share with you next week! 😉

    iGirlZoe: Butterfly Birthday Card
    Today I’m sharing a birthday card I made some weeks ago using the buttefly from Tim Holtz perspective stamp set, one of my favourites.

    iGirlZoe: Butterfly Birthday Card
    I got so immersed making it, that I didn’t take any step-by-step photos.

    iGirlZoe: Butterfly Birthday Card

    iGirlZoe: Butterfly Birthday Card
    Thanks for taking time to pop by, I really appreciate it.


  4. Bird Crazy Birthdays!

    24th August, 2015 by iGirlZoe

    Hello friends! I’m taking a break from Halloween, (for at least 5 minutes), to make some birthday cards, which reminded me to share a birthday card that I made recently for a special friend.

    iGirlZoe: Bird Crazy Birthdays
    I love using recycled packaging with distress products, which is what I did here to create this bird crazy birthday card.

    iGirlZoe: Bird Crazy Birthdays
    Cut a frame from recycled cardboard, cover with cracked pistachio distress paint and allow to dry. Gently sand and blend walnut stain distress ink over the top.
    *Note: unlike grungeboard the cardboard won’t take a lot of punishment, so make sure you dry completely before sanding and sand very gently.

    iGirlZoe: Bird Crazy Birthdays
    Cut a piece of recycled plastic packaging to fit behind the frame and emboss with an embossing folder.

    iGirlZoe: Bird Crazy Birthdays
    Mix picket fence distress paint with a light spritz of water and paint each of the clouds and allow to air dry.

    iGirlZoe: Bird Crazy Birthdays
    Stamp balloons from the new crazy things stamp set from Stampers Anonymous and watercolour with distress markers. Fussy cut with scissors, (for now! …the accompanying die set is coming in October)!

    iGirlZoe: Bird Crazy Birthdays
    Stamp a bird from the bird crazy stamp set, (where all this craziness began), and watercolour with distress markers and die cut parts using the accompanying die set. Using distress inks, create a background to go underneath the embossed clouds and assemble the card.

    Thank you for taking a look at my card. I will be back later in the week with some more bird crazy. Have a great start to your week.


  5. 12 Tags of 2015 – August

    18th August, 2015 by iGirlZoe

    Hello friends! Thank you so much for leaving comments on my last post, I really do appreciate it. I knew once I popped open those Halloween Words: Block dies I wouldn’t be able to stop! So when I saw Tim Holtz’s fantastic tag this month I knew exactly what I was going to do… (Count Frightful made me do it)! 😉

    Tim Holtz 12 Tags of 2015 August
    With a Halloween theme in mind, I used lots of the new seasonal ideaology and added orange to the adornments to give a cohesive look. I learned this useful tip last year from a really cool halloween project by Paula Cheney.

    Tim Holtz 12 Tags of 2015 August
    This month’s techniques make a really sturdy tag, so perfect to load up with embellishments! I altered the spider from the oddities adornments set, (see further down for details).

    Tim Holtz 12 Tags of 2015 August
    I used a card from the found relatives pack and rubbed on a skull from the curiosities remnant rubs. I got really excited when I realised it was a white rubon (it’s the little things that make me happy…)! I covered an heirloom rose with butterscotch alcohol ink to tie in with the orange palette and rubbed spiders onto her dress!

    Tim Holtz 12 Tags of 2015 August
    I covered “poison” from the wicked alpha parts with rusty hinge distress paint. Once dry I covered in glossy accents and sprinkled rusty hinge distress glitter over the top! I am obsessed with this glitter and I’m usually not a fan of glitter!

    Tim Holtz 12 Tags of 2015 August
    I used the new ledger scrip stamp (CMS241) on one side of the tag. You can see the really cool mixed media background technique over on Tim’s blog!

    Tim Holtz 12 Tags of 2015 August
    To bling up my spider I used a spider from the oddities adornments set, glossy accents, pitch black alcohol ink, rusty hinge distress glitter and a file.

    Cover your spider with pitch black alcohol ink and allow to air dry.
    *Note: I use an egg cup because it acts like a bath so you use less alcohol ink and there’s less clean up.
    Once completely dry, use a file to scratch the alcohol ink off the head and tops of the spiders legs.
    Cover the back of the spider with glossy accents and cover with rusty hinge distress glitter. Shake off the excess and set aside to dry.
    *Note: To give a faux amber look, cover the distress glitter with a final layer of glossy accents.

    Tim Holtz 12 Tags of 2015 August
    Thanks for taking the time to look at my tag. You can see this months tag and techniques on Tim’s blog and you can see the post translated into French on Scrapdeco’s blog.


  6. Frightful Burlap

    7th August, 2015 by iGirlZoe

    I can’t quite believe I am writing this…

    A month ago I was asked to make some samples with the new seasonal products by Tim Holtz! As a bit of a “fangirl” you can imagine my reaction when my box of goodies arrived from the North Pole! So with dizzy excitement let me share my first sample with you.

    iGirlZoe: Frightful
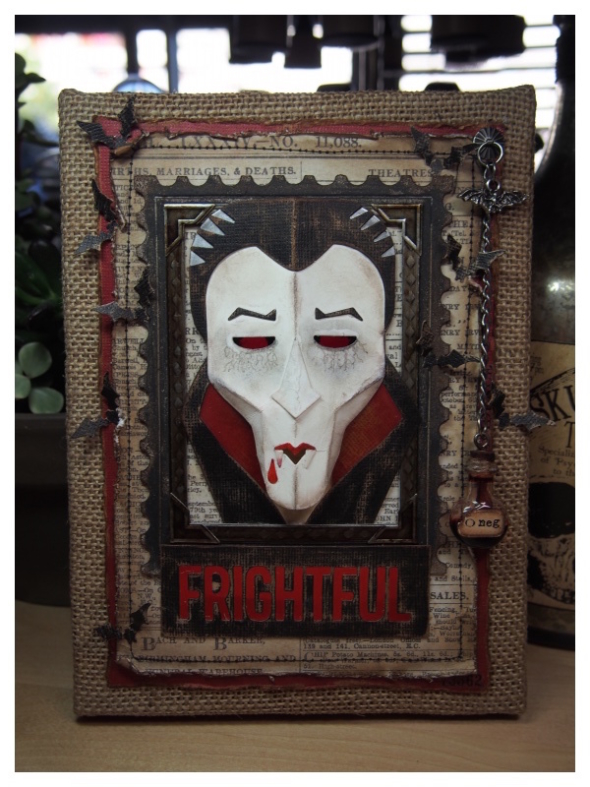
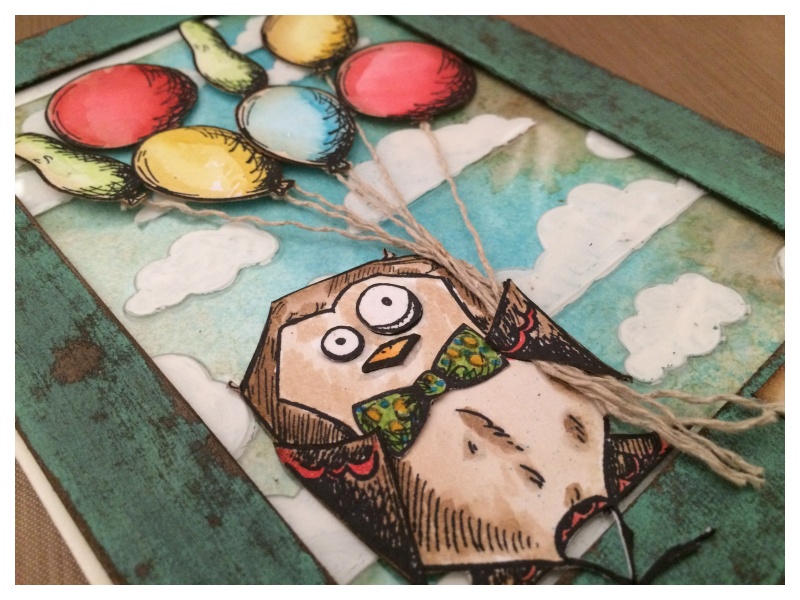
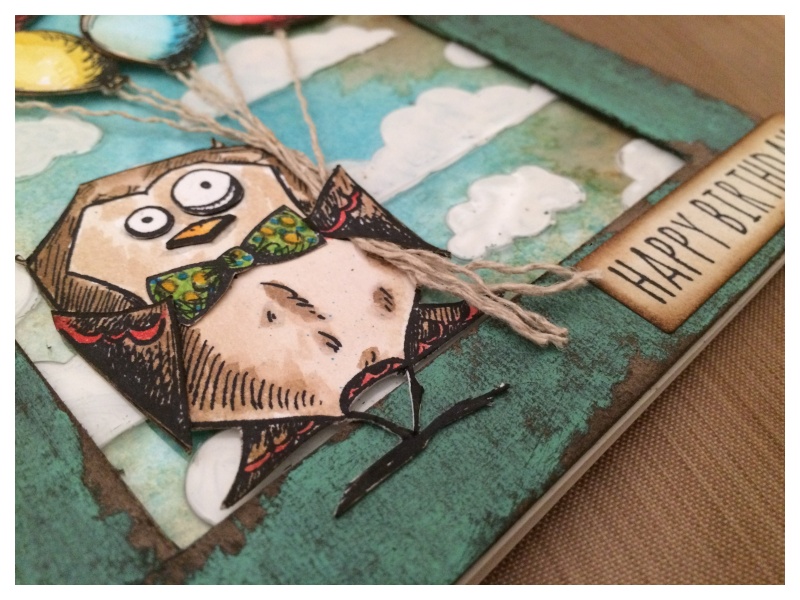
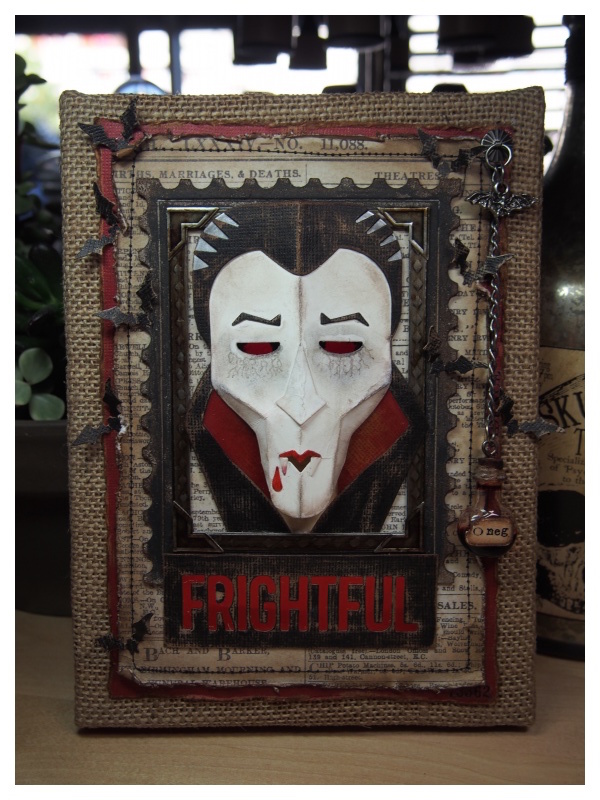
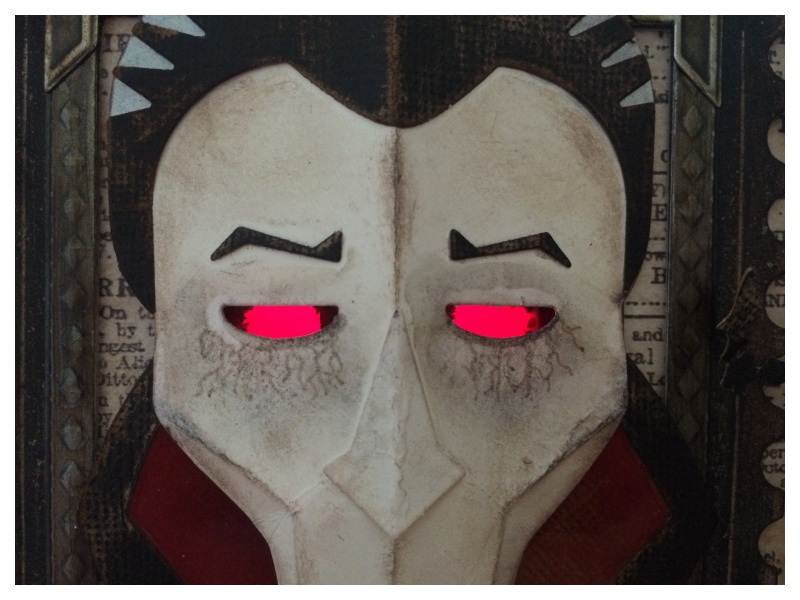
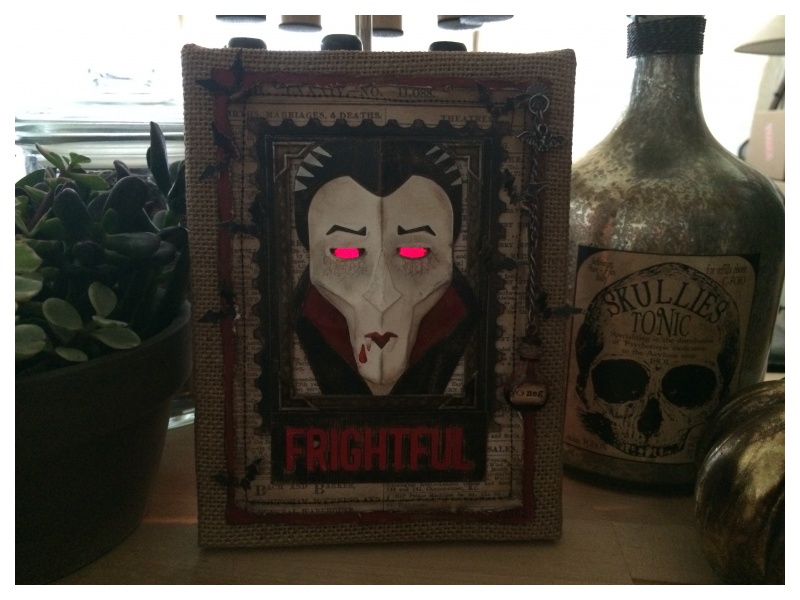
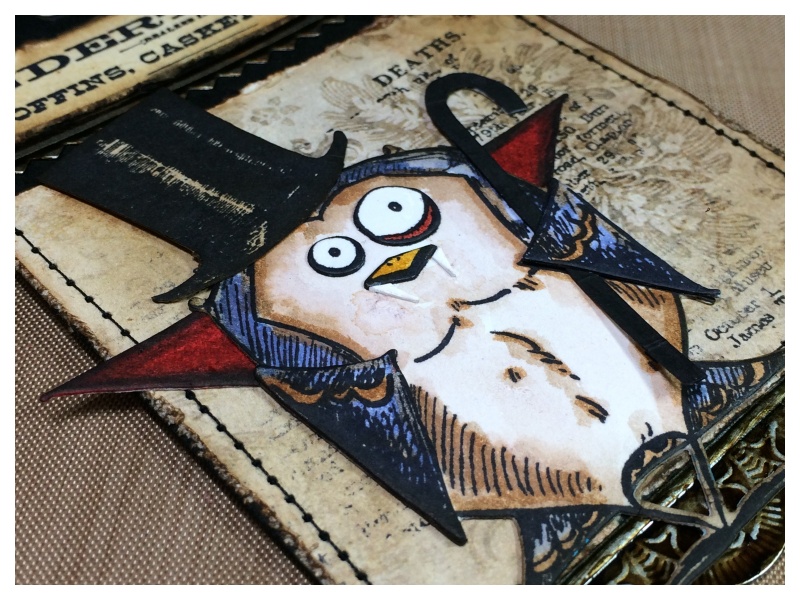
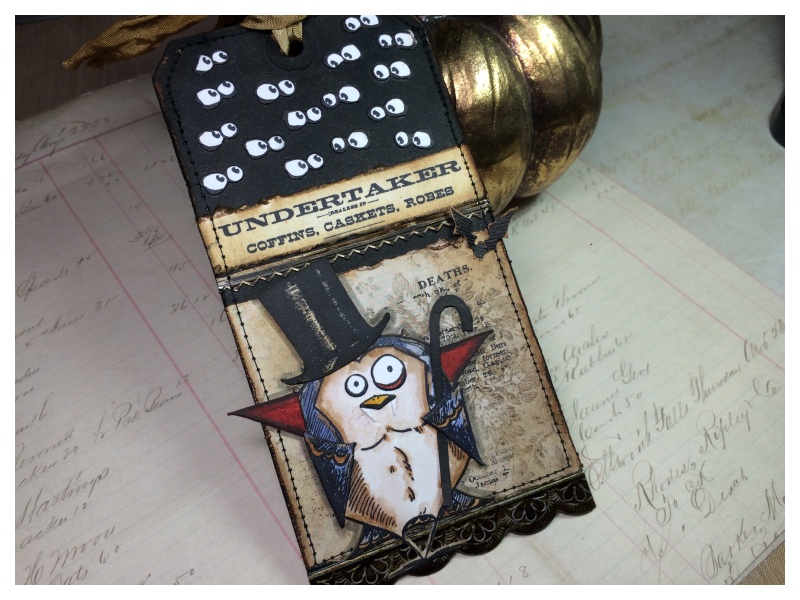
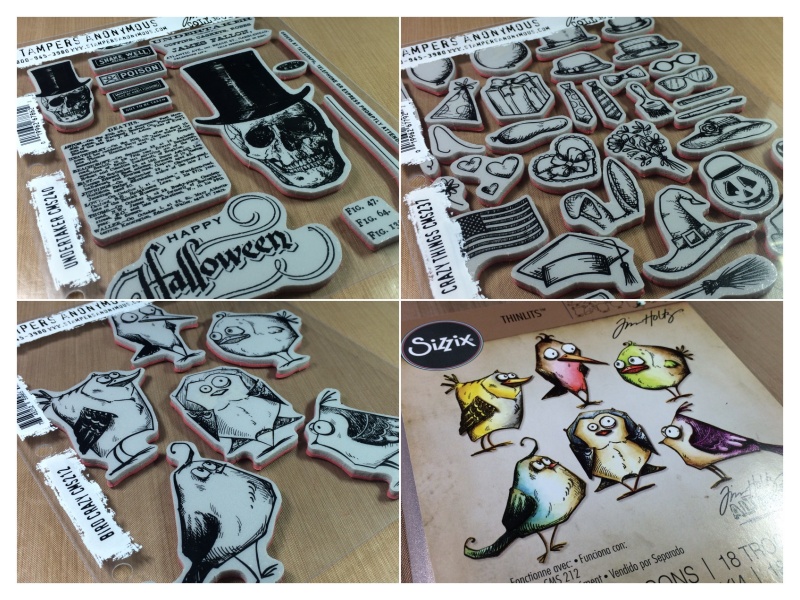
    Using the really cool new Sizzix Vampire thinlits die by Tim Holtz, allow me to introduce you to Count Frightful, don’t come too close though… he bites!

    iGirlZoe: Frightful
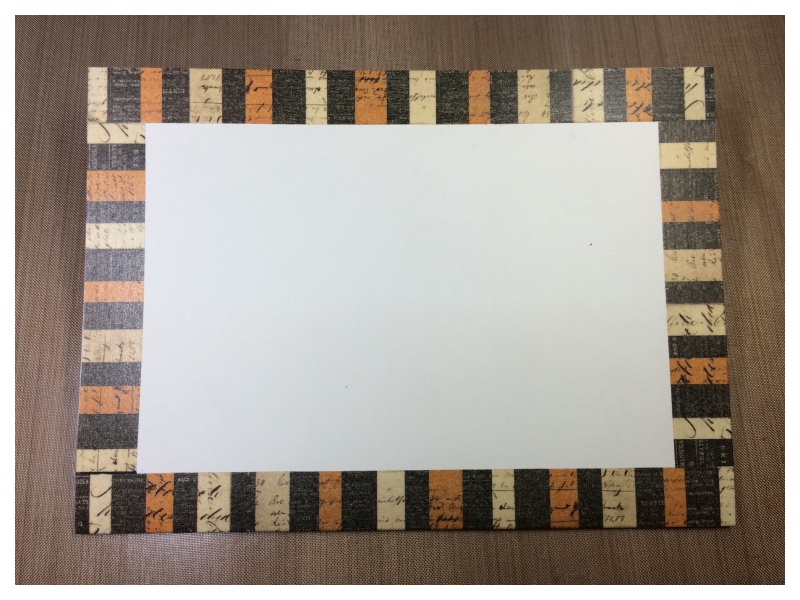
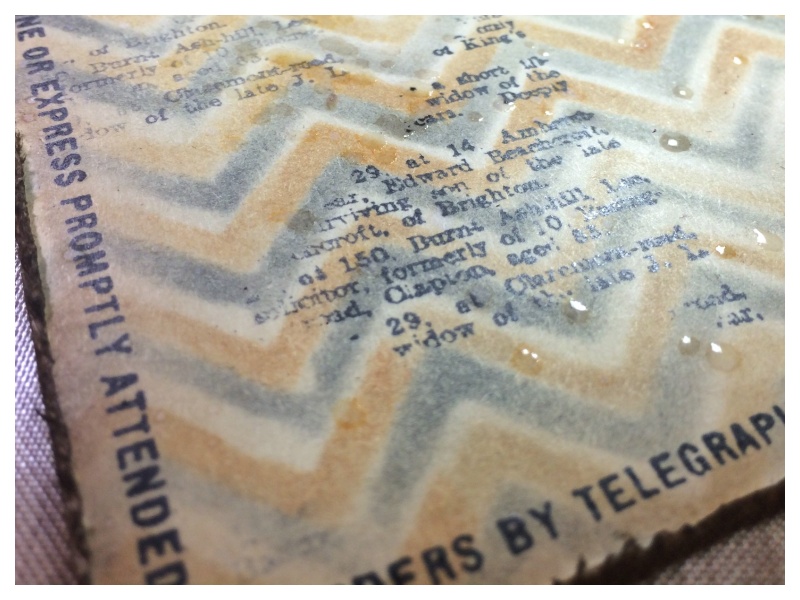
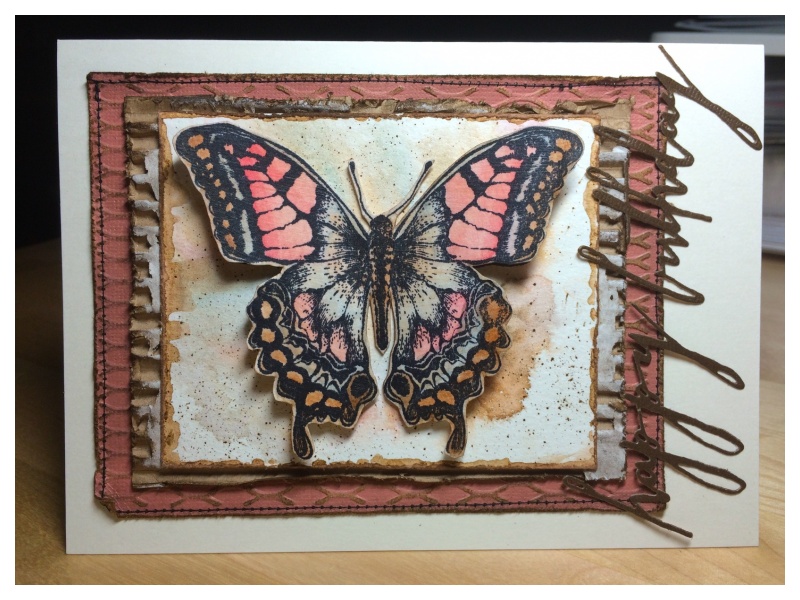
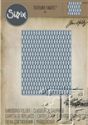
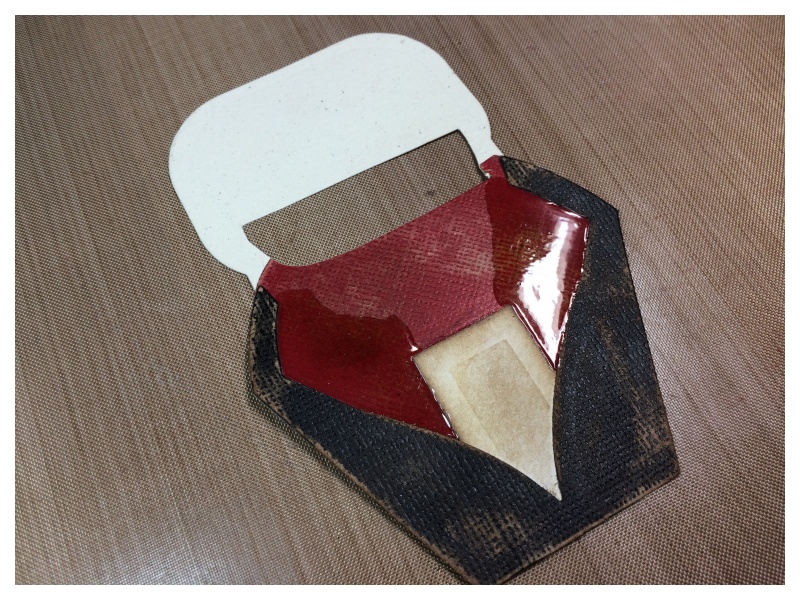
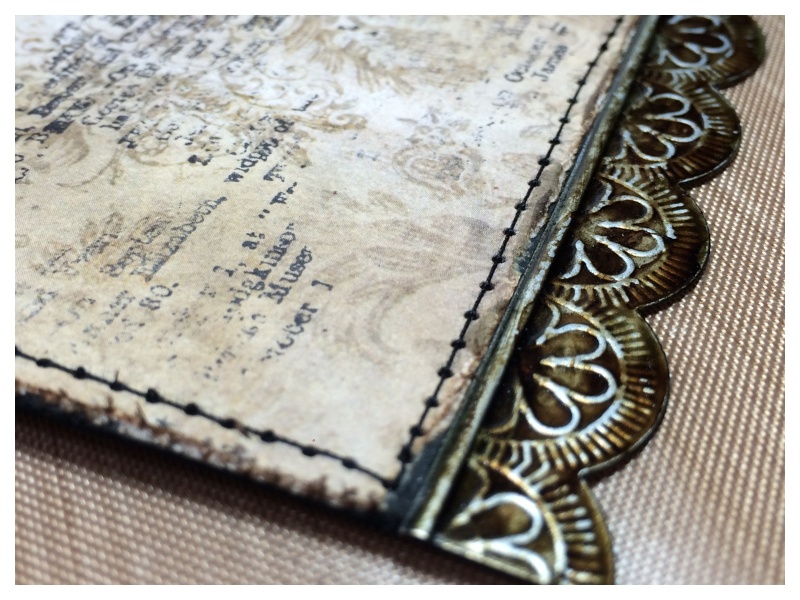
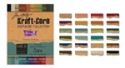
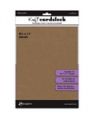
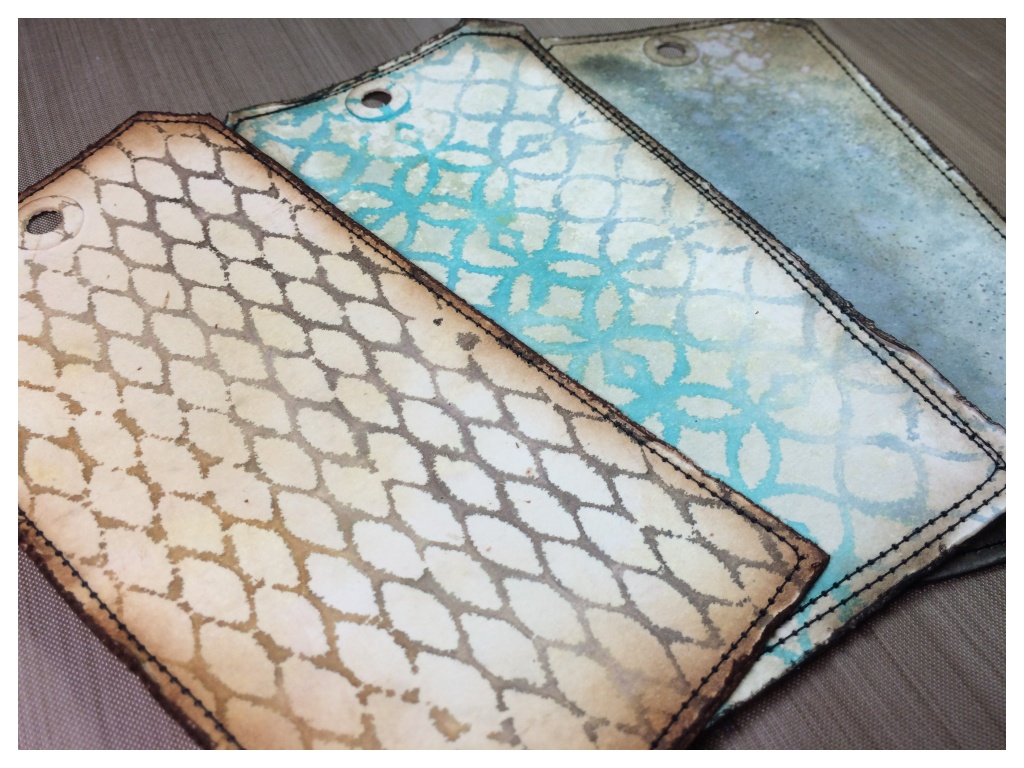
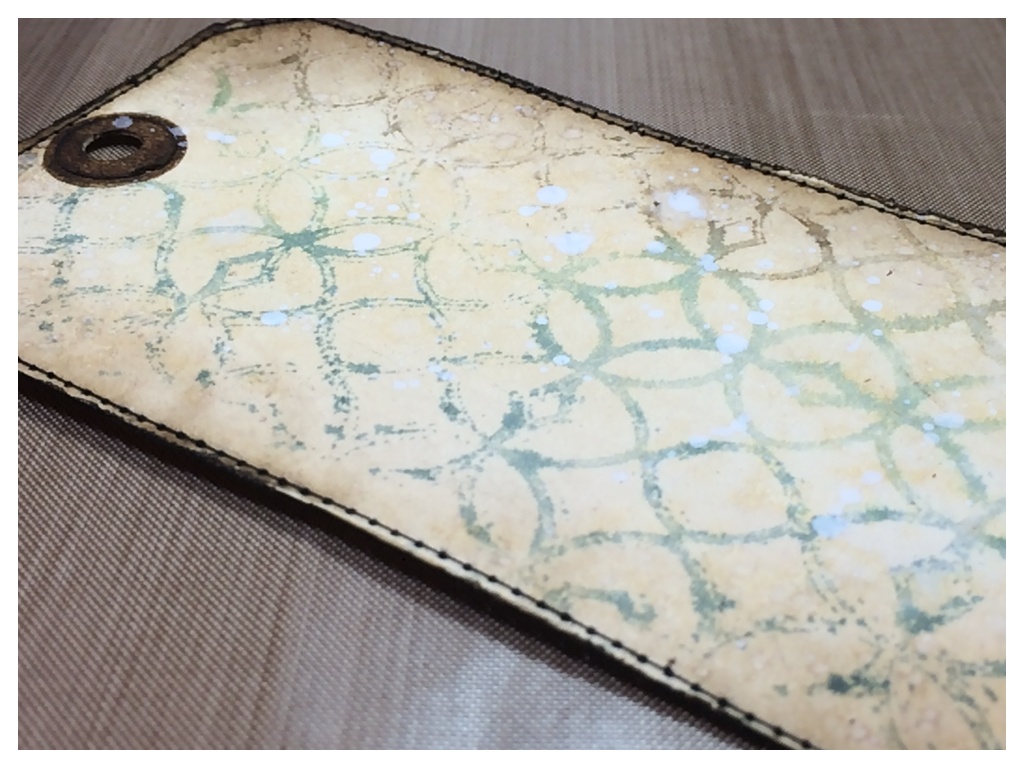
    Cut a piece of core-dinations kraft core and paper from the new regions beyond paper stash. Distress and ink the edges.

    iGirlZoe: Frightful
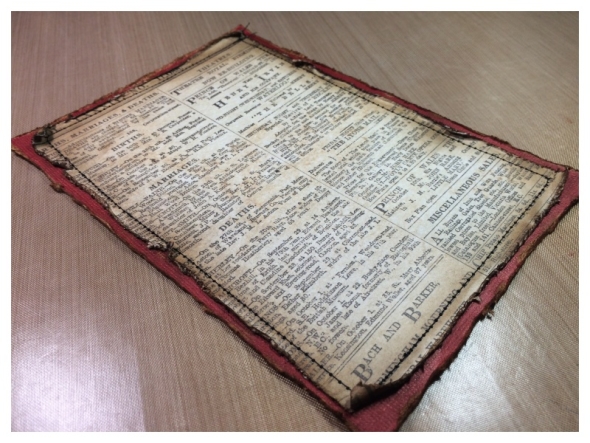
    Layer the papers and stitch.

    iGirlZoe: Frightful
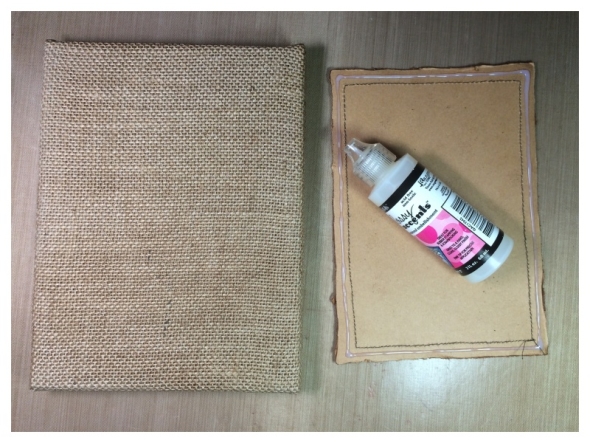
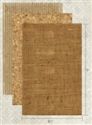
    Run a generous line of glossy accents along the back of the layered papers and place onto an idea-ology 6″x 8″ burlap panel and set aside to dry.

    iGirlZoe: Frightful
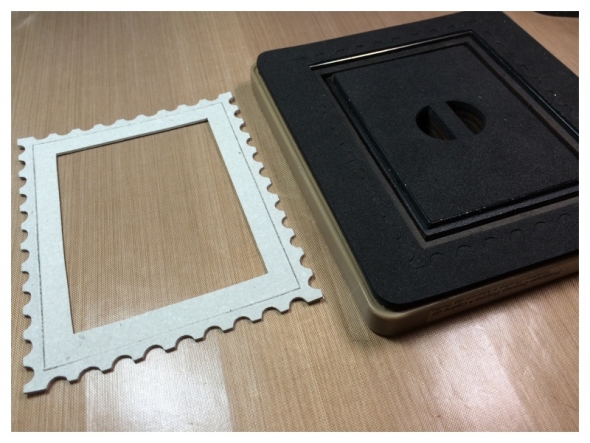
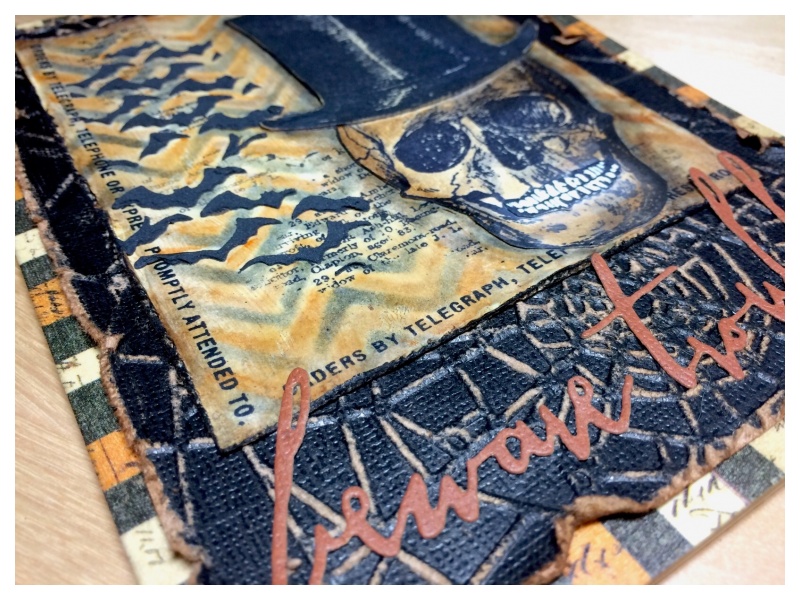
    Cut a frame from grungeboard with the Sizzix postage stamp frame and rectangles movers and shapers dies.

    iGirlZoe: Frightful
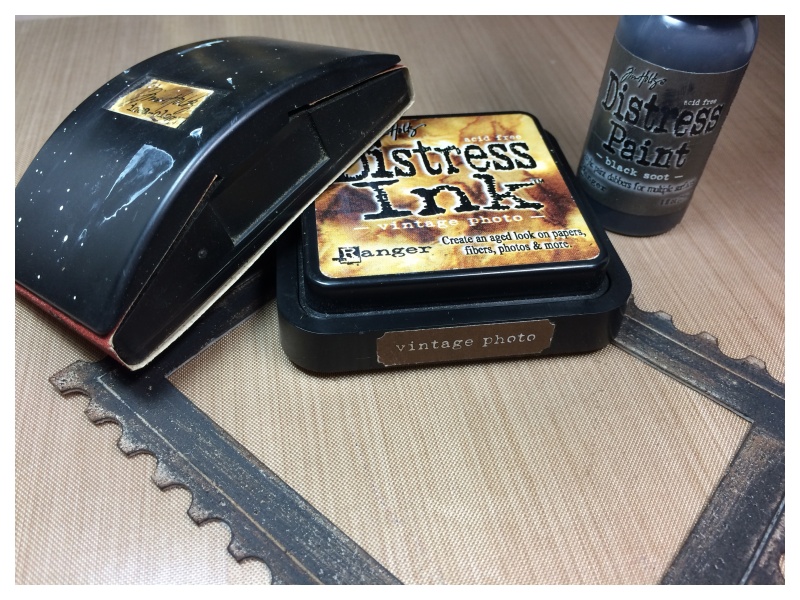
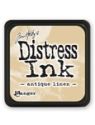
    Cover with black soot distress paint and allow to dry. Using the sanding block, gently sand portions of the frame and swipe vintage photo distress ink over the top with a blending tool.

    iGirlZoe: Frightful
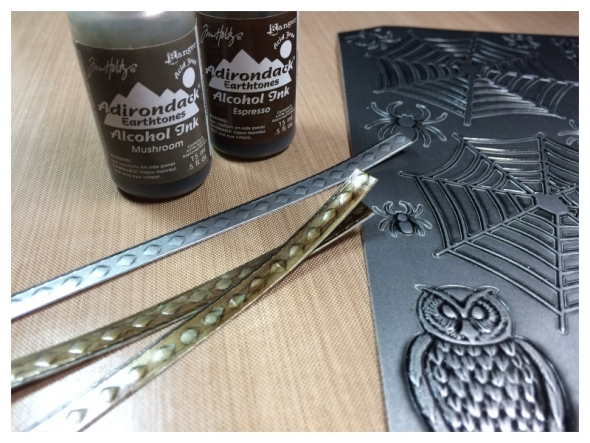
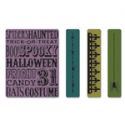
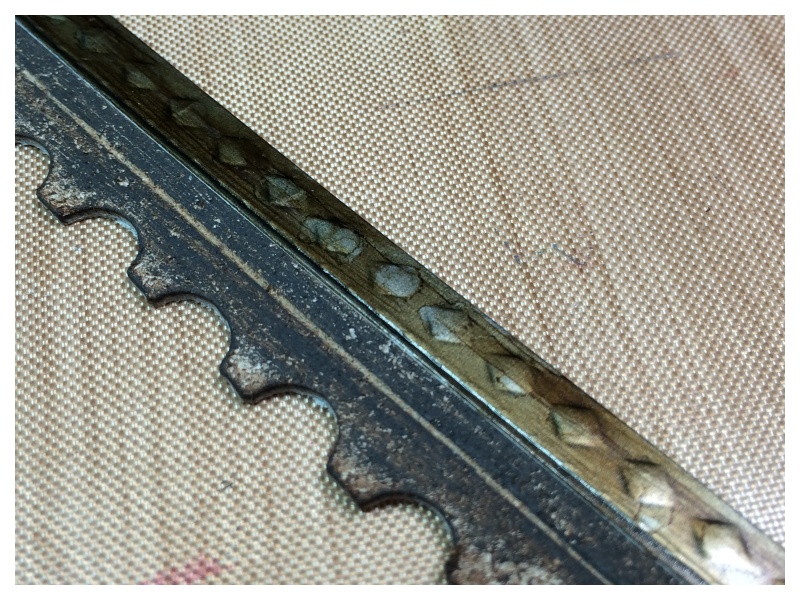
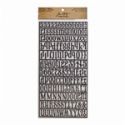
    Dab a little mushroom and espresso alcohol ink onto border strips from the new gothic industrious stickers with a cotton bud. Trim to fit inside the grungeboard frame.

    iGirlZoe: Frightful
    Once dry attach with a line of glossy accents.

    iGirlZoe: Frightful
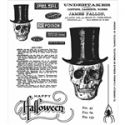
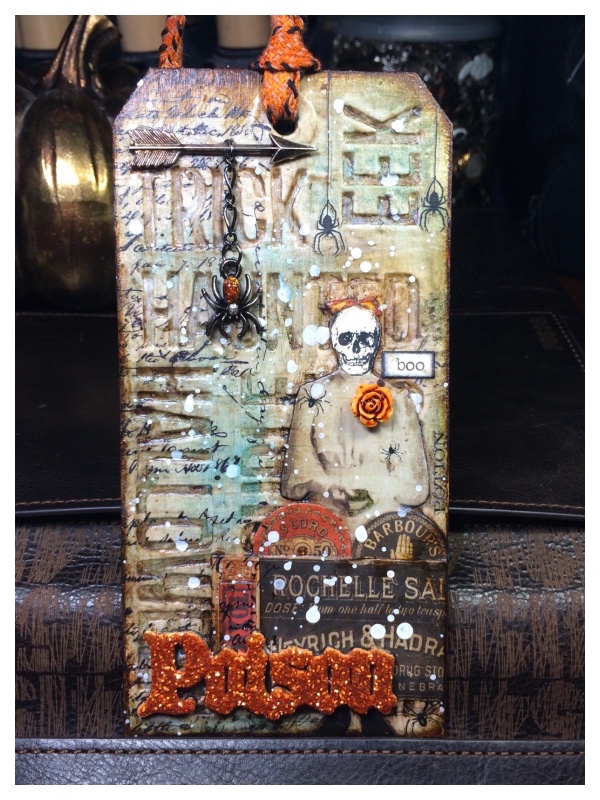
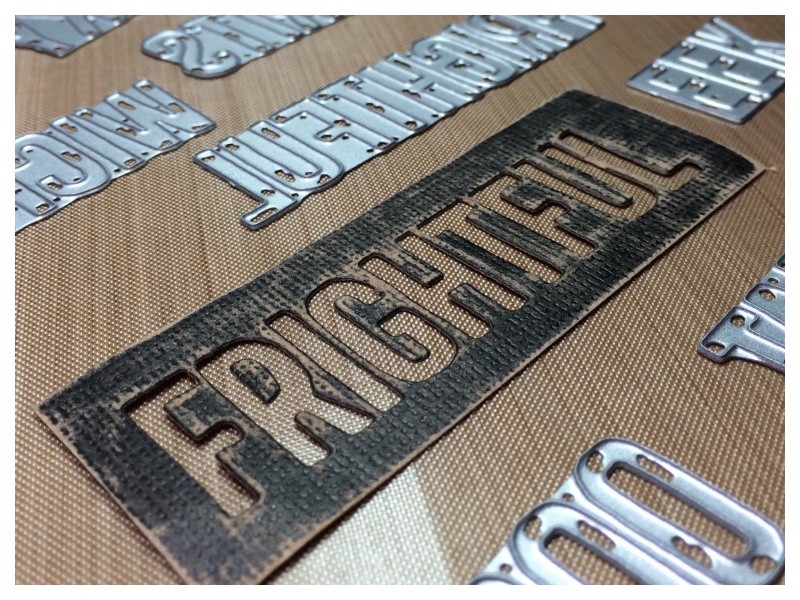
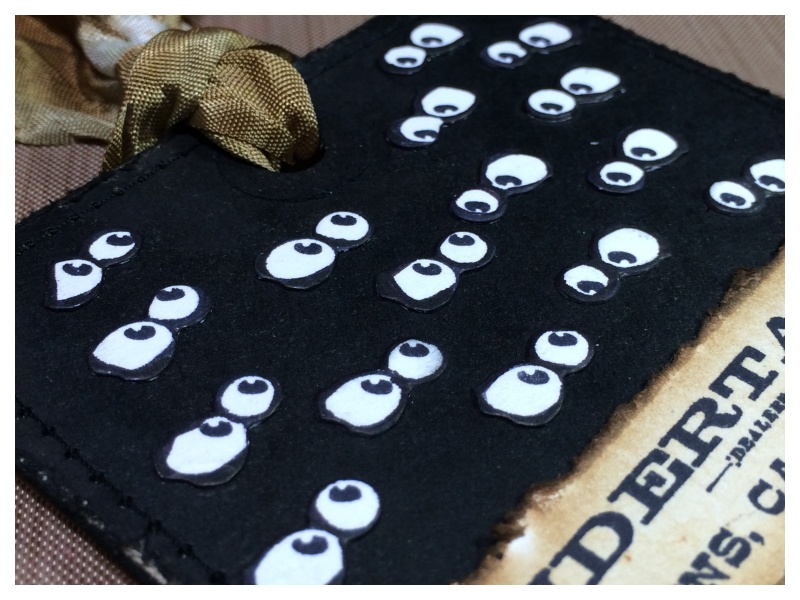
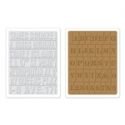
    Die cut “frightful” from coredinations kraft core with the new Sizzix Halloween Words: Block thinlits dies.

    iGirlZoe: Frightful
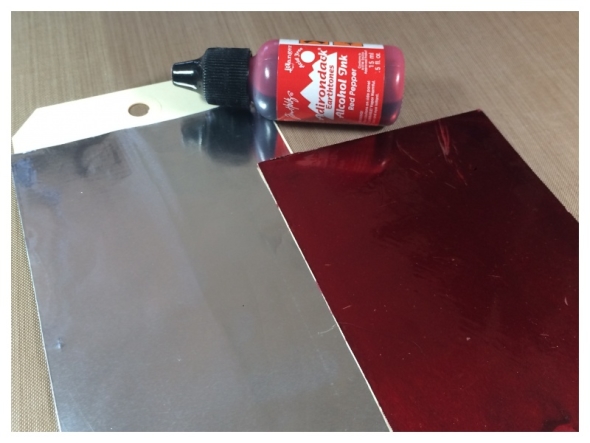
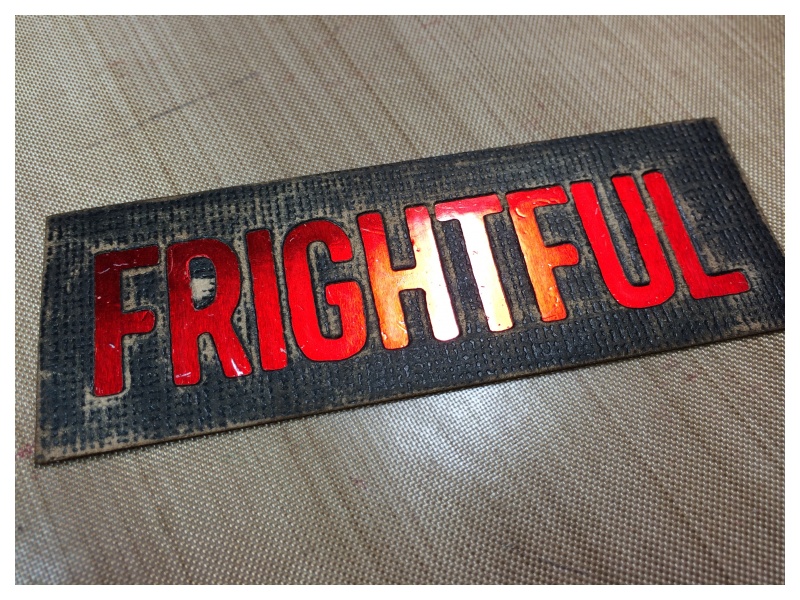
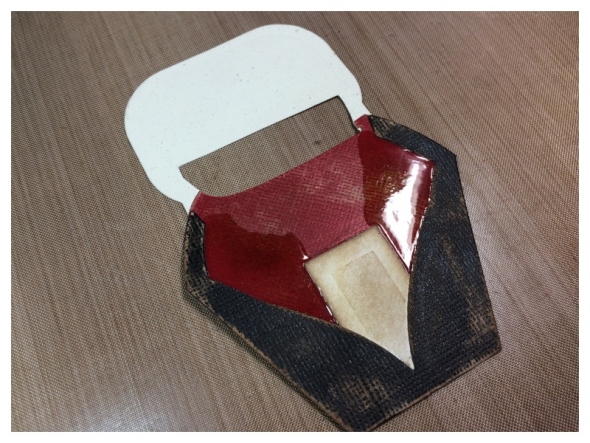
    Cover a manila tag with foil tape and coat with red pepper alcohol ink directly from the bottle.

    iGirlZoe: Frightful
    Once dry, cut to size and mount underneath the “frightful” die cut.

    iGirlZoe: Frightful
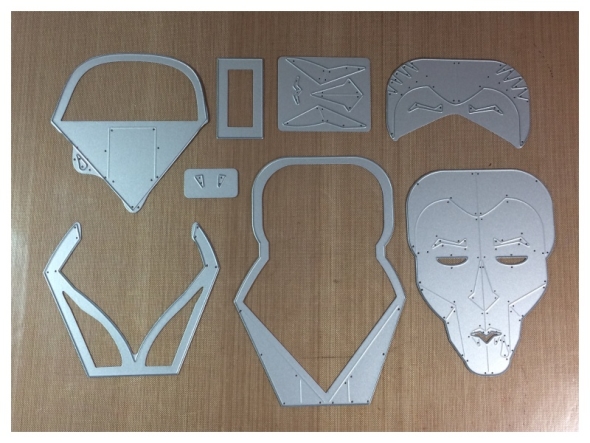
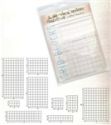
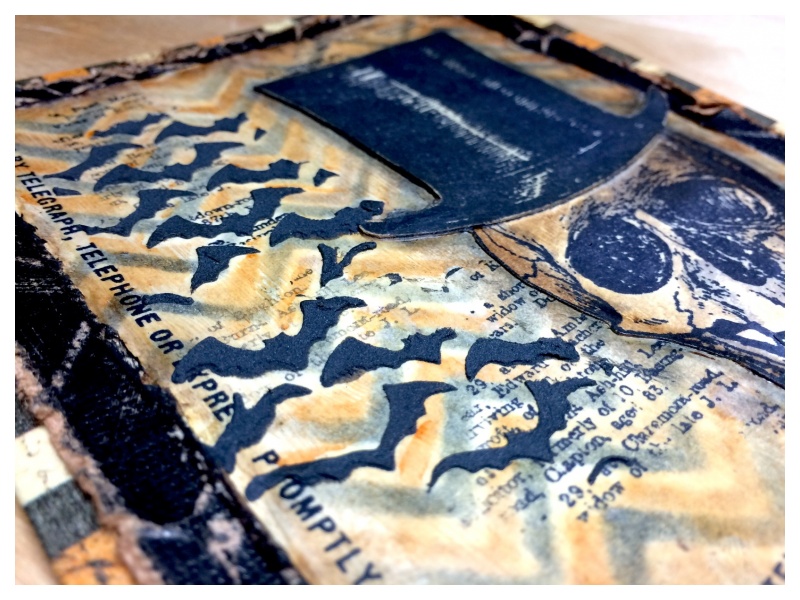
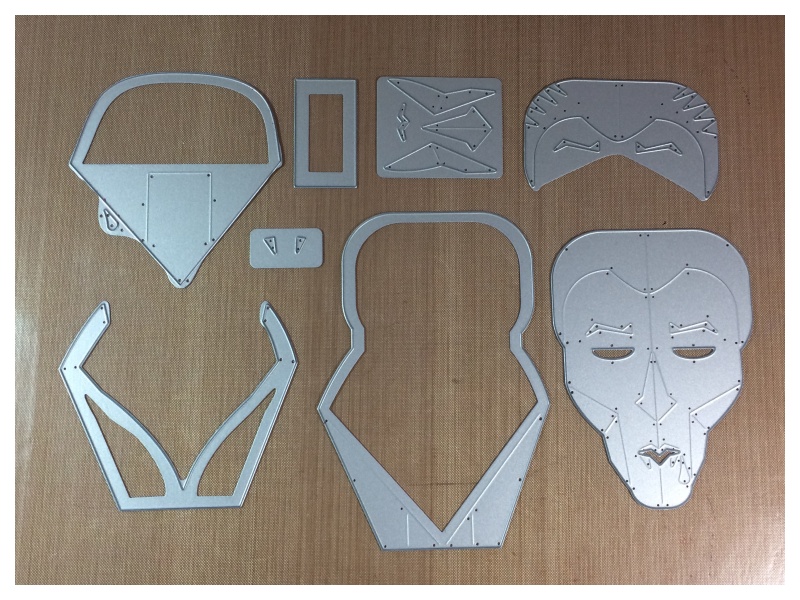
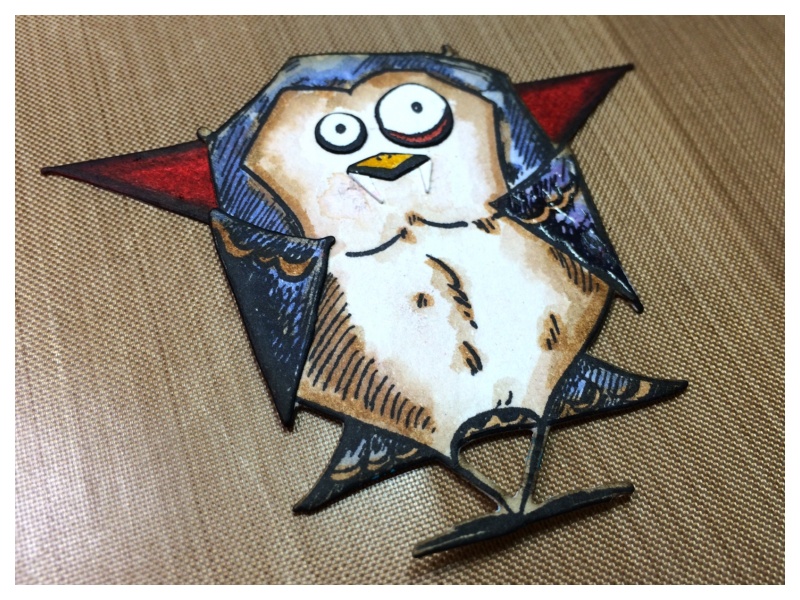
    Lay out the Tim Holtz Sizzix Vampire thinlits die.

    iGirlZoe: Frightful
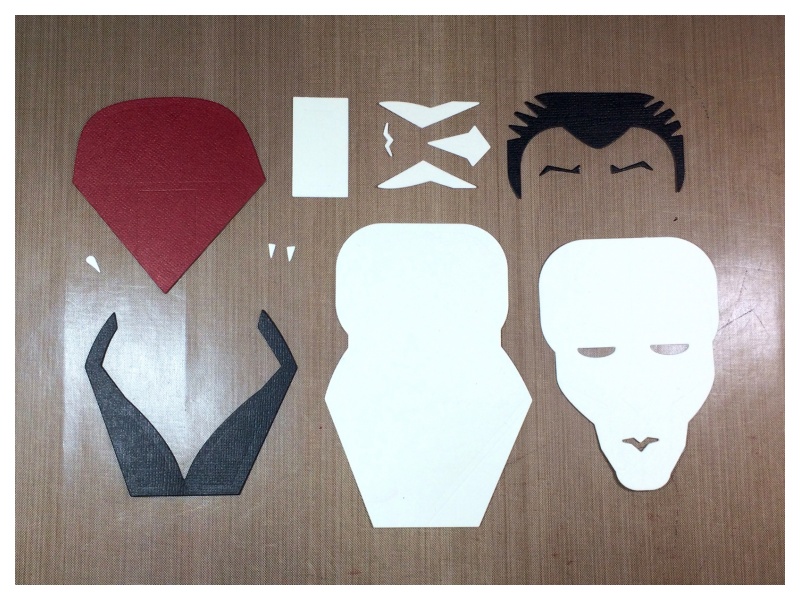
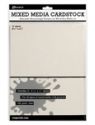
    Die cut from mixed media cardstock and core-dinations kraft core.

    iGirlZoe: Frightful
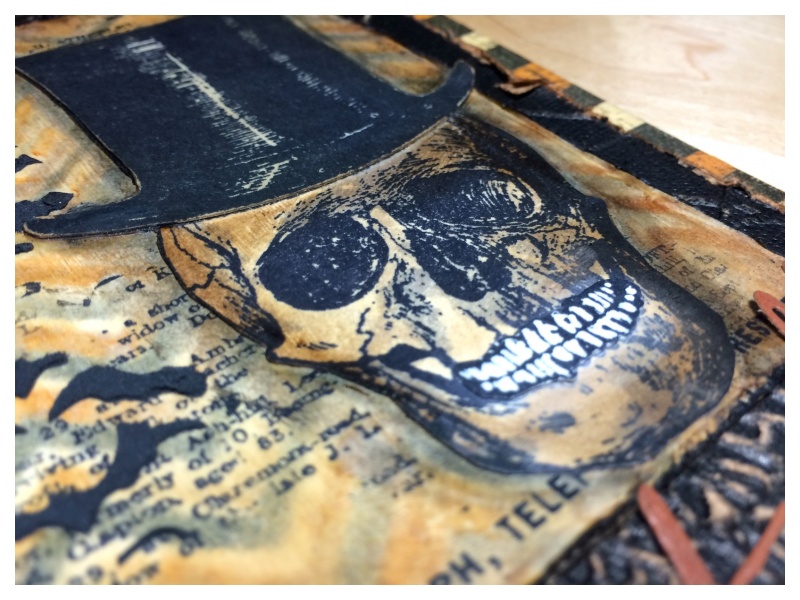
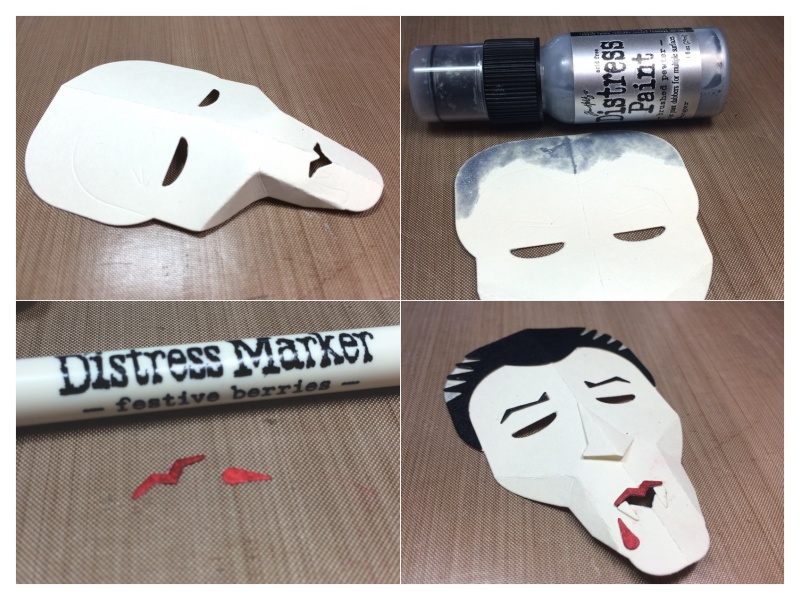
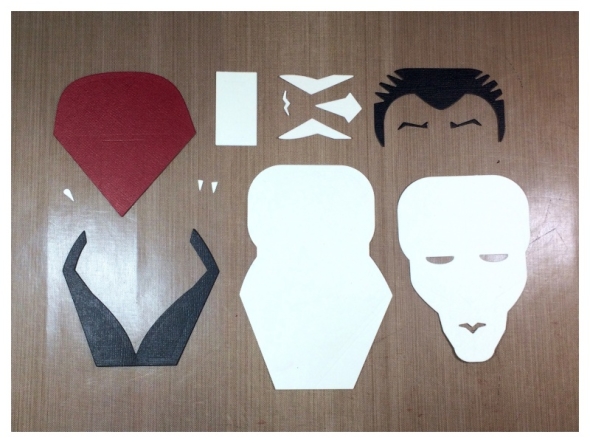
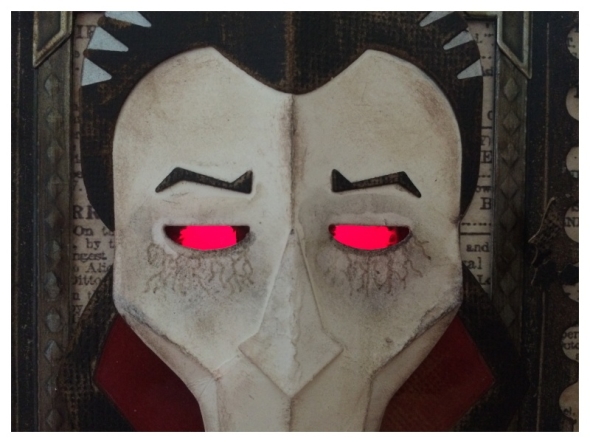
    Fold the head down the center and gently crease the cheeks following the score lines. Cover the top of the head in brushed pewter distress paint to give a streak of silver to the hair, (this isn’t necessary). Cover the lips and blood drip die cuts with festive berries distress marker and assemble the head. There are lightly scored lines which show you where everything goes, so clever!

    iGirlZoe: Frightful
    Assemble the body as per the step-by-step, (there are score lines to show you), but do not attach the head yet.

    iGirlZoe: Frightful
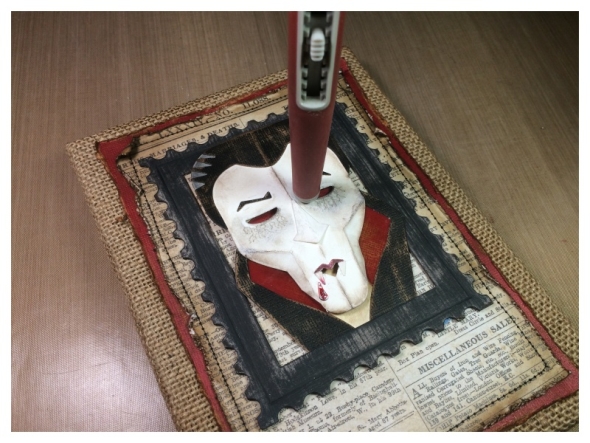
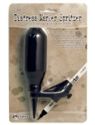
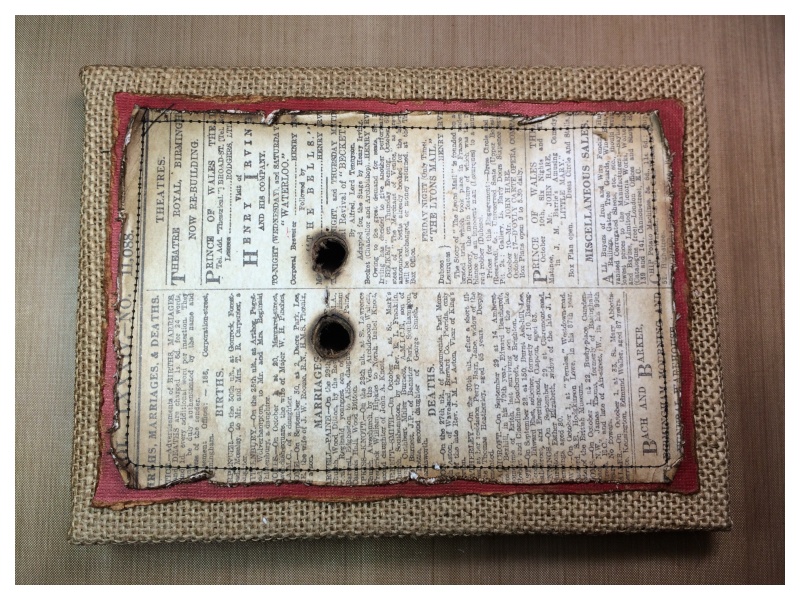
    Lay the grungeboard frame and vampire die on top of the burlap canvas but do not adhere. Once happy with the position, use a pokey tool to mark the position of both eyes, pushing through the back board, (no vampires were hurt in the making of this canvas)!

    iGirlZoe: Frightful
    Using the poked holes as a guide, cut the backing die with a craft knife being careful to only cut behind the eye area.

    iGirlZoe: Frightful
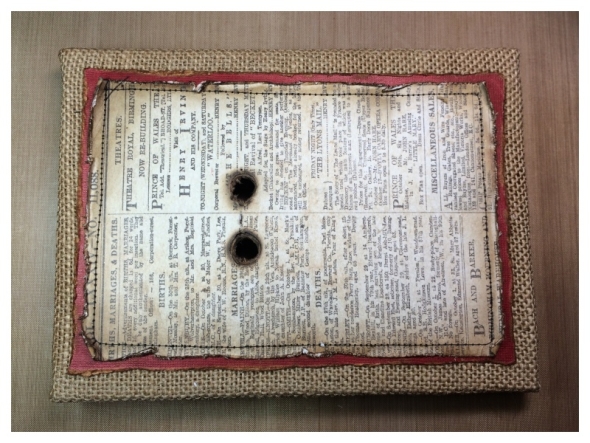
    Again, using the poked holes as guides, drill 2 holes into the canvas and use a lighter or match to burn away any frayed strands of burlap.

    iGirlZoe: Frightful
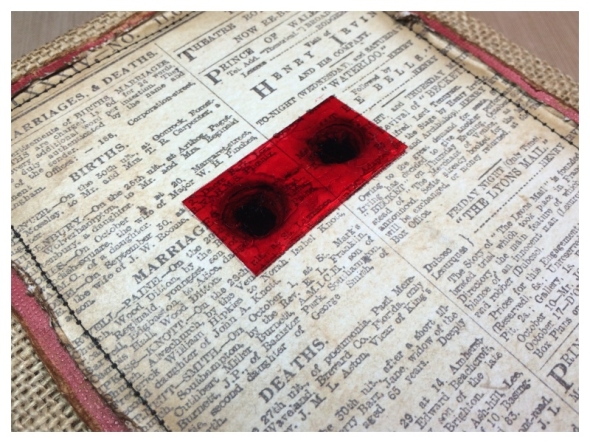
    Cover a piece of shrink plastic with red pepper alcohol ink and adhere over the holes with glossy accents.

    iGirlZoe: Frightful
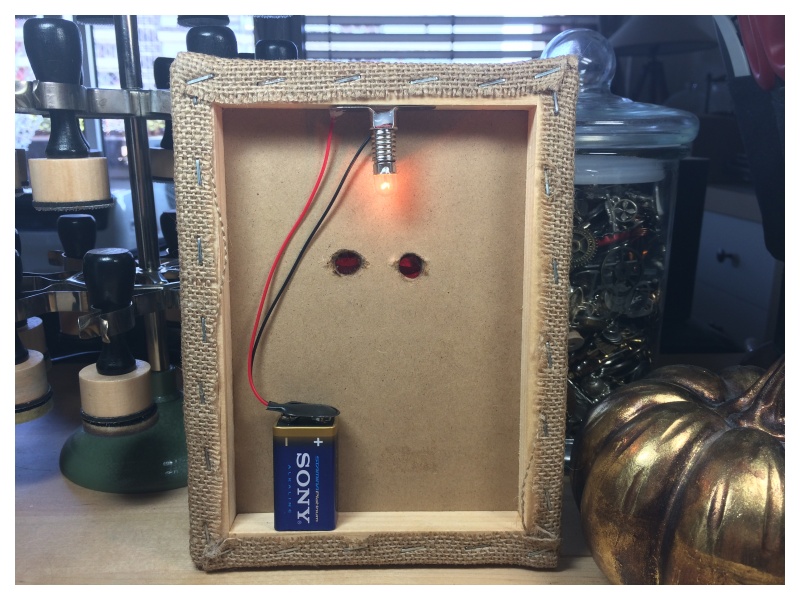
    Hot glue a battery operated lightbulb to the inside top of the canvas allowing the canvas to still lay flush against a wall. You could use battery operated LED’s or fairy lights too.

    iGirlZoe: Frightful
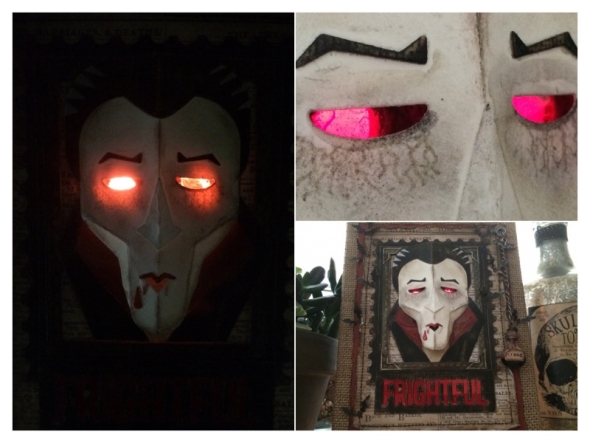
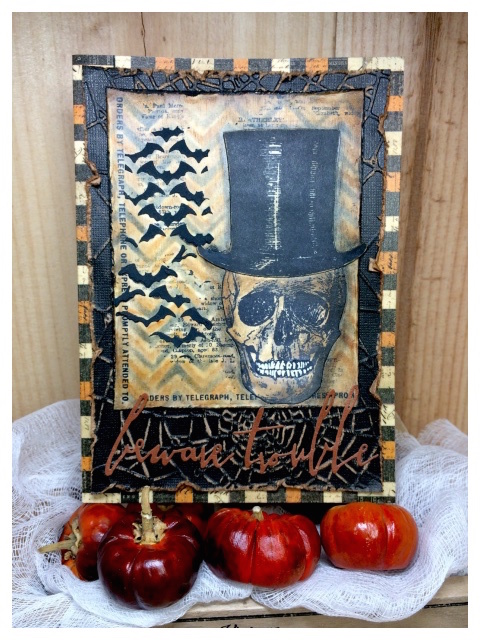
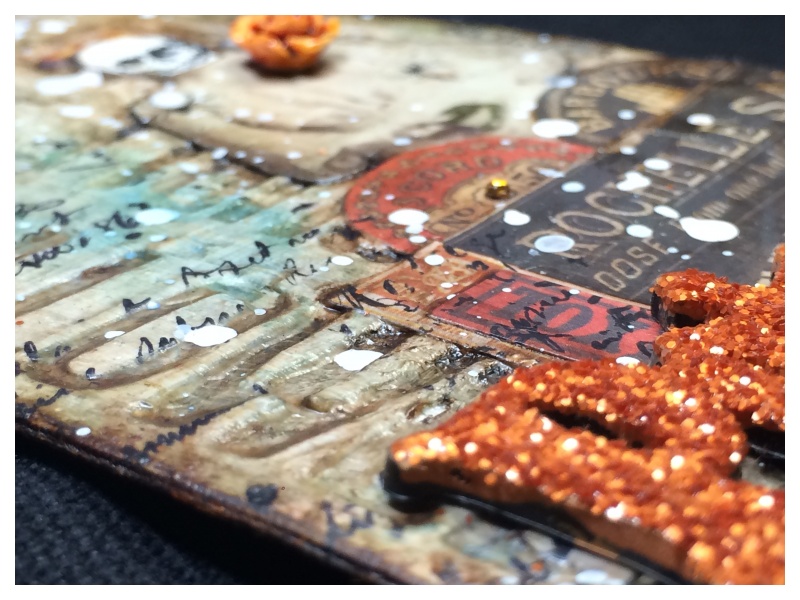
    The darker it gets, the more frightful he becomes!
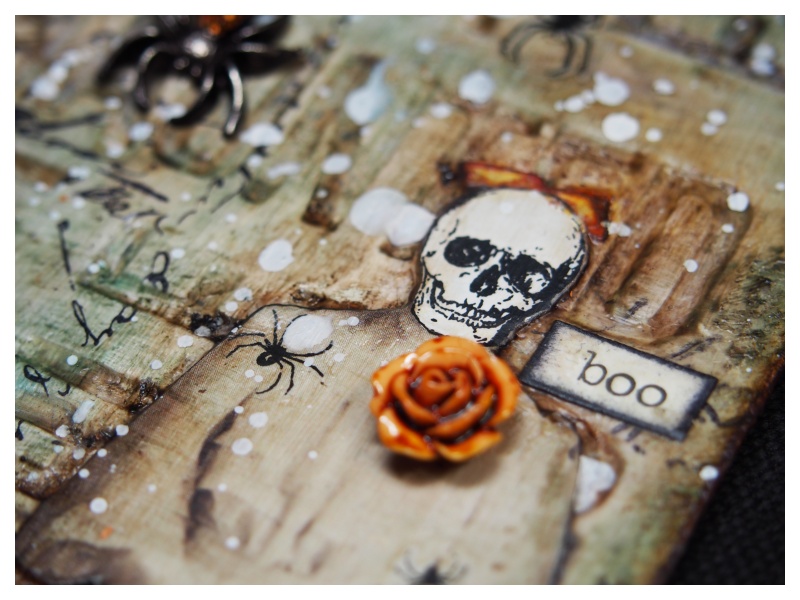
    iGirlZoe: Frightful
    BOO!

    iGirlZoe: Frightful
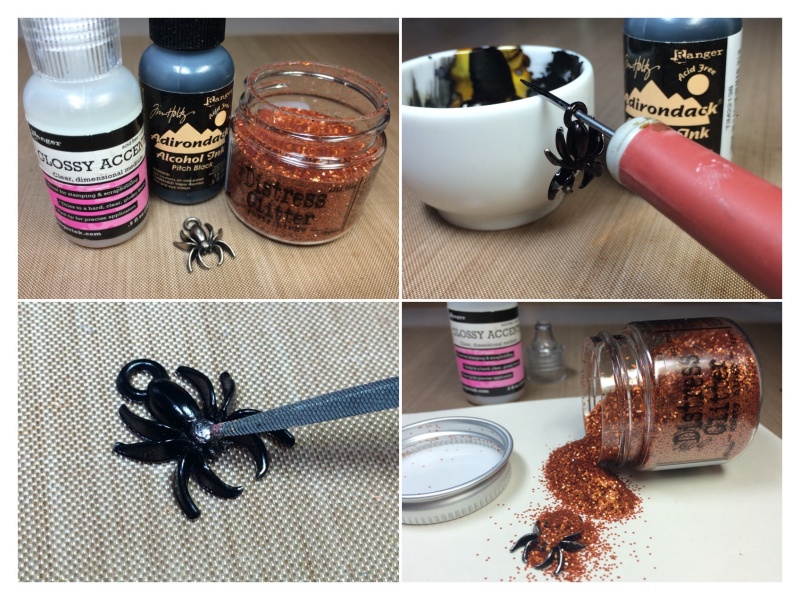
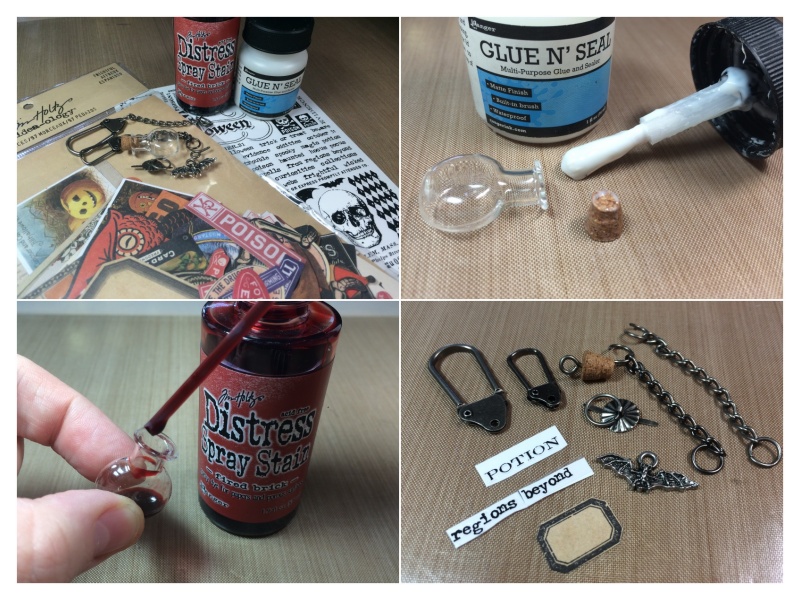
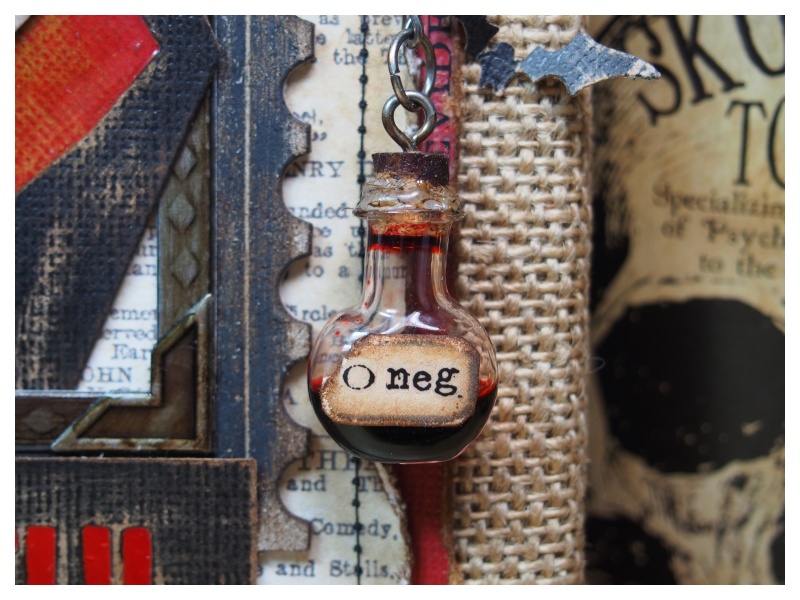
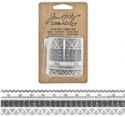
    To make a vial of blood to hang from the canvas, gather together the frightful ephemera pack, curiosities remnant rubs, a tiny glass vial bottle and some idea-ology findings.

    Cover the cork from the tiny vial with glue n’ seal to make it water resistant. Unscrew the spray nozzle from the fired brick distress spray and drip into the tiny vial until about half full. Put the cork into the vial and seal around the join with a layer of hot glue. Push a screw eye into the cork and hang from idea-ology chain. Cut up remnant rubs from the curiosities pack and make a label.

    iGirlZoe: Frightful

    iGirlZoe: Frightful
    Thanks for stopping by my blog and thank you so much to Mario, Paula and Tim for inviting me to the best party ever! You can see all the new Halloween dies on Tim’s blog and be sure to check out Tim’s social media and blog all month long for a chance to win some of the incredible new products. Have a great weekend.


  7. 12 Tags of 2015 – July

    27th July, 2015 by iGirlZoe

    At the beginning of the month I made a July 4th wall hanging inspired by Tim’s July Tag. Since then Tim has announced his new Halloween products as well as some awesome accessory stamps and dies for those crazy birds we’ve all gone crazy over. It was all the excuse I needed…

    Tim Holtz 12 Tags of 2015 July
    I have been so inspired by Richele Christensen’s awesome crazy bird cards, (complete with names and personalities), that I had to create my own.
    …May I introduce, “Count Peckula,” an Undertaker from Twittervania. 😉

    Tim Holtz 12 Tags of 2015 July
    The base is black soot distress spray stain sprayed on a manila tag and watercolor cardstock and paper from the industrial stash, stamped with the new Undertaker set.

    Tim Holtz 12 Tags of 2015 July
    The tag is edged with idea-ology industrious stickers, covered with a little mushroom and espresso alcohol ink and stitched.

    Tim Holtz 12 Tags of 2015 July
    I wanted to give the impression of lots of bats hiding in the dark, so stamped the bird crazy eyes onto watercolor cardstock lots of times and cut with the corresponding die. I edged the eyes with black soot distress marker to fully immerse them into the dark background.

    Tim Holtz 12 Tags of 2015 July
    This is how I made Count Peckula…

    Tim Holtz 12 Tags of 2015 July
    See a video on how to create the base bird here!

    CAPE POINTS: die cut an additional set of wings from watercolor cardstock, colour with festive berries and edge with black soot distress markers.

    VAMPIRE FANGS: die cut using the die pictured from watercolor cardstock, trim (as pictured) to create the fangs.

    WALKING STICK & TOP HAT: stamp the candy cane from the new crazy things stamp set and elongated the stem with a journaling pen. Coloure with the black soot distress marker to cover the candy cane stripes. Stamp the top hat from the Undertaker stamp set.

    Tim Holtz 12 Tags of 2015 July
    Attach the cape points and the vampire fangs with a dab of glossy accents and then cover the vampire fangs with glossy accents to give an enameled look.

    Tim Holtz 12 Tags of 2015 July
    Thanks for taking the time to look at my tag. You can see this months tag and techniques on Tim’s blog.

    Tim Holtz 12 Tags of 2015 July
    CMS #240 Undertaker / CMS#237 Crazy Things / CM#212 Bird Crazy / #660954 Bird Crazy Thinlit Dies


  8. Ranger Ink Mixed Media Summer Canvas

    13th July, 2015 by iGirlZoe

    Hello everyone. I am really excited to share my guest tutorial over at Ranger Ink today with step-by-step mixed media summer themed canvas.

    Ranger Ink Mixed Media Summer Canvas

    I hope you can hop over and take a look, there are lots of step-by-step tutorials from other guest artists in the Ranger Ink Project Library.

    Have a great week.


  9. Happy 4th of July

    4th July, 2015 by iGirlZoe

    Happy 4th of July!

    Tim Holtz 12 Tags of 2015 - July
    This wall hanging was inspired by Tim Holtz’s July 12 tags of 2015.

    Tim Holtz 12 Tags of 2015 - July
    Tim Holtz new United States thinlits die is too cool. It cuts out the outline AND the individual states as well!

    Tim Holtz 12 Tags of 2015 - July
    I used tissue tape to mask out lines and then inked up with distress ink, (don’t worry, I kept the tape to use on another project)! 😉

    Tim Holtz 12 Tags of 2015 - July
    The stars were die cut using the thinlits shape strips.

    Tim Holtz 12 Tags of 2015 - July
    Finally the entire die cut got swiped with vintage photo distress ink and spritzed with hickory smoke distress marker and spritzer tool. The hickory smoke is my new go to spritz colour!

    Tim Holtz 12 Tags of 2015 - July
    I used Tim’s cool technique using crinkle ribbon and distress markers. Check out Tim’s blog post to see how.

    Tim Holtz 12 Tags of 2015 - July
    Thanks for taking time to stop by and I hope you have a happy July 4th weekend.


  10. 12 Tags of 2015 – June

    30th June, 2015 by iGirlZoe

    Gosh I am really late with this month’s tag! I had my A1 level French exam, my birthday and I got sick all at the same time. Although I didn’t feel 100% on my birthday, I did get 100% in my exam!

    Tim Holtz 12 Tags of 2015 June
    Tim’s 12 Tags of 2015 lured me back to my craft desk and gave me the perfect excuse to use some of my birthday stash.

    Tim Holtz 12 Tags of 2015 June
    I followed the technique from Tim’s post and, as you can see, I tried a few different backgrounds. I loved experimenting and stitched these tags ready to use another day.

    Tim Holtz 12 Tags of 2015 June
    I settled on this slightly more muted background. I splashed a little picket fence distress paint over the top.

    Tim Holtz 12 Tags of 2015 June
    I LOVE the new distress colours and I wanted to use as many as possible on this tag.

    Tim Holtz 12 Tags of 2015 June
    I used the cloud die from the TH mini airplane and cloud die set to mimic cream in the top of the cup. I coloured it white using the technique from Tim’s post. I spritzed the newest distress family member, Hickory smoke, over the top with the distress marker and spritzer tool.

    Tim Holtz 12 Tags of 2015 June
    I used Tim’s remnant rubs to make the tea label and around the rim of the cup and then partially scratched off to look worn.

    Tim Holtz 12 Tags of 2015 June
    Thanks for taking the time to look at my tag. You can see this months tag and techniques on Tim’s blog and you can see the post translated into French on Scrapdeco’s blog.