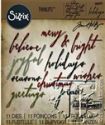
It’s Wednesday and time for another challenge over at Frilly and Funkie Challenge Blog!
This challenge is hosted by Cec (CW Card Creations), who has chosen the theme SING, SING, SING …Cec says, “Make a shabby chic or vintage project with music as the central theme. You can add musical instruments, music paper, sentiments about music or even vintage images with a music theme.”
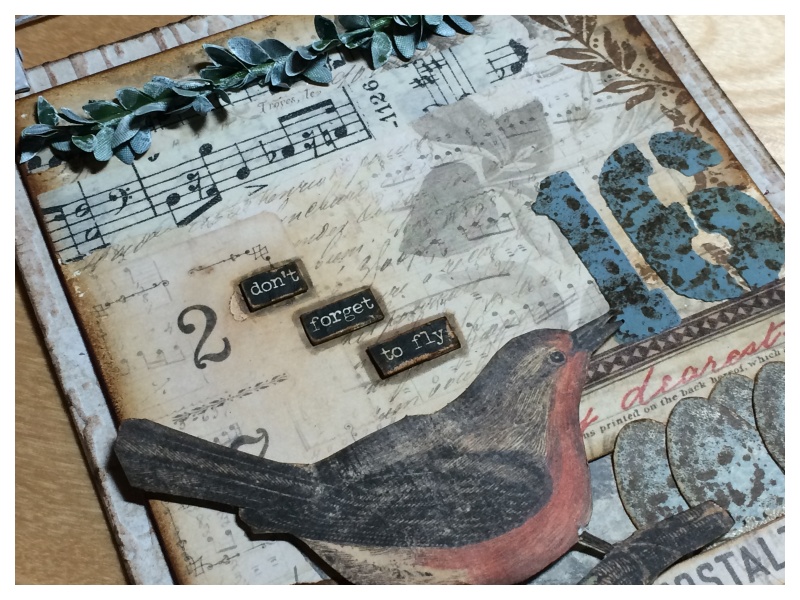
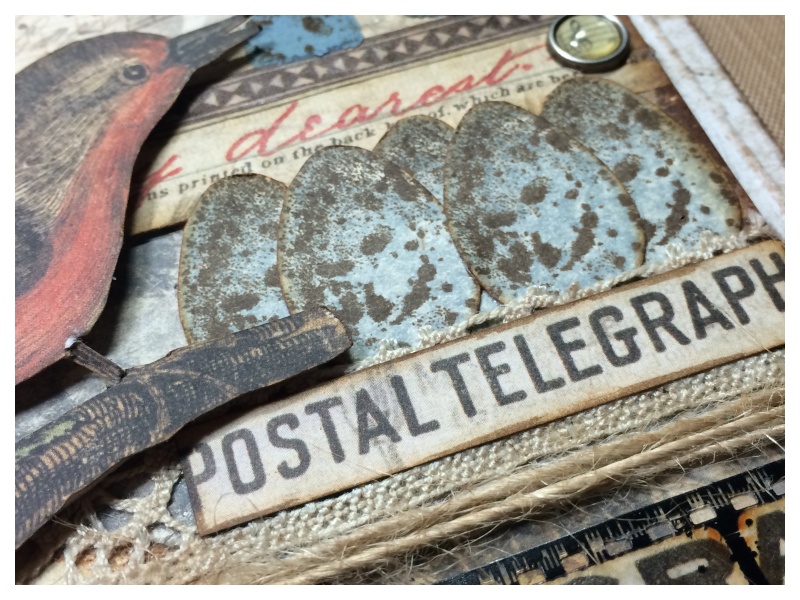
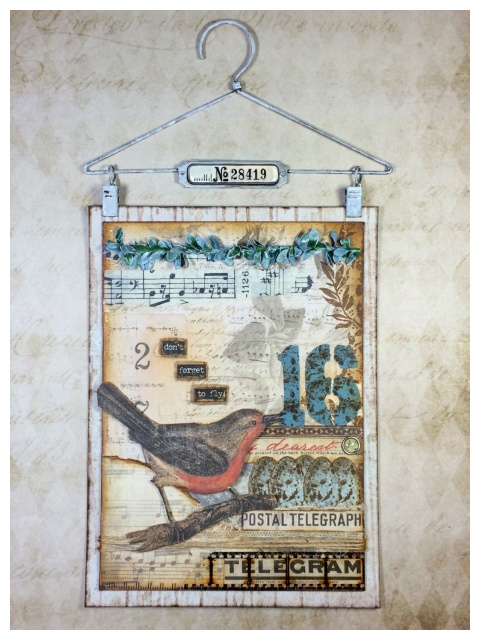
Cec’s challenge theme immediately made me think of bird song. I live right next to a park and love hearing the birds chirping away.
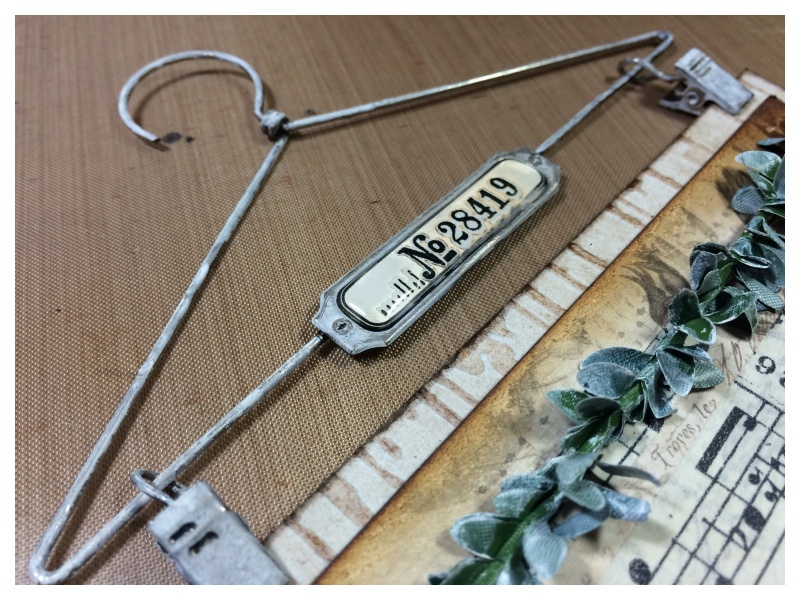
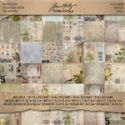
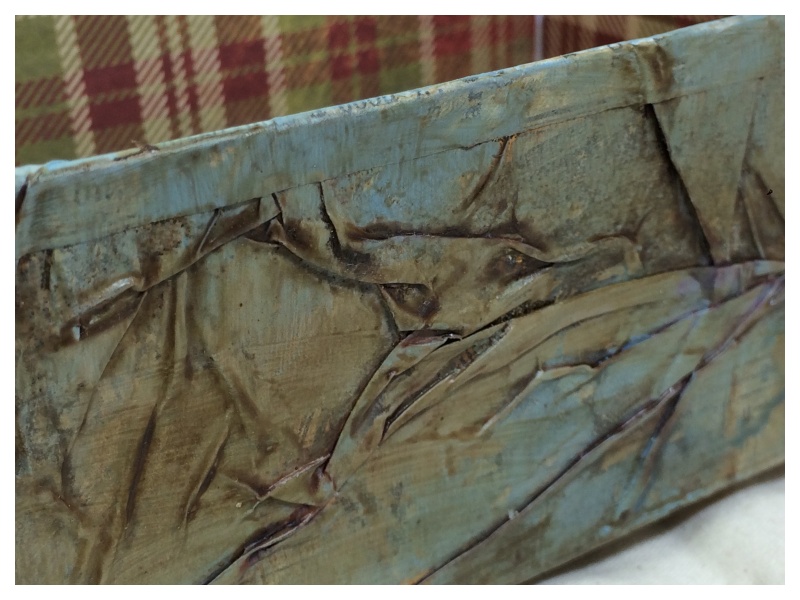
I created the background and some embellishments with Tim Holtz wallflower paper stash. Altered one of the new idea-ology wall hangers with picket fence distress paint. Added remnant rubs to the label, overlaid with an epoxy sticker and adhered to the faceplate. Rubbed leftover picket fence paint over idea-ology boxwood twine and adhered to the top with hot glue. I adhered the background onto a piece of embossed cardboard painted with picket fence distress paint and inked with vintage photo distress.
After adding some music washi tape, small talk stickers and lace trim, I had just about finished. A little last sanding and the background RIPPED!!! I sat for a few moments wishing for a “click undo” button and then set about “fixing it” …aka making it worse!
I inked, spritzed, misted, rubbed, tried to cover with rubons (they wouldn’t adhere). Then the lightbulb moment…
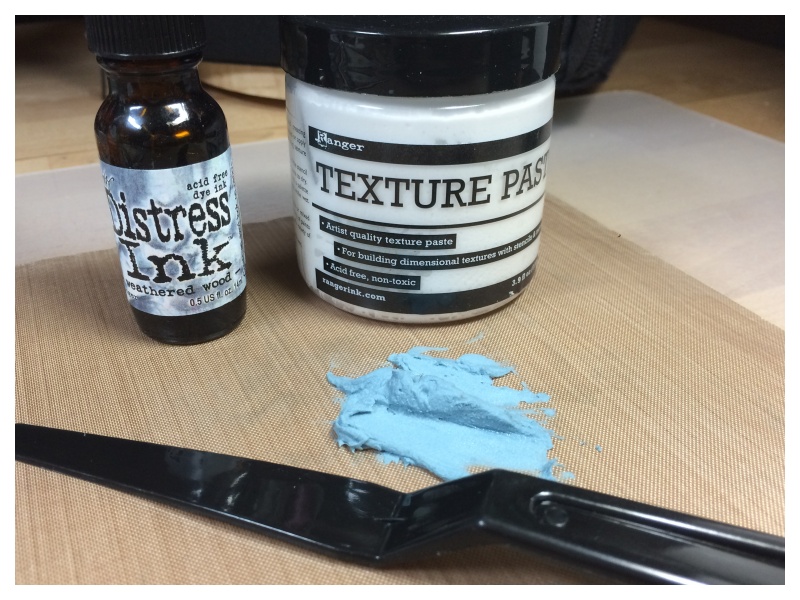
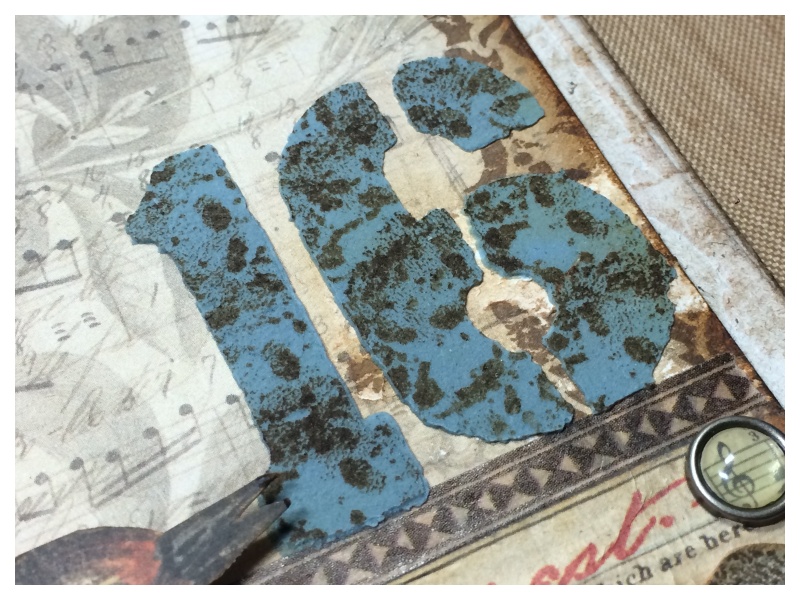
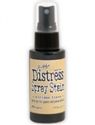
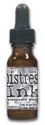
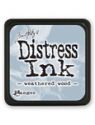
Texture paste was the answer! Texture paste is always the answer! It covers a multitude of sins, adheres to just about any surface and with a little distress re inker… can be any colour you like! I chose weathered wood so it would match the eggs I had stamped with weathered wood distress ink with the Tim Holtz nature walk stamp set.
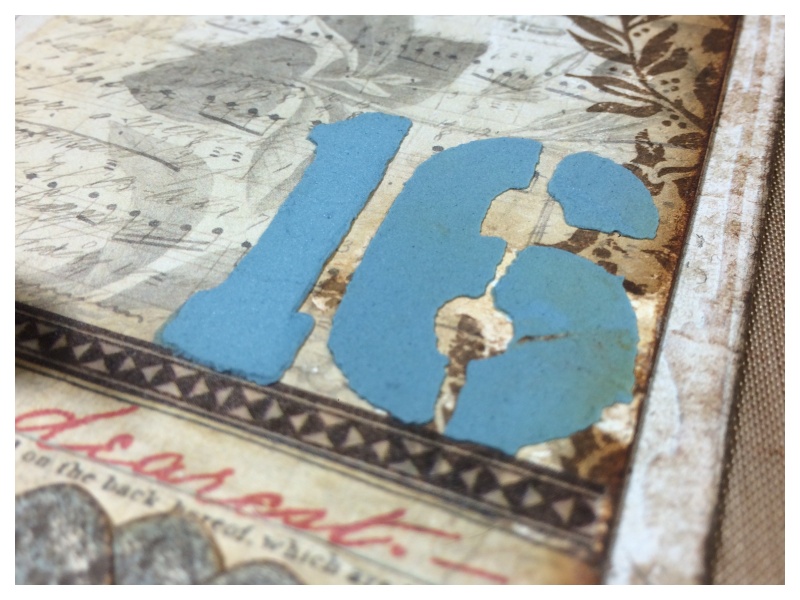
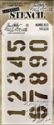
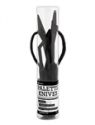
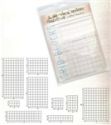
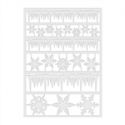
Using a palette knife I spread texture paste through the numbered stencil. I chose “16” to mark the new year.
Once thoroughly dry I placed the stencil back over the texture paste and stamped with the overlay stamp from nature walk set that I used to put the spots on the eggs. I actually love the ’16’ so let’s call it a happy accident. 😉
Thanks for stopping by. I hope you will find time to join in the challenge and pop over to Frilly and Funkie challenge blog to see the rest of the DT’s projects. All the products I used are available from The Funkie Junkie Boutique.
Hello! Back again with more periscopes from CHA 2016 featuring Tim Holtz. Thanks so much to everyone who scoped from CHA and shared this amazing show with people from around the world!
If like me you’re going to miss getting the daily “whistle”, check out the following instagram accounts for loads of Tim Holtz BTS (behind the scenes) from CHA 2016.
Good Morning! It’s been an exciting and busy weekend for the craft world with the Craft and Hobby Association (CHA) 2016 show in full swing. If like me, you were glued to your screen all weekend watching Periscope and listening for the next “whistle,” you would have seen some of the incredible products being demonstrated. I also know that for some, it wasn’t possible to get Periscope or stream it in the 24 hour limit the videos are available for, especially those working their socks off at CHA!
SO, my very clever and time generous husband spent his weekend saving and converting the scopes. A big thank you to him, as each video took several hours to download, convert and upload. Also a big thank you to everyone at CHA who took the time to periscope so people from around the world could feel part of the show.
You can see the sneak peaks for all the new products on Tim Holtz Blog.
Enjoy…
CHA2016 periscope – Tim Holtz Opening Day
CHA2016 periscope – Tim Holtz Sizzix Booth
CHA2016 periscope – Tim Holtz Alterations here we go (by Mario Rossi)
Happy New Year! It’s Wednesday and we’re back after a short break with another challenge over at the Frilly & Funkie Challenge Blog!
This challenge is hosted by Pamellia (My Little Craft Things), who has chosen the theme HOLIDAY HUES …Pamellia says “I would like to see your favourite colours for your favourite holiday. Choose whatever holiday you like, just make sure your project is shabby chic or vintage in style.”
Christmas is my absolute favourite holiday! This is a snapshot from instagram of my Christmas spent in the Swiss mountains above Gruyere with my Husband and a couple of friends.
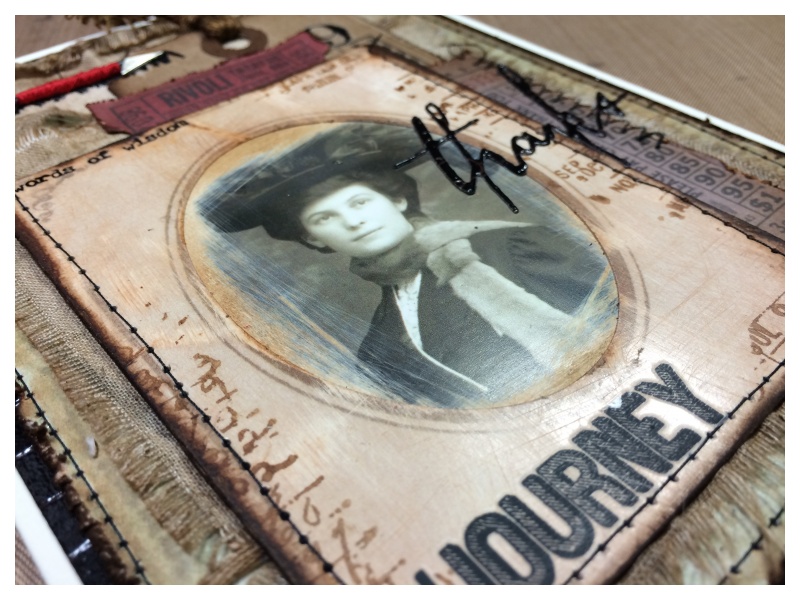
As the Funkie side of the design team’s post wasn’t until the new year, I thought it would be nice to make a thank you card as an extension of my favourite holiday.
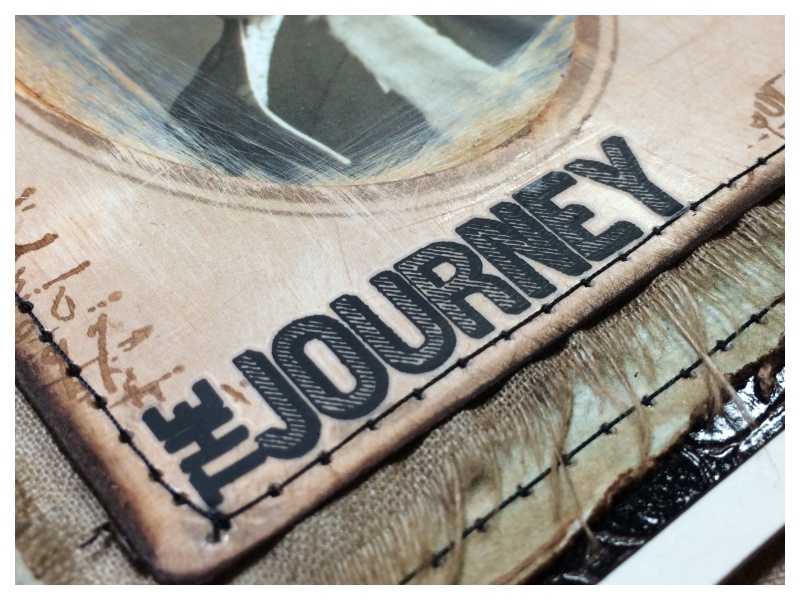
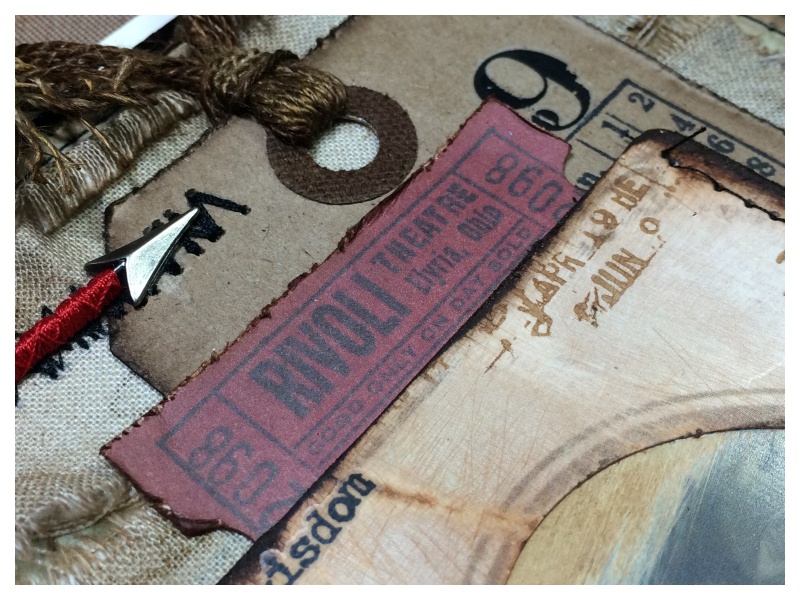
I used a mini cabinet card to frame a found relatives card and added remnant rubs. I stamped the cabinet card with potting soil archival ink and stamps from Tim Holtz Documented stamp set.
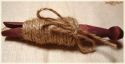
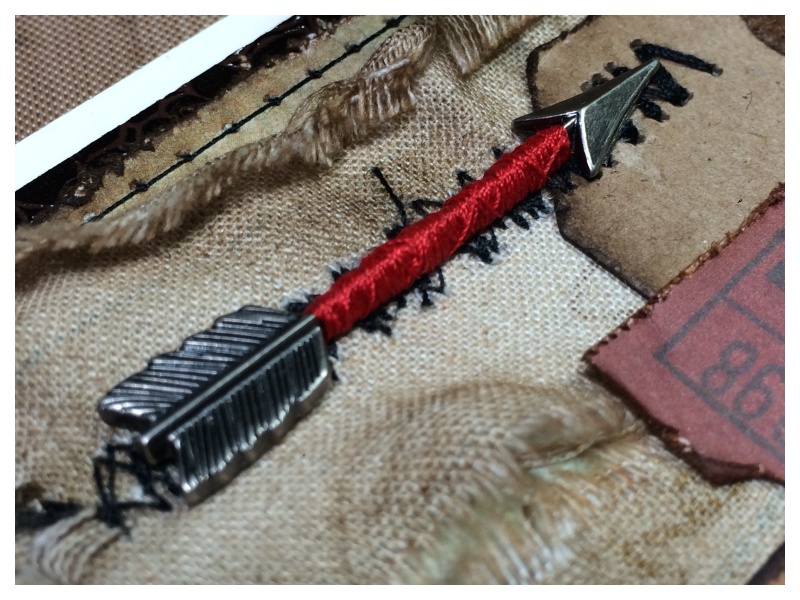
I used my sewing machine to stitch portions of the tag and wrapped red cotton around an adornment arrow and adhered with hot glue. The red cotton around the arrow was inspired by an awesome project by Paula Cheney.
I added ephemera from the expedition ephemera pack and used the framelits tags die set to cut a tag from kraft cardstock and a hole reinforcer from sticky back canvas which was inked with walnut stain and vintage photo distress inks. I die cut “Thanks” from faux leather and adhered to the card. I mounted the project onto fabric and faux leather to give the card lots of texture and layers.
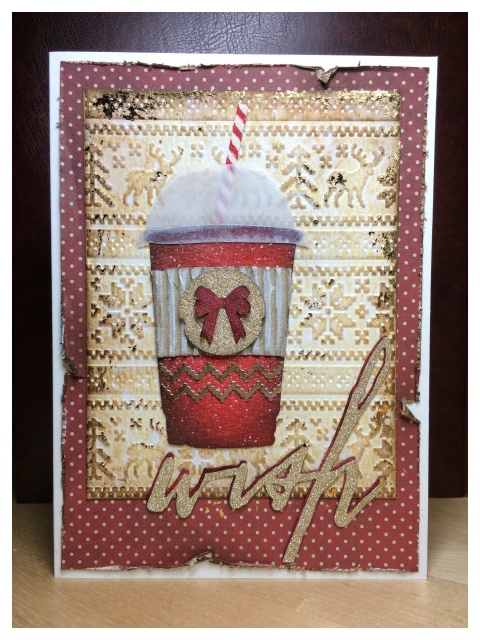
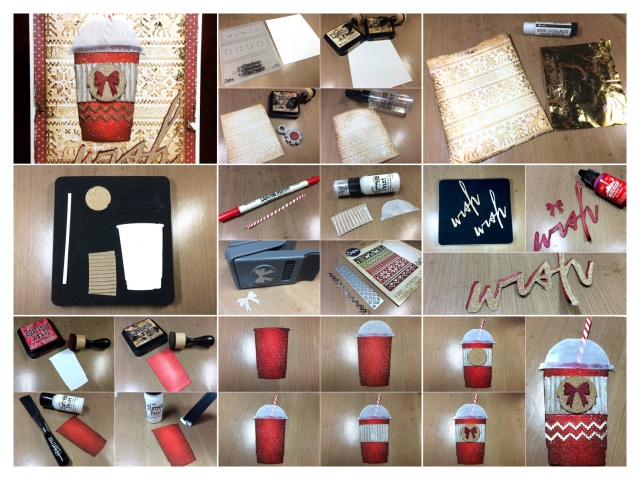
Hello everyone, hope your weekend is off to a good start. Today I have a SATURDAY STEP BY STEP over at Frilly & Funkie with a card inspired by Starbucks red holiday cups.
If you would like to see the step by step in full, please pop over to Frilly & Funkie.
It’s Wednesday and time for another challenge over at Frilly and Funkie Challenge Blog! We will be taking a little break, but the Frilly team will be back with you on December 30th and the Funkie team on January 6th.
This challenge is hosted by Nancy (Tattered Treasures), who has chosen the theme ‘TIS THE SEASON …Nancy says, “I’m keeping it super simple. You may create any type of vintage or shabby chic holiday themed project – whatever winter holiday you celebrate!”
I will be back over at the Frilly & Funkie blog with a step-by-step tutorial for this card and a coordinating gift tag on Saturday.
It’s Wednesday and time for another challenge over at Frilly and Funkie Challenge Blog!
This challenge is hosted by Cec (CW Card Creations), who has chosen the theme AN ALTERED STATE …Cec Says,“It is time to transform something you have sitting around or can pick up for a song and make it one of your works of art. It could be a frame, a bottle, an old cigar box, a discarded CD – the list is endless. Just make sure your final transformation is vintage or shabby chic.”
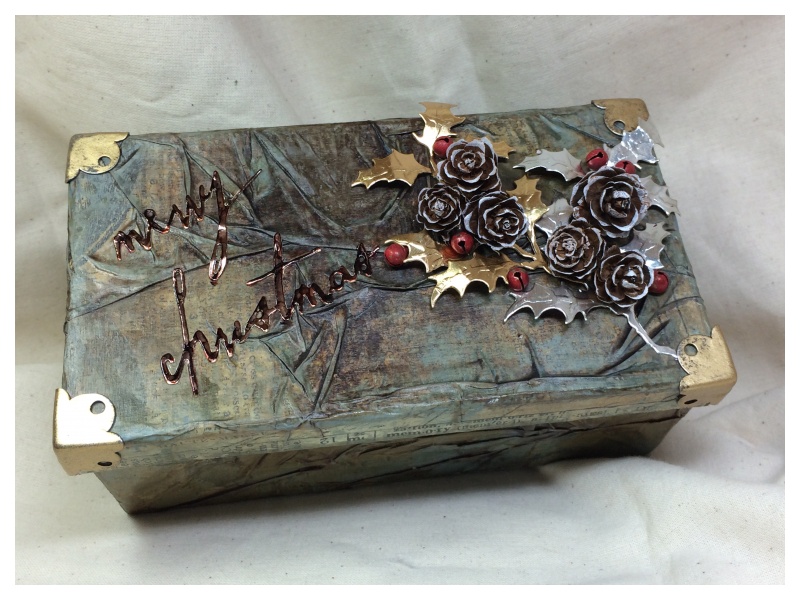
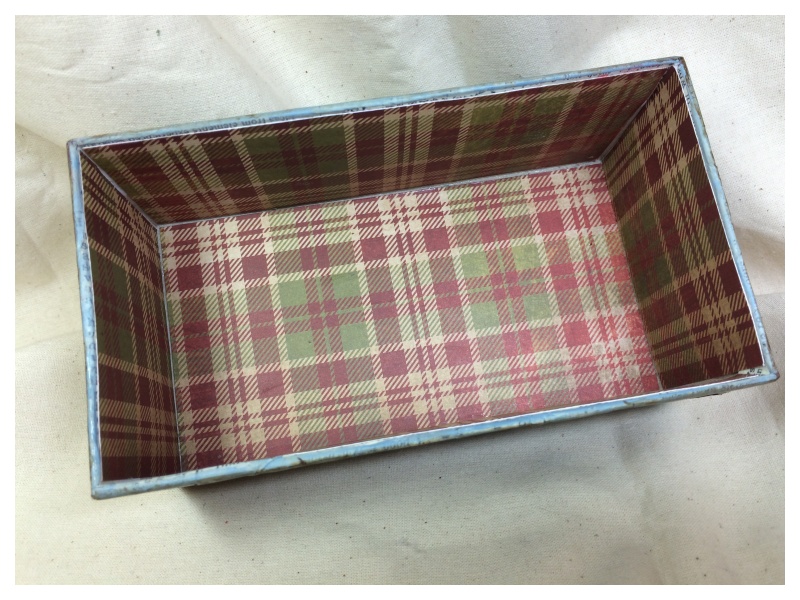
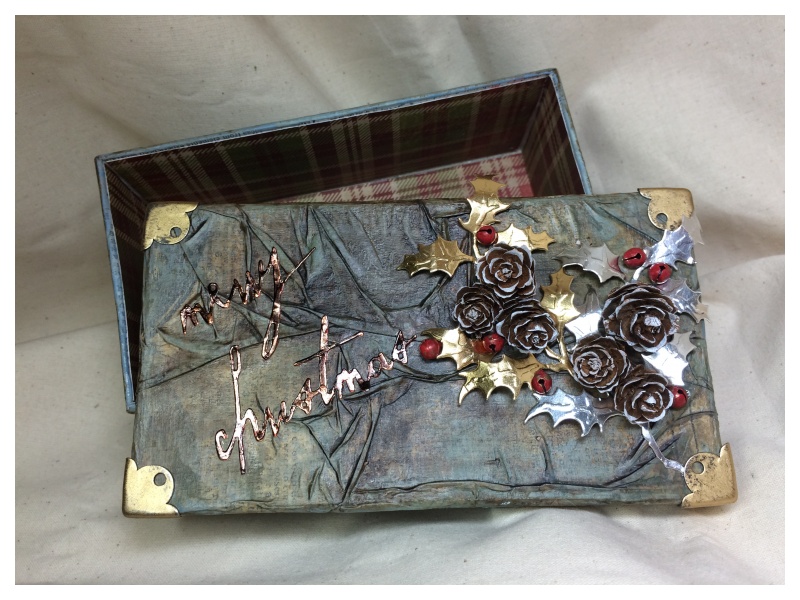
This is such a busy time of year for many of us, so I decided to make a gift box that I could use to wrap a Christmas gift.
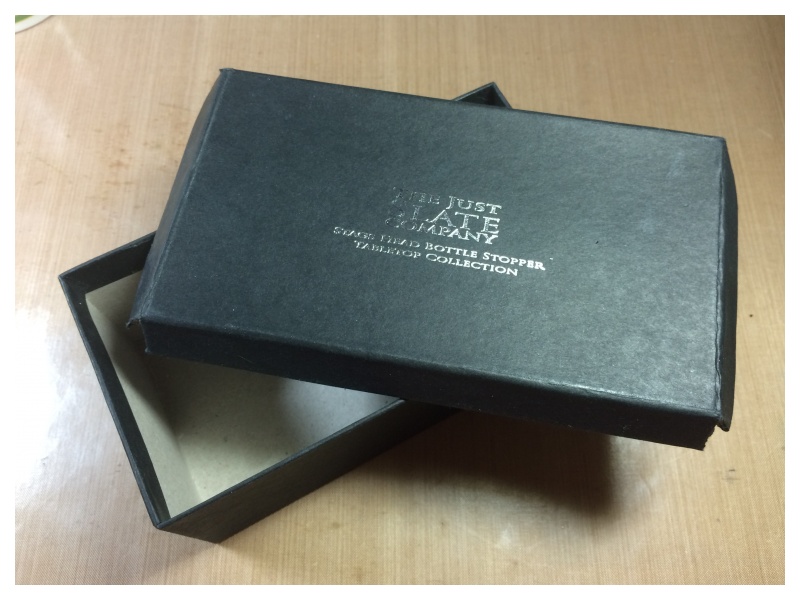
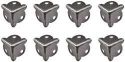
I had kept this box because it was such a great size, but the corners of the lid were broken. I fixed this using idea-ology box corners, (see further down).
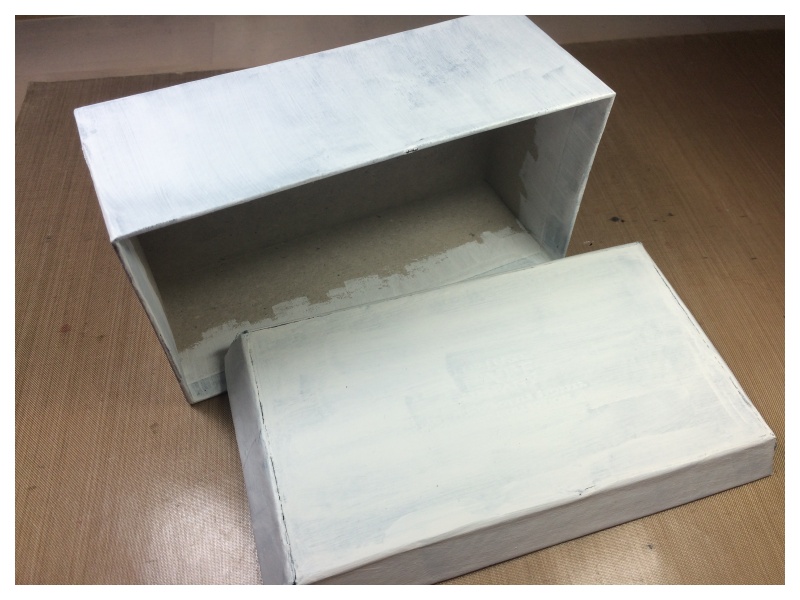
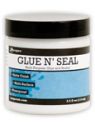
I covered the box with 2 generous layers of gesso. This prepares the surface for the glue n seal and distress paint, and stops the cardboard from getting soggy.
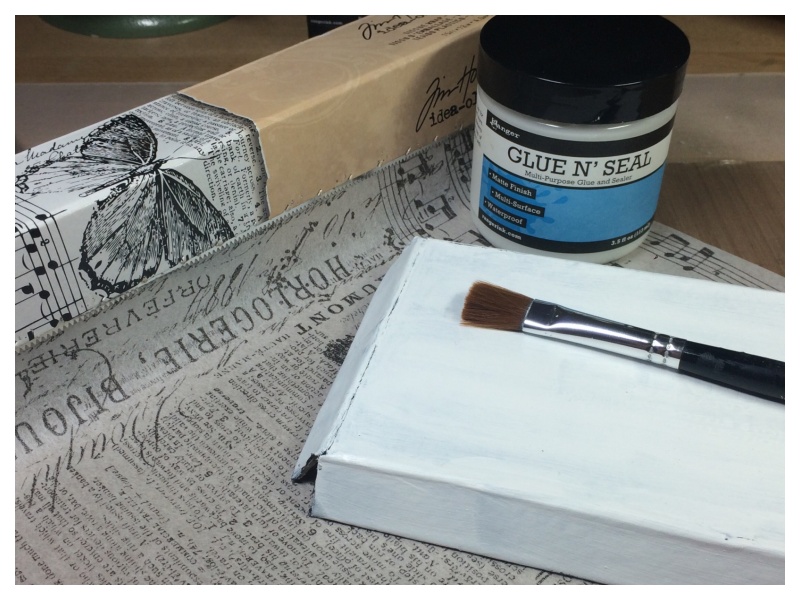
Brush glue n seal over the box, working quickly as it dries fast! Cover with tissue wrap and scrunch. Once dry, rub distress paint on with your fingers and spritz with water. You can see the step-by-step technique on Tim Holtz’s Blog.
I brushed with a final coat of glue n seal. From a distance it looks like scrunched up shot silk fabric.
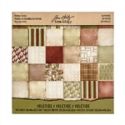
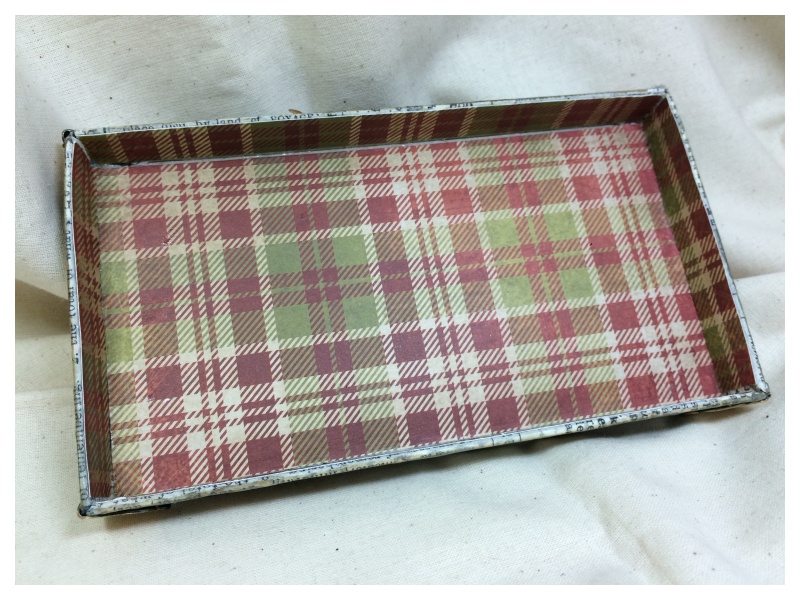
Line the inside of the box with paper. I used paper from the new Tim Holtz yuletide paper stash.
Line the inside of the box lid with the same paper.
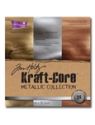
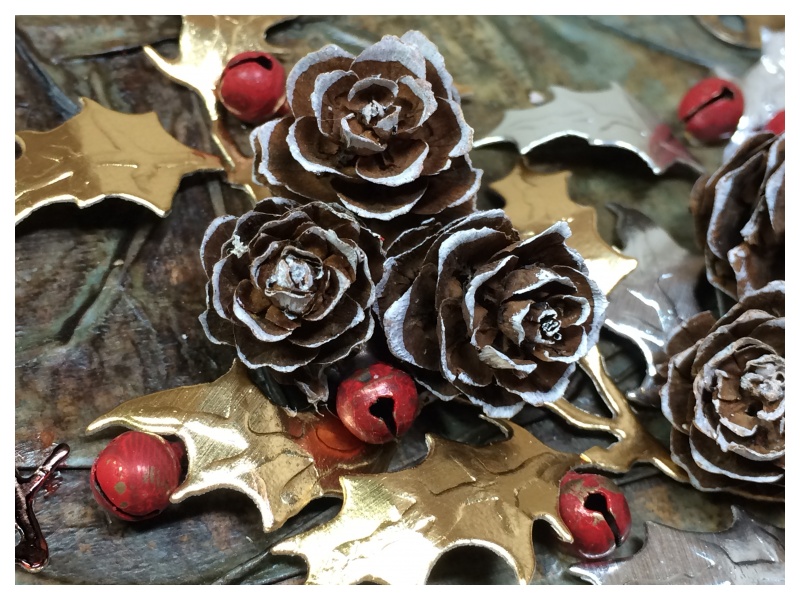
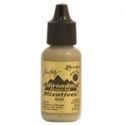
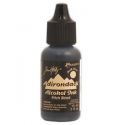
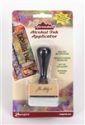
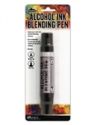
I coloured idea-ology box corners with gold alcohol ink and attached to the corners of the box lid with hot glue, (this fixed the broken corners). I cut Merry Christmas with the Tim Holtz handwritten holidays die from gold metallic kraft core. The words got lost with the gold tones of the box, so I applied black alcohol ink with an alcohol ink blending pen. Using the pen it gives a lighter coverage and it turned the gold kraft core metallic brown.
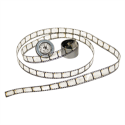
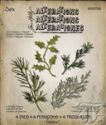
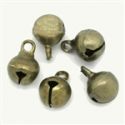
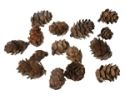
I cut holly from metallic kraft core cardstock with the Tim Holtz holiday greens thinlits die. I LOVE these dies, you can emboss detail onto the leaves! So cool! I covered these cute miniature pincones with picket fence distress paint and the even cuter miniature bells with fired brick distress paint, (both I bought from The Funkie Junkie Boutique). I attached them with hot glue. The bells give a lovely jingle when you pick up the box.
Thanks for stopping by. I hope you will find time to join in the challenge and pop over to Frilly and Funkie challenge blog to see the rest of the DT’s projects. All the products I used are available from The Funkie Junkie Boutique.
It’s Wednesday and time for another challenge over at Frilly and Funkie Challenge Blog!
This challenge is hosted by Sue (Stamping Sue Style), who has chosen the theme LET THERE BE LIGHT …Sue Says,“One of the things I don’t like at this time of year is the lack of light to craft by in the evenings. So, for this challenge I’d like you to include something in your project that makes reference to light, this could be a lamp, lantern, rays of light or even gradients of colour that get lighter!”
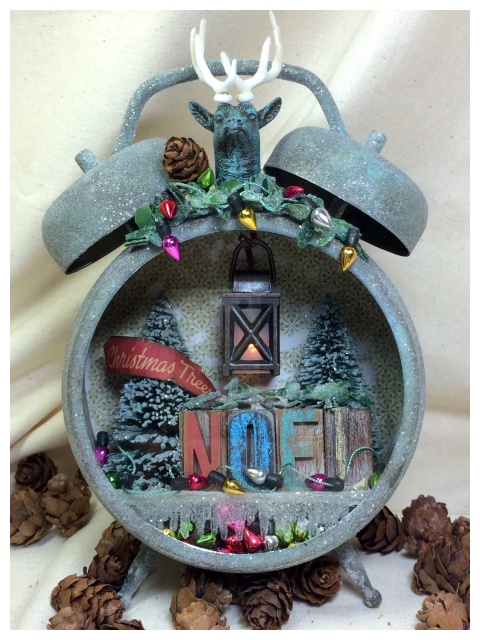
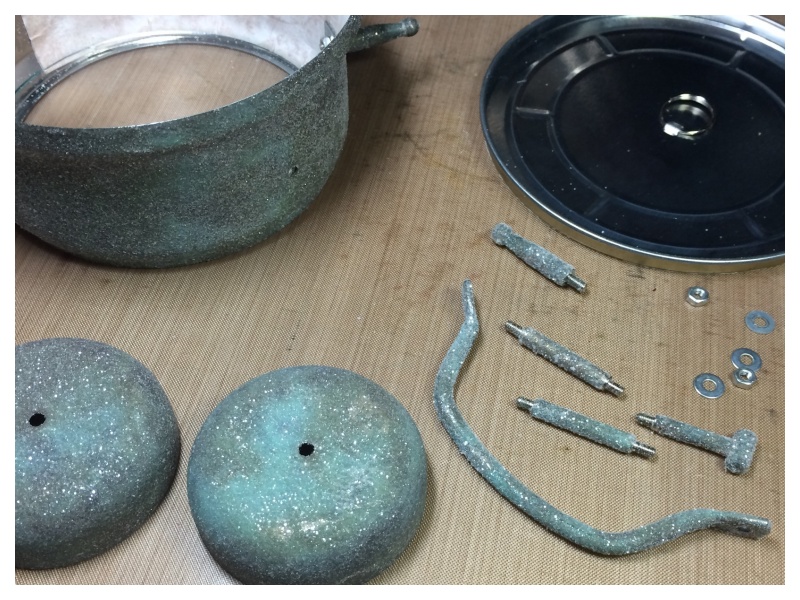
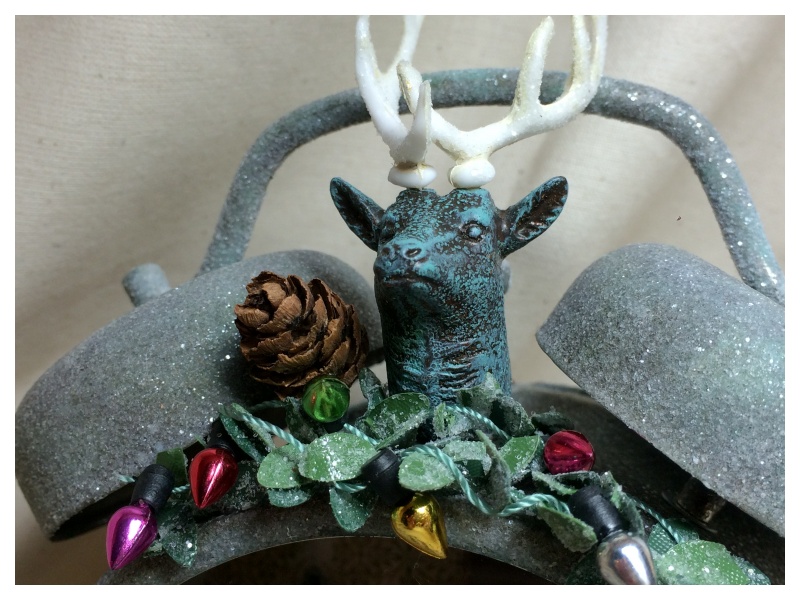
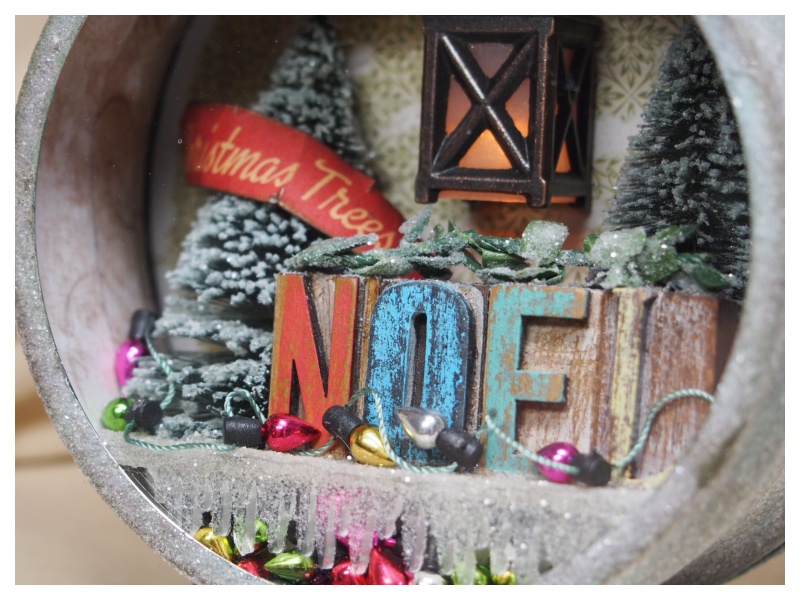
It’s no secret that I’m a big fan of this season! It really is the most wonderful time of the year and one of my favourite parts is the Christmas tree. The twinkling lights and glittering decorations compensate for the dark days we get in Europe over the winter. I decided to try my hand at altering an assemblage clock with this theme.
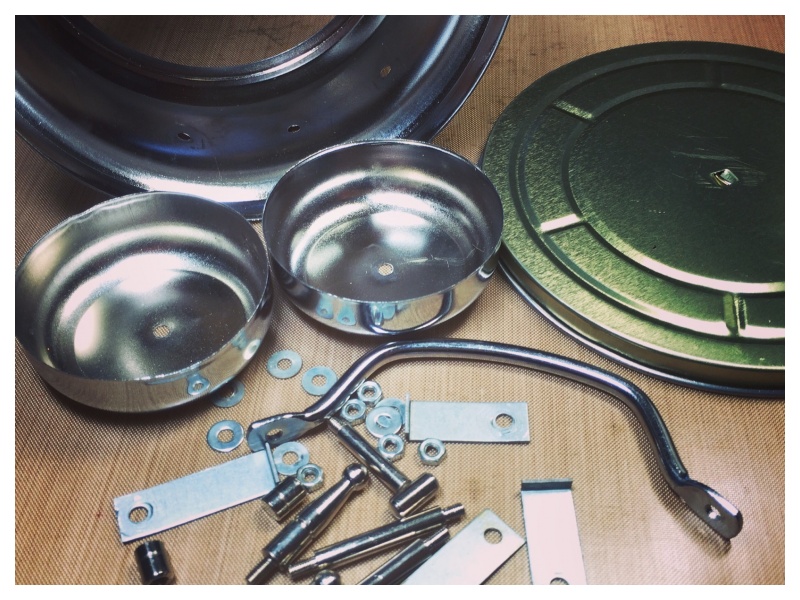
If you follow me on instagram you may have seen my post about taking the clock apart whilst watching Homeland! I was left with a pile of nuts, bolts, washers and no clue what went where!
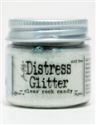
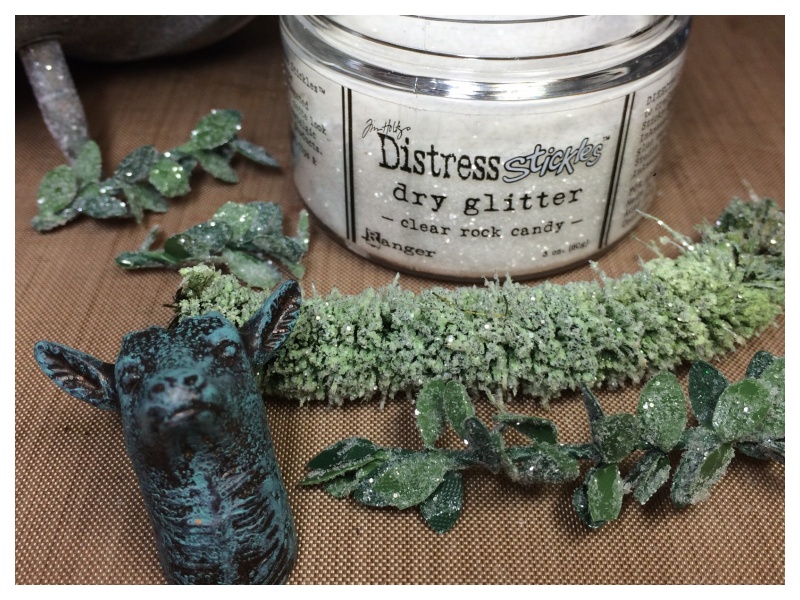
I covered the exterior parts of the clock with ground espresso distress paint and set aside to dry. Then rubbed evergreen bough distress paint over the top with my finger and set aside to dry. I tapped an embossing ink pad over the top and sprinkled over clear rock candy distress glitter and set aside to harden before assembling.
Fortunately I managed to assemble the clock with only one washer leftover! 😉
For the interior of the clock, I followed the digital download instructions that I bought from Tim Holtz Etsy shop.
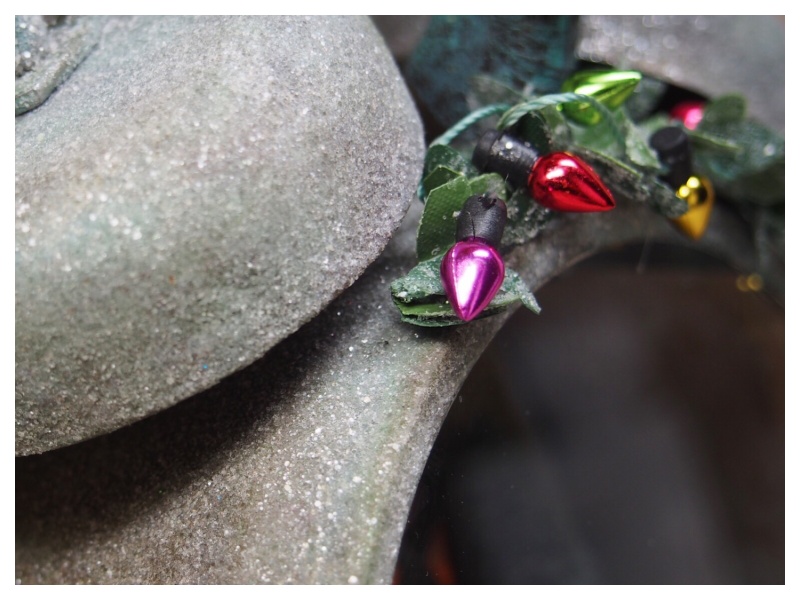
Initially I had a bit of an epic fail with the trophy antlers! I dripped alcohol ink over the stag’s head which reacted with the resin and turned it salmon pink! YUK! I decided the best way to cover it was with dark distress paint. As I was using the ground espresso distress paint to cover the clock, I covered the trophy antler too and set aside to dry. It was so dark that you couldn’t see the lovely details of the stag so I rubbed a little evergreen bough distress paint over the top with my finger. This highlighted the detail and gave a cool faux patina effect.
I rubbed glossy accents over some boxwood twine and sprinkled over clear rock candy distress glitter. It gives a really nice frosted effect. I attached the boxwood twine, trophy antlers, natural pinecone and some mini dollhouse Christmas lights to the top of the clock with hot glue.
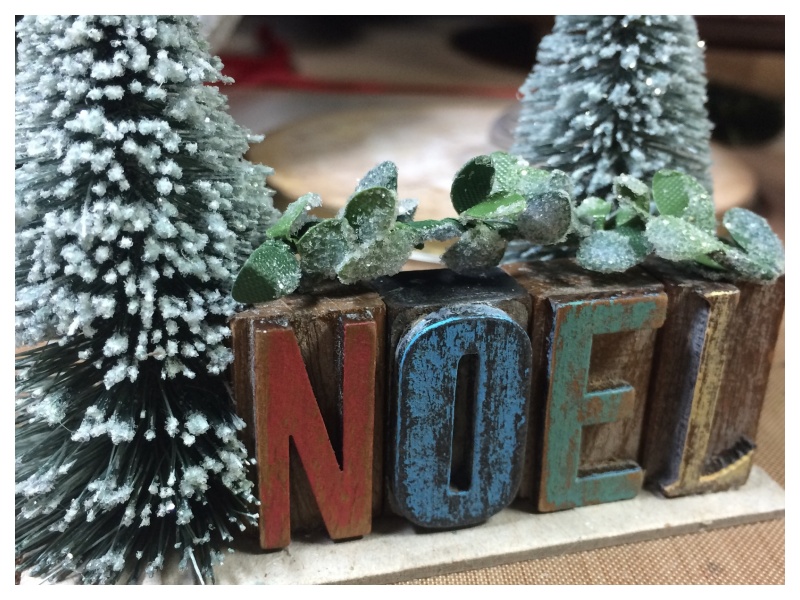
I used icicles from the limited edition seasonal frozen alpha parts, (covered in distress glitter of course), on the front of the insert mount. I wrapped a Christmas tree banner from the festive ephemera pack around one of the woodland trees.
Thanks for stopping by. I hope you will find time to join in the challenge and pop over to Frilly and Funkie challenge blog to see the rest of the DT’s projects. All the products I used are available from The Funkie Junkie Boutique and the assemblage clock digital download instructions are available to buy from Tim Holtz Etsy shop.
Hello, I’m Zoe, somewhere between normal and crazy! A procrastinator, easily distracted by shiny things. Lover of junk, vintage and grunge. Crafter and Tim Holtz Addict.
 Cec’s challenge theme immediately made me think of bird song. I live right next to a park and love hearing the birds chirping away.