Author Archive

  1. 12 Tags of 2015 – November

    6th November, 2015 by iGirlZoe

    Oh I utterly love November’s 12 tags of 2015! Tim offers up a trio of super cool techniques. I’ve already started thinking about my second tag.

    iGirlZoe: 12 Tags of 2015 NovemberI wanted to make something in honour of remembrance day. My Grandfather served in the British army and each year I wear a poppy in remembrance of him and to honour those all around the world who serve and have served.

    iGirlZoe: 12 Tags of 2015 November
    The cracks stamp I used for the background gives an aged look which seemed appropriate to commemorate a tradition that began in 1919.

    iGirlZoe: 12 Tags of 2015 November
    I created a poppy with a stamp from the flower garden set and used the dry embossed technique.

    iGirlZoe: 12 Tags of 2015 November
    You can really see this technique on the leaves, I didn’t even need any 3D foam! I placed over a flat leaf with a dab of glossy accents to give more dimension.

    iGirlZoe: 12 Tags of 2015 November
    I am obsessed with metallics at the moment and this metallic kraft core is just divine! I used a word block die with silver and gold kraft core, which I sanded and inked with ground espresso distress.

    iGirlZoe: 12 Tags of 2015 November
    I added the number 11 from a sheet of remnant rubs and added cut down strips of industrious stickers to give them a vintage metal look.

    iGirlZoe: 12 Tags of 2015 November
    Thanks for taking the time to look at my tag. You can see this months tag and techniques on Tim’s blog and you can see the post translated into French on Scrapdeco’s blog.


  2. Frilly & Funkie Something Wicked

    28th October, 2015 by iGirlZoe

    It’s Wednesday and that means there’s another challenge over at Frilly and Funkie Challenge Blog!

    This challenge is hosted by Shelly (Stamptramp), who has chosen the theme SOMETHING WICKED …Shelly Says,“With Halloween just a few days away, I decided to challenge you all to create Something Wicked. Whether your style is shabby or vintage, I want to see your spookiest work. It doesn’t necessarily have to be Halloween related – feel free to interpret the theme in a way that suits you!

    iGirlZoe: Something WickedVintage Halloween is right up my street and this guy, from Tim Holtz found relatives cards, is as spooky as it gets.

    iGirlZoe: Something Wicked
    Initially I was going to mount him in card form under the ornate frame but he didn’t look right. I wanted him to look more ghostly, which is when I had a lightbulb moment and decided to use a transfer technique with multi medium matte onto clear packaging. Here’s how…

    iGirlZoe: Something Wicked
    Ingredients: clear packaging, multi medium matte and found relative cards.

    iGirlZoe: Something Wicked
    Fussy cut the image.

    iGirlZoe: Something Wicked
    As the cards are plastic coated you will need to carefully peel the back layer off , (otherwise the water won’t permeate the paper later).

    iGirlZoe: Something Wicked
    Cover the front of the image with a generous layer of multi medium, not thick globs, but a good covering. Place adhesive side down onto your clear plastic and leave to dry, (the longer the better).

    iGirlZoe: Something Wicked
    Once completely dry, spray the back of the image with water and leave for a few moments for the water to soak into the paper. Then start to gently rub the paper with your finger. You will get pulp and a milky residue. Keep spraying and rubbing until all the paper is gone. (I got so into this that I forgot to take an after photo).

    iGirlZoe: Something Wicked
    Die cut an ornate frame from grungeboard and cover with a layer of black distress paint and dry. Mount the clear plastic onto the top of the frame with a little glossy accents. Die cut a second frame as before. This time after the black soot distress paint has dried, sand and blend in some vintage photo distress ink. Lay the second die cut over the top of the first and adhere with glossy accents. The image now sits between the frames and above the burlap panel. This allows light underneath the image so you can see the red eyes. (For the eyes, I dabbed a pin head of alcohol ink onto the underside of the plastic before mounting).

    iGirlZoe: Something Wicked
    The bottles are die cut from grungeboard and covered with distress paint, sanded and blended with distress ink and then covered with glossy accents. The corks are cut from cork. The wicked aplpha part is covered with multi medium matte and foiled with Ranger foil transfer sheets. I added rubs from the curiosities remnant rubs sheet here and there.

    Thanks for stopping by and take a look at the Frilly and Funkie challenge blog to see the rest of the DT’s projects. All the products I used for this project are available from The Funkie Junkie Boutique.


  3. Ranger Ink Jack-O-Lantern Burlap Panel

    26th October, 2015 by iGirlZoe

    I have a guest tutorial over at Ranger Ink today with a step-by-step Halloween themed mixed media Burlap Panel.

    iGirlZoe: Jack-O-Lantern Burlap Panel
    I hope you will stop by and take a look. There are lots of tutorials by other guest artists in the Ranger Ink Project Library.

    I’ll be back on Wednesday with “something wicked” for Frilly and Funkie.


  4. The Countess

    21st October, 2015 by iGirlZoe

    A few months ago I introduced you to Count Frightful and for this months 12 tags of 2015 he revealed his more dapper side and got himself a love interest…

    Introducing the Countess!

    iGIrlZoe: The Countess

    iGIrlZoe: The Countess

    iGIrlZoe: The Countess

    iGIrlZoe: The Countess

    iGIrlZoe: The Countess

    I used the techniques that Tim demonstrates on this months tag and by making a few alterations to the sizzix vampire die cuts, I created my second tag. Here’s how…

    iGIrlZoe: The Countess
    Cut the sizzix vampire thinlits die set from mixed media cardstock. Cut an extra collar die cut to create the female vampire hair and keep the eyes and mouth from the face portion, (as pictured). The eyes will become the eyeshadow and the lips will sit between the fangs to give a more feminine mouth. Blend a little pumice stone and antique linen distress ink onto the face, spritz with water and dry.

    iGIrlZoe: The Countess
    Trim the eyebrows, removing the portions which appear white in the picture and adhere to the face. They look more feminine right? Using a black journaling pen, add eyelashes and eyeliner detail around the eyes.

    iGIrlZoe: The Countess
    Using the eyes from the face that you would normally discard for the male vampire, colour with distress ink, (I used peacock feathers). Cover with a layer of glossy accents and sprinkle distress glitter over the top, (peacock feathers again).
    Attach the top mouth piece. Using the mouth die cut saved from the face, adhere underneath, trimming the sides to make room for the fangs. Cover the lips, fangs and blood drip with glossy accents.

    iGIrlZoe: The Countess
    Trim the original hair piece and adhere. Turn the additional die cut collar upside down to use as hair, adhere and trim the excess, (as pictured).

    iGIrlZoe: The Countess
    Thank you for stopping by and taking a look at my tag. You can see this months tag and techniques on Tim’s blog and you can see the post translated into French on Scrapdeco’s blog.


  5. Oh Christmas Tree!

    17th October, 2015 by iGirlZoe

    I’m delighted to share my second project for the Tim Holtz holiday inspiration series using the new seasonal products. Check Tim’s blog to see all the other designers fabulous festive projects.

    iGIrlZoe: Oh Christmas Tree
    I LOVE Christmas, to me it really is the most wonderful time of the year and one of my favourite holiday traditions is “tree day!” We go and get our Christmas tree and my DH straps it to the car roof and we drive back up the mountain and decorate it while listening to Christmas music.

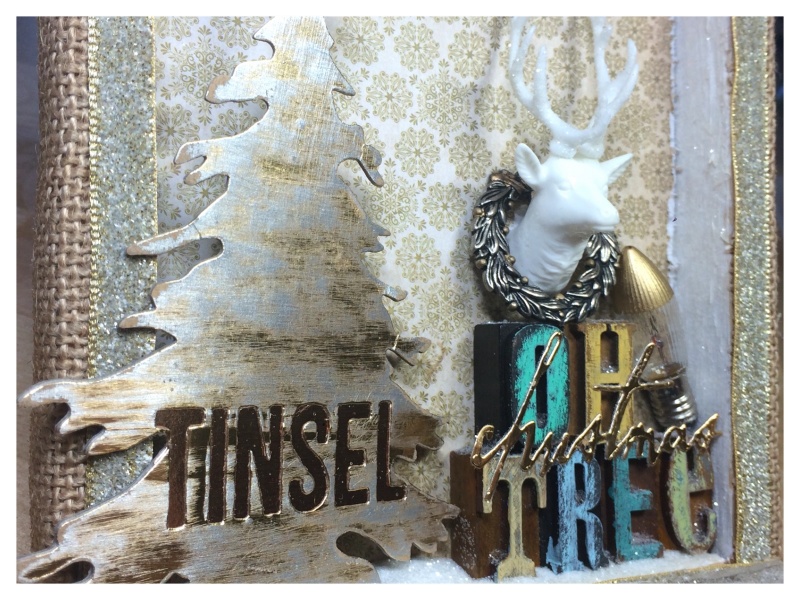
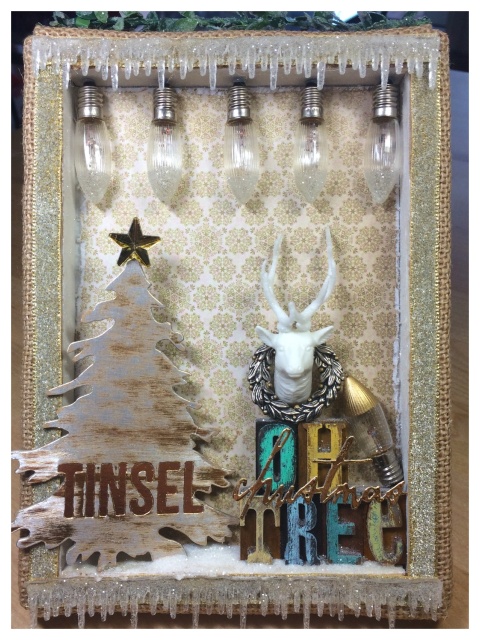
    I wanted to make a home decor piece to celebrate this Christmas tradition. It’s a really simple project to decorate your home or make as a gift. Here’s the step-by-step…

    iGIrlZoe: Oh Christmas Tree
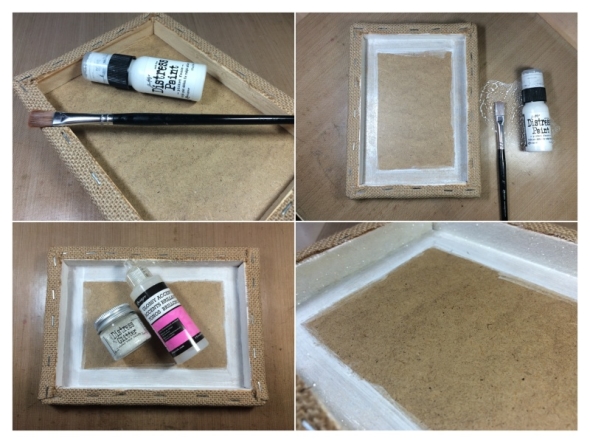
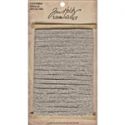
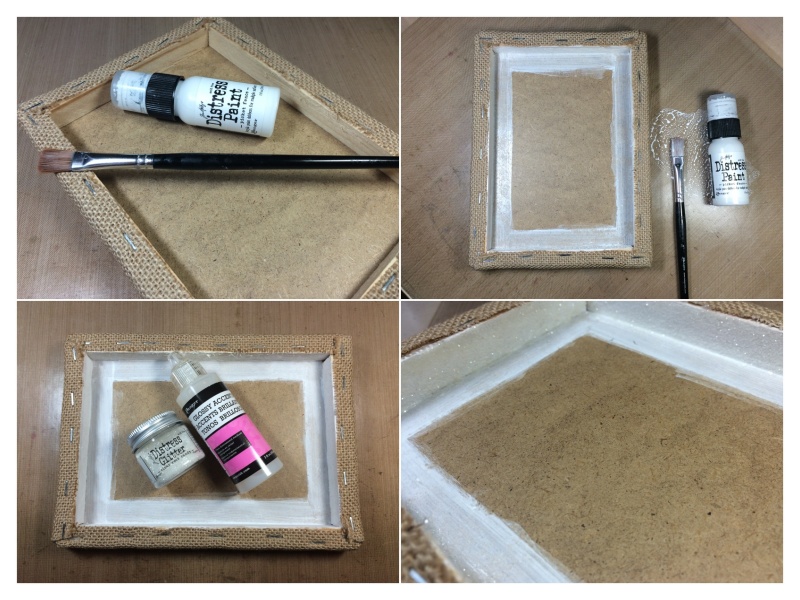
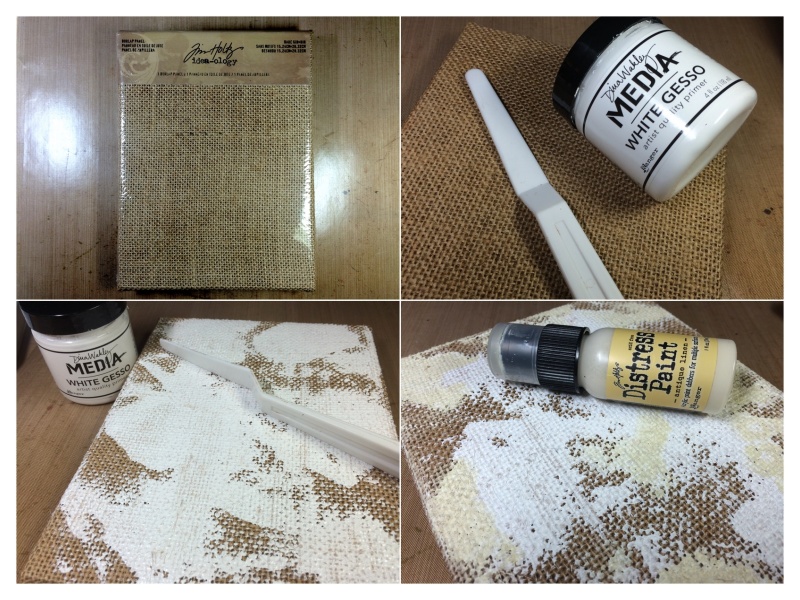
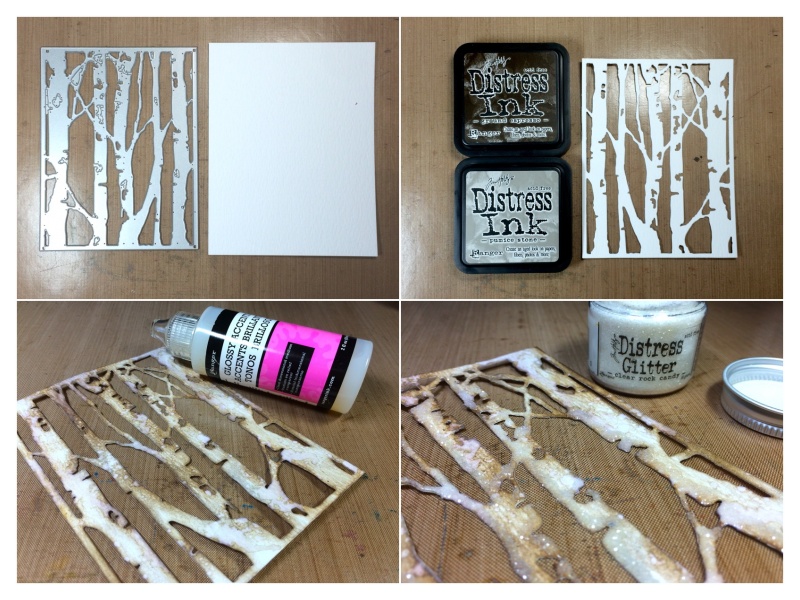
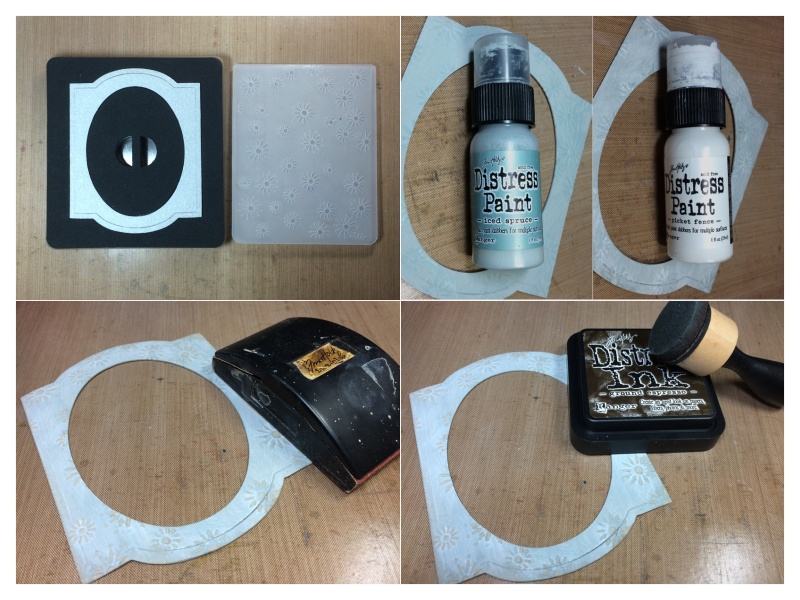
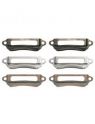
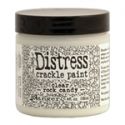
    Take a burlap panel, turn it over and trim any burlap that overlaps the edges of the frame. Paint the inside edges of the frame with picket fence distress paint and set aside to dry. Paint a thin layer of glossy accents to the inside edges of the frame and cover with clear rock candy distress glitter. Tap off excess over paper and return to the pot.

    iGIrlZoe: Oh Christmas Tree
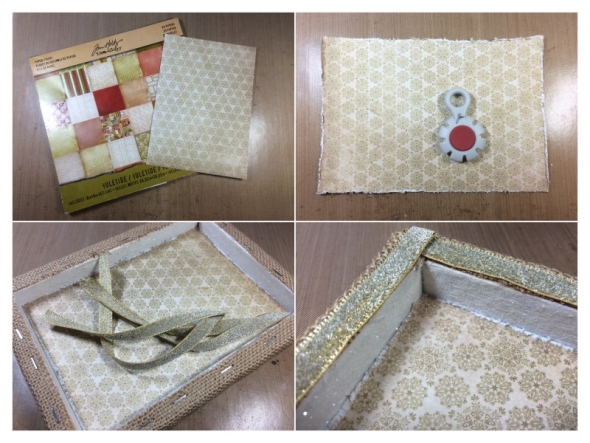
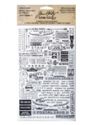
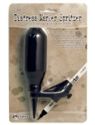
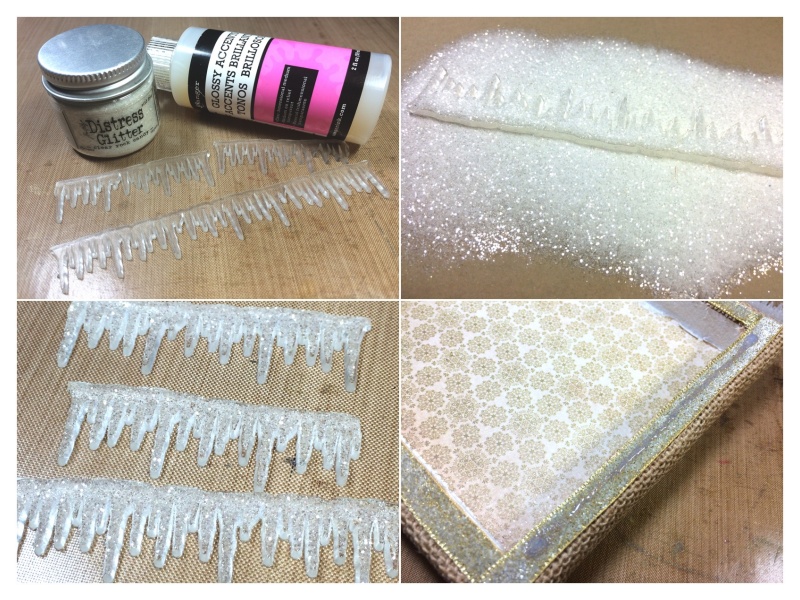
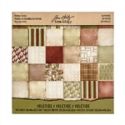
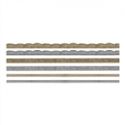
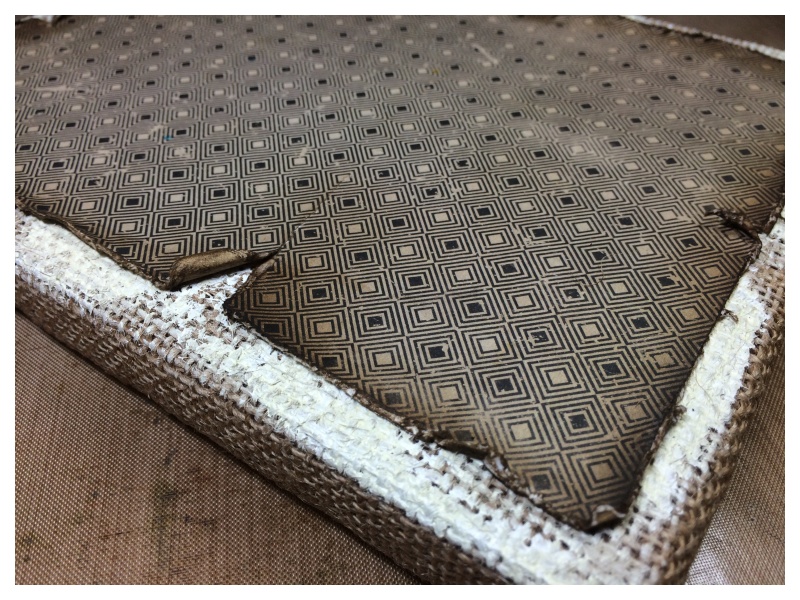
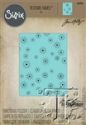
    Select a sheet of paper from the new yuletide paper stash and cut to fit inside the burlap panel. Distress the edges with a paper distressing tool and adhere to the frame with multi medium. Cut 4 pieces of ribbon from the new metallic trimmings to cover the staples. Using double sided adhesive tape stick down.

    iGIrlZoe: Oh Christmas Tree
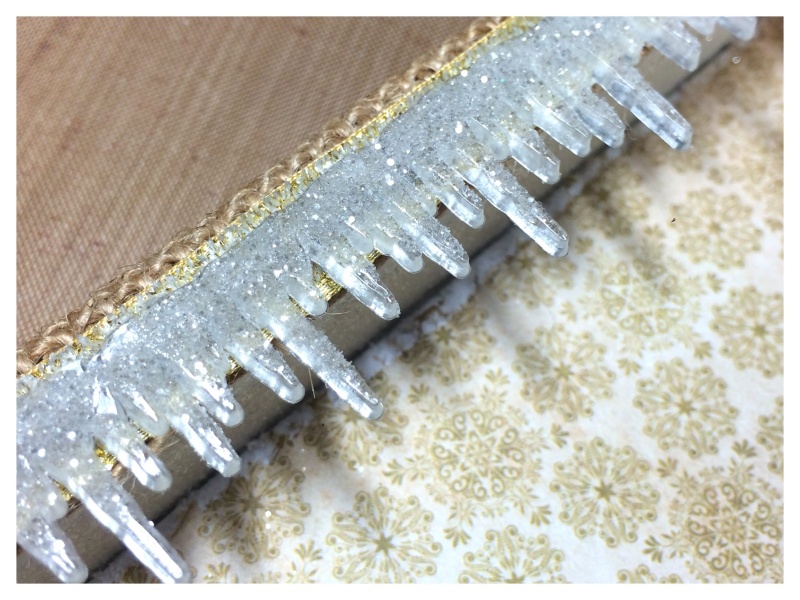
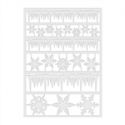
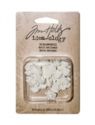
    Snip small and large icicles from the AMAZING new frozen alpha parts… (when I pulled these from my box of goodies I went a bit crazy). Cover with a modest layer of glossy accents and sprinkle over clear rock candy distress glitter! Tap off excess and set aside to dry. To attach the icicles, run a layer of glossy accents along the trimming where you want to place the icicle and allow to dry without sticking down. This strip of DRIED glossy accents will act as “tooth” for the alpha part.

    iGIrlZoe: Oh Christmas Tree
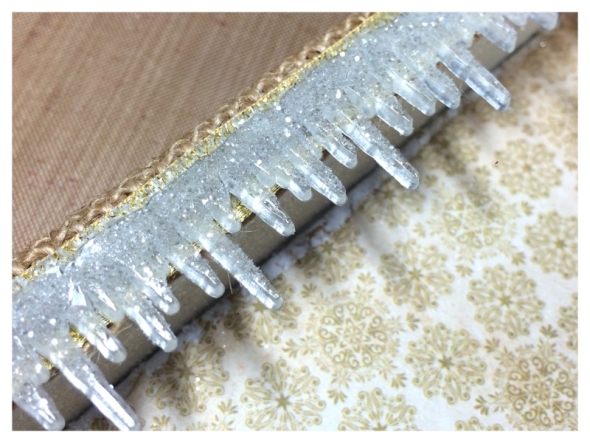
    Apply a layer of glossy accents to the back of the icicle and stick in place. Press down for a few moments and then set aside until the glossy accents have dried.

    iGIrlZoe: Oh Christmas Tree
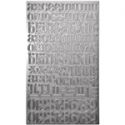
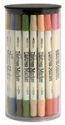
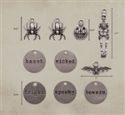
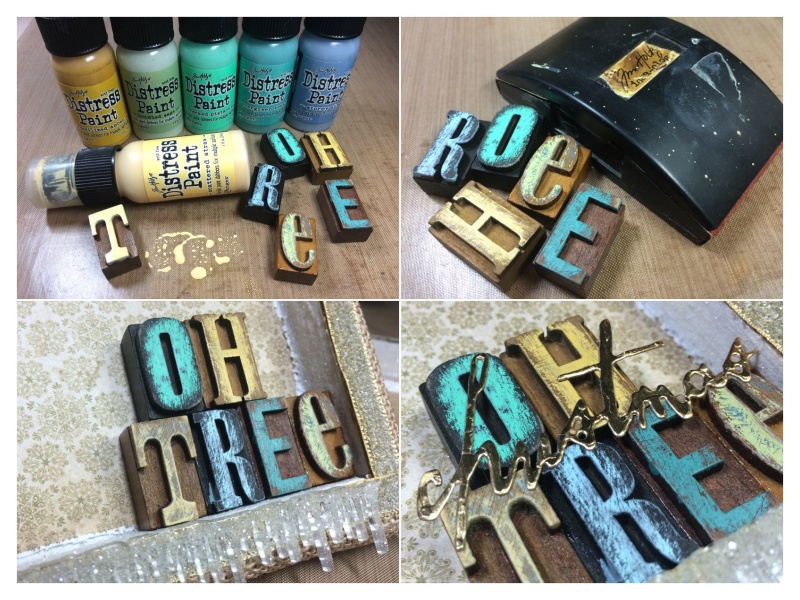
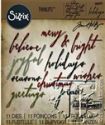
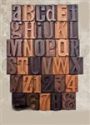
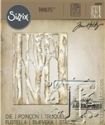
    Cover letterpress blocks in distress paint and allow to dry completely. Using a sanding grip, sand the letter to give a distressed look. Mount onto the burlap panel with glossy accents. Die cut “Christmas” from the new Sizzix thinlits handwritten holidays set from metallic kraft core and adhere.

    iGIrlZoe: Oh Christmas Tree
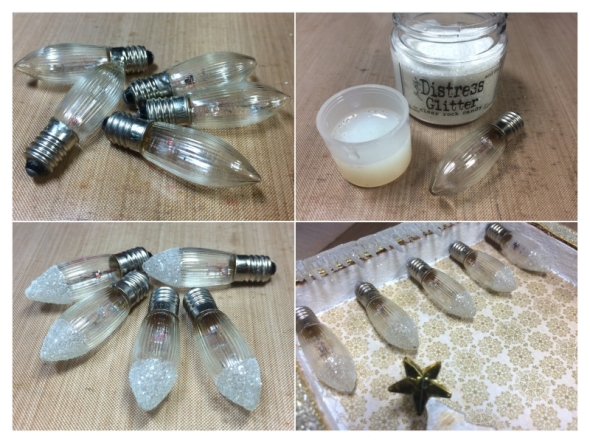
    My lovely Mum gave me these vintage light bulbs which were perfect for this project. I used a distress paint cap and filled it with glossy accents. Dip the end of the bulb into glossy accents and then sprinkle clear rock candy distress glitter over the top and tap off the excess. Attach to the inside top of the burlap panel with a dab of hot glue.

    iGIrlZoe: Oh Christmas Tree
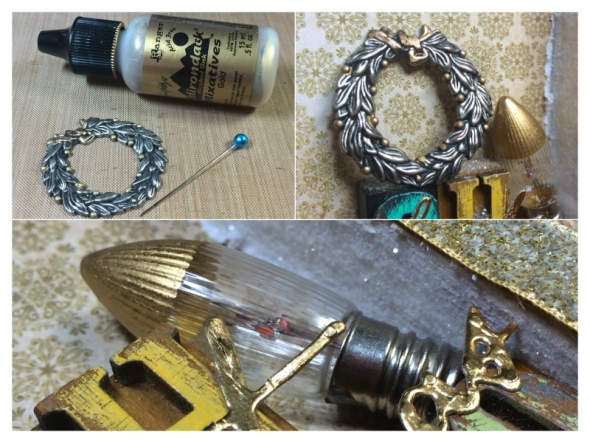
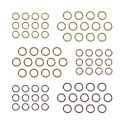
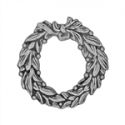
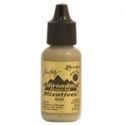
    Decorate a new adornment wreath with gold alcohol ink using a pin. Dip the pin in the alcohol ink and then lightly touch the pin to the berries on the wreath. I dipped a bulb in gold alcohol ink to use as an extra embellishment.

    iGIrlZoe: Oh Christmas Tree
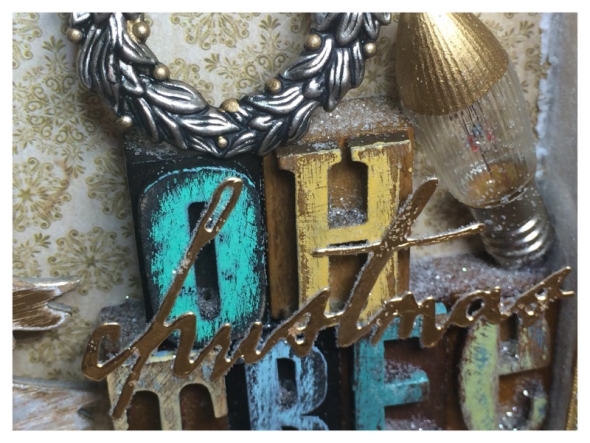
    Attach the bulb and wreath to the letterpress with a dab of hot glue.

    iGIrlZoe: Oh Christmas Tree
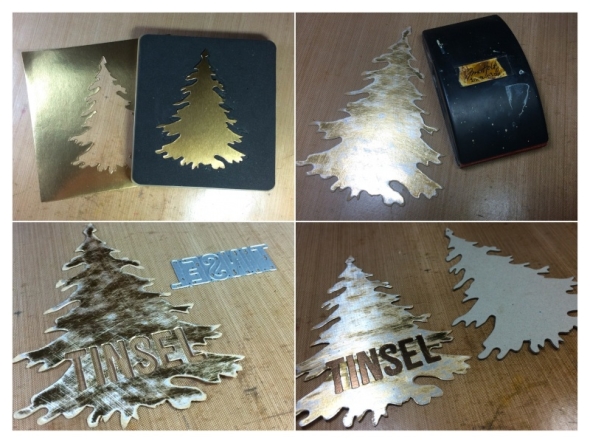
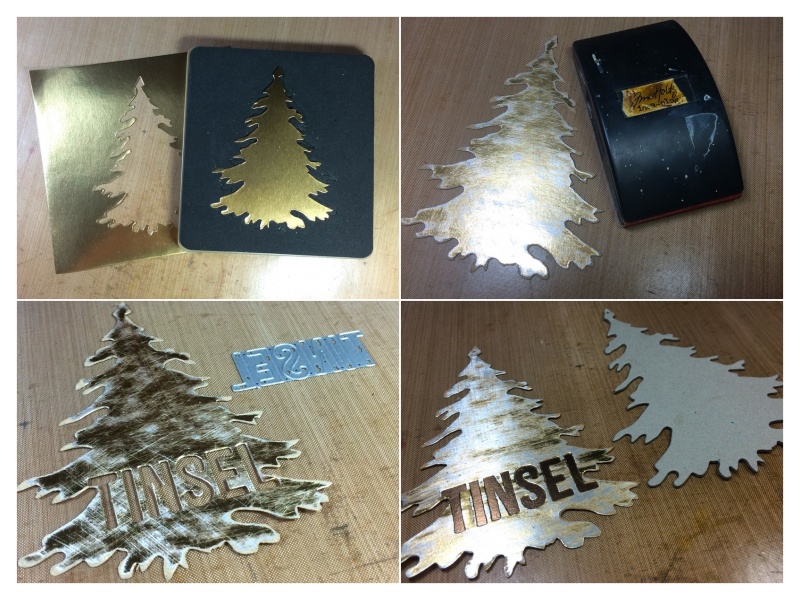
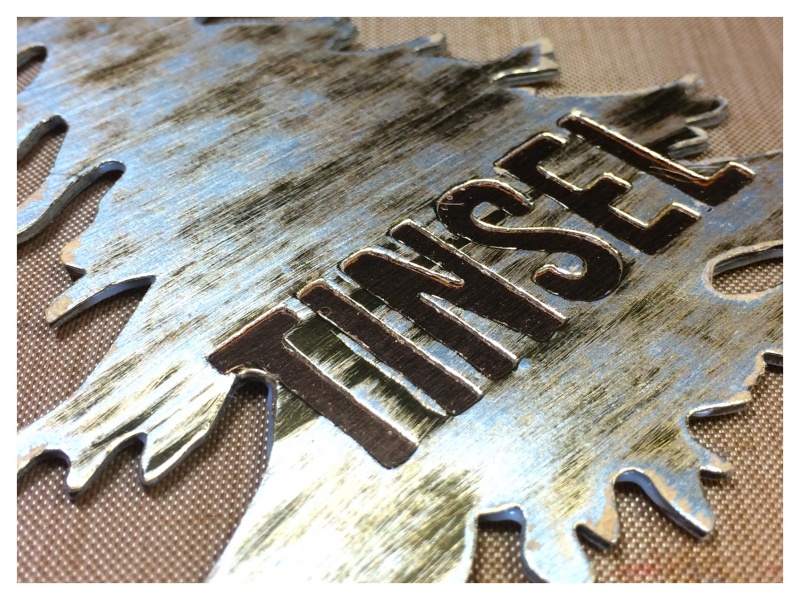
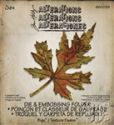
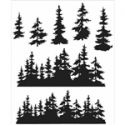
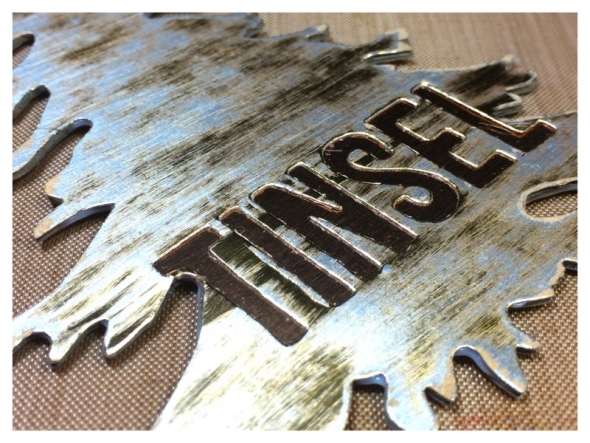
    Create an embellishment using the new Sizzix evergreen bigz die and the holiday word block 2 thinlit dies. Die cut a tree from metallic kraft core and sand with the sanding grip. Die cut “Tinsel” into the tree and then mount a different colour metallic kraft core sheet underneath. To reinforce, mount onto a second tree die cut from chipboard.

    iGIrlZoe: Oh Christmas Tree

    iGIrlZoe: Oh Christmas Tree
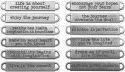
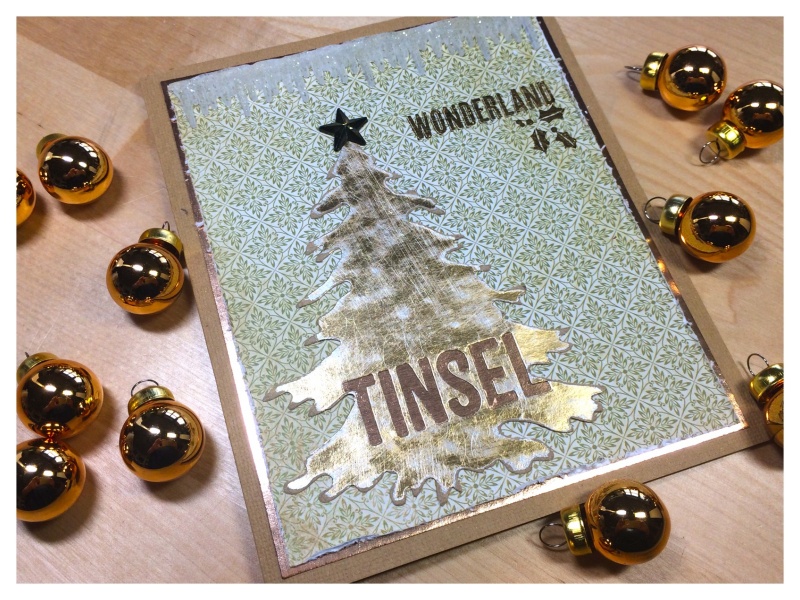
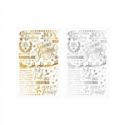
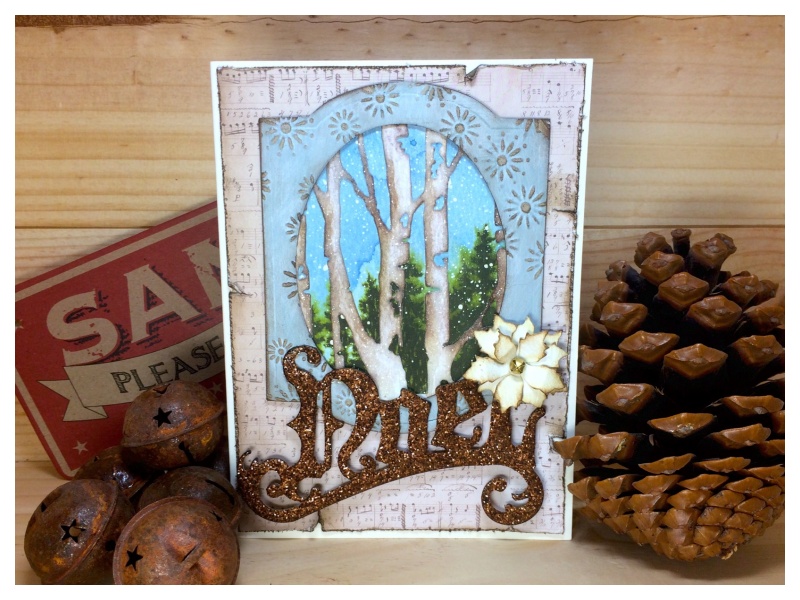
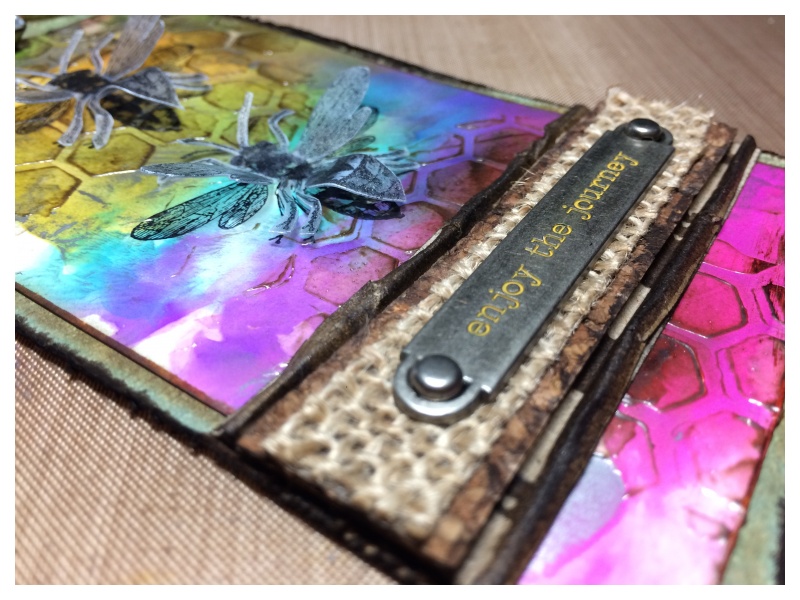
    I also made a card with the same products that I used for the burlap panel, as well as the new GOLD gilded holidays remnant rubs! YES GOLD! OH MY!

    iGIrlZoe: Oh Christmas Tree
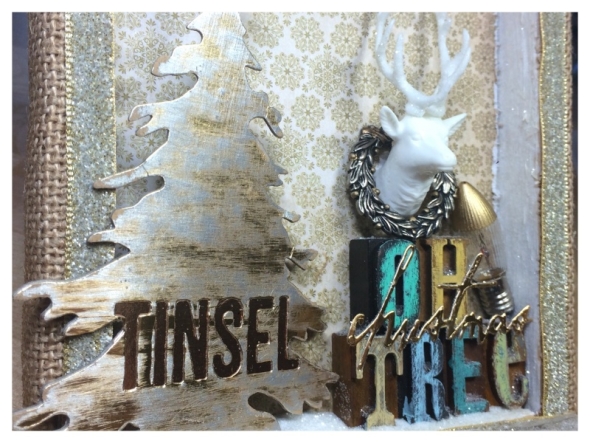
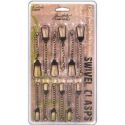
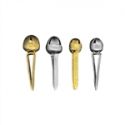
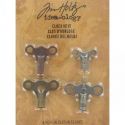
    Attach the tree at a slight angle to the inside base of the panel with glossy accents and cover the base with a little clear rock candy distress glitter. Attach the trophy antlers inside the adornment wreath with a dab of hot glue.

    iGIrlZoe: Oh Christmas Tree
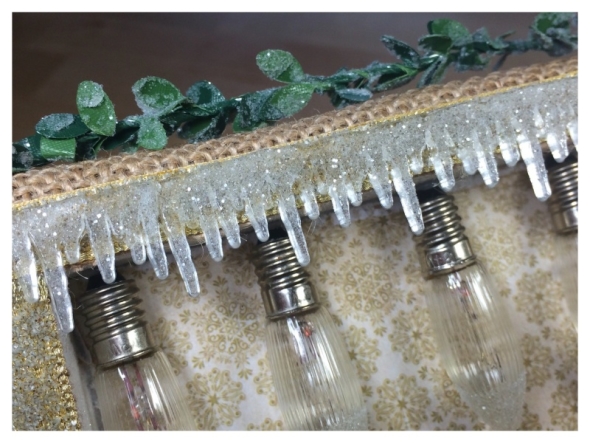
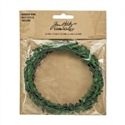
    For a final flourish cut a strip of the new boxwood twine. Cover with glossy accents using your fingers and then sprinkle over clear rock candy distress glitter. Attach to the top of the burlap panel with a dab of hot glue at each end of the twine.

    iGIrlZoe: Oh Christmas TreeThanks for stopping by, I hope this has given you a little holiday inspiration. I have had so much fun playing with all the new products and really appreciate all the kind and encouraging comments you have left here and on social media. A big thank you to Tim, Paula and Mario for inviting me to create samples, it’s been such a great pleasure.

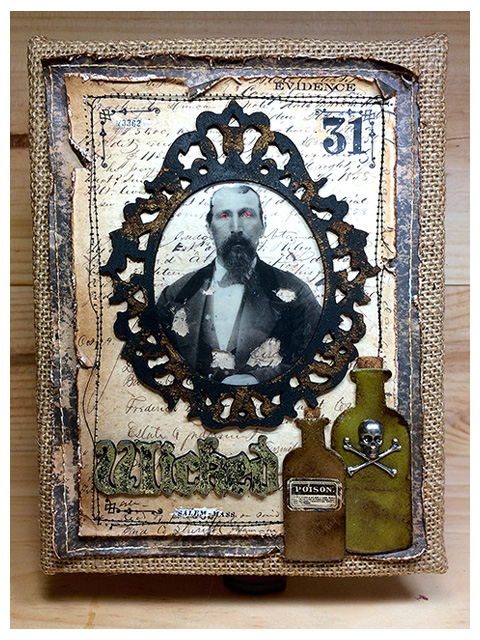
    I’ll be back next week with more Halloween projects, but for now, I hope you have a great weekend.
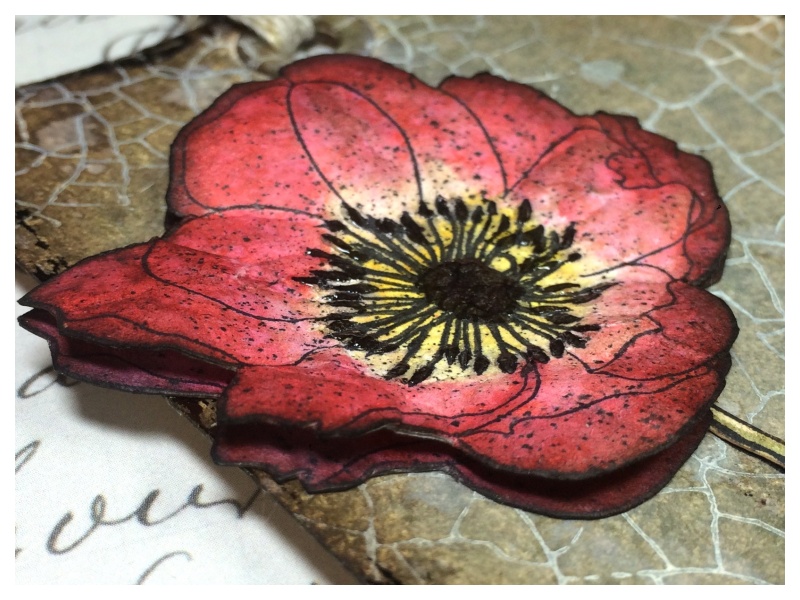
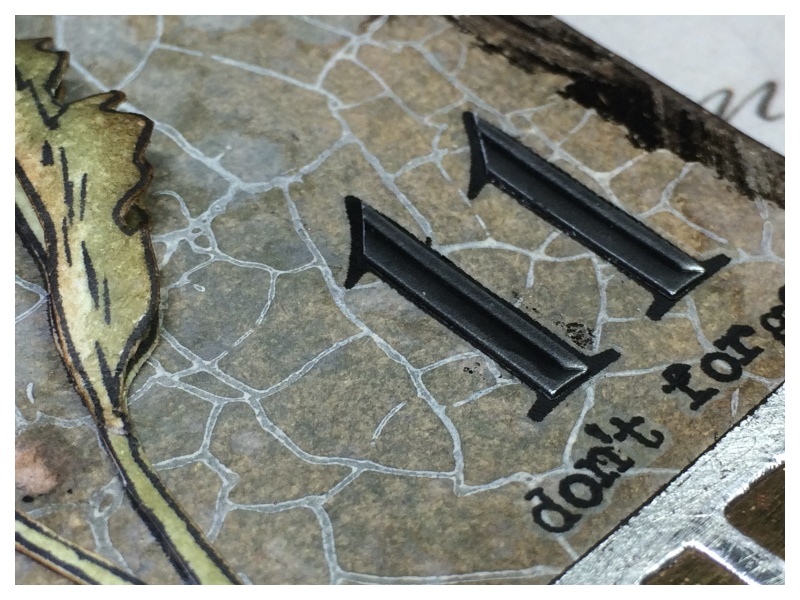
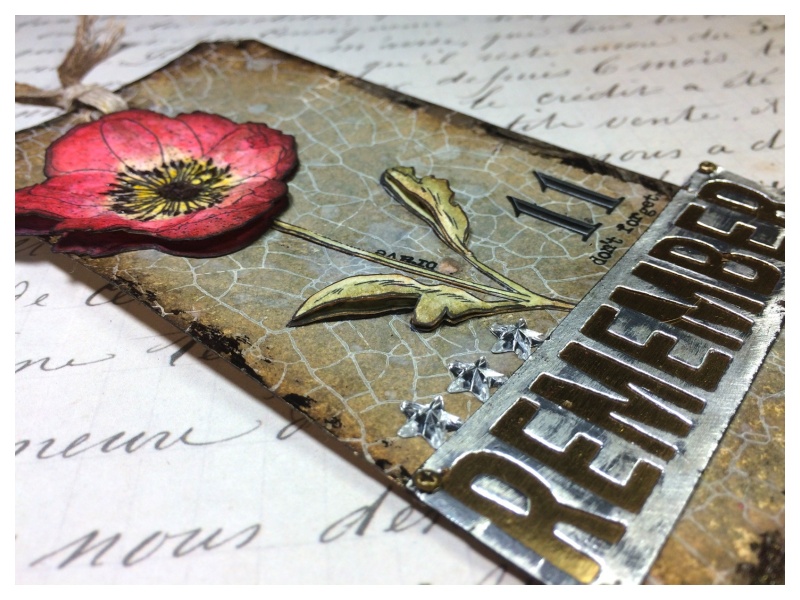
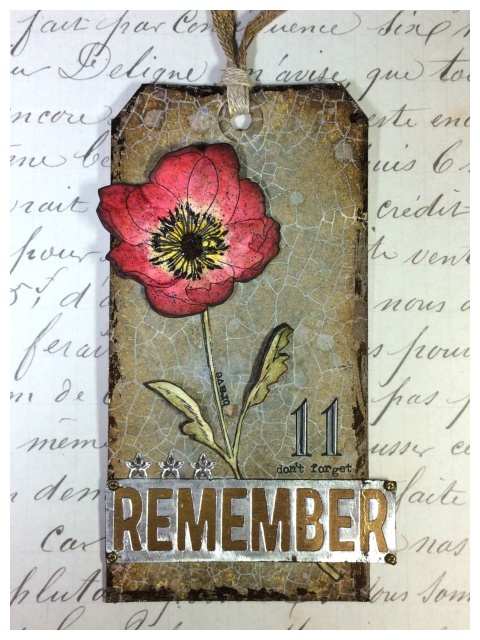


  6. Frilly & Funkie Autumn Splendor

    14th October, 2015 by iGirlZoe

    It’s Wednesday and that means there’s another challenge over at Frilly and Funkie Challenge Blog!

    This challenge is hosted by Nancy (Tattered Treasures), who has chosen the theme AUTUMN SPLENDOR …Nancy Says,“Simply create a vintage or shabby chic project using the rich colors of autumn, and remember to include an autumn leaf somewhere in your project!

    iGIrlZoe: Autumn SplendorFor this challenge I decided to use a burlap panel! What can I say? I love the burlap panels! This was so quick and easy to make that I did a quick step-by-step.

    iGIrlZoe: Autumn Splendor
    Take an idea-ology burlap panel and scrape white gesso across random parts of it with a palette knife to create a worn look, (there’s no need to gesso the center but I found it was easier to cover than avoid). Once completely dry, dab a little antique linen distress paint over the gesso areas that will show.

    iGIrlZoe: Autumn Splendor
    Cut a panel of paper about half an inch smaller than the canvas, I used the new Tim Holtz regions beyond paper stash. This paper is forever, not just for Halloween! It’s limited though so I am stocking up like a crazy person crafter!

    iGIrlZoe: Autumn Splendor
    Next cut a panel of mixed media cardstock about half an inch smaller than the paper panel. Blend a little antique linen distress ink, spritz with water and dry. Mix a few drops of ground espresso distress reinker to texture paste and mix with a palette knife. Spread the texture paste through the stencil and set aside to air dry.

    iGIrlZoe: Autumn Splendor
    Cut a medium leaf from mixed media cardstock and a small leaf from metallic kraft core using the new Tim Holtz fall foliage dies. Cut a larger leaf from mixed media cardstock with the layered leaf die and emboss using the accompanying embossing folder. Using a selection of autumnal (fall) distress ink colours. Slowly blend from light to dark, building the colour until you’re happy with the leaf. Spritz lightly with water to blend and dry with a heat tool. Swipe a darker colour over the embossed areas to highlight if desired.

    iGIrlZoe: Autumn Splendor
    Your leaves are now ready to attach to your canvas. Layer them up and secure with a dab of glossy accents. Pull a few burlap strands from the back of the burlap canvas and use to tie around the leaf stems. Attach a word band underneath. I used “observations” as I love to “observe” the leaves changing colour during this season.

    iGIrlZoe: Autumn Splendor
    Thanks for stopping by and I hope you’ll have a go at making something Autumnal for this challenge. You can see the other DT projects over at Frilly and Funkie challenge blog. All the products I used for this project are available from The Funkie Junkie Boutique.


  7. 12 Tags of 2015 – October

    12th October, 2015 by iGirlZoe

    12 Tags of 2015 time again. I love Tim’s October tag, the new thinlits monster dies are SO fun that I couldn’t wait to grab my vampire die.

    iGIrlZoe: 12 Tags of 2015 OctoberCount Frightful is back and this time he’s dressed for DINNER!

    iGIrlZoe: 12 Tags of 2015 October
    I added lace to his collar and an o ring monocle and chain, pinned to his lapel. Doesn’t he look rather dapper?!

    iGIrlZoe: 12 Tags of 2015 October
    My dripping texture fade embossing folder arrived just in time. I used packaging from one of Tim’s BIGZ dies and embossed with the dripping folder, cut around the embossed outline and covered with poppyfield alcohol ink.

    iGIrlZoe: 12 Tags of 2015 October
    I wanted the drips to look wet even when dry so I covered with a generous layer of glossy accents and set aside to dry.

    iGIrlZoe: 12 Tags of 2015 October
    The dripping has a lovely glossy look like toffee apple toffee.

    iGIrlZoe: 12 Tags of 2015 October
    I dabbed mushroom and butterscotch alcohol ink onto some idea-ology to give an aged look. I cut the loop off the bat charm with wire cutters and glued it to the wicked token with glossy accents.

    iGIrlZoe: 12 Tags of 2015 October
    You can see this months tag and techniques on Tim’s blog and you can see the post translated into French on Scrapdeco’s blog.

    Thanks for taking the time to look at my tag and I just want to take a moment to thank everyone for their kind comments on my blog and instagram recently. I really appreciate the feedback and support and it encourages me to share my tiny corner of the craft world with you. Thanks lots and lots. 🙂


  8. Winter Woodland

    8th October, 2015 by iGirlZoe

    With only 77 days until Christmas, I’m delighted to share my first project for the
    Tim Holtz Holiday Inspiration series using his fantastic new holiday products.

    iGirlZoe: Winter Woodland
    My focus for this card was the new thinlits birch trees die and the tree line stamp set, with a healthy sprinkle of distress glitter, (of course).

    iGirlZoe: Winter Woodland
    Cut distress watercolor cardstock with the thinlits birch tree die and blend with a little pumice stone and ground espresso distress ink. Once dry, add glossy accents to parts of the birch trees and sprinkle clear rock candy distress glitter over the top.

    iGirlZoe: Winter Woodland
    Lightly spritz distress watercolor cardstock with water and spray stormy sky distress stain spray over the top. Let the colour wick across the card and dry with a heat tool.

    iGirlZoe: Winter Woodland
    Ink up the new tree line stamp (CMS244) with forest moss distress ink and lightly spritz with water. Stamp along the bottom of the distress watercolor cardstock and then lightly spritz once with water to allow the trees to wick slightly to give colour contrast. Dry with a heat tool. Dab picket fence paint onto a non stick craft sheet and spritz with water. Load up a distress splatter brush and flick onto the background and set aside to air dry.

    iGirlZoe: Winter Woodland
    Cut a cameo frame from grungeboard and emboss with the new sparkle texture fade folder. Cover with a layer of iced spruce distress paint and once dry, repeat with a layer of picket fence distress paint and again dry. Using a sanding grip, lightly sand the raised embossed areas and edges. Blend a little ground espresso distress ink over the sanded areas.

    iGirlZoe: Winter Woodland
    Using glossy accents, layer the birch tree die over the tree line stamped background and place the cameo frame over the top and trim.

    iGirlZoe: Winter Woodland
    Cut 3 poinsettias from distress watercolor cardstock using the mini poinsettia mover and shapers die. Blend each poinsettia with antique linen distress ink and edge with ground espresso distress ink. Shape the leaves, layer up and make a hole using a pokey tool. Push one of the new idea-ology jingle brads through all 3 poinsettias and fasten at the back.

    iGirlZoe: Winter Woodland
    Adhere to the card with a dab of glossy accents.

    iGirlZoe: Winter Woodland
    Die cut grungeboard with the vintage noel bigz die and cover with ground espresso distress ink. Cover with a layer of glossy accents and sprinkle vintage photo distress glitter over the top. Tap off excess and set aside to air dry.

    iGirlZoe: Winter Woodland
    Once dry, adhere to the bottom of the cameo frame with glossy accents.

    iGirlZoe: Winter Woodland
    For a matching gift card, make an additional background, birch tree die cut layer and poinsettia. For the smaller cameo frame, cover cardstock with paper from the new yuletide paper stash and cut using the smaller mover and shapers oval die.

    iGirlZoe: Winter Woodland
    This gift hanger can adorn a gift and later be hung on a tree. Make an additional distress covered grungeboard noel die cut, poke 2 holes in the top and attach o rings. Cut a piece of the new boxwood twine and make a loop each end to hang the o rings from. Wrap jingle brads around the boxwood twine and trim the brad stems with wire cutters.

    iGirlZoe: Winter Woodland
    Thanks for stopping by and I hope this has given you a little holiday inspiration. I’ve had such fun using these new products, a big thank you to Paula, Tim and Mario for asking me. Check out Tim’s blog daily to see the fabulous festive creations by the other designers in the holiday inspiration series.


  9. 12 Tags of 2015 – September

    5th October, 2015 by iGirlZoe

    I didn’t quite make the September edition of Tim Holtz’s 12 tags of 2015 as I was traveling to the UK to visit family.

    iGirlZoe: 12 Tags of 2015 September
    I took a small craft kit with me and made my tag in our stopover hotel in France, but never found time to post it. The “enjoy the journey” word band was very fitting.

    iGirlZoe: 12 Tags of 2015 September
    I love the transparent gloss texture paste over alcohol ink. You can see a step-by-step on Tim’s blog post.

    iGirlZoe: 12 Tags of 2015 September
    I used the bee stamp from Tim Holtz oddities set (CMS083) which matched beautifully with the honeycomb stencil (THS005).

    iGirlZoe: 12 Tags of 2015 September
    Thanks for taking the time to look at my tag. You can see last months tag and techniques on Tim’s blog and you can see the post translated into French on Scrapdeco’s blog.


  10. Frilly & Funkie Chalk It Up

    30th September, 2015 by iGirlZoe

    I’m excited to share my first project as part of the design team over at Frilly and Funkie Challenge Blog!

    This challenge is hosted by Shelly Hickox (Stamptramp), who has chosen the theme CHALK IT UP …Shelly Says,”Chalk is such a versatile medium and we want to see how you can use it in your vintage or shabby chic creations. You can choose faux chalk technique, chalk inks, powdered chalks, or even a stick of chalk – it’s up to you!

    iGirlZoe: Chalk It Up
    I chose the faux chalk technique using antiquities frosted embossing powder on a frame mounted to an altered Tim Holtz idea-ology burlap panel. My current design obsession is apothecary, so I wanted to create a little vintage pharmacy.

    iGirlZoe: Chalk It Up
    The apothecary bottles and tiny vials from Tim Holtz’s idea-ology range are my absolute favourtie, so I had to use some. The burlap panel is the perfect depth to stand the bottles. I covered some with alcohol inks and some with distress crackle paint. The labels are from the apothecary vials set. The frame, label pull label and signage behind the bottles were stamped with stamps from the undertaker set.

    iGirlZoe: Chalk It Up
    I took inspiration from Paula Cheney by trimming the burlap and covering the edges with paper. For some final touches, I added an idea-ology clock key to the side of the burlap frame and an idea-ology heirloom rose covered with alcohol ink on a fussy cut found relatives card.

    Thanks for stopping by and take a look at the Frilly and Funkie challenge blog to see the rest of the DT’s projects. All the products I used for this project are available from The Funkie Junkie Boutique.