16th March, 2016 by iGirlZoe
It’s Wednesday and time for another challenge over at Frilly and Funkie Challenge Blog!
This challenge is hosted by Sue (Stamping Sue Style), who has chosen the theme LET’S MAKE IT A TRIO! …Sue says, “One of the things I love to do is work in 3’s on a project, 3 tags, 3 panels, 3 arches etc…. so for this challenge I’d like to see projects including 3 of something, and this does need to be the main focal point of your project.”
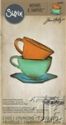
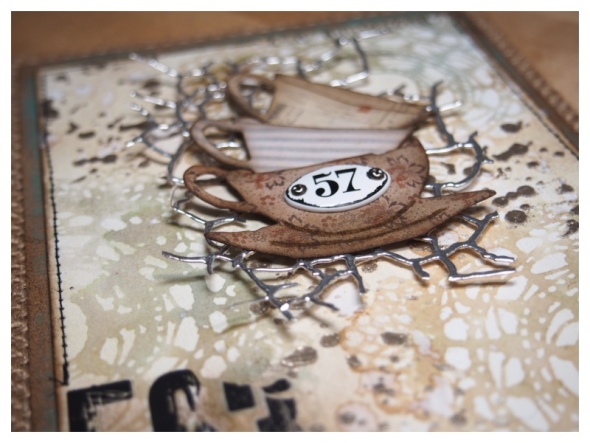
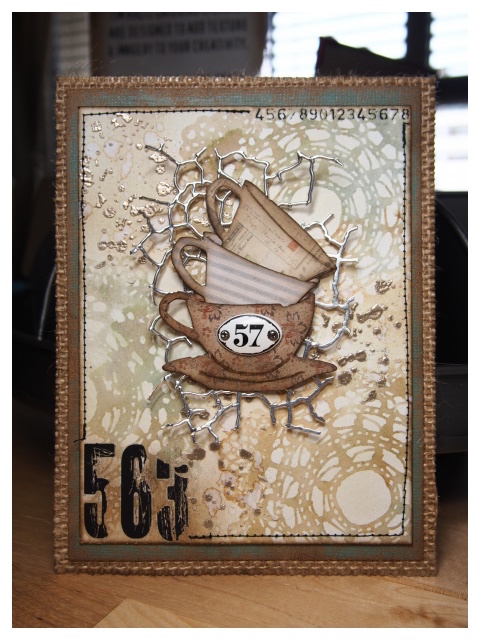 Mine is a trio of victorian tea cups all stacked up after a lovely afternoon tea party. The cracked die cut reminds me of the cracks in the glaze of old tea cups. The background is stamped with the new Tim Holtz doily stamps as it reminds me of a vintage table cloth. Here’s a step-by-step…

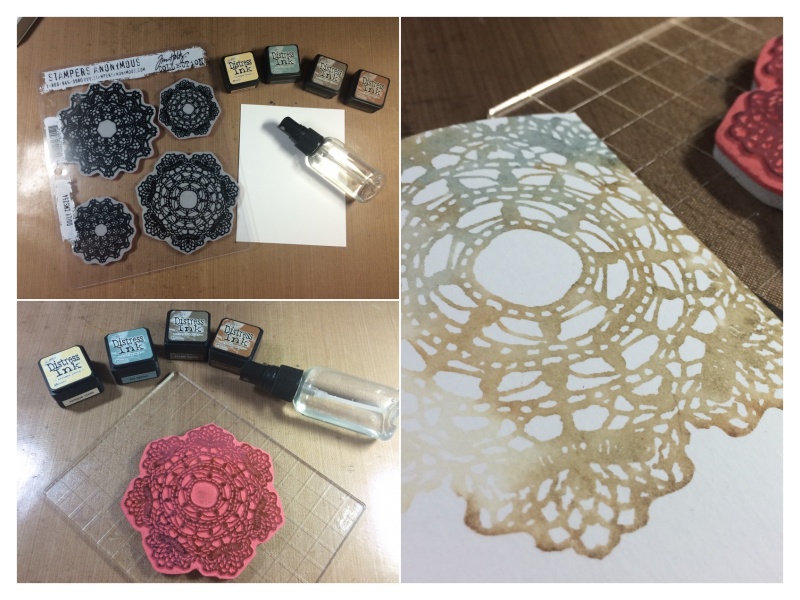
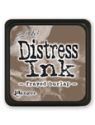
Ink the stamp with distress inks, lightly mist with water and stamp onto distress watercolor cardstock. I used the new Tim Holtz doily stamp set and distress inks in antique linen, iced spruce, frayed burlap, vintage photo.
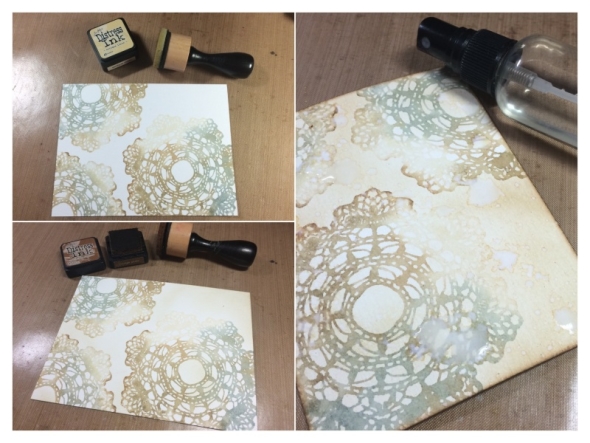
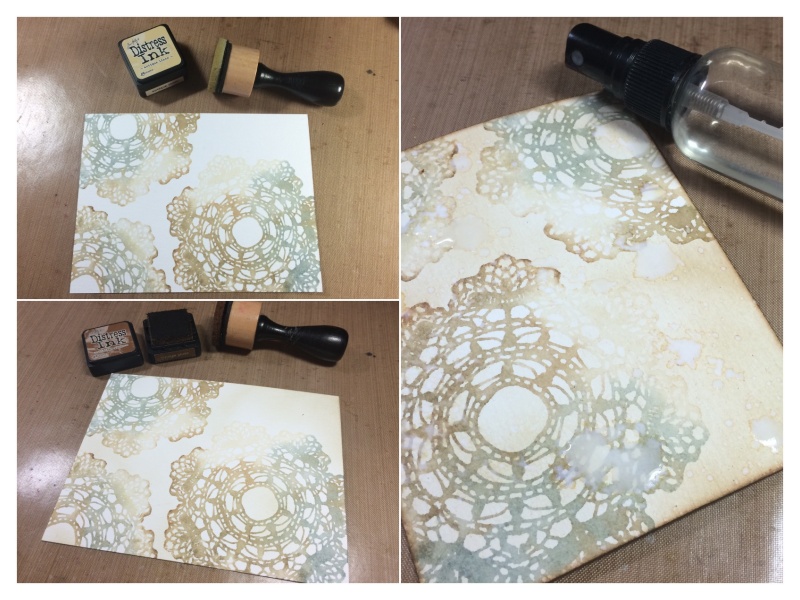
Once dry, blend antique linen distress ink over the entire background. Edge with vintage photo distress ink and spritz with water.

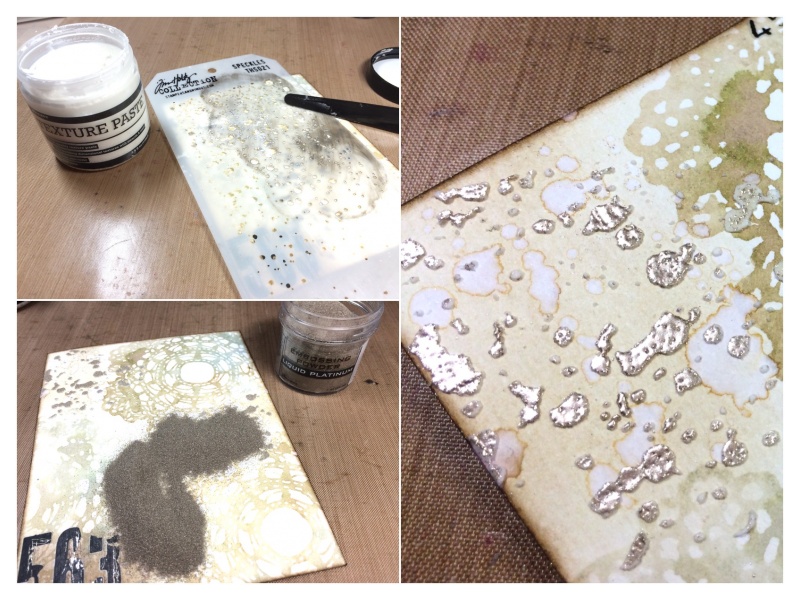
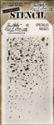
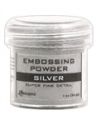
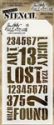
Spread texture paste through a stencil using a palette knife. Immediately sprinkle embossing powder over the texture paste and tap off excess. Set aside until the texture paste has dried completely, then melt the embossing powder with a heat tool.
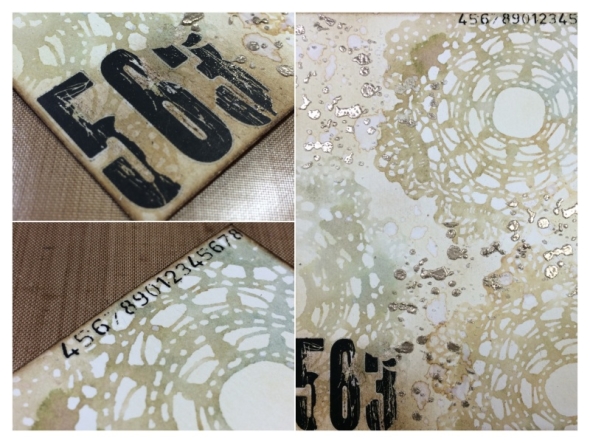
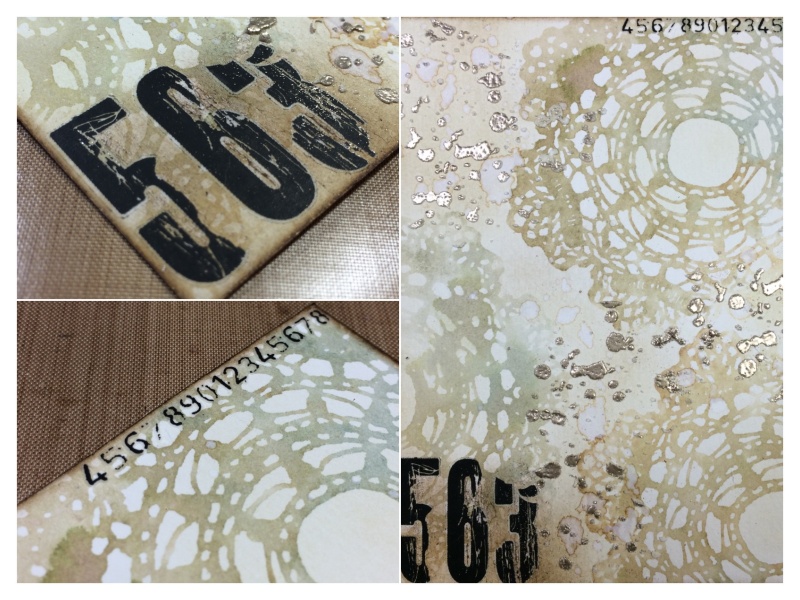
Add remnant rubs or stamped numbers to the background and sand with sanding grip to give a distressed look.

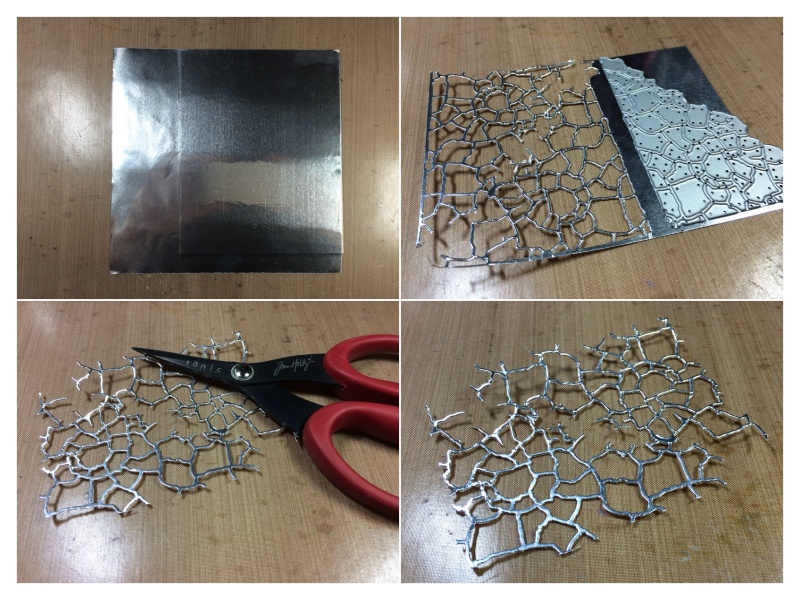
Cover manila cardstock with foil tape. Die cut with cracked mixed media 3 die. Trim until happy with the shape.
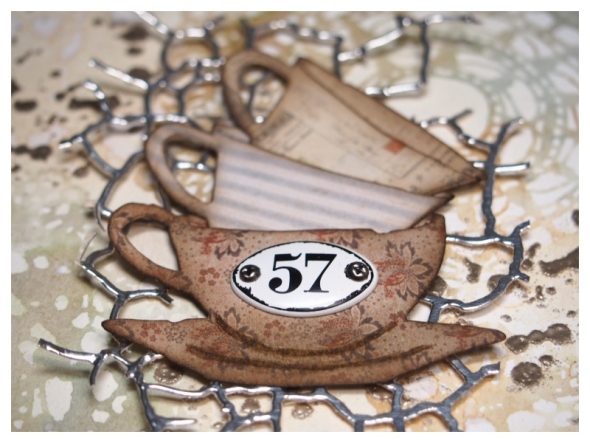
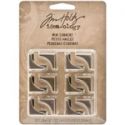
Die cut mini tea time cups with the Tim Holtz dapper paper stash. Mount over the cracked die cut with adhesive tape or liquid adhesive. Only adhere the cracked die cut under the cup so it sits slightly above the background at the edges. I added one of the new idea-ology mini plaques.
Thanks for stopping by. I hope you will find time to join in the challenge and pop over to Frilly and Funkie challenge blog to see the rest of the DT’s projects. All the products I used are available from The Funkie Junkie Boutique.

Category DT, Frilly & Funkie, Tim Holtz | Tags: | 34 Comments | Views: 1,315
11th March, 2016 by iGirlZoe
Hello! I’m delighted to share the second of the samples that I made for CHA 2016 for the Tim Holtz booths. It’s been a couple of months since CHA, but I was supposed to be this month, so things have been unusually busy in my world. My move has been pushed back a couple of months, so I’m catching up! I’ll share my “adventures of a traveling crafter” another time…
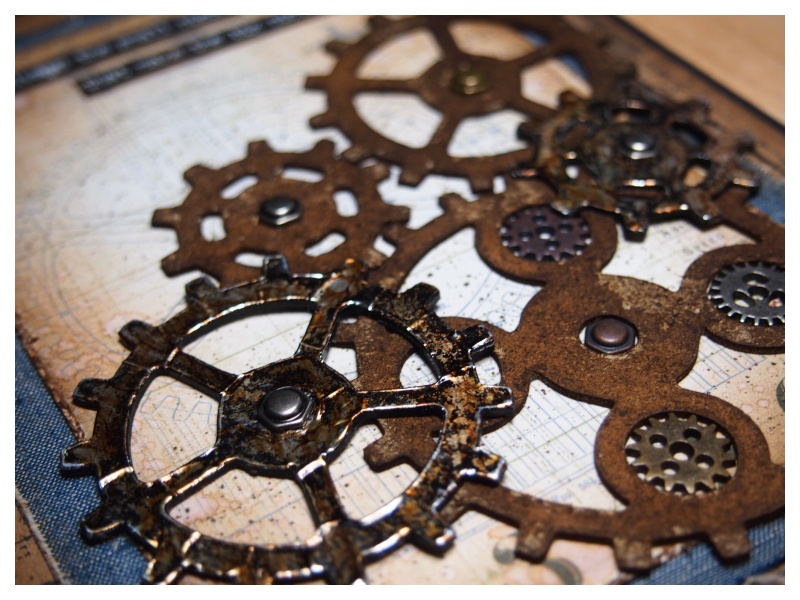
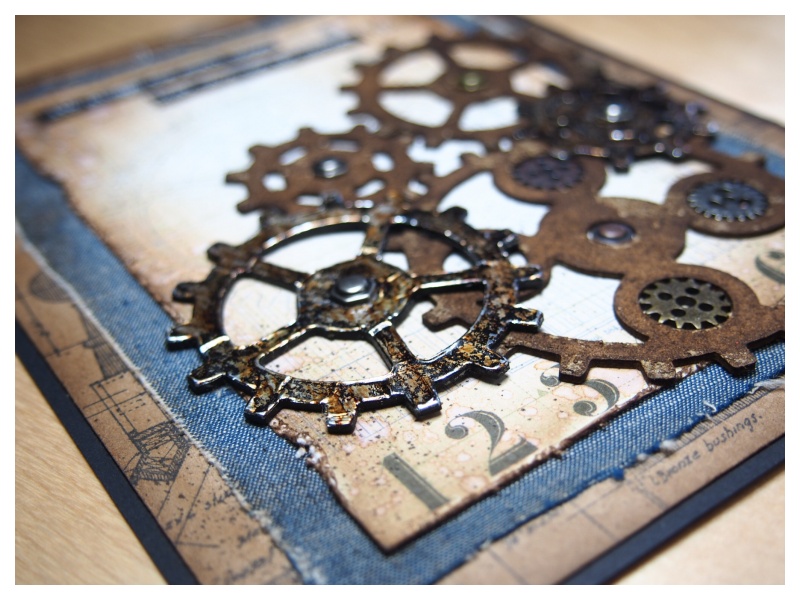
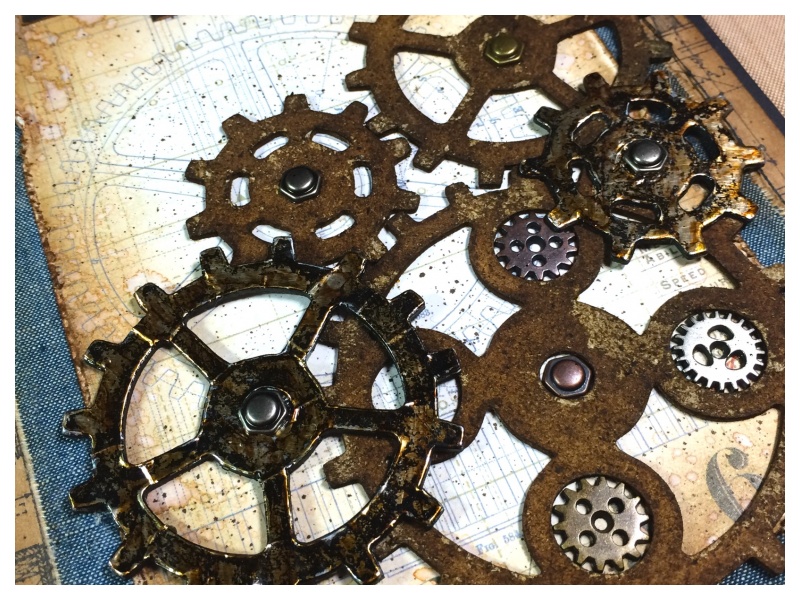
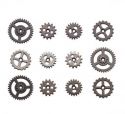
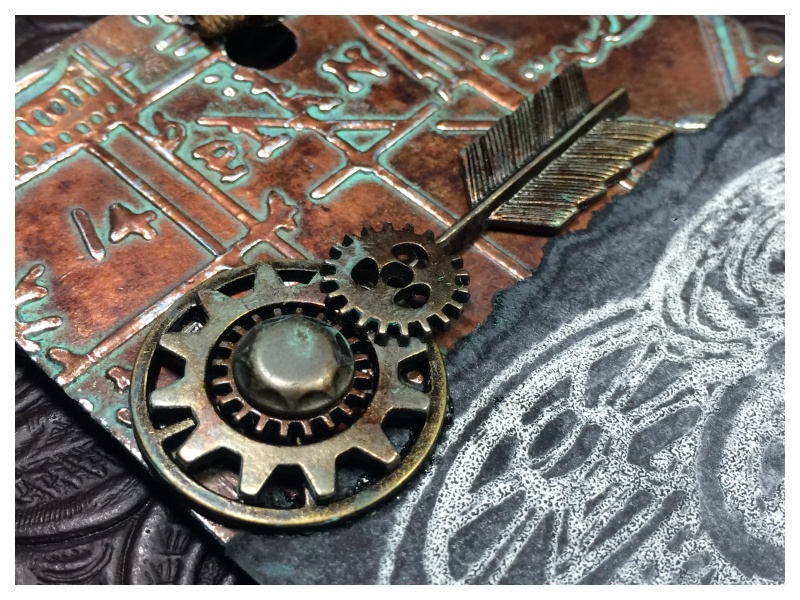
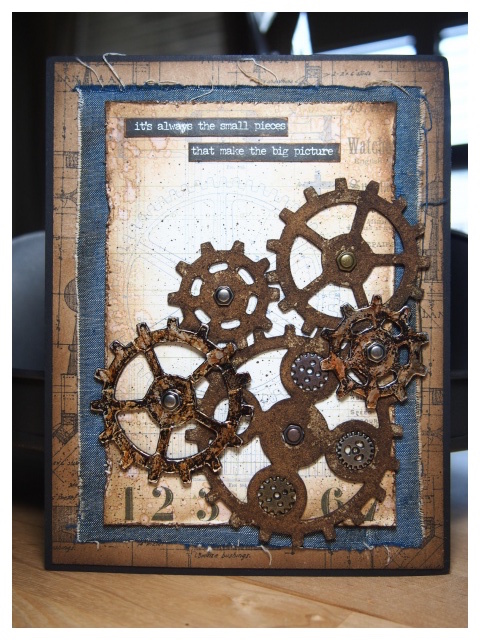 This sample was created for the Tim Holtz Alterations Sizzix booth and focused on the new Gadget Gears 2 Bigz die.

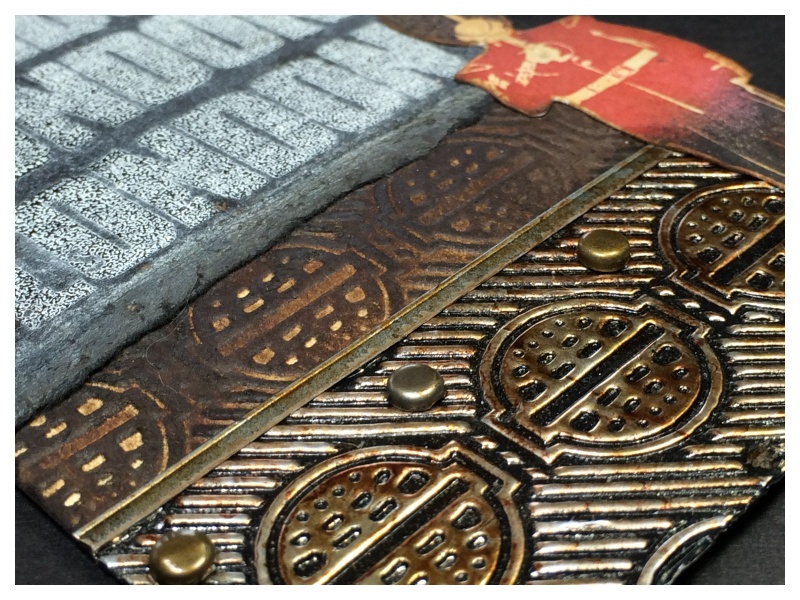
I die cut grungeboard and foil tape covered grungeboard with the new Gadget Gears 2 die. I covered the foil tape with black soot distress paint, wiped away the excess and applied teakwood and rust alcohol inks with an alcohol ink blending tool. The plain grungeboard I blending vintage photo distesss ink over and sanded gently. I then blended over a little walnut stain distress ink and sanded again to give a worn look.
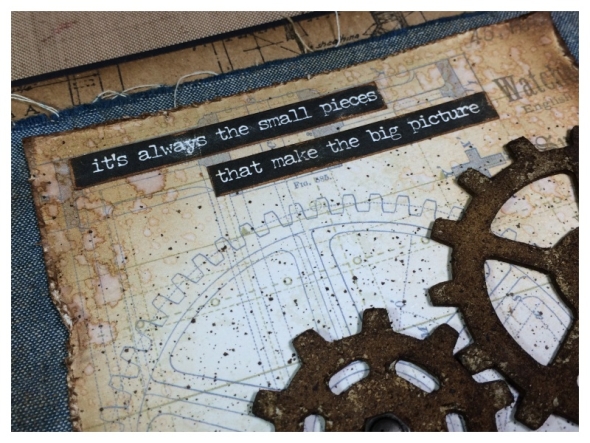
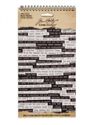
This super cool background paper is from the new dapper paper stash by Tim Holtz. It’s gorgeously industrial and I love that one of the gears fits over the printed inner gear. I distressed the edges of the paper, inked with vintage photo distress ink and spritzed with water to age. I also added inked and distressed small talk stickers.
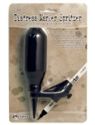
Finally, I used the distress marker spritzer and ground espresso distress marker to add the spackle. I am still just as obsessed with the distress marker spritzer as I was the day I got it. If you haven’t got one, trust me, get one, they are SO SO SO fun!

The background layers are denim from the new adhesive backed textile surfaces. I frayed the edges and adhered over kraft cardstock which I stamped an industrial image onto from the steampunk stamp set, (all by Tim Holtz of course)! 😉

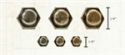
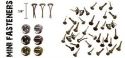
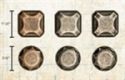
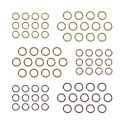
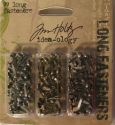
I overlapped some of the gears and added idea-ology mini gears to the center of the largest gear. They are a perfect fit! I also added new idea-ology hex fasteners! These are absolutely my favourite new thing and I am stocking up on them! The Gadget Gears 2 die works perfectly with the original Gadget Gears die too.
A big thank you to Paula, Mario and Tim for inviting me on this journey and to you for stopping by to take a look.
CHA Product previews and BTS from the show are on Tim’s blog. Many of the new products are shipping now or available for pre-order.
Category CHA 2016, CHA Show, Tim Holtz | Tags: | 4 Comments | Views: 1,239
2nd March, 2016 by iGirlZoe
It’s Wednesday and time for another challenge over at Frilly and Funkie Challenge Blog!
This challenge is hosted by Nancy (Tattered Treasures), who has chosen the theme LAYER IT UP …Nancy says, “Let’s add dimension this time around. Simply create any type of vintage or shabby chic project featuring multiple layers.”
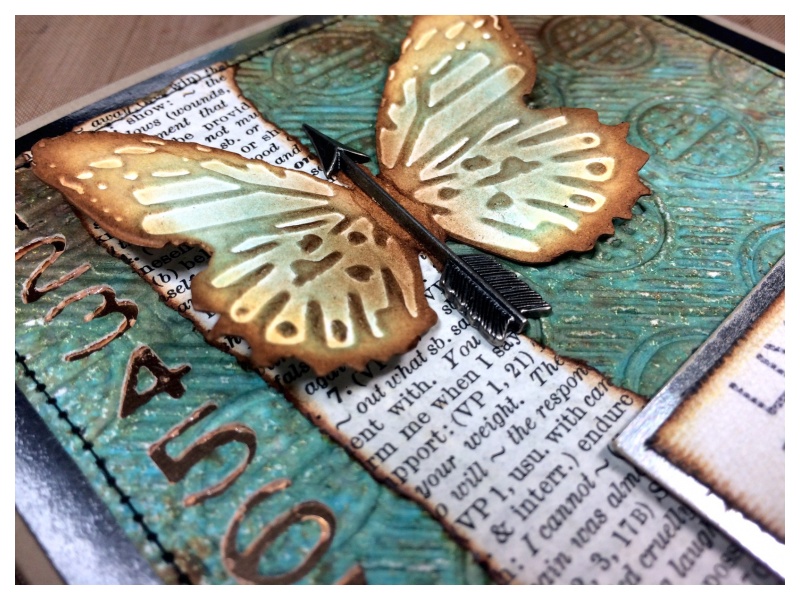
 I used a mix of papers, pastes, paints and metal embellishments to create the layers.
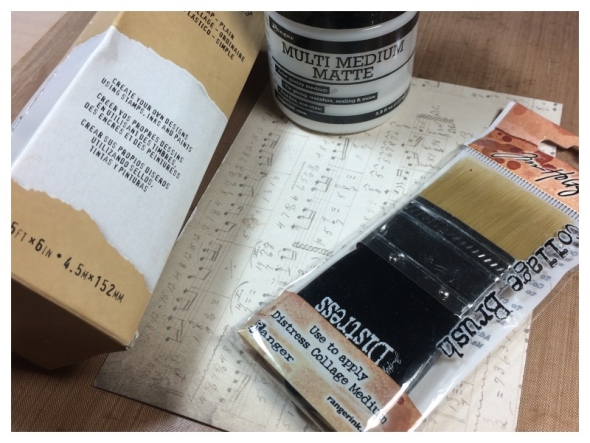
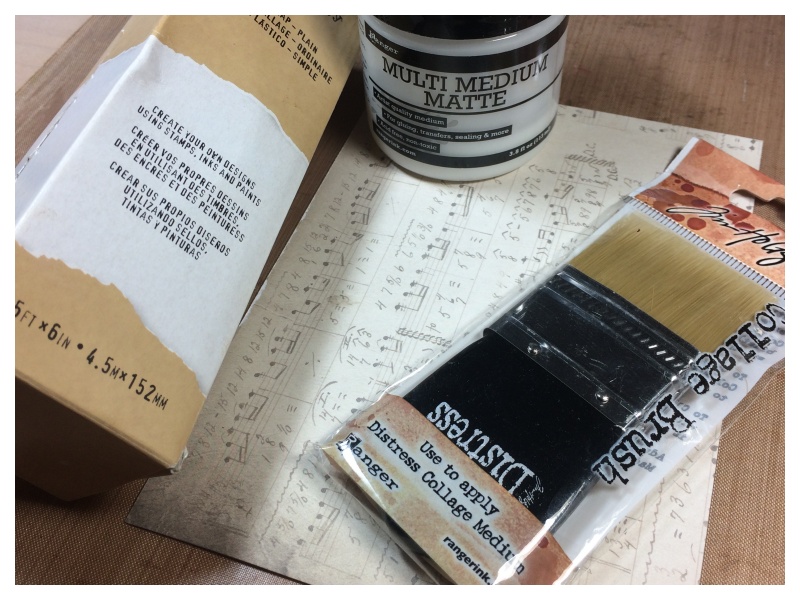
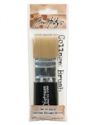
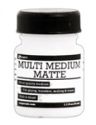
For the first layer I covered a piece of leftover paper with the new Tim Holtz plain tissue wrap. I brushed on multi medium matte using the new collage brush. I LOVE this brush, it made applying the adhesive so easy.

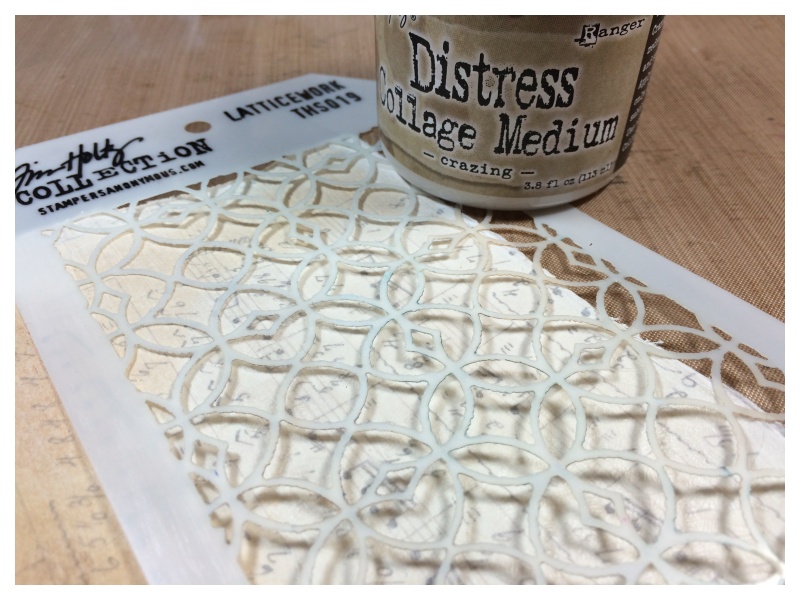
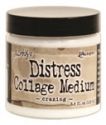
I just got the new crazing collage medium and had to use it right away! Using a palette knife I spread it through a stencil and set aside to dry.
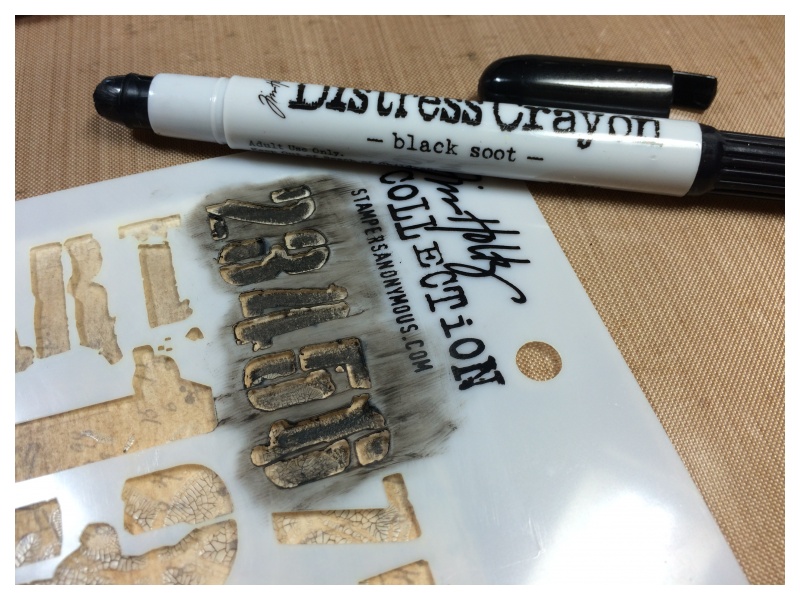
I rubbed a distress crayon over the top to highlight the crazing detail! Awesome right?!

Admittedly I was looking for any excuse to experiment with the new distress crayons. The consistency is quite soft and I wasn’t sure if I could use them with a stencil, but it worked fine. I rubbed the crayon directly onto the stencil and then smudged into the edges with my finger.
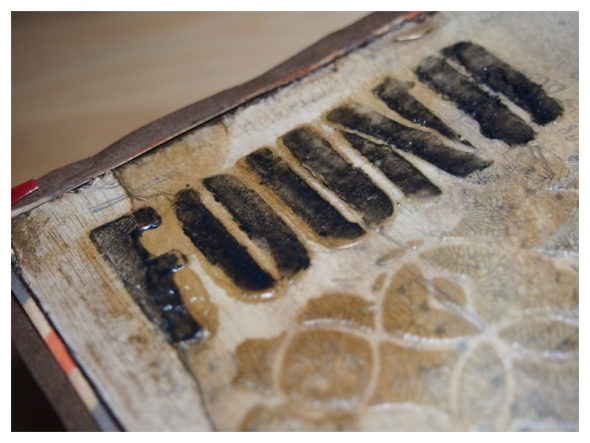
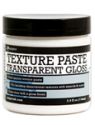
I cleaned the stencil and placed it back over the crayoned area and then spread transparent texture paste through the stencil to seal the crayon.

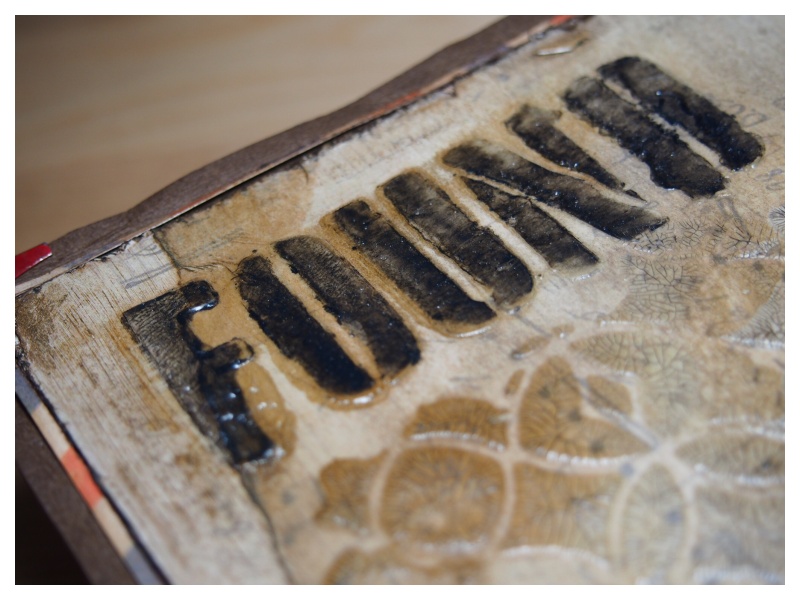
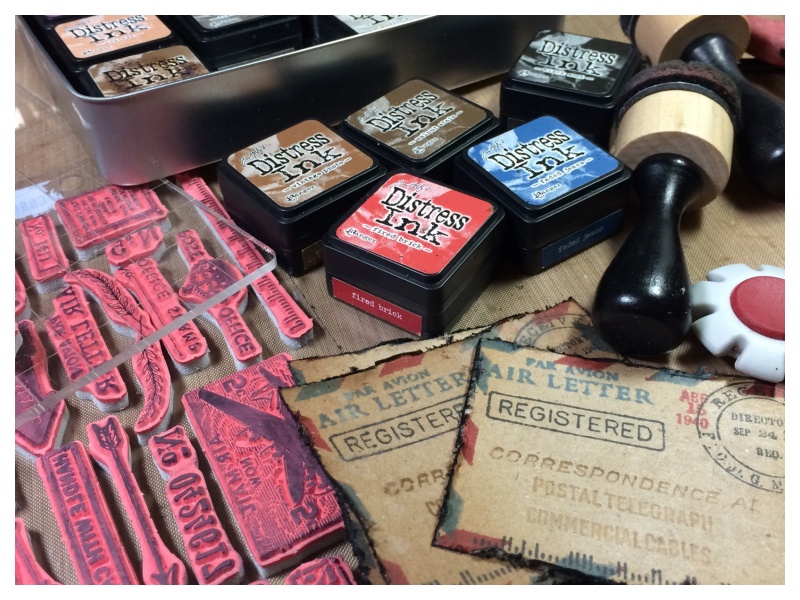
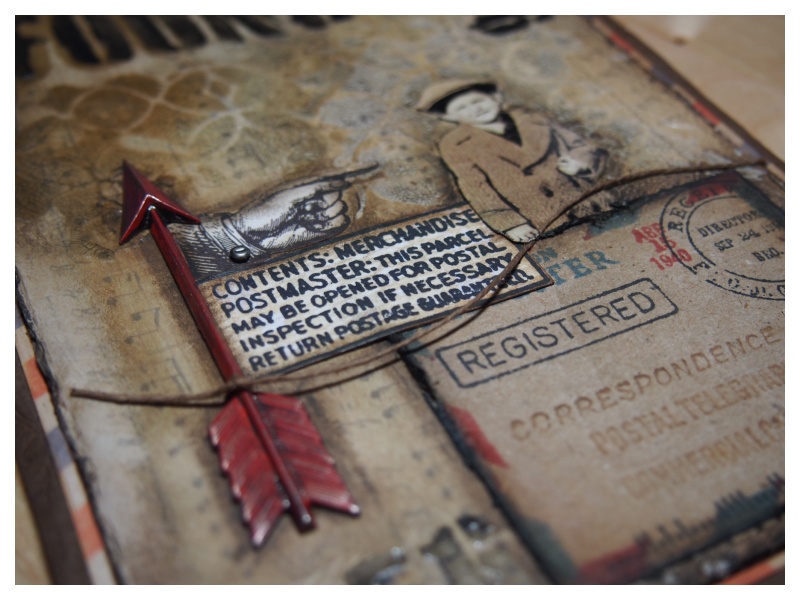
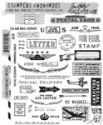
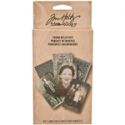
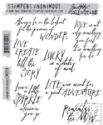
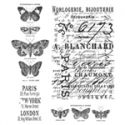
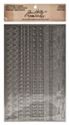
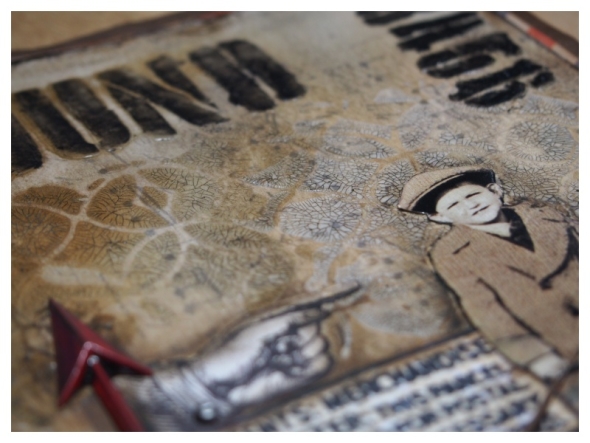
I made some ephemera with the Tim Holtz Correspondence stamp set.

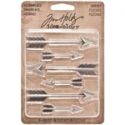
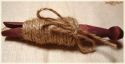
Finally I added an adornment arrow covered in candied apple distress paint, tied with a piece of trailing twine.
Thanks for stopping by. I hope you will find time to join in the challenge and pop over to Frilly and Funkie challenge blog to see the rest of the DT’s projects. All the products I used are available from The Funkie Junkie Boutique.
Category DT, Frilly & Funkie, Tim Holtz | Tags: | 27 Comments | Views: 727
17th February, 2016 by iGirlZoe
It’s Wednesday and time for another challenge over at Frilly and Funkie Challenge Blog!
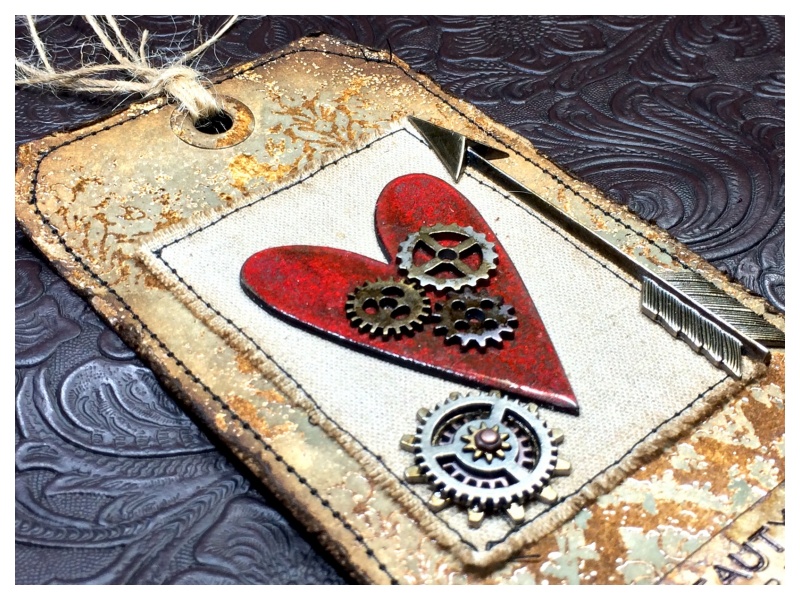
This time it’s my turn to host the challenge and I’ve chosen the theme LOVE IS IN THE AIR! “Create a vintage or shabby chic project with love as the central theme. Think hearts, cupid, love and romance in whatever colour palette your heart desires.”
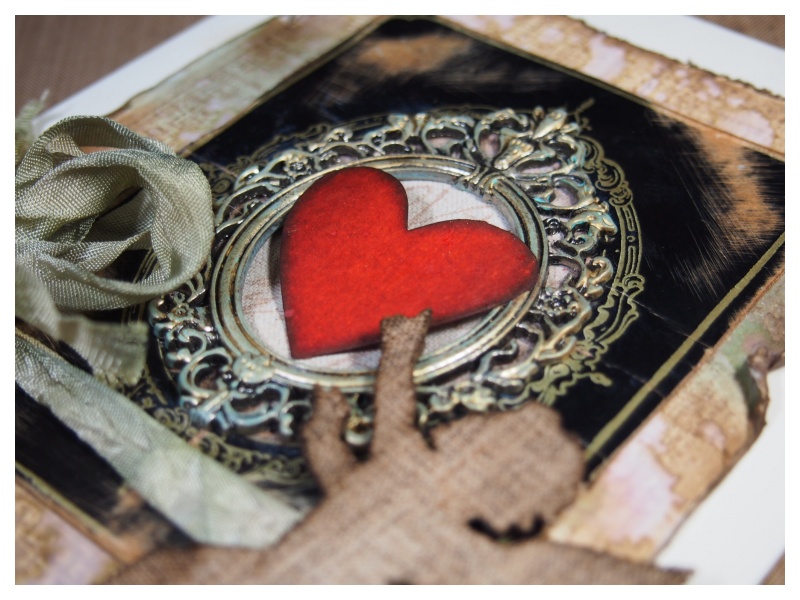
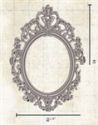
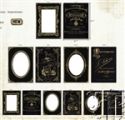
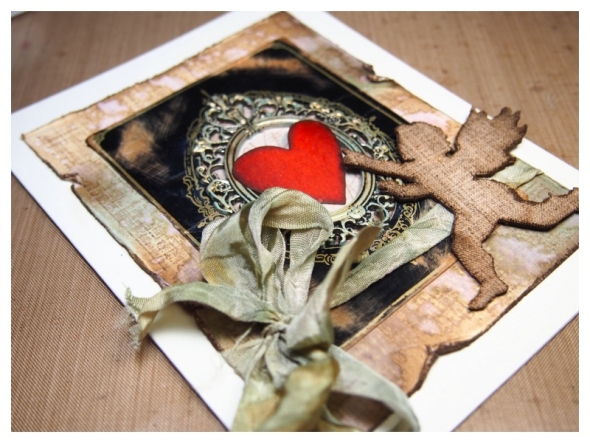
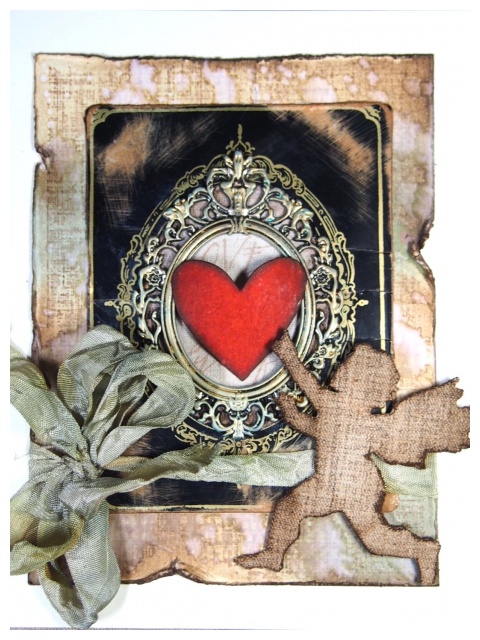 I LOVE LOVE LOVE the new black cabinet cards and baroque frames by Tim Holtz. When I put them together that die cut heart appeared! Seriously! I didn’t even have to die cut it from the love struck die set and cover with candied apple distress ink! It just appeared! 😉
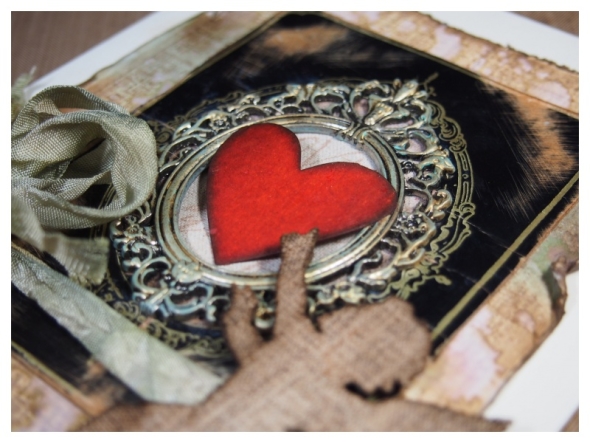
I die cut the cupid from the new adhesive backed textile surfaces by Tim Holtz and blended with distress ink. I also used it under the baroque frame but this time covered with picket fence distress paint and overstamped with a sentiment stamp from the handwritten thoughts set with potting soil archival ink. The baroque frame was aged using cracked pistachio distress paint and gold mixative alcohol ink. I sanded the cabinet card and blended vintage photo distress ink into the sanded portions. *TIP: If you won’t see the back of the cabinet card, split the card and keep the back for another project.
Thanks for stopping by. I hope you will find time to join in the challenge and pop over to Frilly and Funkie challenge blog to see the rest of the DT’s projects. All the products I used are available from The Funkie Junkie Boutique.
Category DT, Frilly & Funkie, Tim Holtz | Tags: | 9 Comments | Views: 605
16th February, 2016 by iGirlZoe
Hello! I’m so excited to share the samples that I made for CHA 2016 for the Tim Holtz booths. It was such a dream to be asked and I won’t pretend it wasn’t completely thrilling when the box of new products arrived in the post.
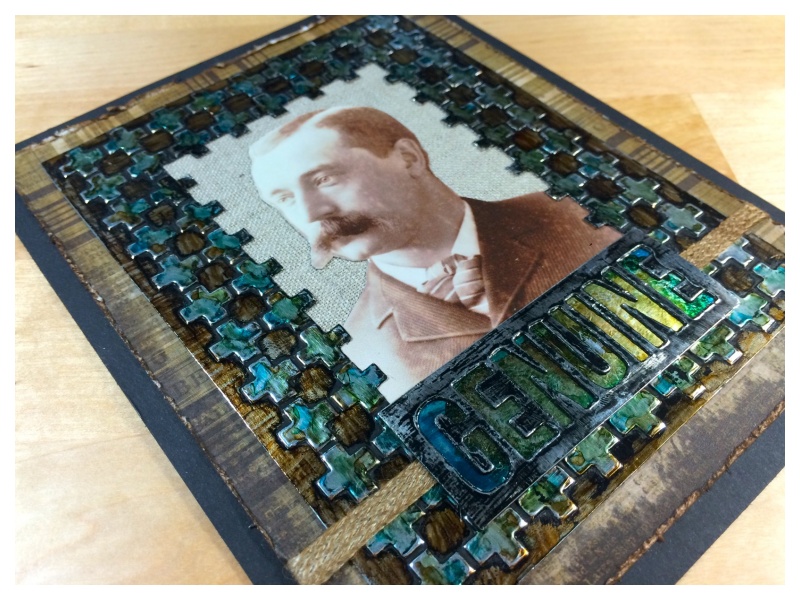
 This sample was created for the Tim Holtz Alterations Sizzix booth and focused around the new texture fades plus sign embossing folder.

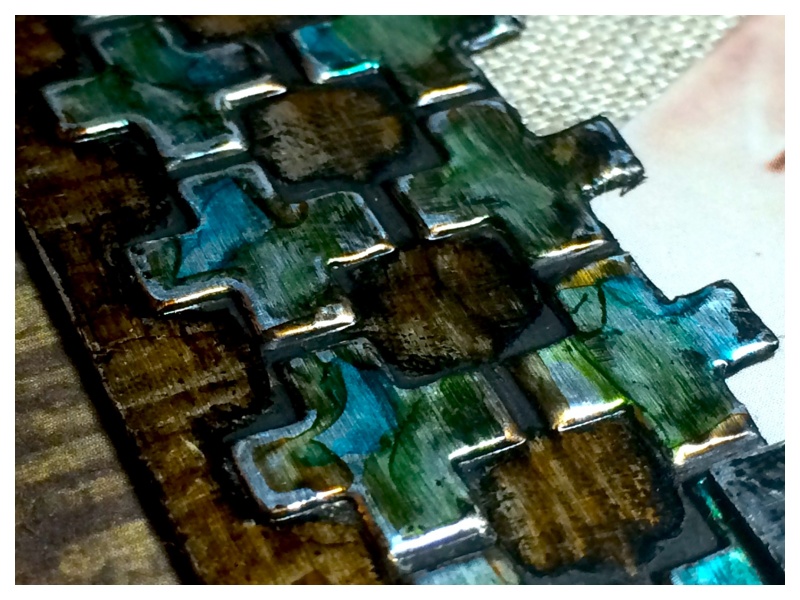
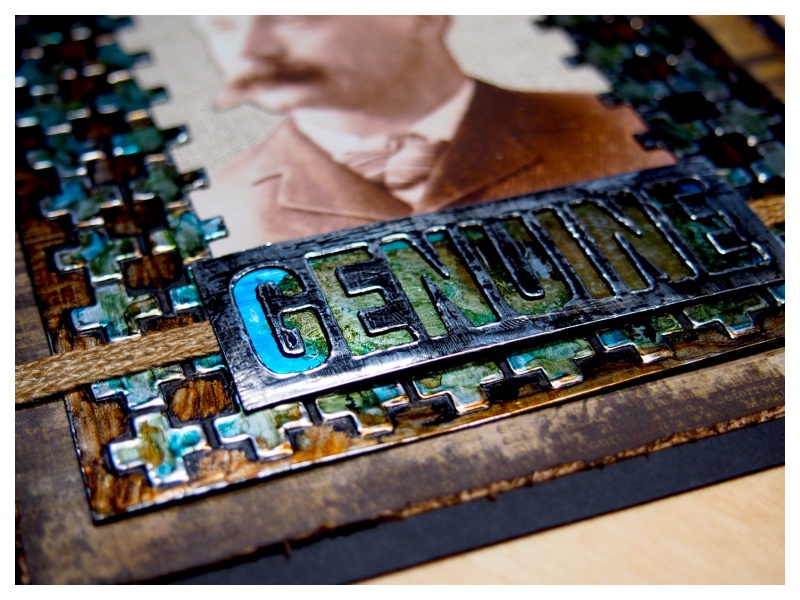
I covered manila cardstock with foil tape and embossed with the plus sign folder. I cut out the center to create a frame, fussy cutting around the plus signs. I then covered with black soot distress paint, wiped away the excess and applied alcohol inks to give an ionized metallic look, (see technique here).
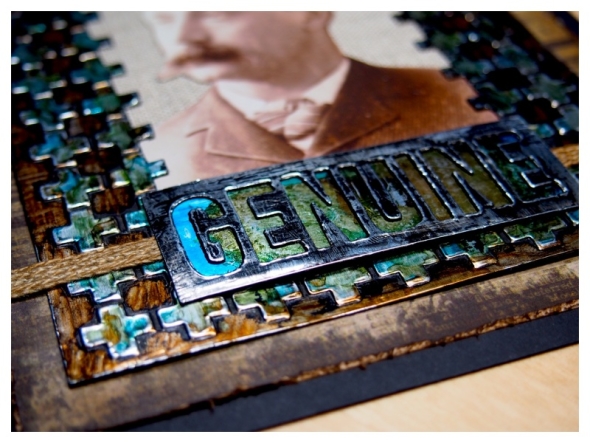
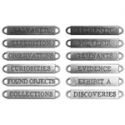
I die cut “Genuine” from the thinlits friendship word set and mounted over idea-ology linen ribbon.The frame was mounted over the new idea-ology linen. This stuff is super cool and adhesive backed which makes it so easy to use. I added a fussy cut found relatives card and mounted onto a sheet of paper from the new Dapper paper stack.

A big thank you to Paula, Mario and Tim for inviting me! I’m still convinced that I will wake up at any moment!
CHA Product previews and BTS from the show are on Tim’s blog. Many of the new products are shipping now or available for pre-order.
Category CHA 2016, Tim Holtz | Tags: | 2 Comments | Views: 607
12th February, 2016 by iGirlZoe
Hello! January disappeared in a flash and I suspect that February might go the same way! This week has been hectic getting things organised for our move next month and my rope is a bit threadbare. I definitely needed some art therapy and Tim Holtz’s 12 Tags of 2016 was just the ticket.
 I’ve worked a lot with metal and gears in the past month so I opted for a softer, more romantic feel for this tag.
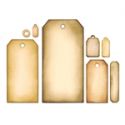
I cut distress watercolor cardstock with the framelits tag die by Tim Holtz and followed his technique from this months 12 tags of 2016. I spritzed with ground espresso distress stain marker and the distress marker spritzer tool.

I followed the second technique from Tim’s remix technique 12 tags of 2016, using a couple of different stencils and liquid plantinum embossing powder from Ranger ink.
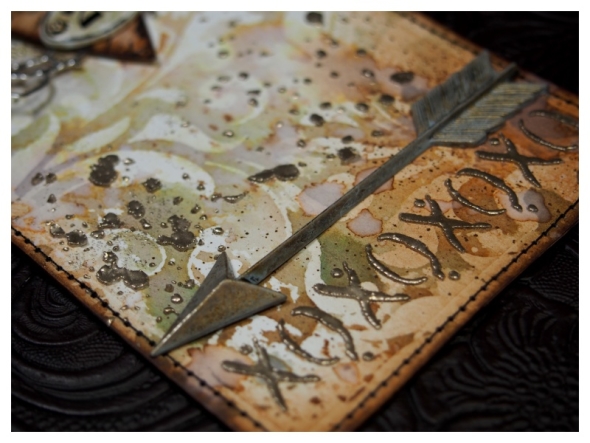
I followed a technique I saw on Paula Cheney’s blog, (check out her awesome vintage style), and covered an adorned arrow with weathered wood distress paint and gold mixative alcohol ink. Love the antiqued look, thanks for the inspiration Paula.
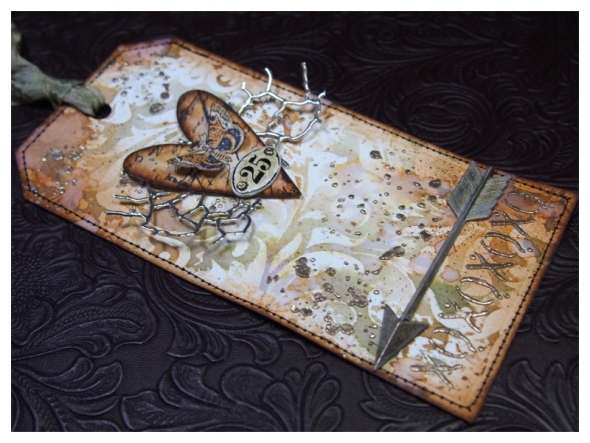
I adhered foil tape to manila cardstock and die cut with the new Tim Hotlz thinlits mixed media 3 set. I dabbed a little mushroom alcohol ink onto one of the new mini plaquettes! I love love love these!
You can see all the techniques for this months tag on Tim’s blog.
Category 12 Tags 2016, Tags, Tim Holtz, Valentines | Tags: | 19 Comments | Views: 869
3rd February, 2016 by iGirlZoe
It’s Wednesday and time for another challenge over at Frilly and Funkie Challenge Blog!
This challenge is hosted by Jenny (Pushing The Right Buttons), who has chosen the theme ENJOY YOUR EMBOSSING …Jenny says, “For this one you need to make a vintage or shabby chic project of your choice and remember to include some embossing. Use your favourite embossing methods (wet, dry, heat, or any other techniques you want to share) – just enjoy your embossing!”
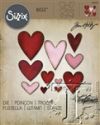
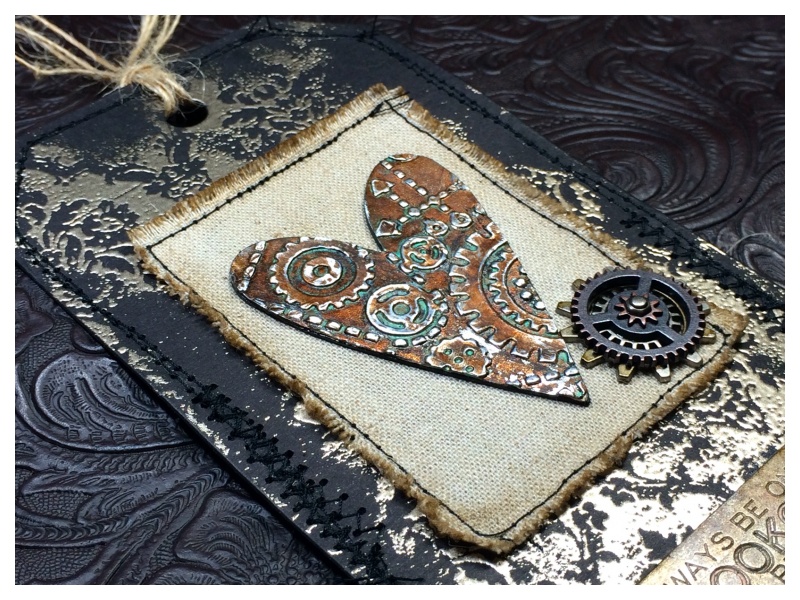
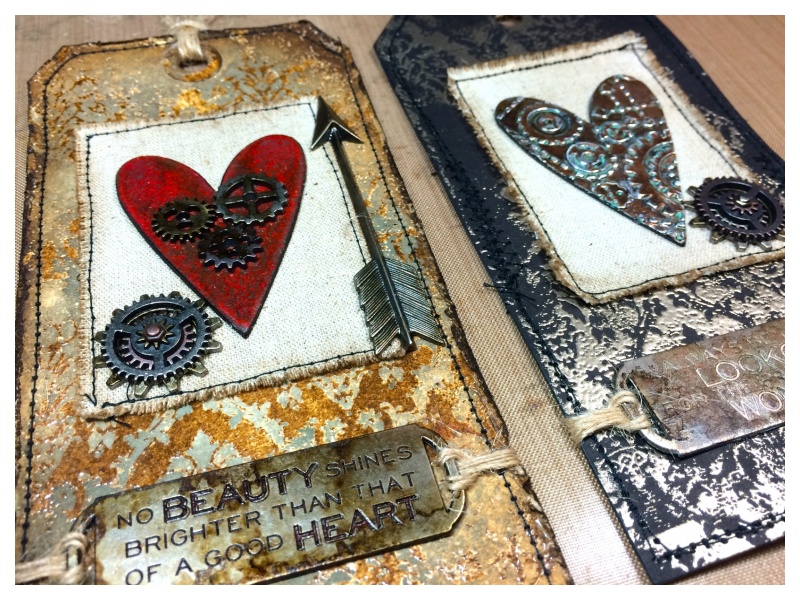
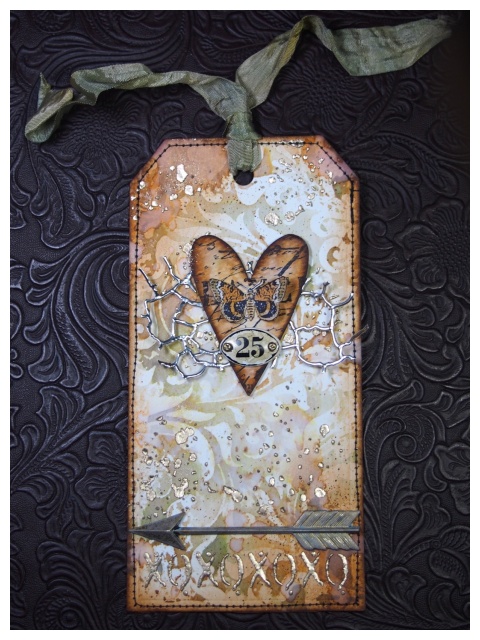
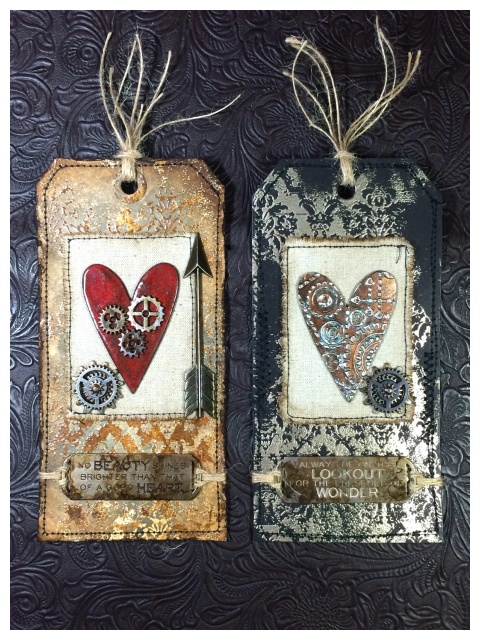 I created 2 tags using both heat and dry embossing. I cut hearts with the Sizzix heartfelt bigz die by Tim Holtz. The tag backgrounds were created by cutting manila and kraft surface with the framleits tag die and lightly tapping a Tim Holtz background stamp and covering with embossing powder. I used clear powder over potting soil archival ink by Wendy Vecchi on the manila tag and silver embossing powder over distress embossing ink on the black kraft surface. I stitched the edges of both tags and attached a wordband that had been alcohol inked, with twine.

To create this heart, I used the faux graniteware starter kit and archival inks by Wendy Vecchi. I added Tim Holtz idea-ology gears with alcohol ink applied to give an aged look. This was mounted onto the new idea-ology adhesive backed textile surface by Tim Holtz, which I stitched.

The second tag I dry embossed the foil covered heart with Tim Holtz Gears texture fades folder. I used the technique demonstrated in last months 12 tags of 2016 and added cracked pistachio distress paint and alcohol inks to create a faux patina. This was again mounted onto the new idea-ology adhesive backed textile surface by Tim Holtz, which I lightly inked and stitched.

Thanks for stopping by. I hope you will find time to join in the challenge and pop over to Frilly and Funkie challenge blog to see the rest of the DT’s projects. All the products I used are available from The Funkie Junkie Boutique.
Category DT, Frilly & Funkie, Tags, Tim Holtz | Tags: | 19 Comments | Views: 748
31st January, 2016 by iGirlZoe
12 Tags of 2016 is back and this time Tim Holtz is master mixing it up with a remix of techniques! I’m squeezing my second tag in just under the wire.
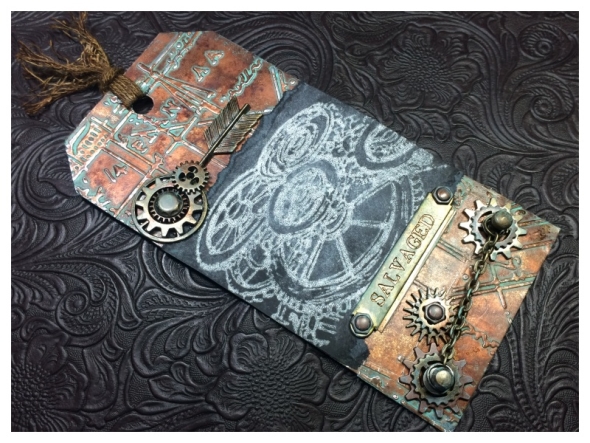
I started the background last weekend, but had a really busy week organizing things for our relocation so only got back to it tonight.
I followed Tim’s techniques which you can see on his blog, using cracked pistachio distress paint instead of black soot. I then ponced alcohol inks over the foil.
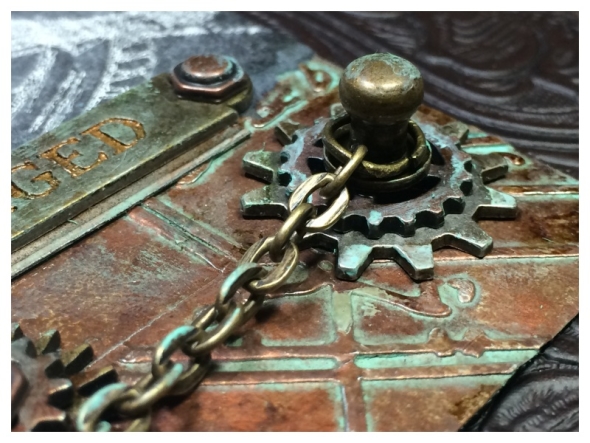
I rubbed a little cracked pistachio distress paint over the top of the metal findings with my finger to give a faux patina effect.

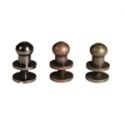
Finally I attached lots of gadget gears and a word band which I altered with alcohol inks and attached using the new idea-ology nail heads. LOVE THEM!
You can see all the techniques for this month’s tag on Tim’s blog.
Category 12 Tags 2016, Tags, Tim Holtz | Tags: | 4 Comments | Views: 519
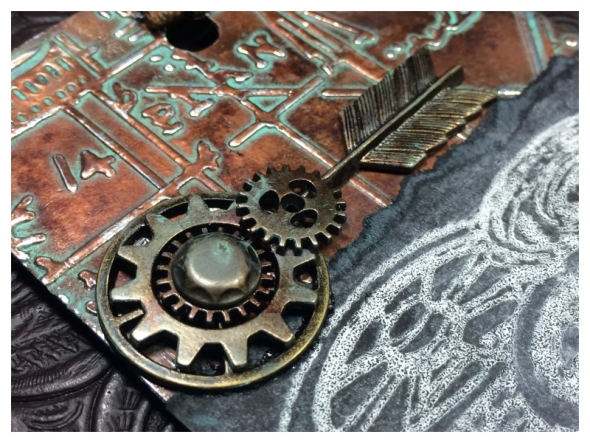
28th January, 2016 by iGirlZoe
12 Tags of 2016 is here as Tim Holtz brings us another year of challenges! This time he’s master mixing it up with a remix of techniques! I love these challenges. I love to see where the technique or products take me and I love to see where it takes others who play along. It’s like a big craft party each month!
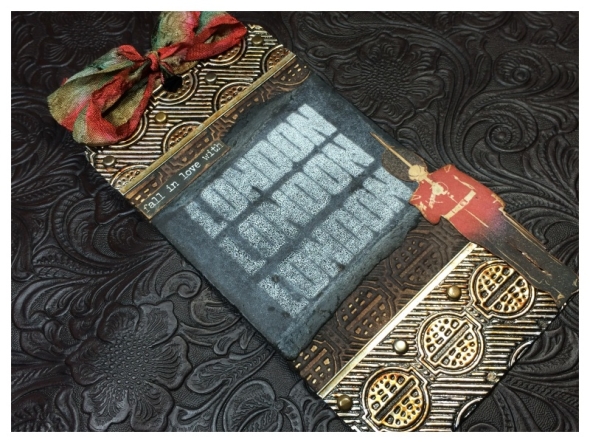
I’m moving to Denmark in a couple of months and my mood is pretty grey. Because of this I couldn’t get excited about silver, black and white. This tag needed warm colours for me and so it was alcohol ink to the rescue. And this is exactly why I love these challenges, you literally have no idea where you are going to end up, well at least I don’t. It’s like Narnia!

With travel on the mind at the moment, I opted for the globes texture fades folder, it’s one of my current favourites.
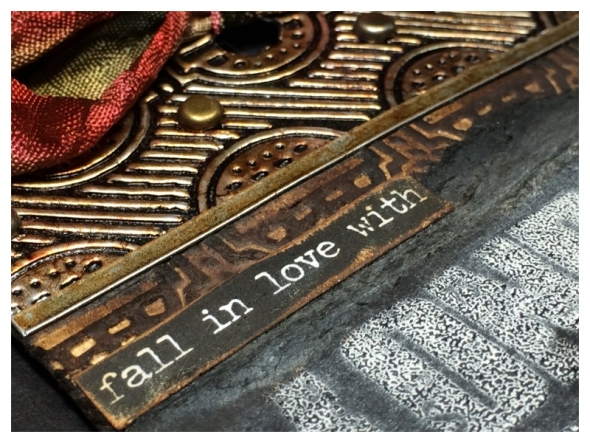
I have been thinking a lot about home too, so I used the Paris to London stamp set by Tim Holtz.

This tag really was the truest form of “art therapy” for me. I’m hoping that the Scandanavians are a creative bunch and want to get inky with me. With the gorgeous array of chunky knitwear and Denmark being the home of design, the odds are in my favour, right?! I CAN DO THIS!
Thanks for stopping by. You can see all the techniques for this month’s tag on Tim’s blog. I’ll be back tomorrow with a second tag!
Category 12 Tags 2016, Tags, Tim Holtz | Tags: | 7 Comments | Views: 467
22nd January, 2016 by iGirlZoe
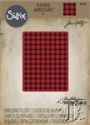
Today I have the pleasure of hosting the Friday Focus at the Frilly and Funkie Blog! We’re featuring Texture Fades Embossing Folders and for the next two weeks The Funkie Junkie Boutique are giving an extra 15% discount off Texture Fades! YAY!

For a closer look at this weeks Friday Focus, pop over to the Frilly and Funkie Blog.
Have a great weekend!
Category Friday Focus, Frilly & Funkie, Texture Fades, Tim Holtz | Tags: | 7 Comments | Views: 496