11th May, 2016 by iGirlZoe
It’s Wednesday and time for another challenge over at Frilly and Funkie Challenge Blog!
This challenge is hosted by Kathy (Kathy by Design), who has chosen the theme OPPOSITES ATTRACT …Kathy says, “For this challenge, the Frilly side of the team was asked to create a project in Funkie Style, and next week, the Funkie side of the team will create a Frilly style project. To play along, we’re asking you to dig deep and create any kind of project you choose, as long as it is not done in your usual style and color palette.”
 This really was a challenge for me, but I embraced it wholeheartedly, I even used PINK!!!

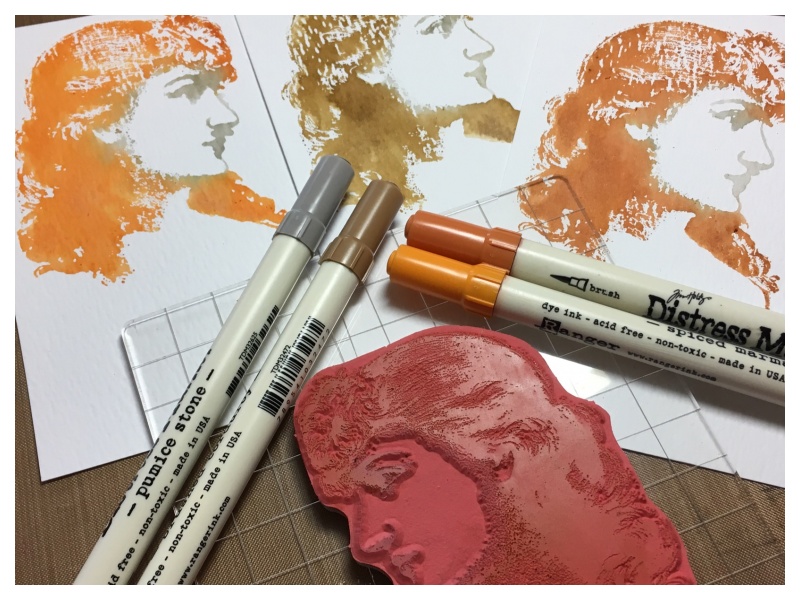
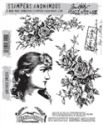
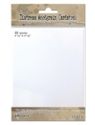
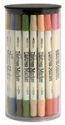
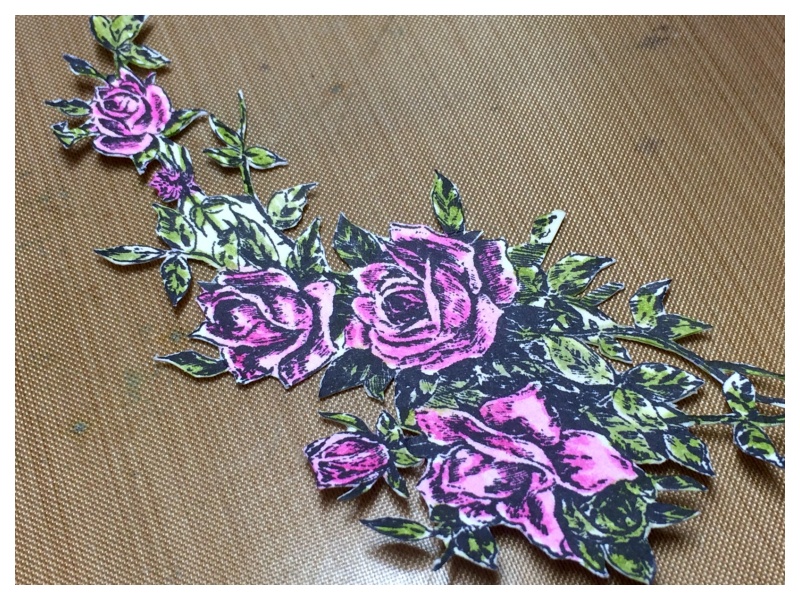
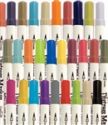
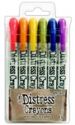
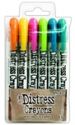
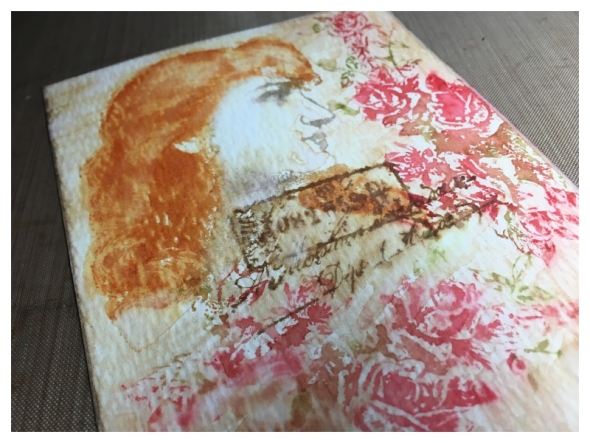
Distress markers direct to the stamp, spritzed with water and stamped onto distress watercolor cardstock.
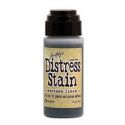
Create a watercolor wash with antique linen distress marker and water onto a craft mat and brush over with a large flat brush.

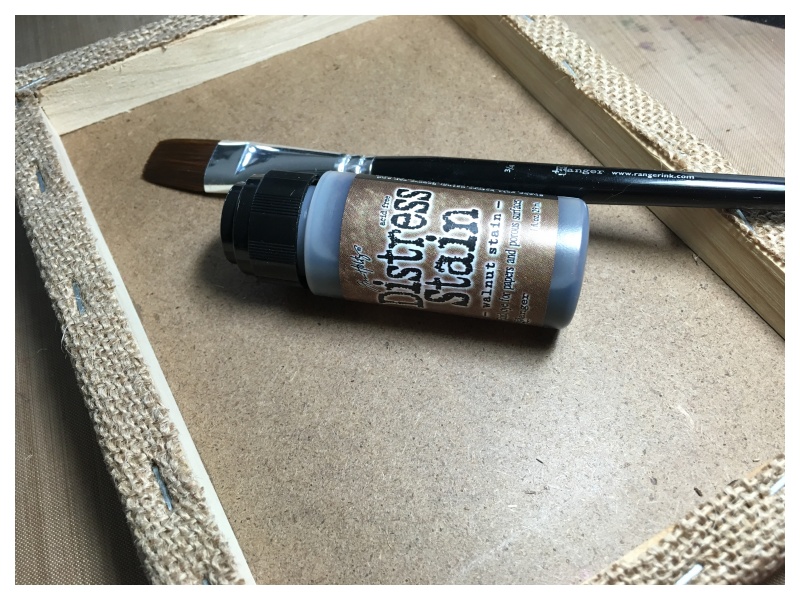
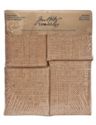
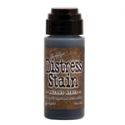
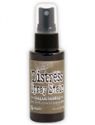
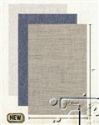
Paint the back and inside sides of an idea-ology burlap panel with walnut stain distress ink.

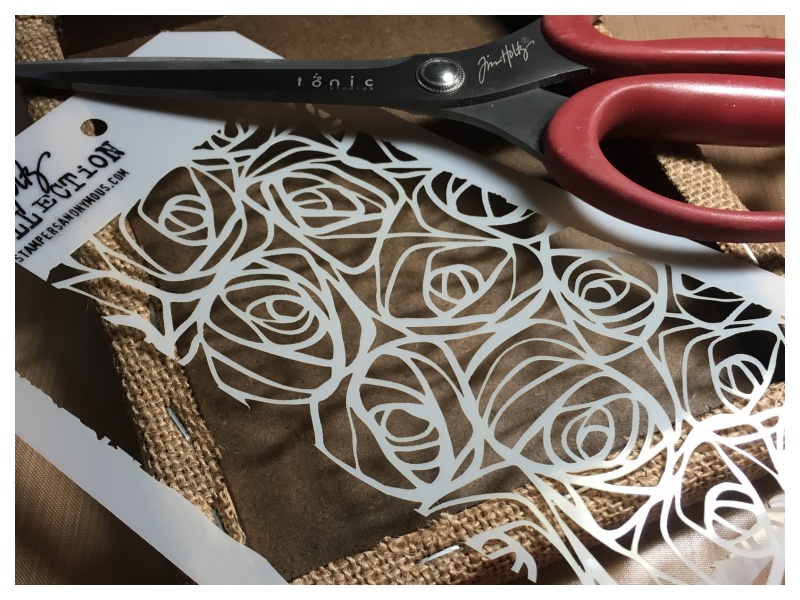
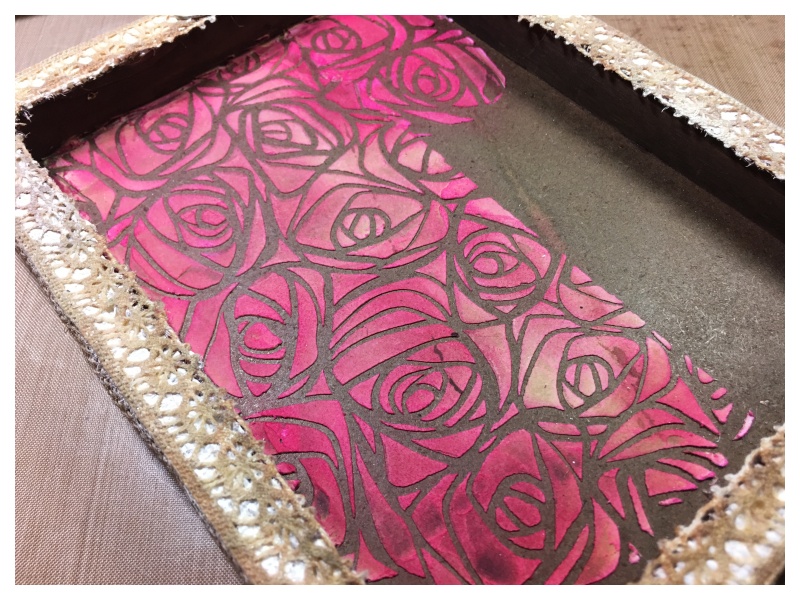
I wanted to use the rose stencil inside the burlap panel but it wouldn’t fit, so I did the unthinkable and cut the borders off! Paula Cheney made me do it! She cuts her rubber stamps!!! I’m not quite there yet, but this was a brave move for me! 😉

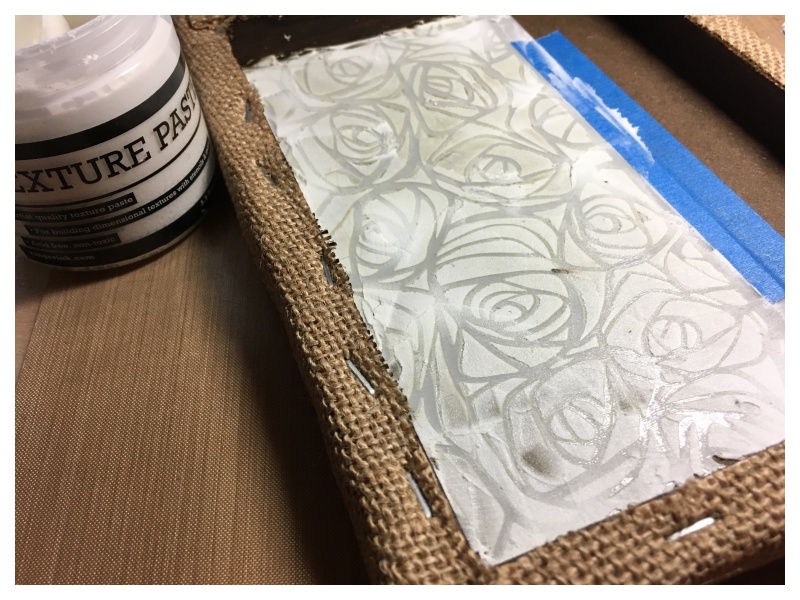
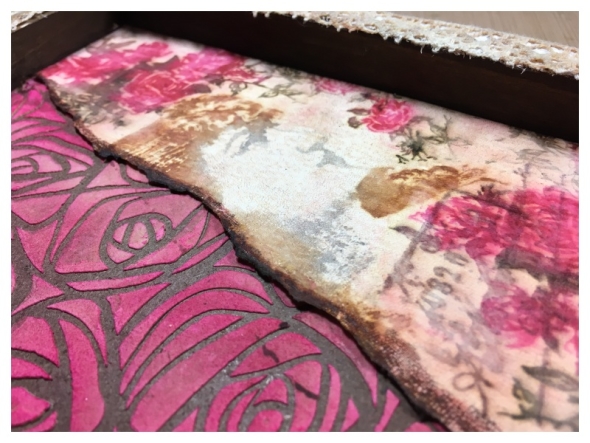
Tape the stencil into place and spread texture paste through with a palette knife.

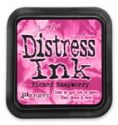
Once completely dry, blend picked raspberry distress ink over the top with a blending tool.

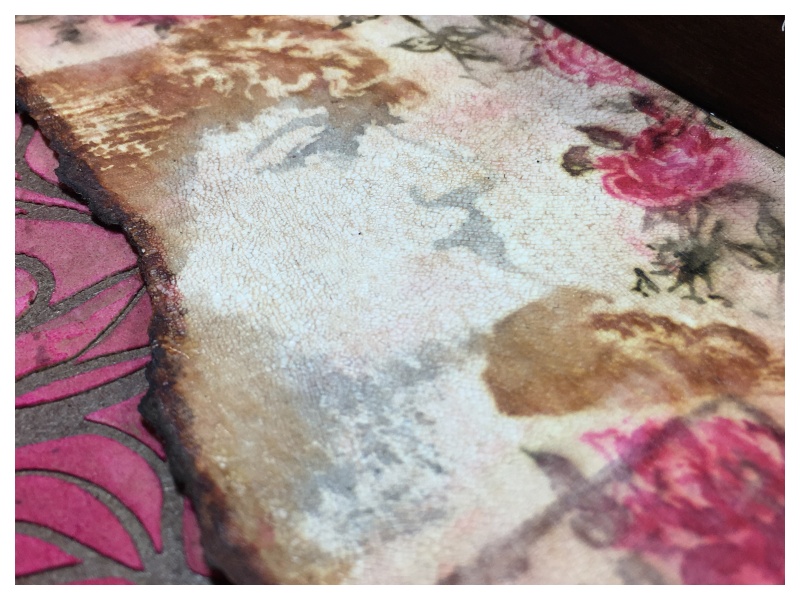
Cover the watercolor distress card with a layer crazing medium, working quickly and not over brushing so as not to smudge the distress marker underneath. I LOVE this crazing effect!
Mount the watercolor distress card into the burlap panel with matte multi medium.
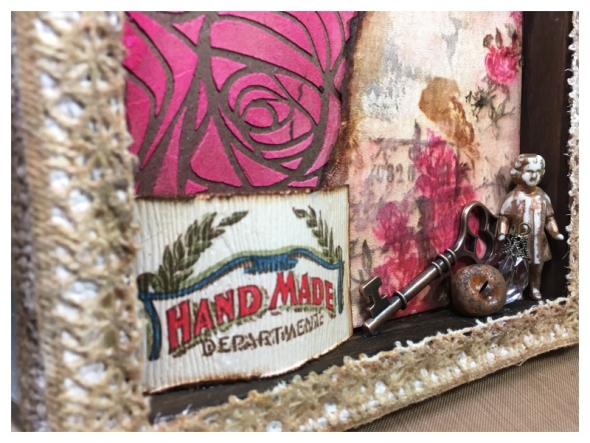
I added some idea-ology and trinkets to the bottom of the burlap panel and secured with a dab of glossy accents and stamped “handmade” onto woodgrain cardstock and coloured with distress markers.
Thanks for stopping by. I hope you will find time to join in the challenge and pop over to Frilly and Funkie challenge blog to see the rest of the DT’s projects. All the products I used are available from The Funkie Junkie Boutique.

Category DT, Frilly & Funkie, Tim Holtz | Tags: | 8 Comments | Views: 354
29th April, 2016 by iGirlZoe
I really do love the techniques used in this month’s 12 tags of 2016 by mix master Tim Holtz! So much so, that I had a third go at making something using the remixed techniques.

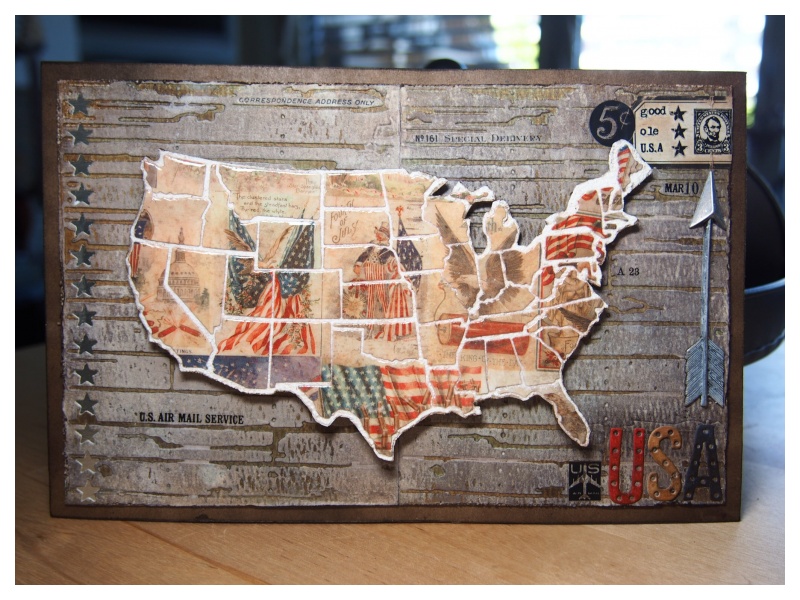
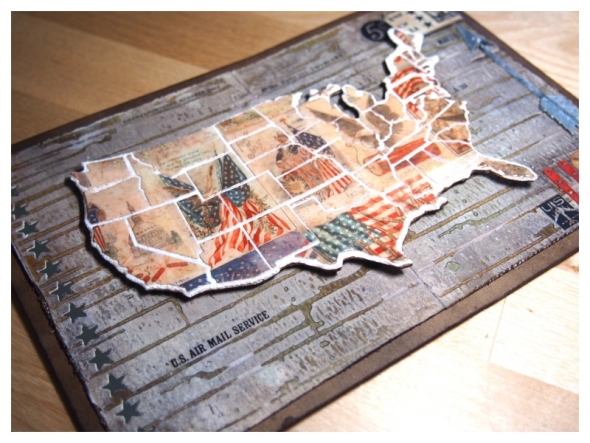
Something a friend said about the “good ole usa” inspired this post. There’s clues about this person on the project! It’s someone you’ll know! 😉

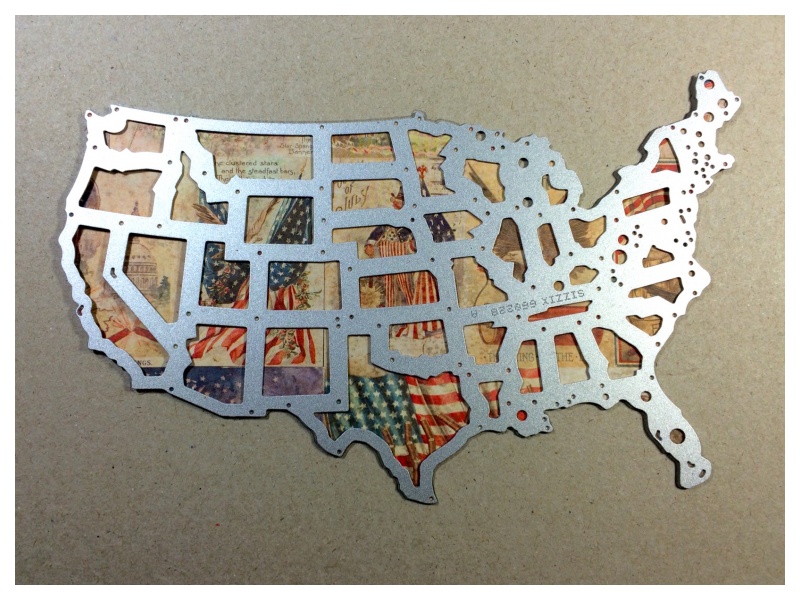
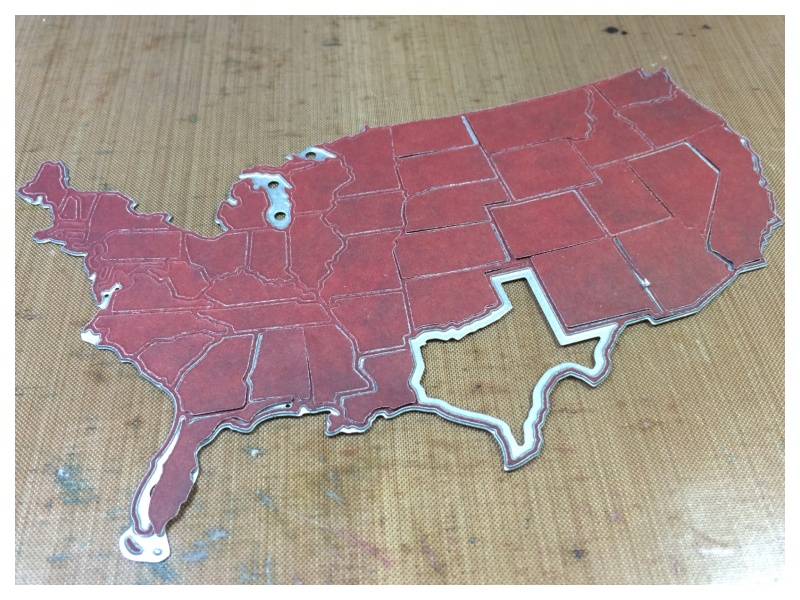
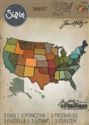
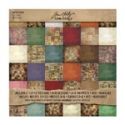
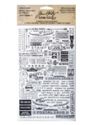
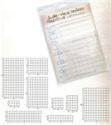
I die cut a sheet of Americana images from the seasonal paper stash with the United States thinlits die.

When you have run your die through the die cutter, keep the cutting plates together and flip over and slide the die off the plate. The individual states remain in the die which will make it easier later.
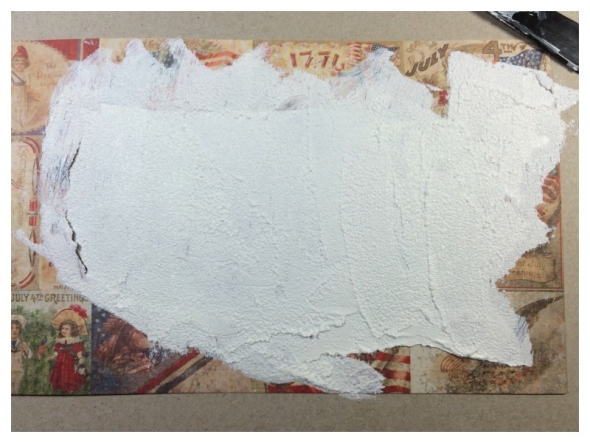
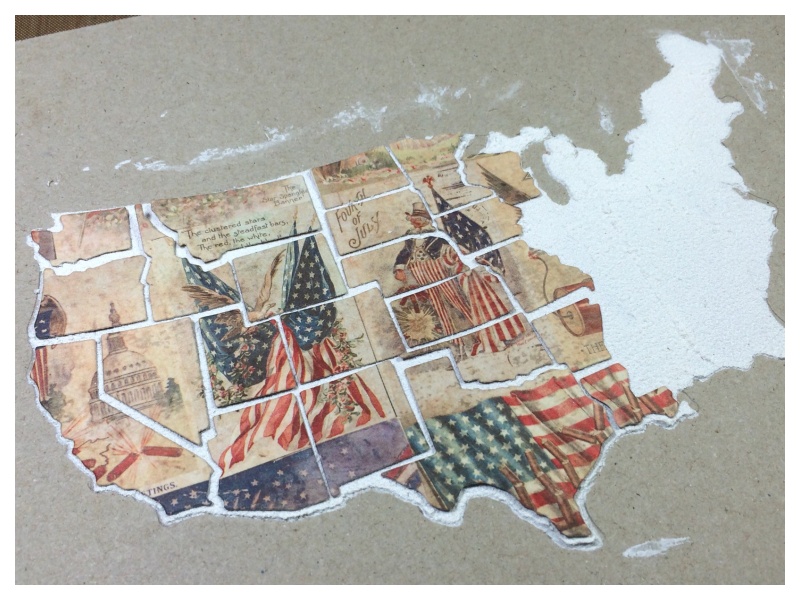
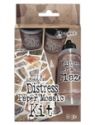
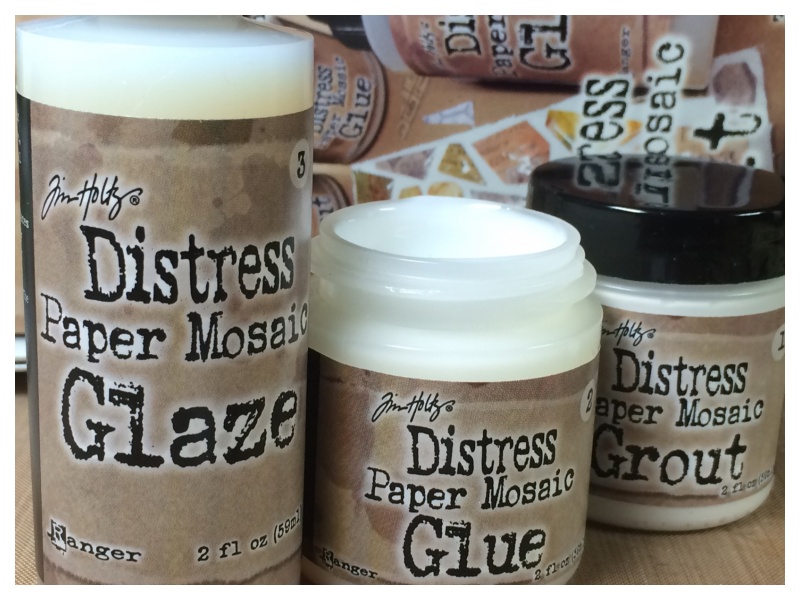
I used the leftover paper which I die cut the USA from, as a stencil. Spread the grout from the mosaic kit through with a palette knife onto chipboard.
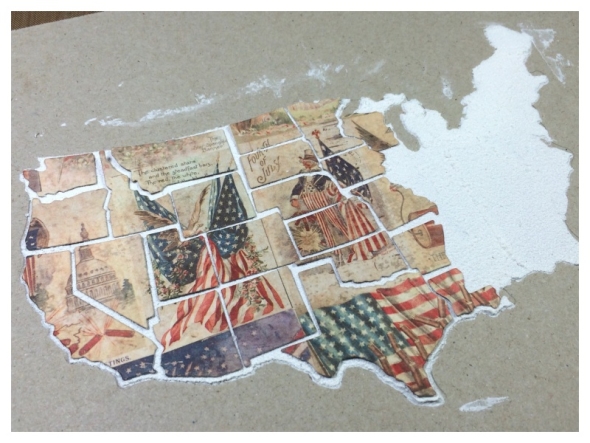
I carefully placed each state onto the dried grout using the distress mosaic kit. I worked in sections leaving small gaps between each piece. Once completely dry, I fussy cut around the USA map and put 3D foam on the back ready to mount onto my background.
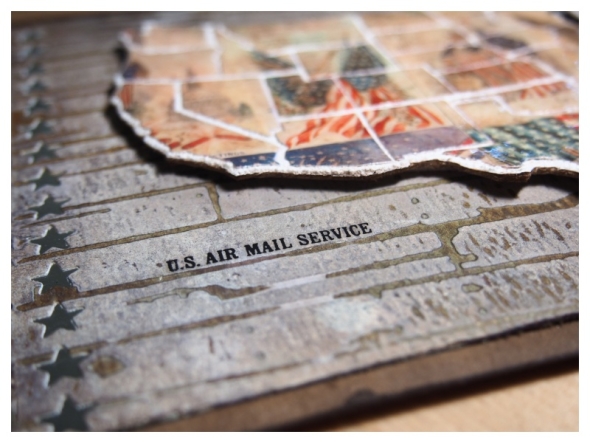
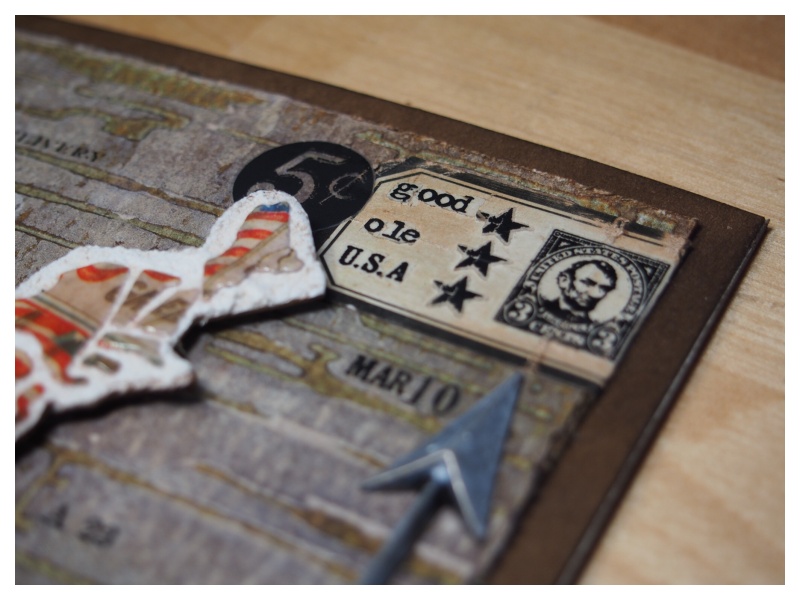
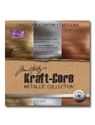
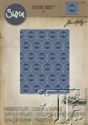
I embossed two pieces of distress watercolor cardstock with one of Tim Holtz’s texture fades folders and taped together at the back. I followed the techniques on Tim’s blog as with the woodgrain cardstock. I die cut shape strip stars into the side and under-mounted metallic kraft core. I mounted onto chipboard backed kraft cardstock and covered in walnut stain distress stain.
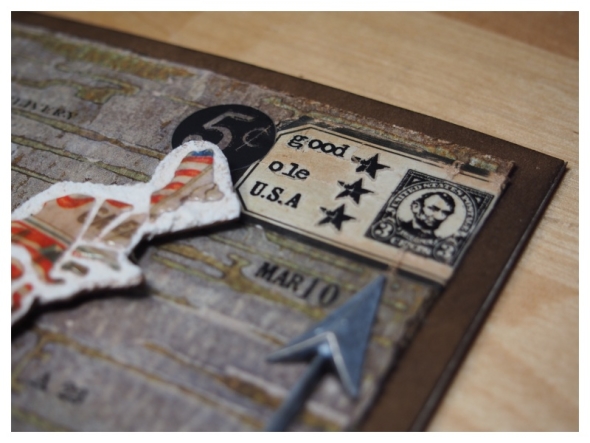
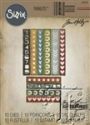
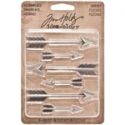
I added a vial label, remnant rubs and an adornment arrow covered in picket fence distress paint.
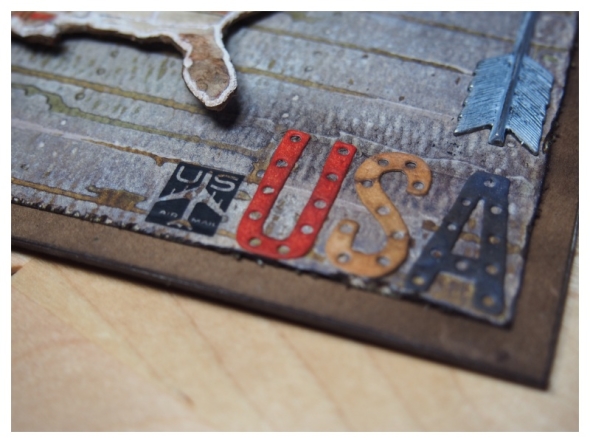
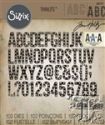
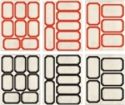
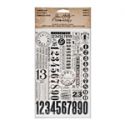
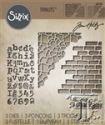
Finally, I added “USA” which I die cut from the new alphanumeric marquee die set from distress watercolor cardstock and covered with distress inks.
Thanks for stopping by, you can see all the techniques for this months tag on Tim’s blog.
Category 12 Tags 2016, Tags, Tim Holtz | Tags: | 28 Comments | Views: 6,008
28th April, 2016 by iGirlZoe
I really love this month’s 12 tags of 2016 by the mix master Tim Holtz! I confess that I was slightly intimidated by the mosaic kit at first, but now I am hooked!
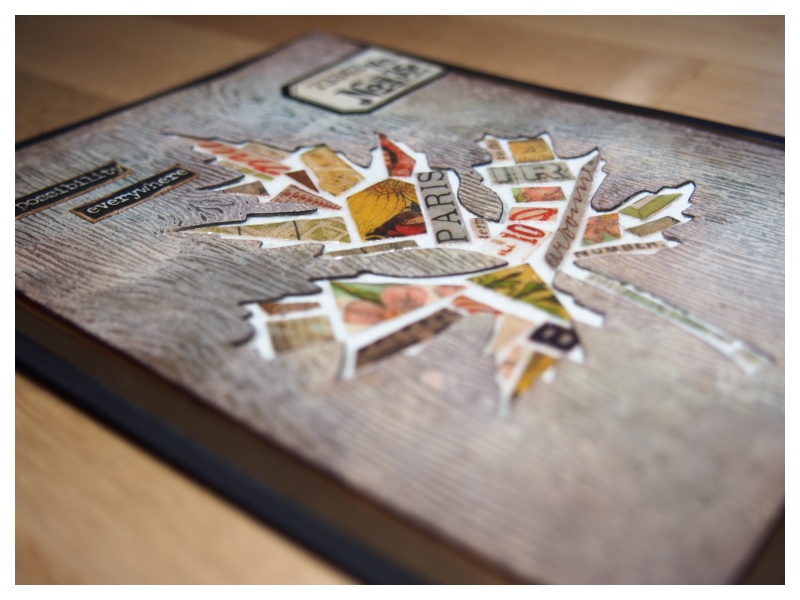
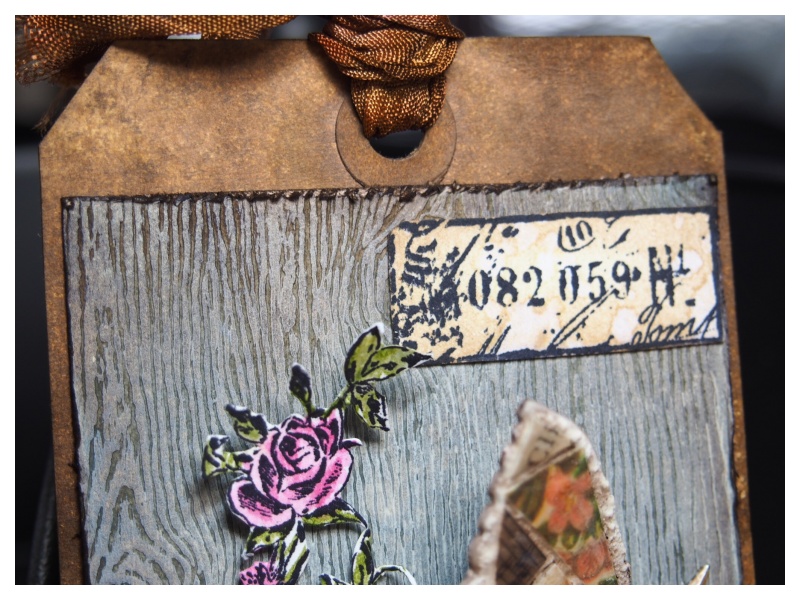
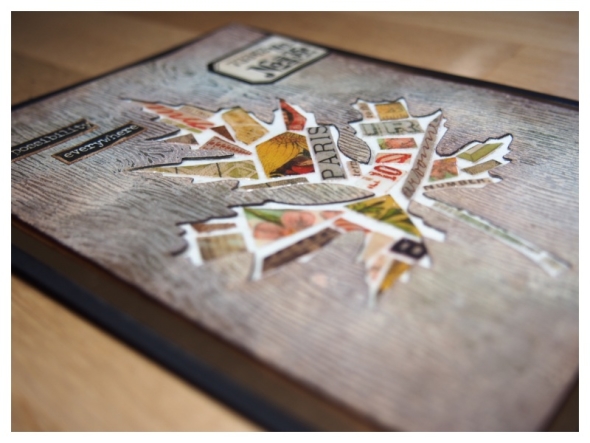
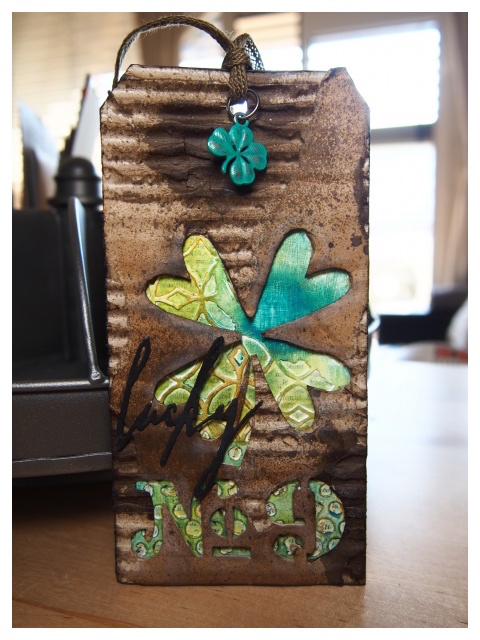
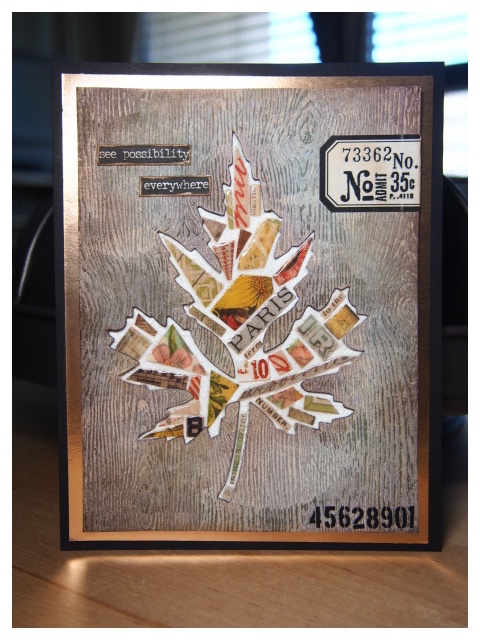 I made a tag earlier this month, but in homage to Tim’s remixing, I mixed it up slightly by die cutthing the leaf into the woodgrain cardstock, under-mounting the mosaic this time.

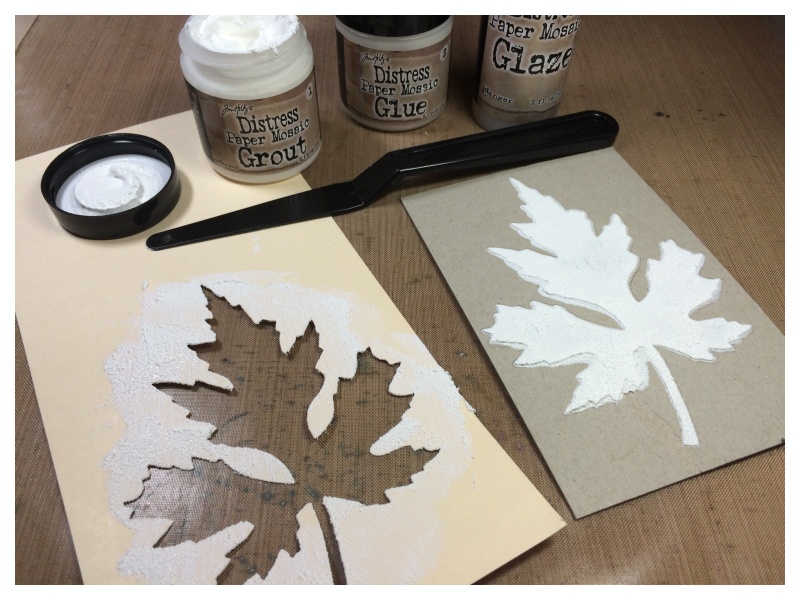
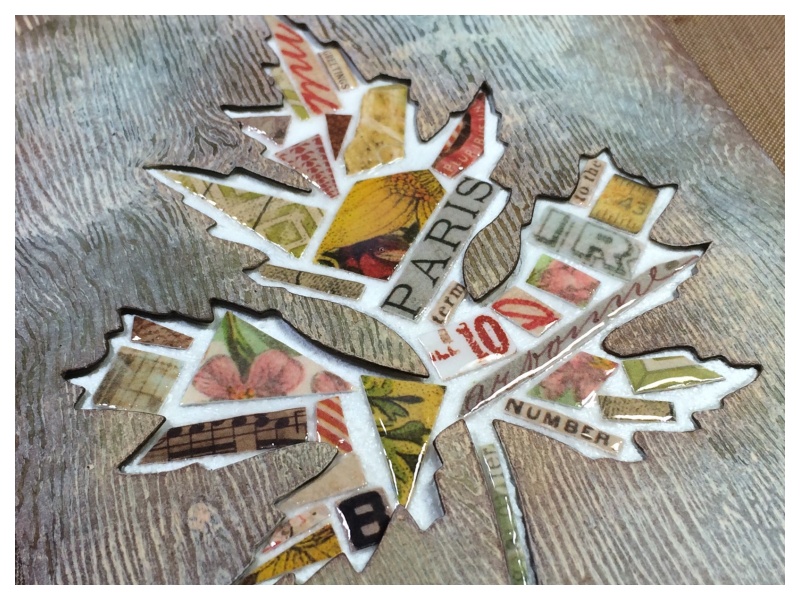
I die cut a leaf from a #10 manila tag and cut a piece of chipboard just slightly larger than the leaf. I used the manila tag like a stencil and scraped the grout from the mosaic kit through the stencil with a palette knife.

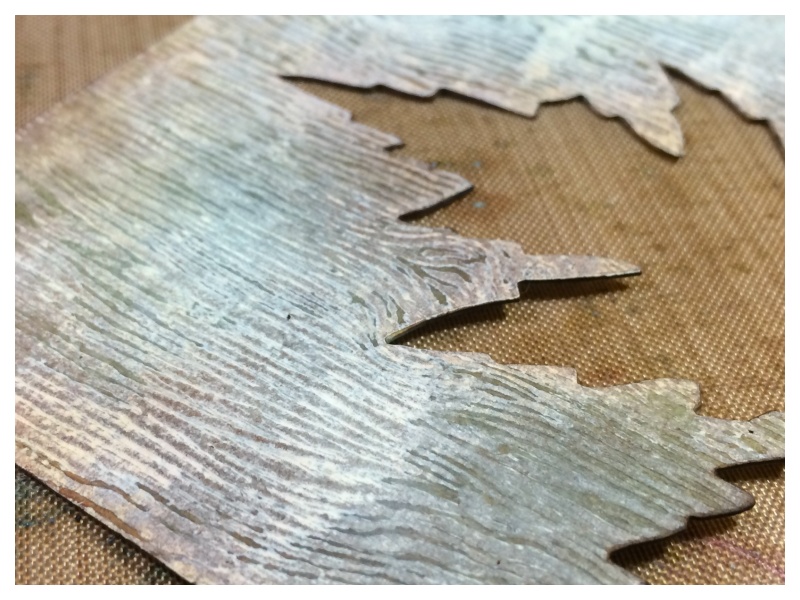
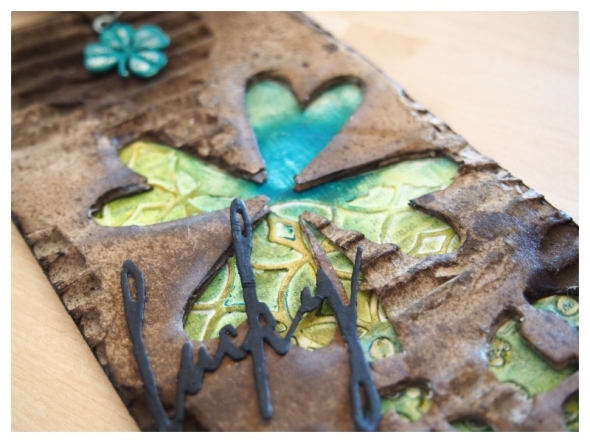
I die cut a layered leaf into the woodgrain cardstock which I altered using the technique on Tim’s blog.

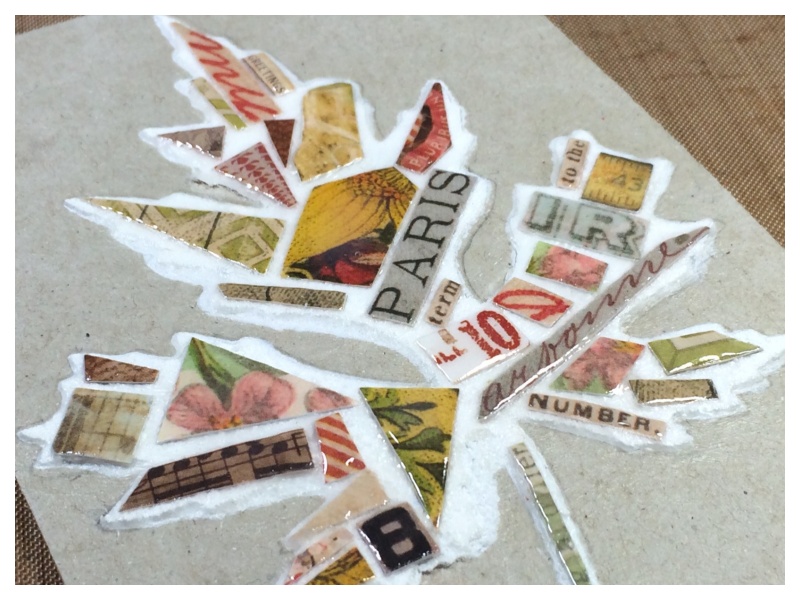
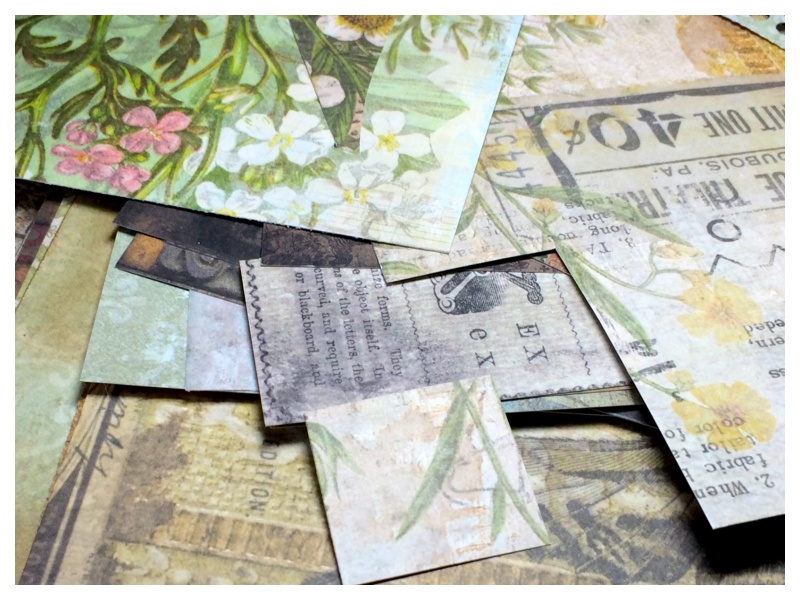
I completed the mosaic using paper scraps. It’s like doing a jigsaw puzzle. I love this bit the best!

Once dry, I adhered the woodgrain cardstock over the mosaic chipboard.

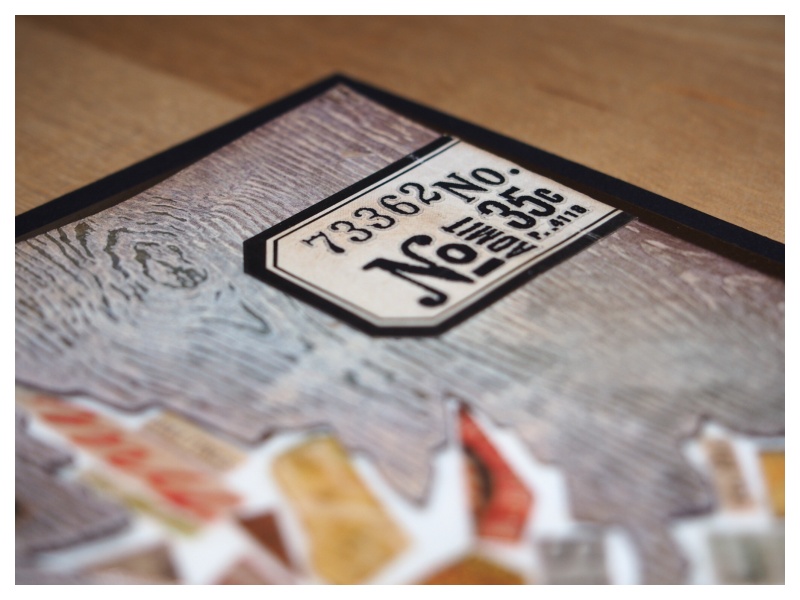
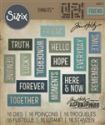
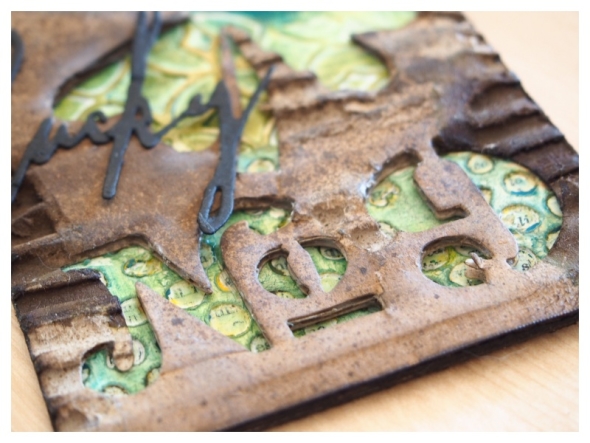
I added some small talk stickers, a vial label and remnant rubs and then double mounted onto metallic kraft core and black cardstock.
Thanks for stopping by, you can see all the techniques for this months tag on Tim’s blog.
Category 12 Tags 2016, Tim Holtz | Tags: | 3 Comments | Views: 356
27th April, 2016 by iGirlZoe
It’s Wednesday and time for another challenge over at Frilly and Funkie Challenge Blog!
This challenge is hosted by Suzz (Suzz’ Stamping Spot), who has chosen the theme IT’S NOT EASY BEING GREEN …Suzz says, “For this challenge you can create any type of project as long as you UPCYCLE or re-cycle something. Re-purpose an existing item, recycle an element that usually would be thrown away or use your paper scraps in a creative way.”

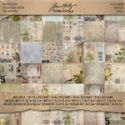
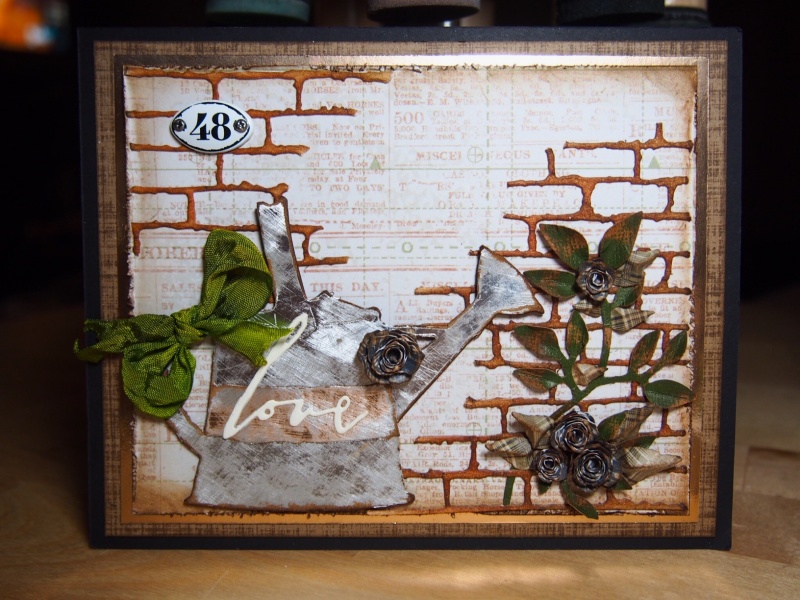
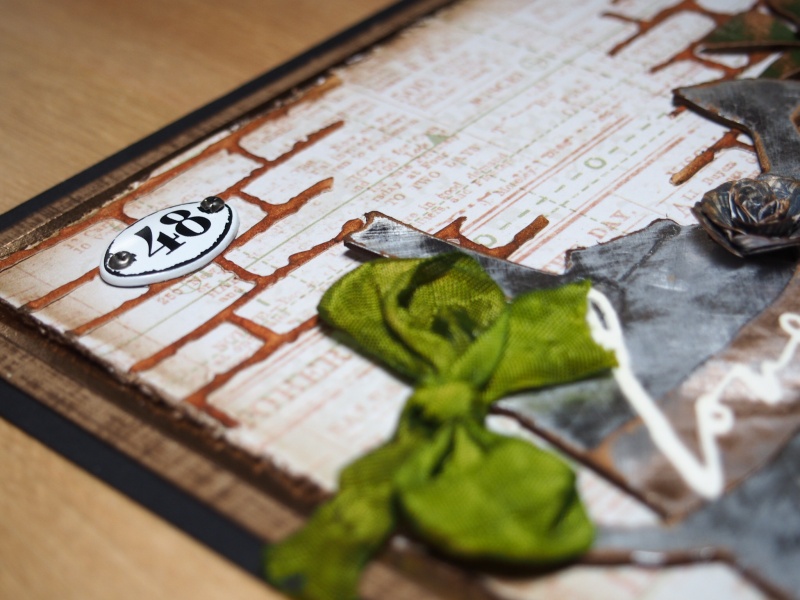
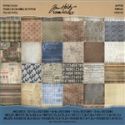
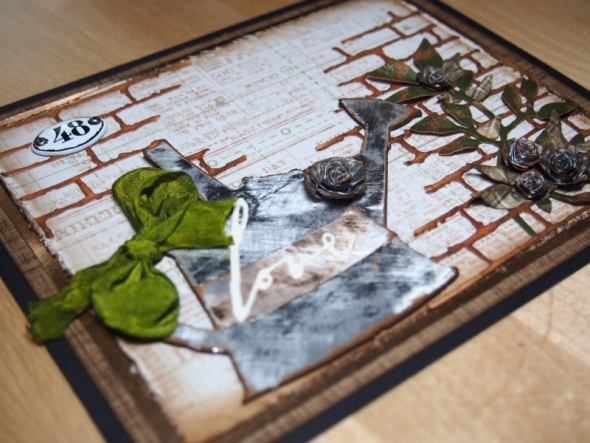
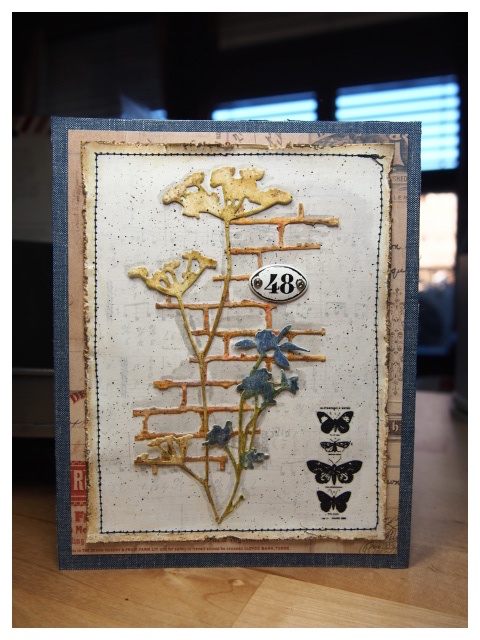
For this challenge I wanted to share a card I made for the CHA 2016 Tim Holtz booth using my paper scraps creatively, as well as showcasing the new mixed media 3 thinlits die set. I also went literal with the challenge theme, because for me, getting things to grow isn’t easy! It really is hard for me to be green (fingered)! 😉
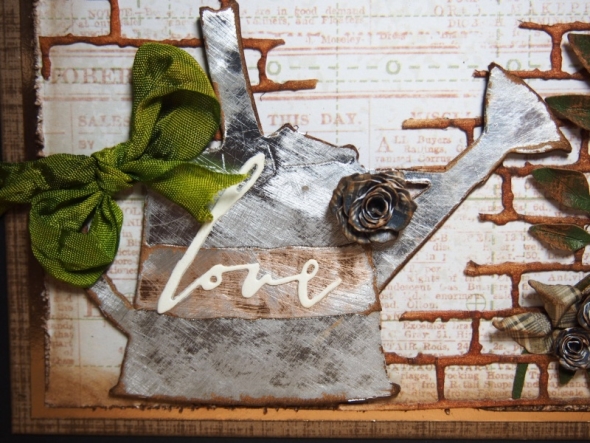
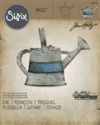
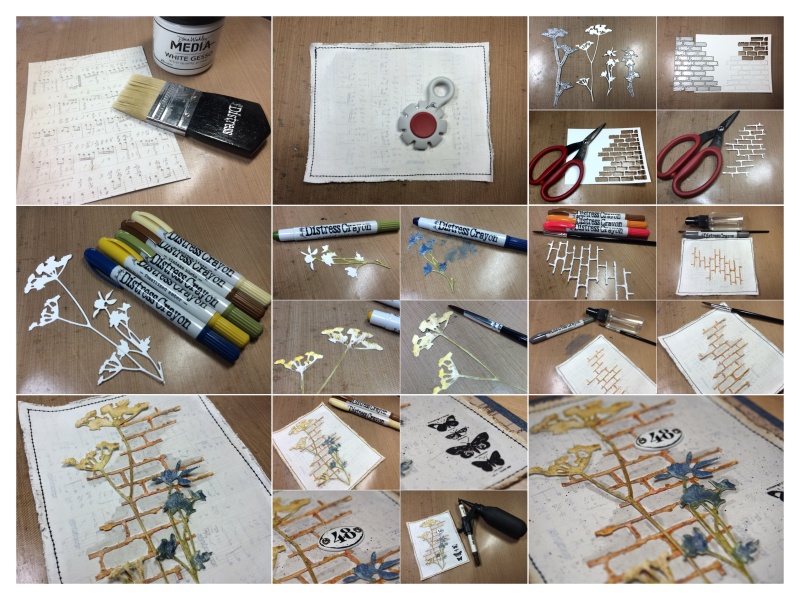
I used leftover grungeboard and metallic kraft core and die cut the watering can. Using a sanding grip I scuffed the top to give a more worn look. I added a leftover “love” die cut and ribbon from another project.
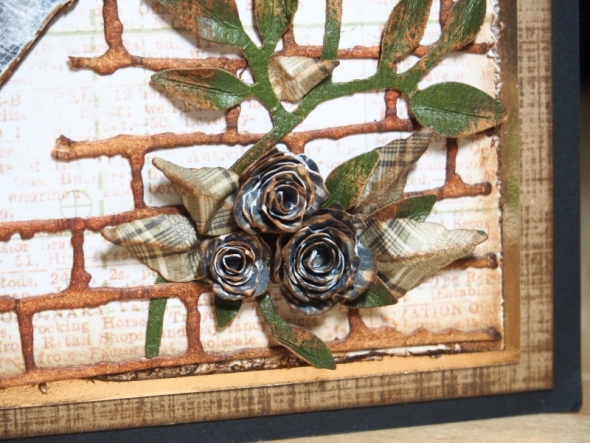
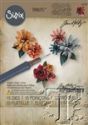
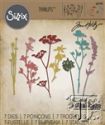
I used leftover paper from the incredible new dapper paper stash by Tim Holtz and die cut these flowers and leaves with the tiny tattered florals thinlits die set. They were mounted over the top of the brick wall outline that I die cut with the new mixed media 3 thinlits die set.

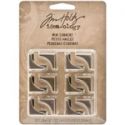
I added a new idea-ology mini plaquette. Each time I use one of these I feel compelled to buy another packet! They are just too divine not to want to stockpile and hoard!
Thanks for stopping by. I hope you will find time to join in the challenge and pop over to Frilly and Funkie challenge blog to see the rest of the DT’s projects. All the products I used are available from The Funkie Junkie Boutique.
CHA Product previews and BTS from the show are on Tim’s blog. Many of the new products are shipping now or available for pre-order.
Category CHA 2016, CHA Show, DT, Frilly & Funkie, Tim Holtz | Tags: | 8 Comments | Views: 525
18th April, 2016 by iGirlZoe
Hello! I’m delighted to share the third of the samples that I made for Tim Holtz CHA 2016 booth.
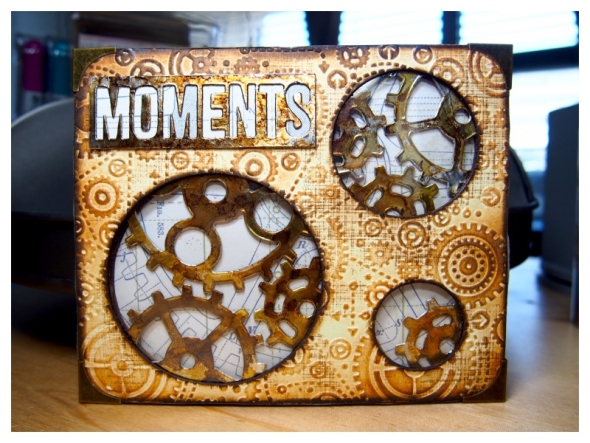
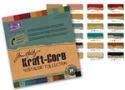
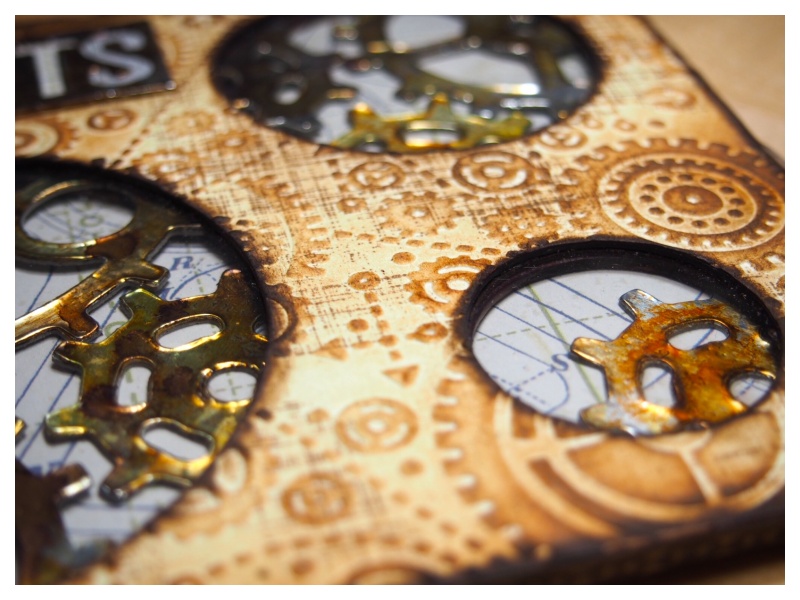
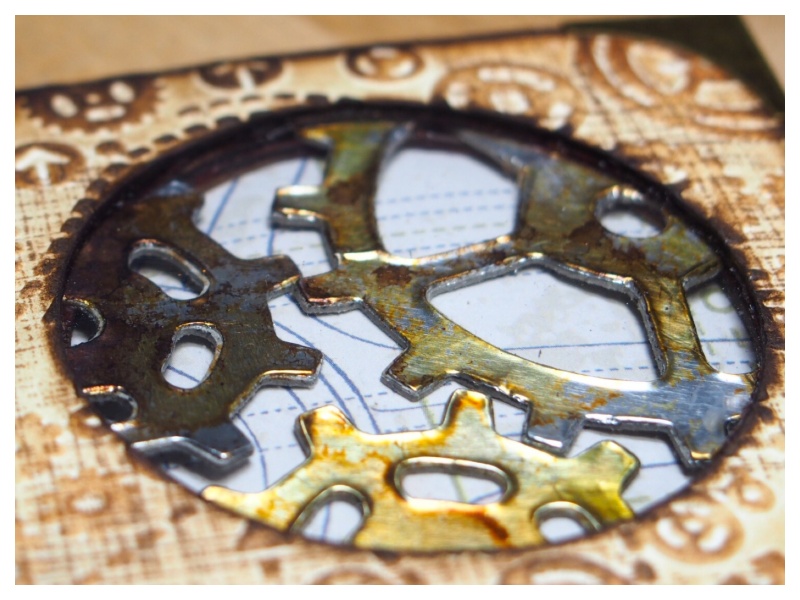
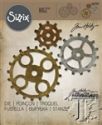
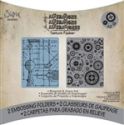
This sample was created for the Tim Holtz Alterations Sizzix booth, using the new Gadget Gears 2 Bigz die.

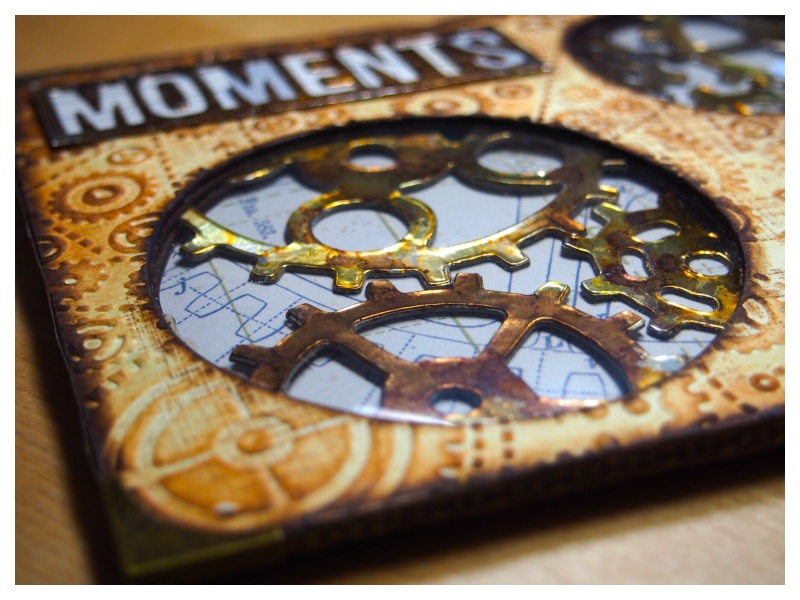
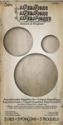
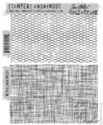
For the top layer I stamped distress watercolor cardstock with a linen background stamp and vintage photo distress ink. I die cut 3 circles with the sized circle die set, embossed with the gears texture folder and inked.
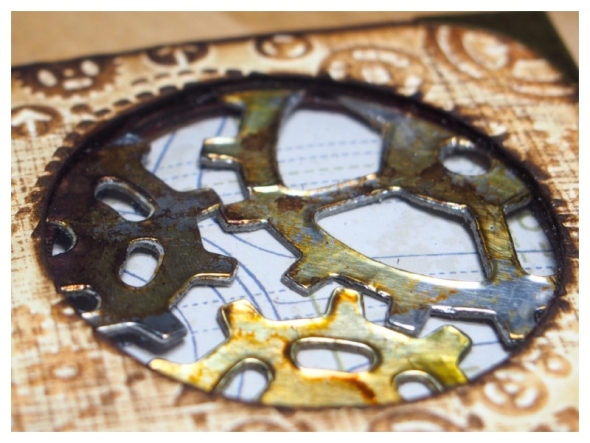
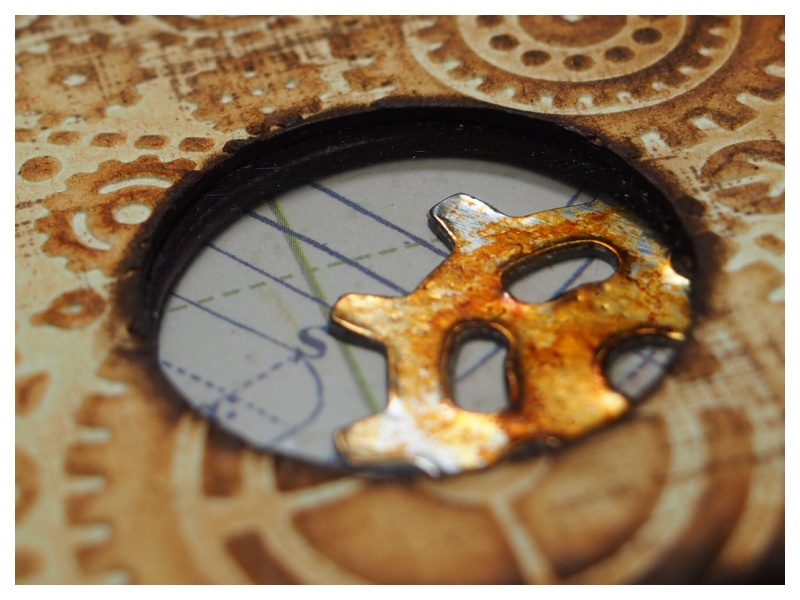
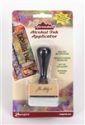
I covered grungeboard with foil tape and die cut with the gadget gears 2 die. Dabbed with alcohol inks to give an aged look.

I die cut 3 circles with the sized circle die set from several sheets of thick card and inked the edges. I adhered recycled sizzix die packaging under the 3 circles and then layered the gadget gears between the thick card layers. The bottom layer is a sheet of paper from the new dapper paper stash.

I added moments die cut from foil covered card, dabbed with alcohol ink and mounted onto a strip of paper from the dapper paper stash. The edges were covered with the new dapper tissue tape and I added idea-ology mini corners to finish.
A big thank you to Paula, Mario and Tim for inviting me to be part of this.
CHA Product previews and BTS from the show are on Tim’s blog. Many of the new products are shipping now or available for pre-order.
Category CHA 2016, CHA Show, Tim Holtz | Tags: | 6 Comments | Views: 639
13th April, 2016 by iGirlZoe
It’s Wednesday and time for another challenge over at Frilly and Funkie Challenge Blog!
This challenge is hosted by Jenny (Pushing The Right Buttons), who has chosen the theme BOY OH BOY! …Jenny says, “For this one we need you to create a vintage or shabby chic project with a man or boy in mind. Let’s see those male themed creations come to life.”
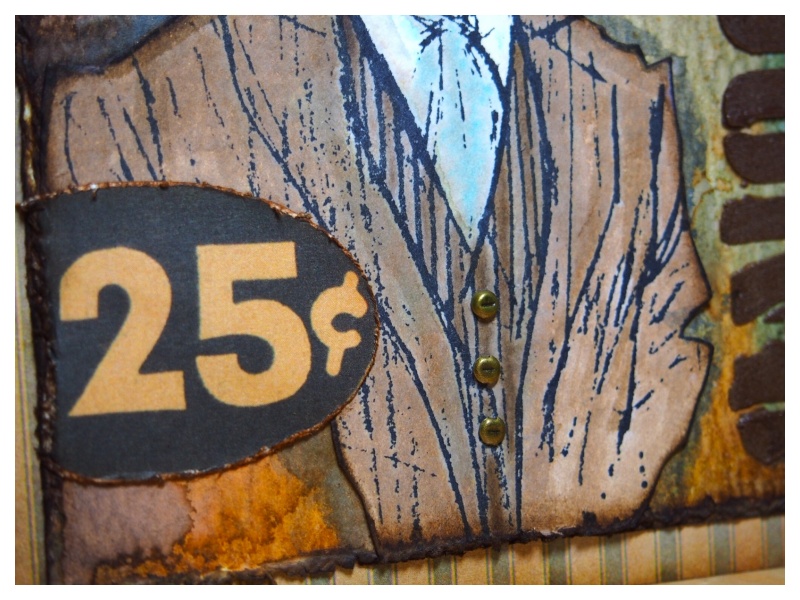
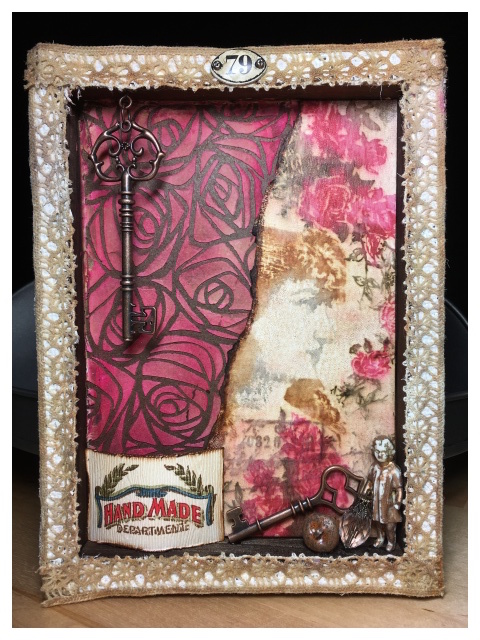
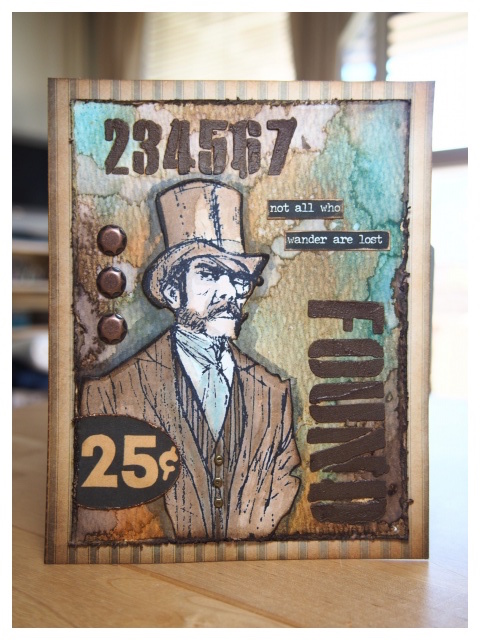 Masculine themed projects are right up my street. I went “back” to basics with some simple distress techniques and a time traveler. Here’s how…
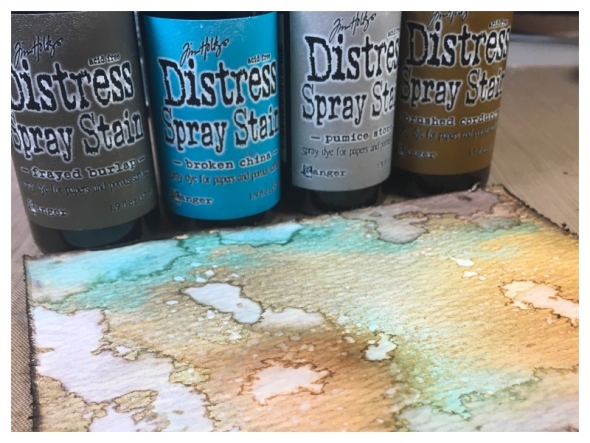
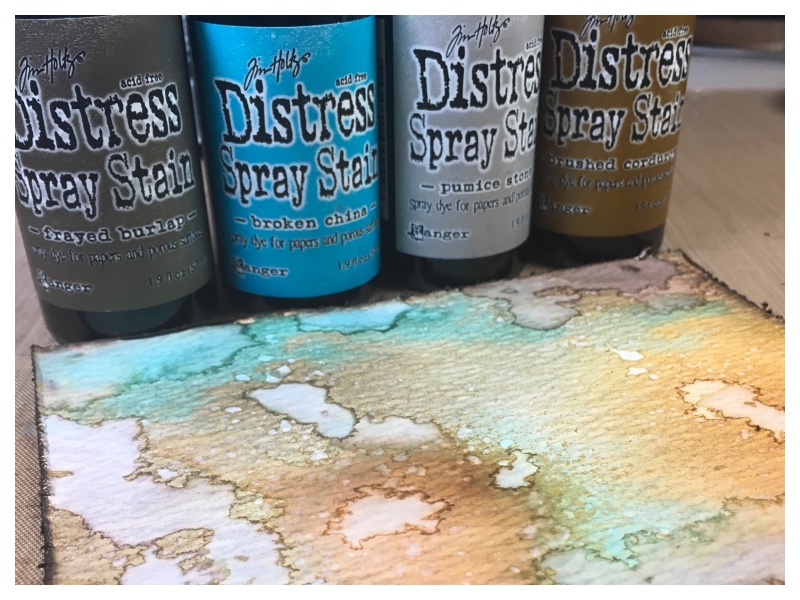
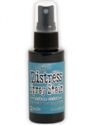
Spray distress spray stains onto distress watercolor cardstock, spritz with water and once dry distress and ink the edges.
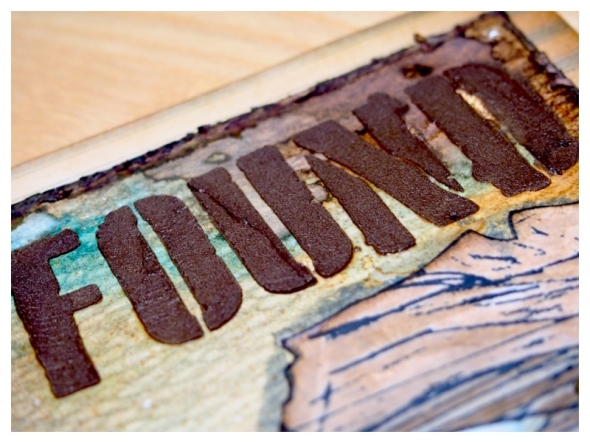
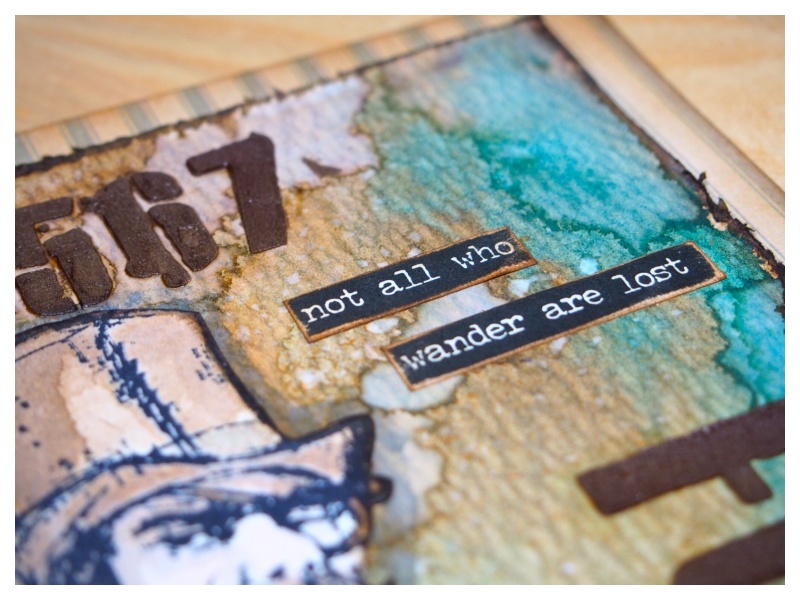
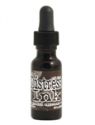
Mix ground espresso distress reinker and texture paste and spread through a stencil with a palette knife and set aside to dry.

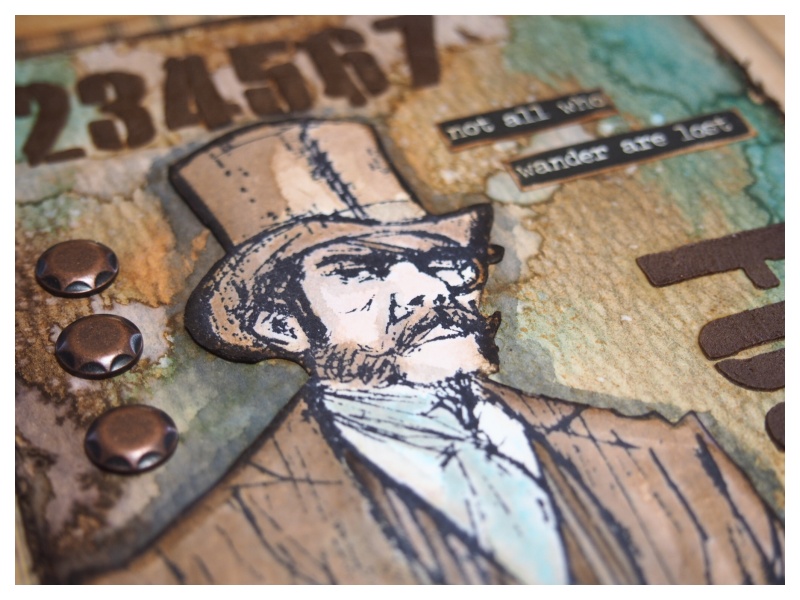
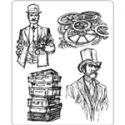
Stamp and fussy cut an image from the time traveler stamp set and watercolor with distress markers.

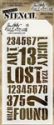
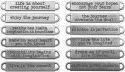
Add a sentiment from the idea-ology small talk set.
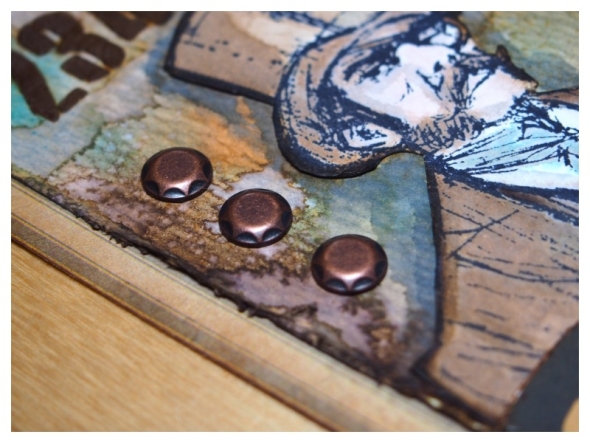
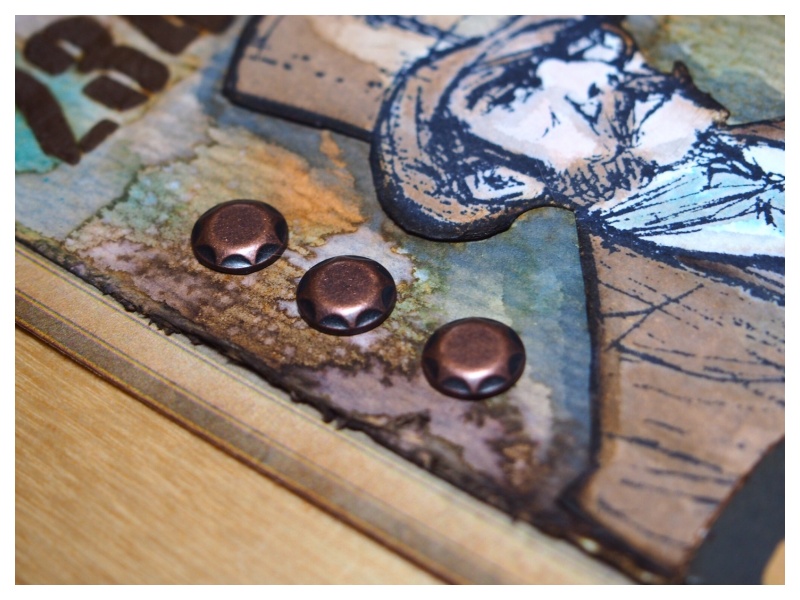
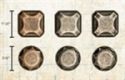
Add idea-ology nail heads with multi medium.

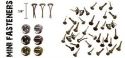
Finally add ephemera and idea-ology mini fasteners as waistcoat buttons. Mount onto paper from the dapper paper stash.
Thanks for stopping by. I hope you will find time to join in the challenge and pop over to Frilly and Funkie challenge blog to see the rest of the DT’s projects. All the products I used are available from The Funkie Junkie Boutique.
Category DT, Frilly & Funkie, Tim Holtz | Tags: | 19 Comments | Views: 527
3rd April, 2016 by iGirlZoe
Hope you’re all having a wonderful weekend. I’m sharing my version of this month’s Tim Holtz 12 tags of 2016.
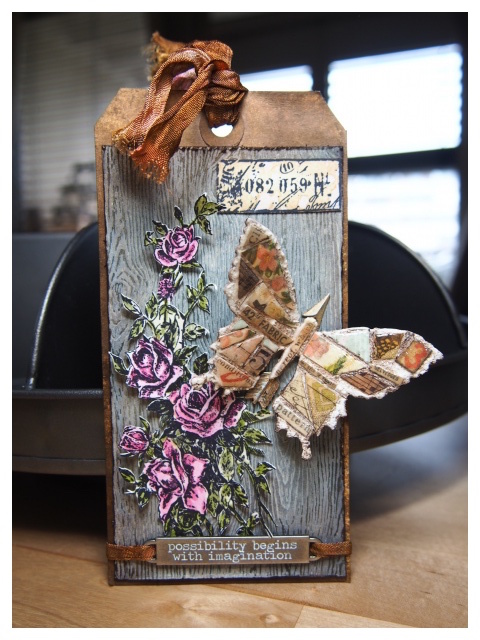

I’ve had the distress mosaic kit for a while but hadn’t taken the plunge before now because of an irrational fear of uneven shapes. I’m a Tetris wizard, but disordered shapes make me want to straighten stuff… Okay, let’s underplay the craziness. 😉

Once I got started I was cutting my paper scraps at the weirdest angles! Figuring out how to fit them together was so fun, like a disordered jigsaw puzzle.
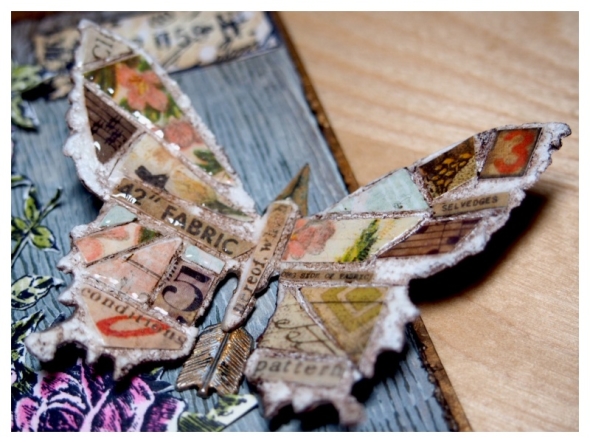
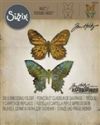
I removed most of the distress ink from the butterfly as I LOVE the exposed grout. Who knew white could be so grungy?! I’m hooked!

The technique that Tim uses on the new woodgrain cardstock is AH-MAZING! It’s SO simple and SO effective. See the technique here…
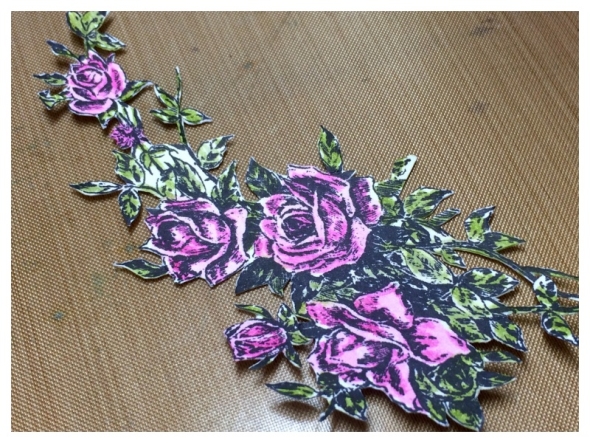
I used the new lady rose stamp set! I stamped, fussy cut and watercoloured with distress markers.

Thanks for stopping by, you can see all the techniques for this months tag on Tim’s blog.
Category 12 Tags 2016, Tags, Tim Holtz | Tags: | 21 Comments | Views: 974
30th March, 2016 by iGirlZoe
It’s Wednesday and time for another challenge over at Frilly and Funkie Challenge Blog!
This challenge is hosted by Cec (CW Card Creations), who has chosen the theme
HIP TO BE SQUARE! …Cec says, “Let’s go retro and make a project influenced by the brighter colours and/or images and patterns of the hippie era of the late 1960’s/early 1970’s. Your project must either be square or include at least one square element.”
I was born in the mid 70’s so don’t remember much about the 60’s and 70’s first hand. Looking back through childhood photographs, there seemed to be a LOT of orange!
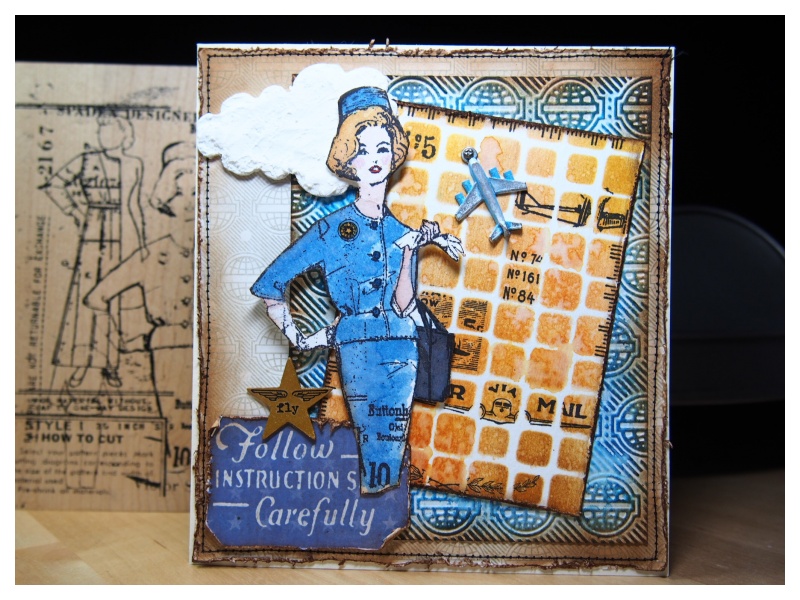
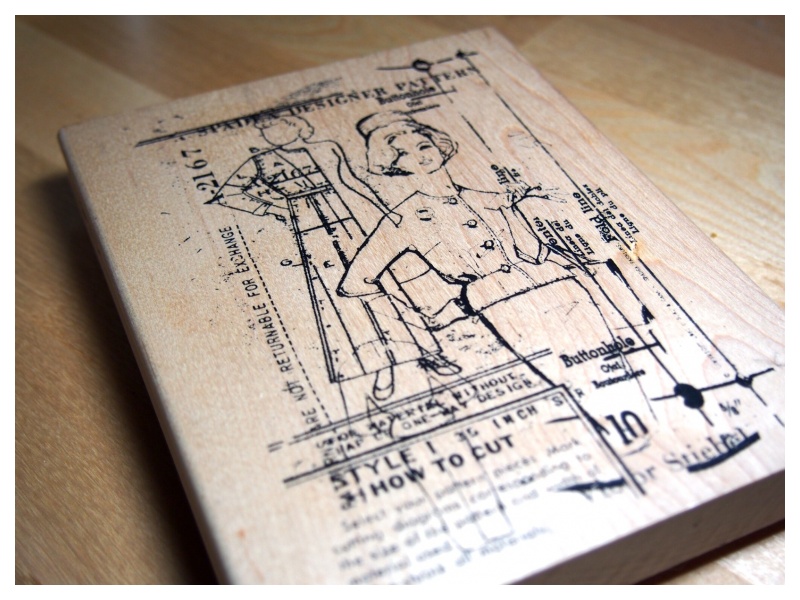
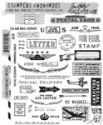
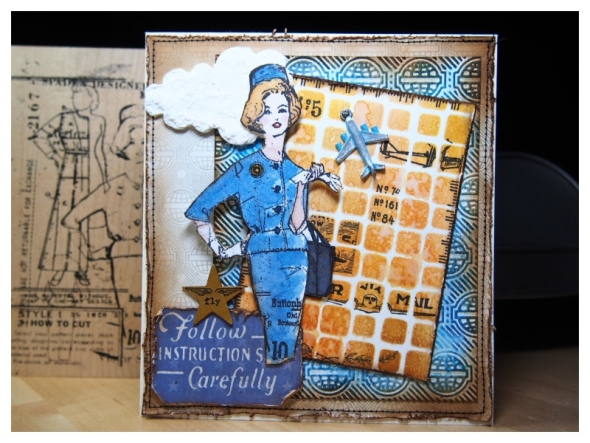
 After some image searches on 60’s and 70’s fashion I stumbled upon an old ad for Pan Am which reminded me of a Tim Holtz wood backed stamp (below).

I stamped onto distress watercolor cardstock, watercoloured with distress markers and fussy cut my flight attendant.
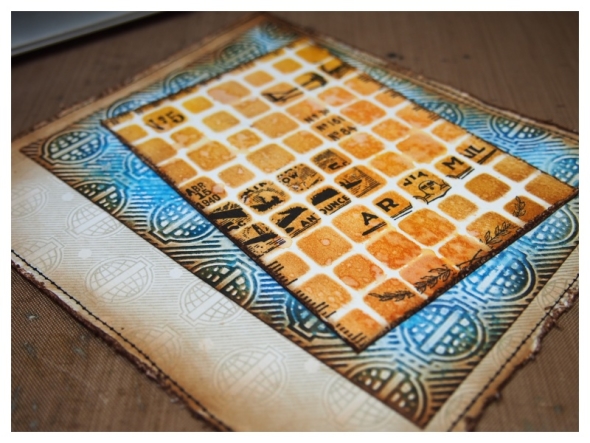
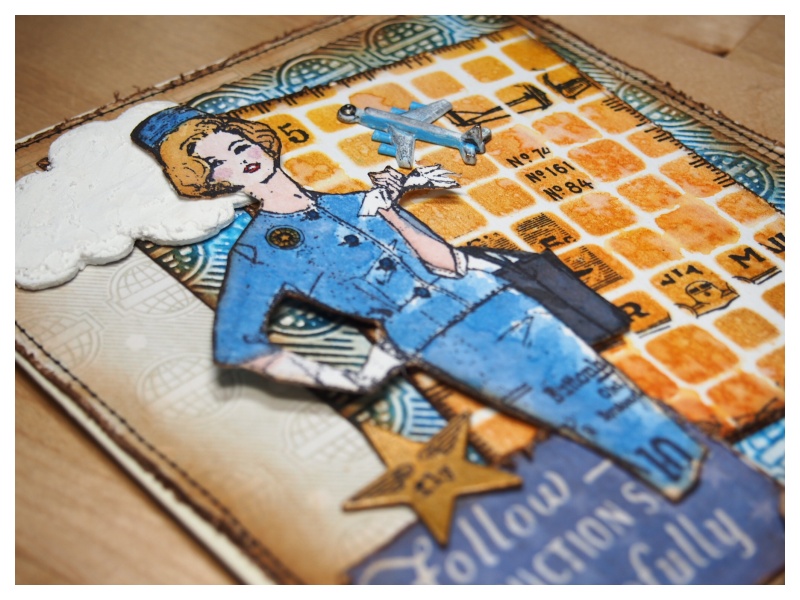
I cut a sheet of paper from the Tim Holtz correspondence paper stash, stitching, distressing and inking the edges with a little vintage photo distress ink, (there HAD to be a little brown)! On top I layered distress watercolor cardstock, embossed with the globes texture fades folder and inked with faded jeans and salty ocean distress inks (…and a teeny weeny bit of vintage photo)!
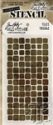
For my something square, I blended fossilised amber and rusty hinge distress inks through the tiles stencil by Tim Holtz. Once completely dry I placed the stencil back over the top and stamped with various stamps from the correspondence set.
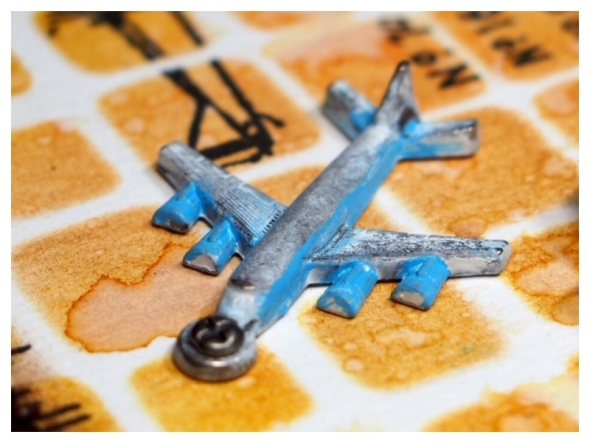
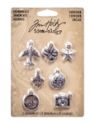
I covered the plane from the adornments set with picket fence paint and when nearly dry, rubbed off to give a distressed look. I added salty ocean distress paint with a fine paintbrush to resemble the Pan Am planes.
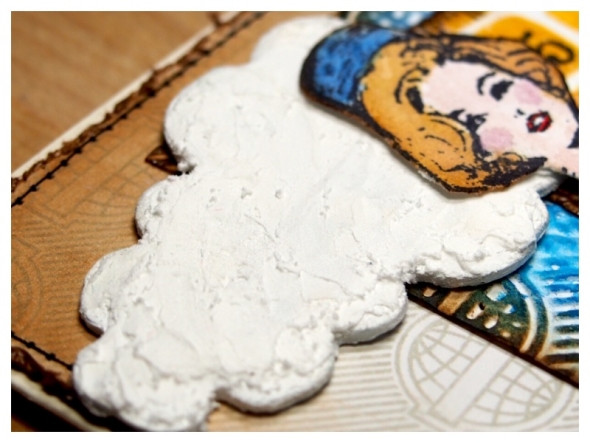
I wanted my flight attendants head to be in the clouds, but the mini cloud looked too small, so I die cut 2 and stuck them together! To hide the join and give a more texture I added texture paste.
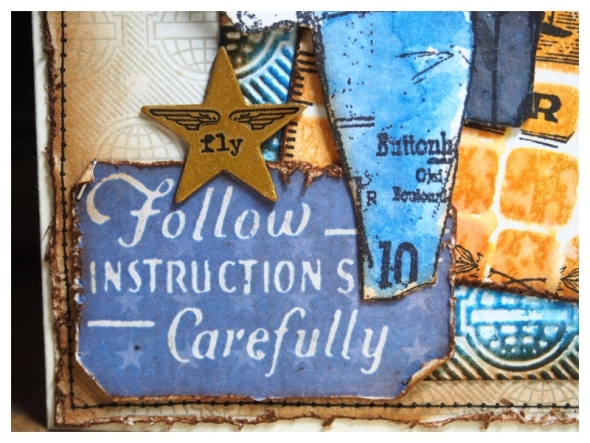
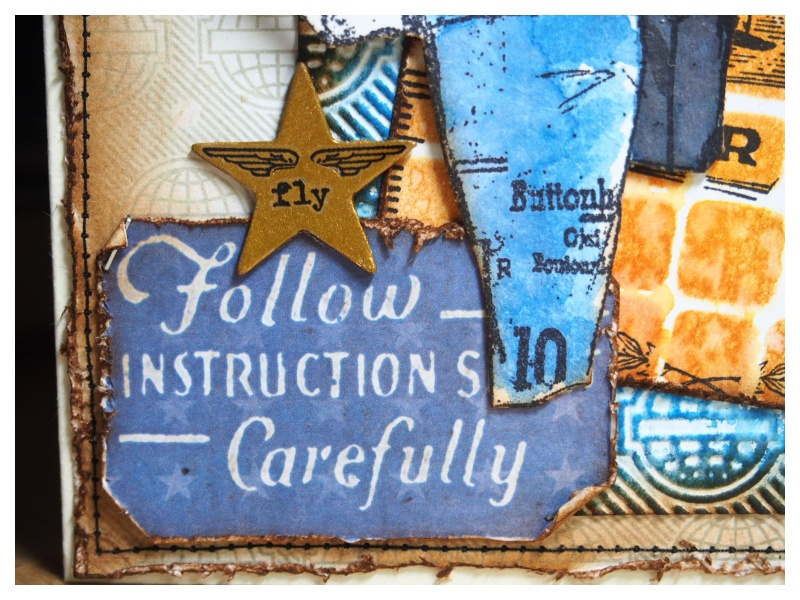
From the correspondence paper stash, I cut these instructions, hiding the word “sheet” under the skirt so it looks like flight safety instructions. The star die cut was covered in tarnished brass distress paint with some remnant rubs from the correspondence set added.

Thanks for stopping by. I hope you will find time to join in the challenge and pop over to Frilly and Funkie challenge blog to see the rest of the DT’s projects. All the products I used are available from The Funkie Junkie Boutique.
Category DT, Frilly & Funkie, Tim Holtz | Tags: | 10 Comments | Views: 777
19th March, 2016 by iGirlZoe
Hello. I hope your weekend is off to a good start. Today I have a SATURDAY STEP BY STEP over at Frilly & Funkie with a spring inspired card.

If you would like to see the step by step in full, please pop over to Frilly & Funkie.
I hope you have a great weekend.
Zoe
Category DT, Frilly & Funkie, Tutorial | Tags: | 11 Comments | Views: 632
17th March, 2016 by iGirlZoe
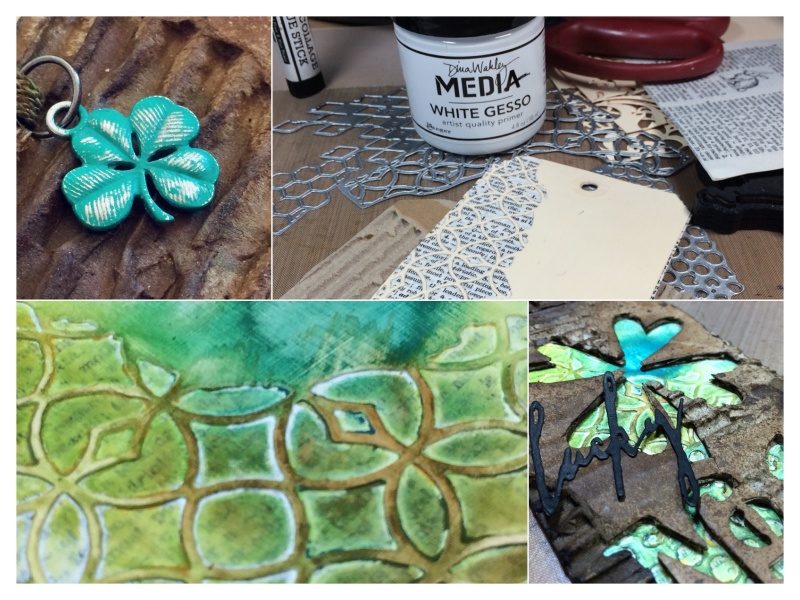
Happy St Patrick’s Day! I’m celebrating early with an extra shot of espresso in my morning coffee and my take on March’s 12 tags of 2016 tag.
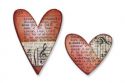
I used a heart from the Tim Holtz mini hearts movers and shapers die set to cut the four leaf clover. I freehand cut the stem. I can’t even begin to tell you how scary freehand cutting is for me! I’m totally a “right tools for the right job” kind of crafter!
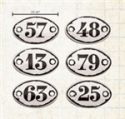
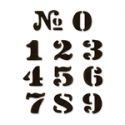
The “No 9” are die cut with the Tim Holtz cargo numbers die set, (one of my favourite die sets of all time)! The “9” is the number of the apartment we are lucky enough to be moving to in Copenhagen’s North Harbour in June.

Thanks for stopping by, you can see all the techniques for this months tag on Tim’s blog.
Category 12 Tags 2016, Tags, Tim Holtz | Tags: | 12 Comments | Views: 530