Author Archive

  1. Scribble Woodland Deer Card

    13th September, 2016 by iGirlZoe

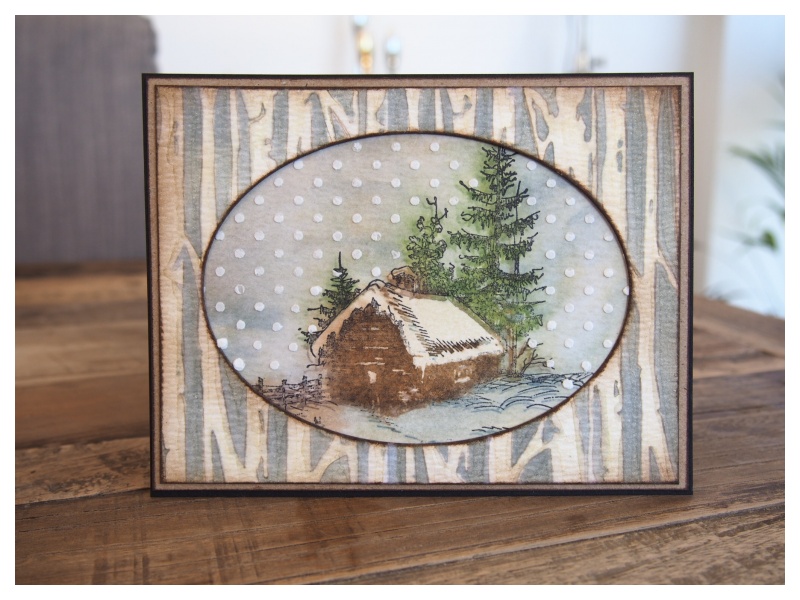
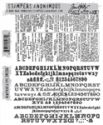
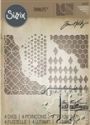
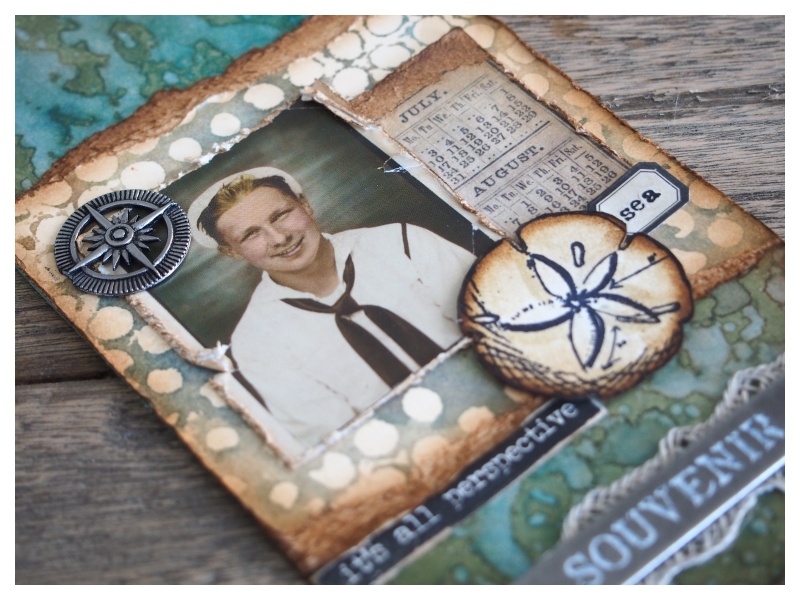
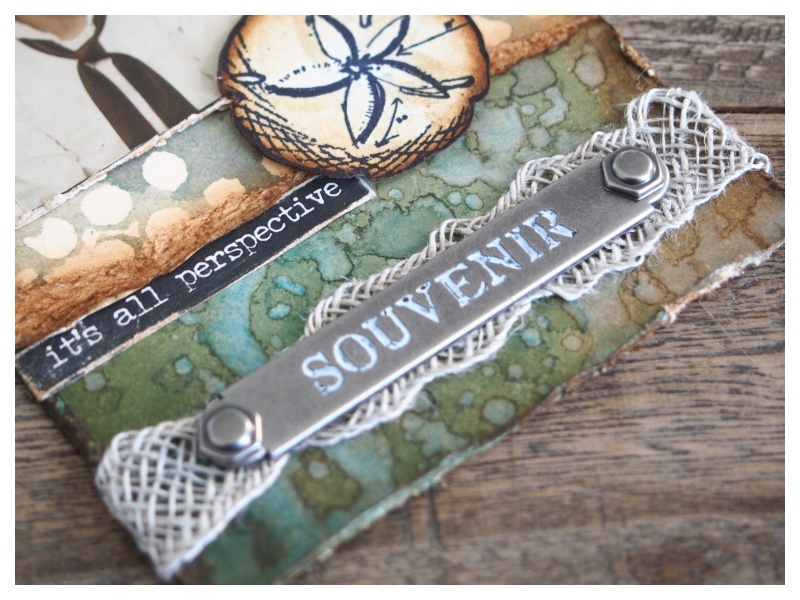
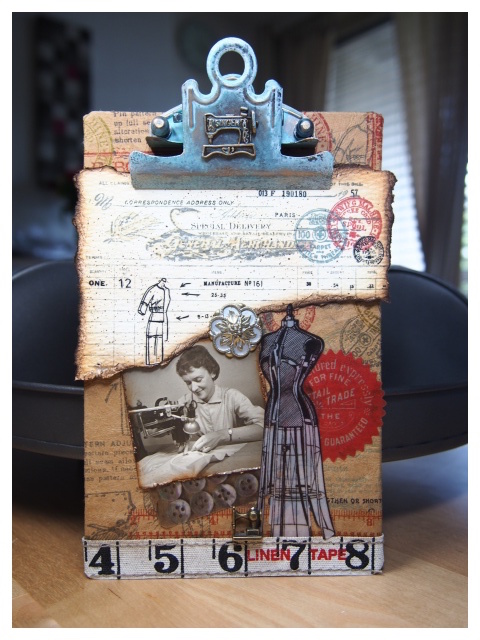
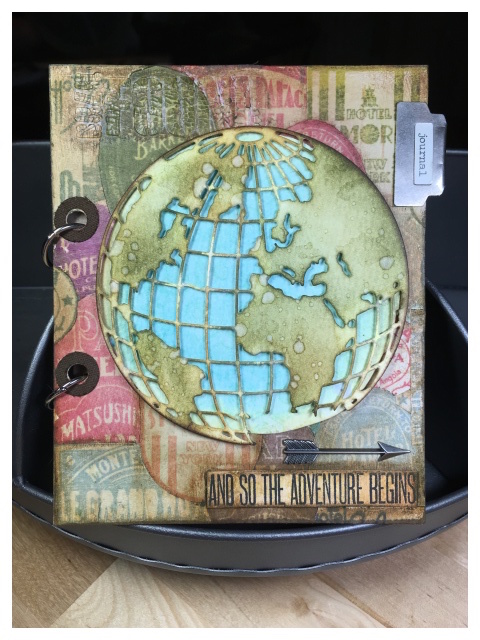
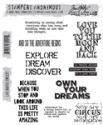
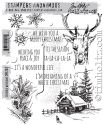
    Hello. I’m back again with another sample card that I made for the Tim Holtz facebook LIVE event on Friday, where he showcased his incredible new Stampers Anonymous holiday stamps and stencils. If you missed the live event, you can still watch it on replay and see the stamps on Tim’s blog.

    iGirlZoe: Scribble Woodland Deer CardYesterday I shared another sample that I made using the gorgeous new Tim Holtz Stampers Anonymous stamps and stencils. Here’s how I created this sample…

    iGirlZoe: Scribble Woodland Deer Card
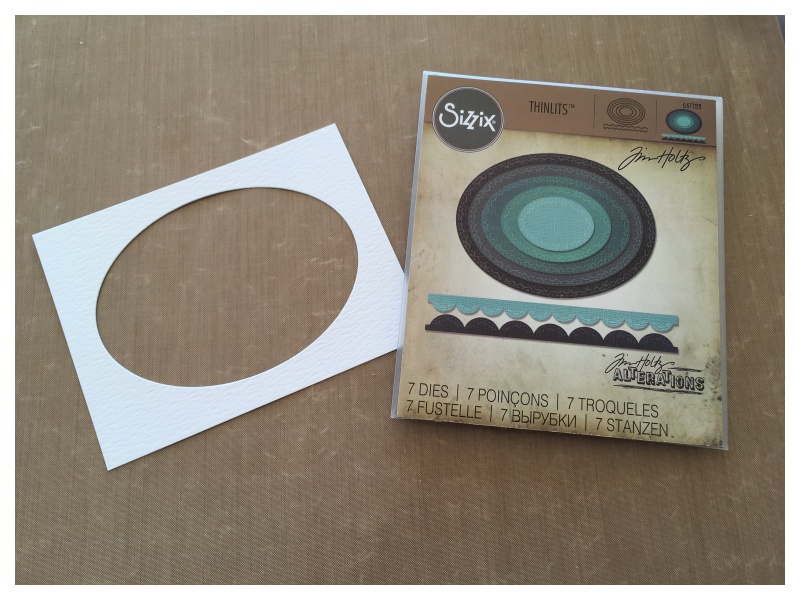
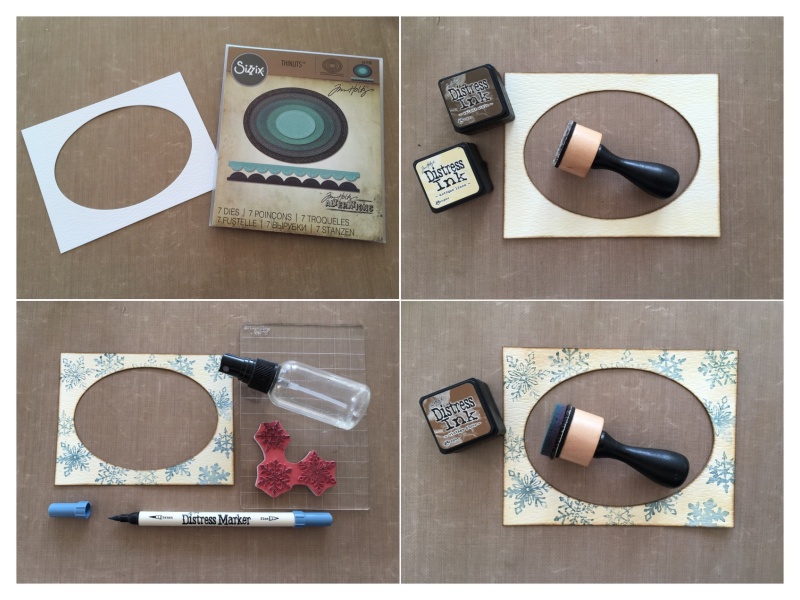
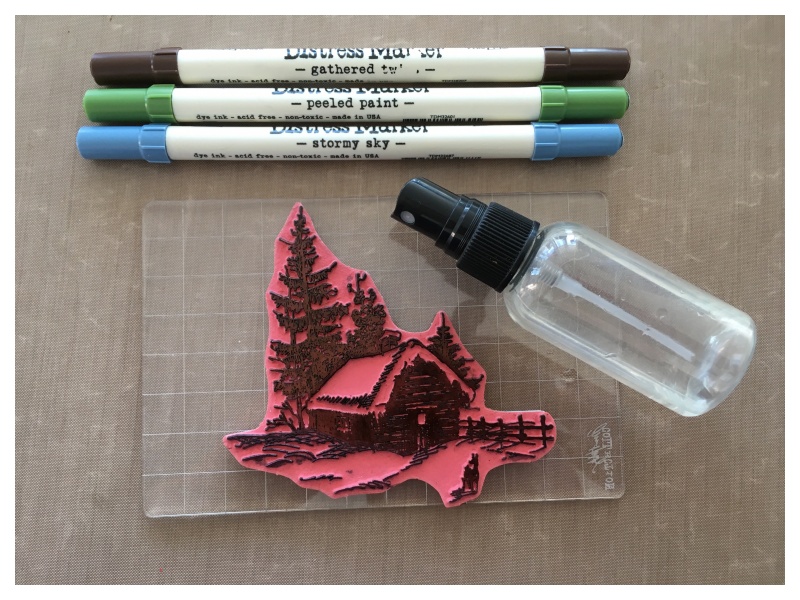
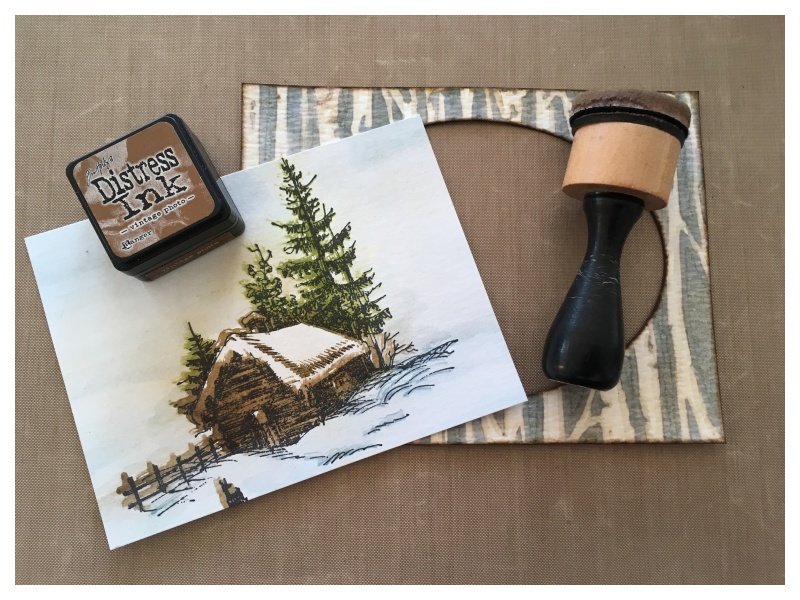
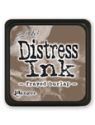
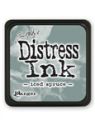
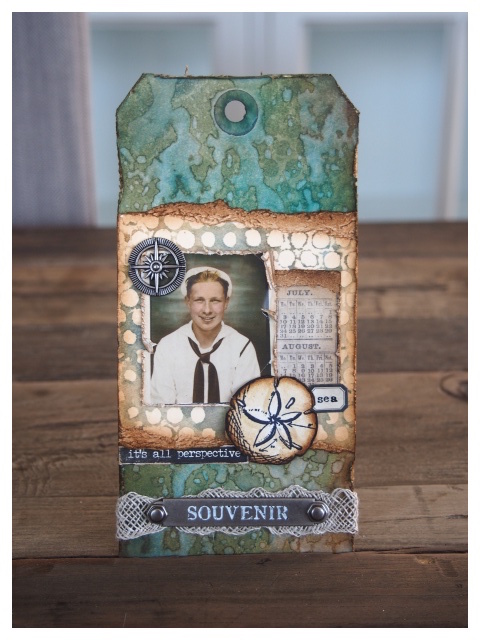
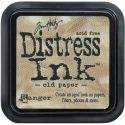
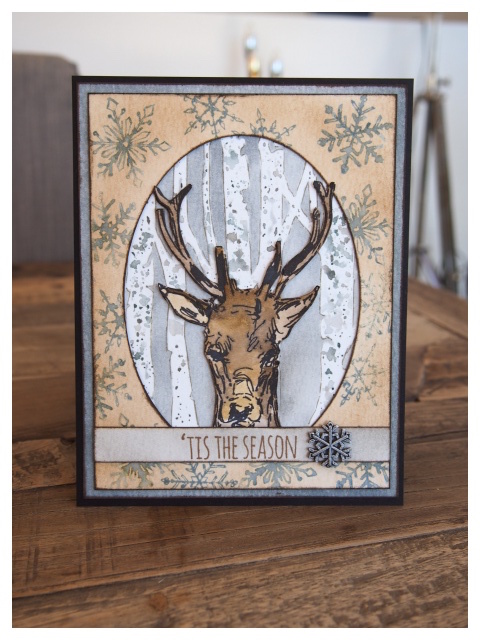
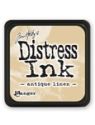
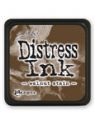
    Die cut an oval. Blend antique linen distress ink into the frame and walnut stain distress ink onto the edges. Colour the snowflake stamp with stormy sky distress marker**, spritz lightly with water and stamp onto the frame. Repeat creating a random pattern, making sure you dry the stamp before adding more distress marker. Once completely dry, blend a VERY LIGHT layer of vintage photo distress ink over the top to give an aged look.

    iGirlZoe: Scribble Woodland Deer Card
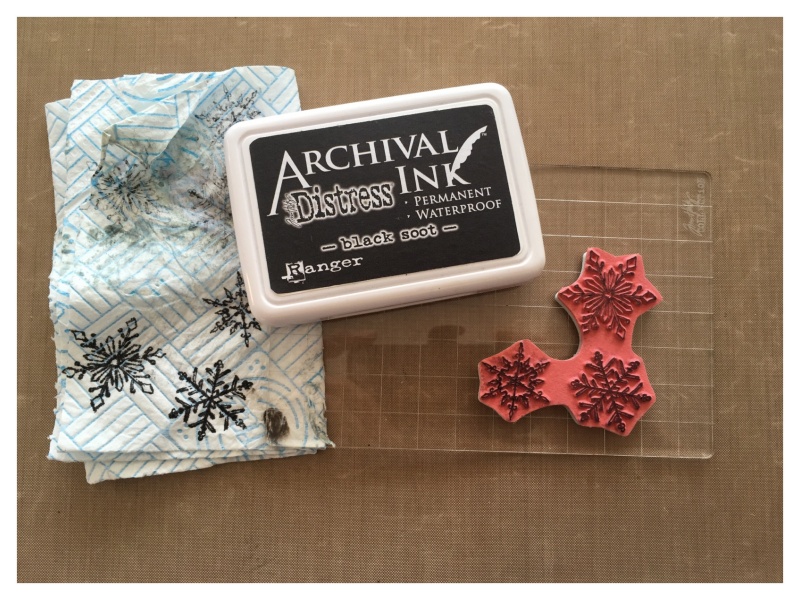
    **TIP* you will need to “season” your stamp first. Ink with archival ink and stamp twice onto kitchen paper and set aside to dry. If you don’t do this, distress ink and distress markers will just bead on the stamp and you won’t get a clear image! Go on! You can do this! You can always clean the stamp afterwards… but I would leave it “seasoned” and spend the time crafting instead. 😉

    iGirlZoe: Scribble Woodland Deer Card
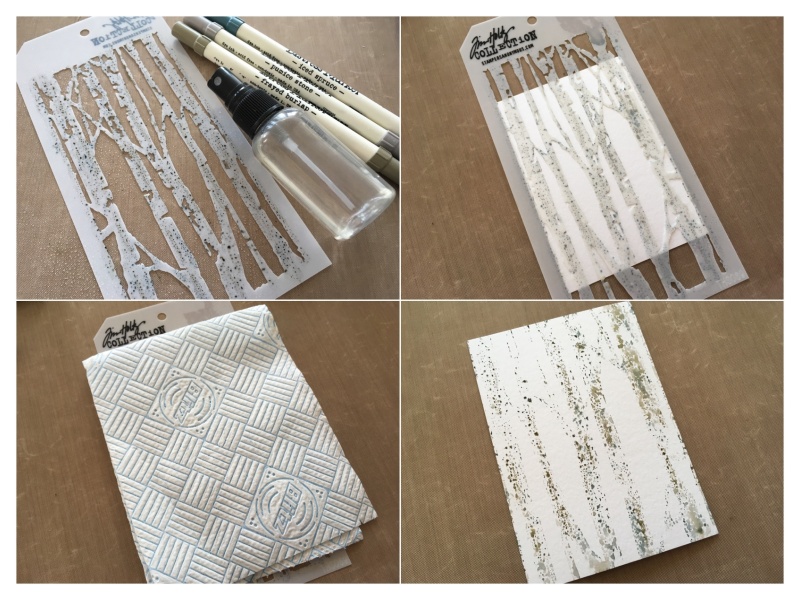
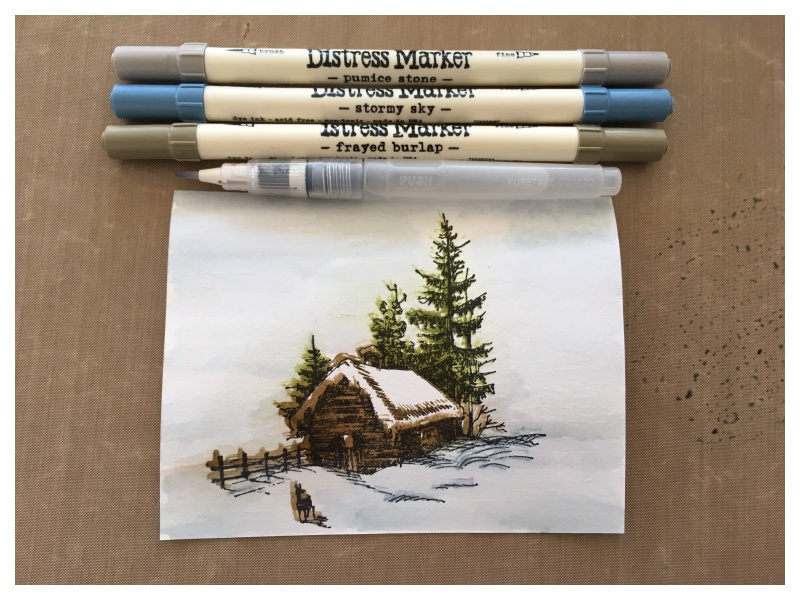
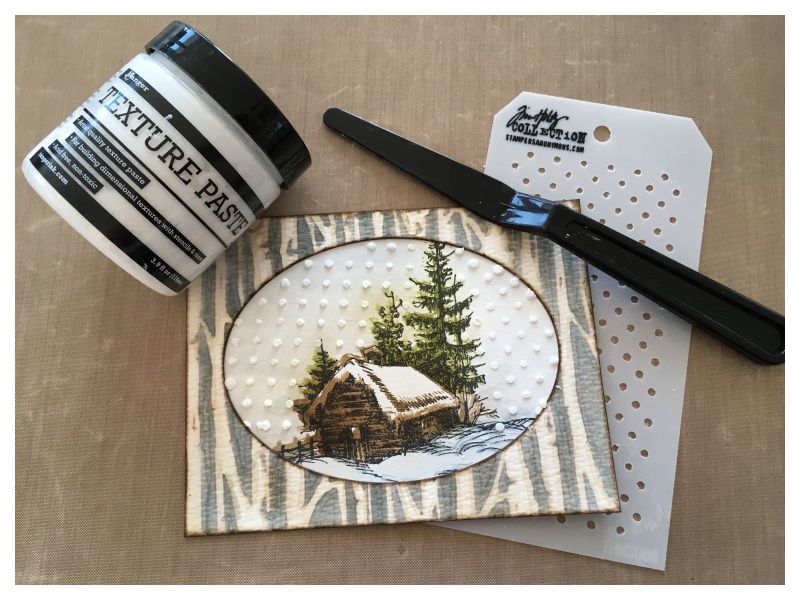
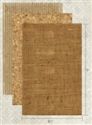
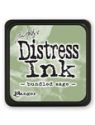
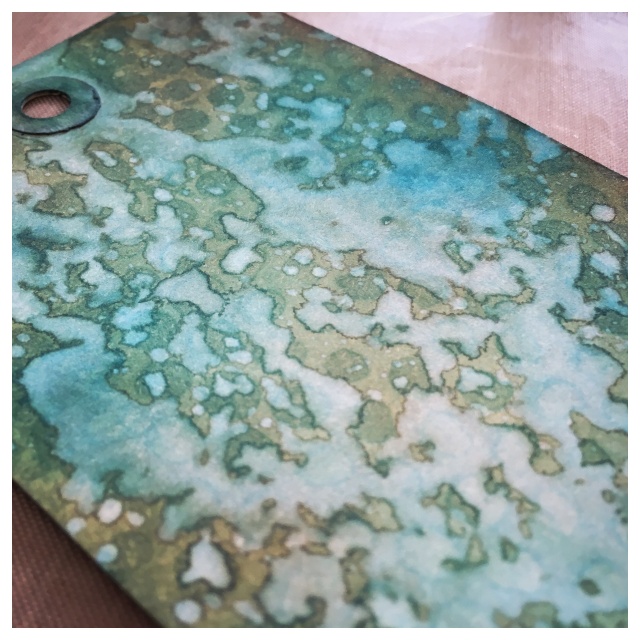
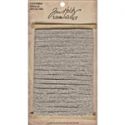
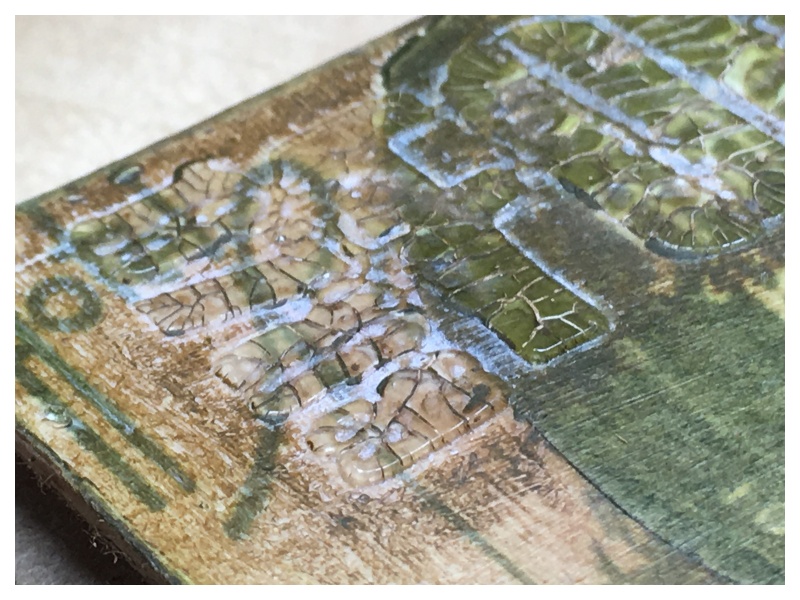
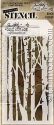
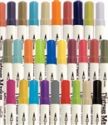
    On the reverse side of the birch stencil scribble on pumice stone, iced spruce and stormy sky distress markers and spritz with water. Turn the stencil over onto the smooth side of distress watercolor cardstock. Place a piece of kitchen paper over the top and smooth out with your hands. Carefully lift the stencil off the cardstock and air dry or with a heat tool.

    iGirlZoe: Scribble Woodland Deer Card
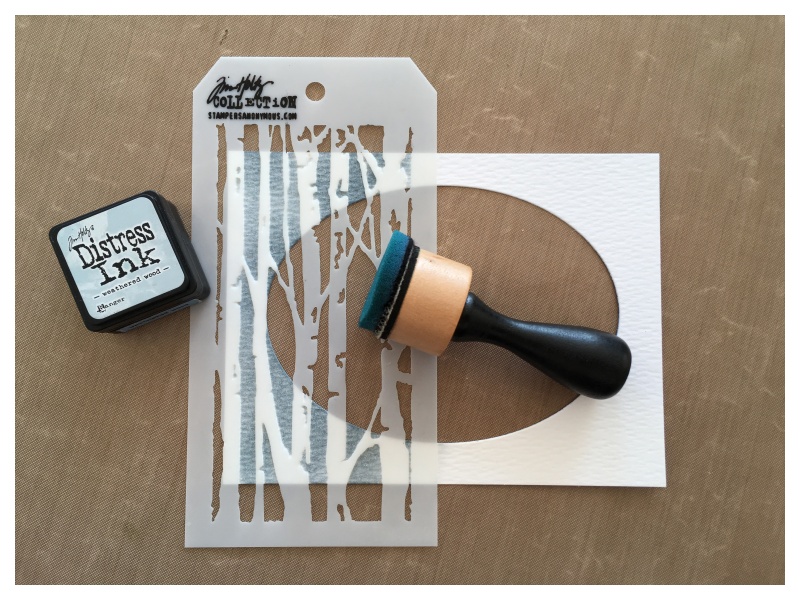
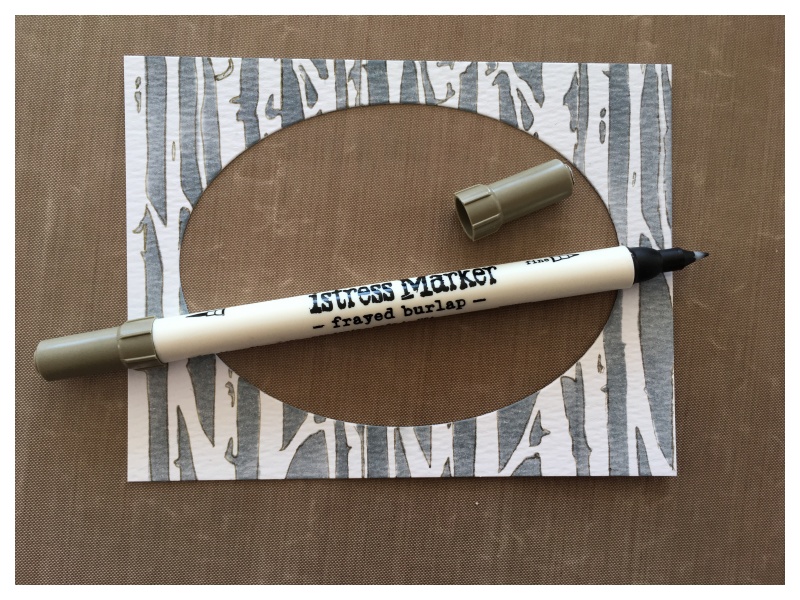
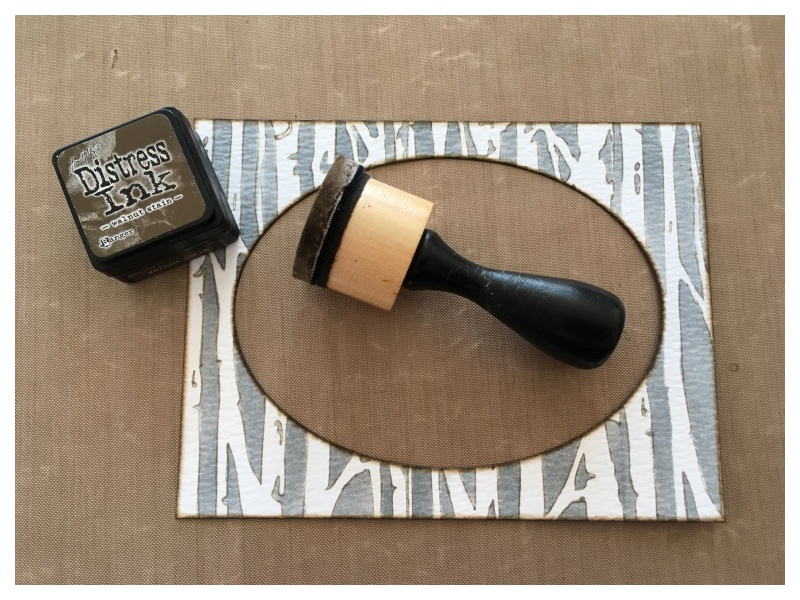
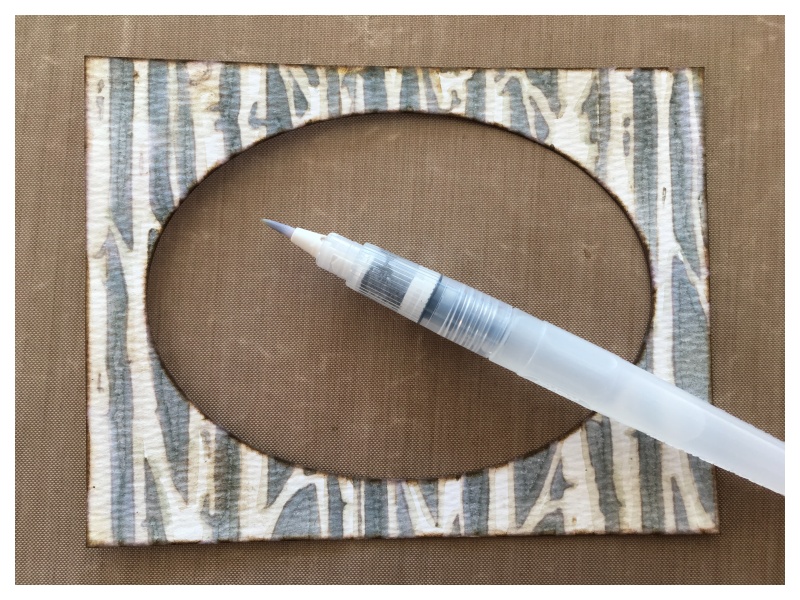
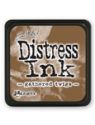
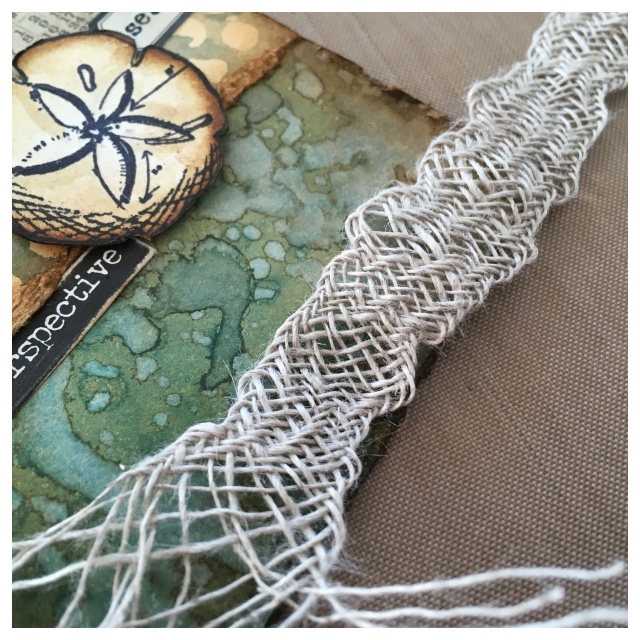
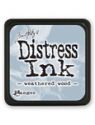
    Position the stencil back over the dried cardstock and secure with tape. Scribble pumice stone and stormy sky distress markers directly onto a non stick craft mat and pick up with a waterbrush and brush through the stencil. Carefully remove the stencil and dry the cardstock. Once completely dry, drawer along the outline of the birch trees with the fine tip of a frayed burlap distress marker and then go over with a waterbrush to soften the lines and create shadow. Blend weathered wood distress ink around the edge of a slightly larder piece of distress watercolor cardstock than the frame and edge with walnut stain distress ink. Mount the frame over the stenciled birch background and on top of the edged watercolor cardstock.

    iGirlZoe: Scribble Woodland Deer Card
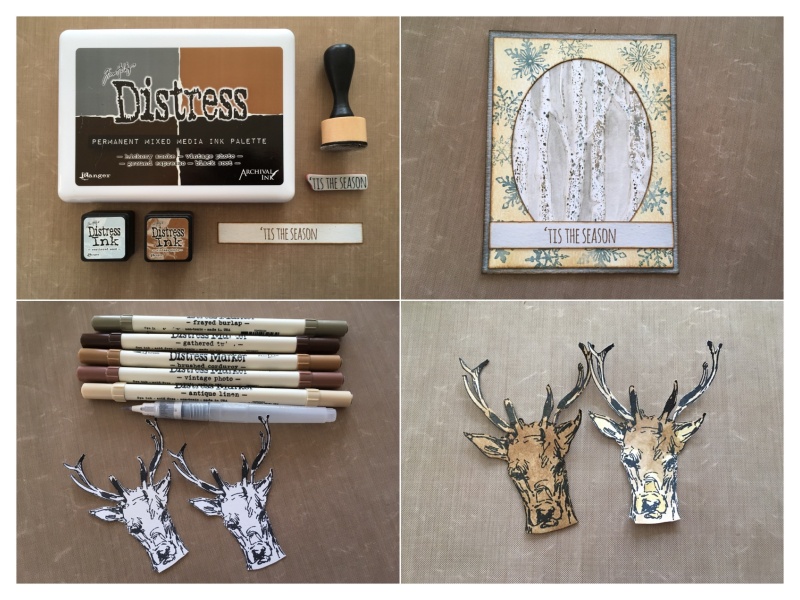
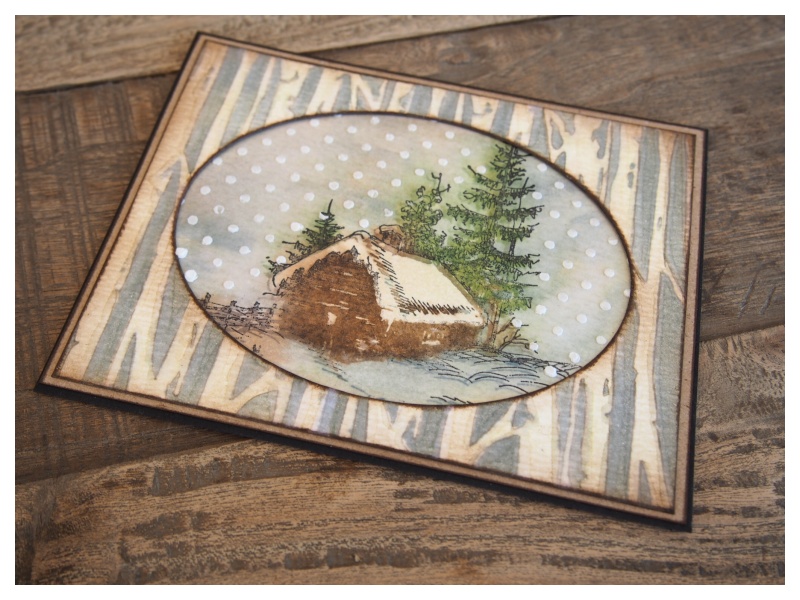
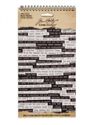
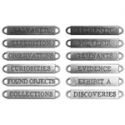
    Stamp a sentiment onto a strip of distress watercolor cardstock with vintage photo distress archival ink. Blend in weathered wood distress ink and edge with vintage photo distress ink. Mount the strip over the bottom of the oval part of the frame. Leave the top center part unstuck to slip the deer under slightly. Stamp 2 deers onto distress watercolor cardstock and fussy cut. Cover one with vintage photo distress marker and watercolor the other carefully with a variety of brown tone distress markers. Glue the detailed deer head over the other and adhere to the front of the card just tucking slightly under the sentiment strip.

    iGirlZoe: Scribble Woodland Deer Card
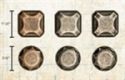
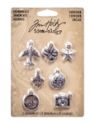
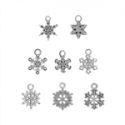
    Cover an adornment snowflake with picket fence distress paint and dab away excess with kitchen paper. Attach the snowflake to the sentiment strip with glossy accents.

    Thanks for stopping by. I’ll be back tomorrow to share my take on this week’s challenge over at Frilly & Funkie. If, like me, you adore this deer stamp, be sure to stop by and checkout Bobbi Smith’s stunning card sample created for the Tim Holtz facebook LIVE event over at Vintage Muse Designs.

    Zoe


    Save

    Save

    Save


  2. Scribble Woodland Christmas Card

    12th September, 2016 by iGirlZoe

    I am delighted to share a card sample that I made for the Tim Holtz facebook LIVE event on Friday, where he showcased his incredible new Stampers Anonymous holiday stamps and stencils. If you missed the live event, you can still watch it on replay and see the stamps on Tim’s blog.

    iGirlZoe: Scribble Woodland Christmas Card
    I absolutely LOVE the new stamps and stencils and I can’t wait to create this years Christmas cards and holiday home decor with them. Here’s how I used some of them to create this sample…

    iGirlZoe: Scribble Woodland Christmas Card
    Step 1: Cut an oval using the sizzix stiched ovals thinlits dies from distress watercolor cardstock.

    iGirlZoe: Scribble Woodland Christmas Card
    Step 2: Lightly blend weathered wood distress ink through the birch stencil from mini stencils set 21 using a mini blending tool.

    iGirlZoe: Scribble Woodland Christmas Card
    Step 3: Draw lightly along the outline of the birch trees with the fine tip end of a frayed burlap distress marker. TIP* you could trace the outline using the stencil, but the imperfections of freehand make it look more natural and less “stenciled”

    iGirlZoe: Scribble Woodland Christmas Card
    Step 4: Edge the card and oval with walnut stain distress ink using a mini blending tool.

    iGirlZoe: Scribble Woodland Christmas Card
    Step 5: Go over the frayed burlap marker lines with a water brush to soften the lines and create shadow.

    iGirlZoe: Scribble Woodland Christmas Card
    Step 6: Colour the back of this stamp from the scribbled woodlands CMS282 stamp set with gathererd twiggs, peeled paint and stormy sky distress markers. Spritz with water and stamp onto distress watercolor cardstock.

    iGirlZoe: Scribble Woodland Christmas Card
    Step 7: Once dry, ink up the stamp with black soot distress archival ink and overstamp the watercolor image.

    iGirlZoe: Scribble Woodland Christmas Card
    Step 8: Scribble frayed burlap, pumice stone and stormy sky distress markers onto a non stick craft sheet. Pick up the scribbled marker with a waterbrush and create a background wash onto the distress watercolor cardstock around the stamped image.

    iGirlZoe: Scribble Woodland Christmas Card
    Step 9: Take a mini blending tool and VERY LIGHTLY blend vintage photo distress ink over the stamped background and birch stencilled frame to give a vintage hue. TIP* if your vintage photo distress ink pad is “juicy” blend away some of the excess onto scrap paper before blending over the top of the background and frame.

    iGirlZoe: Scribble Woodland Christmas Card
    Step 10: Lay the polka dot stencil from mini stencil set 20 over the card. Spread texture paste through the stencil with a palette knife and once completely dry, adhere the frame over the background. TIP* To get a more natural looking snowfall (card below), use the stencil vertically or horizontally, NOT at an angle (card above).

    iGirlZoe: Scribble Woodland Christmas Card
    Thanks for stopping by, I hope that you enjoyed this tutorial. I’ll be back tomorrow with a tutorial for another card sample that I made for Tim’s facebook LIVE post.

    Zoe


    Save

    Save


  3. Frilly & Funkie Flower Infatuation

    1st September, 2016 by iGirlZoe

    It’s time for another challenge over at Frilly and Funkie Challenge Blog! Apologies, I’m a little late to the table this week as I was traveling back from a week in the UK.

    This challenge is hosted by Nancy (Tattered Treasures), who has chosen the theme FLORAL INFATUATION, …NANCY says, “Our theme celebrates the beautiful blooms of the season. The guidelines are super simple: create any vintage or shabby chic project with flowers as a focal point.”

    iGirlZoe: Flower Infatuation

    Save

    I hope you will find time to join in the challenge and pop over to Frilly and Funkie challenge blog to see the rest of the DT’s projects. All the products I used are available from The Funkie Junkie Boutique.


  4. Double-Double Toil & Trouble

    26th August, 2016 by iGirlZoe

    Hello everyone,

    I hope you’ve been following the incredible 2016 Halloween Inspiration Series over on Tim Holtz’s blog. This years Halloween release is my absolute favourite. I know I say this every year, but every year it just gets better and this year is no exception! I am delighted to be following the exceptionally talented Audrey Pettit and Emma Williams and share my own seasonal project.

    iGirlZoe: Double-Double Toil & Trouble
    If you haven’t had a chance to see the new products, they are HERE! These spooktacular seasonal products are a one and done deal, so get them while you can or you’ll be “screaming in horror” to have missed out. 😉

    You can see the full project and tutorial HERE. I really hope you like it and it inspires you to make something yourself.

    Have a great weekend.

    Zoe x


  5. Frilly & Funkie Haunted Hanging

    20th August, 2016 by iGirlZoe

    I hope your weekend is off to a good start. Today I have a SATURDAY STEP BY STEP over at Frilly and Funkie with a Halloween themed project.

    iGirlZoe: Halloween Hanging

    iGirlZoe: Halloween Hanging

    iGirlZoe: Halloween Hanging
    If you would like to see the step by step in full, pop over to Frilly & Funkie.
    Enjoy your weekend.

    Zoe


  6. Frilly & Funkie It’s A Small Small World

    17th August, 2016 by iGirlZoe

    It’s Wednesday and time for another challenge over at Frilly and Funkie Challenge Blog!

    This challenge is hosted by Cec (CW Card Creations), who has chosen the theme IT’S A SMALL, SMALL WORLD …CEC says, “Create or alter something small in a shabby chic or vintage style. Your finished project can be anything from the size of an inchie, matchbook or domino to the size of a playing card or note card, which means anything from 1 inch to 4 inches and it does not have to be flat. Be creative and let us know in your post just how small your project is.”

    iGirlZoe: It's A Small Small World
    You might think it’s a tad early for Halloween projects, but after the launch of Stampers Anonymous Tim Holtz Halloween stamps, there was no early! I picked up the mini Halloween #5 stamp set but I couldn’t decide how to incorporate all the stamps I wanted to use, (all of them), into one project, especially such a small small project. It was then that I spied the label frames stamp set and I had a crazy idea…

    Create lots of mini cards, each measuring 2 inches by 2.5 inches and play with all the stamps in the set…

    iGirlZoe: It's A Small Small World

    iGirlZoe: It's A Small Small World

    iGirlZoe: It's A Small Small World

    iGirlZoe: It's A Small Small World

    iGirlZoe: It's A Small Small World

    iGirlZoe: It's A Small Small World

    iGirlZoe: It's A Small Small World

    iGirlZoe: It's A Small Small World

    iGirlZoe: It's A Small Small World

    iGirlZoe: It's A Small Small World
    These cards would be perfect for mini Halloween party invitations, card toppers for larger invitations and gift bags or even dare cards for Halloween parties. I’ll be back on the Frilly and Funkie Challenge blog on Saturday with a step-by-step for these Halloween cards and the finished project. I hope you’ll join me then.

    In the meantime, I hope you will find time to join in the challenge and pop over to Frilly and Funkie challenge blog to see the rest of the DT’s projects. All the products I used are available from The Funkie Junkie Boutique.


  7. Frilly & Funkie By The Sea

    3rd August, 2016 by iGirlZoe

    It’s Wednesday and time for another challenge over at Frilly and Funkie Challenge Blog!

    This challenge is hosted by Kathy (Kathy by Design), who has chosen the theme BY THE SEA …Kathy says, “It’s summertime, and our minds turn toward the shore where we find sparkling sands, delicate shells and refreshing breezes. This sets the theme for our latest BY THE SEA challenge. Let’s take a virtual beach trip by creating any kind of vintage or shabby chic project that features a nautical or beach theme and color palette..”

    iGirlZoe: By The SeaThis is the perfect challenge to return to the Frilly and Funkie design team after taking a break for a few months to move.

    iGirlZoe: By The Sea
    Our new harbour view inspired the tag I’ve made for this challenge.

    iGirlZoe: By The Sea
    This idea-ology photo booth photo reminded me of a summer tradition here in Denmark, where the graduating students ride around town on the back of a float wearing white graduation caps celebrating their success with their class.

    iGirlZoe: By The Sea
    I used a spritz and flick technique that I learned from taking Tim Holtz’s Creative Chemistry 101 online class for my tag base.

    iGirlZoe: By The Sea
    I love the versatility of this linen ribbon. By pulling and working it with your fingers you get this cool net look. Usually I would blend some distress ink over the top, but this time I left it natural to look like fishing net.

    iGirlZoe: By The Sea
    I added a word band, but it was begging to be distress crayoned!

    iGirlZoe: By The Sea
    It is SO much easier to add distress crayon than paint over the word bands, literally a 5 second job. I love how it makes the word bands pop and by rubbing gently with some kitchen paper you get this cool distressed look.

    Thanks for stopping by. I hope you will find time to join in the challenge and pop over to Frilly and Funkie challenge blog to see the rest of the DT’s projects. All the products I used are available from The Funkie Junkie Boutique.


    Save

    Save


  8. A Vintage Journey – Sew Special

    27th May, 2016 by iGirlZoe

    Hello! I am guest blogging over at A Vintage Journey today where Jenny has set the challenge theme “Sew Special!”

    A Vintage Journey: Sew SpecialI hope you’ll take a moment to stop by A Vintage Journey to see my finished project in more detail.


  9. Frilly & Funkie Oh The Places You’ll Go!

    25th May, 2016 by iGirlZoe

    It’s Wednesday and time for another challenge over at Frilly and Funkie Challenge Blog!

    This time it’s my turn to host the challenge and I’ve chosen the theme OH THE PLACES YOU’LL GO! “For this challenge, create a vintage or shabby chic project with travel as the central theme. Think planes, trains, auto-mobiles, ships, maps, globes.”

    iGirlZoe: Oh The Places You'll GoI am moving from Switzerland to Denmark in a week and with this in mind, I thought it would be the perfect excuse to make a travel journal.

    iGirlZoe: Oh The Places You'll Go
    I want to record my first few weeks in Denmark, it’s something that I wish I had done when I moved to Switzerland from the UK 8 years ago.

    iGirlZoe: Oh The Places You'll Go
    The background was created by stamping the travel labels from Tim Holtz stamp set with various different distress inks onto Wendy Vecchi’s newsprint paper. It’s the first time I’ve used the newsprint paper and it’s so cool. It takes the distress ink with no trouble. I fussy cut the travel labels and covered with a layer of glue ‘n seal and rubbed distress crayons over the top.

    iGirlZoe: Oh The Places You'll Go
    I spread crazing paste through a mini stencil with a palette knife and covered with distress crayons.

    iGirlZoe: Oh The Places You'll Go
    This sentiment from a Tim Holtz stamp set seemed very fitting. I accidentally tore the globe die cut as I was removing it from the thinlits die, but I actually liked the distressed look to it, so went with it.

    resize_64132350_800px
    I will be taking a short break from the F&F Design Team while I move, but I’ll be back just as soon as my shipment arrives and I unpack my craft stash!

    Thanks for stopping by. I hope you will find time to join in the challenge and pop over to Frilly and Funkie challenge blog to see the rest of the DT’s projects. All the products I used are available from The Funkie Junkie Boutique.


  10. Frilly & Funkie Friday Focus

    13th May, 2016 by iGirlZoe

    Today I have the pleasure of hosting the Friday Focus at the Frilly and Funkie Blog! We’re featuring Tim Holtz Stamps and for the next two weeks The Funkie Junkie Boutique are giving an additional 15% discount off Tim Holtz Stamps! YAY!

    iGirlZoe: Friday Focus Tim Holtz Stamps

    For a closer look at this weeks Friday Focus, pop over to the Frilly and Funkie Blog.

    Have a great weekend!