Hello friends. Welcome to day 2 of my final week of Halloween makes. I seriously love the vault series that Tim Holtz released with Sizzix this year. The Vault Series Halloween 2021 was one of my favourite sets. You can see the LIVE launch and all the other inspiration makes over on Tim’s blog.
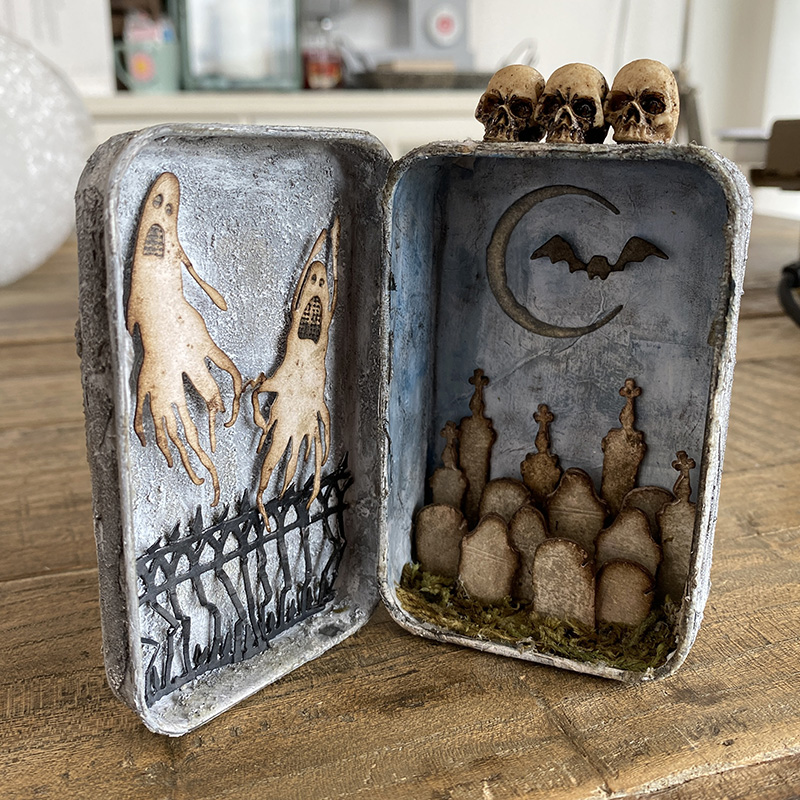
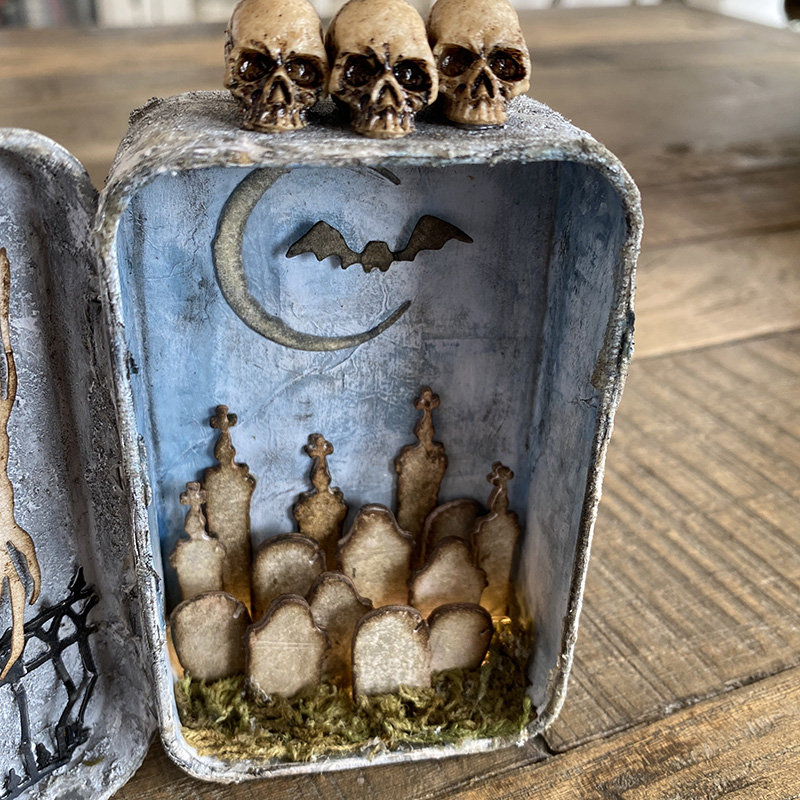
I love the size of the new Vault Series Halloween 2021 die set. The idea-ology trinket tin is the perfect structure for a tiny crypt. Let’s get into the how…
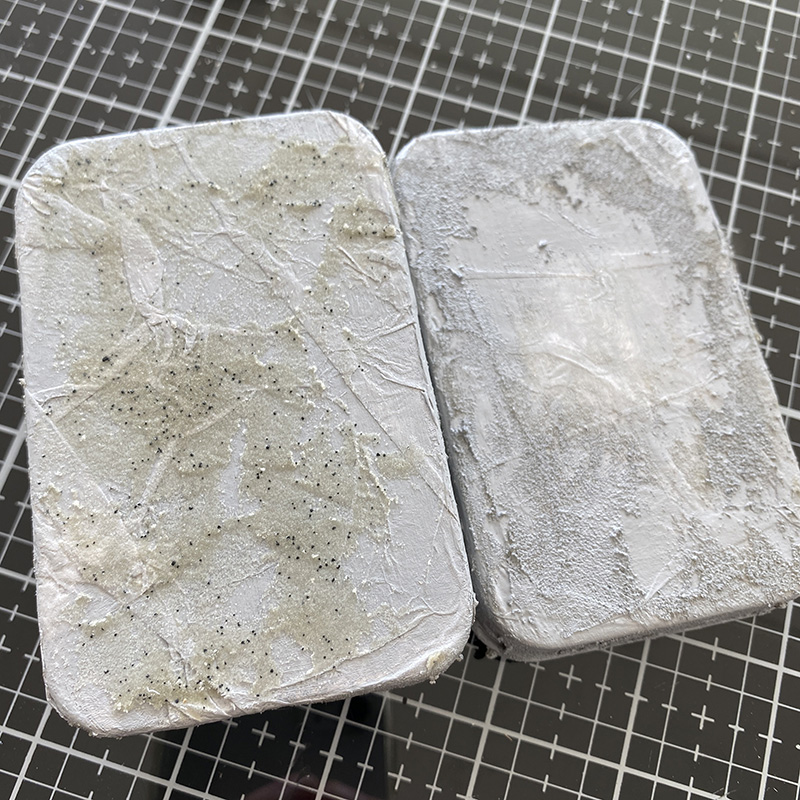
Cover an idea-ology trinket tin with plain collage paper using distress collage medium. Bunch the collage paper up a little so it gives extra texture. Once dry, brush on a layer of white gesso. Next, add crypt grit-paste and grave texture paste to the outside of the tin and the inside of the tin lid. Finally cover with hickory smoke distress paint.
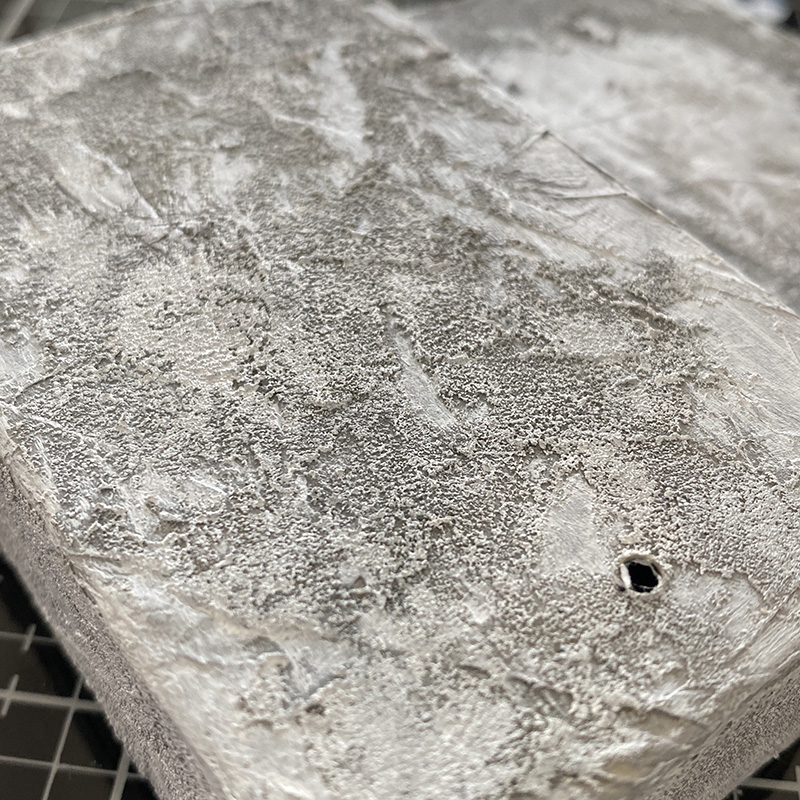
Drill a hole in the back of the tin near the base big enough to thread tiny lights through.
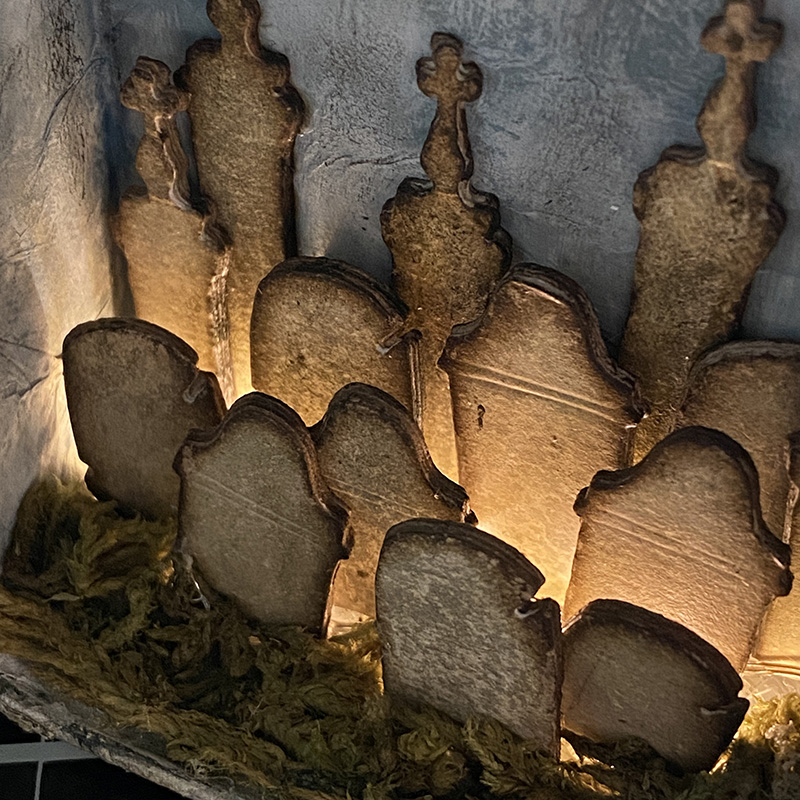
I thread the lights around the base of the tin, securing with hot glue and then glued the gravestones over the top, making sure not to block out the lights. Moss is a great way to hide the wire.
Keep the tiny lights switch out the way by mounting onto the back.
I added “The Crypt” to the front using the alphanumeric stretch upper and alphanumeric label thinlits dies. I layered up the letters, covered with some of the halloween pastes and once dry, sprayed with black soot distress spray stain. I added skulls from the idea-ology skulls and pumpkins set.
The inside of the tin lid is altered in the same way as the outside of the tin.
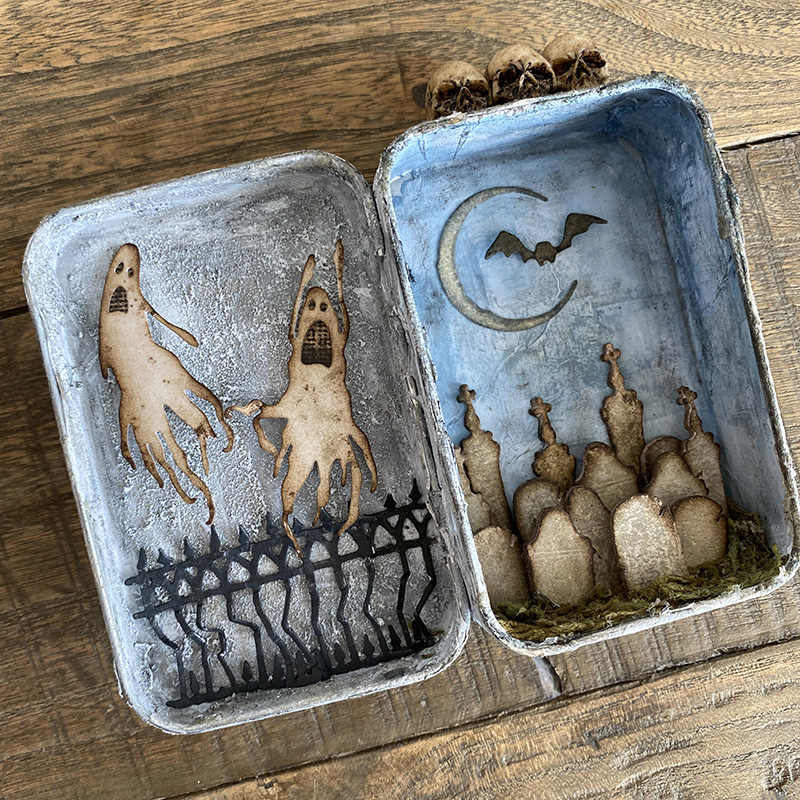
Die cut ghosts from the vault series halloween set, blend in walnut stain distress ink to the edges and spritz with water. Add black cardstock to the underside of the mouth and eyes. Mount onto adhesive foam.
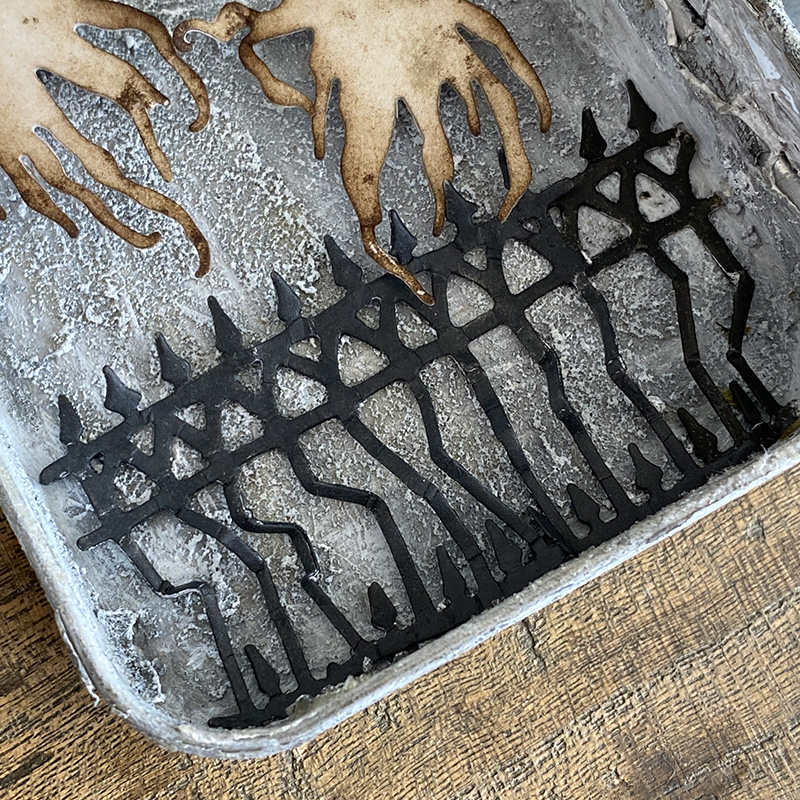
Die cut a fence from the vault series halloween set. Cover with black soot distress spray stain and once dry, bend some of the fence to look like twisted metal. Add to the tin with distress collage medium.
Add plain collage paper with distress collage medium to the inside of the base of the tin. Once dry add white gesso and dry again. Finally, brush watered down faded jeans distress paint to the back and a little hickory smoke distress crayon.
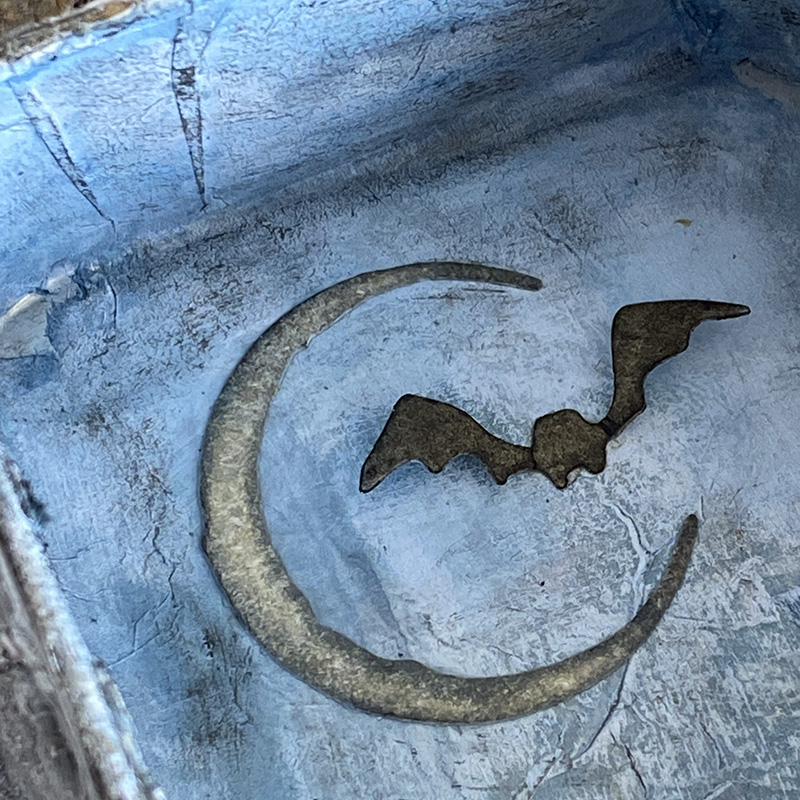
Die cut a moon and bat from the vault series halloween set and color with distress spray stains.
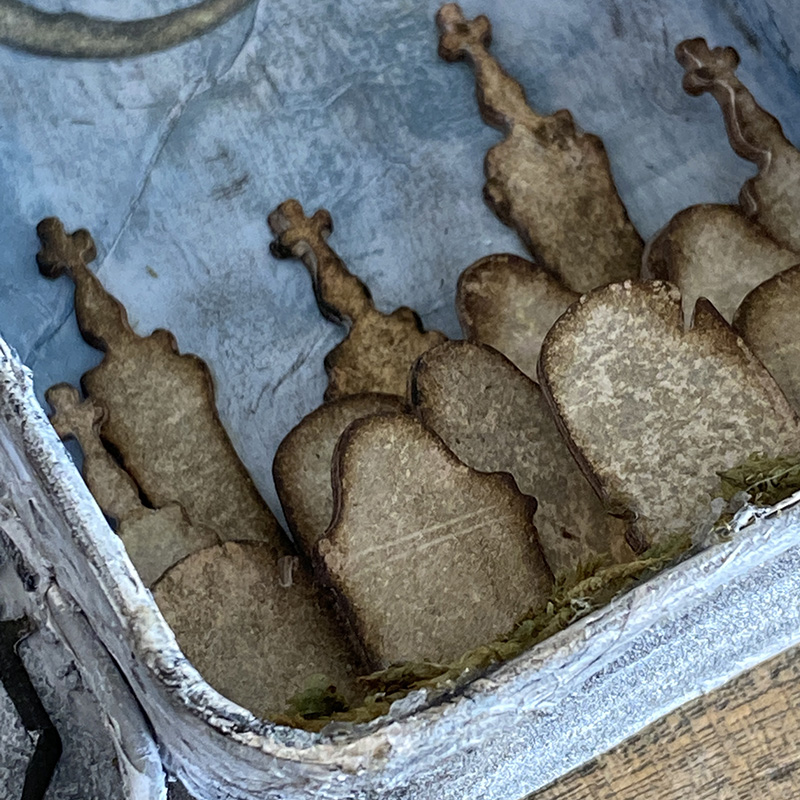
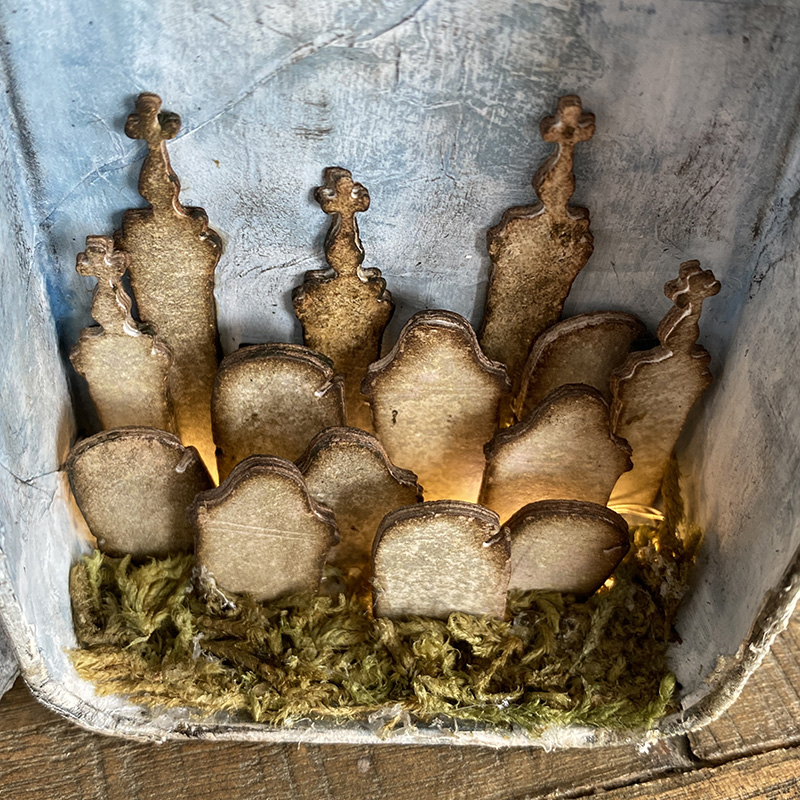
I die cut several gravestones, glued together, blended in walnut stain distress stain and edged with ground espresso distress crayon. I made this before Tim shared a game changing tip with me! See my gravestones blog post to see how to make these the easy way and for the crustier version.
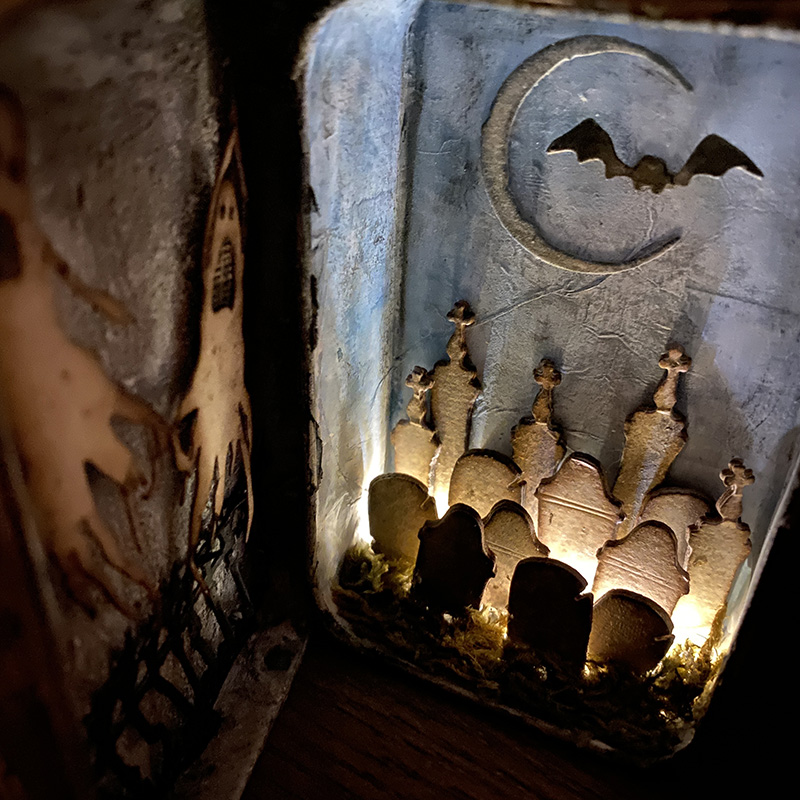
It’s quite spooky lit up at night and casts some cool shadows on the back of the tin.
Thanks for stopping by and let me know if you have any questions.
Zoe
…
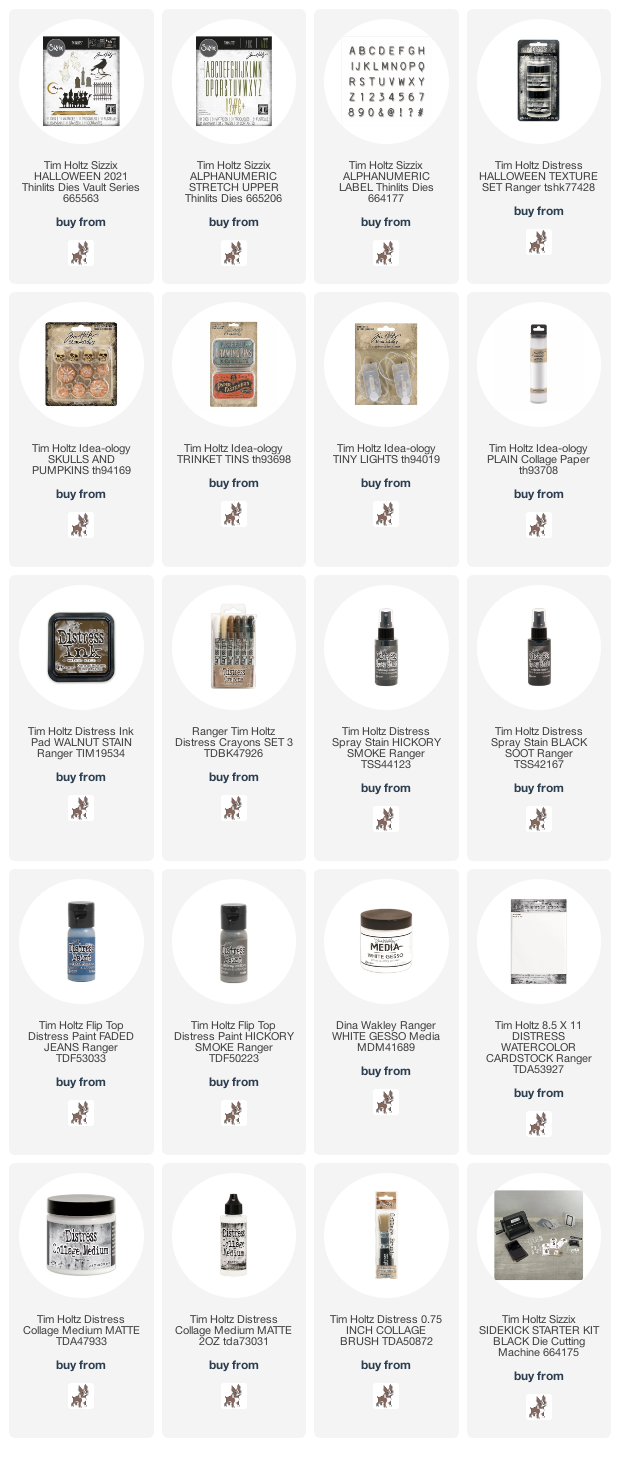
affiliate links used at no cost to you


Completely scrumptious with all that stony texture… just don’t ask me to go there after midnight!
Alison x
Fabulous details and I love how you twisted the fence for the added creep factor! Brilliant make❤️
Fabulous, thank you so much for sharing your techniques! 😍🙌🏻
It’s funny seeing your bent and broken fence! I was die cutting the fence and for some reason one of them didn’t cut all the way through. When I finally got it out of the cardstock it looked just like yours! Instead of throwing it away, I said I would use it for a broken fence! Thanks for sharing!
Nice I love Halloween! Still have projects I want to make.
So creeping good Zoe, totally love this.
Especially how you cover the outside.
Thank you so much for the tutorial,
stay safe and have a wonderful day.
Sooo Spooky!!!! I love it!!!
Textural delight! Love this Zoe!