Welcome to the Creativation 2019 – Tim Holtz Blog Hop and Give Away, and welcome to my blog! I’m delighted to have been invited to join so many talented designers on this exciting blog hop hosted by Richele Christensen. If you’ve just come across from the very cool and brilliant Vicki Evans – [dig] that crazy chick blog, you’re right on track! …if you’re completely blog hopping lost, there is a full list of blog hop participants at the bottom of this post.
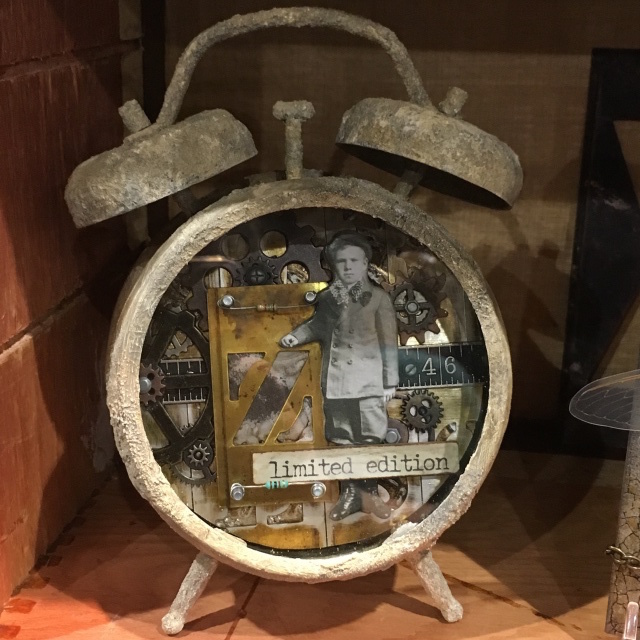
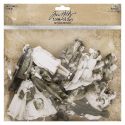
I was lucky enough to make a few samples for the idea-ology booth at this years Creativation with Tim Holtz wonderful new idea-ology pieces. Today I want to share a close-up look at the idea-ology assemblage clock that I altered.
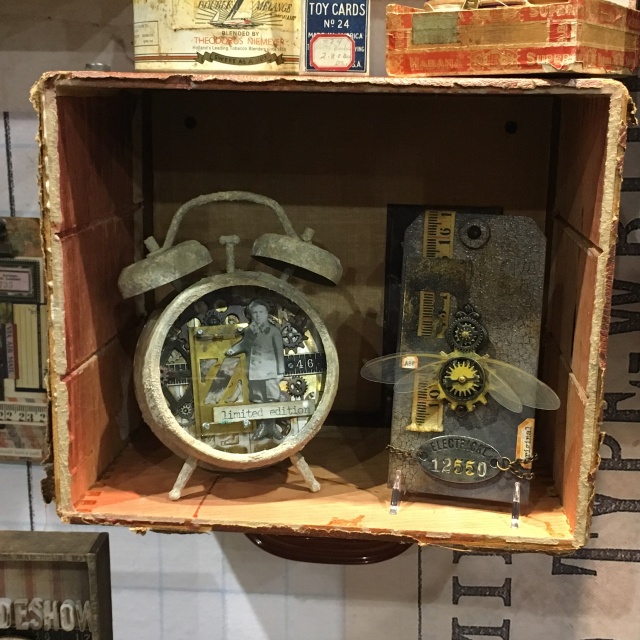
I had a major “pinch me” moment this year when I attended Creativation for the first time, flying all the way from Copenhagen to Phoenix. Not only did I get to share a room with the very cool Vicki, [dig] that crazy chick, but I got to share a display box with her incredible industrial bee tag.
The details…
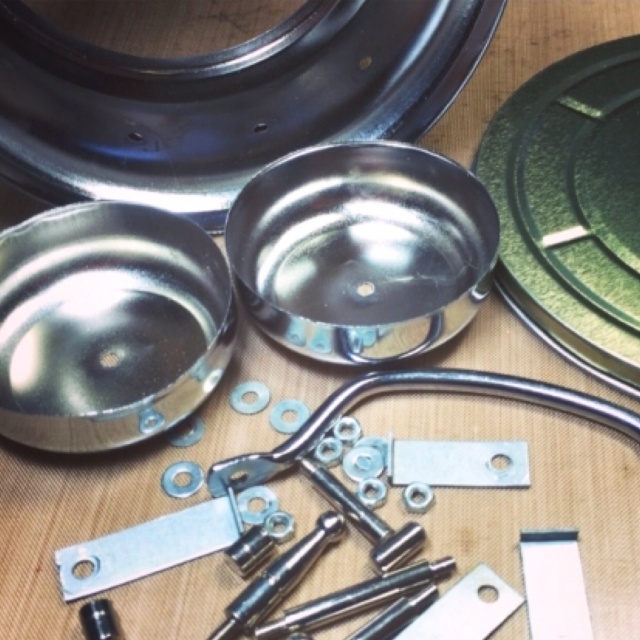
Dissassemble your clock. If it’s the first time, take note of what goes where as you take it apart. I recommend taking photos. The first time I altered an assemblage clock, I had several pieces left over! LOL
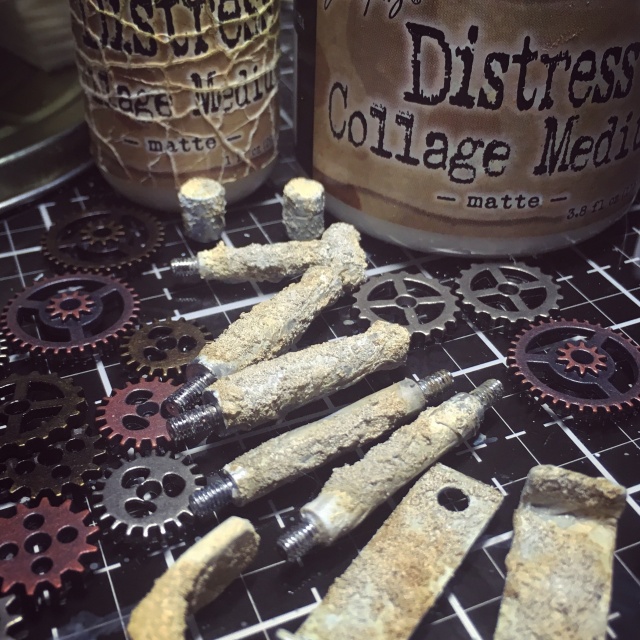
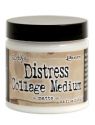
To create this salvaged stone look. Cover all of the pieces with plain collage paper, adhering with distress collage medium. Once dry add distress grit-paste to some areas, leaving some of the collage paper exposed. The areas without grit-paste will still have a textured look because of the collage paper.
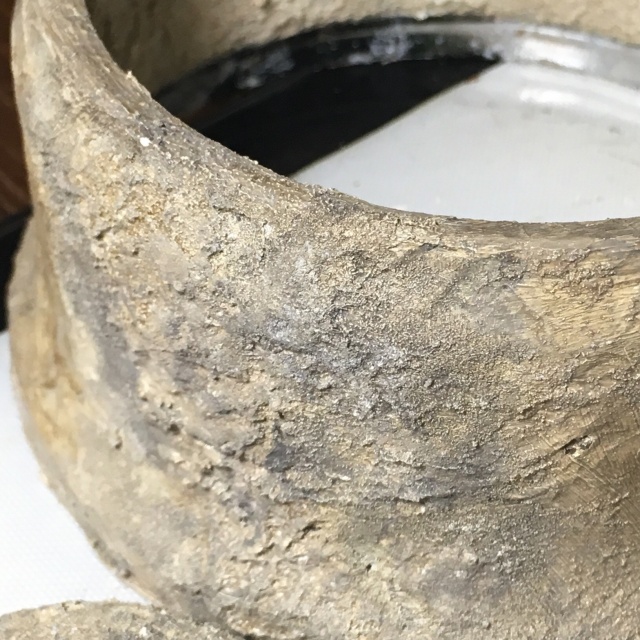
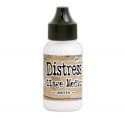
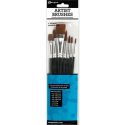
Once completely dry, create a paint wash using frayed burlap distress paint and lots of water. Brush over all the surfaces and allow to dry.
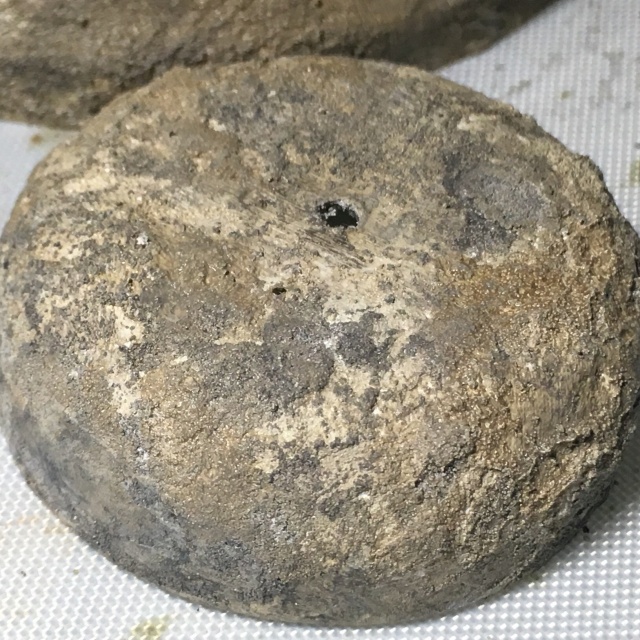
Finally, to add contrast, use pumice stone distress crayon, mixed with water and apply to random areas using a paintbrush.
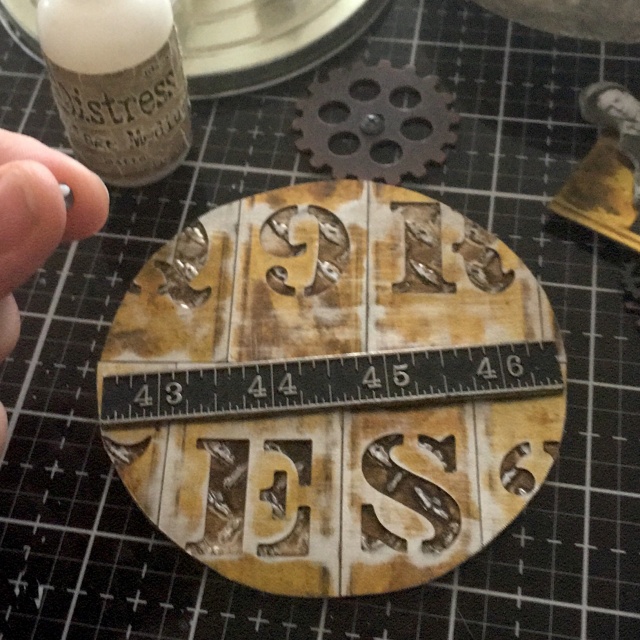
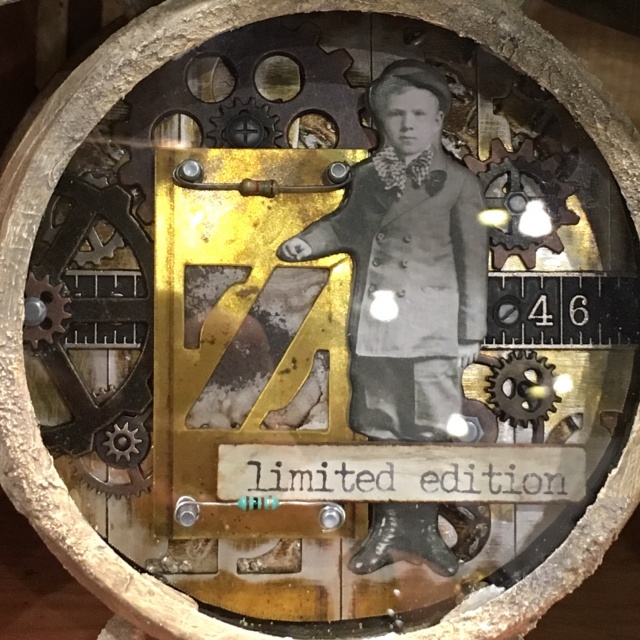
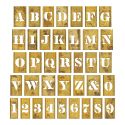
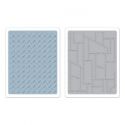
Use the back of the clock as a template and draw around it to create your background. I cut mine inside the lines as I wanted to push the background forward inside the clock. Run idea-ology metallic kraft stock through your die cutting machine with the Tim Holtz diamond plate texture fades folder and lightly sand to expose the kraft layer. Lightly sand the new idea-ology stencil chips and adhere over the top. I LOVE these, they look like metal and when I first received them, I was shocked that they are chipboard. You get a full alphabet and set of numbers in each pack! Cool right?!
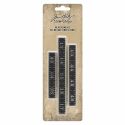
I also added an idea-ology measurements ruler and added the new idea-ology hardware heads to the top. To say I am obsessed with these hardware heads, doesn’t cover it! I won’t tell you how many packs I’ve pre-ordered!
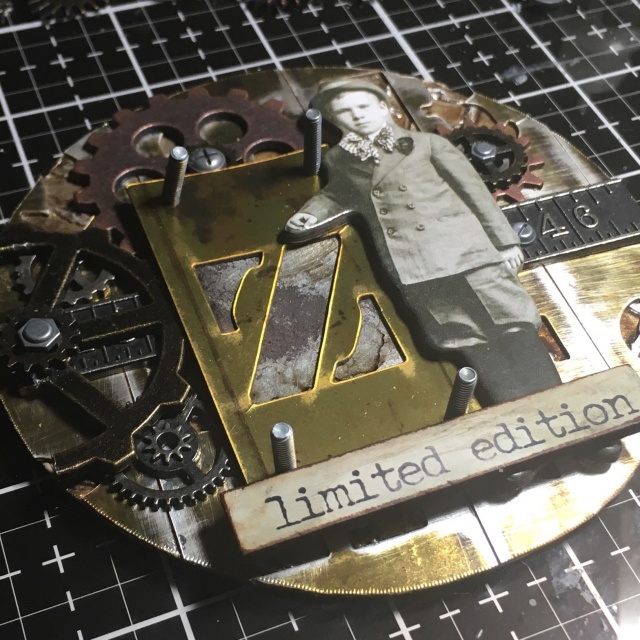
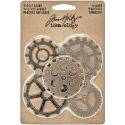
With my base down and glued into place, I started to add gears. I added an assortment from the 3 packs of Tim Holtz idea-ology gears. I cannot get enough of these and probably buy and use more of these than anything in the idea-ology range, (until the hardware heads and date dials were released)! The hardware heads fit with the gears perfectly. I also used the long bolts from the idea-ology vignette hardware findings pack. You’ll see why further down.
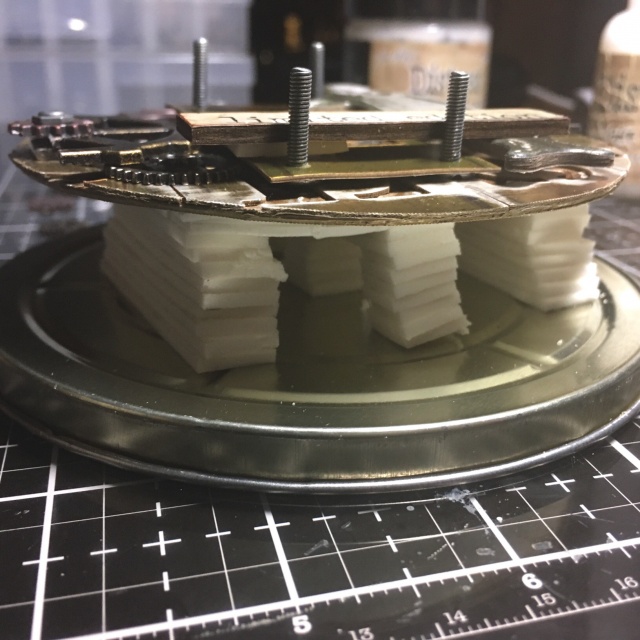
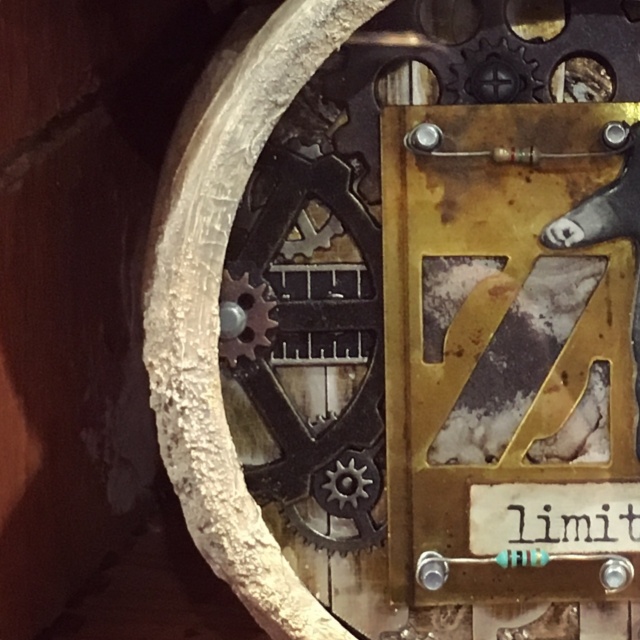
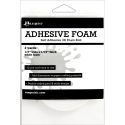
I wanted the background to sit forward and closer to the glass in this clock as the lights at the show can create a shadow. I used layers of foam, adding a layer until I had the perfect height.
Before adding the final touches and the glass, I placed the clock structure over the background to see that it would leave enough room for the internal hardware. The background needs to sit below the holes in the clock casing (as pictured).
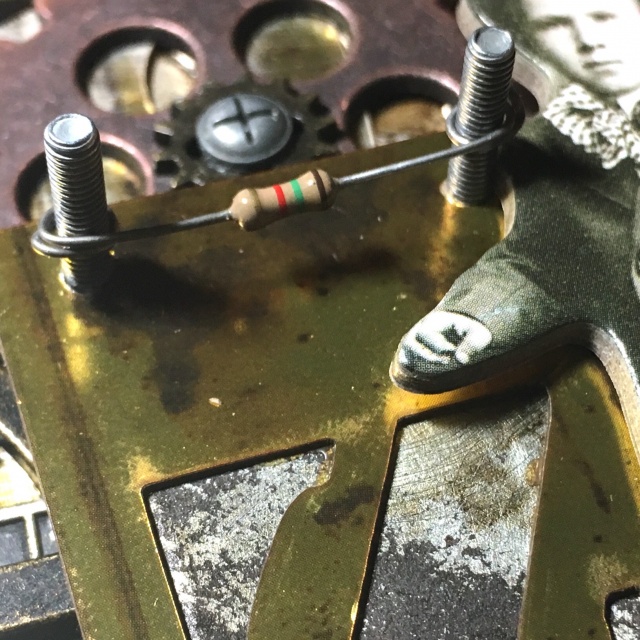
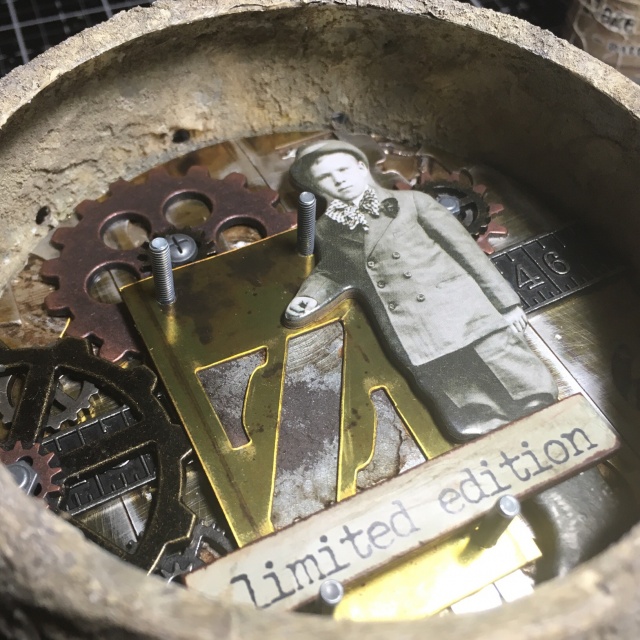
I picked up some fuses from a hardware store and wrapped these around the posts of the upturned bolts from the idea-ology vignette hardware findings pack. Put the glass into place and assembled the clock. Funny story… I carried this in my hand luggage and was mildly concerned that there were going to be some difficult questions about my carrying a clock containing gears and fuses onto an international flight! LOL
Hope you’ve enjoyed this stop on your blog hop. If you haven’t already, check out Tim’s Creativation 2019 recap and booth tours.
Next on this blog hop is the very talented Audrey Pettit.
Zoe x
To be in with a chance of winning a prize. Just leave a comment on all the different blog hop posts for a chance to win! The more blogs you leave comments on, the better your chances of winning.
Comments must be posted before midnight PST on Saturday, February 9th.
Winners will be announced on Sunday, February 10th on Richele’s blog
BLOG HOP PARTICIPANTS…
Audrey Pettit
Bobbi Smith
Cathie Parreco
Cheiron Brandon
Debi Adams
Emma Williams
Jan Hobbins
Jennalee Anderson
Joy Kennedy
Kath Stewart
Mae Nazareth
Mou Saha
Paula Cheney
Richele Christensen
Stacy Hutchinson
Tami Bastiaans
Vicki Evans
Zoe Hillman (you are here)
 |
 |
 |
 |
 |
 |
 |
 |
 |
 |
 |
 |
 |
 |
 |
 |
 |
 |
 |
 |
 |
 |
 |
 |


Girlie! Love how you grunged up the clock with collage paper and then grit paste! Great tip about keeping track of the parts when disassembling it! LOL! The new stencil ideaology is just gorgeous! Well done my friend!
I totally wanted to meet you!!! So sad. Anyway…this little beauty was on point! LOVE the stony texture, just fabulous!
So sorry that we missed each other Anita. Hope we get another chance soon. 🙂
Such amazing texture on the clock – like weathered stone. Fabulous work with all those goodies, old and new.
Alison x
Thank you for the detailed step by step………..I need the stencil chips (desperately) and the hardware heads too!
Just out of interest……….did they search your bag in security?
In the interest of travel security, I’ll leave it up to your imagination. 😉
Zoe — i love the texture you created on the clock and the layers inside are wonderful. I am so looking forward to playing with all of the new stuff!
Absolutely mindblowingly beautiful my friend.
Zoe, you totally rocked the clock! I love all the detailed how-tos to achieve the “look.” Your project and all the projects in the Ideaology booth were fabulous! It was great to see pics from your travels to the show! Thanks for your continued inspirational projects!
WOW! This is so amazing Zoe. The stone texture is brilliant andI love how you wrapped the fuses. Thanks so much for sharing the process with all of us!
This is absolutely BRILLIANT! There is no stopping you when you get an idea in your head, xo! Pure perfection, my dear!!! 🙂
Fantastic dimensional piece. Love all the crusty texture and you have embellished fantastically. The idea-ology booth I always a favourite of mine . ❤️❤️
Your work is over the top amazing!
Another one that is absolutely stunning! Love everything about it. The stone treatment is just gorgeous! Love the creativity and the ideas!
Wow Zoe! What a wonderful texture you created on this clock! The inside is fabulous too! Your style and your design are fantastic! You are super talented! Barbara
Absolutely fabulous! I can’t stop watching what you did with te outside of the clock and how the tarnished and stony effect was made. What a fantastic texture!
I saw this on one of the live videos. I actually went and put a clock in my shopping cart at the online store I was looking at. I didn’t end up buying it because I knew there was no way I could pull this off lol. I love it!
Oh no! You should get one, you can do it! If you get stuck, I’ll talk you through it over skype. 🙂
Wow, such amazing attention to detail, and soooo much detail there is. Just an awesome project!!! Thanks so much for the inspiration!
Another wonderful piece of art from Zoe! Thank you for sharing with us!
Zoe I love this altered Steampunk clock, give me gears and I am a happy gal…that being said…the stone effect is absolutely amazing!!! Once again you did an amazing job! Brava!
A right little bomb of grungy deliciousness Zoe! 🌟
It is so hard to imagine that this started out as a shiny metal clock, it looks like properly aged stone! The wrapped fuses was such a clever addition and I just love the metal look ‘Z’. A really fabulous creation.
It did make me smile about the international travel with your clock, I remember causing a bit of a stir with my box full of embossing powders last year, especially the white one! Anne xx
LOL I had little notes left in my checked bags. Better safe than sorry though, I don’t mind them checking, but how they repack it all back into place amazes me!
I just love the way you’ve made the clock look like it’s been underwater for a very long time. This is so gorgeous, I love it. Very clever and creative. TFS!
I’m speechless. Each blog has had the most unique display of wonderful creativity. I’ve doubled my looks on your photos and what a fun master piece ! Love all your inspiration so much. A great blog hop by all. Thanks so much
So glad that you enjoyed the hop and all the blogs. Thanks for visiting mine too. 🙂
That stone finish is jut incredible. It looks so incredibly real. What a great project!!
OMG..love love. I am going to try this. Thanks for sharing.
Love how you achieved such a fantastic grunge effect.
Thank you for the detailed tutorial. I have had this clock for a few months now. I might have the courage to take it apart. I enjoy seeing your projects.
I hope you’ll share your clock once you’ve altered it. 🙂
What an amazing project! Love the stone effect you created. Such a unique and fabulous creation.
The grit paste technique is amazing!
Love the stone texture!
This is fantastic! I can’t wait to try it! Thanks so much
WOW, love your project using Tim’s products. This will be a great hop.
Wow, amazing work, amazing piece! I love all the texture. Thank you for sharing and inspiring..
Adore this Zoe! Fabulous texture on the outside of your amazing altered clock and love all the fabulous layers and details inside, a real work of art (and happy to hear you made it through customs unscathed!!). Thanks so much for sharing it, Deb xo
You bring new meaning to the clock assemblage. I have only one word for your project…WOW!
Love the amazing texture on the clock. Thanks for sharing!
This was one of my favorite pieces from Creativation. ❤️
Amazing how creative and out of the box thinking this was. Wonderful results
such amazing grit texture on the clock. All the layers and details added so much to this project. keep on sharing you inspiration with all of us.
WOW! What a fantastic project!
Bravo Zoe c’est superbe !
Love, love love!!
Looks like crusty old cement, love it.
wow! What a great project and tutorial. Love the elements you chose!
Terrific project! You win the award for outstanding use of paste medium.
WOW – what a great project and tutorial. Love all the elements you chose
How you grunged up the clock with collage paper and then grit paste is so creative! Great tips in this project too! this makes a great gift!! All in all just gorgeous! Rose
Wow! So intricate and detailed; love that you added the fuses. I had no idea that they could add a pop of color!
love your clock Zoe, and all your step out. thanks as always for sharing.
I have one of these clocks languishing in a cupboard, great to get some inspiration from you. I need to get it out and create.
Yes! Do it! It’s hours of fun just playing around with how you’re going to decorate them. Have fun. 🙂
Very cool