I am delighted to have been asked to make some samples for the Tim Holtz inspiration series. If you follow Tim on facebook and instagram you may have seen the inspiration series with projects by lots of talented designers. There’s a recap each Saturday on Tim’s blog.
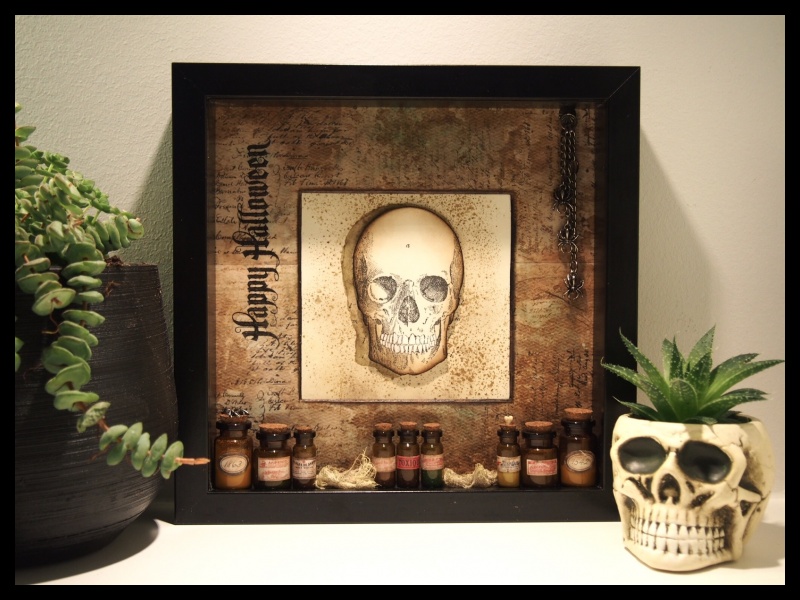
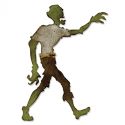
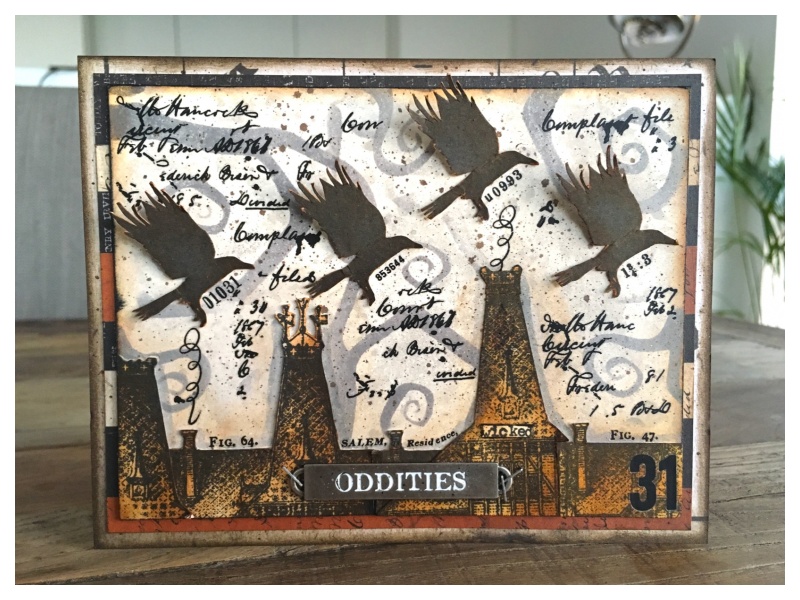
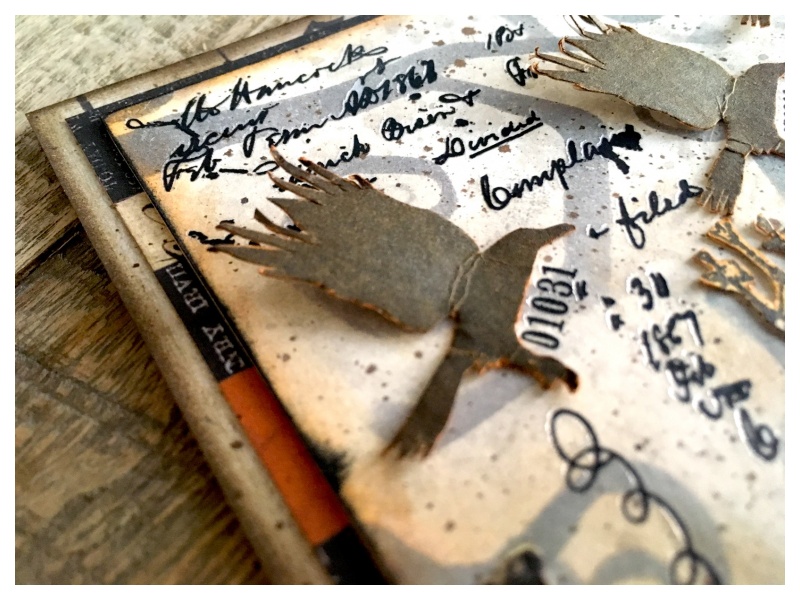
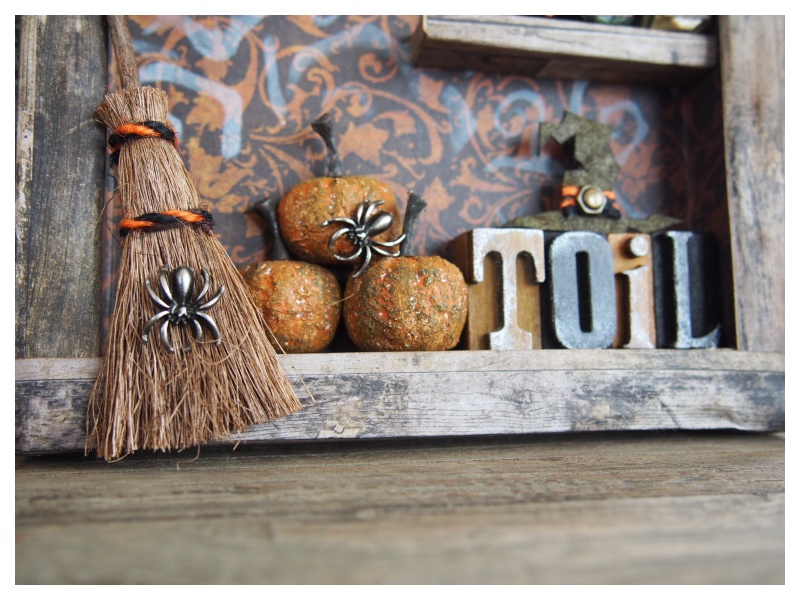
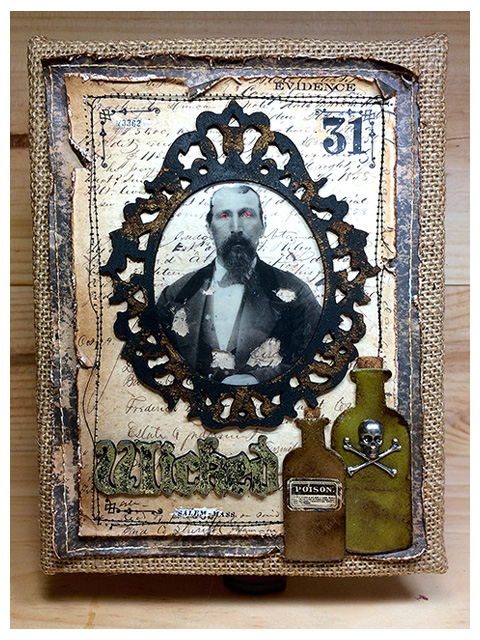
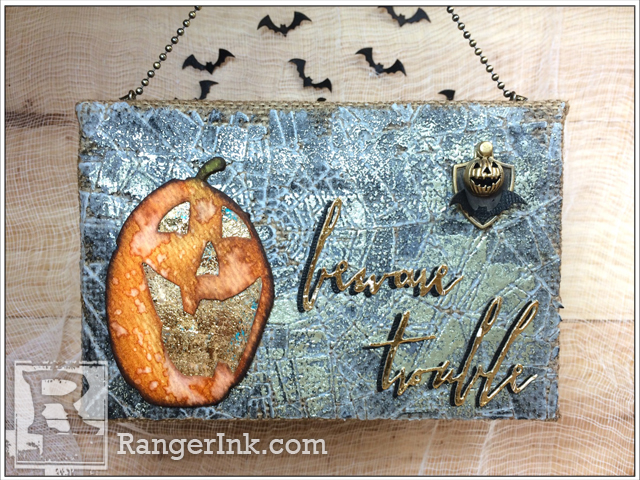
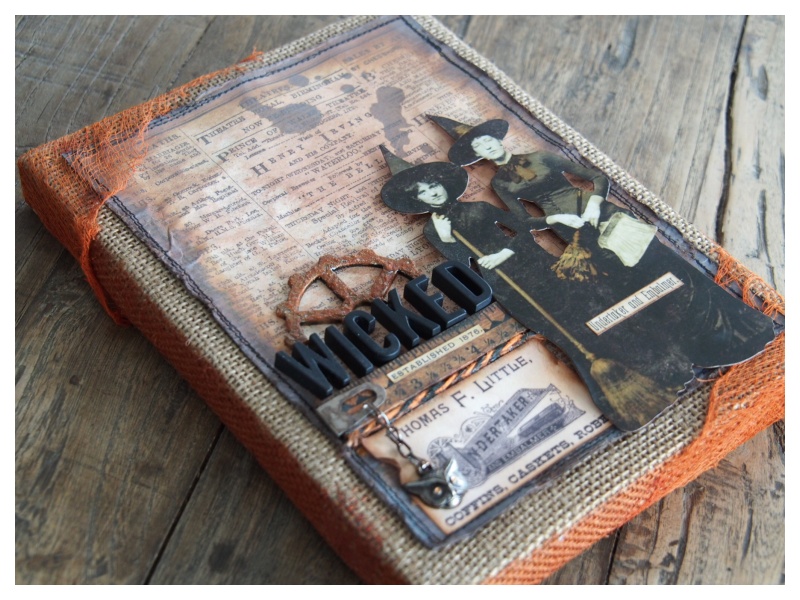
Today I am sharing a home decor piece that I created for the inspiration series featuring these wicked sisters…
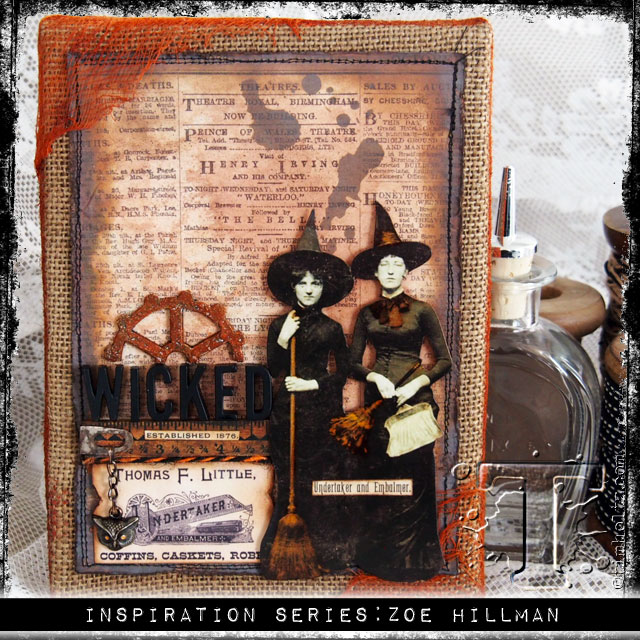
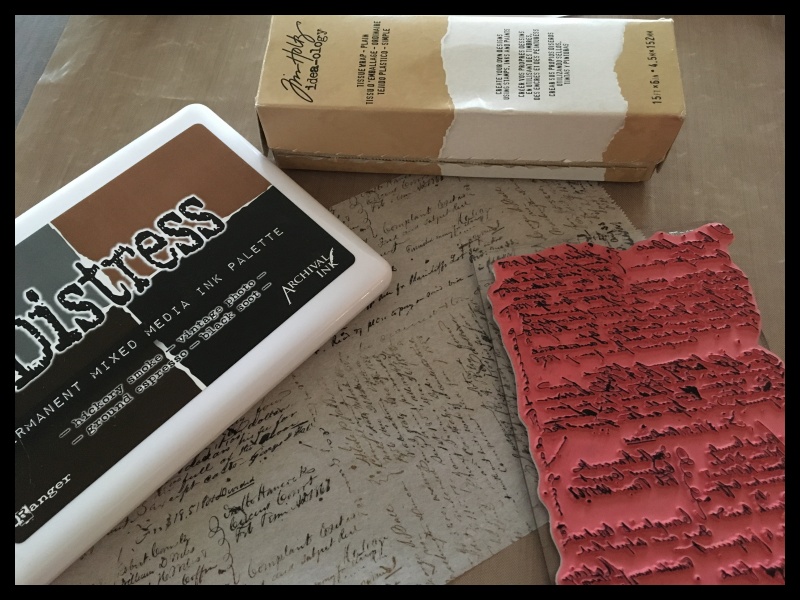
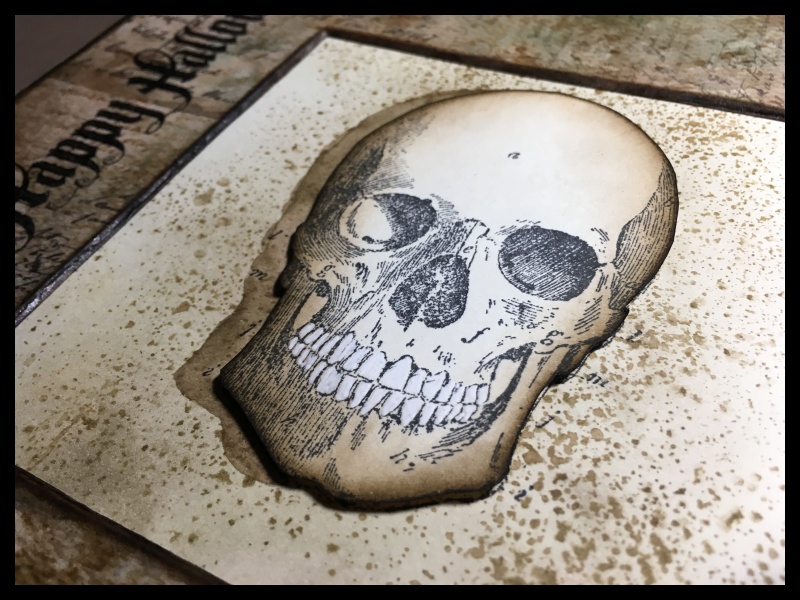
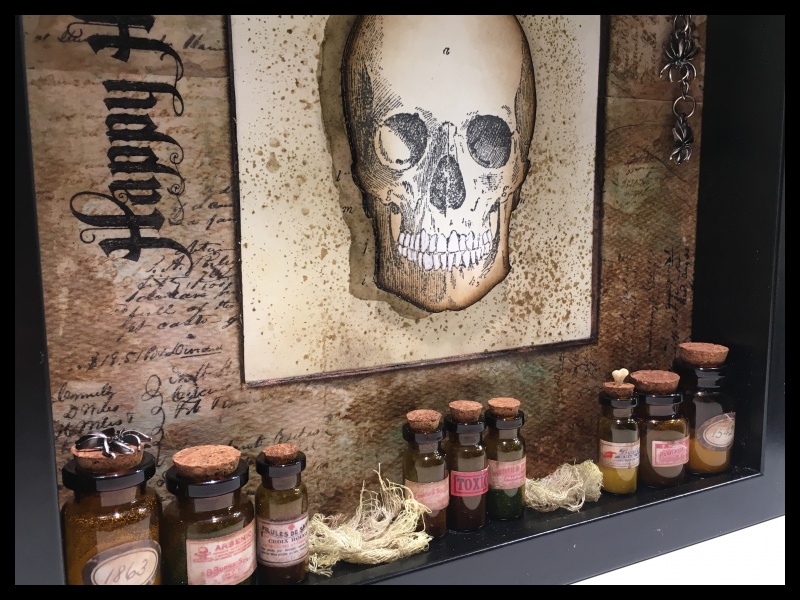
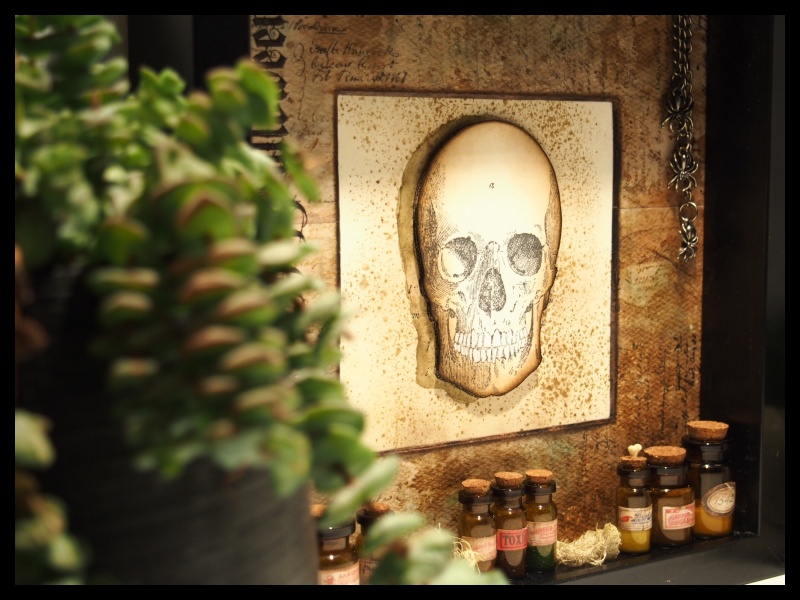
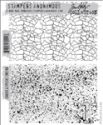
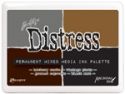
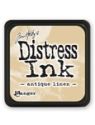
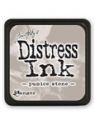
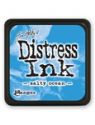
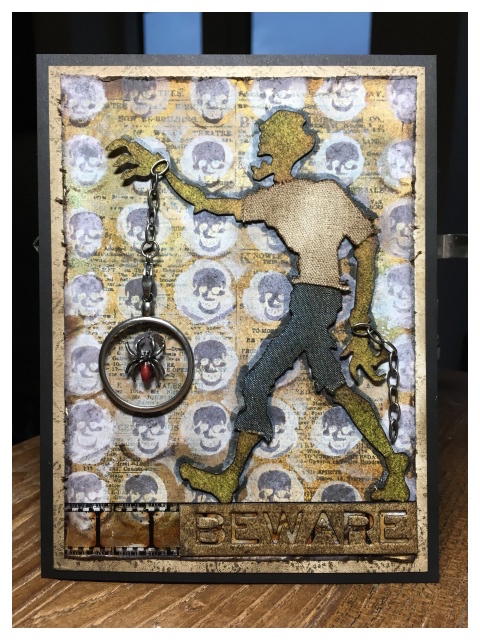
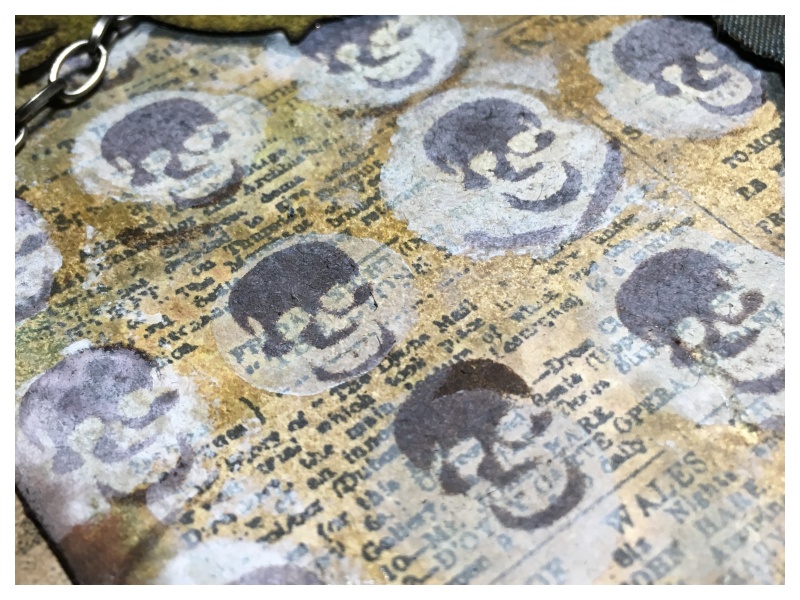
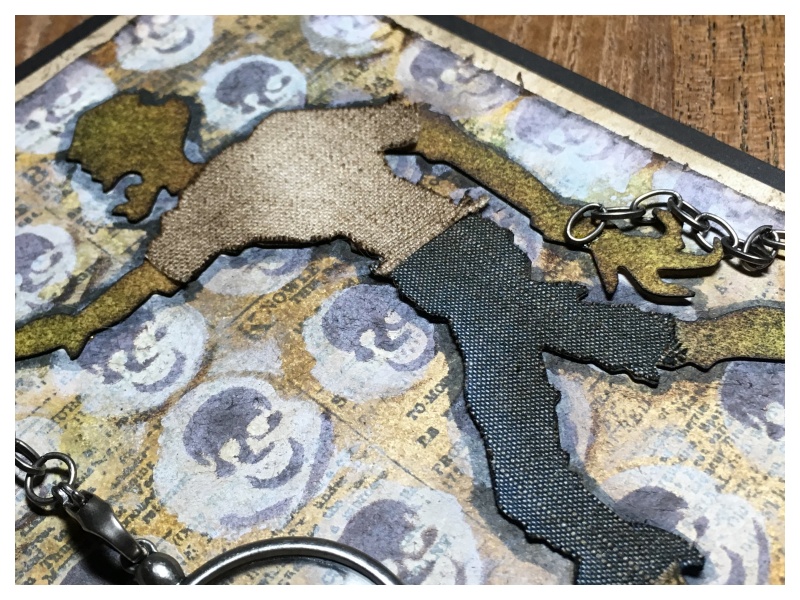
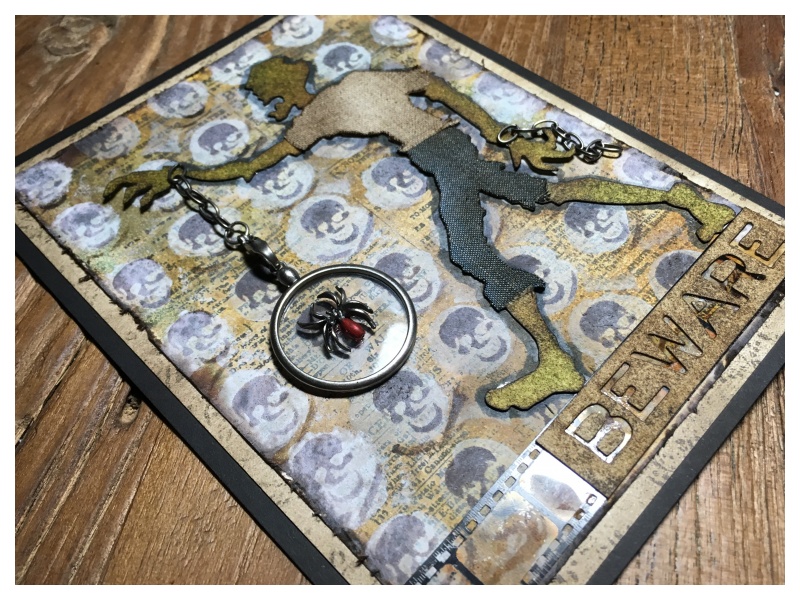
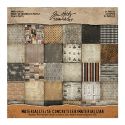
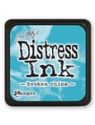
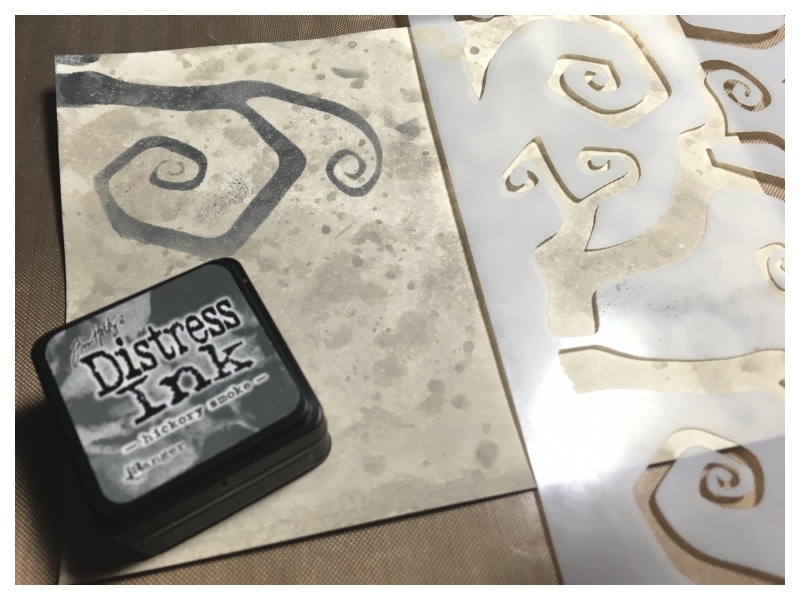
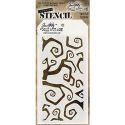
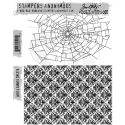
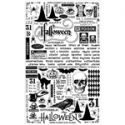
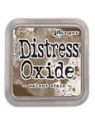
I covered a burlap panel with a sheet of paper from the Halloween mini stash. Created a background wash with water and rust alcohol ink. Blended walnut stain distress oxide through a stencil and around the edges. Stitched with a sewing machine and adhered to the background.

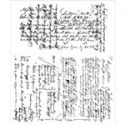
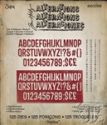
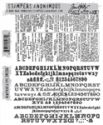
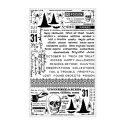
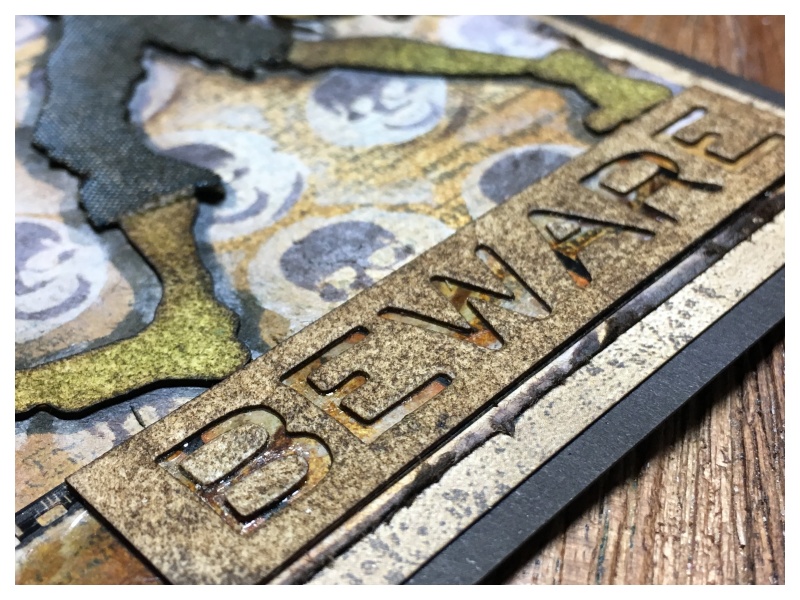
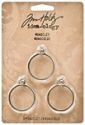
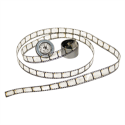
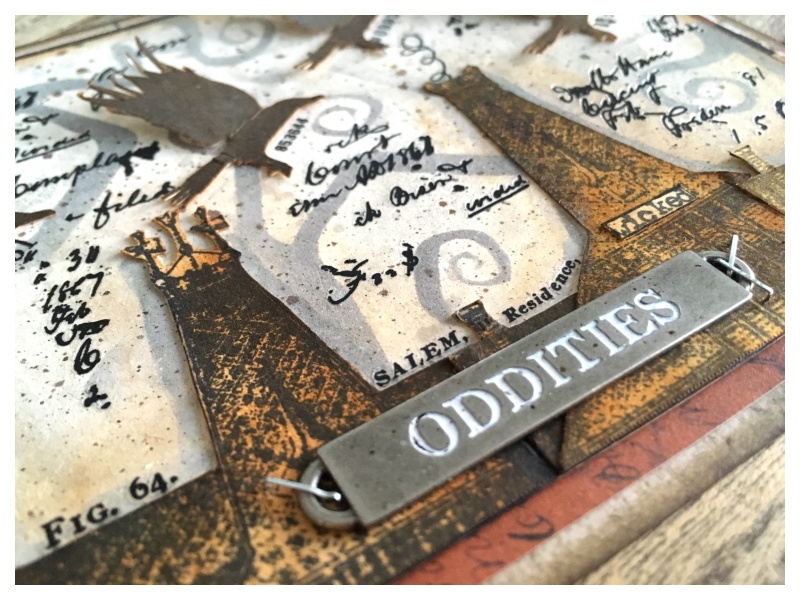
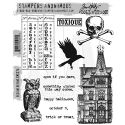
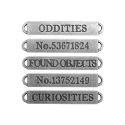
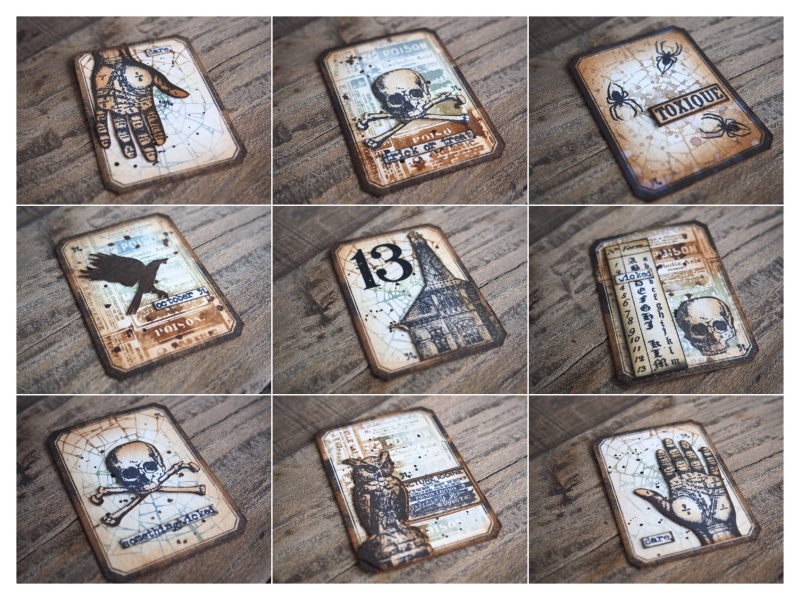
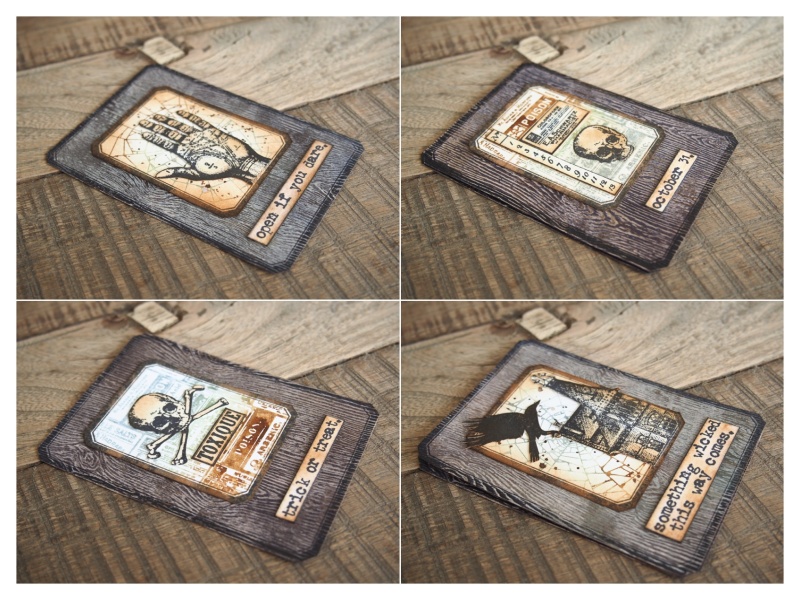
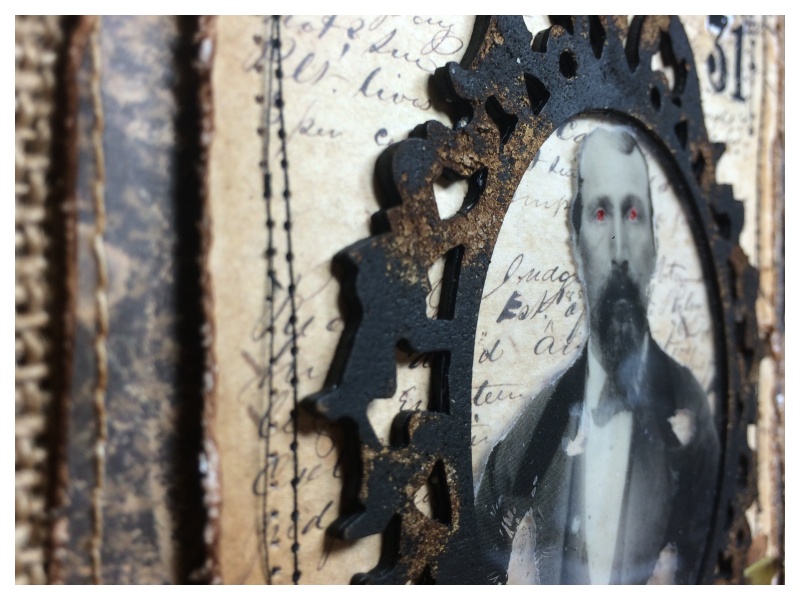
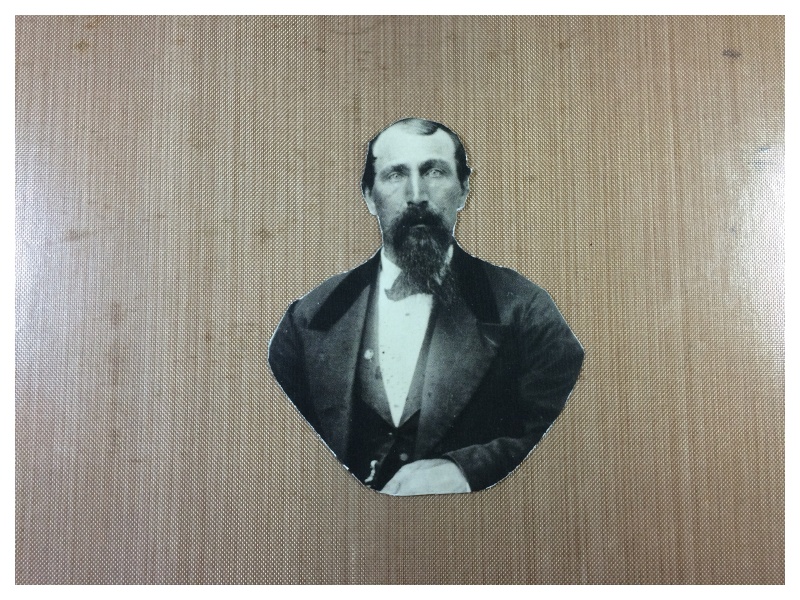
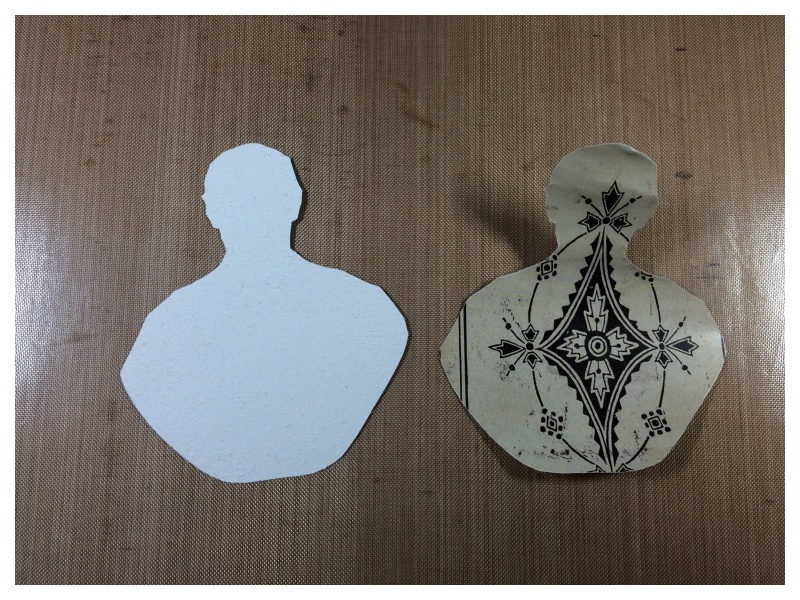
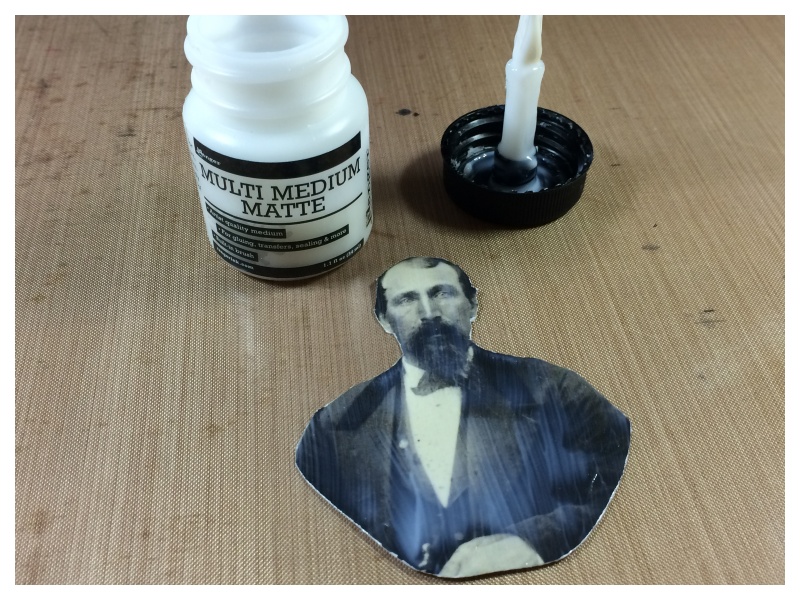
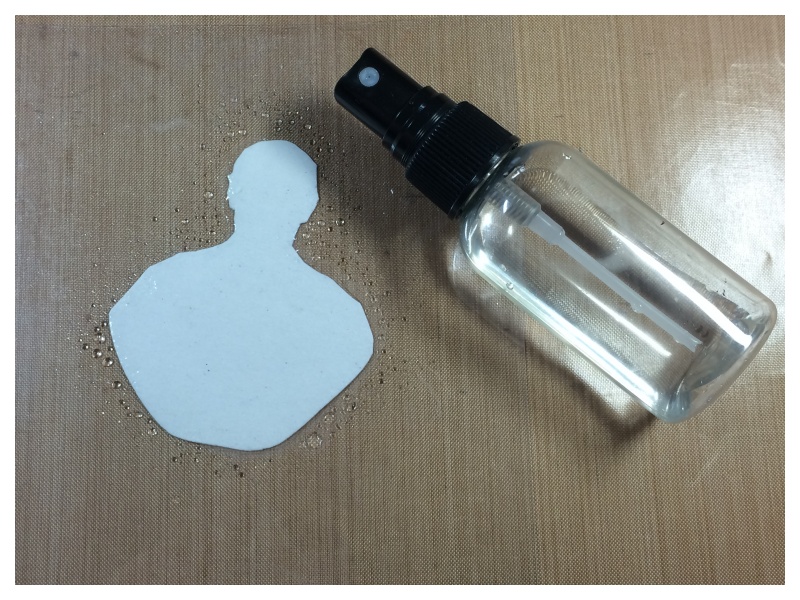
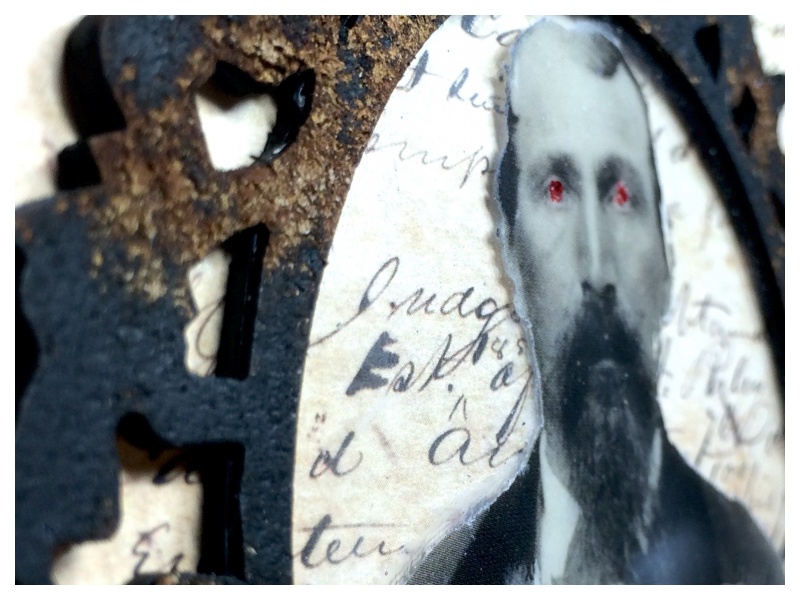
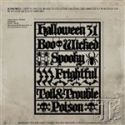
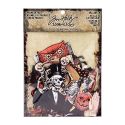
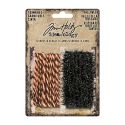
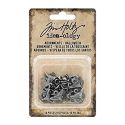
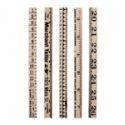
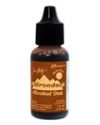
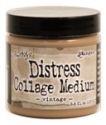
The new Halloween typography is fantastic for spelling out themed words, such as “wicked!” The Thomas F. Little Undertakers ephemera is from the new Halloween ephemera pack, torn and inked at the edges. I stained a ruler with collage medium vintage! CONFESSION: this was my first time using it and WOW! I added an adornment index clip, weathered with alcohol ink and archival ink and added a halloween clippings sticker, (addicted to these). Added a piece of twine from the halloween trimmings to give a pop of colour amidst the brown. 😉
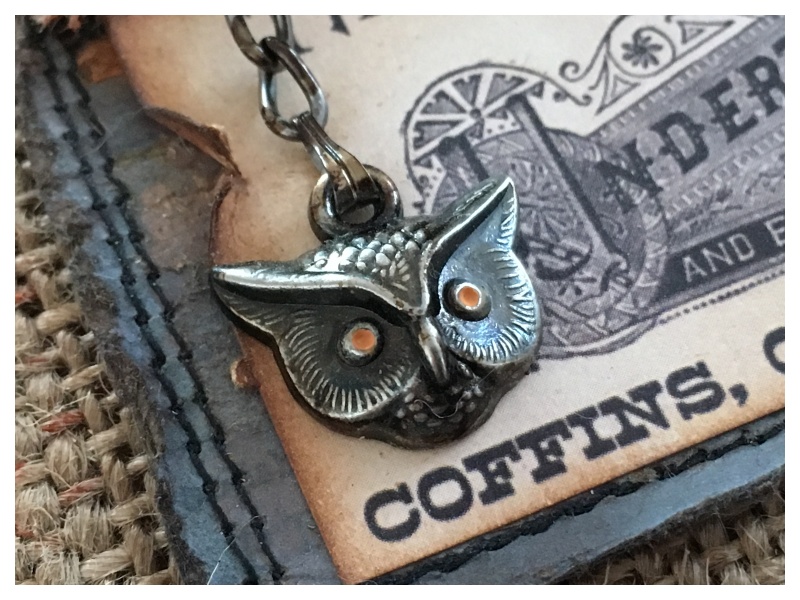
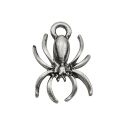
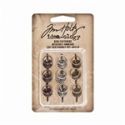
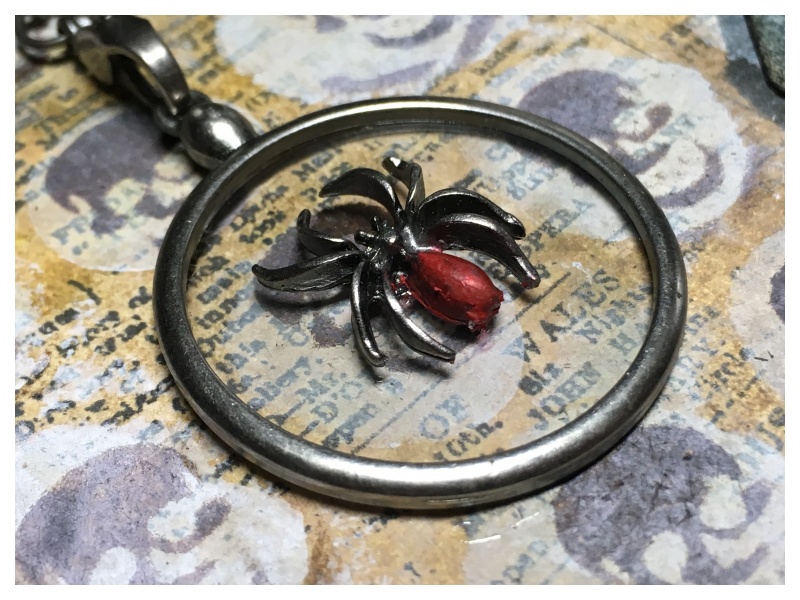
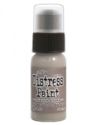
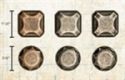
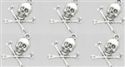
The detail on these owls from the adornments halloween set are incredible. I covered it with black soot distress paint and when almost dry, buffed off the raised portions with a soft cloth. Then added rusty hinge distress paint to the eyes using a pin. I added mushroom alcohol ink to the chain, hanging from the index clip, to take off the shine. Mushroom alcohol ink makes everything vintage, I love the stuff!
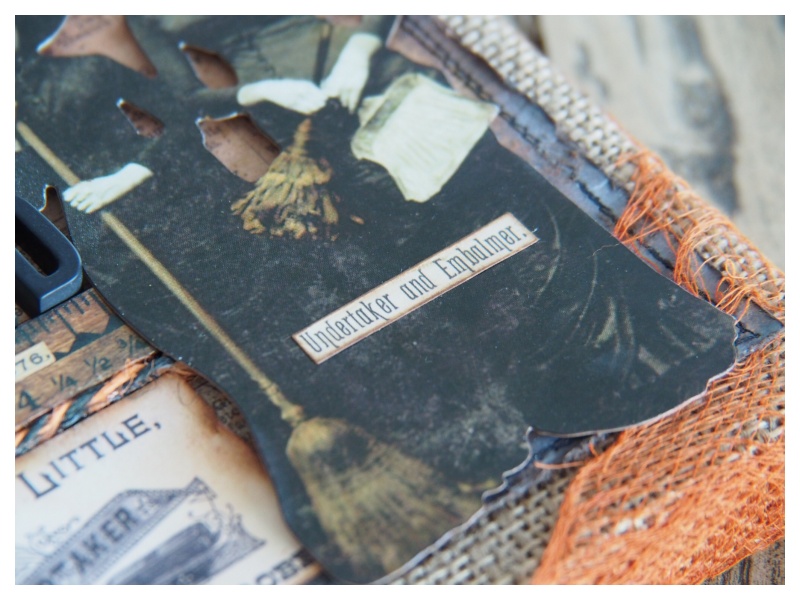
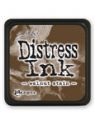
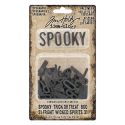
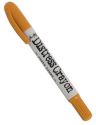
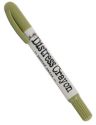
I love adding these clippings stickers to my cards and projects. I admit to having stocked up on the Halloween ones and plan to use them throughout the year. I just love the layer of comedy they add and adhered mine to the witches from the paper dolls ancestors pack. Added rusty hinge distress marker to their brooms and witch hat bands.
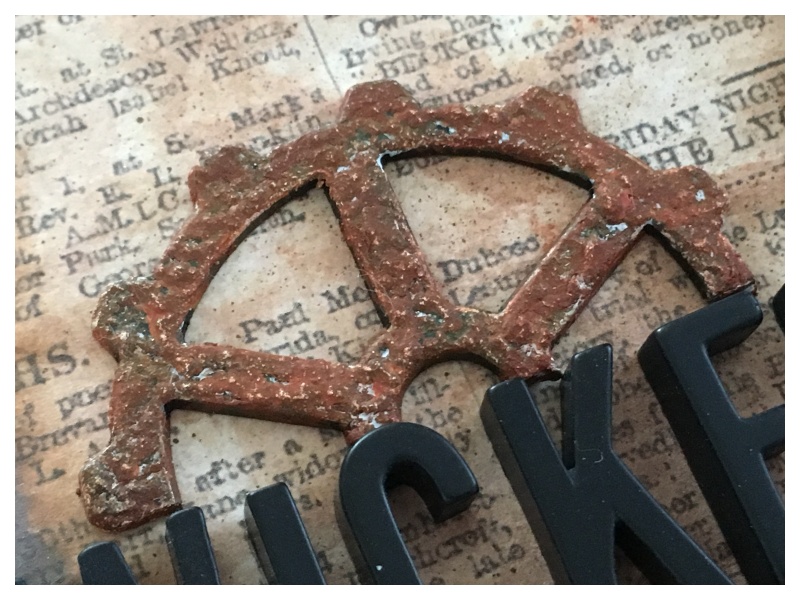
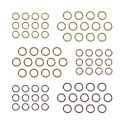
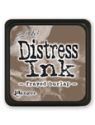
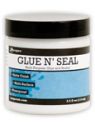
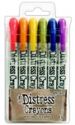
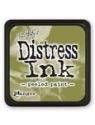
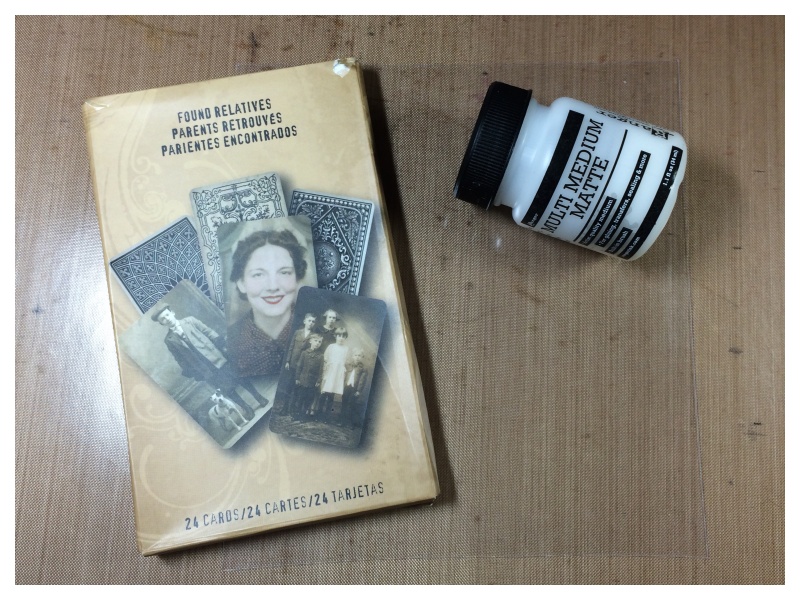
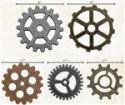
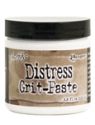
Thank you to my dear husband, who sawed through these large idea-ology gadget gears for me, which I added grit paste to the gear and once dry, went over it with rusty hinge, peeled paint and walnut stain distress crayons. I finally “stepped away from the glossy acccents” and tried collage medium matte and was very impressed, that gear is stuck down tight and the excess glue shrunk when it dried, so no glue residue around the gear!
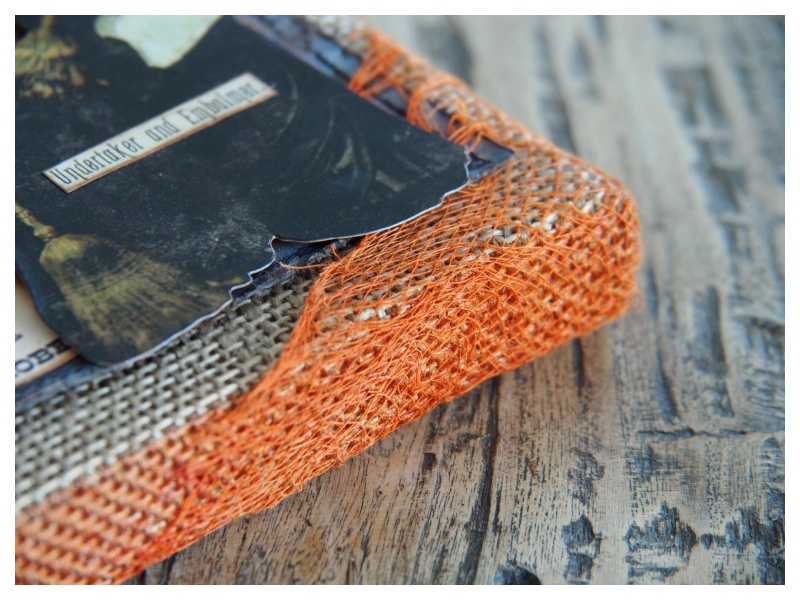
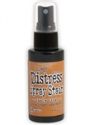
For the final touch I added some cheesecloth stained with rusty hinge distress spray to the corners of the burlap panel with collage medium matte and edged the burlap panel with rusty hinge distress paint.
I hope you like my burlap panel and have been enjoying the inspiration series so far, don’t forget to check out the other designers projects and cards from the series. Thanks to Tim, Paula and Mario for inviting me to be part of this amazing experience and to you for stopping by.
Cheers
Zoe x
 |
 |
 |
 |
 |
 |
 |
 |
 |
 |
 |
 |
 |
 |
 |
 |
 |
 |
 |
 |
 |
 |
 |
 |
 |
 |
 |
 |
 |
 |