Hello Friends! If like me you LOVE Distress you will have seen Tim Holtz launch new Distress Archival inks and Distress Embossing Glazes in some of the best loved distress palette on Saturday. You can watch the replay and Tim demo lots of cool techniques, plus all of the inspiration makes over on Tim’s blog.
I LOVE Distress Archival Inks and I’m so happy that Tim and Ranger have released some more. When I clapped eyes on Frayed Burlap I gasped! This is going to be added to my most used distress archival inks list, but of course I needed a swatch for every new color!
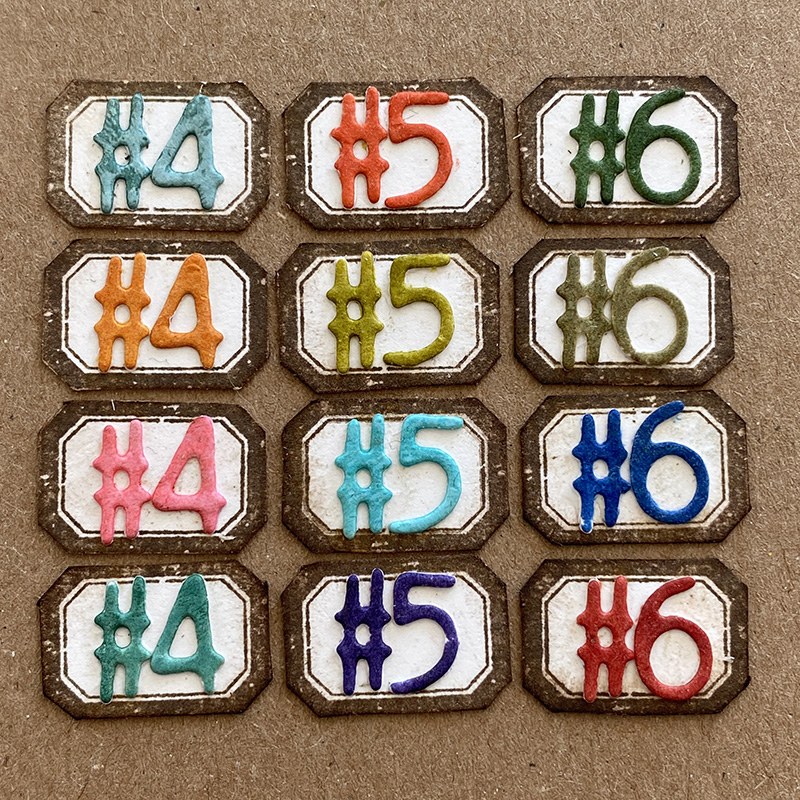
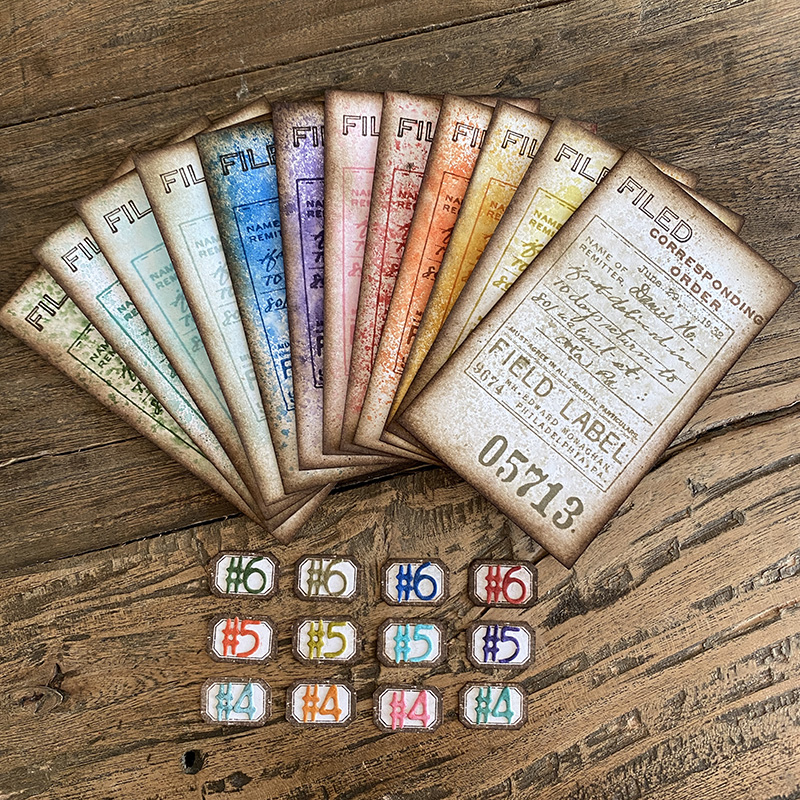
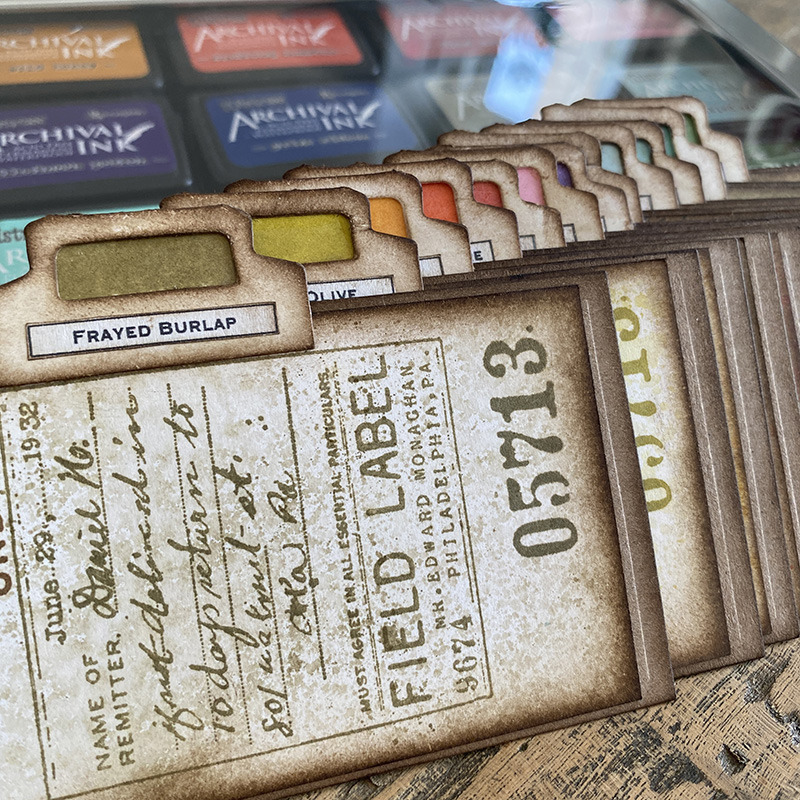
I created some labels so I would know which kit each ink pad came from. I stamped the tiny label from Mini Halloween 3 stamp set CMS140 in ground espresso distress archival ink and fussy cut. Die cut hashtags and numbers from distress white heavystock using alphanumeric label thinlits die set. Covered with distress archival ink by pressing the ink pad directly on top of the die cut. Assembled using distress collage medium.
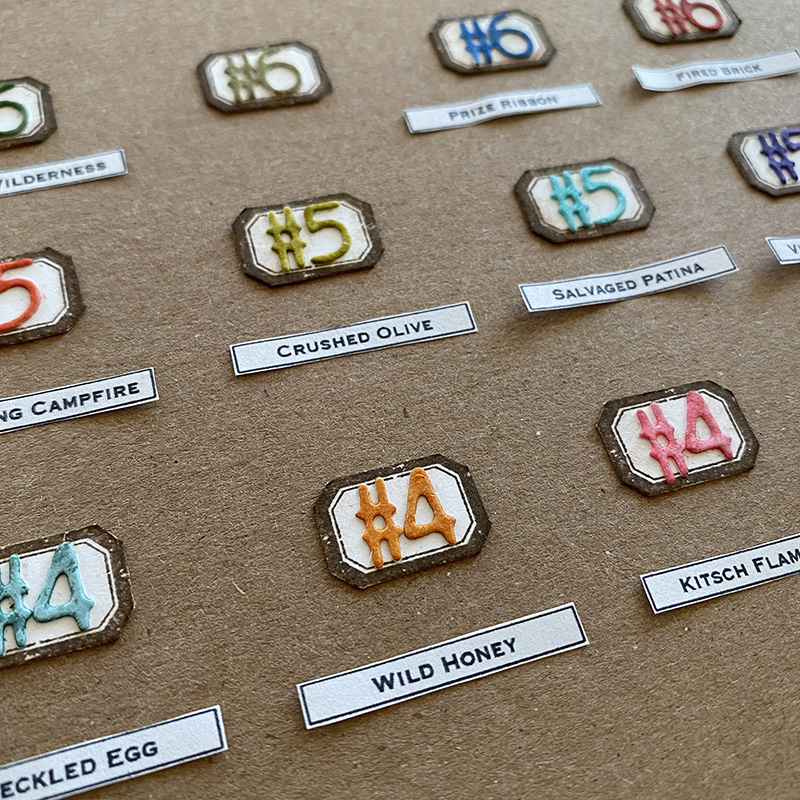
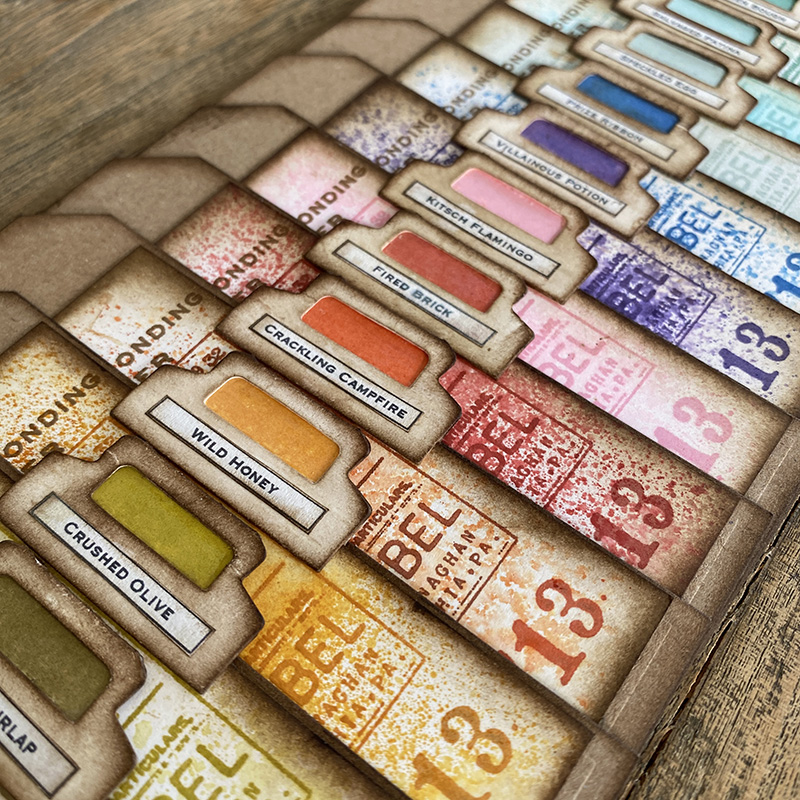
I printed some tiny labels to add to the index tabs. These are printed onto inexpensive copy/printer paper. I added a border to make it easier to fussy cut the labels. Ranger have printable labels for all you distress products so you can get nice and organized.
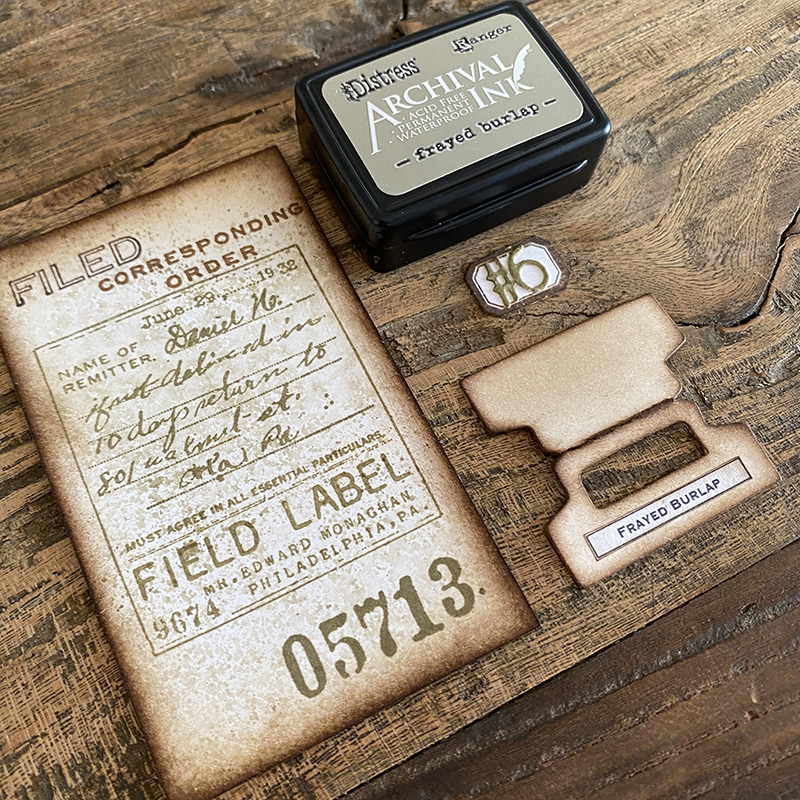
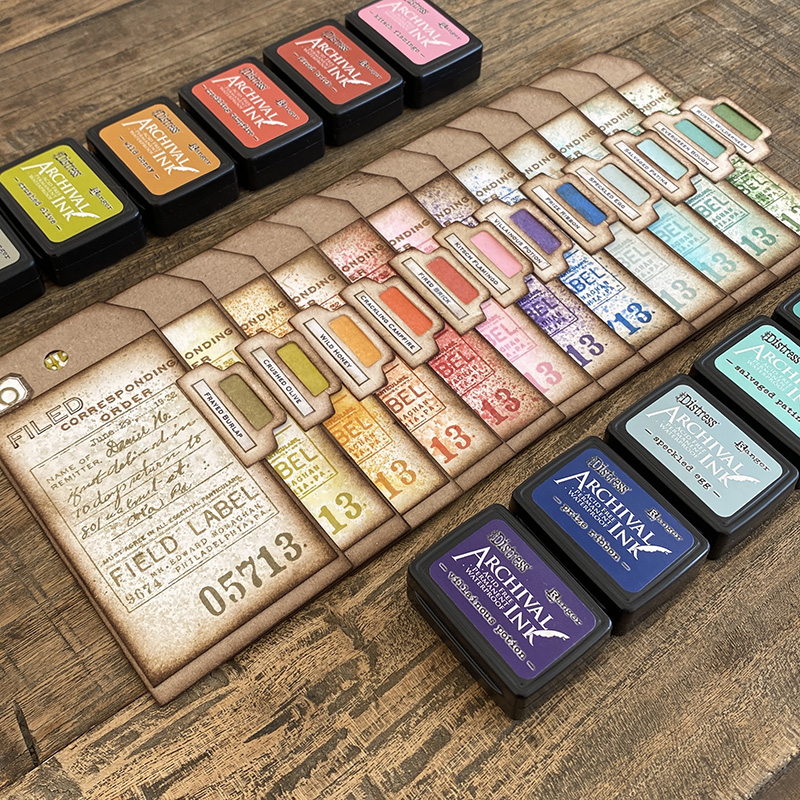
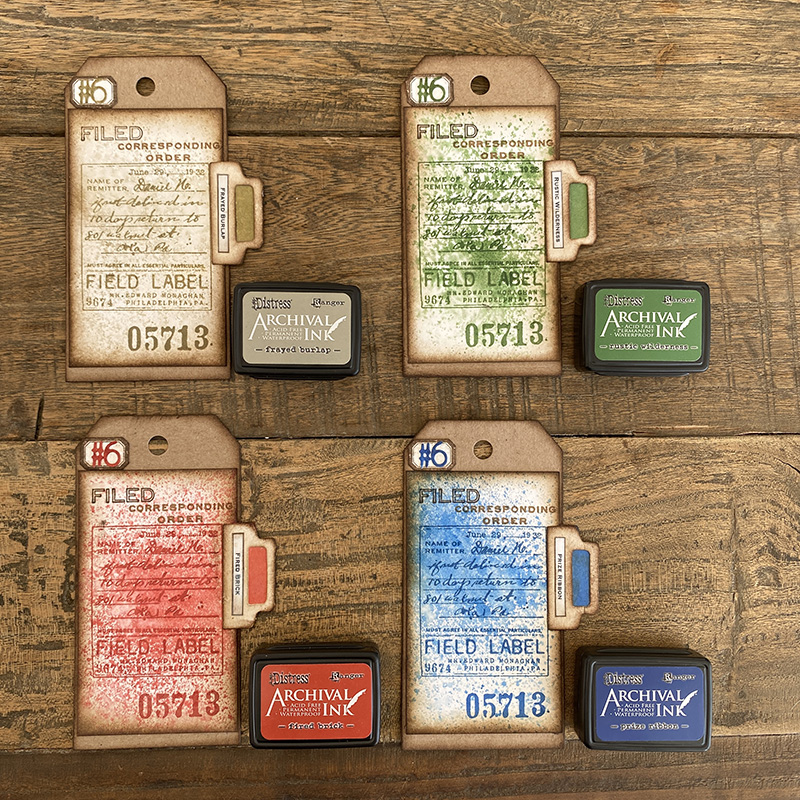
To create the index card I cut a piece of card from distress white heavystock 2.25 x 3.75 inches, spritzed with water, one spray of frayed burlap distress spray ink and blotted with a paper towel. Gave it a blast with my heat tool and then stamped with frayed burlap distress archival ink with stamps from the Field Notes stamp set CMS396. To add contrast I stamped “FILED” and “CORRESPONDING ORDER” in ground espresso distress archival ink.
I sprayed each card with the corresponding color distress spray stain and all the stamping was done with the distress archival ink. It doesn’t matter if you stamp or spray first as the distress archival ink is not reactive with water like regular distress ink. If you don’t have a spray for each color, you could also use a distress ink pad squished onto your craft mat, spritzed with water and dip your index card into the ink wash and pick up the excess ink with a paper towel.
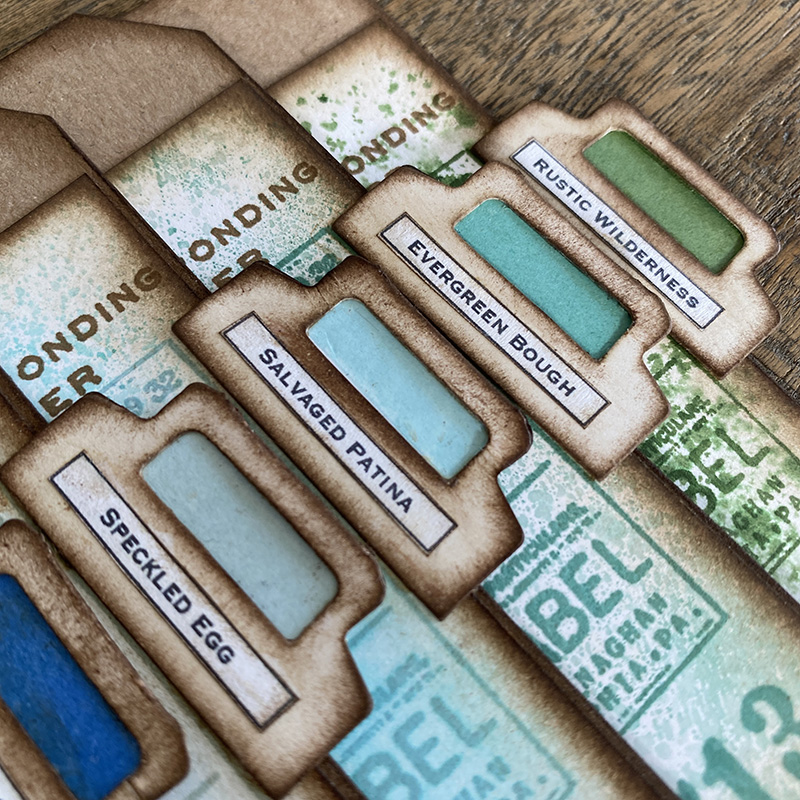
I die cut tabs using the (retired) tiny tabs + tags bigz die from distress white heavystock. I stamped a block of each distress archival ink onto the inside of the tab so it shows under the window, added the label with a tiny line of distress collage medium and use a dry cloth to wipe away any excess glue. Edge with walnut stain distress ink and add to the side of the index card with distress collage medium.
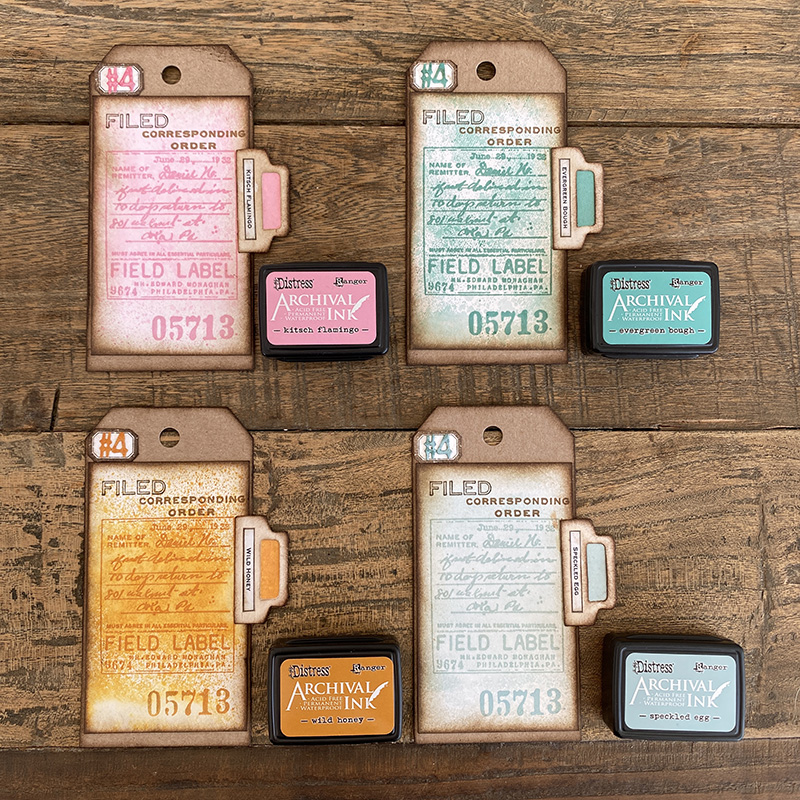
Distress Archival Ink Pad Mini Kit #4
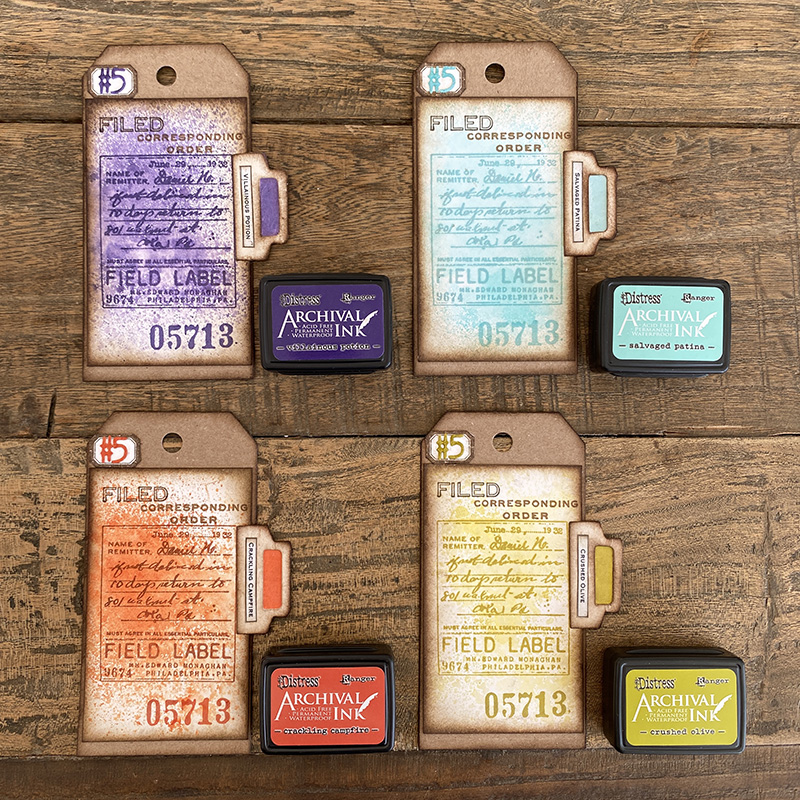
Distress Archival Ink Pad Mini Kit #5
Distress Archival Ink Pad Mini Kit #6
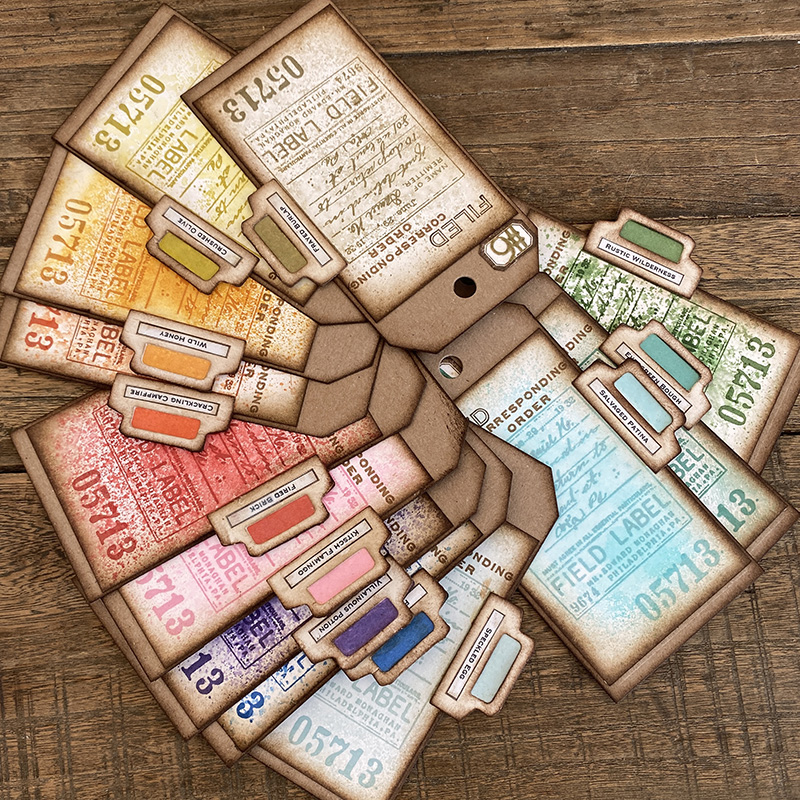
Of course now I have to do the other 12 distress archival ink swatches too! LOL
Thanks for stopping by. I’m excited to try out all the techniques that Tim showed during the LIVE launch. You can see all the details on Tim’s blog.
Zoe
…
affiliate links used at no cost to you


The swatches are little pieces of art, love it! I too love the new little mini’s but haven’t got them where I am yet, but soon.
Happy Tuesday Zoe!!
YASSSSS!!! LOL. Thank you for the written tutorial, I thought it was most likely White Heavystock, but looking at the tabs inked, I was wondering/second guessing my gut. There’s going to be a lot of swatch tags being made because of this post….power to the peeps…
These are fantastic Zoe! Thank you for the tutorial…you know I’m going to make these (or something very similar) as soon as I get the little inks.
My what lovely ideas! These are such a unique and pleasing way to swatch the inks! Great job, and thank you so much for sharing!!
When I first saw these I made a little gasp. LOVE them so much. I hope you don’t mind…i did mine a little different and am patiently…(not so much) waiting for my new colors to arrive to finish up all the Archivals. Thanks so much for such amazing inspiration!!
Beautiful organising inspiration, thanks for sharing the details. x
Zoe, I just adore how organized you are! Organization makes my heart smile as does all of your inspiration of all things “TIM”!
I love what you did Zoe! Timmy tried his best but if someone sold them to me, it is you with your project!
Thank you so much for these great ideas! I appreciate the link to the Ranger downloads. How do you store/file your indexes? These are too beautiful to be hidden in away!
Thank you so much for these great ideas! I appreciate the link to the Ranger downloads. How do you store/file your indexes? These are too beautiful to be hidden in away!
I really love this idea! TFS! Now I want to do this with all my archival & distress inks!
Totally love how you made the swatches for the new Archilval colours.
While reading I wondered if you have done this with the other 12 also but you told it yourself later on in this awesome tutorial. More work for you LOL.
Thank you so much for sharing, stay safe and have a wonderful day.
This is an absolutely amazing idea! Looks so good! You’re such a big inspiration! Thank you so much ❤️