September, 2015

  1. Frilly & Funkie Chalk It Up

    30th September, 2015 by iGirlZoe

    I’m excited to share my first project as part of the design team over at Frilly and Funkie Challenge Blog!

    This challenge is hosted by Shelly Hickox (Stamptramp), who has chosen the theme CHALK IT UP …Shelly Says,”Chalk is such a versatile medium and we want to see how you can use it in your vintage or shabby chic creations. You can choose faux chalk technique, chalk inks, powdered chalks, or even a stick of chalk – it’s up to you!

    iGirlZoe: Chalk It Up
    I chose the faux chalk technique using antiquities frosted embossing powder on a frame mounted to an altered Tim Holtz idea-ology burlap panel. My current design obsession is apothecary, so I wanted to create a little vintage pharmacy.

    iGirlZoe: Chalk It Up
    The apothecary bottles and tiny vials from Tim Holtz’s idea-ology range are my absolute favourtie, so I had to use some. The burlap panel is the perfect depth to stand the bottles. I covered some with alcohol inks and some with distress crackle paint. The labels are from the apothecary vials set. The frame, label pull label and signage behind the bottles were stamped with stamps from the undertaker set.

    iGirlZoe: Chalk It Up
    I took inspiration from Paula Cheney by trimming the burlap and covering the edges with paper. For some final touches, I added an idea-ology clock key to the side of the burlap frame and an idea-ology heirloom rose covered with alcohol ink on a fussy cut found relatives card.

    Thanks for stopping by and take a look at the Frilly and Funkie challenge blog to see the rest of the DT’s projects. All the products I used for this project are available from The Funkie Junkie Boutique.


  2. Ghostly Halloween Mixed Media Canvas

    28th September, 2015 by iGirlZoe

    I’m excited to share my guest tutorial over at Ranger Ink today with a step-by-step Halloween themed mixed media canvas.

    iGirlZoe: Ghostly Halloween Mixed Media Canvas
    I hope you will take a moment to stop by and take a look. There are lots of step-by-step tutorials from other guest artists in the Ranger Ink Project Library.

    I’ll be back on Wednesday with my first design team project for Frilly & Funkie.


  3. Undertakers Parlor

    26th September, 2015 by iGirlZoe

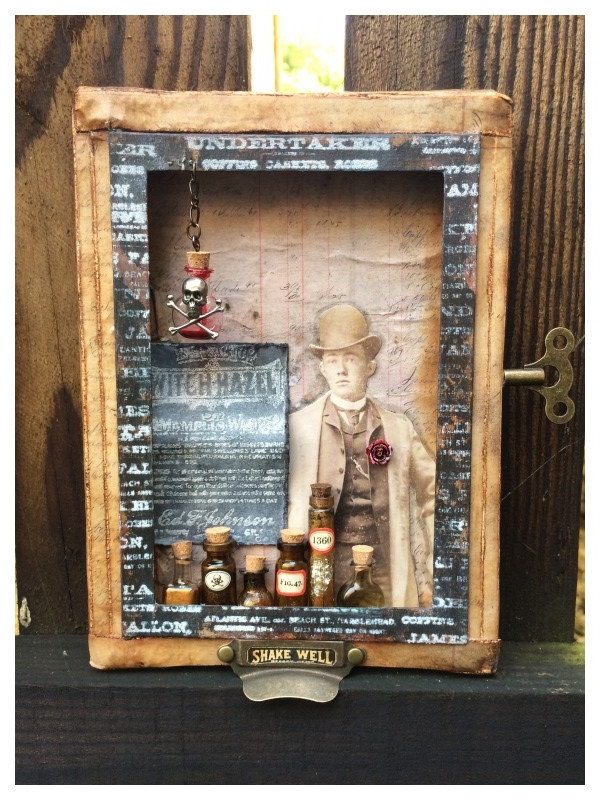
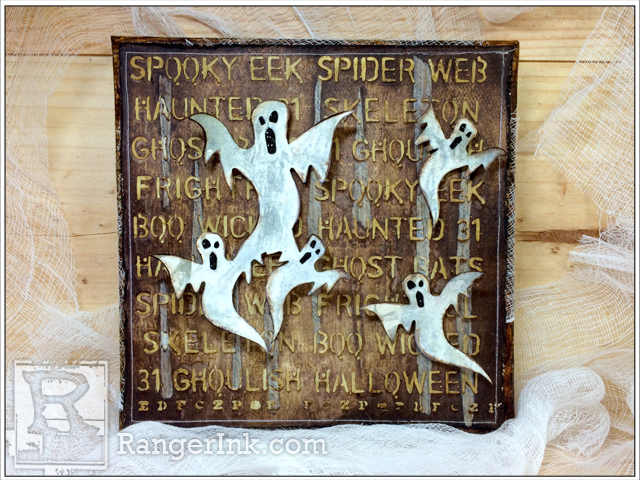
    I’m very excited to share my second contribution to the Tim Holtz Halloween Inspiration series using the new seasonal idea-ology from Tim Holtz as well as the new movers and shapers coffin box die, which is TO DIE FOR, (pun intended)!

    iGirlZoe: Undertakers Parlor

    iGirlZoe: Undertakers Parlor
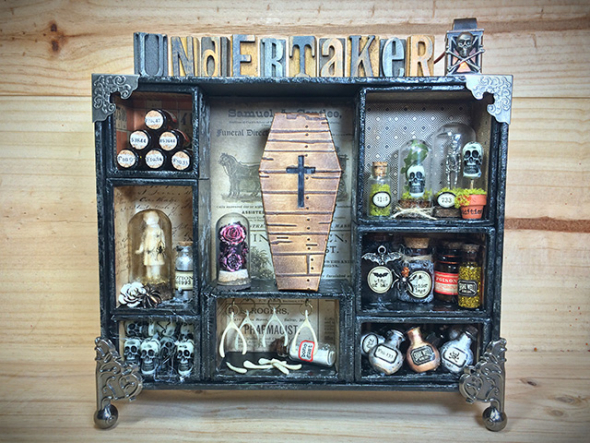
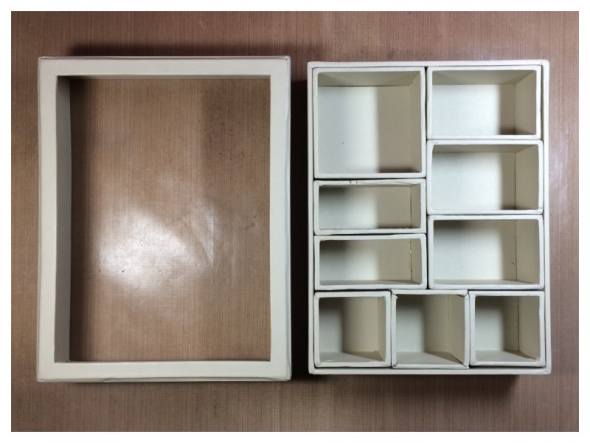
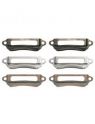
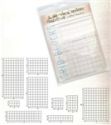
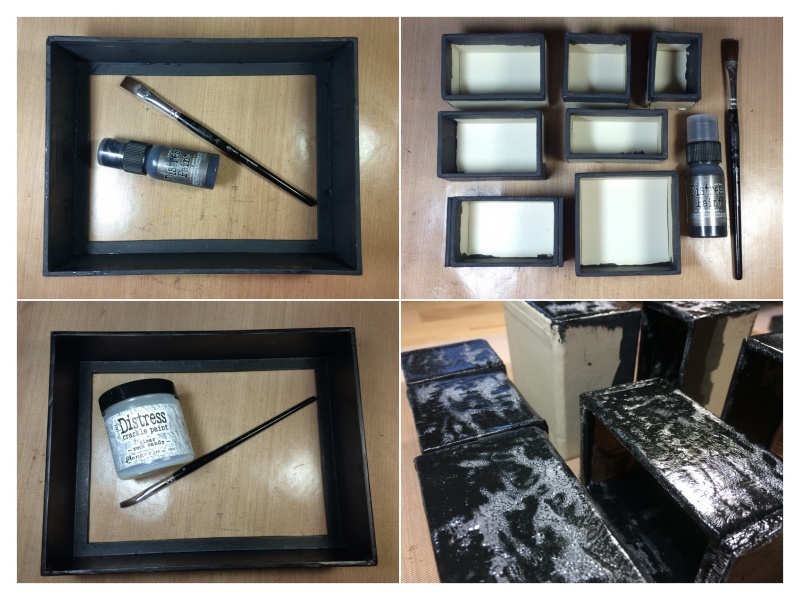
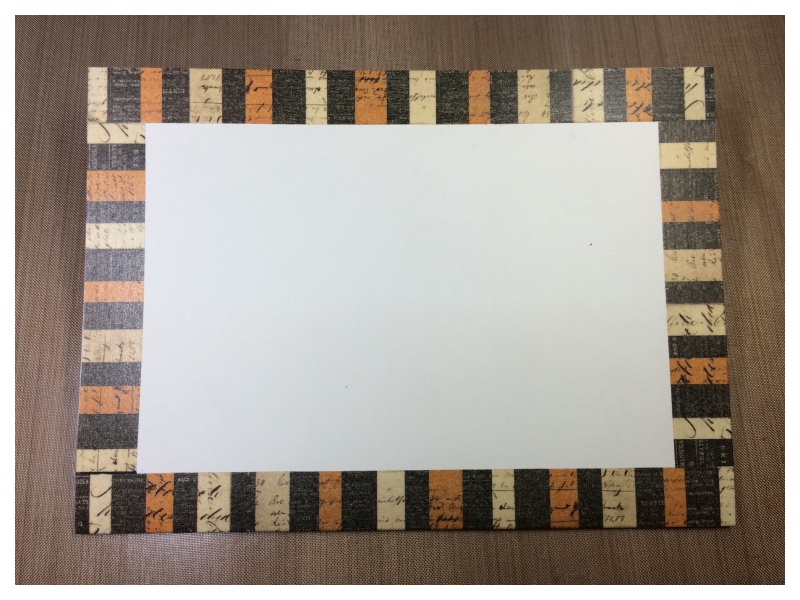
    To begin with, take an idea-ology configuration box 6.75″ x 8.75. I used the lid and the insert boxes and put the base box away to use for another project.

    iGirlZoe: Undertakers Parlor
    As the lid of the configurations box is a little wider than the base, I used one of the small insert boxes to build up another box so it would fill the space.

    iGirlZoe: Undertakers Parlor
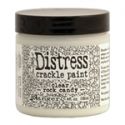
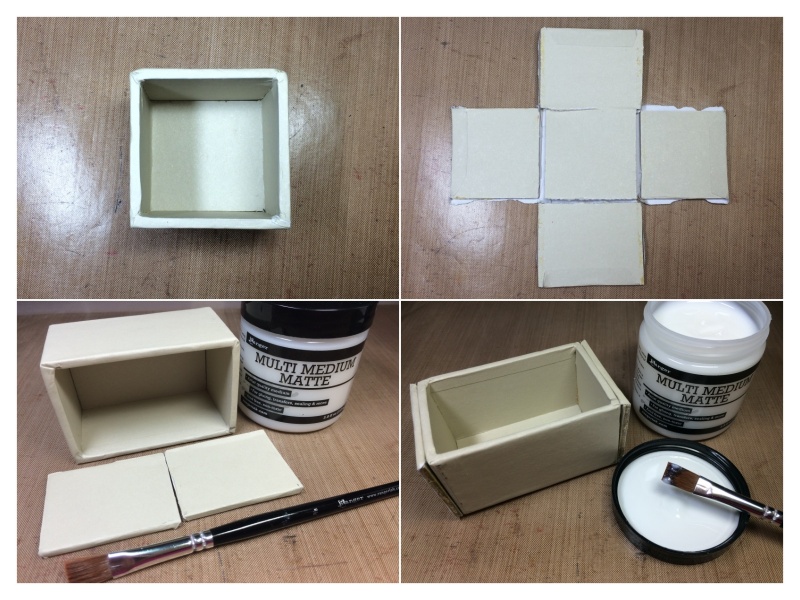
    Paint the base box frame and the edges of the insert boxes with black soot distress paint. Once completely dry, cover with a layer of clear rock candy distress crackle paint and allow to air dry.

    iGirlZoe: Undertakers Parlor
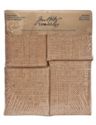
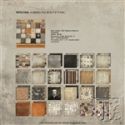
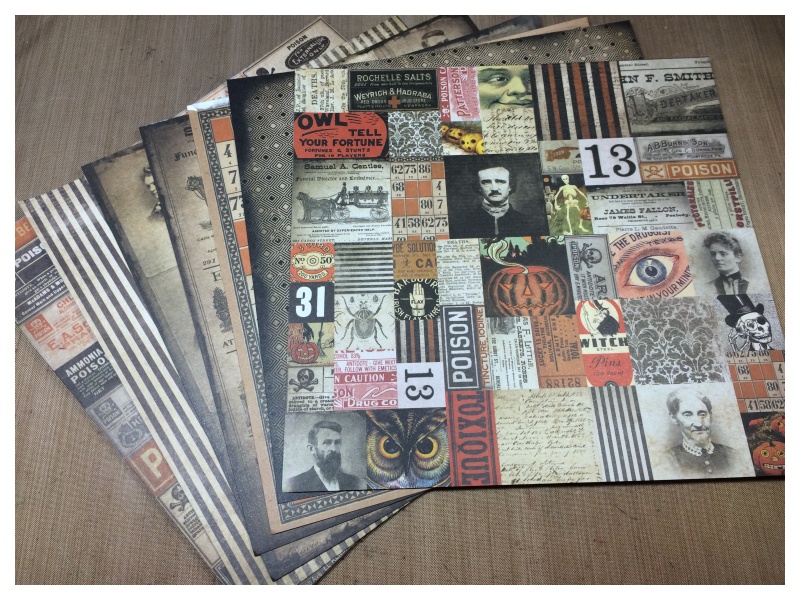
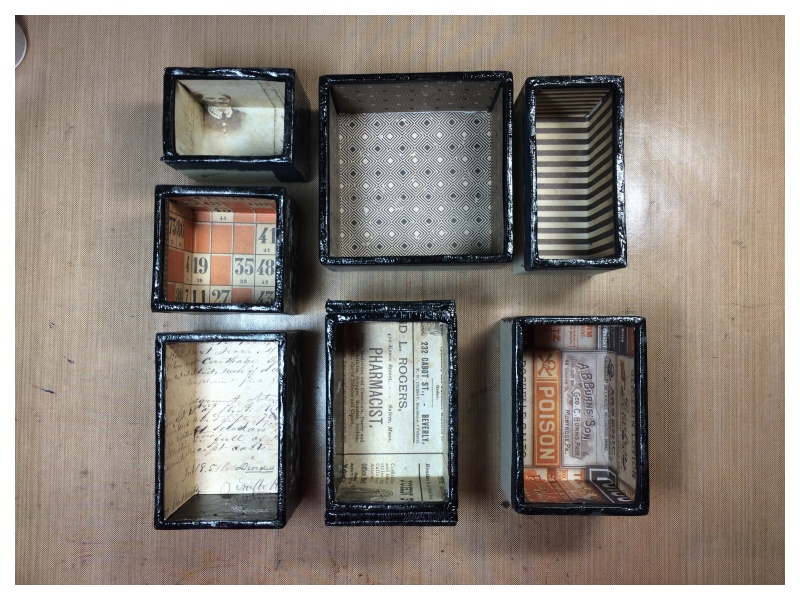
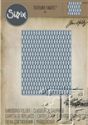
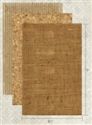
    Use a selection of the scrumptious new regions beyond paper stash to line the insert boxes.

    iGirlZoe: Undertakers Parlor
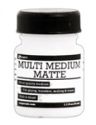
    Measure the inside of the boxes, cut and score the paper and adhere with matte multi medium.

    iGirlZoe: Undertakers Parlor
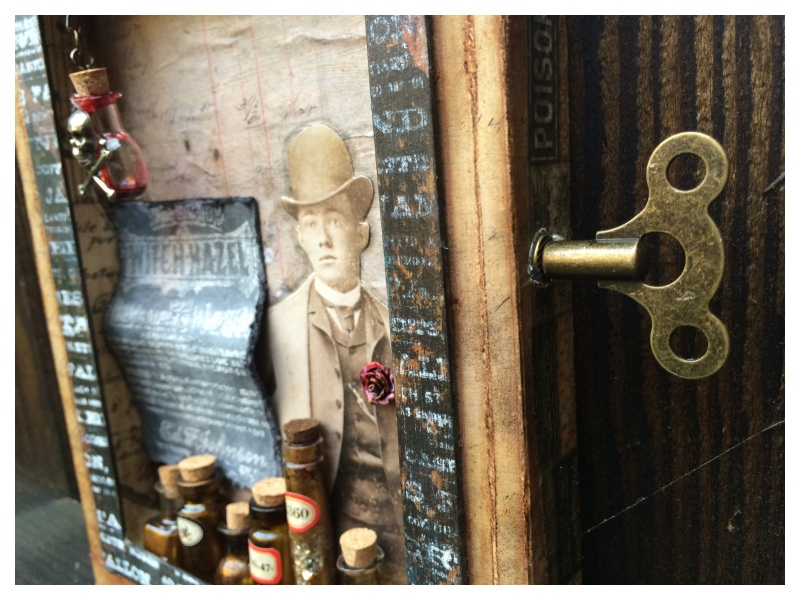
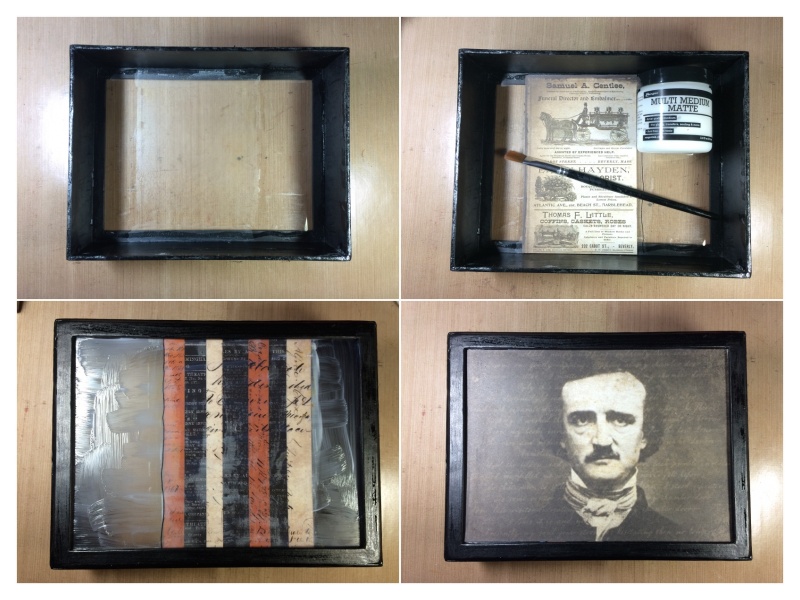
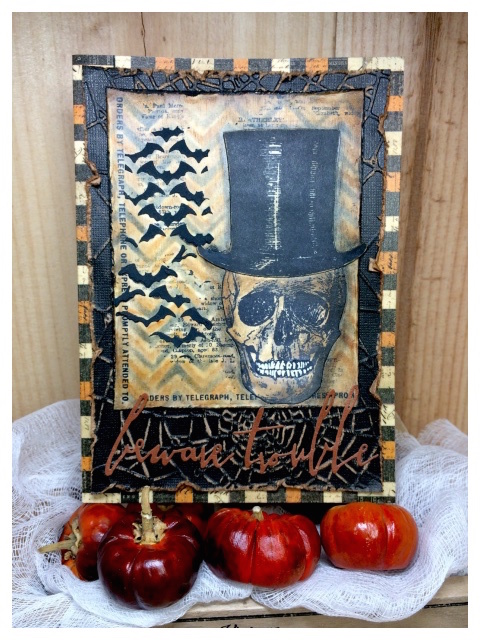
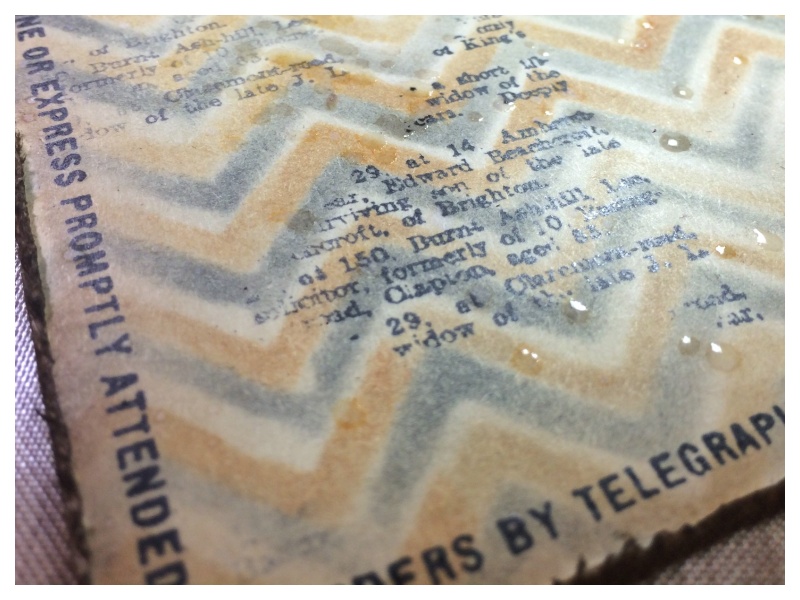
    Glue the plastic sheet that comes with the configuration box to the inside of the frame using matte multi medium. Cut and glue a panel of paper for the space where the insert boxes won’t cover. I used the funeral advert from the regions beyond paper stash which fit perfectly with my theme. Turn the box over and cover the plastic with a panel of paper cut to fit inside the frame, again using matte multi medium.

    iGirlZoe: Undertakers Parlor
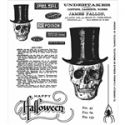
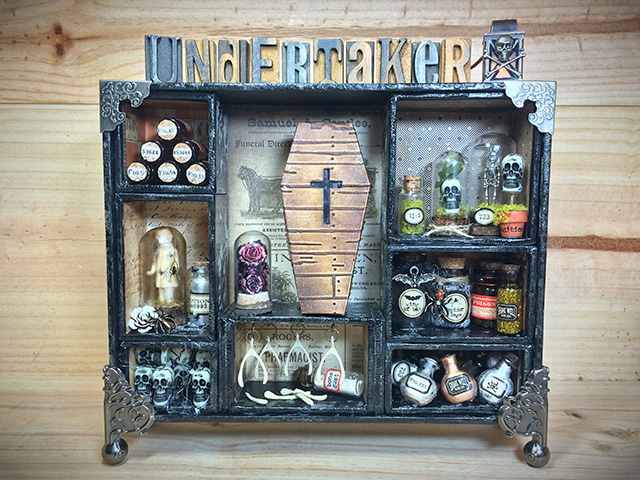
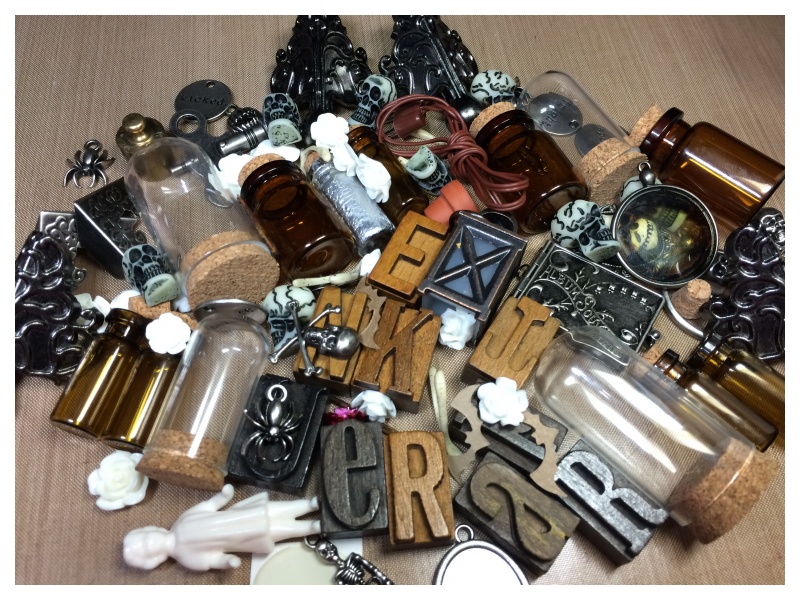
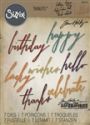
    Gather together idea-ology ready to decorate your configuration box.

    iGirlZoe: Undertakers Parlor
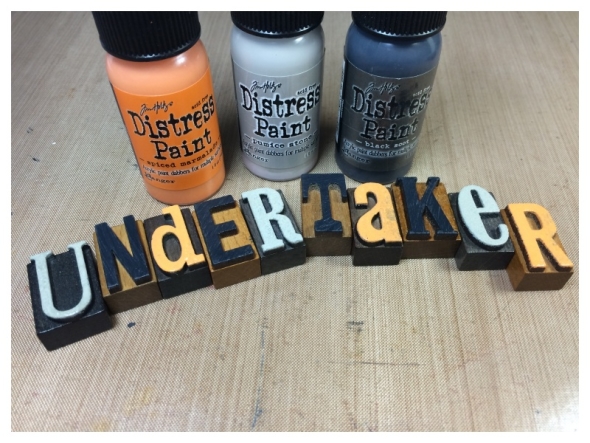
    Paint idea-ology letterpress with distress paint and allow to dry. Sand lightly with a sanding grip to give an aged look.

    iGirlZoe: Undertakers Parlor
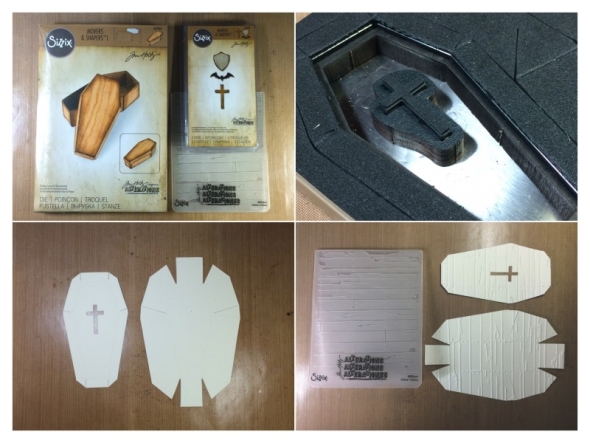
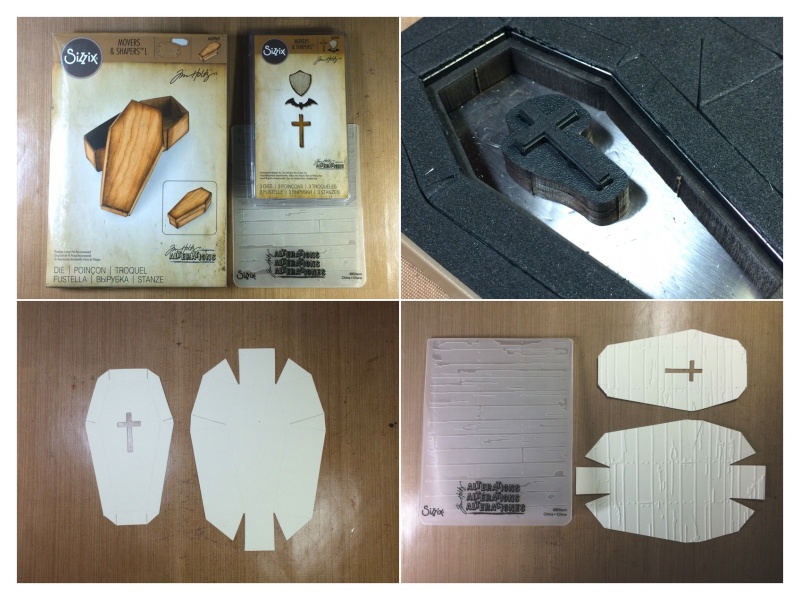
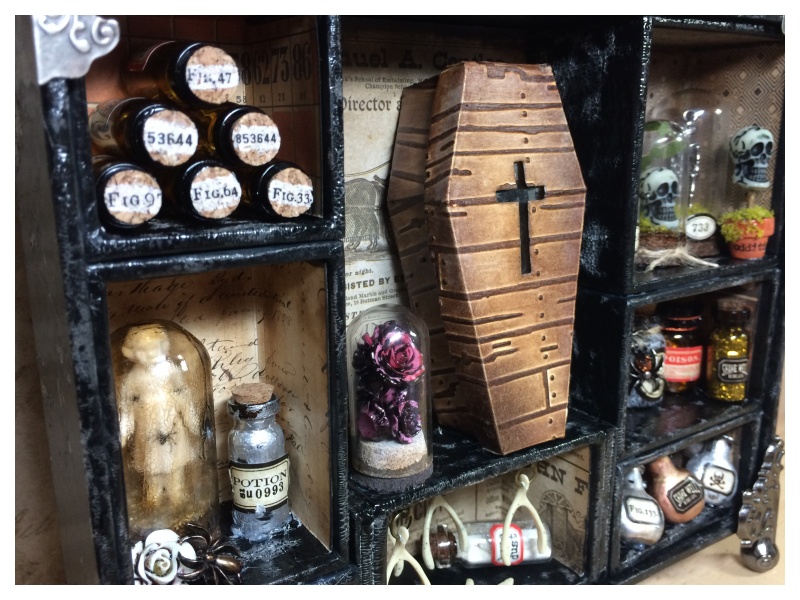
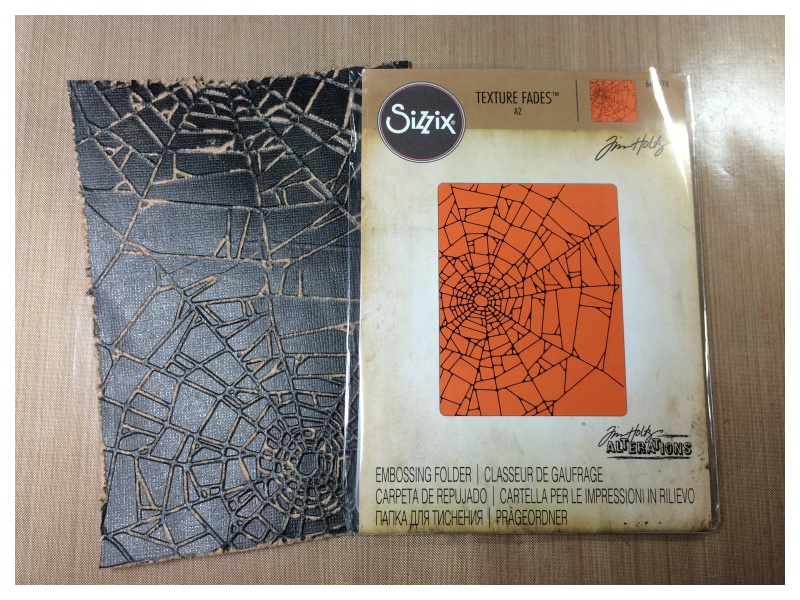
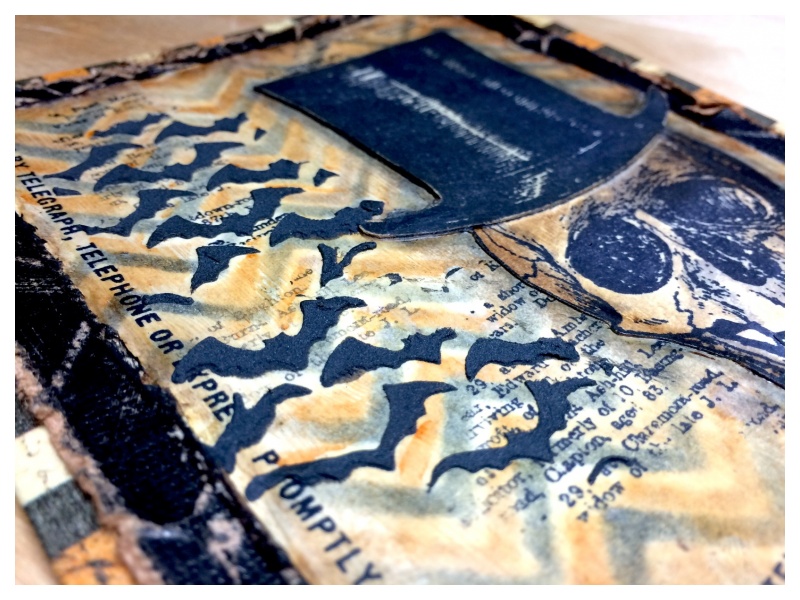
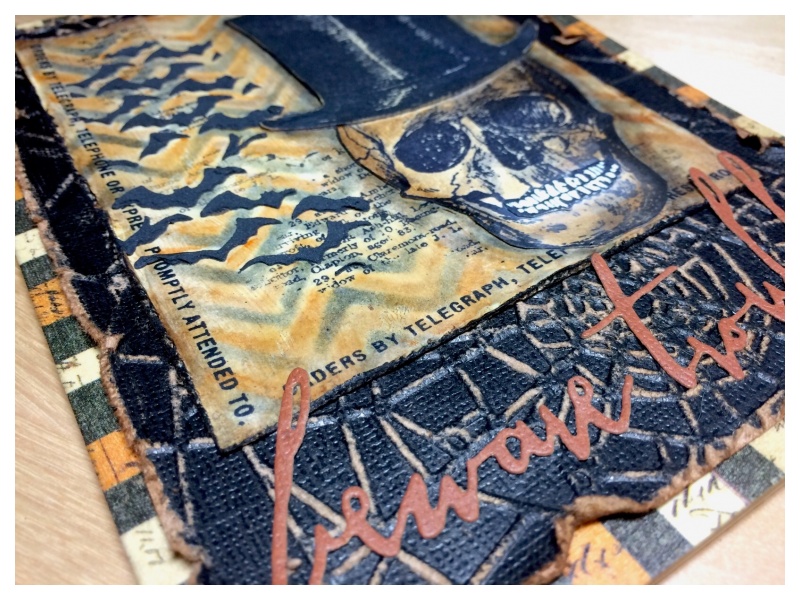
    The new movers and shapers coffin box die really is TO DIE FOR, (pun intended again)! There is space to use the co-ordinating tiny bat, shield and cross dies! I cut the coffin box with the tiny cross from Ranger mixed media cardstock and embossed with the wood planks texture fades folder.

    iGirlZoe: Undertakers Parlor
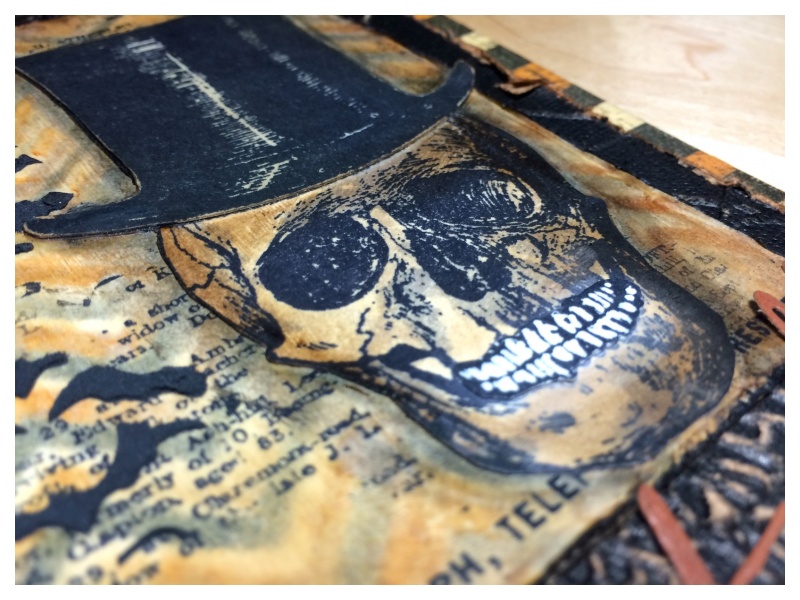
    Before assembling, add vintage photo distress ink with a mini ink blending tool and ground espresso distress ink lightly over the top to highlight the embossed parts. Brush over a layer of matte multi medium to seal and give a slight sheen. Mount a small piece of plastic to the under side of the coffin box lid. I glued the lid of the coffin box to the base as I wanted it to stand up in my configuration box without the lid falling off.

    iGirlZoe: Undertakers Parlor
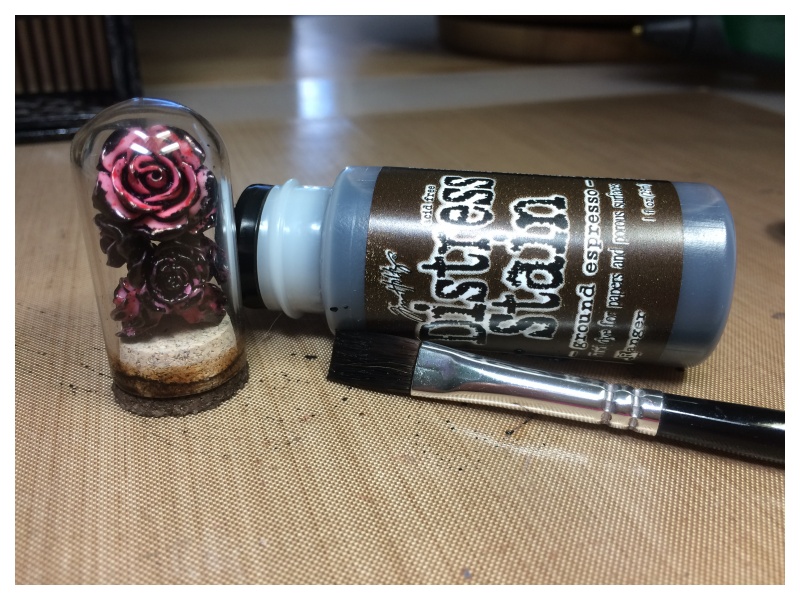
    Take an idea-ology corked dome and cover the cork with picket fence distress stain. Once dry paint ground espresso distress stain to the lower portion of the cork. Cover idea-ology heirloom roses with alcohol inks and set aside to dry. Fill the dome with the roses and glue the cork on with glossy accents.

    iGirlZoe: Undertakers Parlor
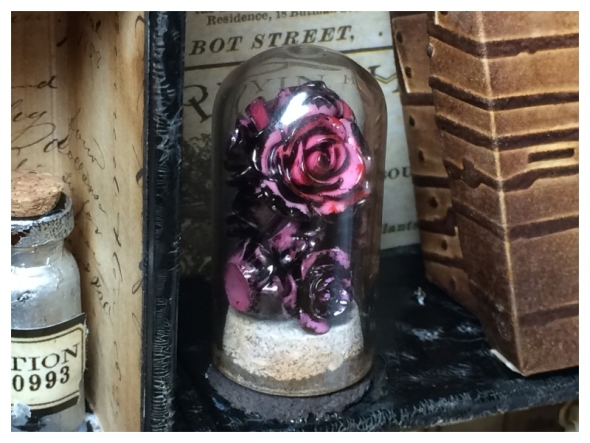
    Adhere to the configuration box with a little hot glue.

    iGirlZoe: Undertakers Parlor
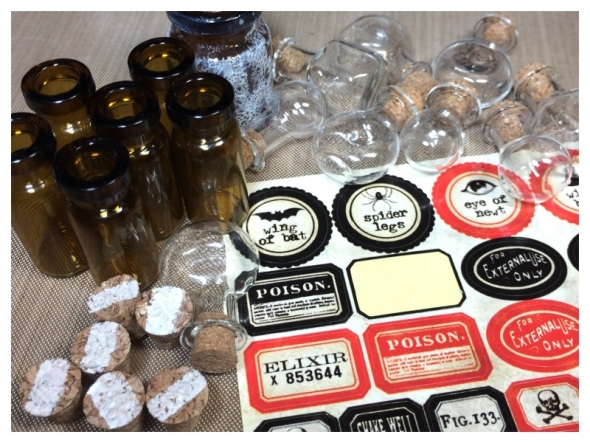
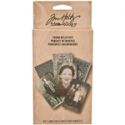
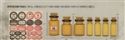
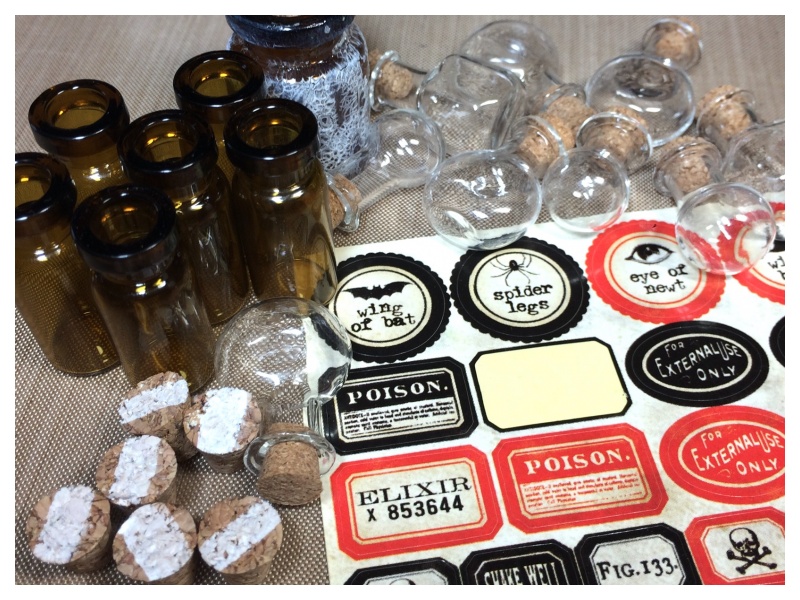
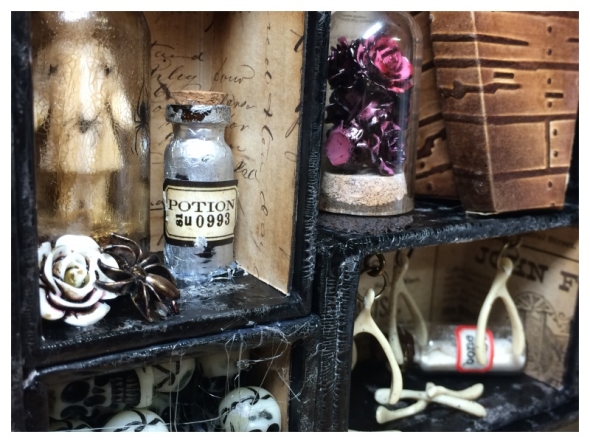
    Alter idea-ology apothecary and tiny vials. I LOVE the sheet of labels that comes with the new seasonal idea-ology apothecary vials!

    iGirlZoe: Undertakers Parlor
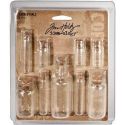
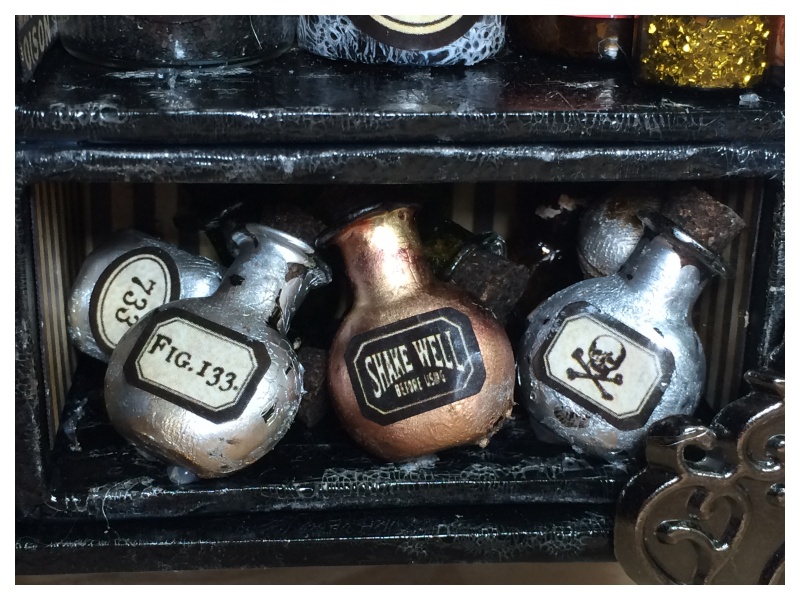
    These are idea-ology tiny vials covered with matte multi medium to give the glass “tooth” and then covered in metallic mixatives alcohol inks! The corks are stained with ground espresso distress stain and labels from the idea-ology apothecary vials set.

    iGirlZoe: Undertakers Parlor
    The wing of bat vial is filled with black soot distress glitter and a bat from the idea-ology adornments oddities set hung from the halloween trimmings. The spider legs bottle is covered with matte multi medium and clear rock candy distress crackle paint and once dry, picket fence distress paint brushed over the top and the excess wiped away. It gives an impression of spiders webs stuck to the outside of the vial. I covered a spider from the adornments oddities with glossy accents and rusty hinge distress glitter. All the bottles and labels are from the new idea-ology apothecary vial set.

    iGirlZoe: Undertakers Parlor
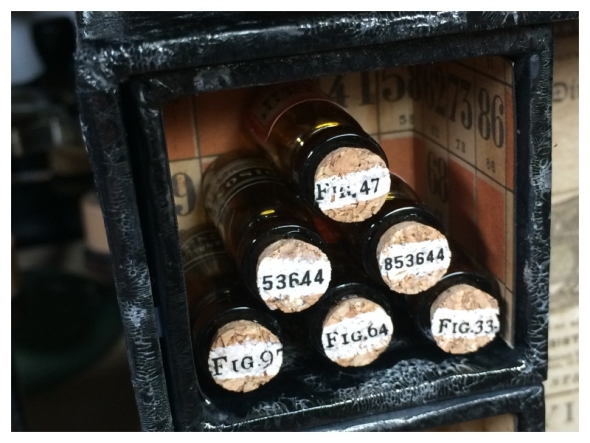
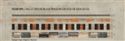
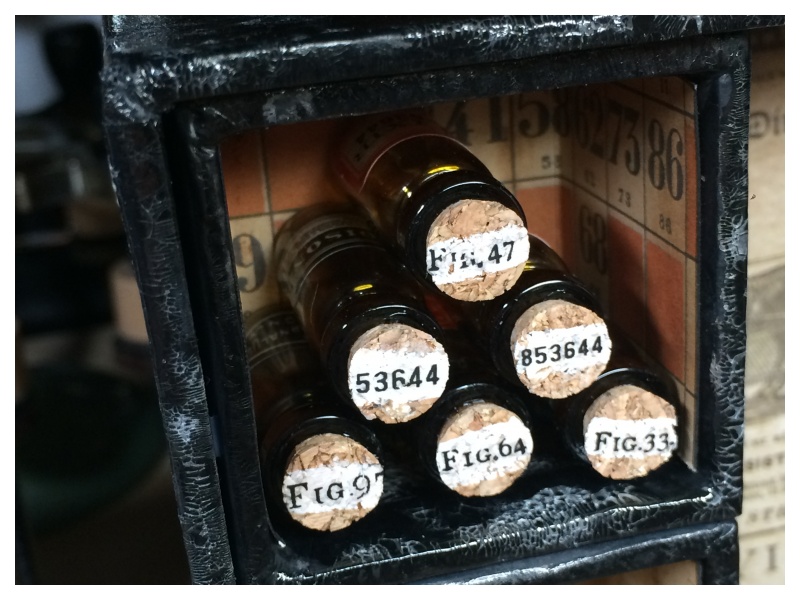
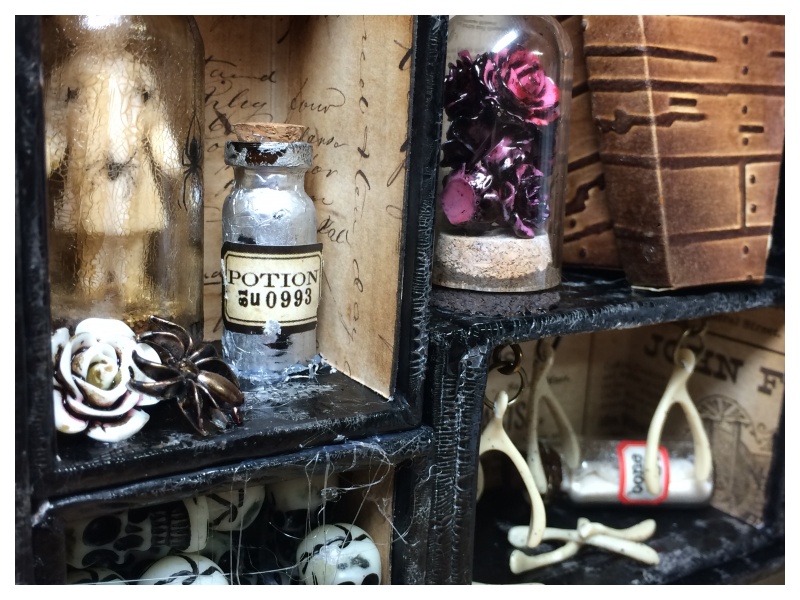
    Using more idea-ology apothecary bottles I painted a line of picket fence distress paint to the corks and once dry, rubbed regions beyond remnant rubs over the top.The texture of the cork slightly inhibits the rubs, but I love the distressed and aged effect it gives.

    iGirlZoe: Undertakers Parlor
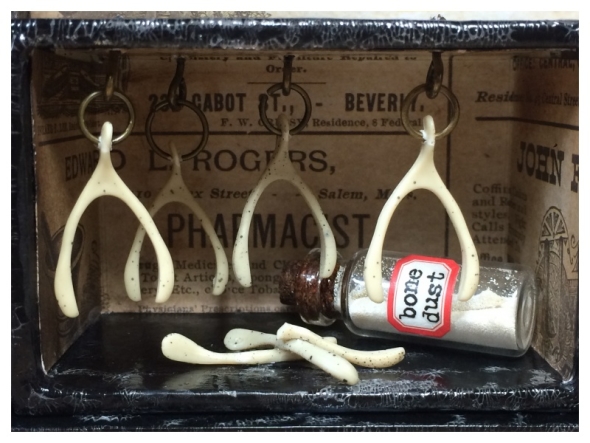
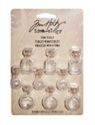
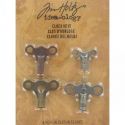
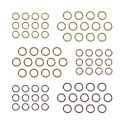
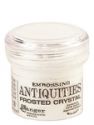
    Screw idea-ology screw eyes into the under side of an insert box and hang wishbones from them. Use a pokey tool to gently push a hole through the wishbone. I filled an idea-ology corked vial with Ranger antiquities weathered white embossing powder and a cut up wishbone to look like bones. I rubbed “bone dust” from the regions beyond remnant rubs onto a label from the idea-ology vial labels. I cut up another wishbone and adhered it with glossy accents.

    iGirlZoe: Undertakers Parlor
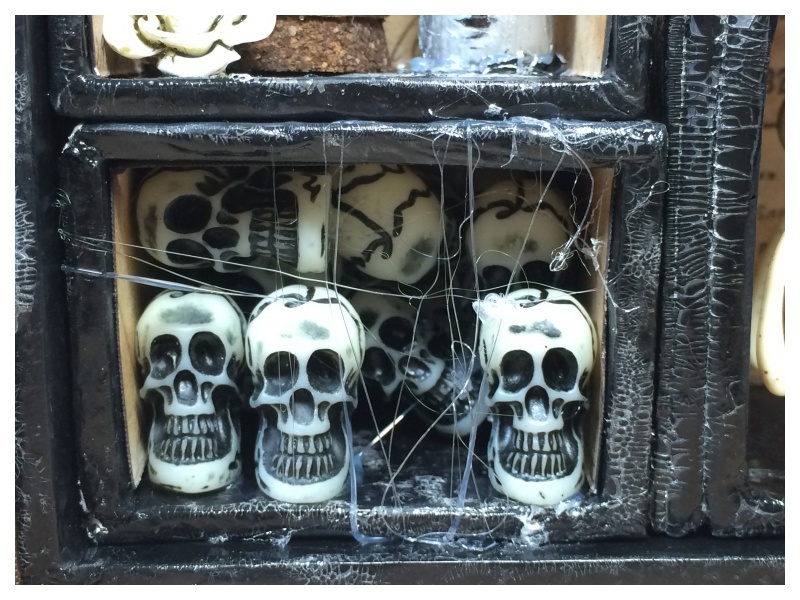
    I used a whole pack of the idea-ology boneyard skulls. In fact the name of these, “boneyard,” gave me the idea for the wishbone garden and the skulls all stuffed into the smallest insert box. I left the hot glue trails to give a cobweb effect, (this was a happy accident that happened when I was hot gluing the skulls into the insert box).

    iGirlZoe: Undertakers Parlor
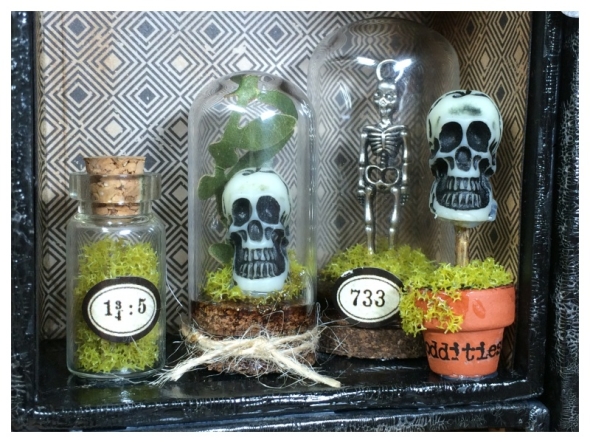
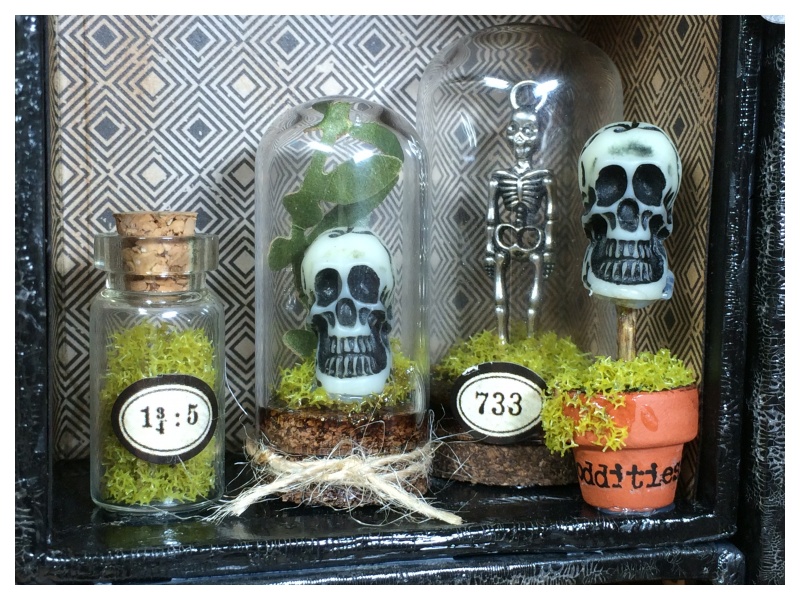
    My favourite insert box was this tiny skull garden using idea-ology corked domes, corked bottles, adornments oddities and boneyard skulls. I sprayed a little twisted citron distress stain spray onto some moss and glued onto the dome corks with glossy accents. I decorated with labels from the apothecary vials set and rubbed remnant rubs onto a mini terracotta pot from my craft stash. The terracotta pot is filled with texture paste mixed with ground espresso distress reinker and the boneyard skull is hot glued to a cocktail stick that is set into the texture paste.

    iGirlZoe: Undertakers Parlor
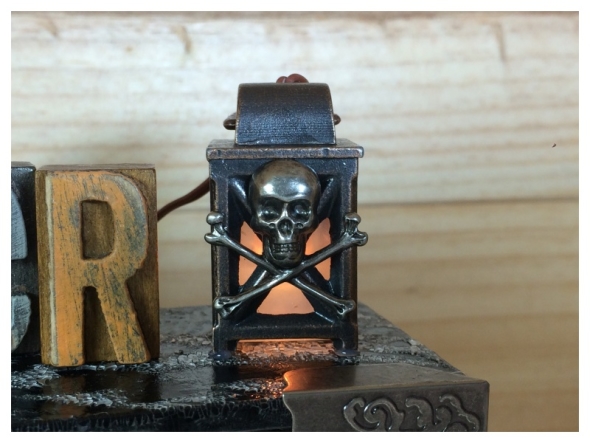
    I attached an idea-ology adornments crossbone to a mini lantern with glossy accents.

    iGirlZoe: Undertakers Parlor
    Thanks for stopping by and a big thank you to Paula, Tim and Mario for inviting me to make samples. Check Tim’s blog daily to see the other Halloween Inspiration Series.

    I’ll be back on Monday to share my project for Ranger Ink featuring more of the seasonal goodies from Tim Holtz.

    Have a great weekend.


  4. Frilly & Funkie DT

    24th September, 2015 by iGirlZoe

    I have some exciting news to share with you…

    A few weeks ago Linda from The Funkie Junkie Boutique invited me to join the Frilly and Funkie Design Team. I am delighted to be joining a team of such lovely and talented ladies. I’ll be sharing my first DT project for the Funkie side of the team next Wednesday, which the Frilly side of the team posted today. I hope you’ll be able to stop by and take a look.

    iGIrlZoe: Frilly & Funkie DT

    Have a great day.


  5. Pumpkin Patch

    21st September, 2015 by iGirlZoe

    Hello Everyone. Autumn is definitely in the air so I was inspired to make a couple of cards to send to friends who love this season as much as I do.

    iGirlZoe: Pumpkin Patch
    I used the pumpkin stamp from the Halloween Blueprints 2 set by Tim Holtz. I’ve said this before, but the blueprint stamps are made for colouring!

    iGirlZoe: Pumpkin Patch
    I watercoloured the pumpkin with distress markers and a waterbrush. I also coloured directly onto a background stamp, which I then spritzed with water and stamped.

    iGirlZoe: Pumpkin Patch
    I created background borders with the new regions beyond tissue tape from Tim Holtz. This is part of the LIMITED** seasonal Halloween range by Tim Holtz.
    **start hoarding immediately

    iGirlZoe: Pumpkin Patch
    I embossed core-dinations kraft core cardstock with Autumn themed texture fades embossing folders.

    iGirlZoe: Pumpkin Patch
    Thanks for stopping by. I’ll be back with some exciting news on Thursday!


  6. Beware Trouble!

    16th September, 2015 by iGirlZoe

    The temperature here in Switzerland has dipped considerably and the trees are starting to show the first signs of Autumn, so Halloween is ON!

    iGirlZoe: Beware TroubleToday I have a quick and simple card which could easily be adapted to make Halloween party invitations, a canvas or other home decor piece.

    iGirlZoe: Beware Trouble
    Take a base card and cover the edges with regions beyond tissue tape.

    iGirlZoe: Beware Trouble
    Emboss core-dinations kraft core cardstock with the new cobwebs texture fades folder and sand lightly over the top and edges with a sanding grip.

    iGirlZoe: Beware Trouble
    Place the zigzag stencil over distress watercolor cardstock and blend rusty hinge distress ink through with a blending tool. Dry with a heal tool. Move the stencil so it covers the inked parts and repeat the process with hickory smoke distress ink. Once dry, stamp randomly using background stamps from the undertaker stamp set with jet black archival ink. Spritz with water droplets and dry with heat tool. Paint a thin layer of glue ‘n seal over the top. It will spread the ink a little but give a nice vintage hue.

    iGirlZoe: Beware Trouble
    Mix a few drops of black soot distress reinker and texture paste with a palette knife on a craft mat. Place the batground stencil over one side of the card and using the palette knife, scrape through a portion of the stencil. Carefully lift the stencil and rinse immediately. Allow the texture paste to air dry.

    iGirlZoe: Beware Trouble
    Stamp the large skull from the undertaker stamp set and fussy cut. Blend with a vintage photo distress ink. Stamp a second time and fussy cut the hat and teeth. Colour the teeth with a white gel pen and glue both the hat and teeth on top of the skull with glue ‘n seal. Add a little black soot distress marker around the outside of the skull and blend with your finger to create a shadow.

    iGirlZoe: Beware Trouble
    Die cut “beware” and “trouble” from the handwritten halloween thinlits die set with core-dinations kraft core cardstock. Assemble card with glue ‘n seal.

    Thanks for stopping by, I really appreciate it. I’ll be back with LOTS more Halloween projects over the coming weeks. I hope you’ll stop by again and take a look.


  7. Butterfly Birthday Card

    14th September, 2015 by iGirlZoe

    Hello friends. I meant to come back last week with another bird crazy post but got distracted by some exciting news that I will share with you next week! 😉

    iGirlZoe: Butterfly Birthday Card
    Today I’m sharing a birthday card I made some weeks ago using the buttefly from Tim Holtz perspective stamp set, one of my favourites.

    iGirlZoe: Butterfly Birthday Card
    I got so immersed making it, that I didn’t take any step-by-step photos.

    iGirlZoe: Butterfly Birthday Card

    iGirlZoe: Butterfly Birthday Card
    Thanks for taking time to pop by, I really appreciate it.