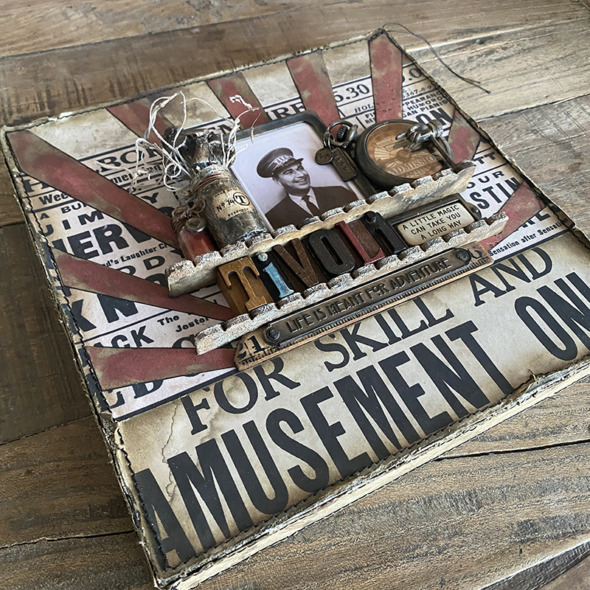
Hello friends. Today I’m sharing another one of my makes from the Tim Holtz idea-ology 2023 LIVE launch. idea-ology is perfect for telling a story and this has never been more the case than with a very special (to me) piece of idea-ology released this year… and I’m not even talking about the hat or pointy finger from the figure stands adornments (insert swooning).

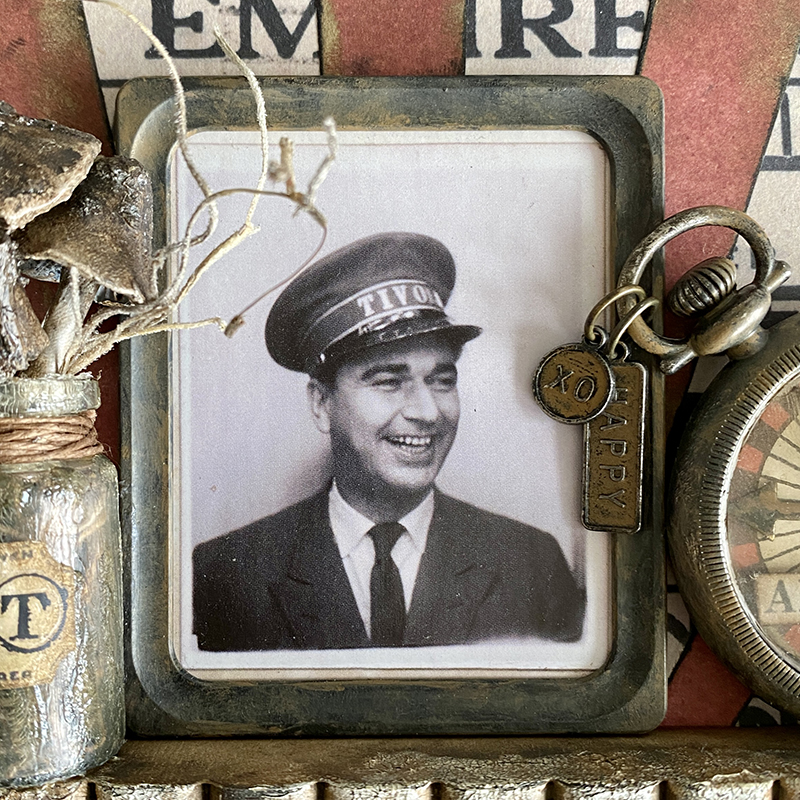
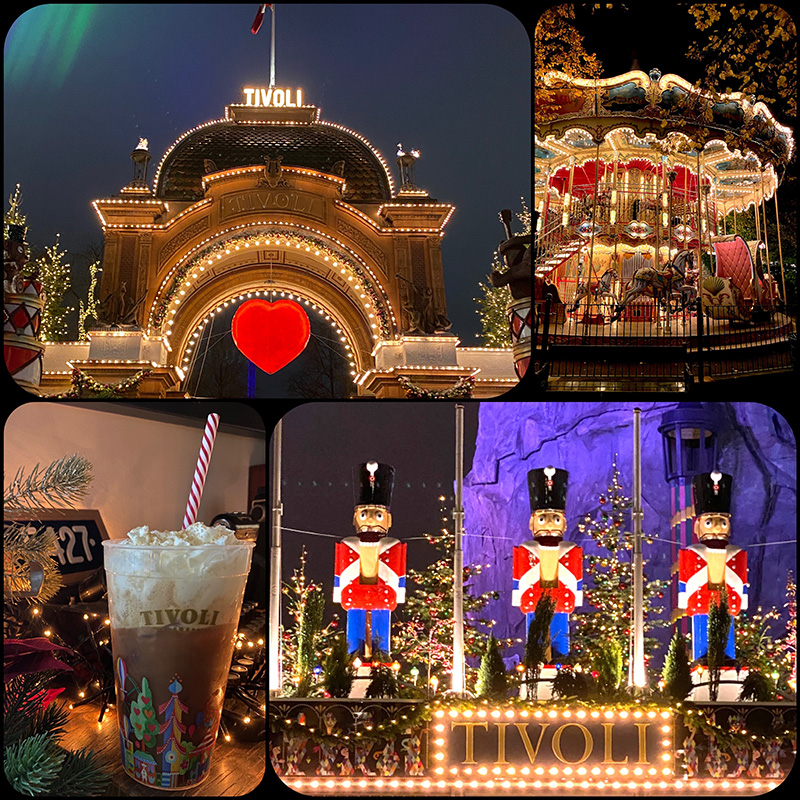
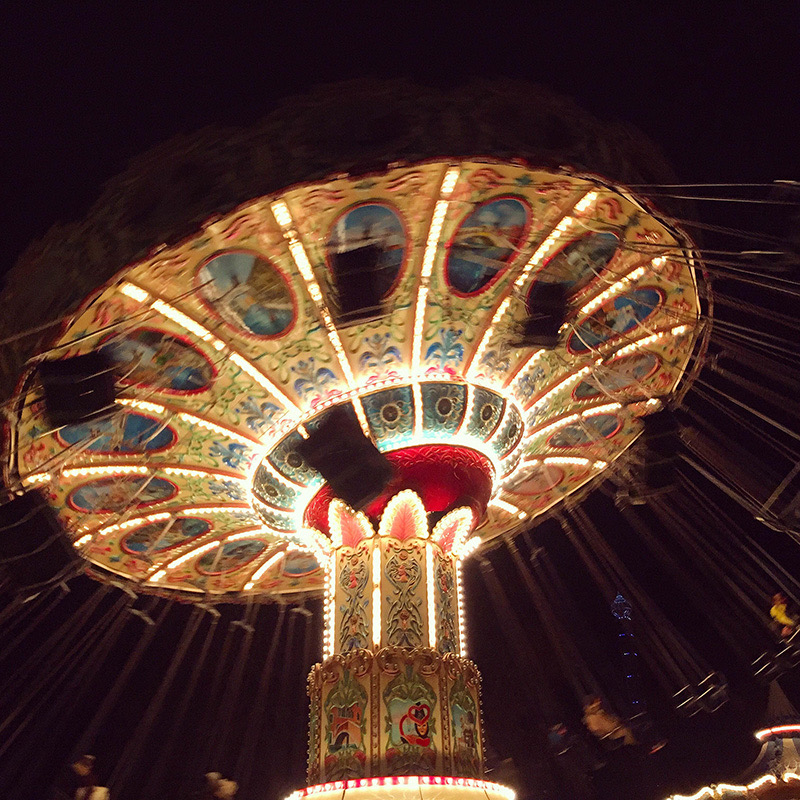
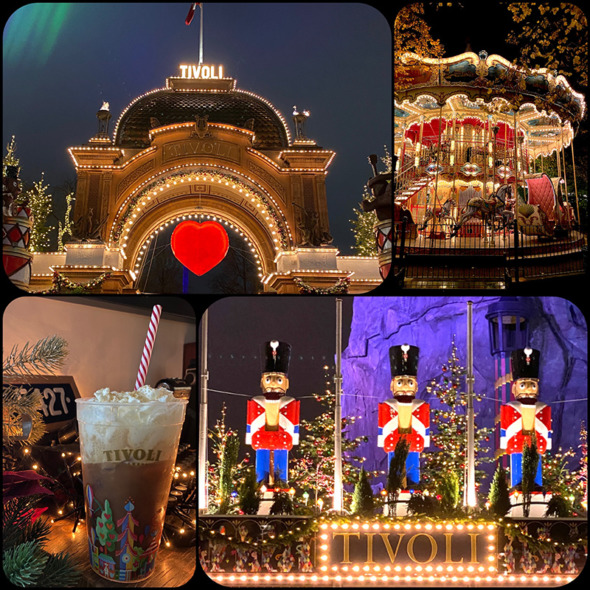
When my husband and I moved to Copenhagen, one of the first places we fell in love with was Tivoli! We have so many lovely memories from time spent there, so imagine my surprise when Tim shared the photo from the idea-ology photomatic set with the image of a Tivoli guard in his Tivoli hat!

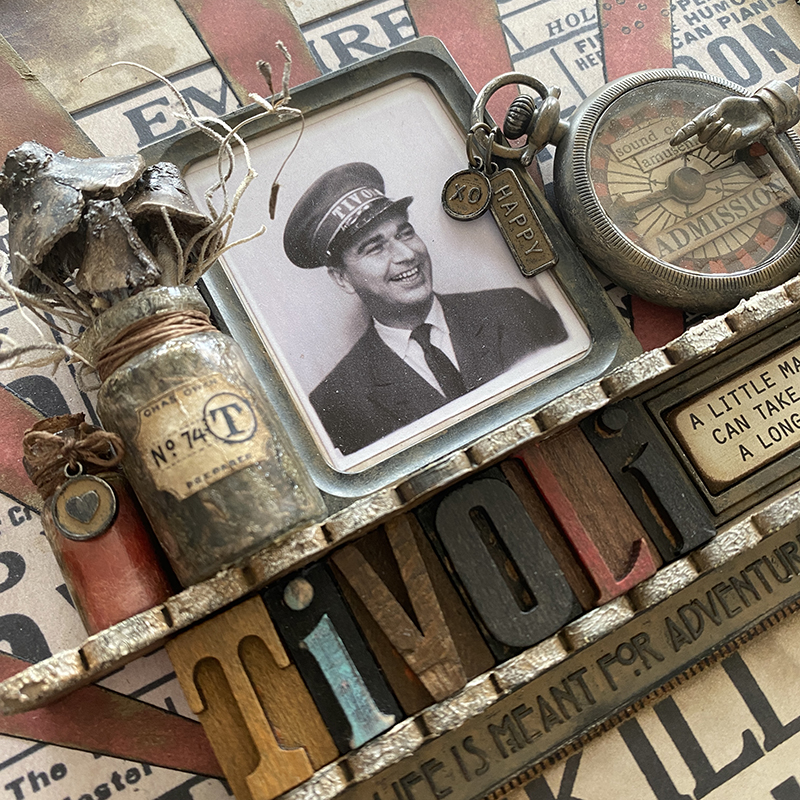
This is the original Tivoli photograph that the idea-ology photomatic comes from. I was so touched that Tim kindly gifted this to me. And not gonna lie, I totally fan-girled over owning an OG piece of idea-ology and such a special one to me.

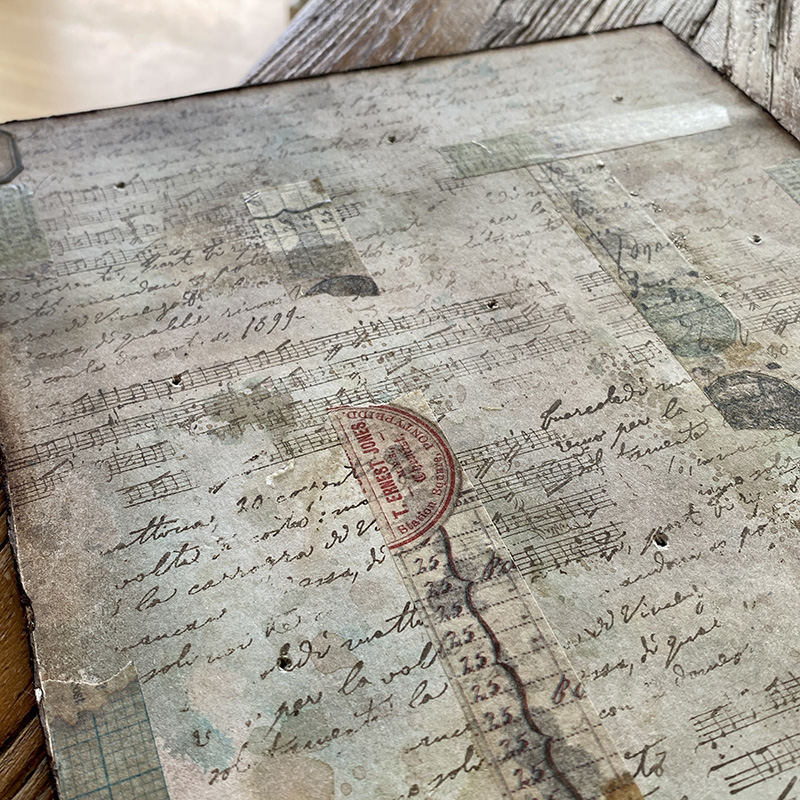
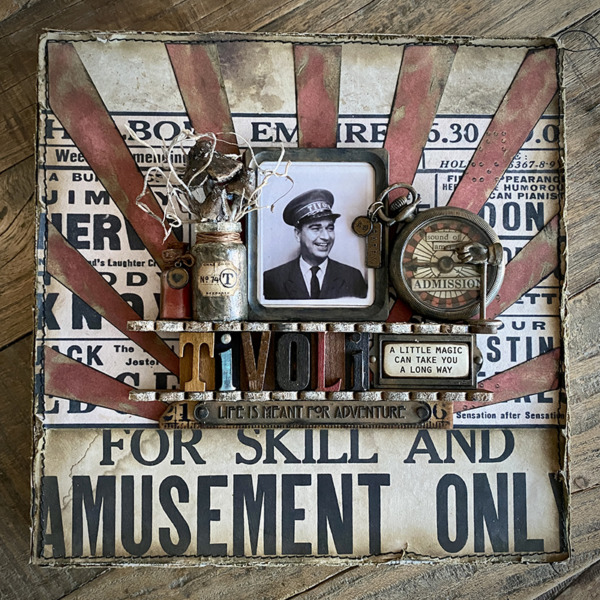
I knew I wanted to make the Tivoli photomatic photo the center of my make and an idea-ology vignette panel seemed like the perfect base. Working on the flat side of the panel, it’s easy to hang on the wall.
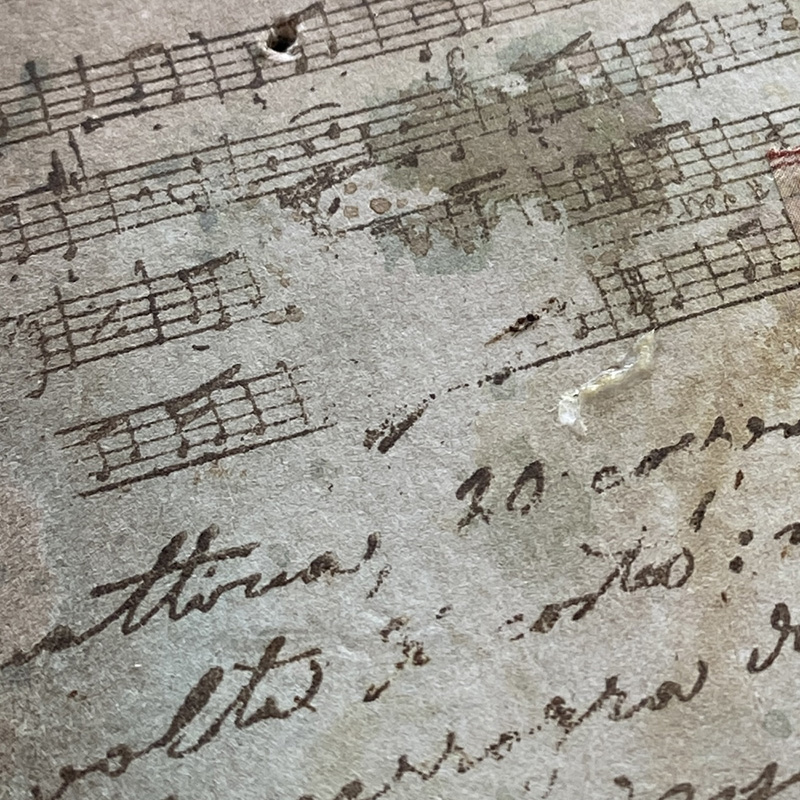
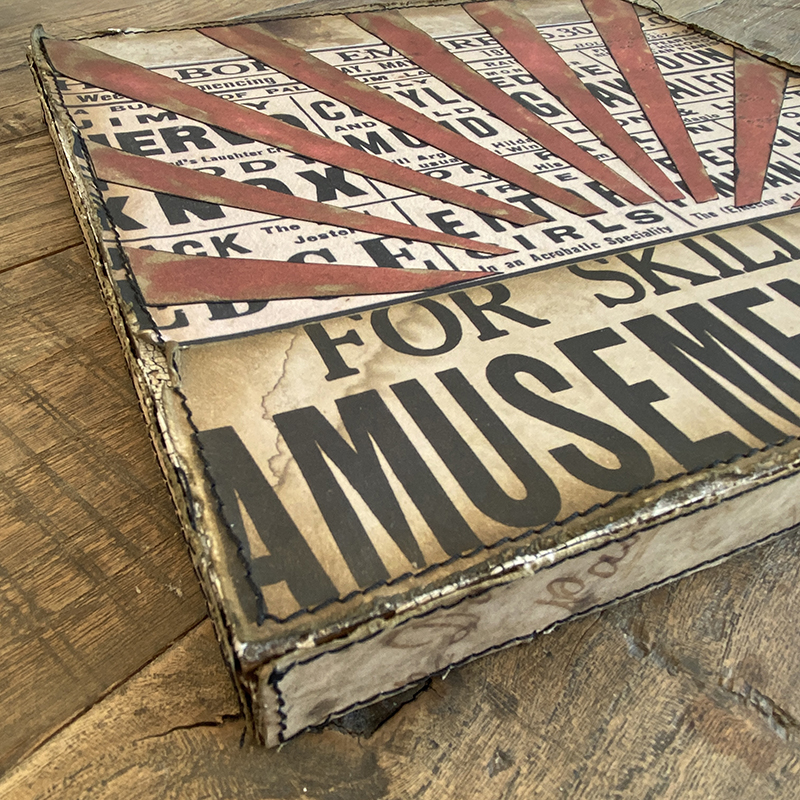
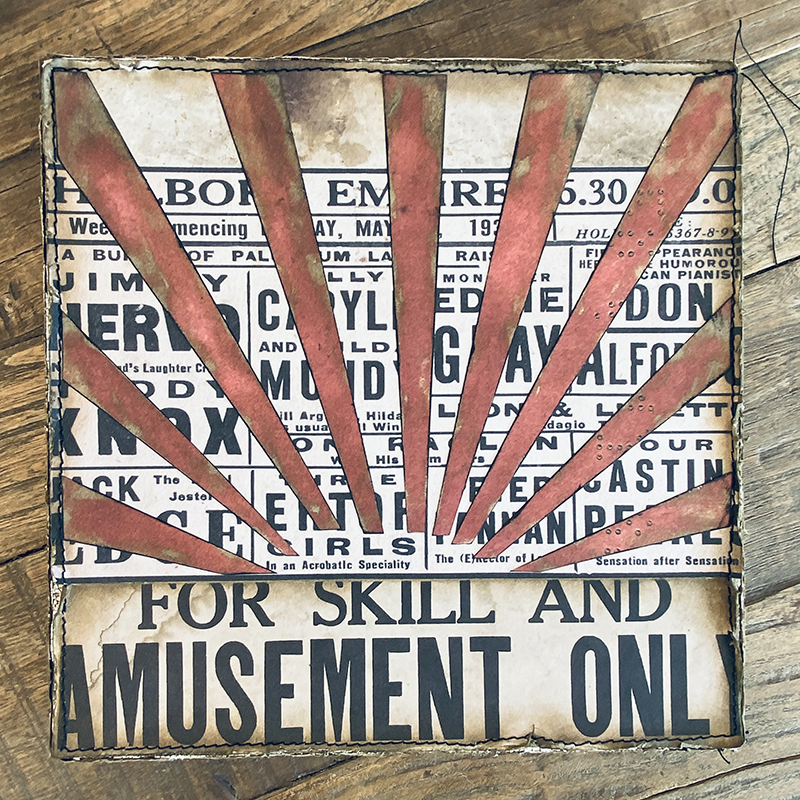
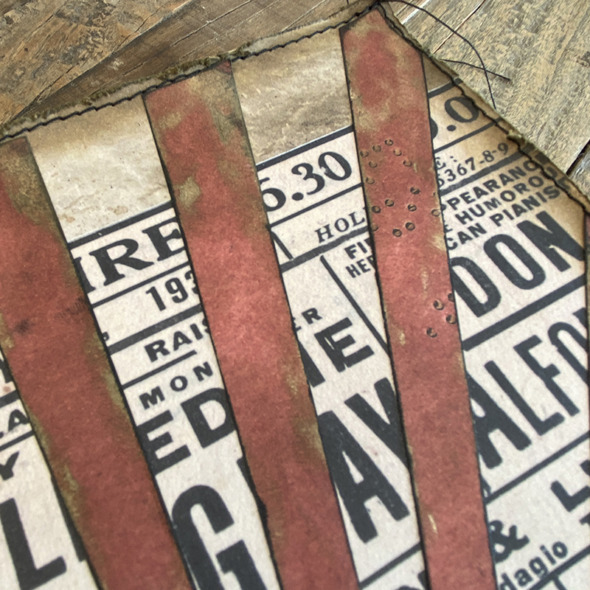
The bold print on the incredible backdrops volume 4 and 5 packs was perfect for the background. Like big advertising panels and a specific carnival themed one.
Tivoli has this old world carnival charm and is the second oldest theme park in the world. It even has a connection to Walt Disney, who’s early visits to Tivoli found much to inspire him, returning to Tivoli several times before opening Disneyland in the USA in 1955.
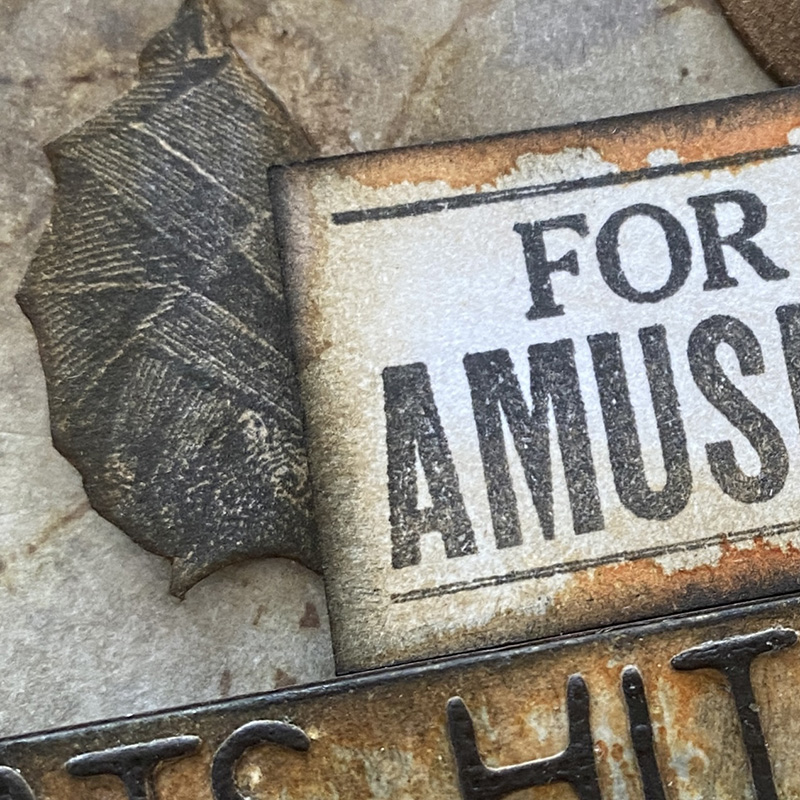
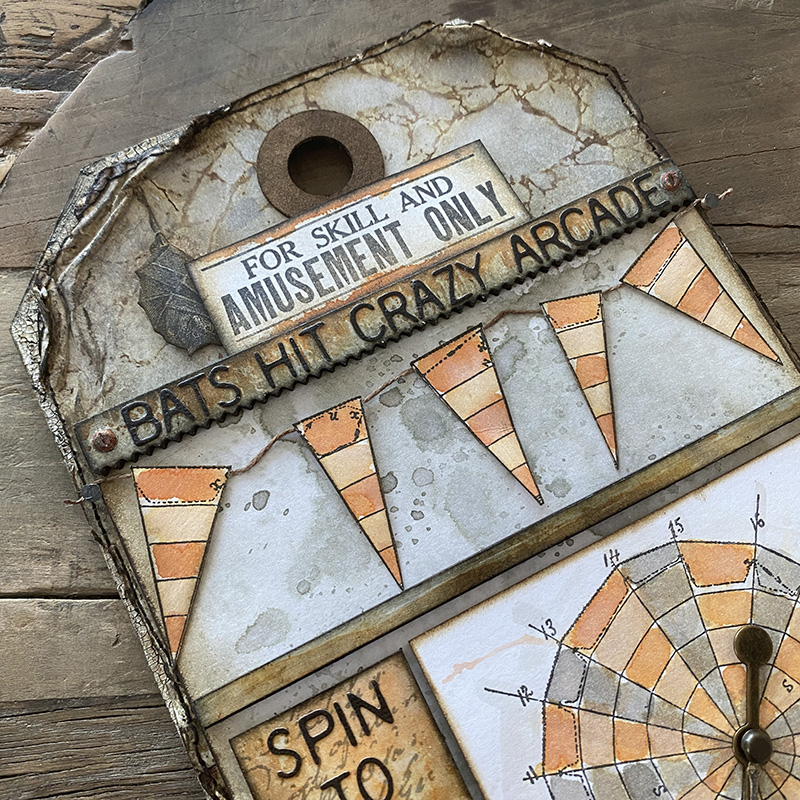
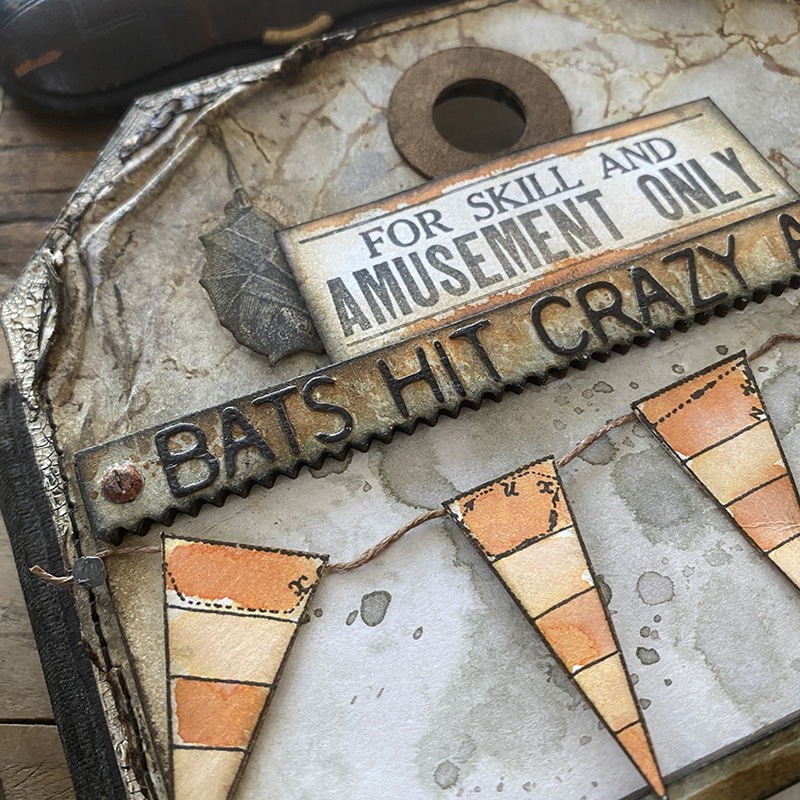
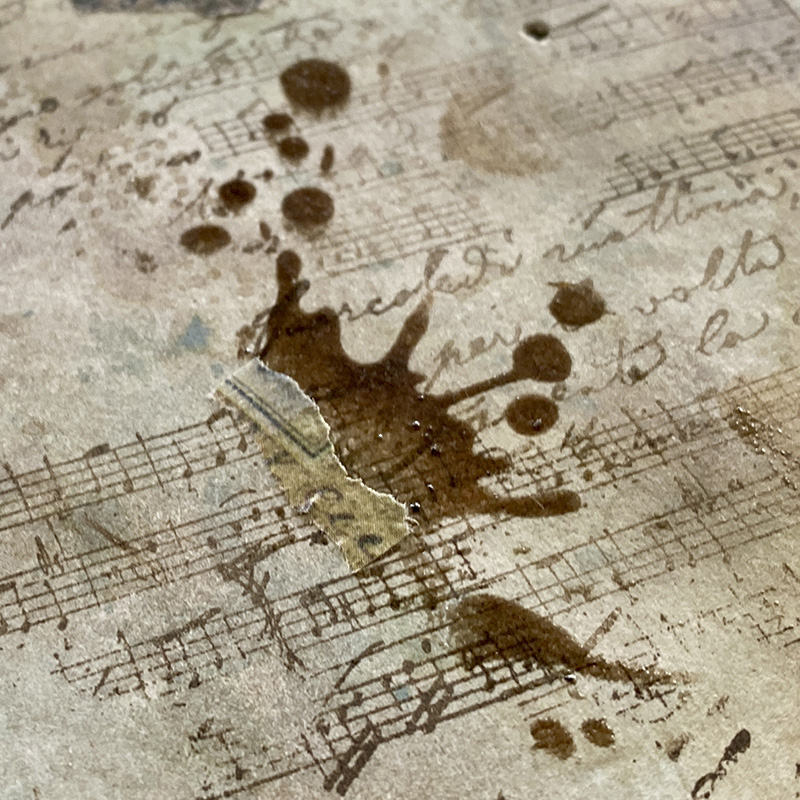
The old world carnival charm of Tivoli is the inspiration for these carnival stripes using paper from the backdrops volume 4. It wasn’t until afterwards that I noticed the AMAZING worn circles on some of the strips, it was PERFECT. The details on these papers is next level.

I had the new Rotary Media Trimmer to play with and it came perfectly timed to cut the carnival stripes and panels from the idea-ology backdrops papers to add to the back and sides of the vignette panel. Adding a little messy stitching around the edges to create a border.

With the vignette panel background done, it’s ready to decorate…

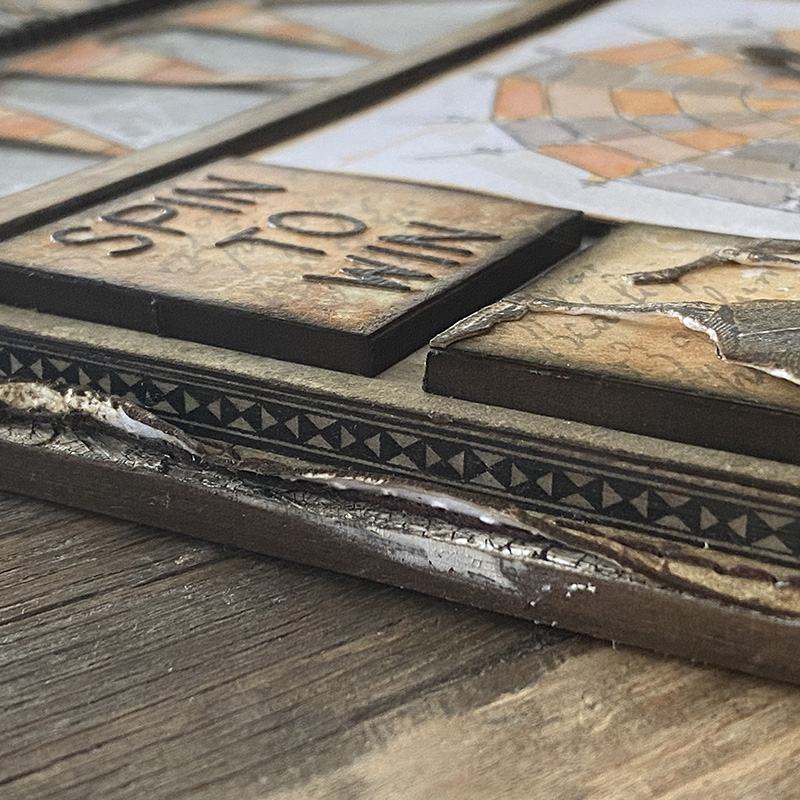
Add etcetera thickboard trims to the front of the vignette panel to create shelves for pieces to sit on.
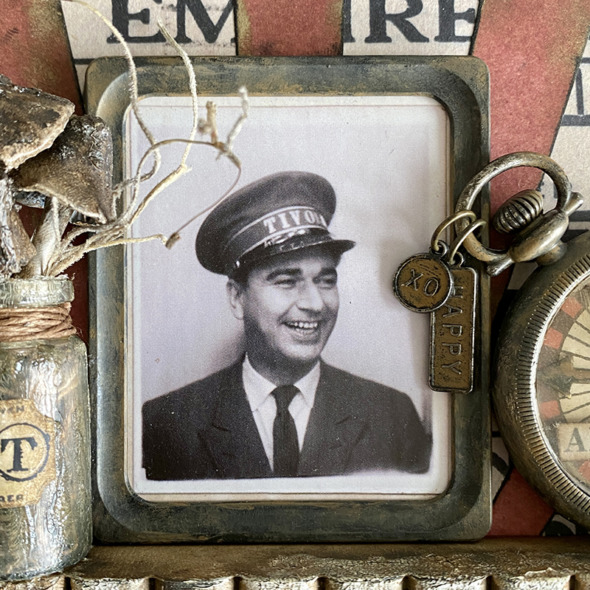
Making this wonderful photomatic the center of my piece and adding one of the new photo frames over the top, dry brushed with a little distress paint and distress archival ink.
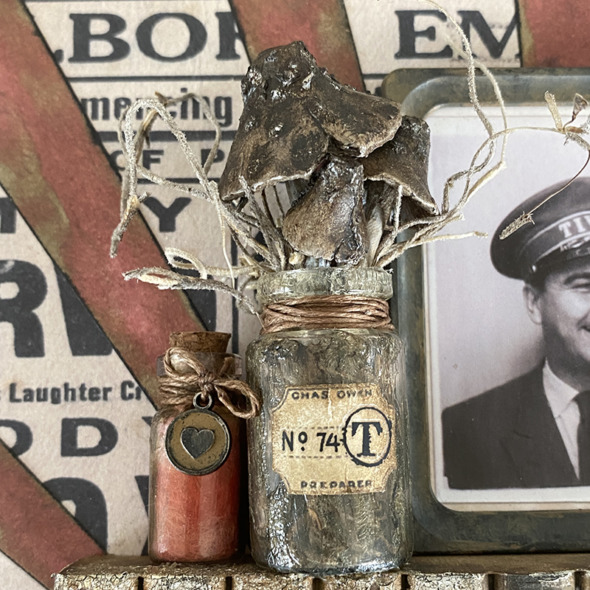
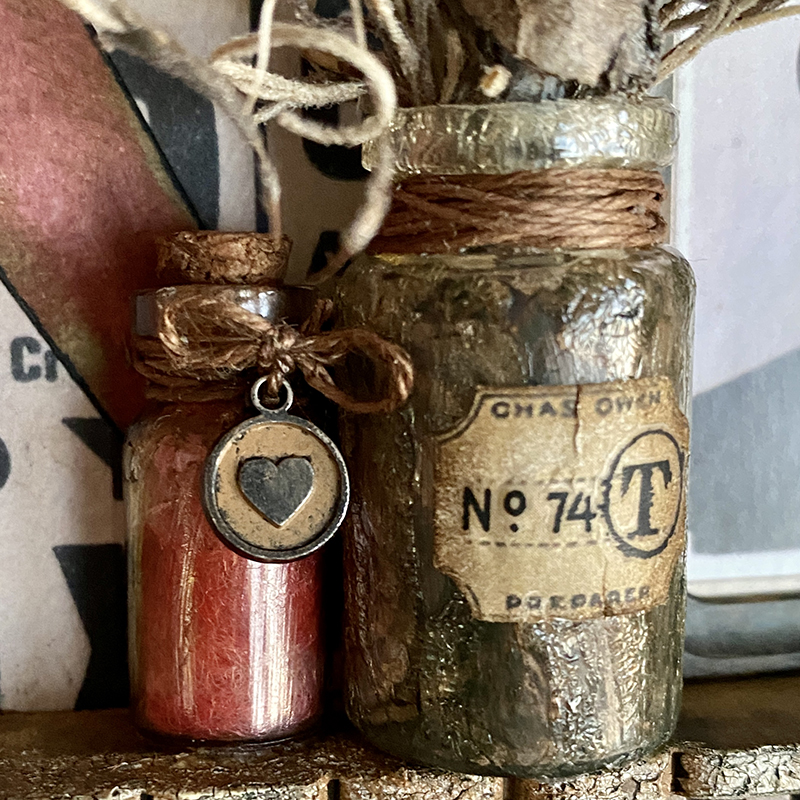
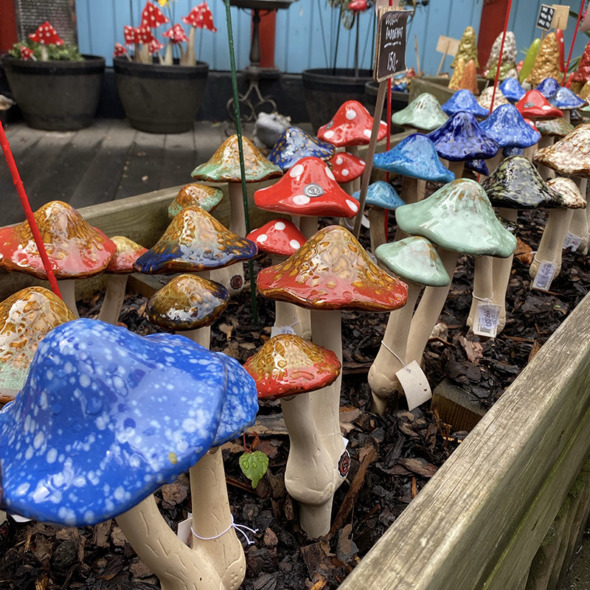
Tivoli sell beautiful ceramic toadstools, I have some on my balcony and virtual shopped with Tim via facetime and he has Tivoli toadstools in his yard too. The idea-ology toadstools helped to perfectly tell this story. Covering a bottle from the corked vials set with distress crackle paint and adding a label with remnant rubs on the front.
Toadstools at Tivoli.

In another bottle I added some fabric stuffing dyed with alcohol ink to give the effect of cotton candy, which is one of the snacks that they sell at Tivoli and my husband is all about the snacks! The word tags with the heart was perfect for this because I love the look on his face when we hit the park snacks.
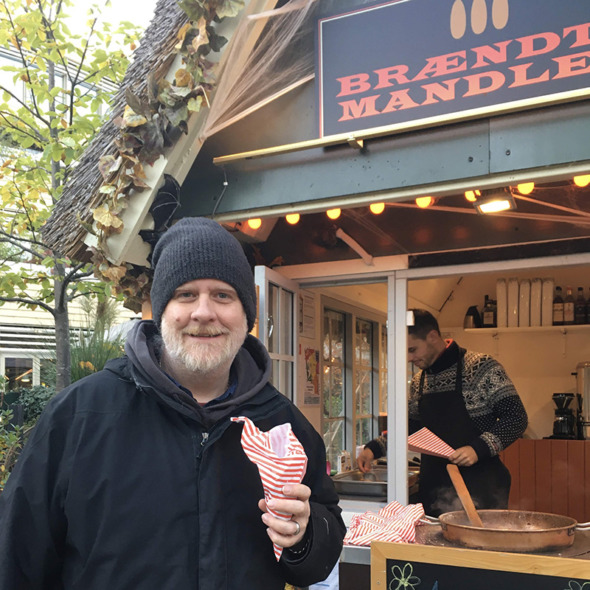
My happy husband with his warm nuts! 😉
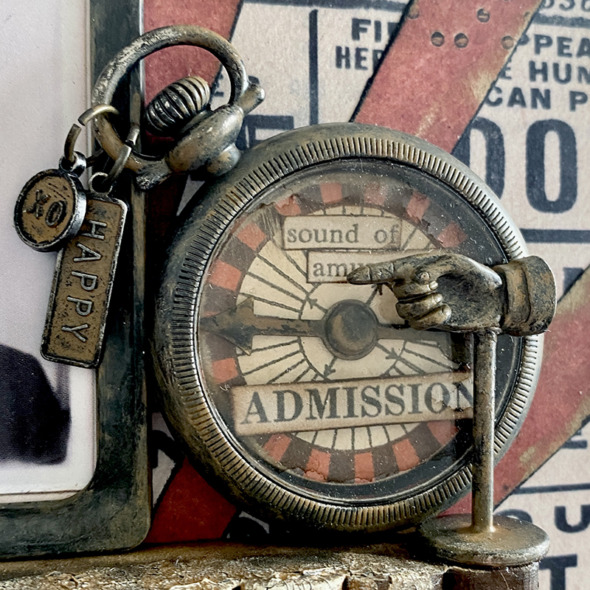
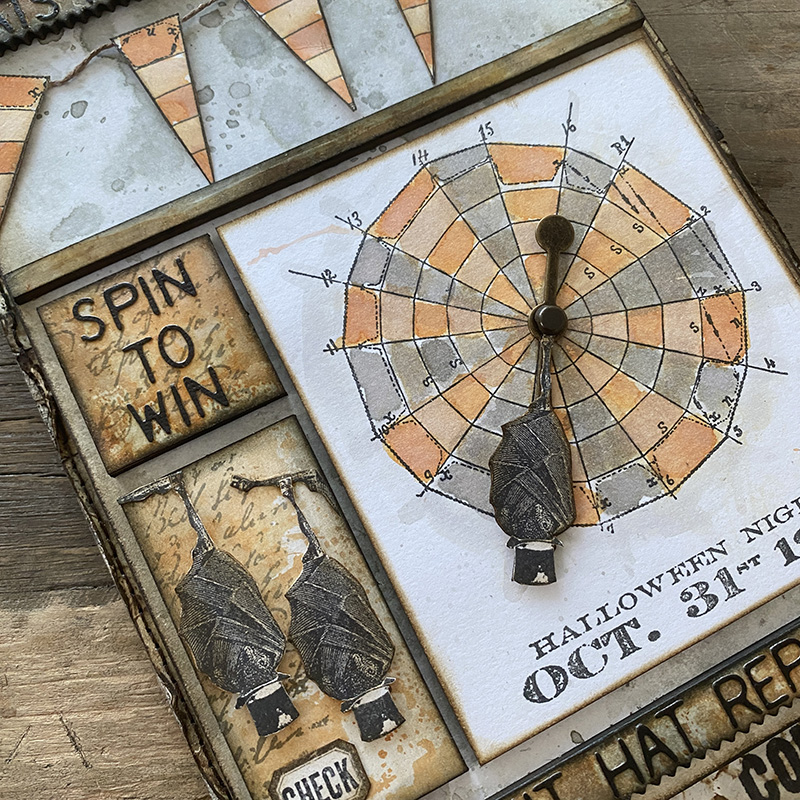
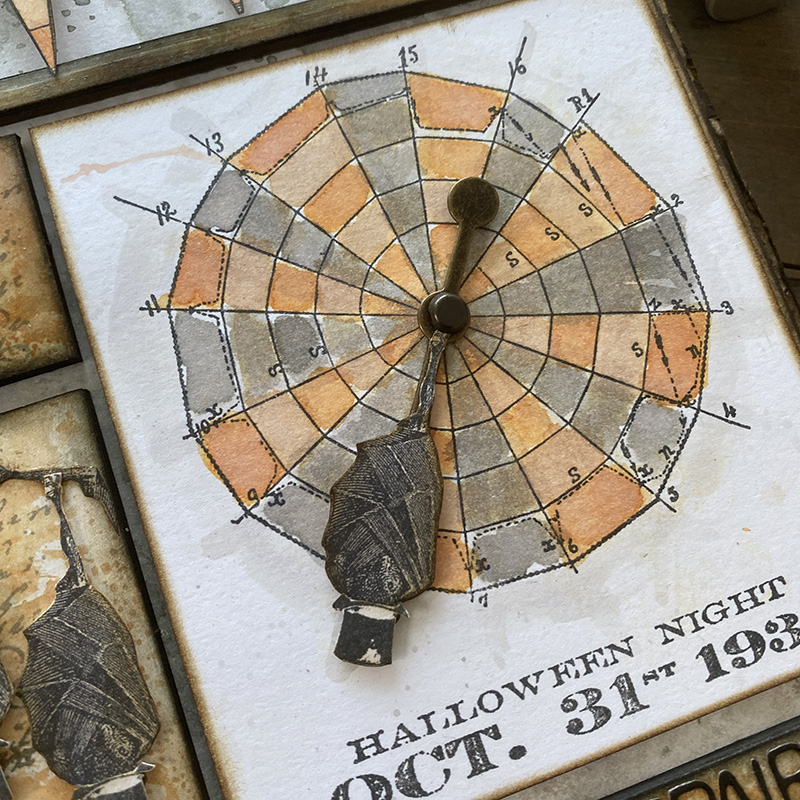
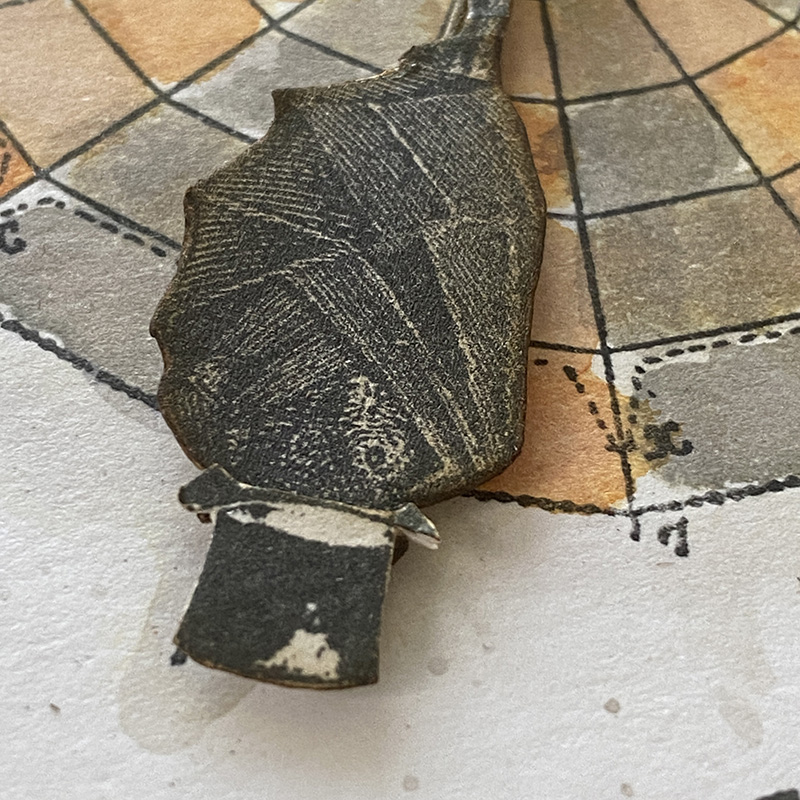
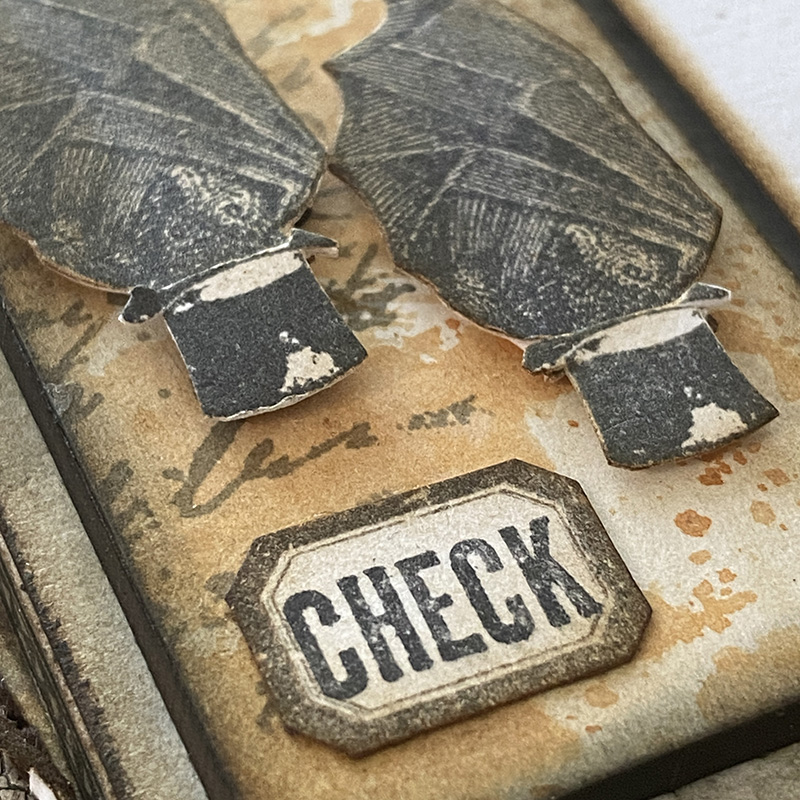
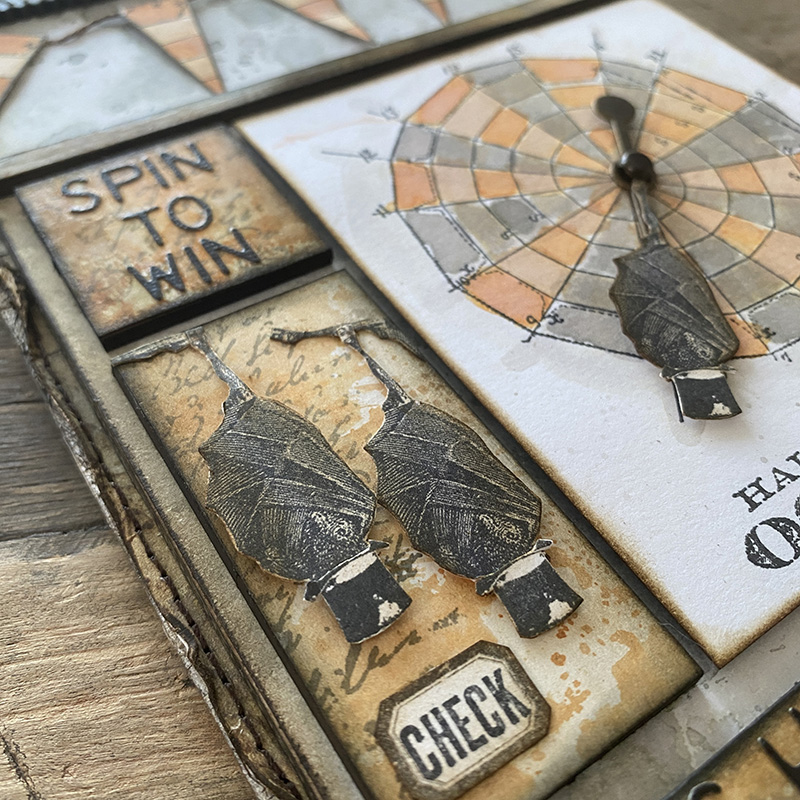
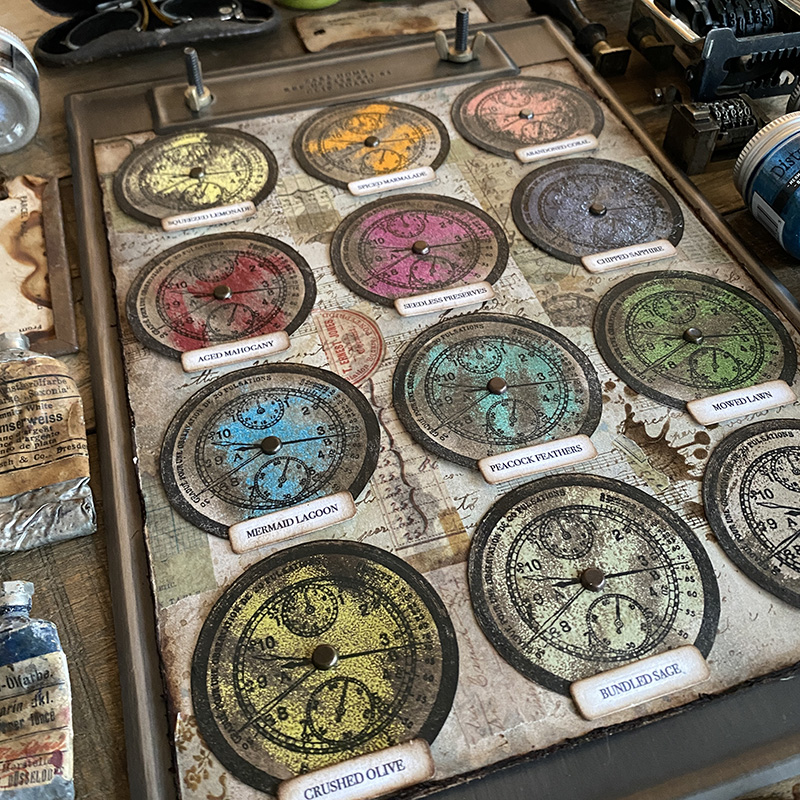
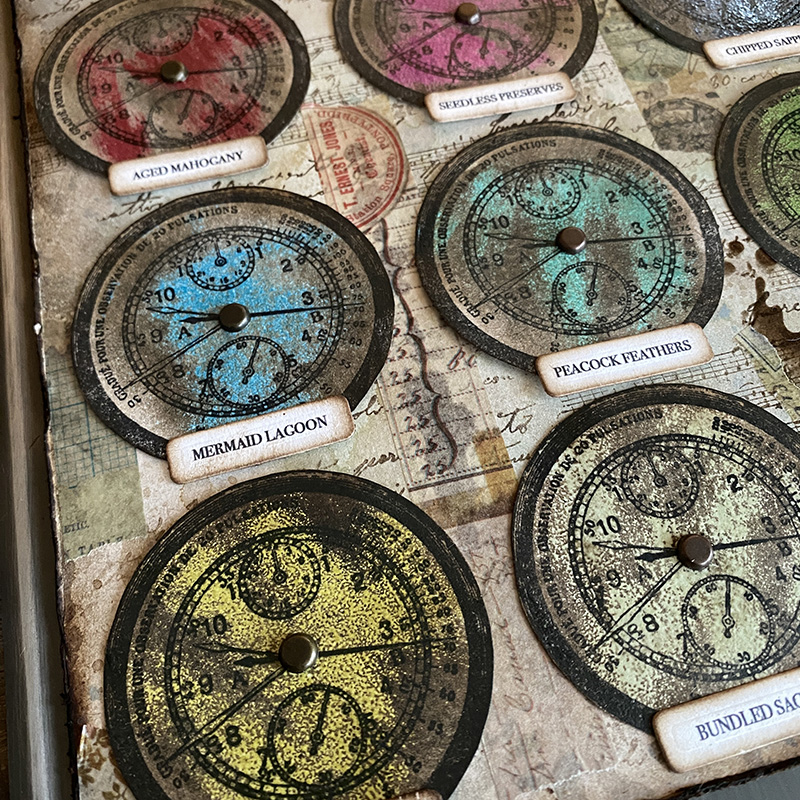
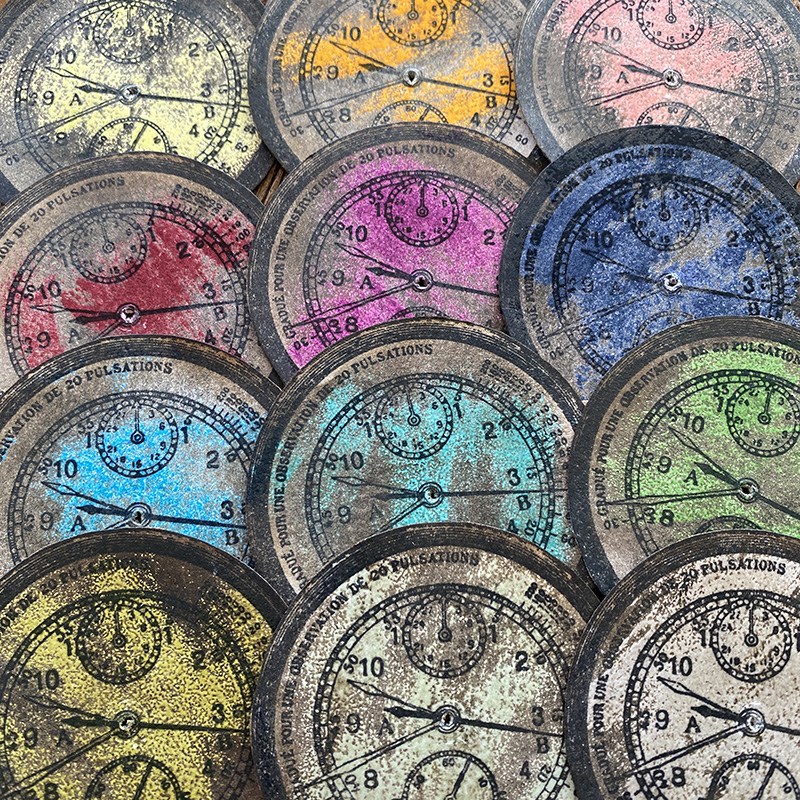
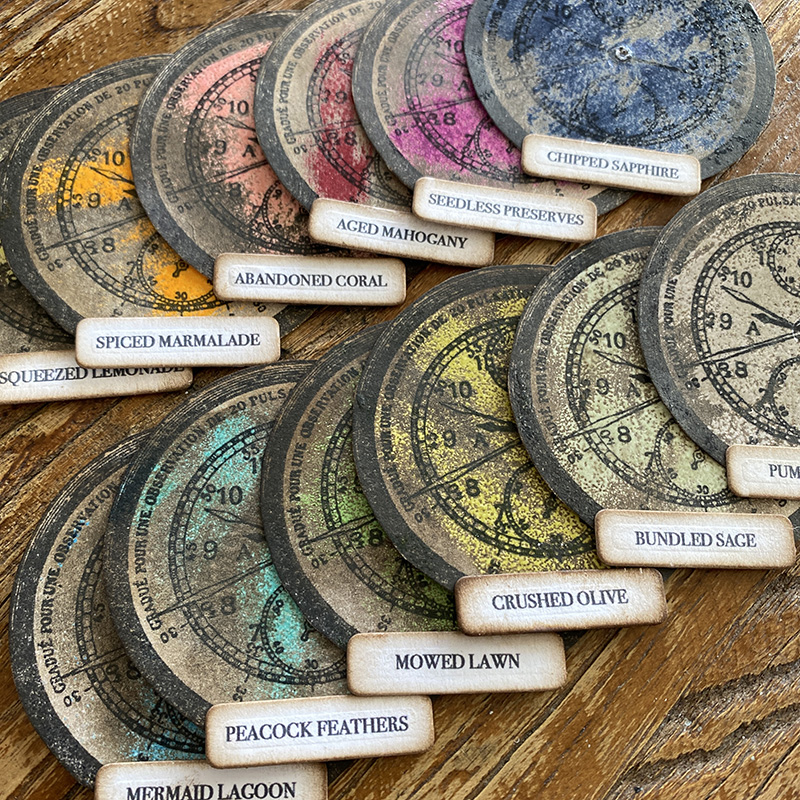
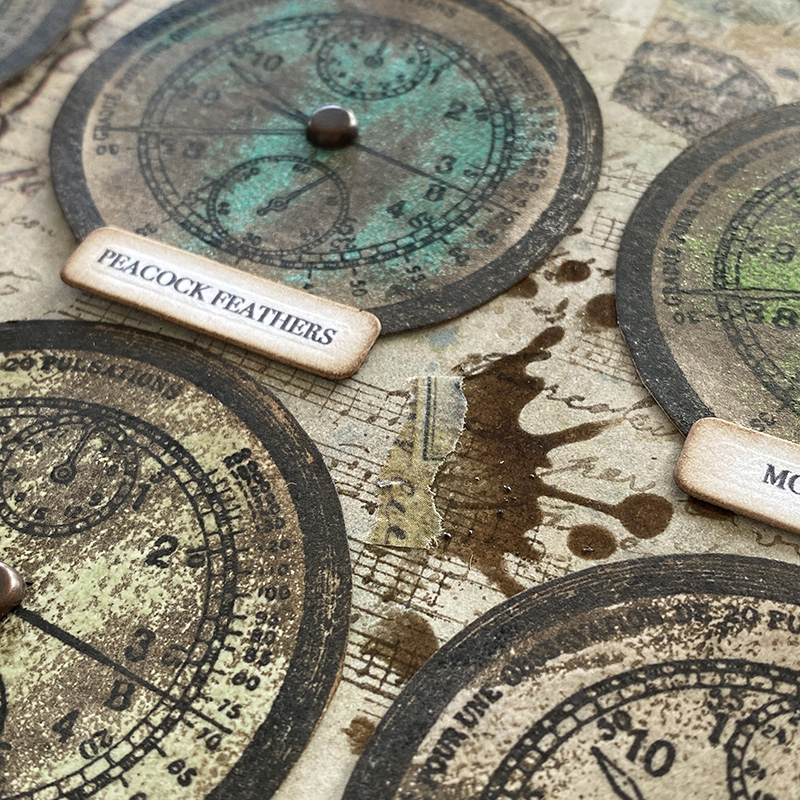
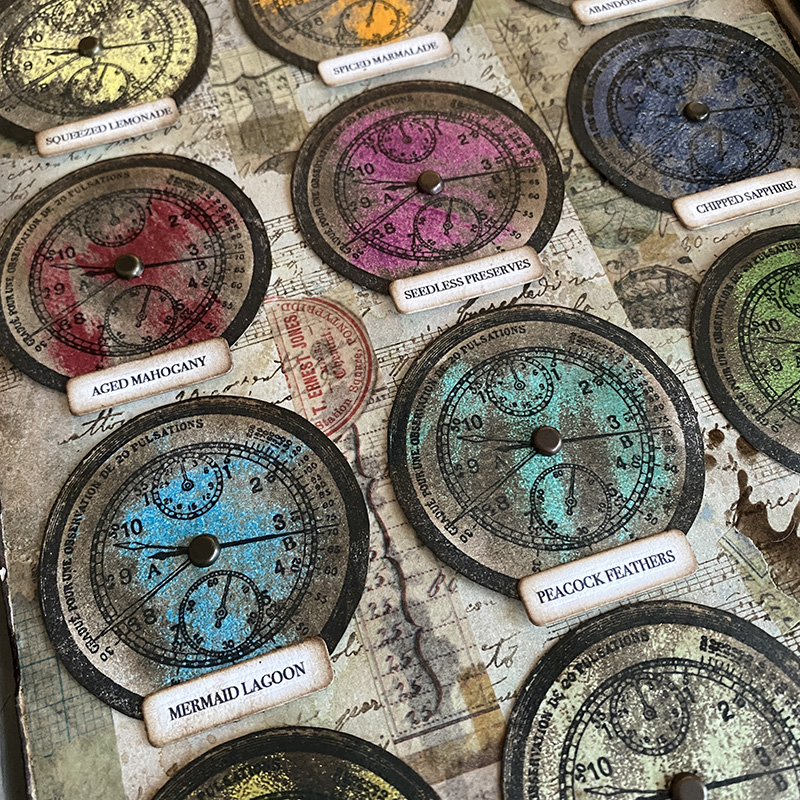
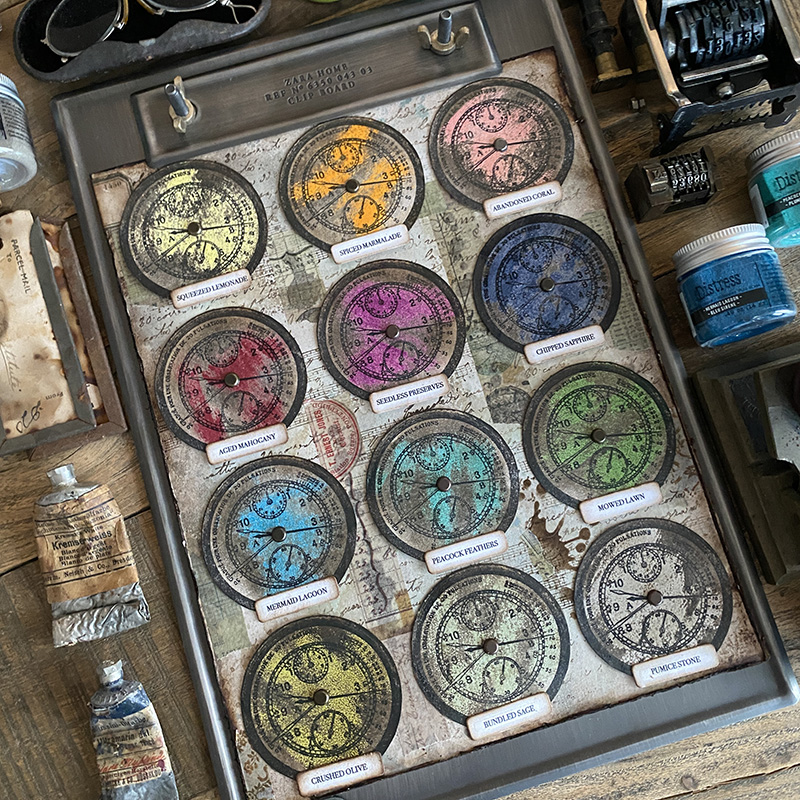
I can’t put into words how much I love the new idea-ology figure stands adornments. These pointing hands can be seen in one of the shopping alleys at Tivoli so I had to use this. The pocket watches work so well to add pieces to help tell the story. Add clipping stickers and game spinners to continue the carnival theme. We really enjoy the games at Tivoli so this was a nod to this.

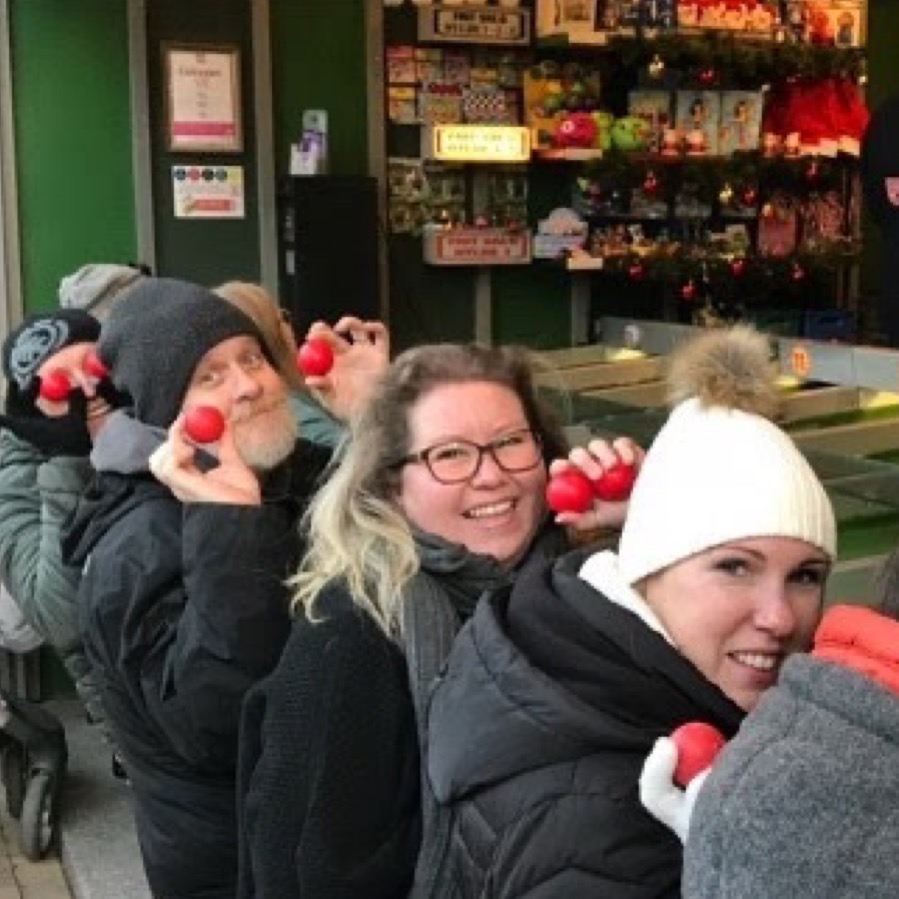
Playing the horse racing game with friends at Tivoli.
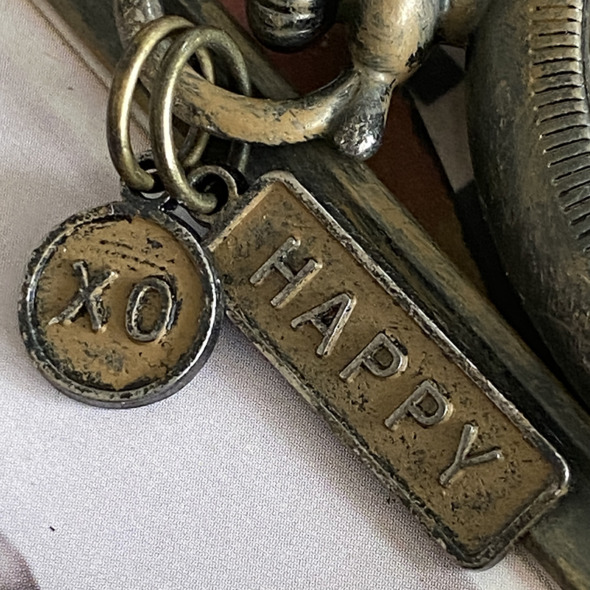
idea-ology jump rings are the perfect way to attach the new word tags to the pocket watch. These definitely help to tell my story here as Tivoli is a happy place with special memories for me.

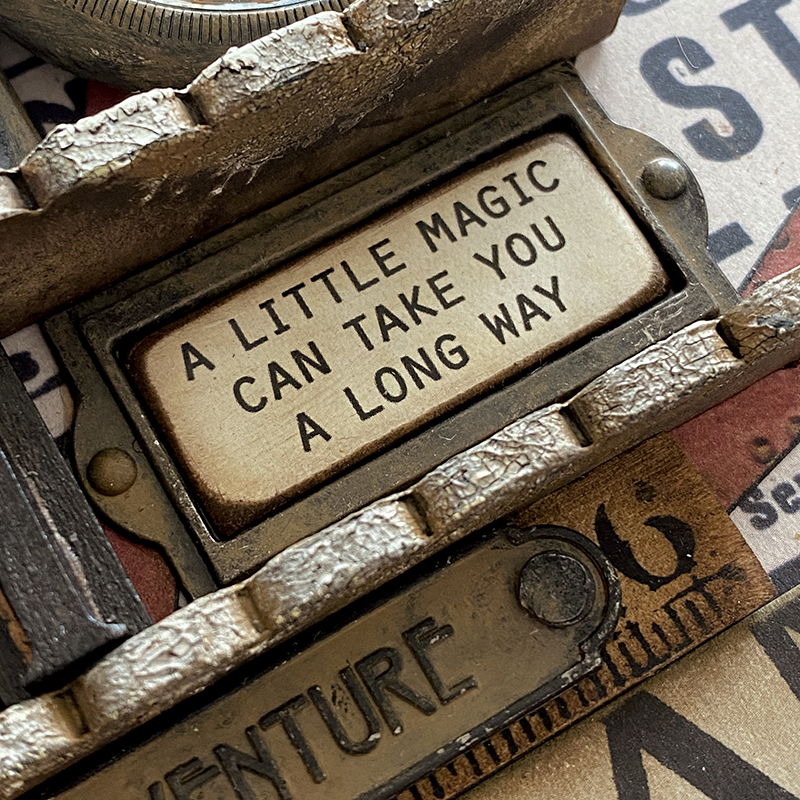
I absolutely love the new idea-ology quote chips which fit inside the idea-ology label frames. And a perfect quote for my story. I was pretty sad when we left Switzerland to move to Denmark and finding things I loved here definitely took me a long way to feeling better about our move.
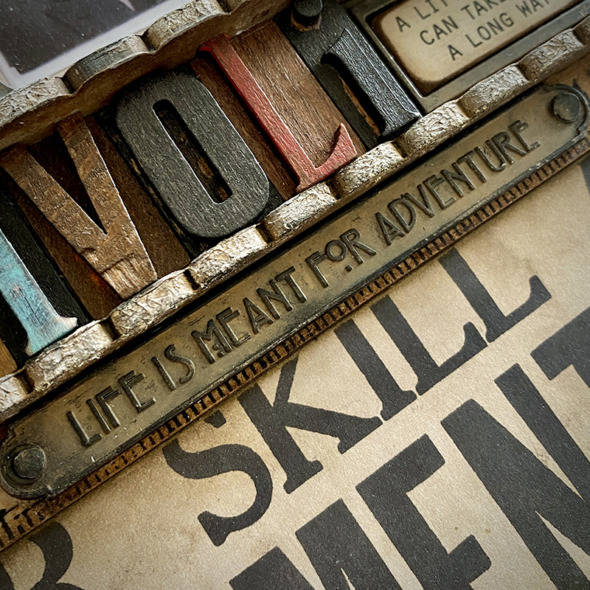
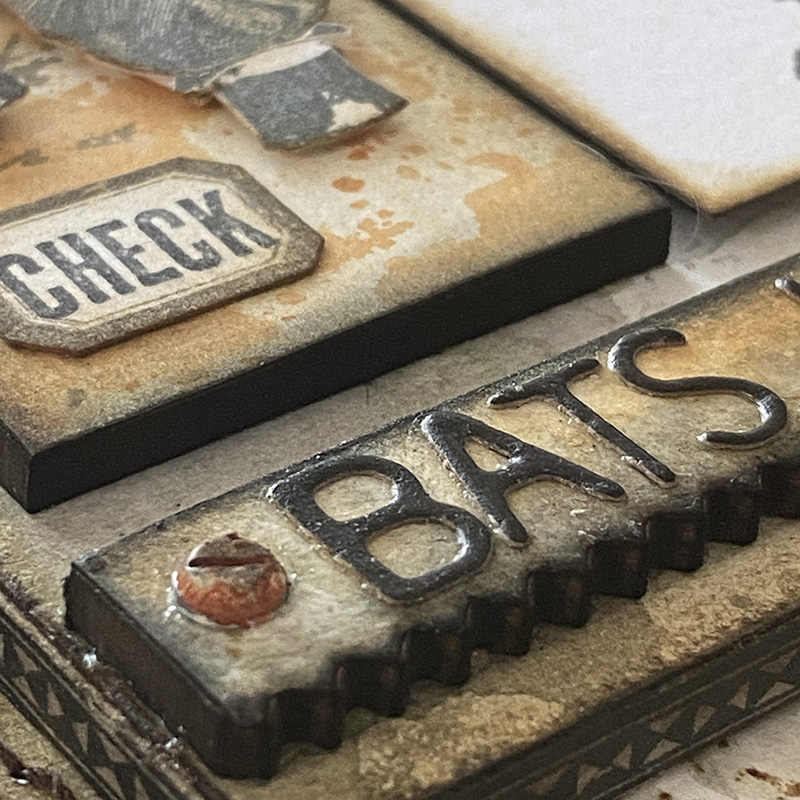
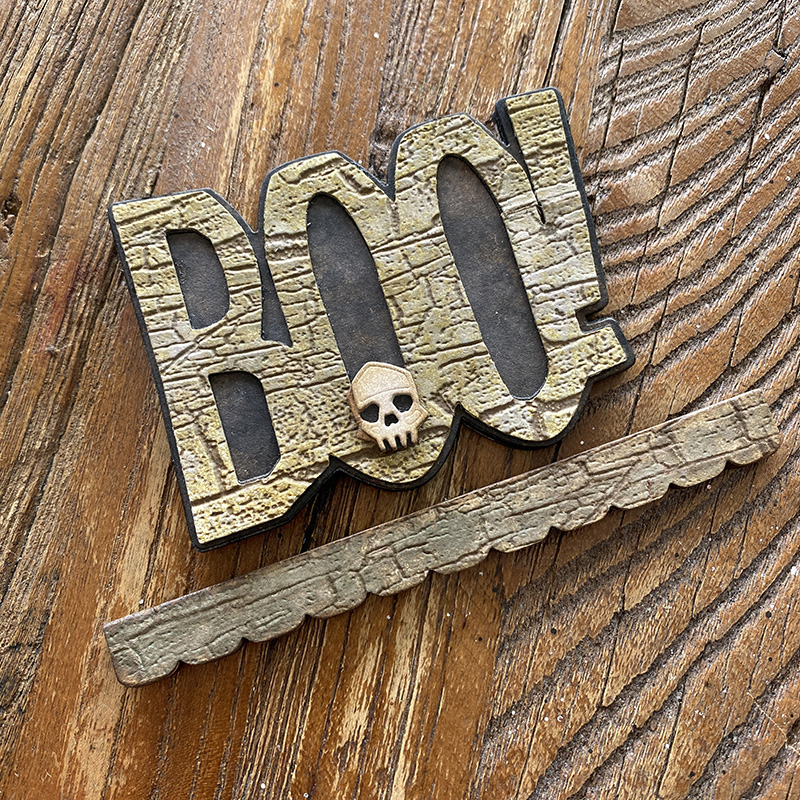
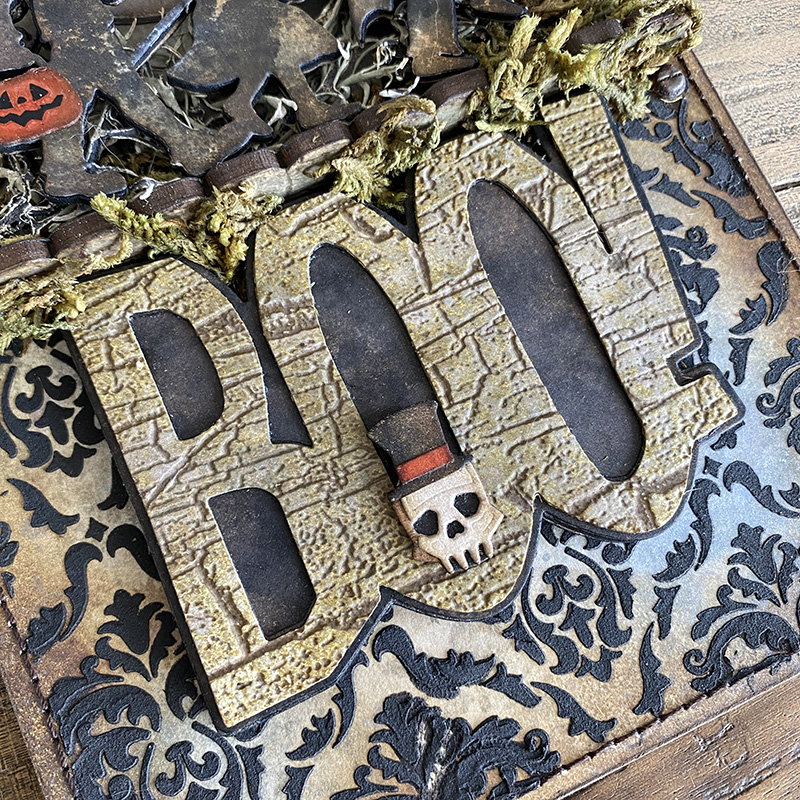
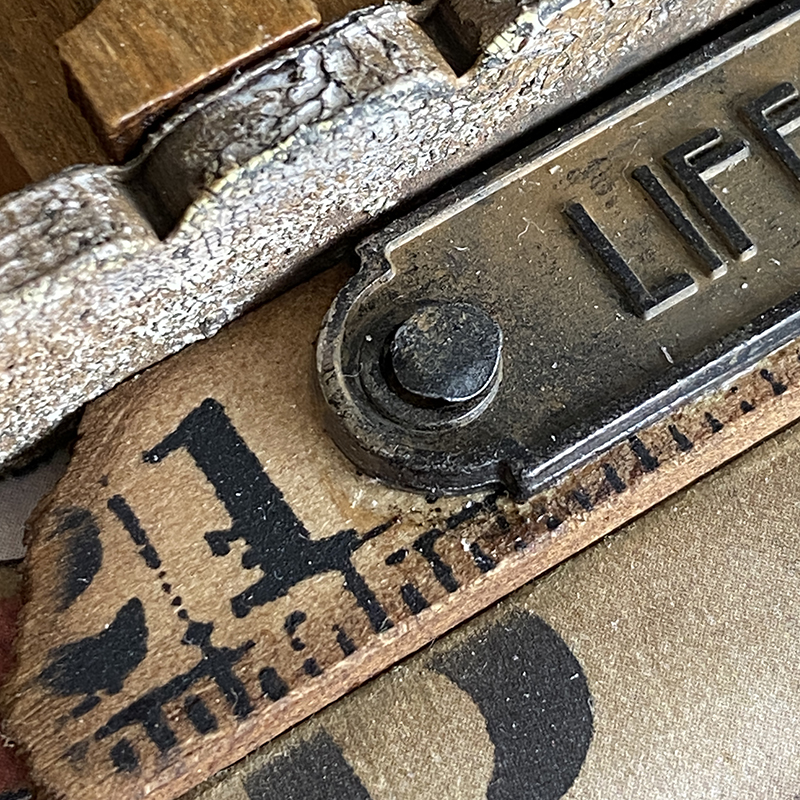
Another perfect piece for story telling is the new idea-ology word plaque large. I love these longer word plaques and the fantastic art deco style font.
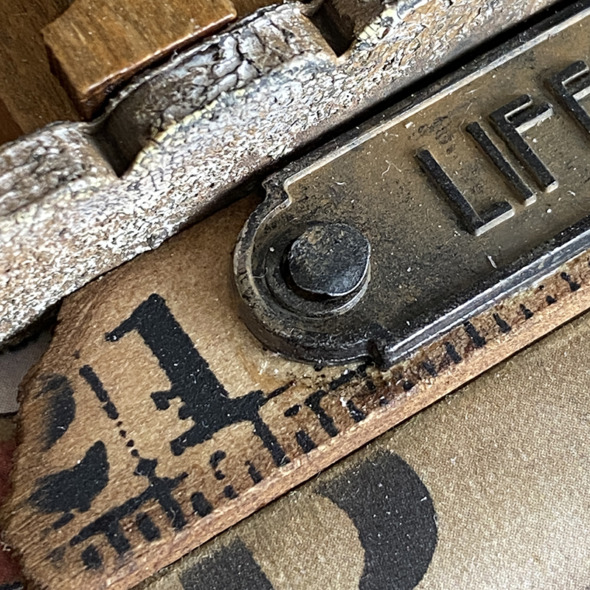
I mounted the large word plaque over a ruler from the idea-ology ruler pieces set and attached with large fasteners which I enjoyed hitting with the tiny texture hammer.
There’s so many ways to use the idea-ology pieces to tell your own story, I hope this has encouraged you to tell yours.

Thanks for stopping by and let me know if you have any questions.
Zoe
…
affiliate links used at no cost to you