‘Tim Holtz’ Category

  1. Creativation 2017 : idea-ology 2

    1st February, 2017 by iGirlZoe

    Hello everyone. Thank you so much for your kind comments on my last post, I really appreciate it. Today I am back with part 2 of my samples for the Tim Holtz Idea-ology Booth.

    iGirlZoe: Tim Holtz Creativation 2017
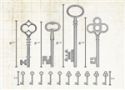
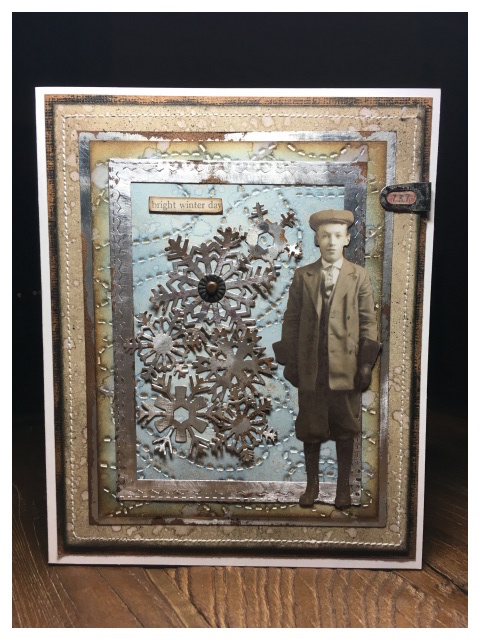
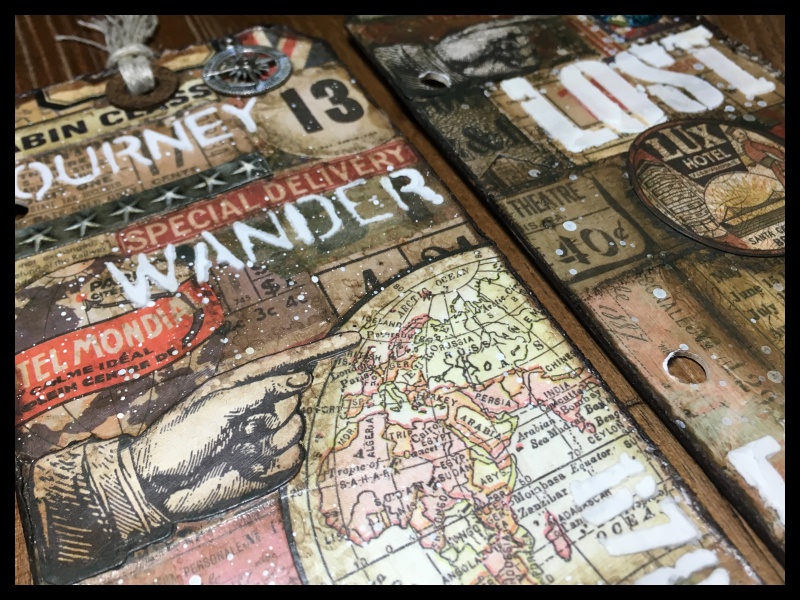
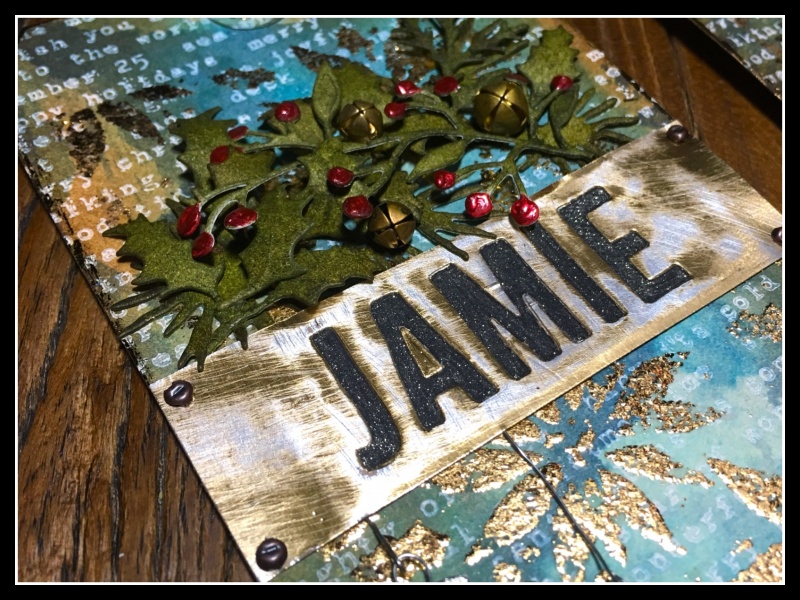
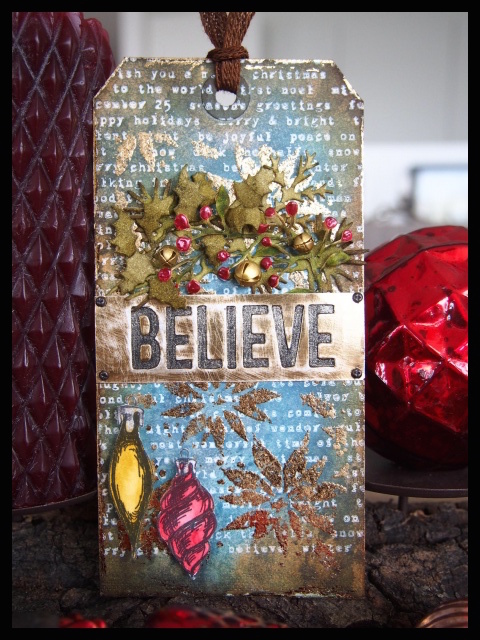
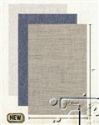
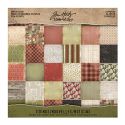
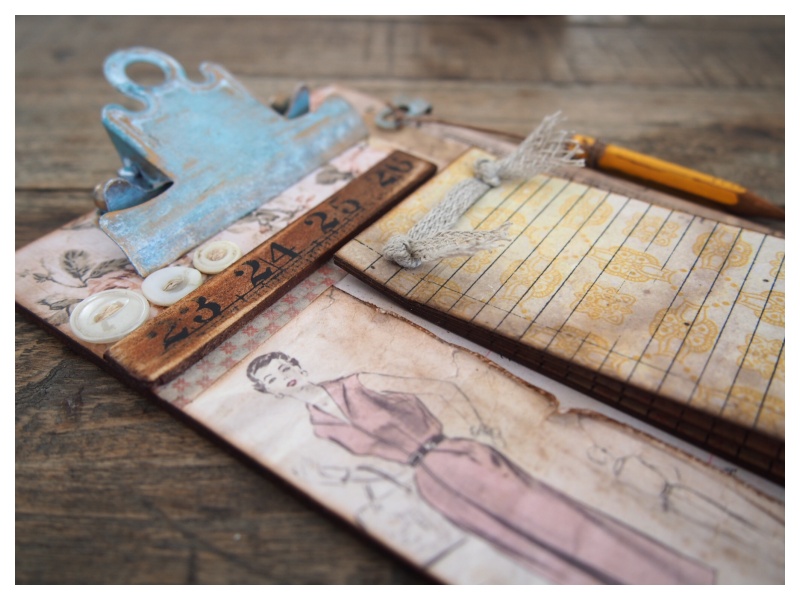
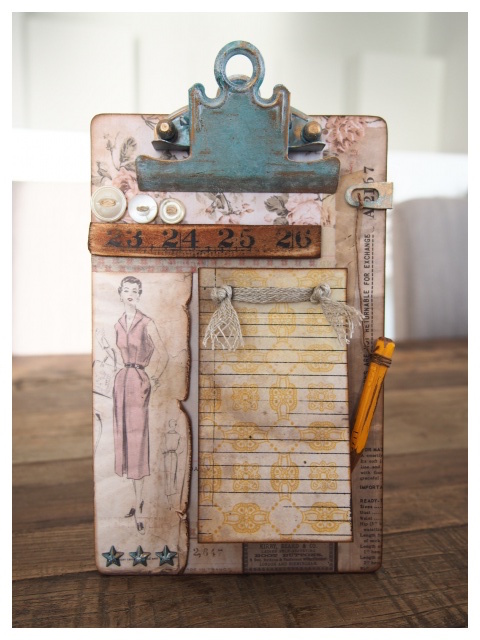
My second sample, a clipboard memo pad, was inspired by the gorgeous new memoranda paper stash and I HAD to use one of the new idea-ology rulers!

    iGirlZoe: Tim Holtz Creativation 2017
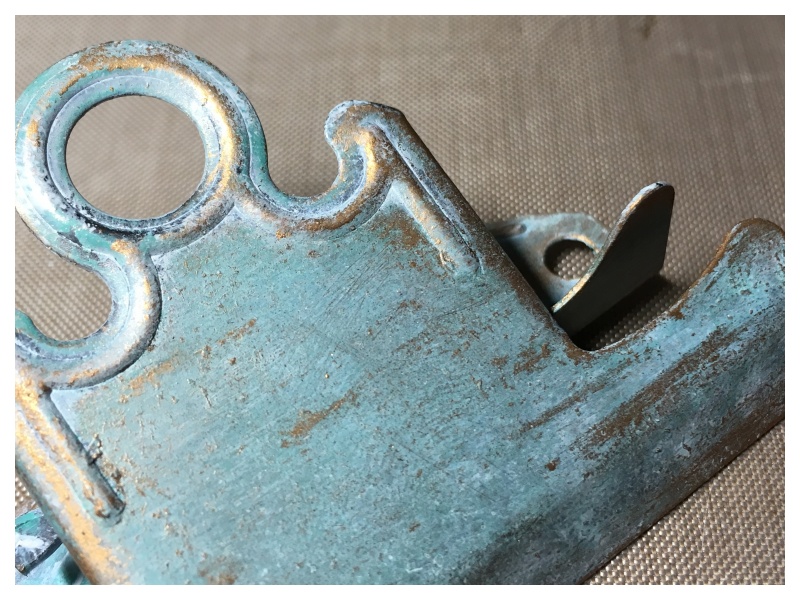
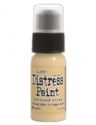
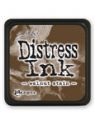
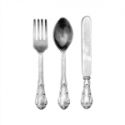
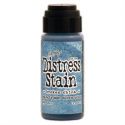
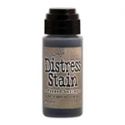
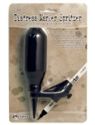
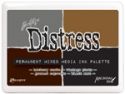
    To begin with, I disassembled an idea-ology mini clipboard. Covered the clip with picket fence distress paint, dried a little and then wiped away the excess with kitchen paper. I repeated this process using evergreen bough distress paint. Finally I dry brushed with tarnished brass distress paint.

    iGirlZoe: Tim Holtz Creativation 2017
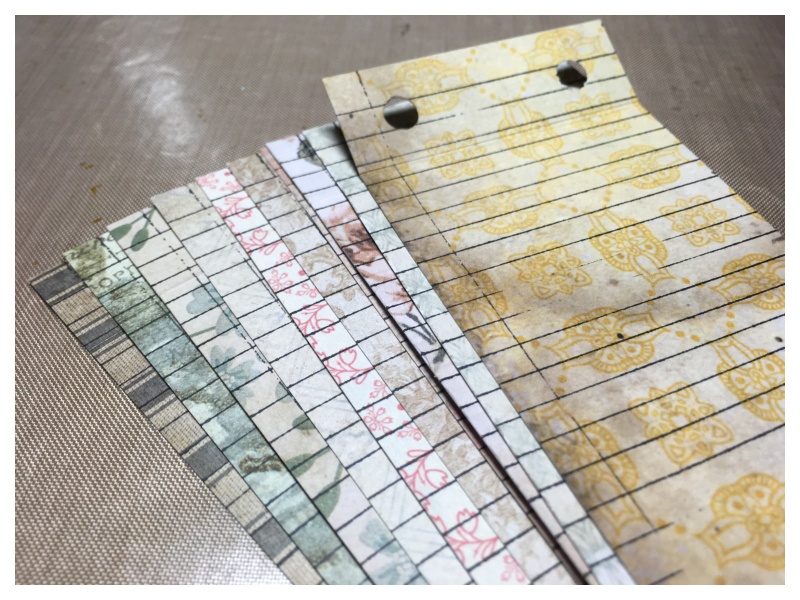
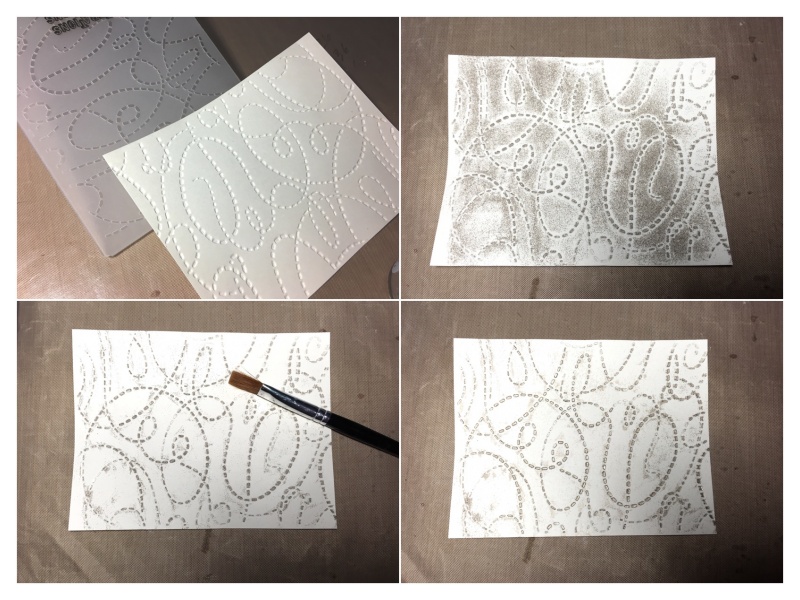
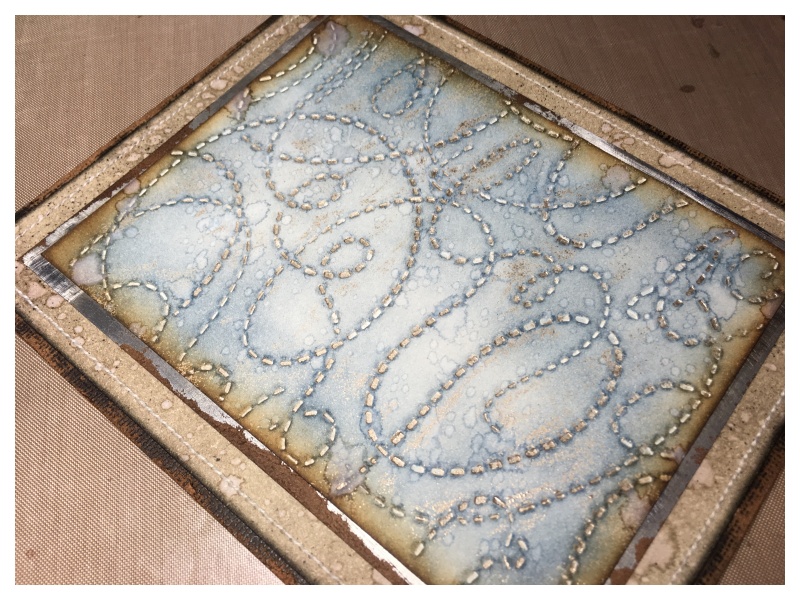
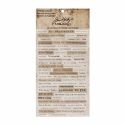
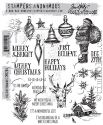
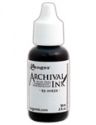
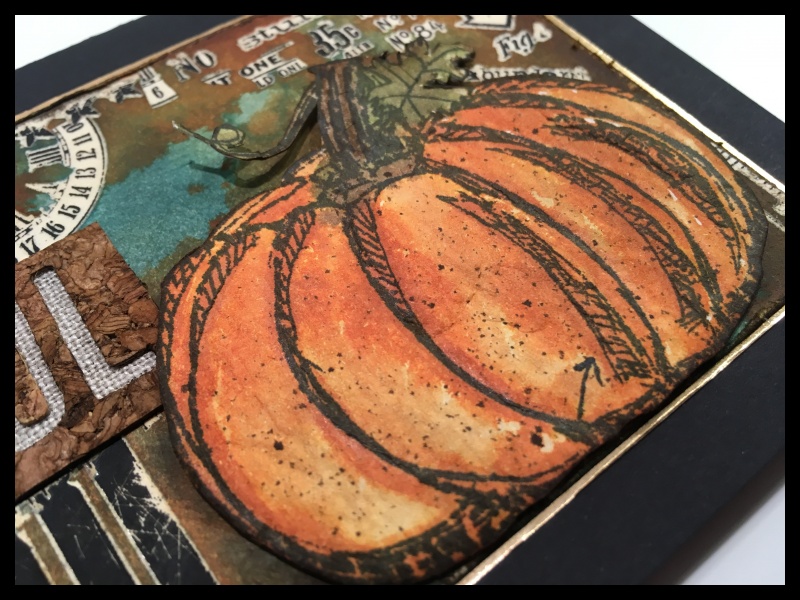
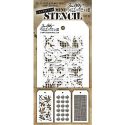
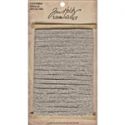
    I used the notebook stamp from the Tim Holtz school desk stamp set (CMS057), with jet black archival ink and stamped onto paper from the new memoranda paper stash. I scored a line near the top and punched holes.

    iGirlZoe: Tim Holtz Creativation 2017
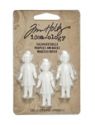
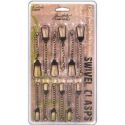
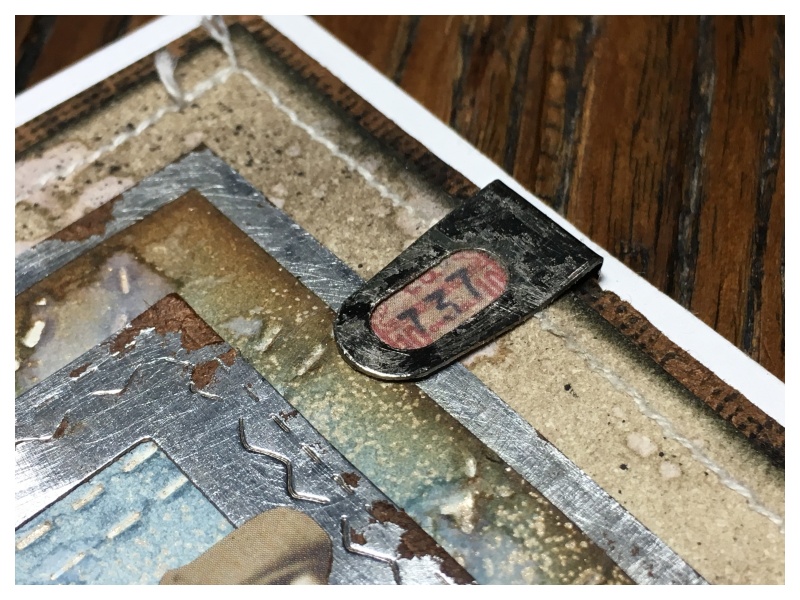
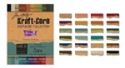
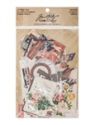
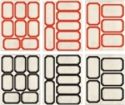
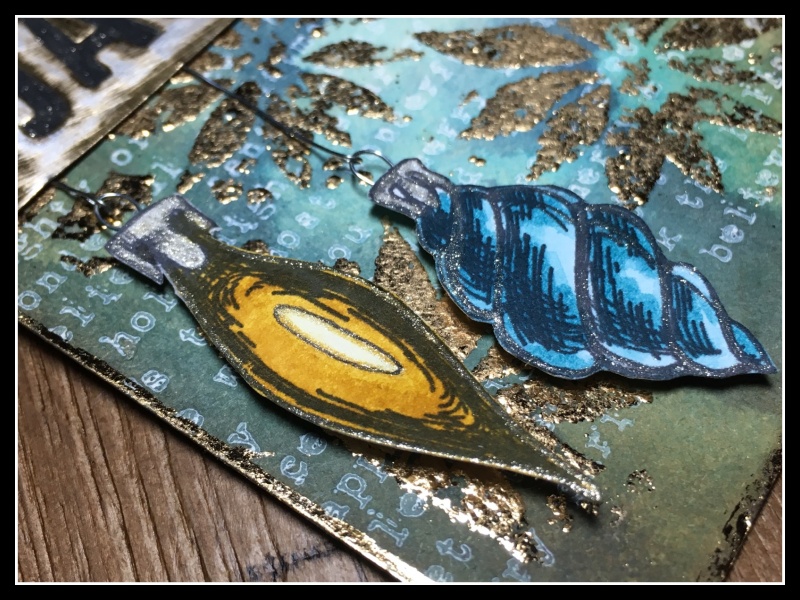
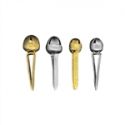
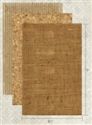
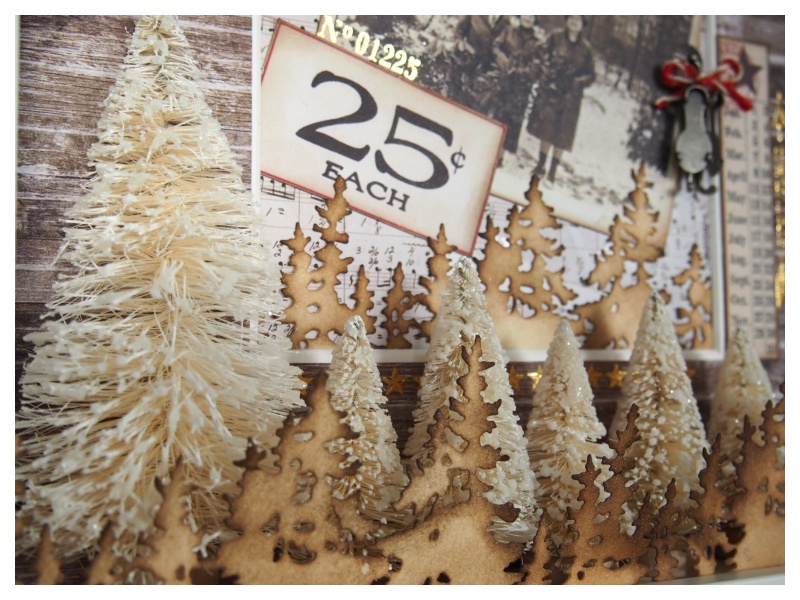
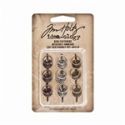
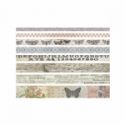
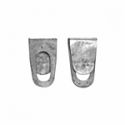
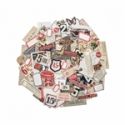
    I covered the mini clipboard with paper from the Memoranda Paper Stash, ephemera from the snippets ephemera pack and design tape. I used linen ribbon to hold the memo pad together and adhered it to the clipboard. I added an aged pencil with twine to an adornments index clip which I aged with distress paint.

    iGirlZoe: Tim Holtz Creativation 2017
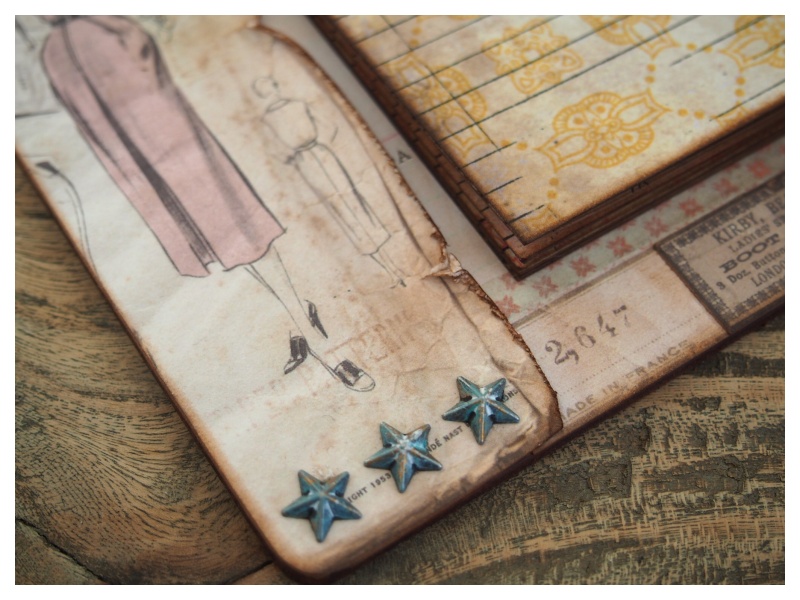
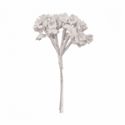
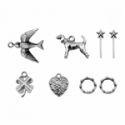
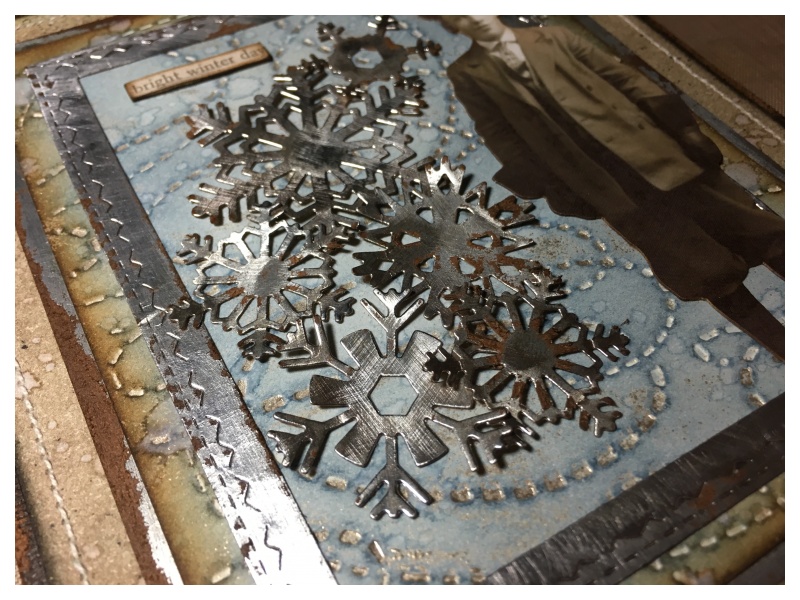
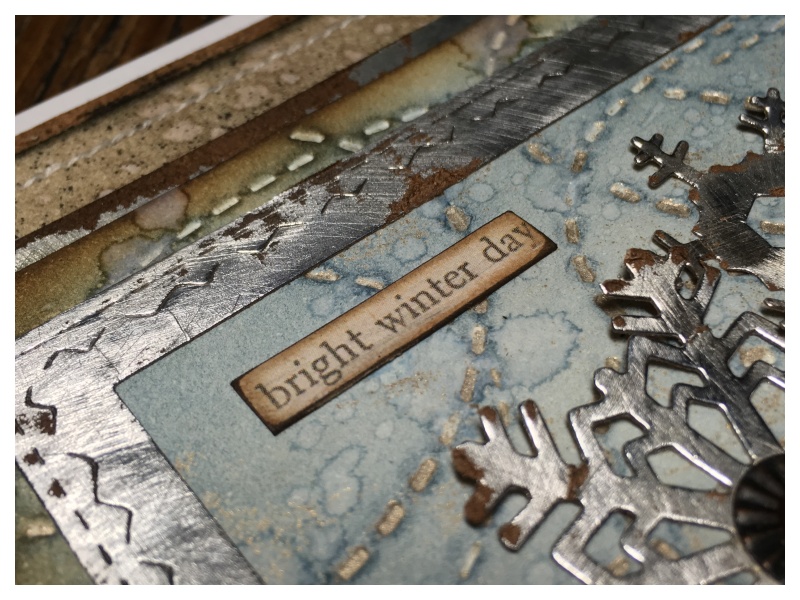
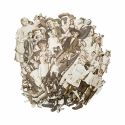
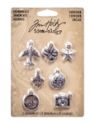
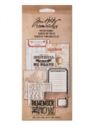
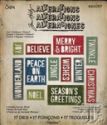
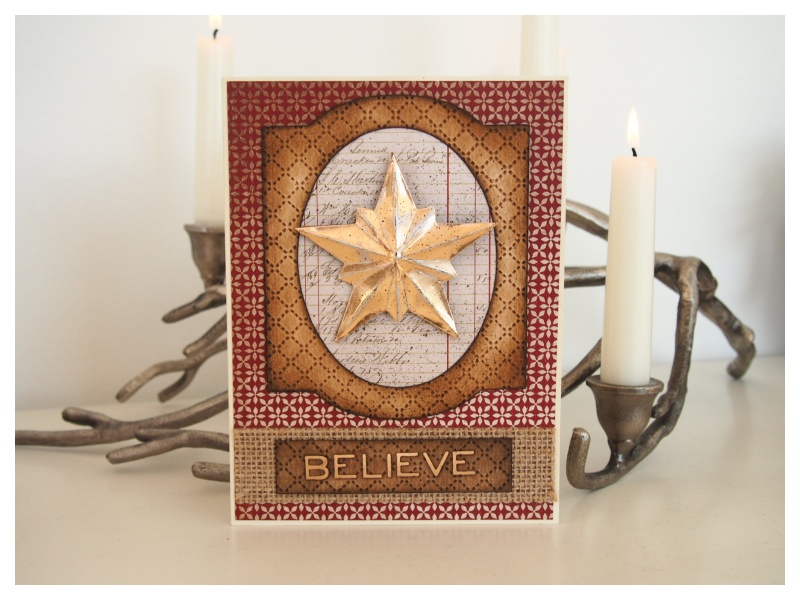
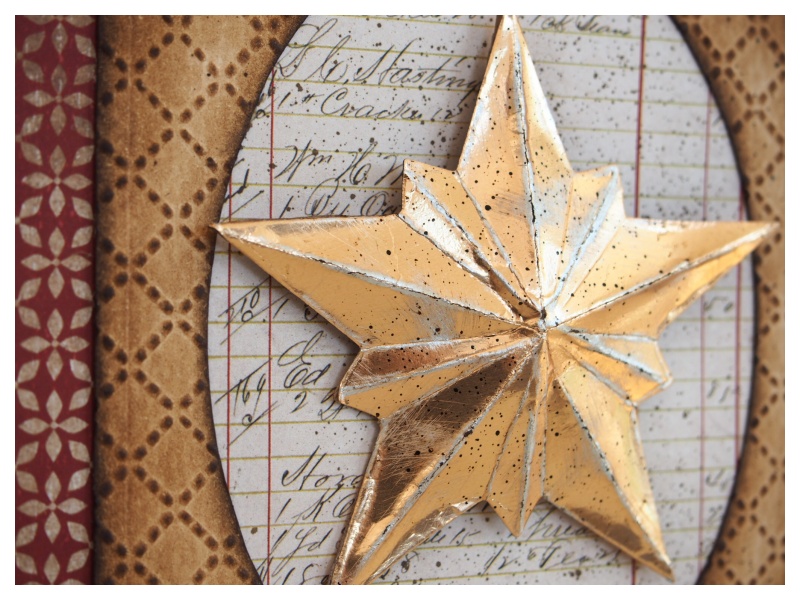
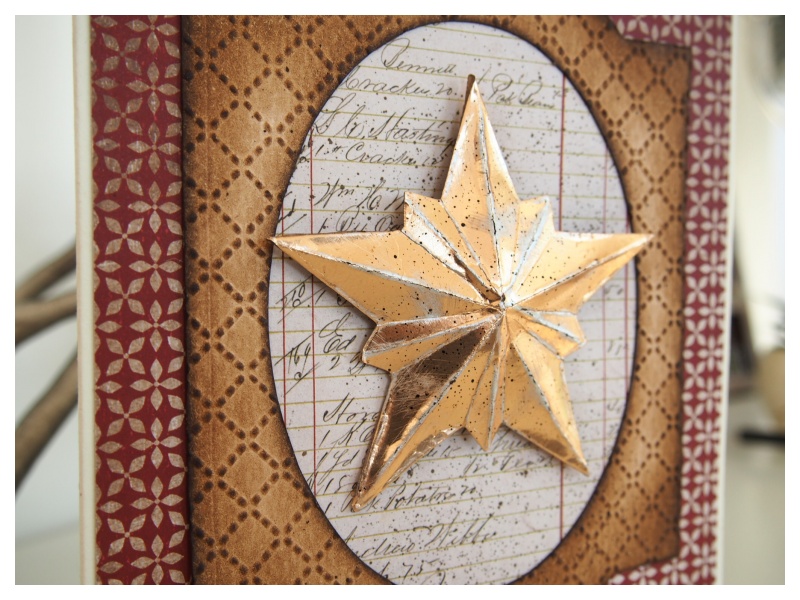
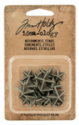
    As a final flourish I added one of my new favourite idea-ology items, the adornments stars, which I aged with distress paint and attached with collage glue. …I won’t tell you how many packs of these I have ordered, but I would get in there quickly!

    iGirlZoe: Tim Holtz Creativation 2017
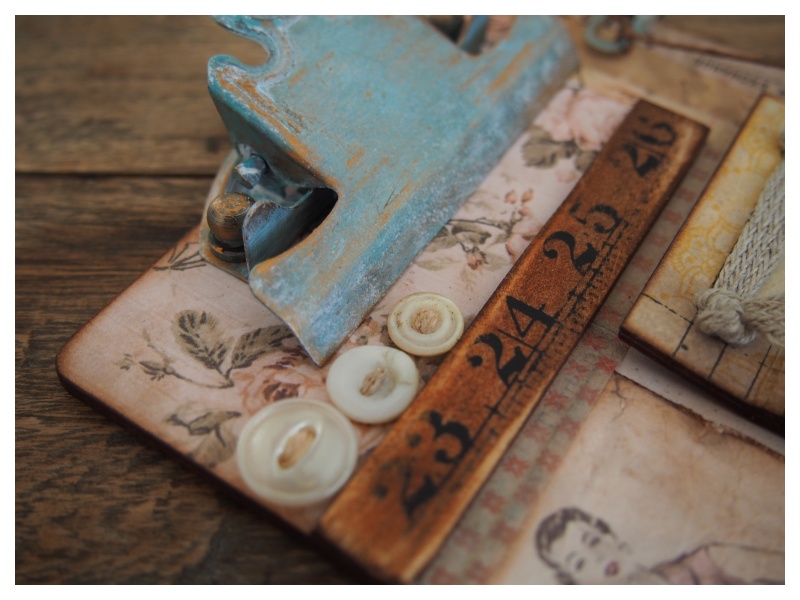
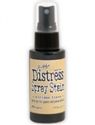
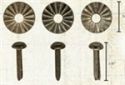
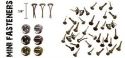
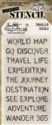
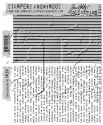
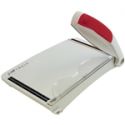
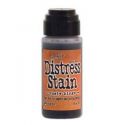
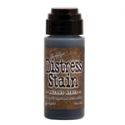
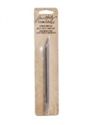
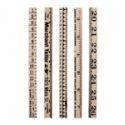
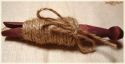
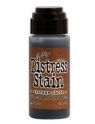
    I snapped an idea-ology ruler in half, sanded with a sanding block and stained with vintage photo distress stain. The buttons are actual vintage buttons that Paula Cheney kindly sent me from her personal stash, (you should see the collection she has… swoon)!

    iGirlZoe: Tim Holtz Creativation 2017
    Again, a big thanks to Tim Holtz, Mario Rossi and Paula Cheney for inviting me to be part of this amazing team.

    You can pre-order all of the new Tim Holtz products from The Funkie Junkie Boutique.

    I’ll be back on Friday with the samples that I made for the Sizzix booth.

    Thanks for taking the time…
    Zoe


    Save


  2. Creativation 2017 : idea-ology 1

    30th January, 2017 by iGirlZoe

    Hello everyone. If you’re anything like me, the weekend before last was a write off as I spent it glued to social media waiting for facebook live videos and photos from this years Creativation, (formerly CHA).

    Last week I spent pre-ordering all the new products and this week I’m going to share the samples I made for the Tim Holtz Idea-ology and Sizzix Alterations Booths.

    iGirlZoe: Tim Holtz Creativation 2017My first sample is a secret garden inspired altered assemblage clock, using lots of the new idea-ology line by Tim Holtz.

    iGirlZoe: Tim Holtz Creativation 2017
    To begin with, I disassembled an assemblage clock. Covered it with picket fence distress paint, dried a little and then wiped away the excess with kitchen paper. I repeated this process using evergreen bough distress paint. Finally I dry brushed with tarnished brass distress paint. Once dry I reassembled the clock.

    iGirlZoe: Tim Holtz Creativation 2017
    I added an crinkle ribbon that I stained with antique linen distress spray. I glued a little green moss to the top of the clock with glossy accents, adding some of the new bouquet findings flowers which I stained with fossilized amber and picked raspberry distress spray. I covered the center or the flower with scattered straw distress paint and added a few tiny drops of glossy accents to give a faux water droplet effect. Finally I attached my favourite piece from the new snippets ephemera. I seriously love this! Everything was edged with vintage photo distress ink.

    iGirlZoe: Tim Holtz Creativation 2017
    I aged a swivel clasp with adornments treasures and adornments keys with gold mixative alcohol ink and hung from the clock handle.

    iGirlZoe: Tim Holtz Creativation 2017
    I covered the inside of the clock with paper from the new memoranda paper stash. Glued moss along the bottom of the clock and added botanical layer flowers. I added mushroom alcohol ink to a salvaged doll, altered her dress with a little victorian velvet distress paint. I added a crown and wand from the adornments treasures that I stained with gold mixative alcohol ink. I then nestled amidst the botanical layers.

    iGirlZoe: Tim Holtz Creativation 2017
    It was such an honor to make a small contribution to the incredible Tim Holtz booths. A big thanks to Tim Holtz, Mario Rossi and Paula Cheney for inviting me to be part of this amazing team. Also to you, who take the time to visit my blog and instagram and leave comments cheering me on, I really appreciate it.

    You can pre-order all of the new Tim Holtz products from The Funkie Junkie Boutique.

    I’ll be back on Wednesday with part 2 of my samples.

    Thanks for taking the time…
    Zoe


    Save

    Save


  3. Frilly & Funkie Winter Hues

    25th January, 2017 by iGirlZoe

    It’s Wednesday and time for another challenge over at Frilly and Funkie Challenge Blog! I’m delighted to be back on the Frilly & Funkie design team for another term. This week it’s the funkie side of the team to join the challenge.

    This challenge is hosted by Suzz (Suzz’ Stamping Spot), who has chosen the theme WINTER HUES …SUZZ says, “The weather this time of year in the Midwest gets to be a bit chilly, icy, snowy and overcast. These elements of the season create a beautiful palette of colors which I am calling Winter Hues. This challenge requires you use any or all of the following colors: blue, white, silver, gray in your vintage or shabby chic project.”

    iGirlZoe: Winter HuesI love this challenge! I used blue, white, grey and silver in my card… and yes, brown, plenty of brown!

    iGirlZoe: Winter Hues
    I worked in layers and blended pumice stone distress ink onto mixed media heavystock and spritzed with water. I love this technique and especially love the fantastic mottled effect the distress sprayer gives. I dried with a heat tool, stitched the edges with my sewing machine and mounted onto black core’dinations kraft core, which I sanded of course.

    iGirlZoe: Winter Hues
    On top of that, I layered a piece of silver idea-ology metallic kraft stock. I sanded the edges with a sanding grip and blended in vintage photo distress ink.

    iGirlZoe: Winter Hues
    For the next layer wanted to try and recreate an embossed technique Tim Holtz demonstrated in Creative Chemistry 103 with the shadow press. It didn’t work exactly as I had hoped, but I managed to make it work for me, and quite liked the effect. I rubbed a versamark ink pad over the raised portion of the embossing folder and ran it through my big shot with mixed media heavystock. I then poured embossing powder over the top. This is where it didn’t work properly… I can’t find my brayer, I had it at the weekend but now it’s MIA and when I used the versamark ink pad it touched the flat portions of the folder and there was embossing powder everywhere! Using a dry paintbrush, I carefully brushed the powder off the negative portions and melted the powder with a heat tool.

    iGirlZoe: Winter Hues
    I blended stormy sky distress ink onto the card, edged with vintage photo distress ink and spritzed with water. I used this particular embossing folder as it reminded me of the cold winds blowing. I was pleased with the effect as there is powder in the debossed detail and a little splattered around which looks like it was an “on purpose!” I am trying SO hard to “embrace imperfection” and not “freak my freak” as Tim says in Creative Chemistry.

    iGirlZoe: Winter Hues
    Next, I die cut a stitched rectangle frame and snowflakes with more of the silver idea-ology kraft stock. Sanded with a sanding grip and blended in vintage photo distress ink. I adhered them with glossy accents.

    iGirlZoe: Winter Hues
    I added a sentiment from the new idea-ology clipping stickers. I sanded the edges and blended with vintage photo distress ink. This sentiment just worked perfectly with the frosty cold colours.

    iGirlZoe: Winter Hues
    I also added a new idea-ology adornment index clips which I LOVE LOVE LOVE! I mounted it over a scrap of ephemera I had leftover from another project! Did I mention LOVE?!

    iGirlZoe: Winter Hues
    Finally I added an idea-ology fluted fastener to the center of the largest snowflake which I flattened with a hammer. My favourite bit though, was adding a new idea-ology paper doll! There are no words to truly describe how much I love these!

    Thanks for stopping by. I hope you will find time to join in the challenge and pop over to Frilly and Funkie challenge blog to see the rest of the DT’s projects. All the products I used are available from The Funkie Junkie Boutique.

    Zoe


    Save

    Save

    Save

    Save

    Save


  4. Frilly & Funkie Friday Focus

    20th January, 2017 by iGirlZoe

    Happy New Year friends!

    Sorry that it’s been over a month since my last post. I spent Christmas in the UK with family and have been working on some projects for Creativation (formerly CHA)… but more on that in a later post. 😉

    Today I have the pleasure of hosting the Friday Focus at the Frilly and Funkie Blog! We’re featuring Tim Holtz and Ranger Collage Mediums and Texture Pastes, and for the next two weeks The Funkie Junkie Boutique are giving an additional 15% discount off these products! YIPPEE!

    iGirlZoe: Friday Focus
    For a closer look at this weeks Friday Focus, pop over to the Frilly and Funkie Blog.

    Have a great weekend and if you’re at Creativation, have a great show!
    Zoe


  5. Frilly & Funkie Holiday Gift Tags

    10th December, 2016 by iGirlZoe

    Hello friends! I have a SATURDAY STEP BY STEP over at Frilly & Funkie with some holiday gift tags.

    iGirlZoe: Holiday Gift Tags

    iGirlZoe: Holiday Gift Tags

    If you would like to see the step by step in full, pop over to Frilly & Funkie.
    Enjoy your weekend.

    Zoe x


  6. Frilly & Funkie Home For The Holidays

    7th December, 2016 by iGirlZoe

    It’s Wednesday and time for another challenge over at Frilly and Funkie Challenge Blog! This is the last challenge for the year.

    This challenge is hosted by Kathy (Kathy by Design), who has chosen the theme HOME FOR THE HOLIDAYS …KATHY says, “Let’s get ready to Deck the Halls by creating some home decor for the holiday season. You can make centerpieces, wreaths, banners, ornaments, wall hangings, or little vignettes …basically anything BUT a card for this challenge. If you don’t celebrate Christmas or Hanukkah or Kwanzaa, then just make some home decor with a wintry theme.”

    iGirlZoe: Home for the Holidays
    This final challenge theme is really fitting, as I will actually be going “home for the holidays!” With so much to do before we go, I decided to make some gift tags to adorn my gifts this year. I will be back on Saturday with a step-by-step for this gift tag.

    Thanks for stopping by. I hope you will find time to join in the challenge and pop over to Frilly and Funkie challenge blog to see the rest of the DT’s projects. All the products I used are available from The Funkie Junkie Boutique.

    The Frilly & Funkie Design Team will be back in the new year with a brand new set of challenges and I’m delighted to be joining the Design Team for another term. Wishing you all a happy holiday season.
    Zoe x


    Save


  7. Frilly & Funkie Bountiful Harvest

    23rd November, 2016 by iGirlZoe

    It’s Wednesday and time for another challenge over at Frilly and Funkie Challenge Blog!

    This challenge is hosted by Nancy (Tattered Treasures), who has chosen the theme BOUNTIFUL HARVEST …NANCY says, “Create any vintage or shabby chic project celebrating the bounty of the season in the rich hues of Autumn.”

    iGirlZoe: Bountiful Harvest
    I confess that since moving I’ve suffered from a fair amount of creative block. I think the stress, exhaustion and mind overload has left me a little creatively flat. Even with this super challenge theme, I sat for the longest time and nothing happened, so I turned to Tim Holtz’s 12 Tags of 2016 for help. Tim guides you through the techniques and before I knew it, I was covered in ink, big smile on my face…

    iGirlZoe: Bountiful Harvest
    You can see this background technique over on Tim’s blog. I’d forgotten how much I love the remnant rub resist.

    iGirlZoe: Bountiful Harvest
    I used the Tim Holtz Alphanumeric thinlits dies to create “Thankful,” die cut from cork and laid over the top of textile surface. I created the little pumpkin ticket using the mini pumpkin stencil from set number 22 and applying a little spiced marmalade and peeled paint distress marker through the stencil with a water brush. I added a remnant rub to the bottom and blended in walnut stain distress ink. SO CUTE!

    iGirlZoe: Bountiful Harvest
    Thanks for stopping by. I hope you will find time to join in the challenge and pop over to Frilly and Funkie challenge blog to see the rest of the DT’s projects. All the products I used are available from The Funkie Junkie Boutique.


    Save


  8. Festive Frame

    13th November, 2016 by iGirlZoe

    It’s beginning to look a lot like Christmas… I’m delighted and very humbled to be following the exceptional talents of Audrey Pettit and Emma Williams, to share a project that I’ve made for the holiday inspiration series over on Tim Holtz’s blog.

    iGirlZoe: Festive Frame
    I wanted to make a home decor piece to display in my new home over the holiday season. I’m head over heals for this years Tim Holtz holiday products, many of which I used in my project, including the new gilded remnant rubs (YES I SAID GILDED)!!

    If you haven’t seen the new holiday products, they are HERE and HERE. Once these holiday hotcakes are gone, they’re gone, so get them while you can!

    You can see the full project and tutorial HERE. I really hope it inspires you to make something during the holiday season. Be sure to pop back to Tim’s blog regularly to see more holiday inspiration to come.

    Have a great week.
    Zoe x


  9. Frilly & Funkie What a ‘Mesh’!

    9th November, 2016 by iGirlZoe

    It’s Wednesday and time for another challenge over at Frilly and Funkie Challenge Blog!

    This challenge is hosted by Pamellia (My Little Craft Things), who has chosen the theme WHAT A ‘MESH’ …PAMELLIA says, “I would like you to create a vintage or shabby chic project using any type of mesh (crinoline, cheesecloth, tulle, burlap, canvas etc).”

    iGIrlZoe: What A Mesh
    This holiday card is so quick and easy to make. I used papers from the Tim Holtz tidings paper stash, as well as new Tim Holtz Sizzix holiday release dies.

    iGIrlZoe: What A Mesh
    Die cut a cameo frame with the movers and shapers oval insert from distress watercolor cardstock. Emboss with a texture fades folder and blend in vintage photo, walnut stain and ground espresso distress ink.

    iGIrlZoe: What A Mesh
    For the center of the frame I die cut a star from the new Tim Holtz Sizzix thinlits dimensional star set from metallic kraft core cardstock. I sanded over the top with a sanding grip and spritzed with gathered twig distress marker.

    iGIrlZoe: What A Mesh
    Using the same technique as with the cameo frame, I die cut “Believe” with the new Tim Holtz Sizzix thinlits holiday words thin set, underlaid with metallic kraft core cardstock and mounted over burlap.

    iGIrlZoe: What A Mesh
    Thanks for stopping by. I hope you will find time to join in the challenge and pop over to Frilly and Funkie challenge blog to see the rest of the DT’s projects. All the products I used are available from The Funkie Junkie Boutique.


    Save


  10. A Very Vintage Halloween

    26th October, 2016 by iGirlZoe

    It’s Wednesday and time for another challenge over at Frilly and Funkie Challenge Blog!

    This time it’s my turn to host the challenge and I’ve chosen the theme A VERY VINTAGE HALLOWEEN… “It’s time to get your witches hats on and create a project in a vintage style with a Halloween theme.”

    iGIrlZoe: A Very Vintage Halloween
    Halloween is probably my favourite “crafting holiday” of the year and it’s no secret that I have a small pumpkin and skull obsession! This year I haven’t had as much time to get my creepy on because of our move and all of the chaos that moving brings. With new walls to decorate, I decided to make a home decor piece to display until the Christmas decorations go up!

    iGIrlZoe: A Very Vintage HalloweenI picked up a RIBBA frame recently on one of my many visits to IKEA! I love these dimensional frames and thought it would be fun to add a few trinkets (or apothecary vials) in front of the background. I wanted to make use of the nice frame mount that comes with the frame, however, things did not go according to plan! All surfaces are not made equally and it really made me appreciate how well the mixed media and distress watercolor cardstocks hold inks and paints! The IKEA ribba frame mounts DO NOT! I added distress inks and water direct to the frame mount and it was an utter crafting disaster! So I got on my thinking cap and pulled out my tissue wrap!

    iGIrlZoe: A Very Vintage Halloween
    I tapped the distress mixed media ink palette onto the ledger script stamp and then stamped directly onto the tissue wrap, turning the stamp each time to give a less unified background. I wrapped the tissue wrap around the frame and adhered with glue n seal. I swiped various distress inks onto a non stick craft mat, spritzed with water and pressed the tissue wrap covered frame mount into the ink, dried with a heat tool and then repeated several times until happy with the look.

    iGIrlZoe: A Very Vintage Halloween
    I stamped my favourite skull stamp of all time onto mixed media cardstock, blended in some distress ink and coloured the teeth with white gel pen to make them pop. I adhered it with 3D foam over a mixed media cardstock background, stamped with a specks stamp and used a frayed burlap distress marker to create a shadow.

    iGIrlZoe: A Very Vintage Halloween
    Using a pack of idea-ology apothecary vials I distressed the labels and filled with various embossing powders and dyed the cork stoppers with walnut stain distress ink. I adhered the vials to the inside of the IKEA ribba frame with glossy accents.

    iGIrlZoe: A Very Vintage Halloween
    I added an idea-ology bone and spider to the tops of 2 of the vials and adhered cheese cloth dyed with antique linen distress ink. I stamped “Happy Halloween” down the side and attached some hanging spiders from a ring fastener.

    iGIrlZoe: A Very Vintage HalloweenI photographed the frame without the glass because of glare when photographing, but replaced the glass, (which sits in front of the vials), ready to hang on the wall or stand on a sideboard.

    Thanks for stopping by. I hope you will find time to join in the challenge and pop over to Frilly and Funkie challenge blog to see the rest of the DT’s projects. All the products I used are available from The Funkie Junkie Boutique.


    Save