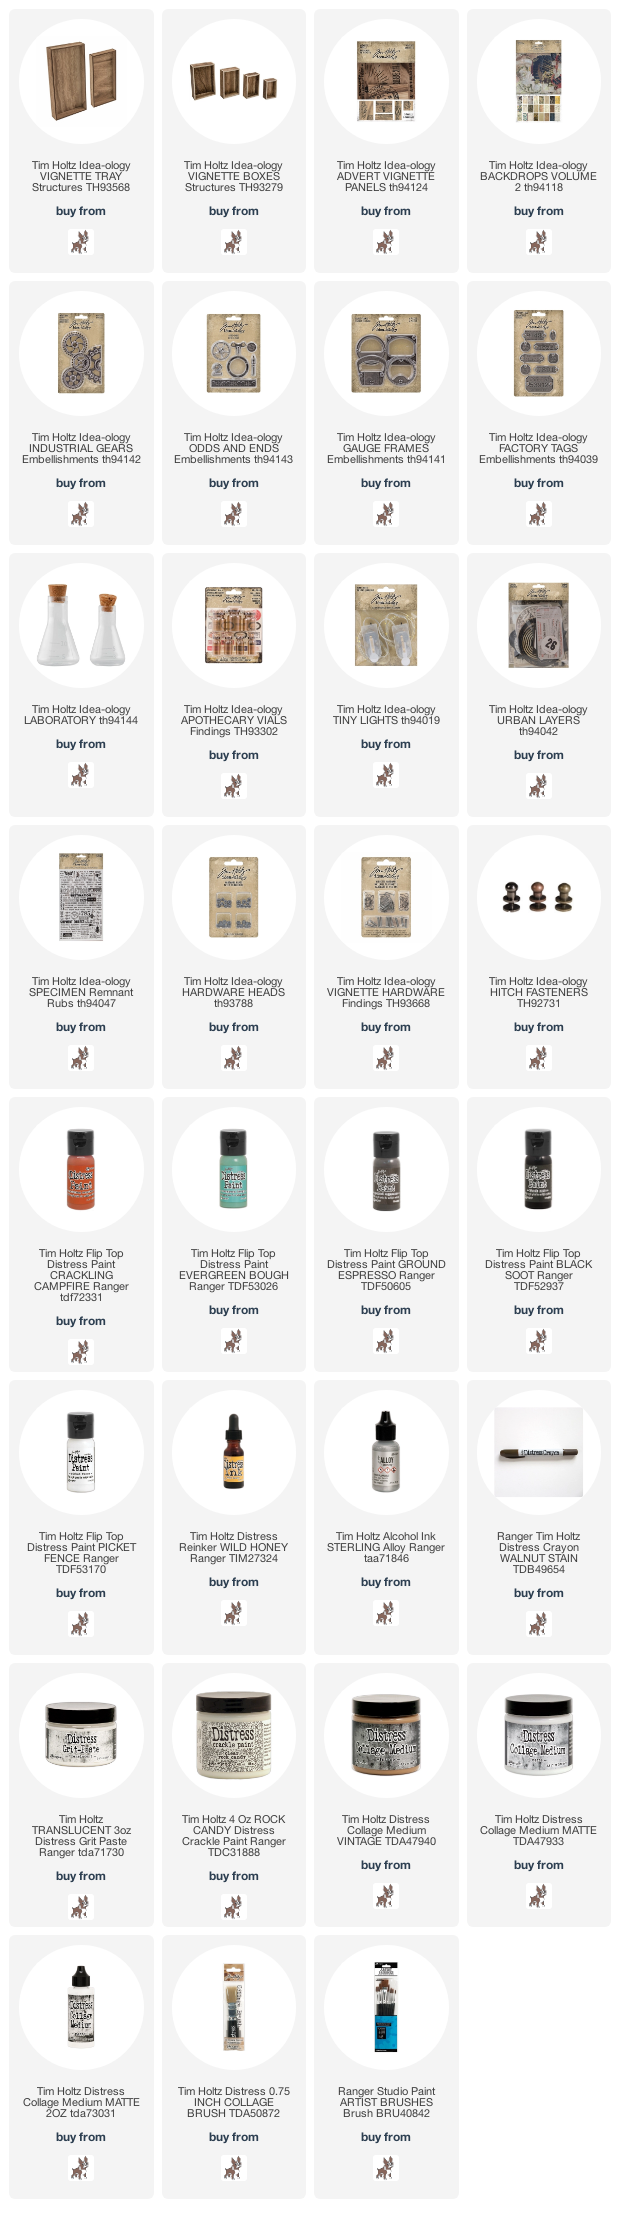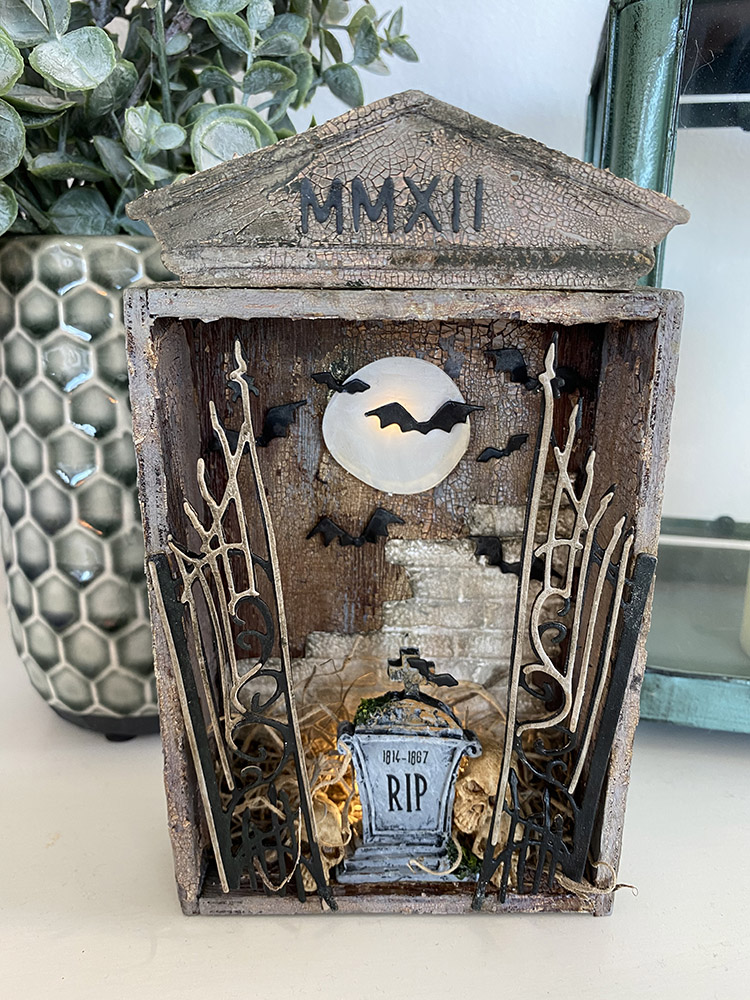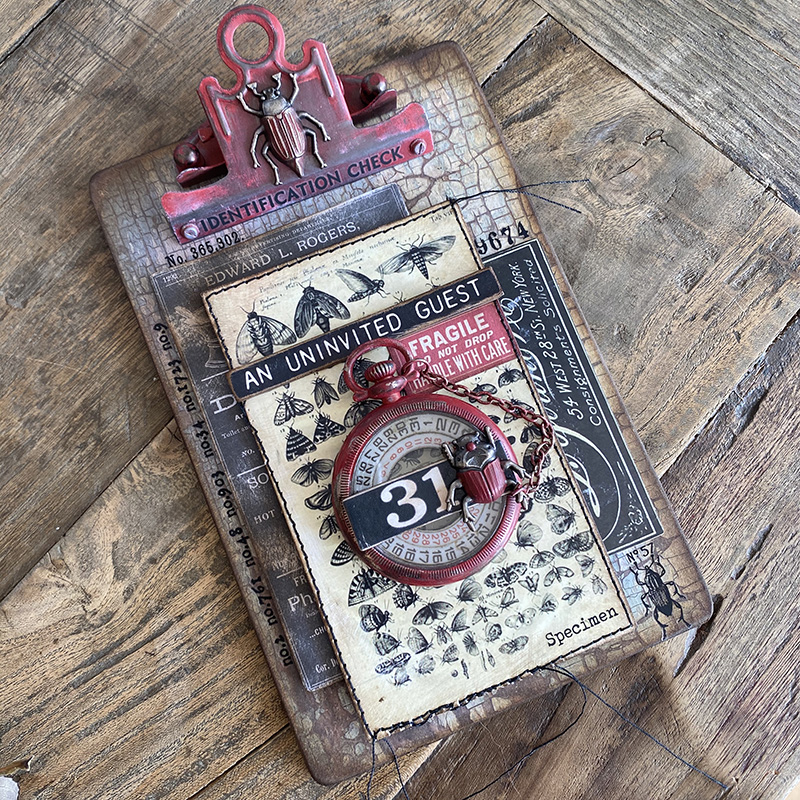
Hello Friends. Hope you’ve had a great week. Today I’m sharing the final sample I made for the idea-ology LIVE including the “how to” for that crackly lightbulb. If you missed the launch you can catch up on Tim’s blog.
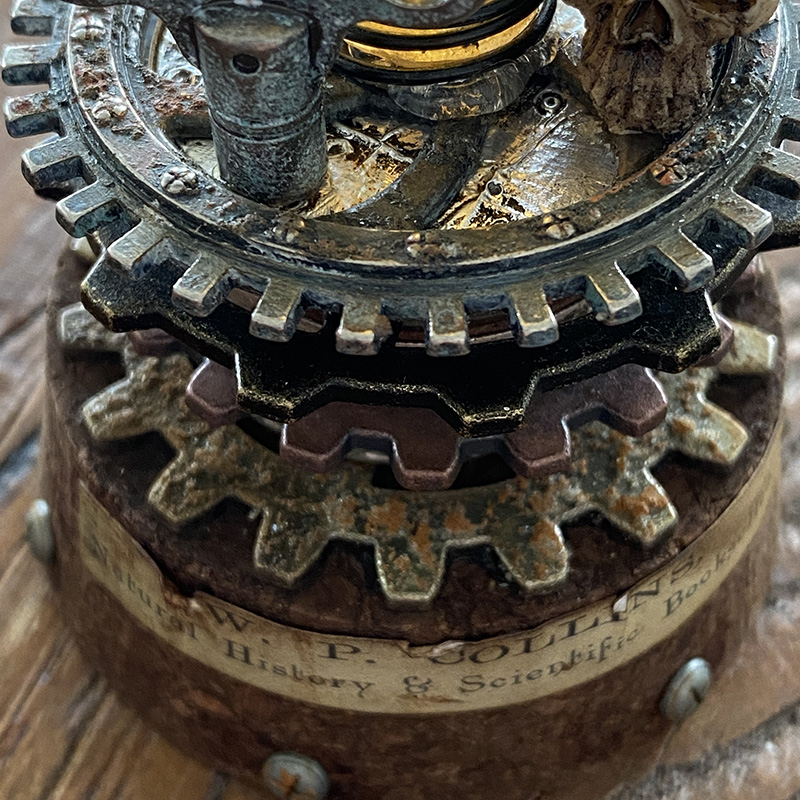
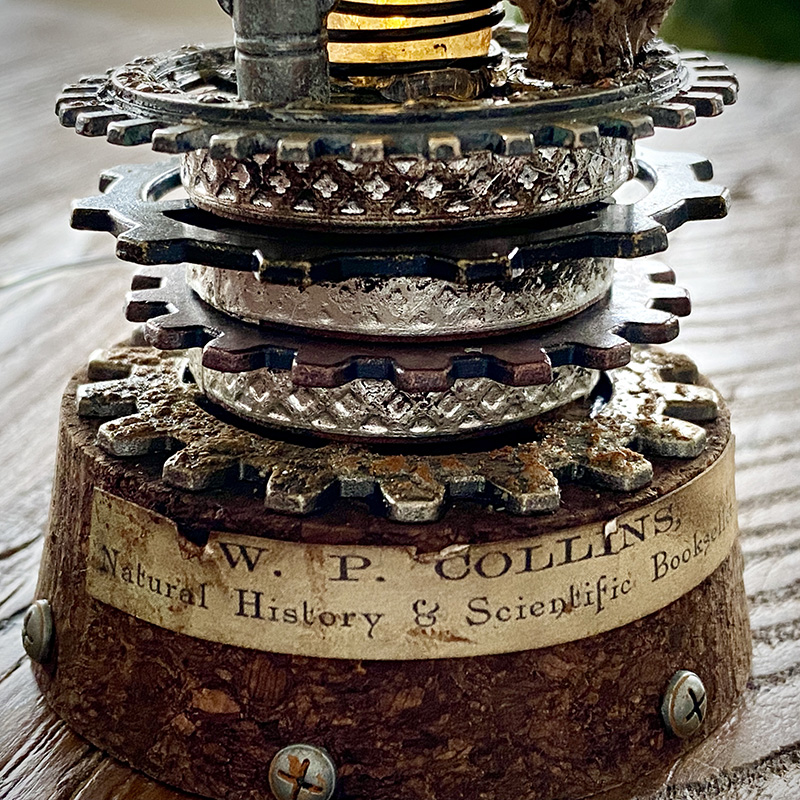
Industrial, steampunk, gritty grungy goodness is my jam, so when I saw the new idea-ology industrial gears I wept happy tears. The detail is incredible and if altering the idea-ology pieces isn’t your thing, they really are ready to go. I enjoy dinging things up and adding additional grunge, so I altered them a little, but truthfully, they need nothing, the altering is just for fun.
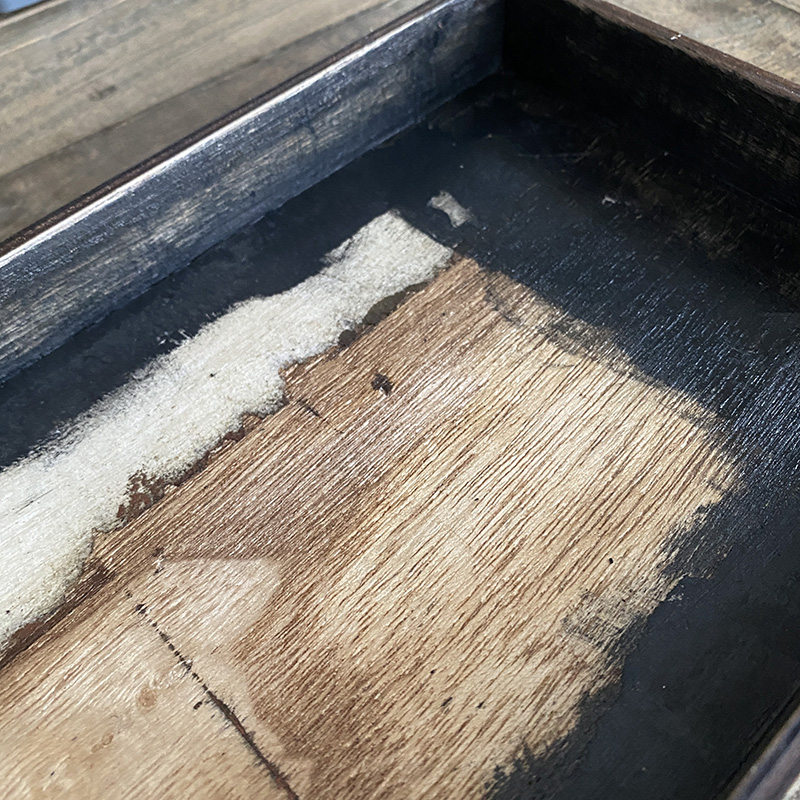
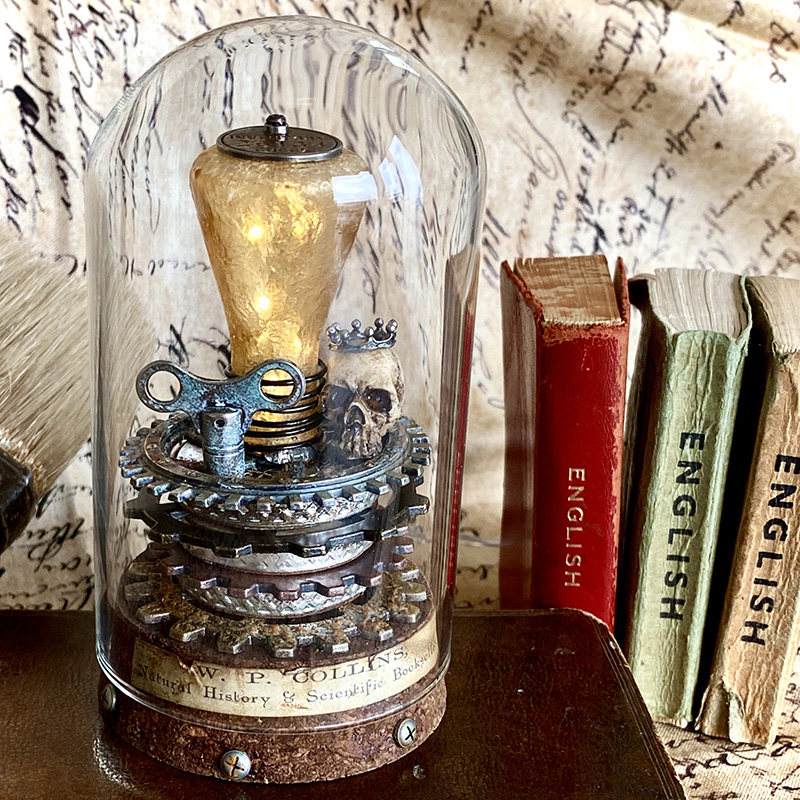
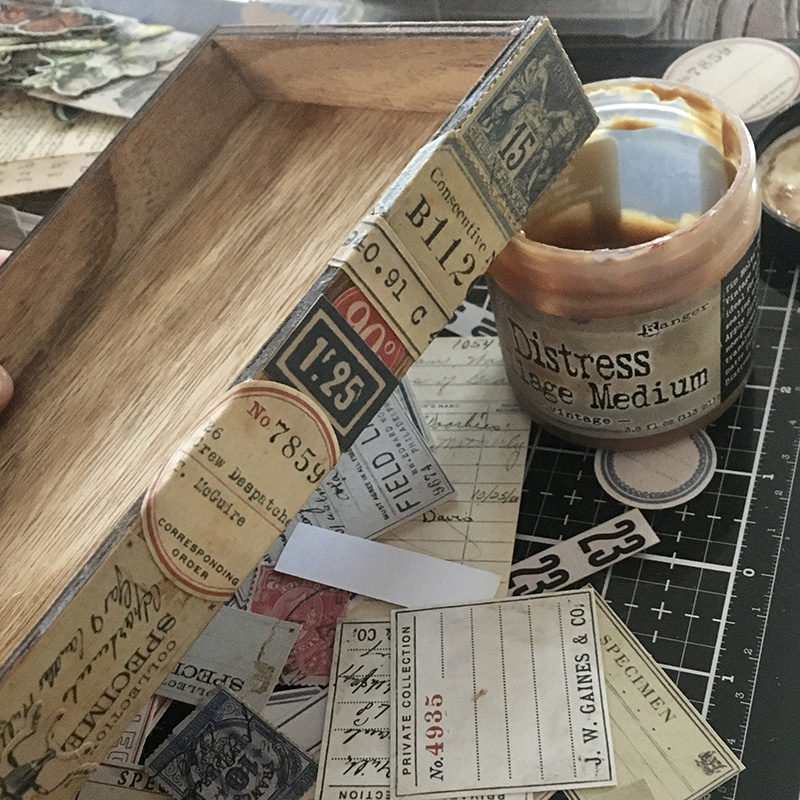
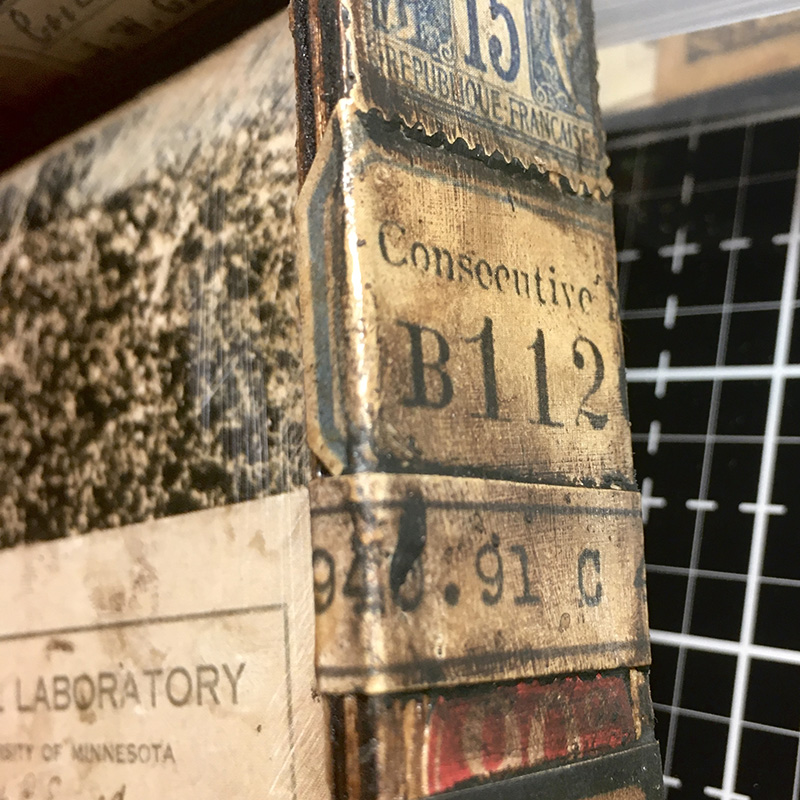
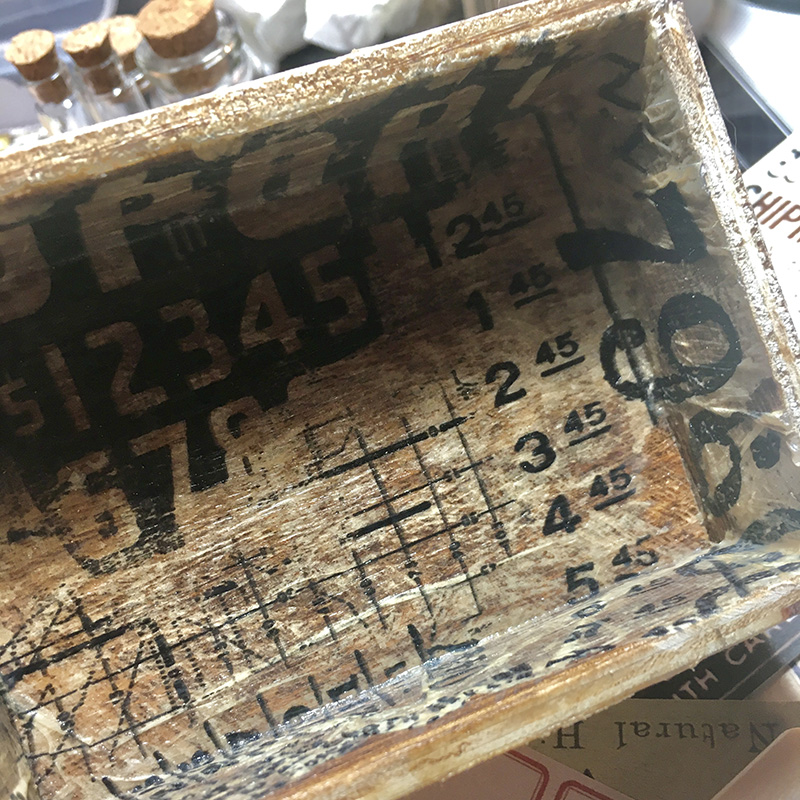
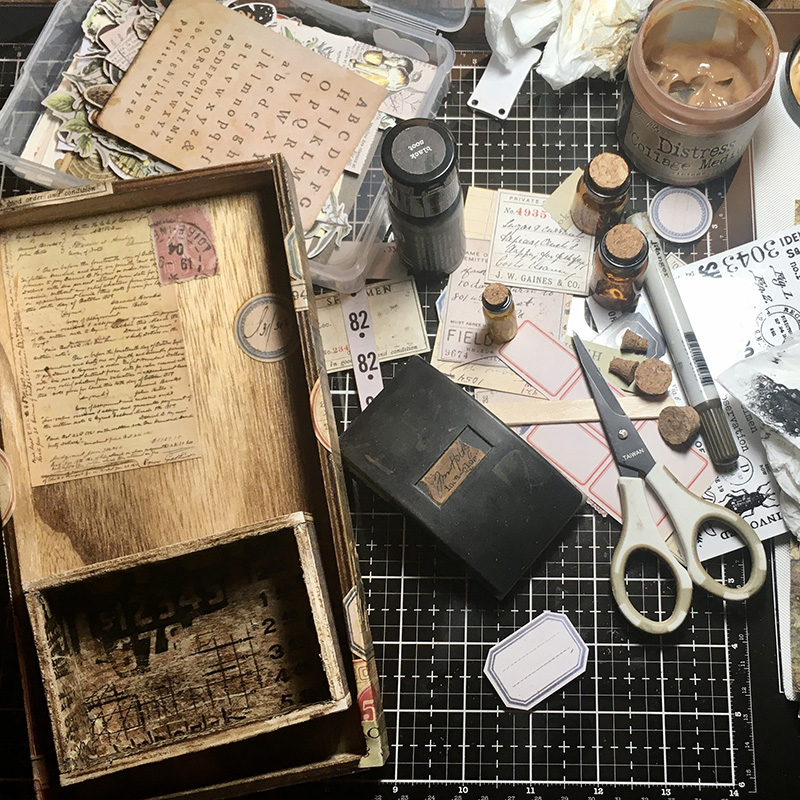
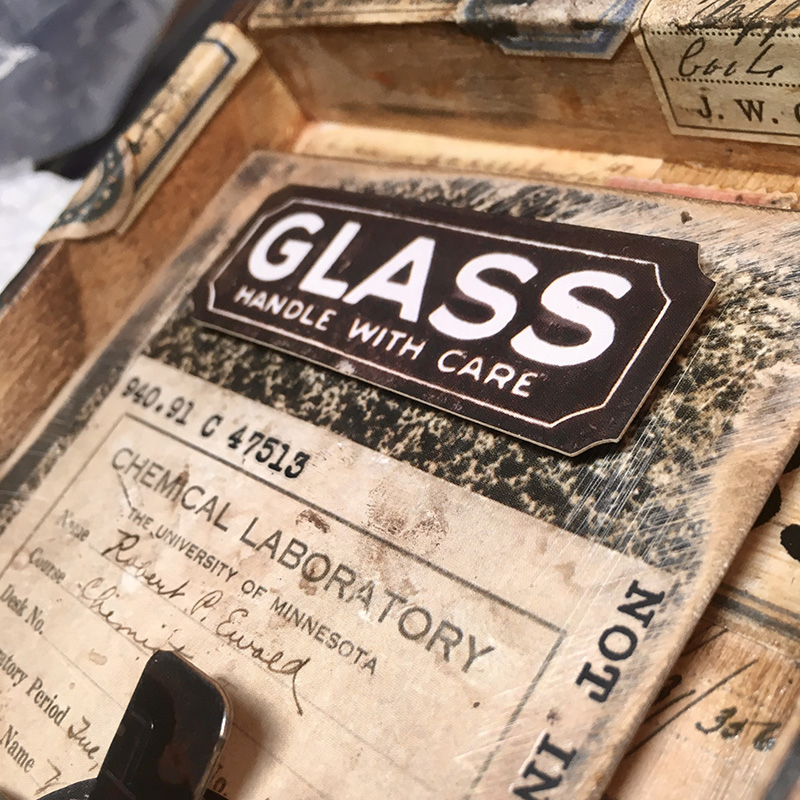
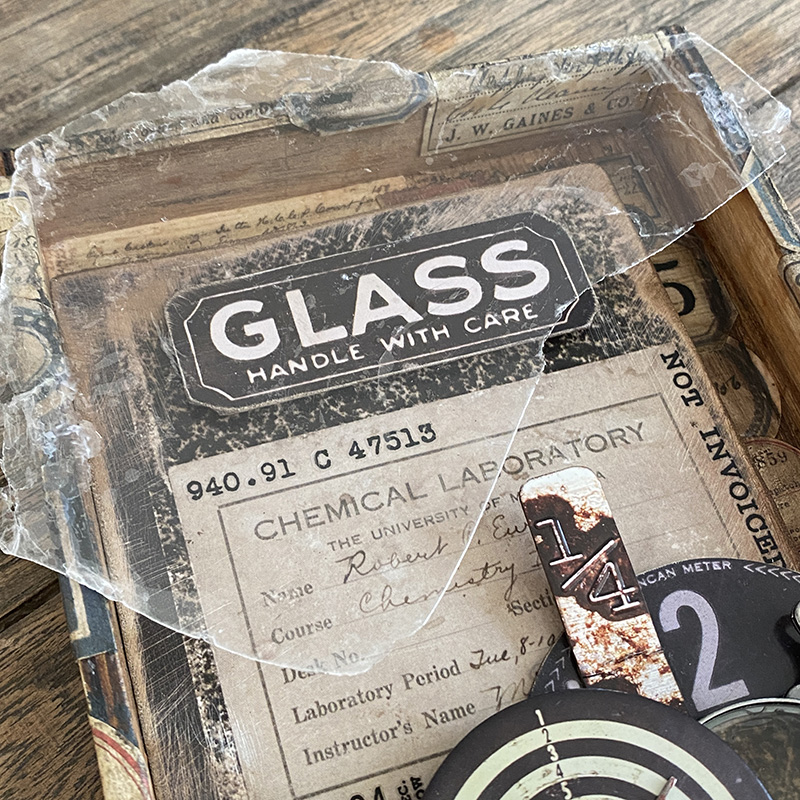
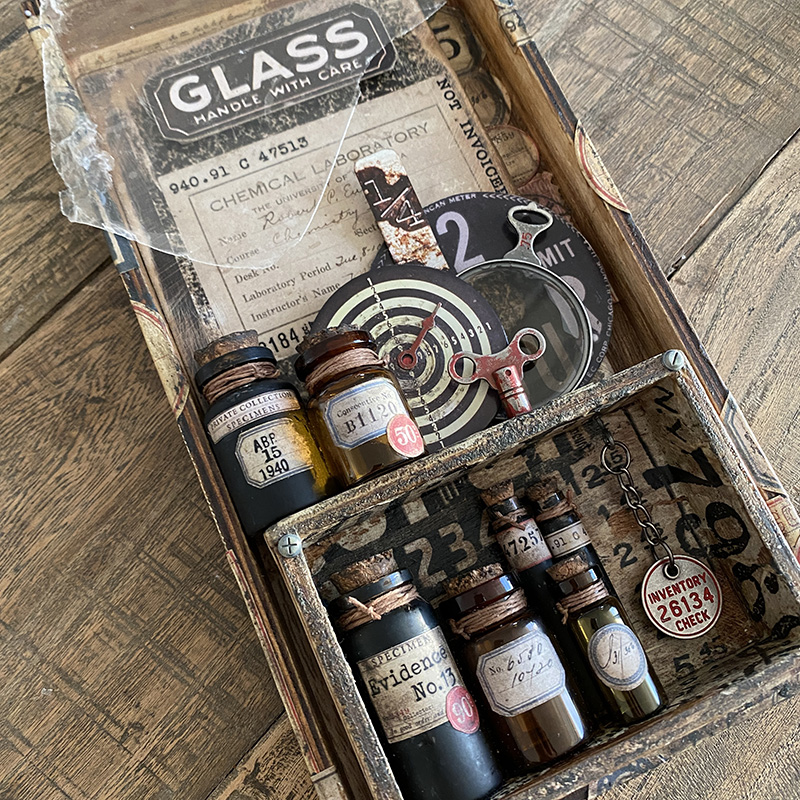
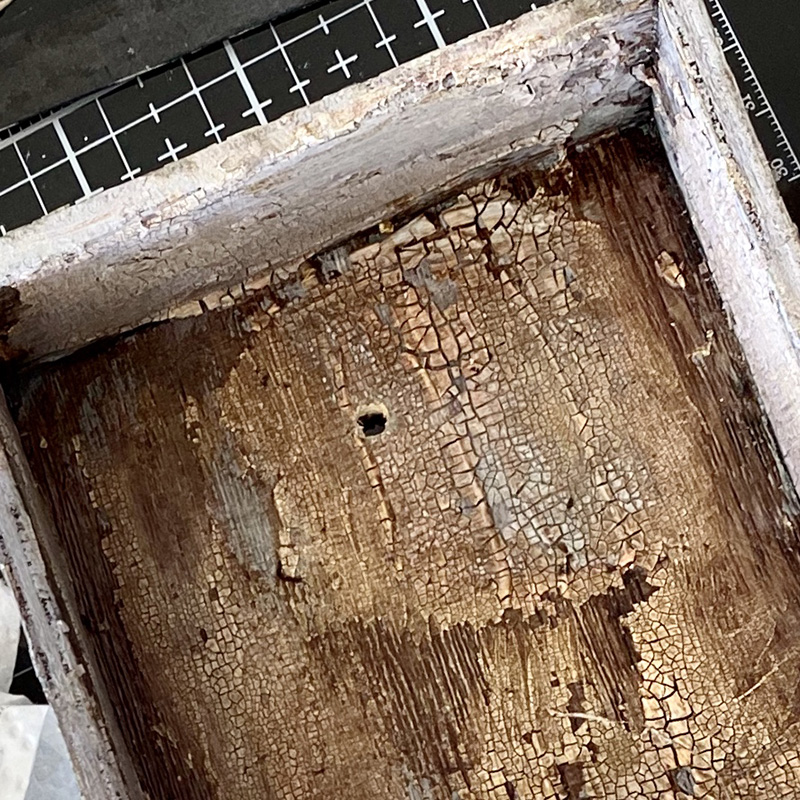
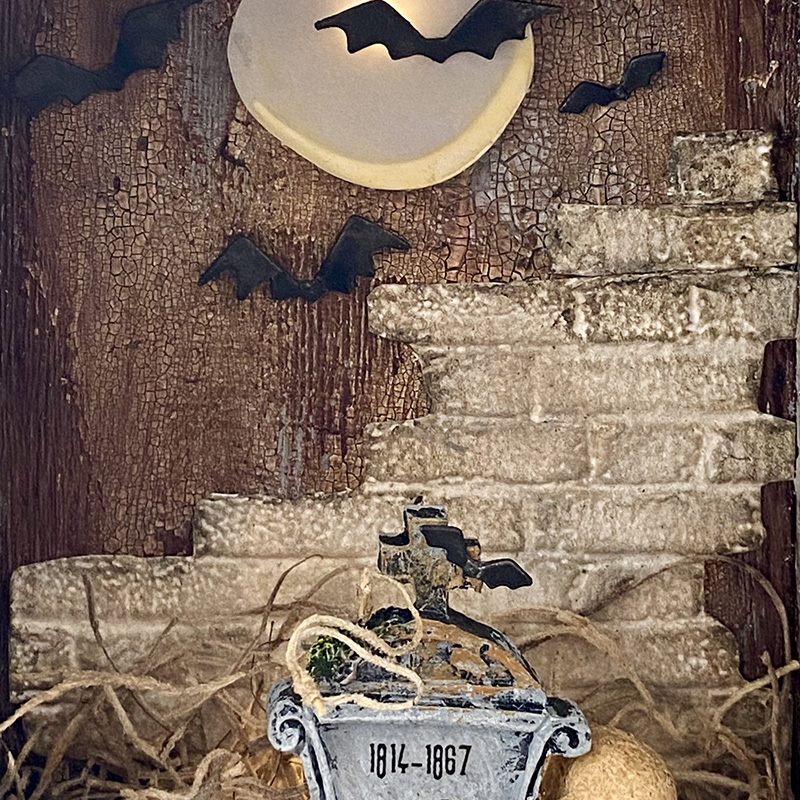
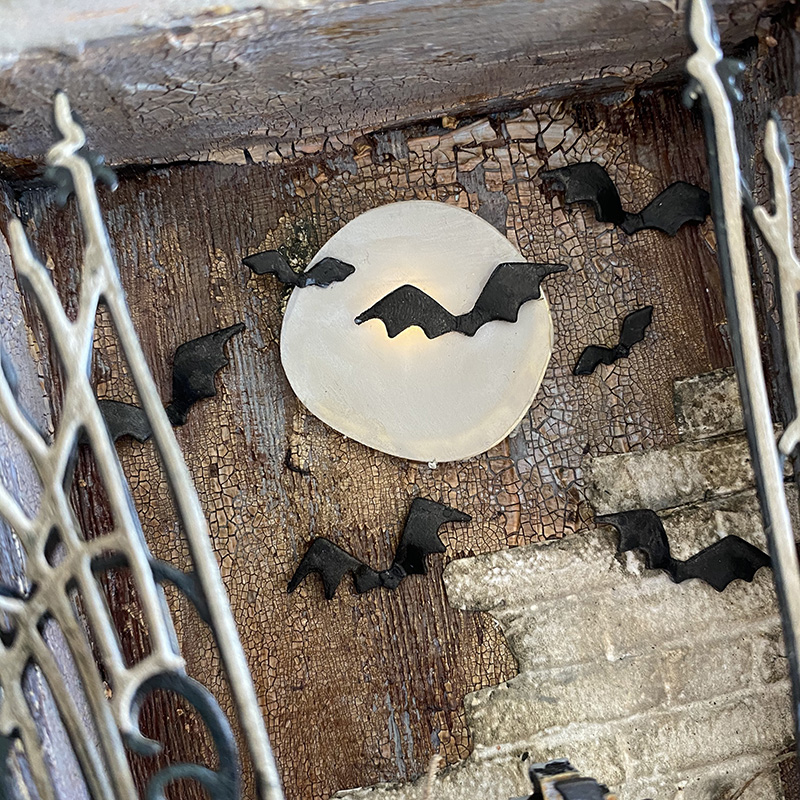
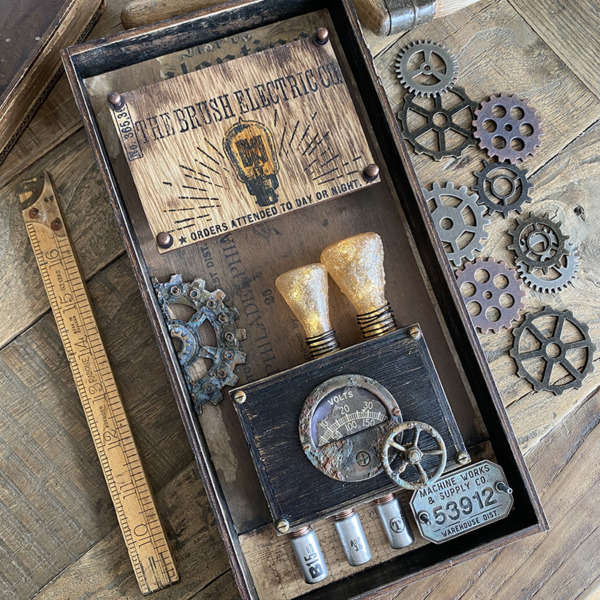
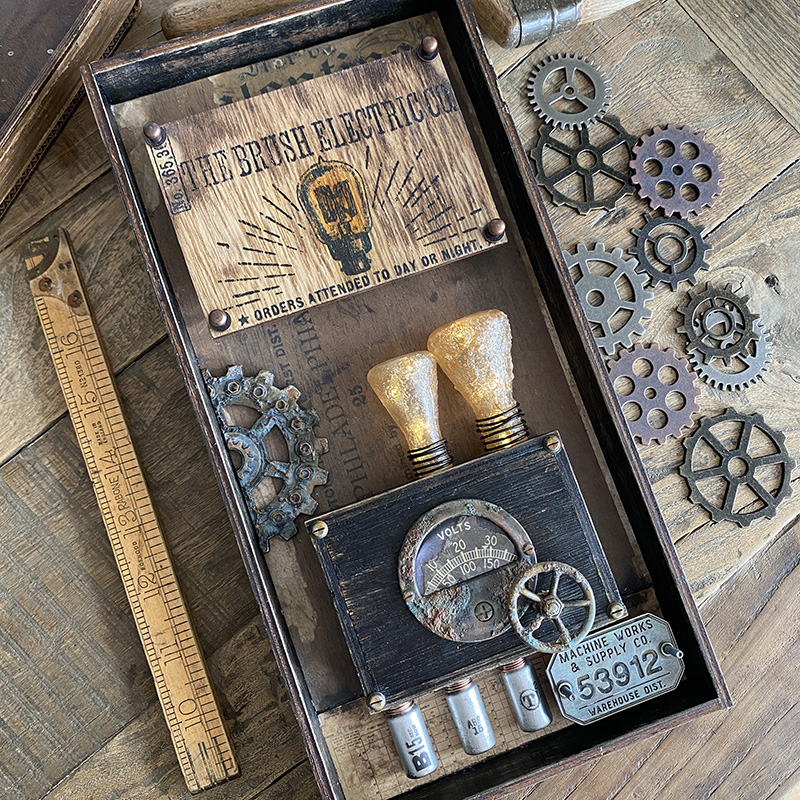
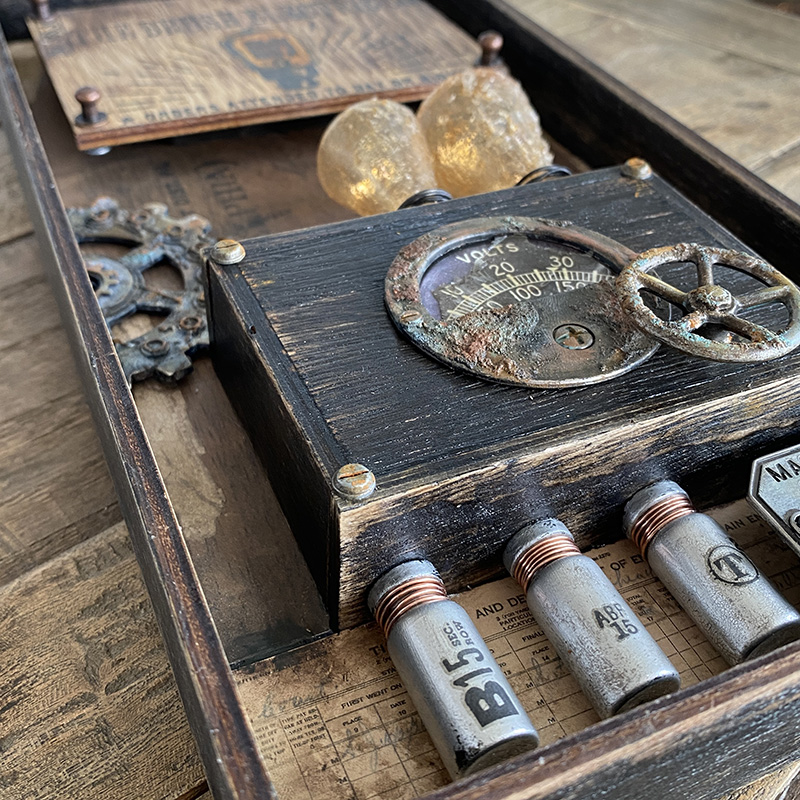
I painted a large idea-ology vignette tray with black soot distress paint ready to cover the back panel with paper from the new idea-ology backdrops volume 2 paper pack. You can catch glimpses of the paper throughout the post.
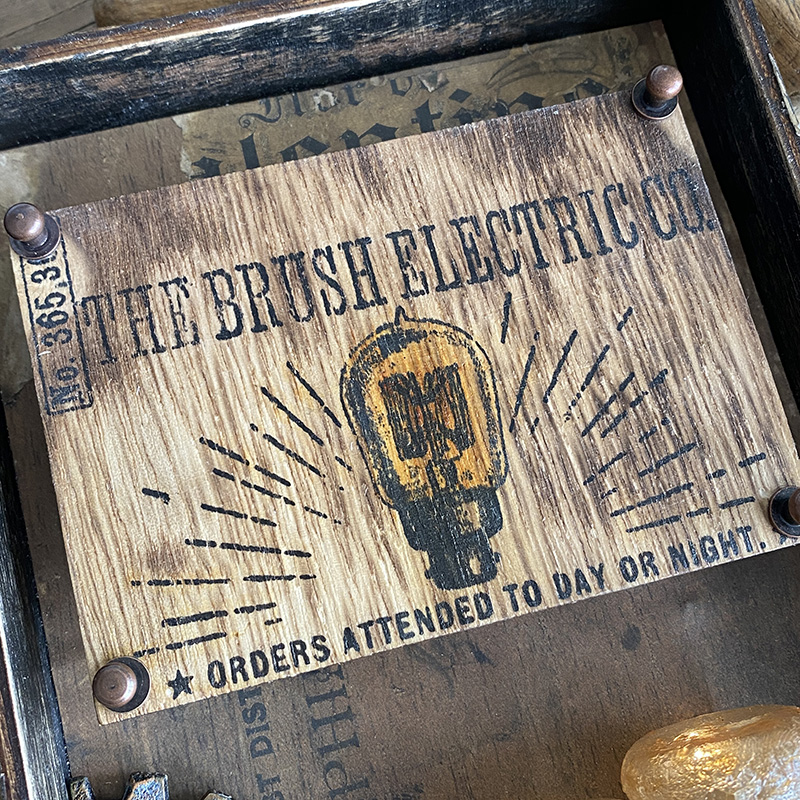
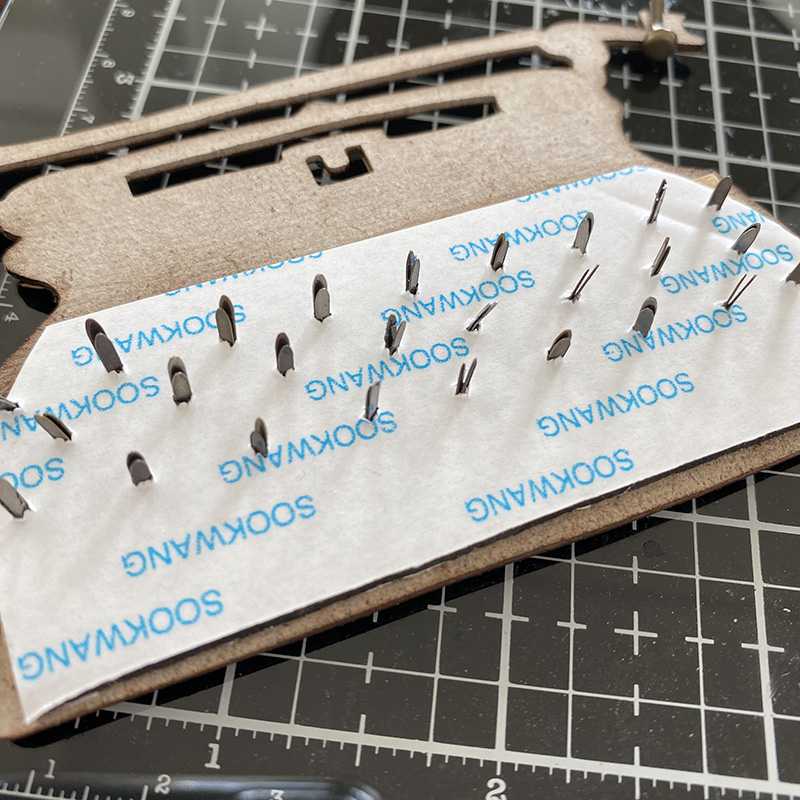
These new advert vignette panels are beautiful and fit perfectly in the vignette trays. I used distress re-inker to add colour to the lightbulb before covering the panel with vintage distress collage medium, being careful not to smudge the distress re-inker ink. I mounted this onto adhesive foam so it sat high in the tray. I added hitch fasteners to each corner, using my dremel micro to make the holes.
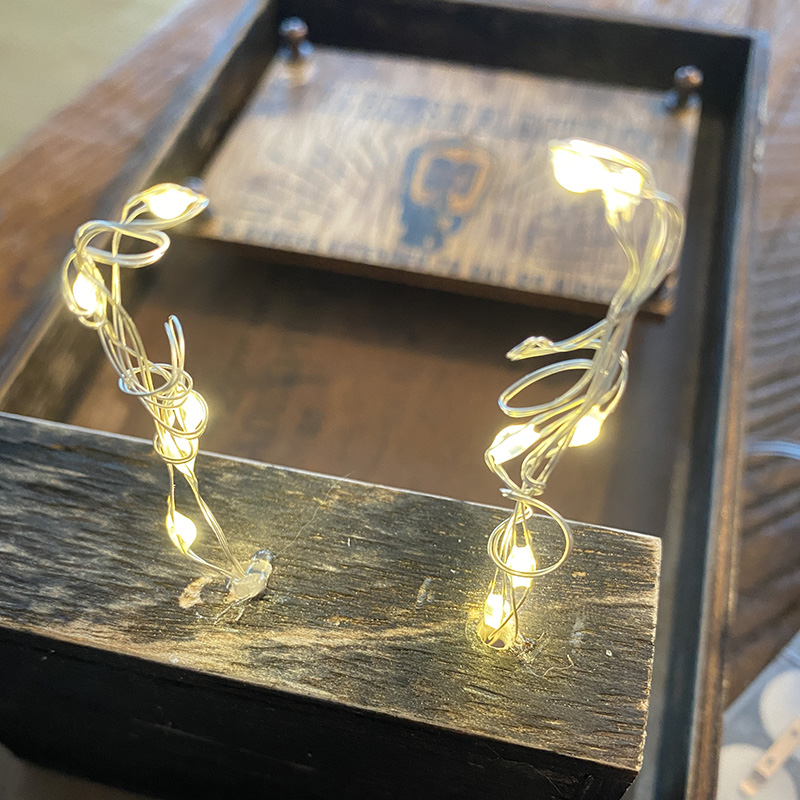
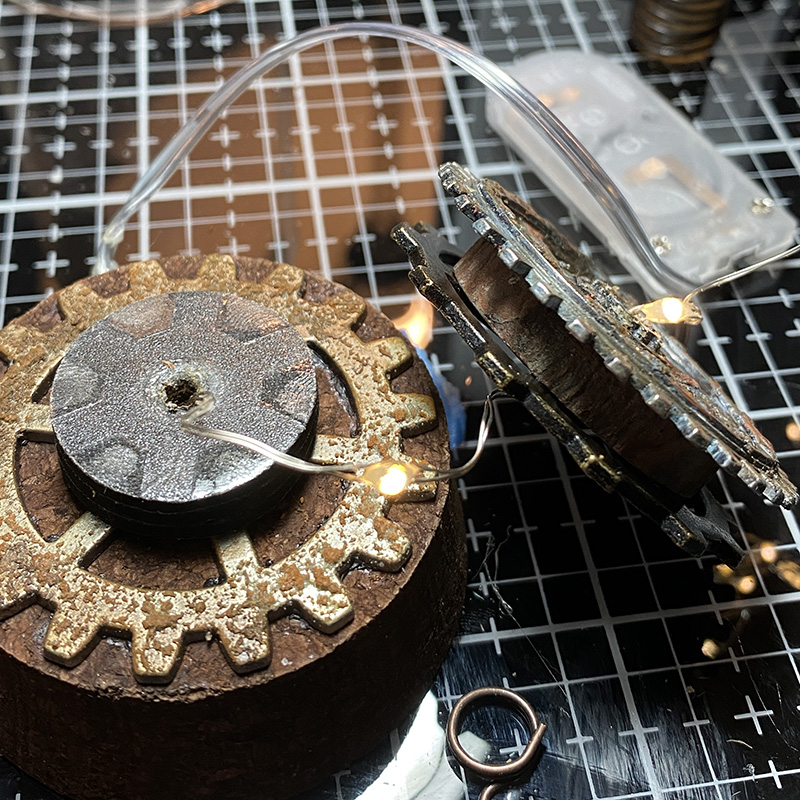
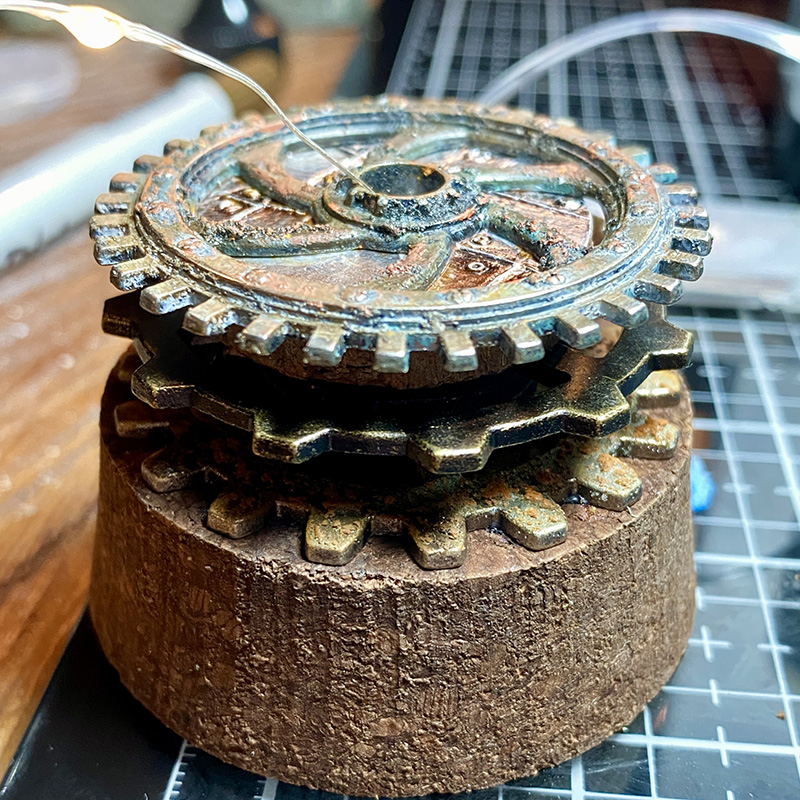
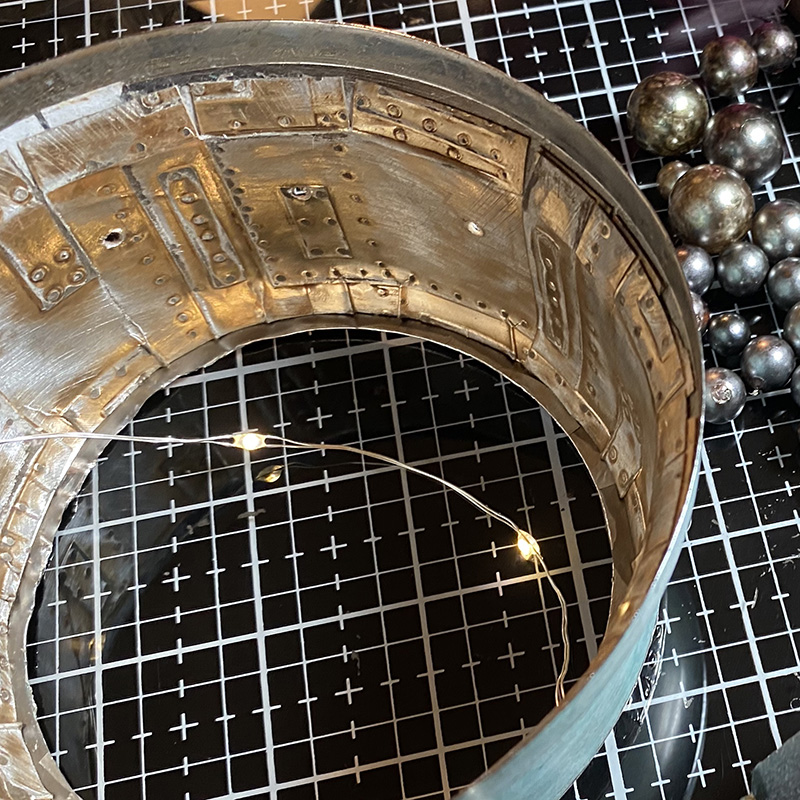
I used my dremel micro again to drill holes in the top of a vignette box and thread tiny lights through the back of the vignette tray and up through the vignette box, (see next photo). I twisted the lights around themselves so they would fill the flasks and wouldn’t all be grouped in one place. The twisted tiny lights also help to hold the flasks in place.
Once the laboratory flasks were stuck fast to the vignette box, I laid it flat and glued it to the vignette tray. The tiny lights come up through the back of the vignette tray and into the upturned vignette box and up through the top into each flask. NOTE: The tiny lights battery pack was moved aside before gluing down the vignette box.

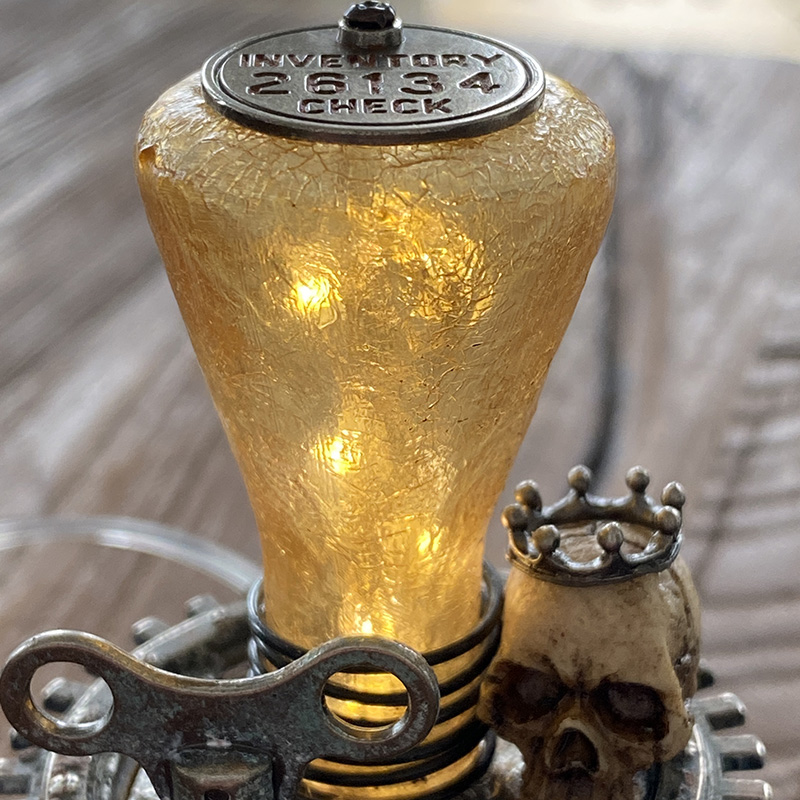
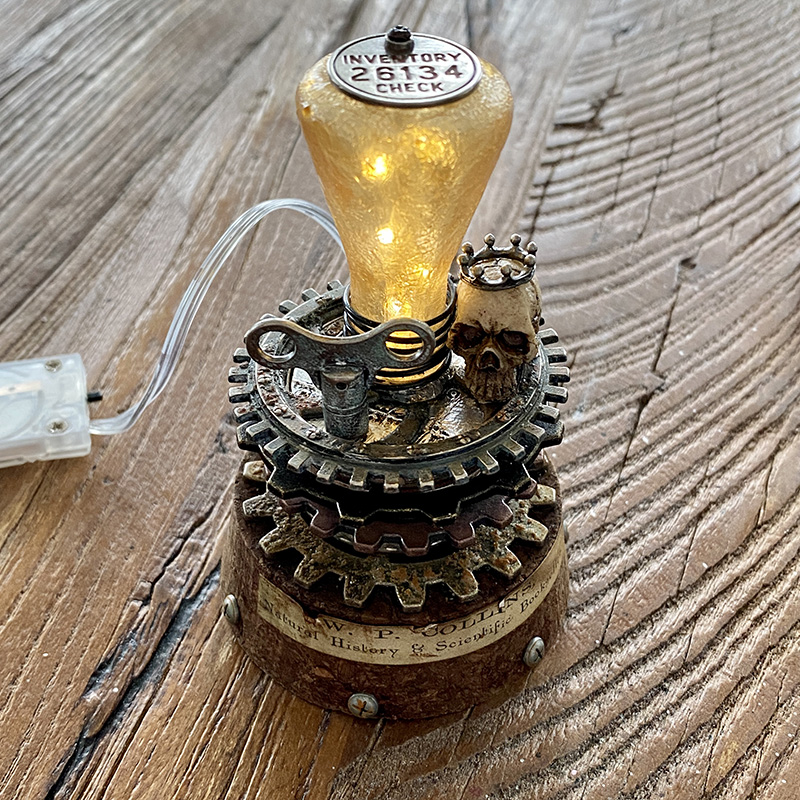
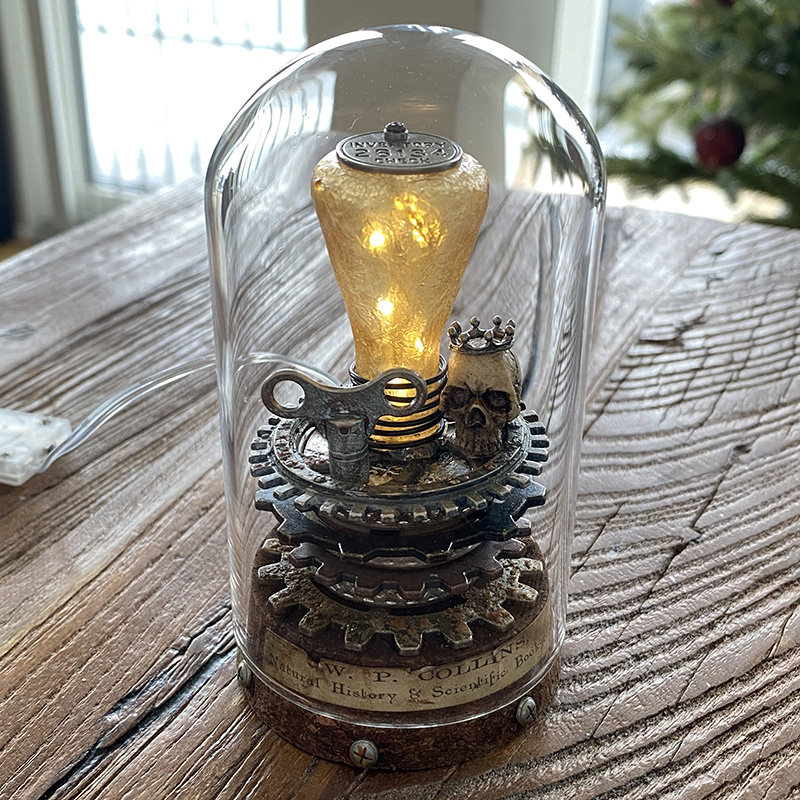
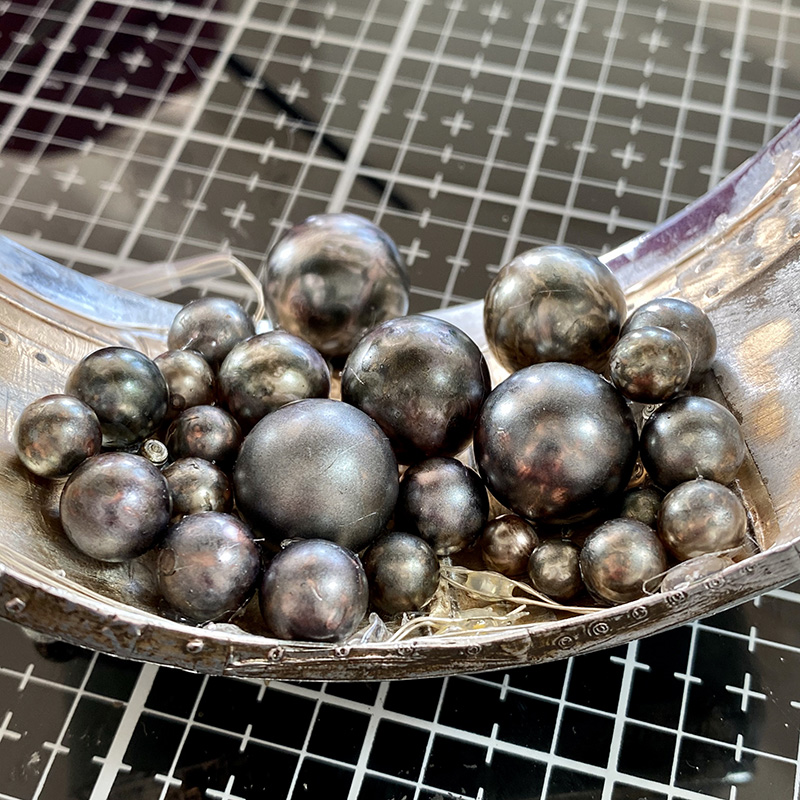
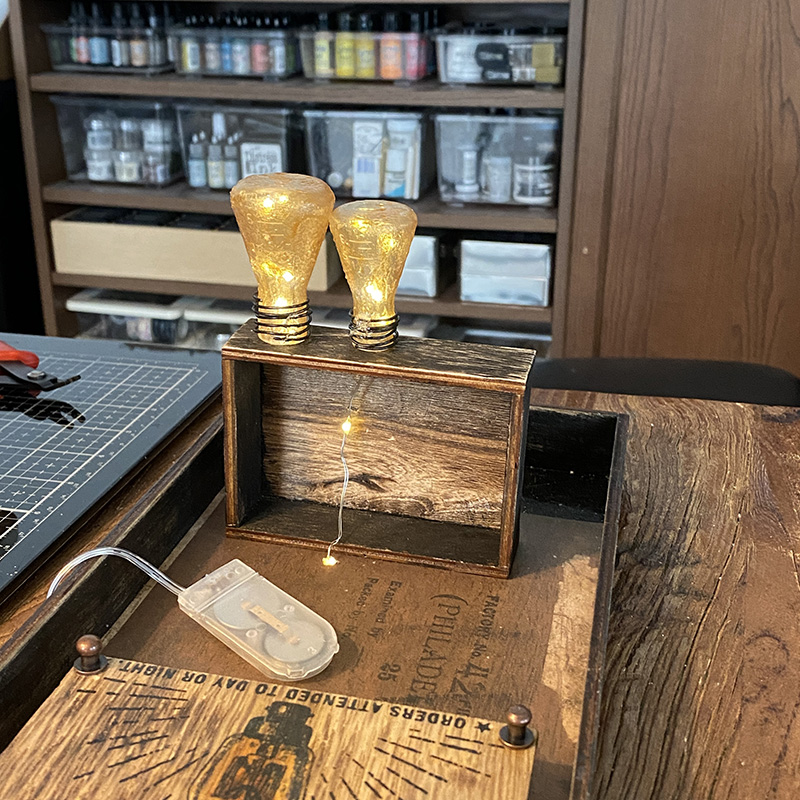
To create the faux lights you will need an idea-ology laboratory flask, paintbrush, distress clear rock candy crackle paint and vintage distress collage medium.
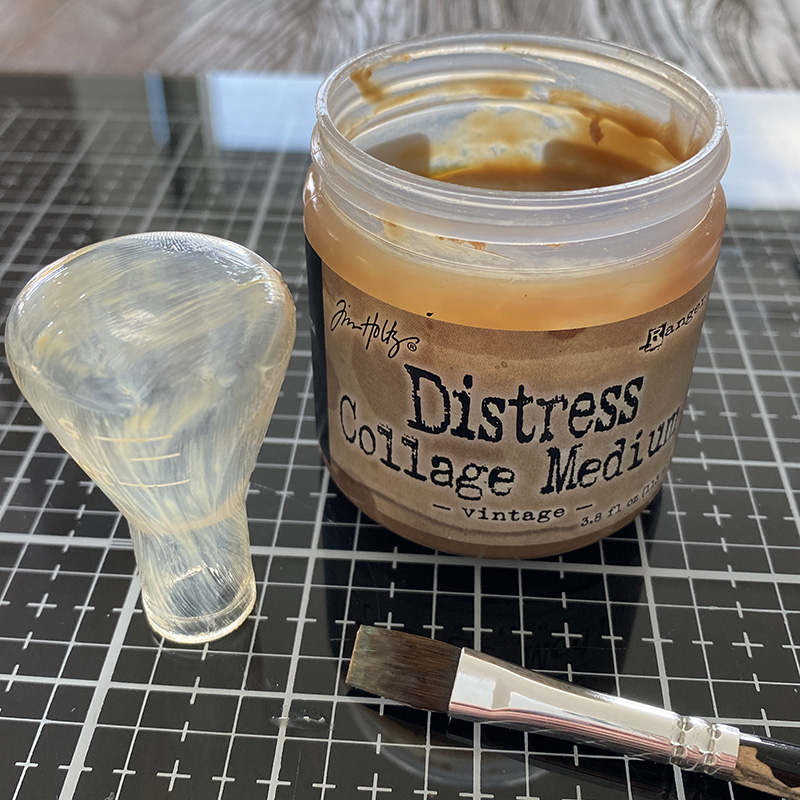
Paint a generous layer of the vintage distress collage medium onto the flask and set aside to air dry.
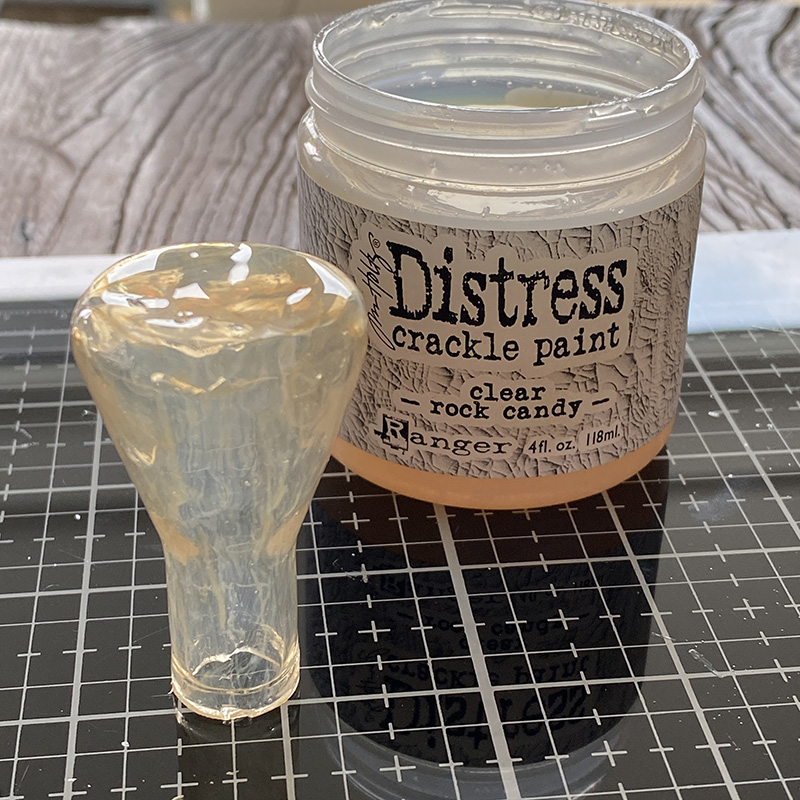
Once completely dry, apply a generous layer of clear rock candy distress crackle paint and set aside to air dry.
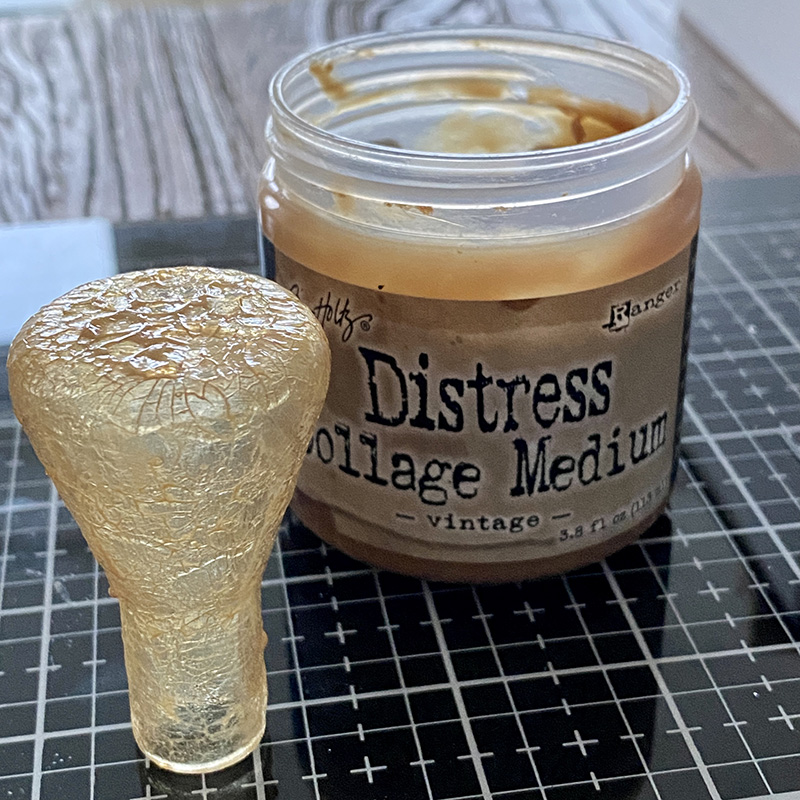
Once completely dry, add another 2 layers of vintage distress collage medium, allowing the flask to air dry between layers.
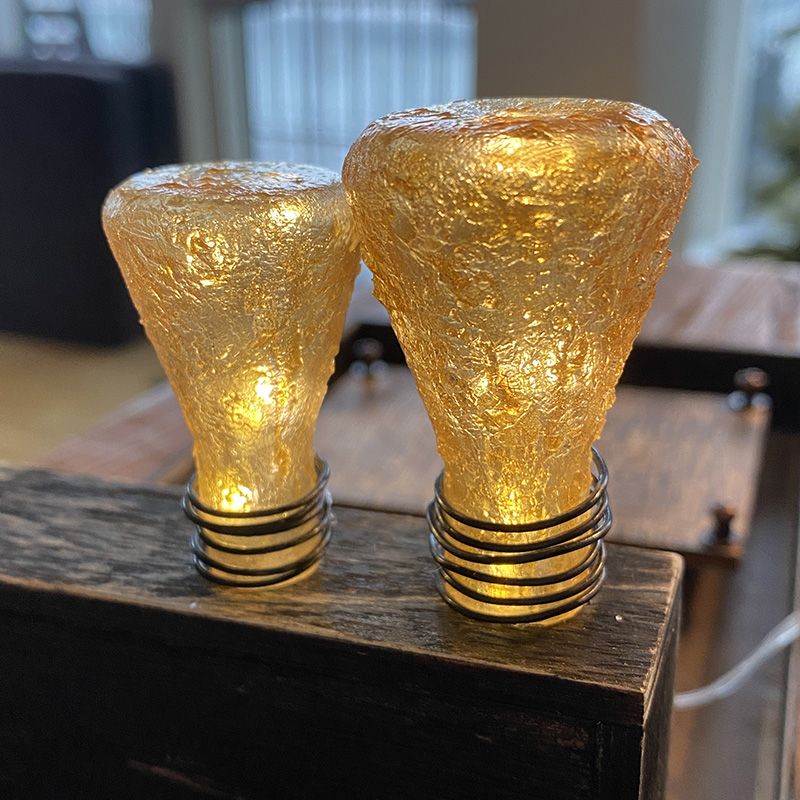
I added florists wire to the base of the flasks and added to the top of the vignette box, over the tiny lights and glued down with distress collage medium.
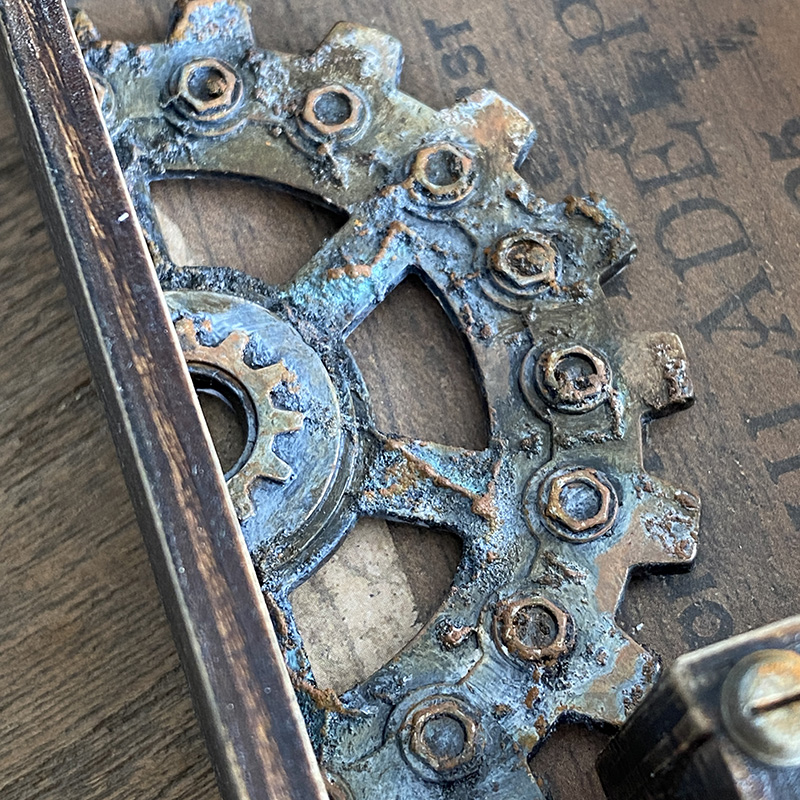
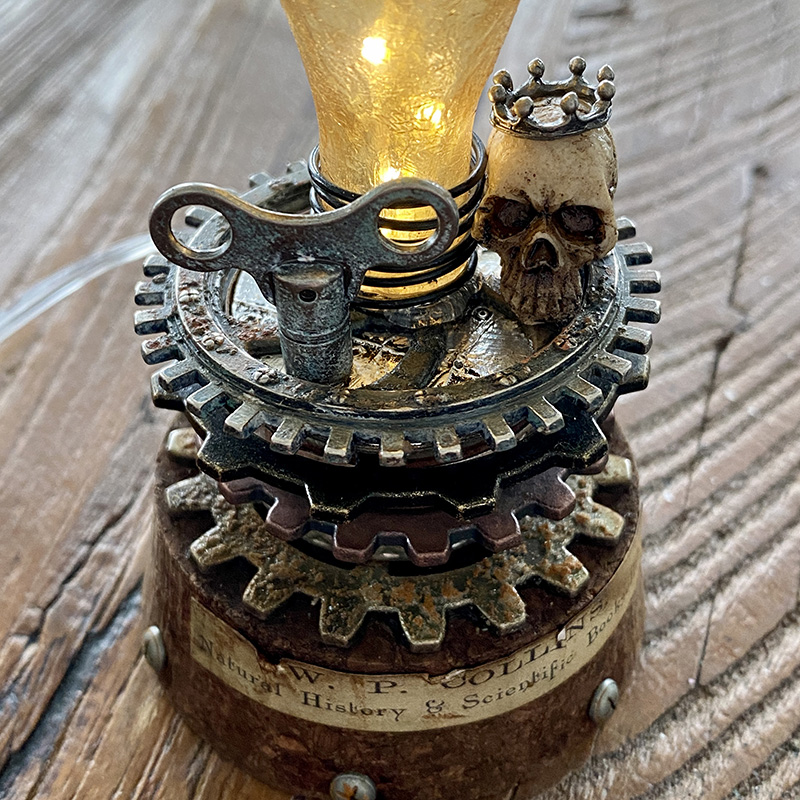
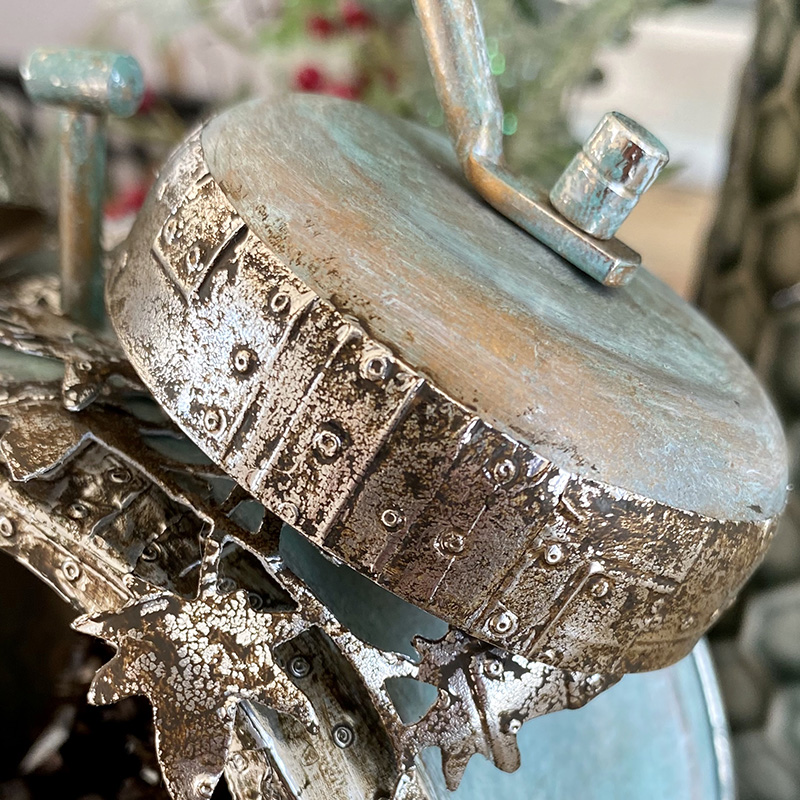
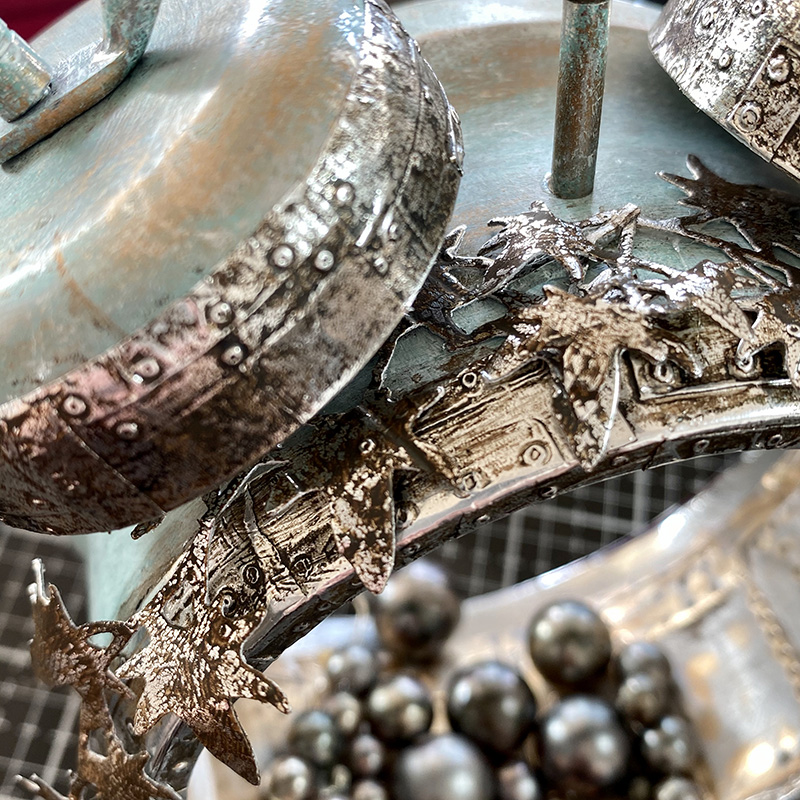
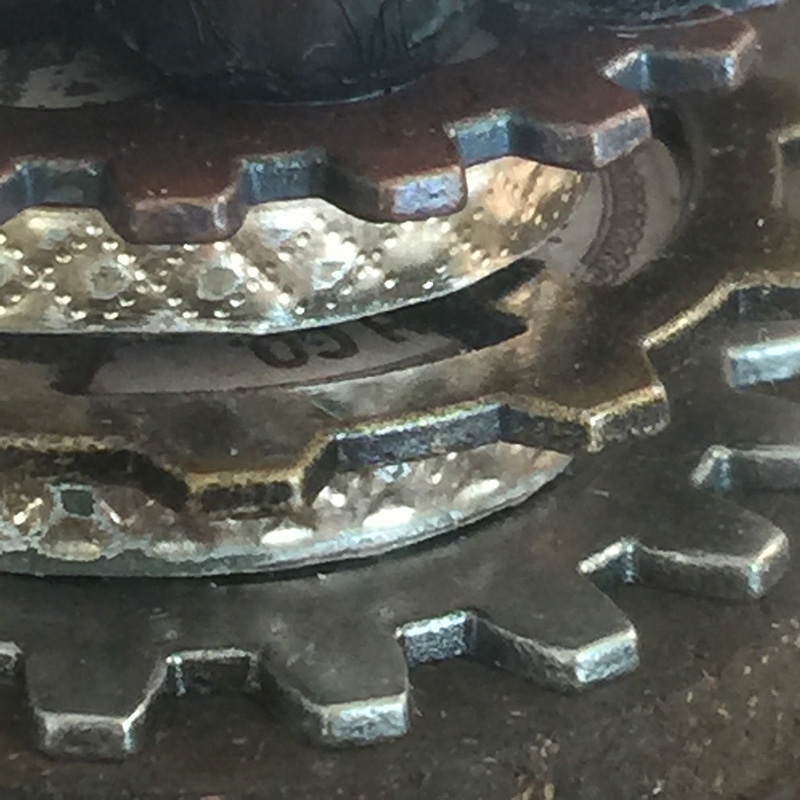
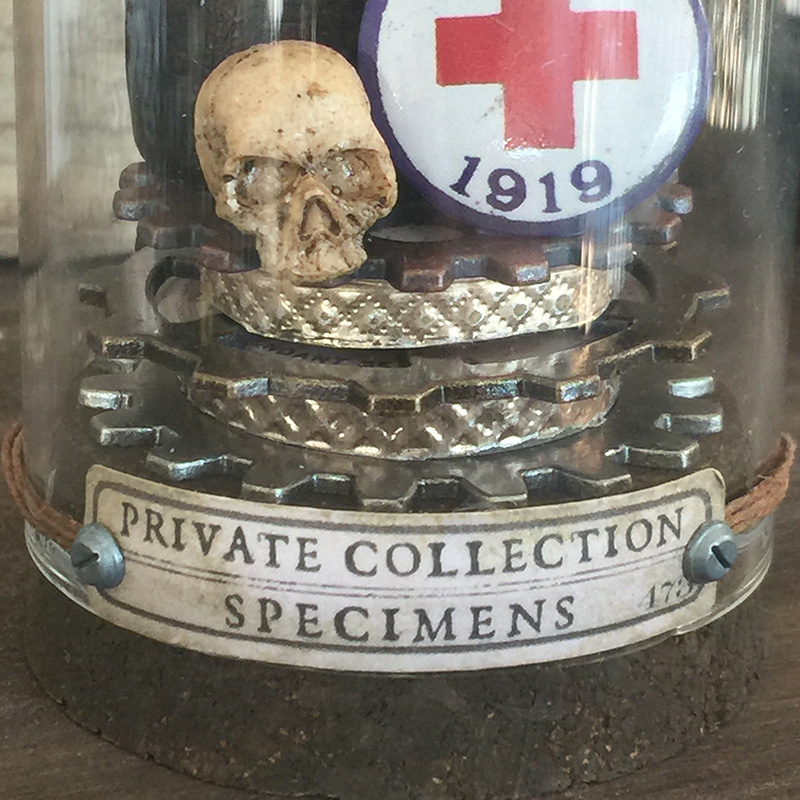
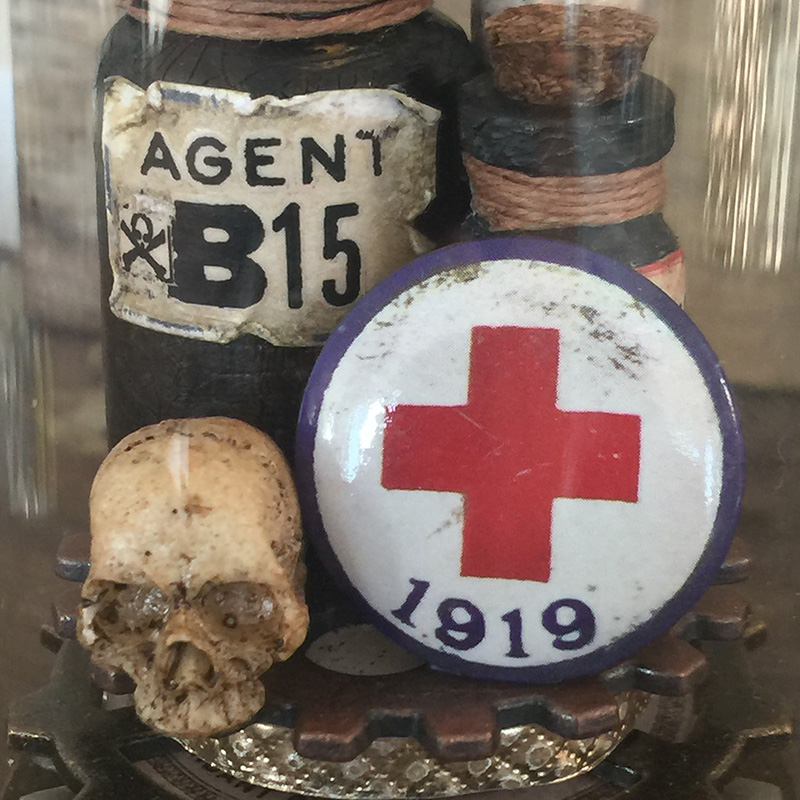
Then onto the hardware… these new idea-ology industrial gears took my breath away! The detail is insane and I added a little distress grit-paste and distress paint, they really are ready to go.
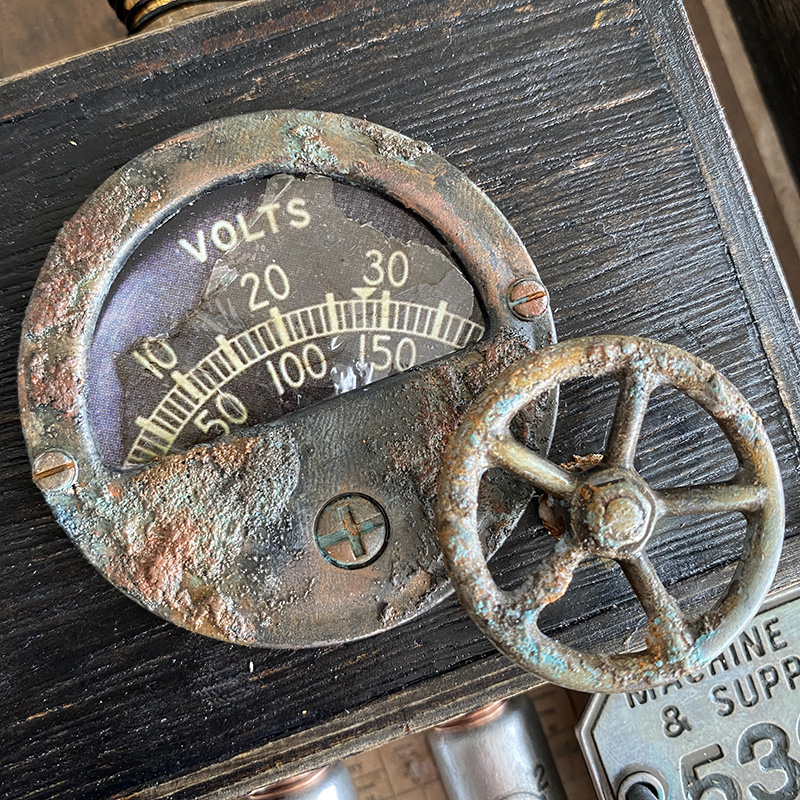
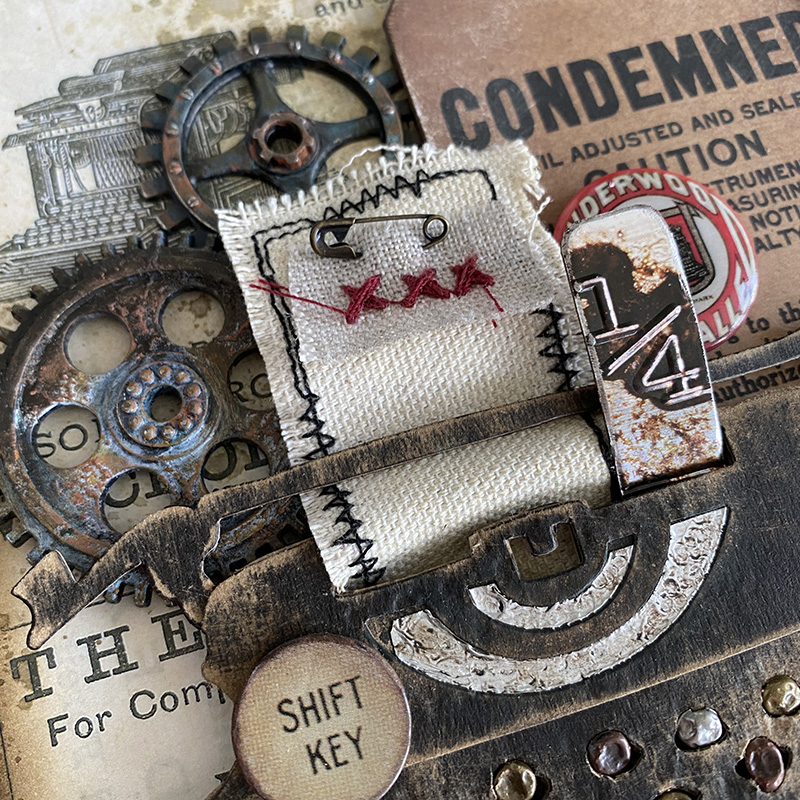
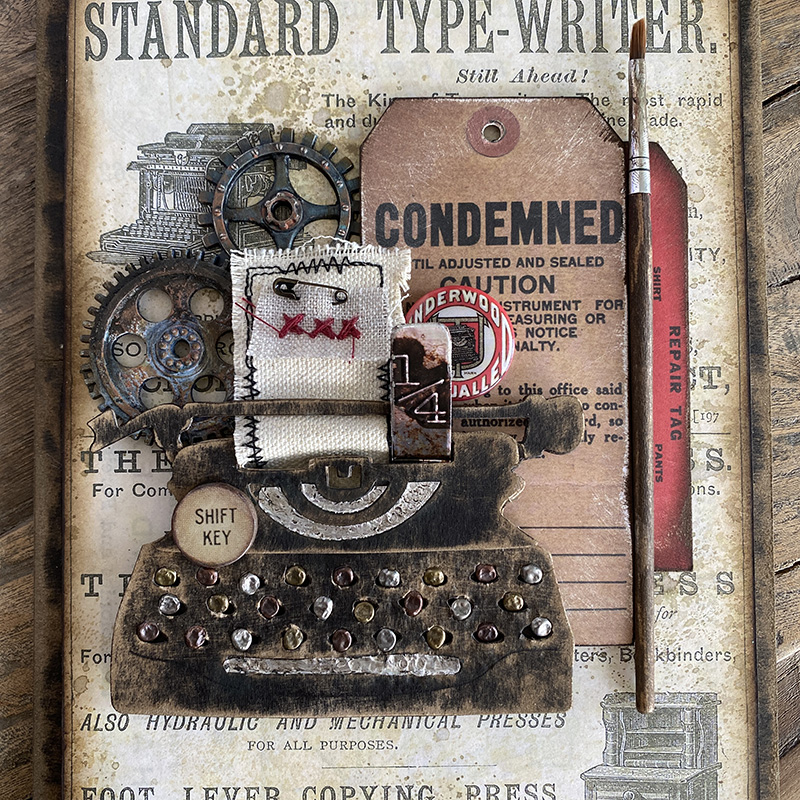
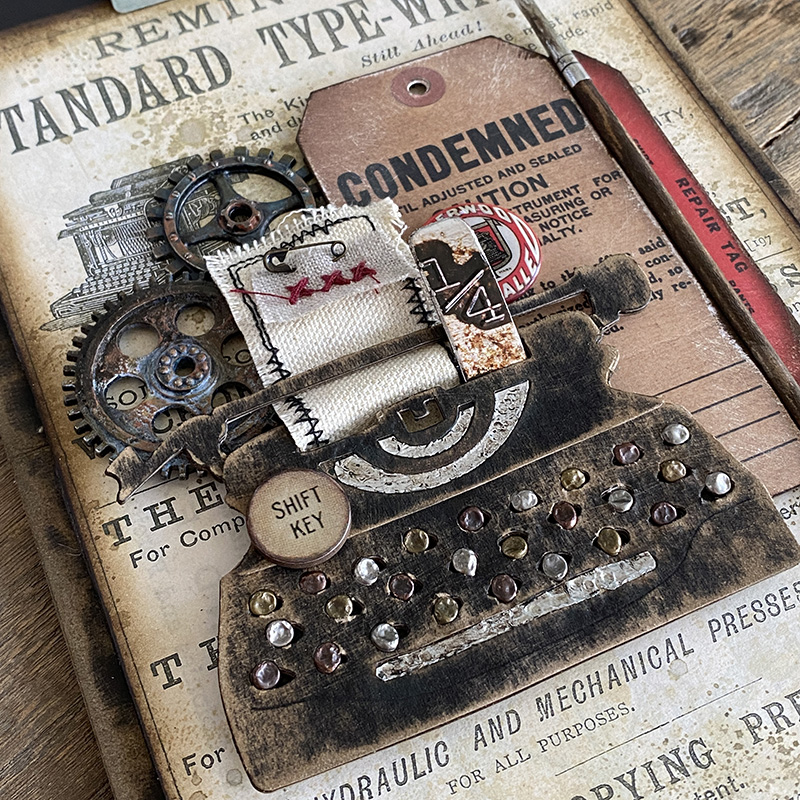
I also loved the new idea-ology gauge frames (I squealed) and knew immediately that I wanted to create some kind of machine works (with tiny lights of course)! I paired this one with a piece from the urban layers set and that AWESOME piece from the idea-ology odds and ends embellishments pack.
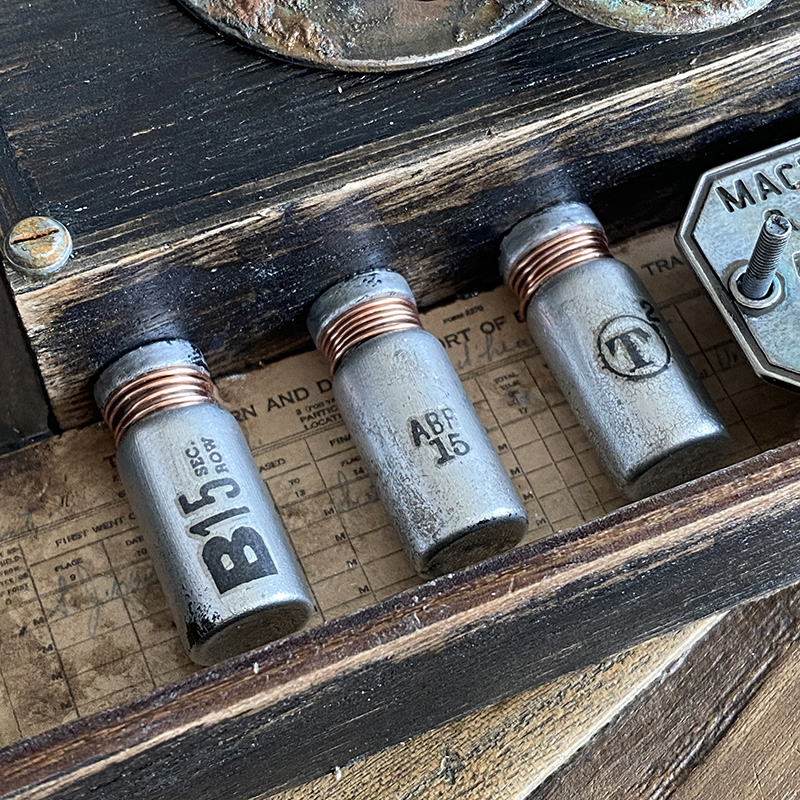
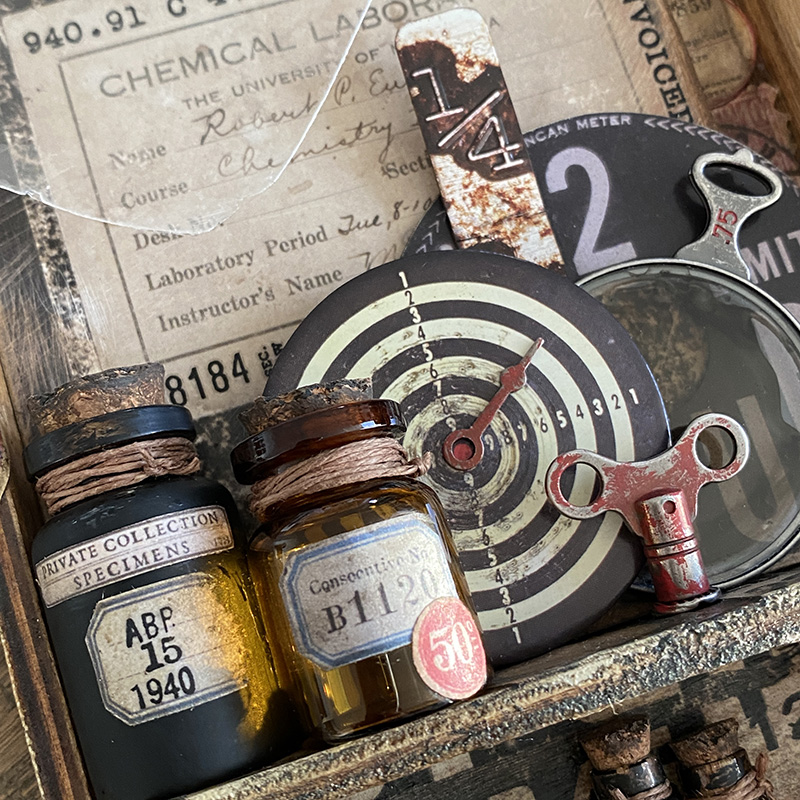
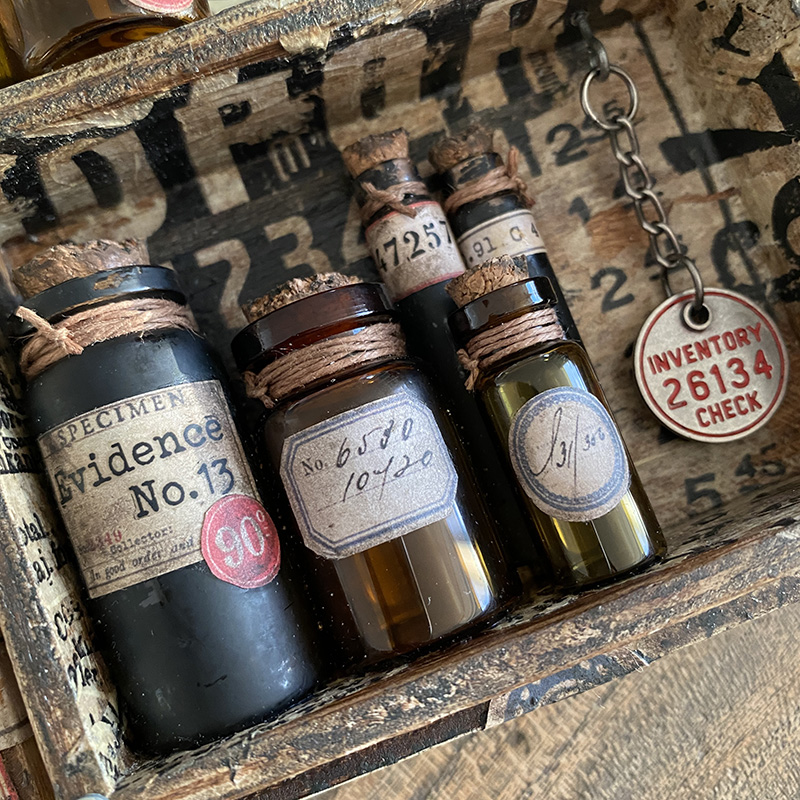
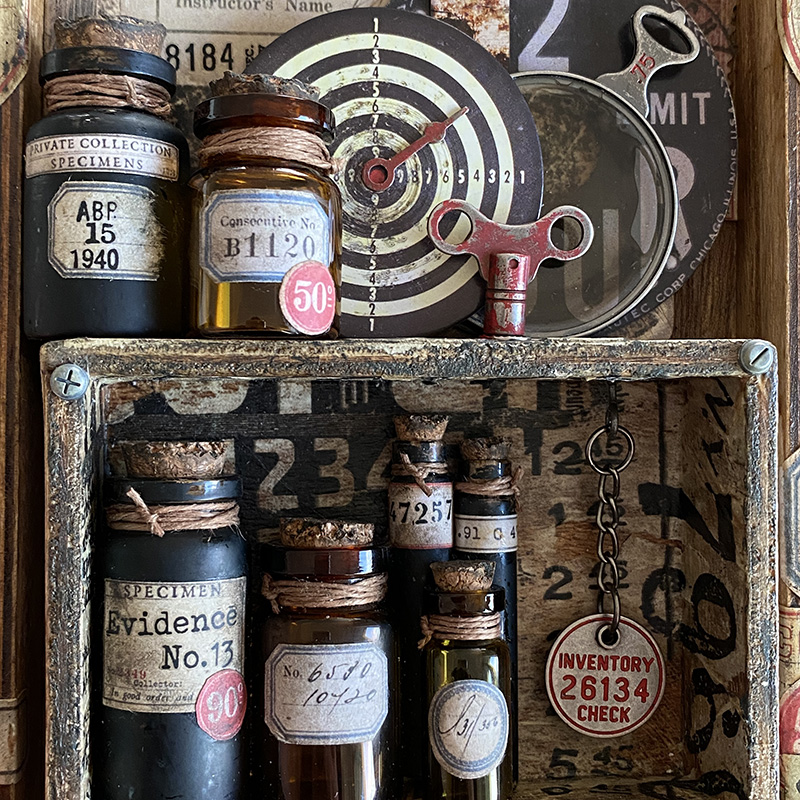
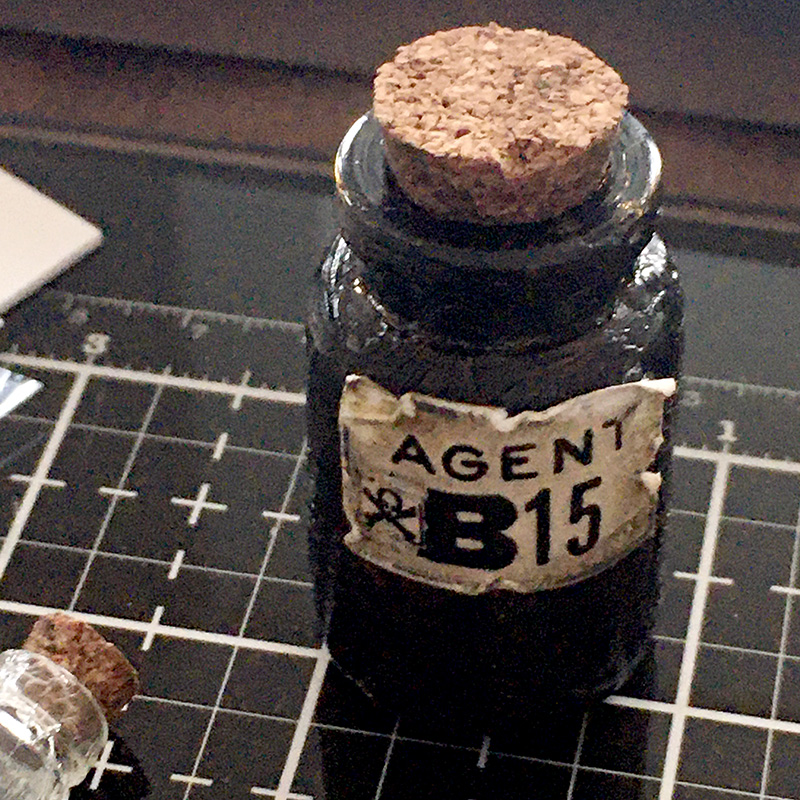
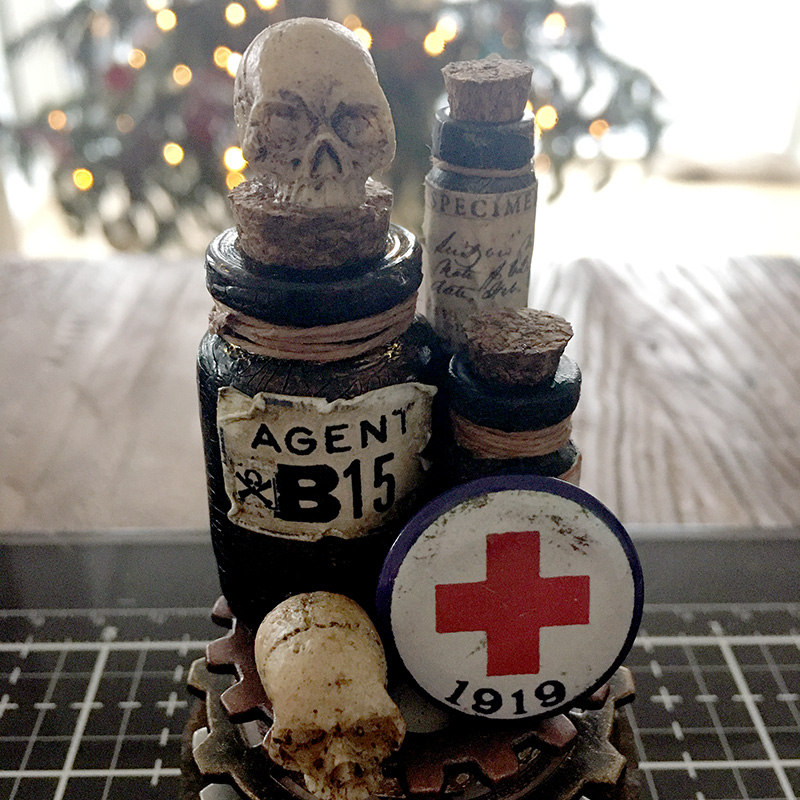
I covered idea-ology apothecary vials with sterling alloy ink and added remnant rubs and copper wire before gluing them to the underside of the upturned vignette box.
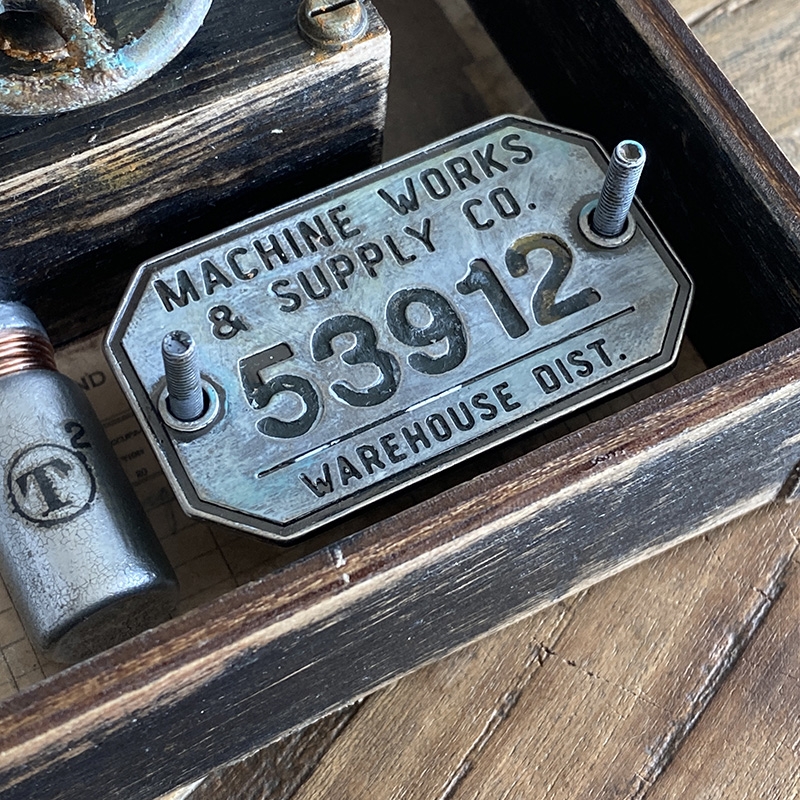
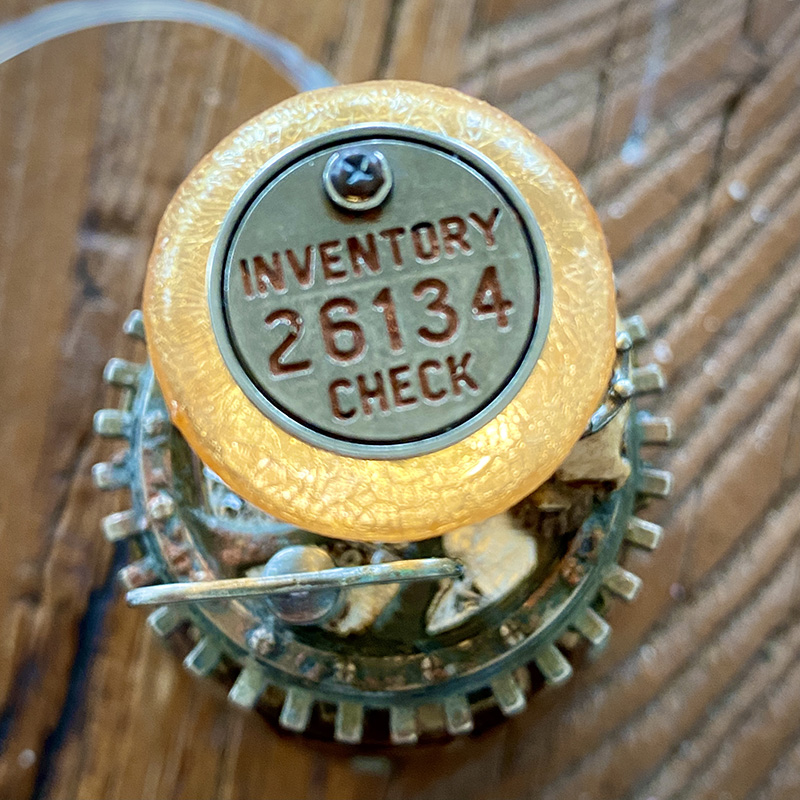
For a final addition, this plaque from the factory tags embellishments pack was mounted onto adhesive foam with long screws from the idea-ology vignette hardware findings pack glued into place to add to the industrial look. It’s all smoke and mirrors. Remember that! 😉
Thanks for stopping by and have a great Friday.
Zoe