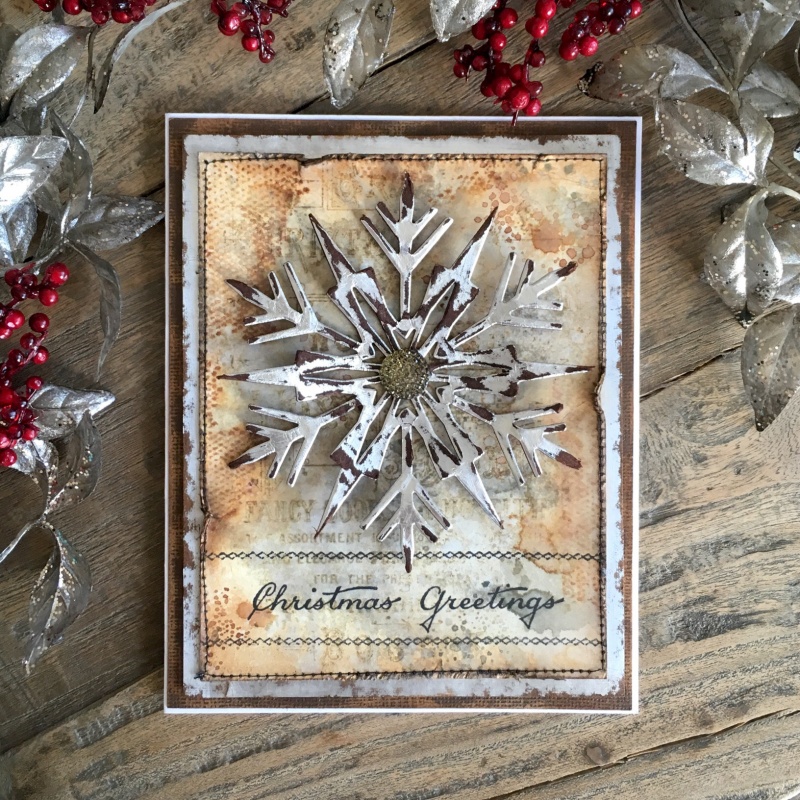
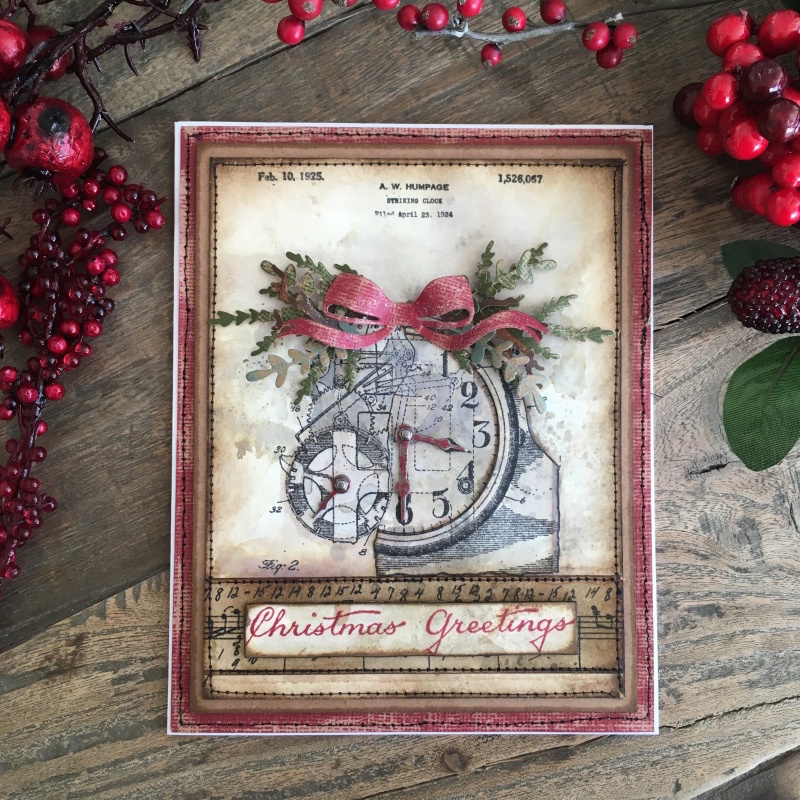
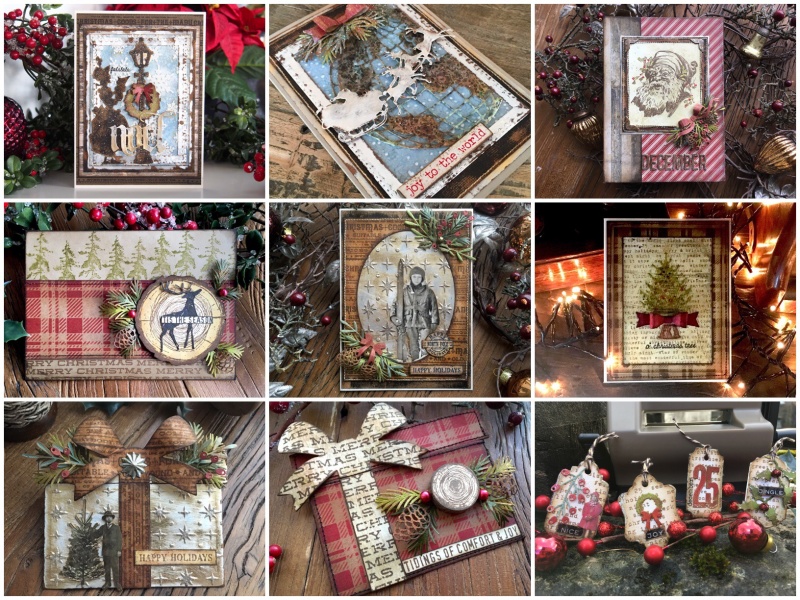
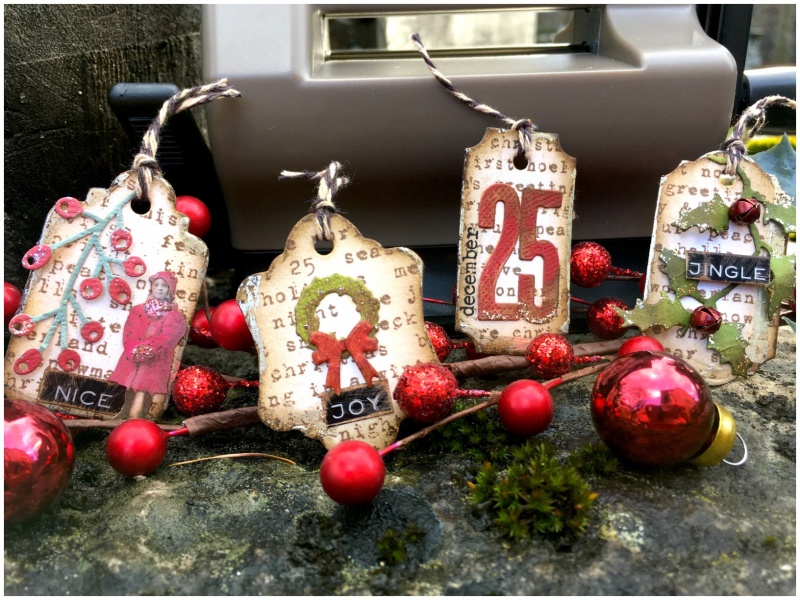
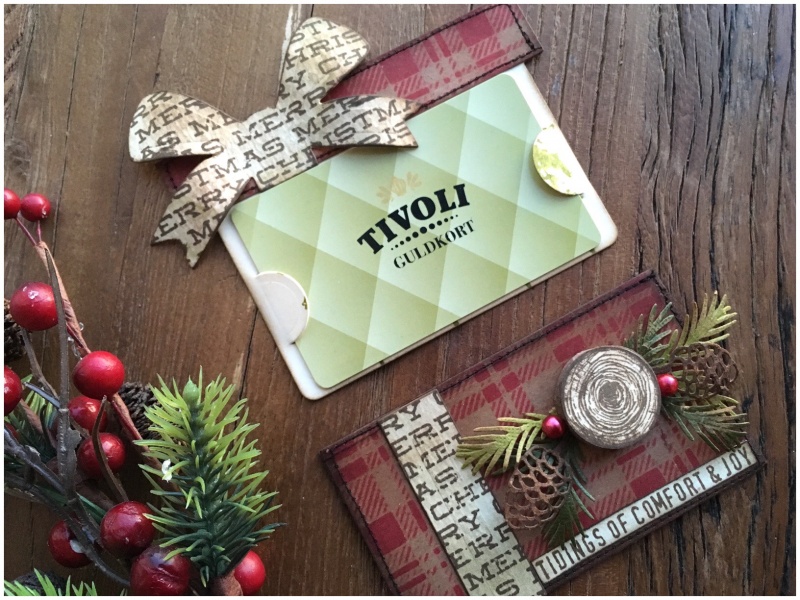
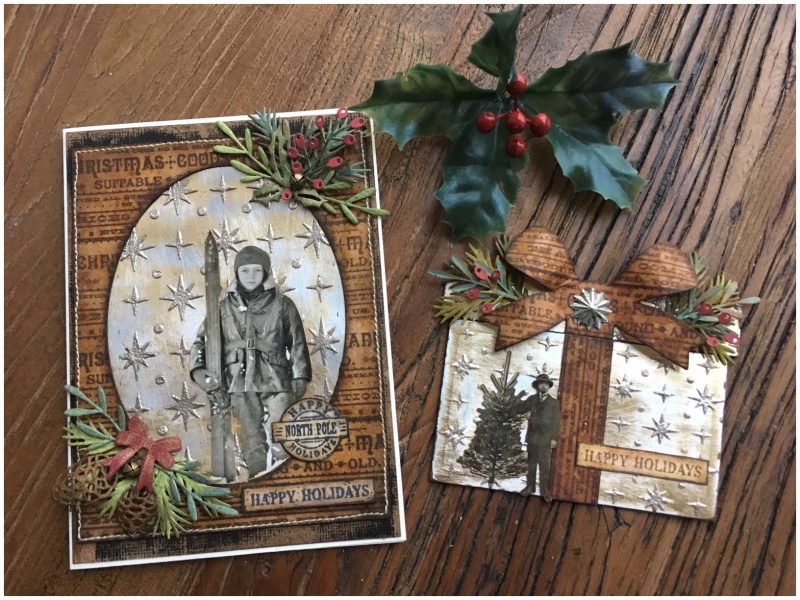
Hello friends. I’m back today with another gift card holder I made for the Tim Holtz holiday inspiration series. If you’ve been following Tim on instagram and facebook throughout November and December, you will have seen his holiday inspiration series. If you’ve missed anything, you can catch up with all the inspiration on Tim’s blog from week 1, week 2, week 3, week 4 and week 5.
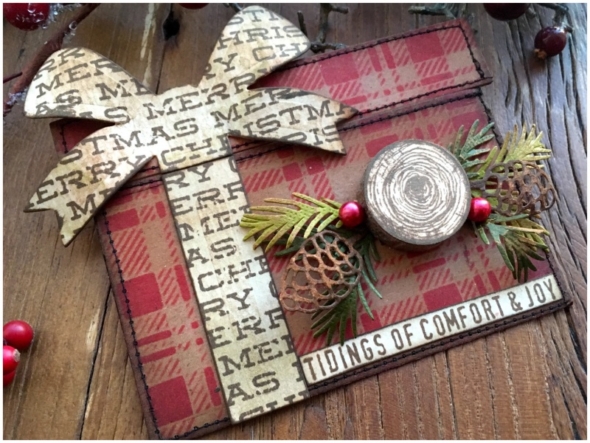
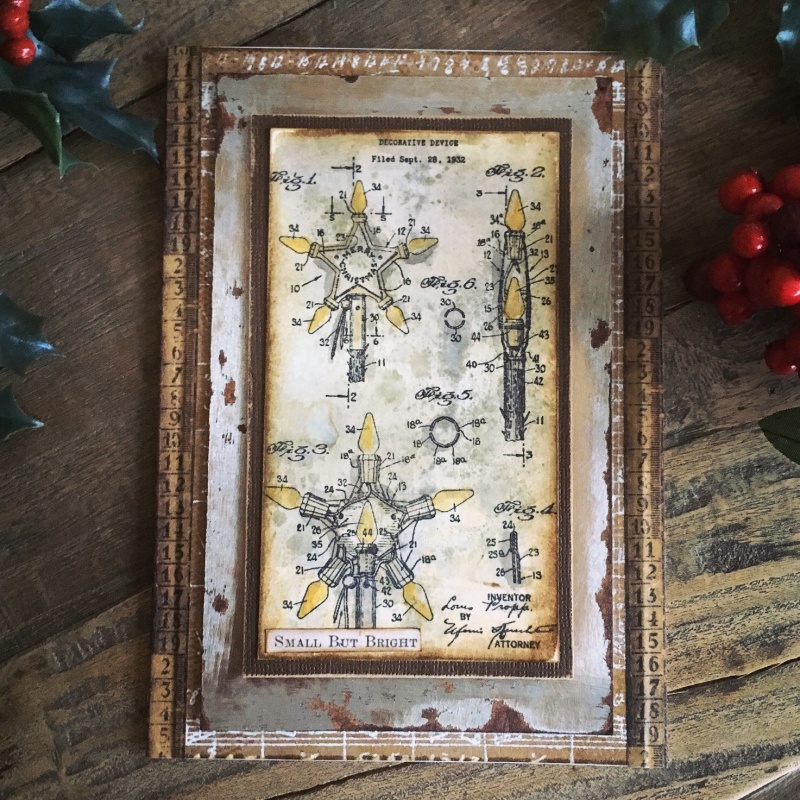
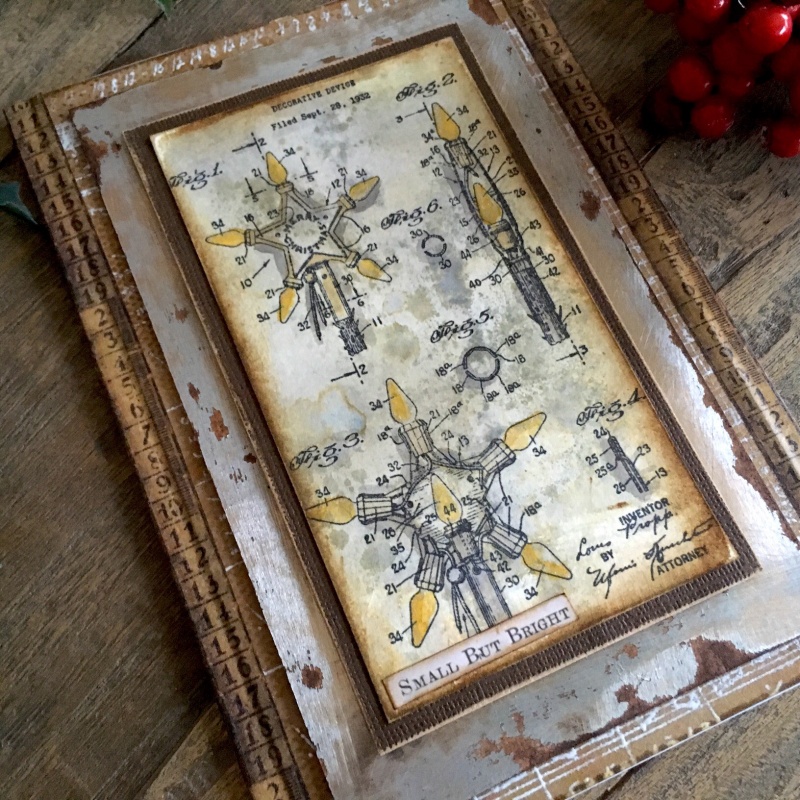
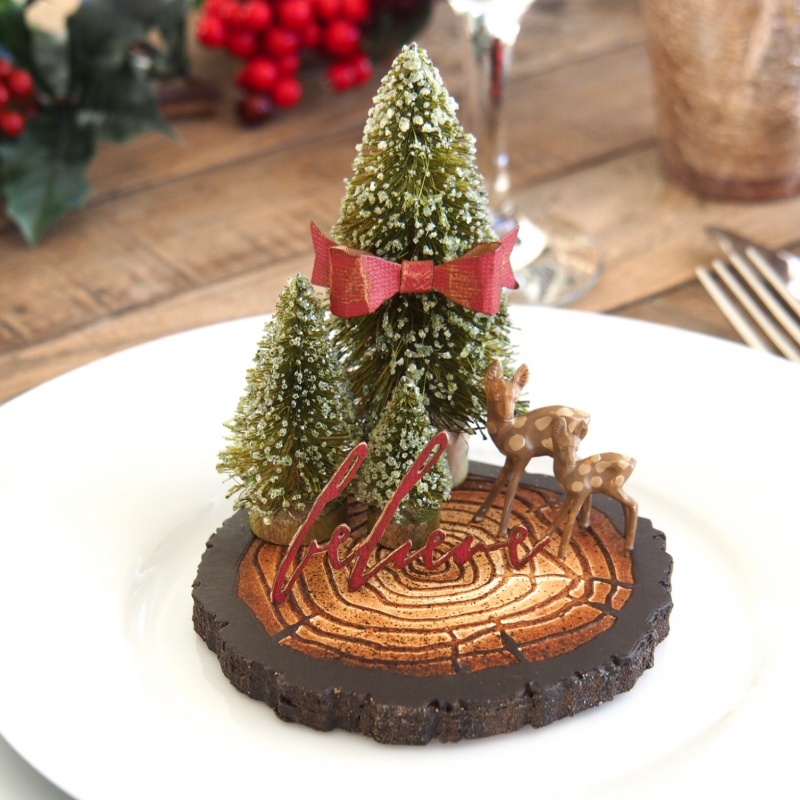
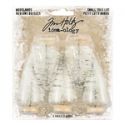
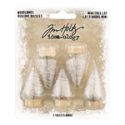
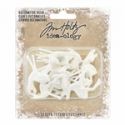
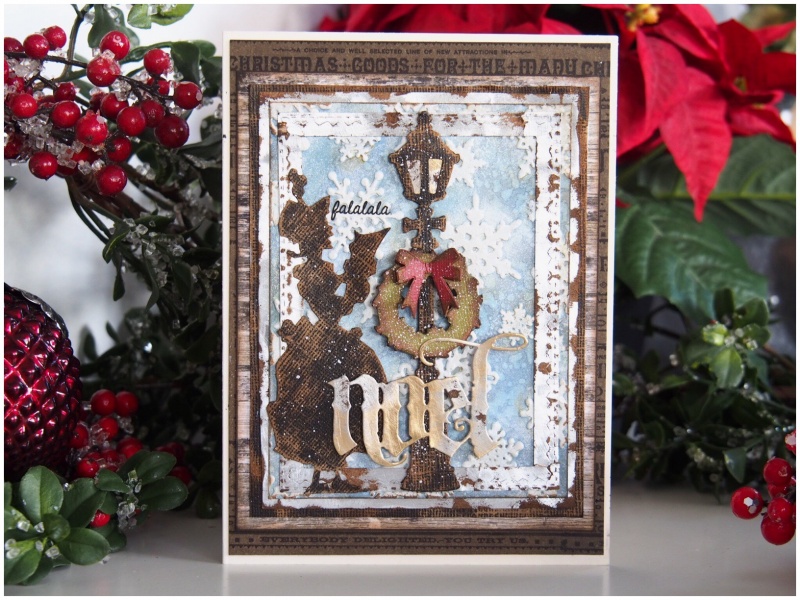
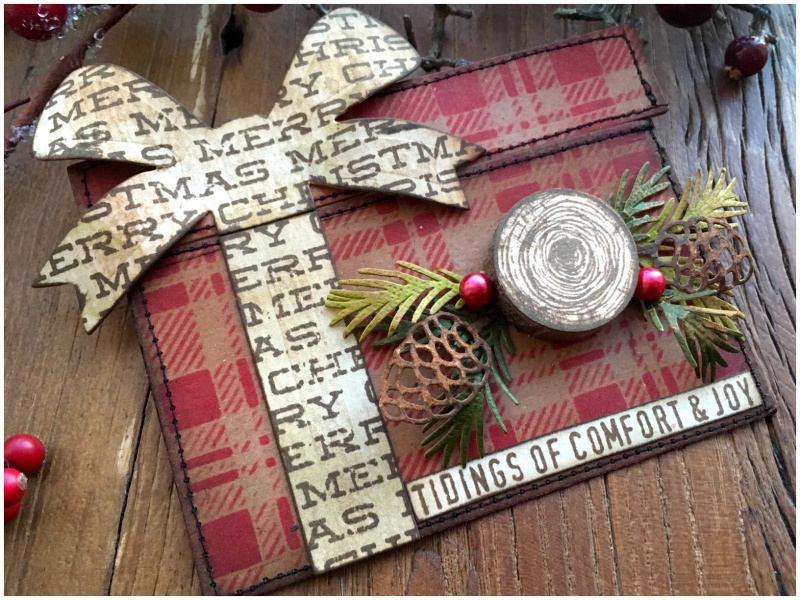
Part of what I love about the festive season is there’s so many reasons to get creative. I love to use the seasonal products in my stash to make matching stationery. As my current obsession is with the gift card package die, I thought I would make another gift card holder to match a card I made for the holiday inspiration series and uses only 2 additional products, (idea-ology wood slices and the gift card package thinlits die).
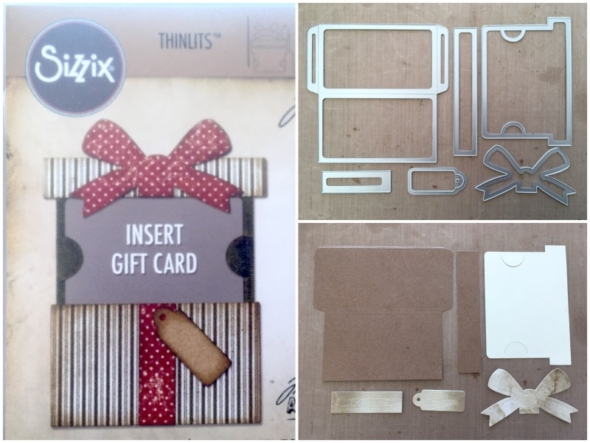
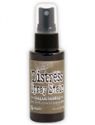
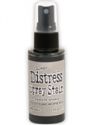
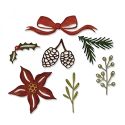
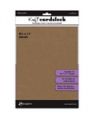
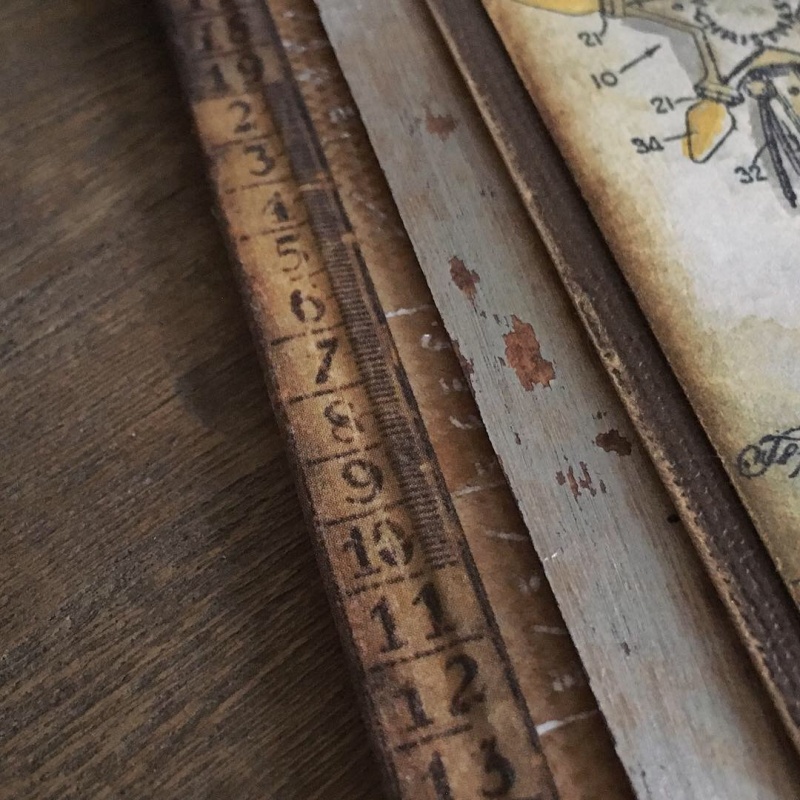
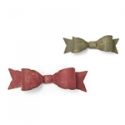
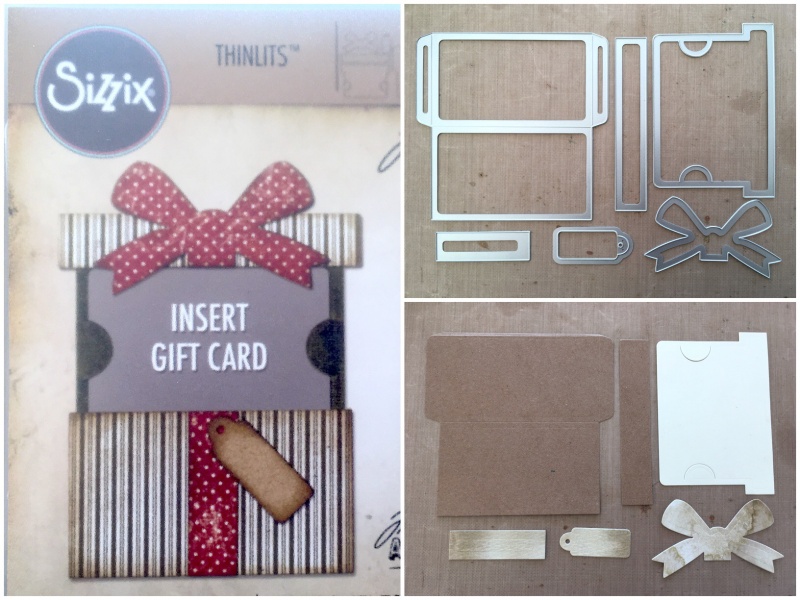
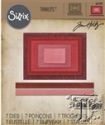
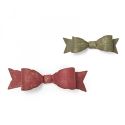
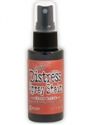
Step 1: Die cut 2 pieces of kraft cardstock and the rest distress mixed media heavystock using the Tim Holtz Sizzix gift card package thinlits die. The bow and ribbon die cuts were sprayed with frayed burlap distress spray stain and the mini tag I didn’t end up using but put into my december daily stash.

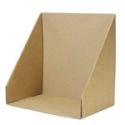
Step 2: Fold the pocket and secure to a non stick craft mat with tape.
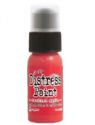
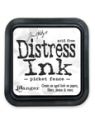
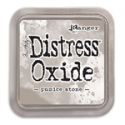
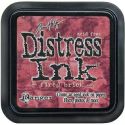
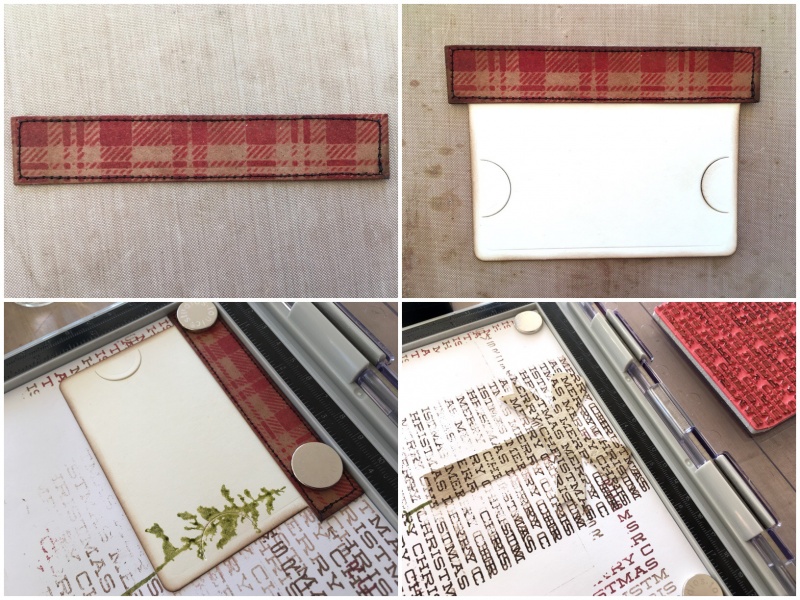
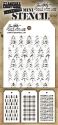
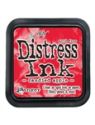
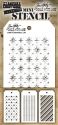
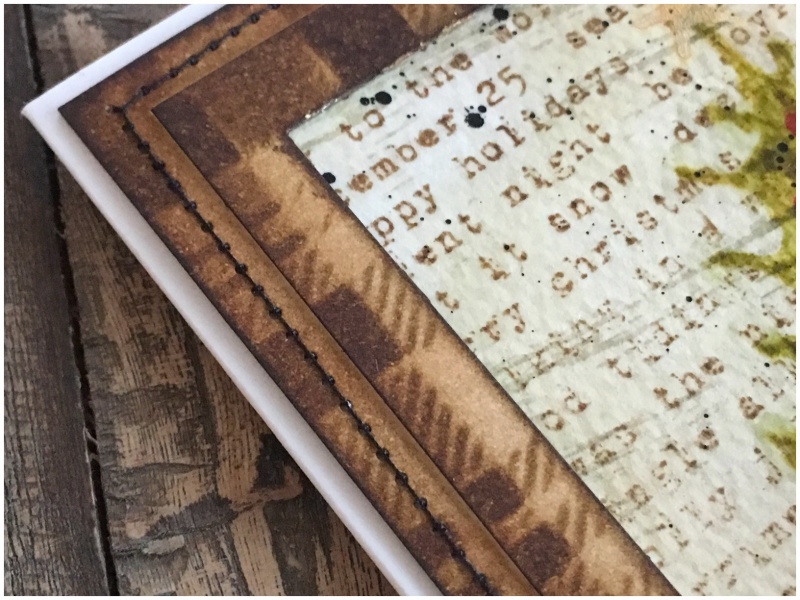
Step 3: Secure the mini plaid stencil over the top and blend candied apple distress ink through the stencil.
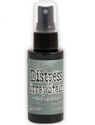
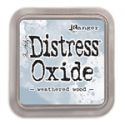
Step 4: Blend in vintage photo and walnut stain distress ink into the edges and stitch with a sewing machine.
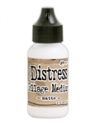
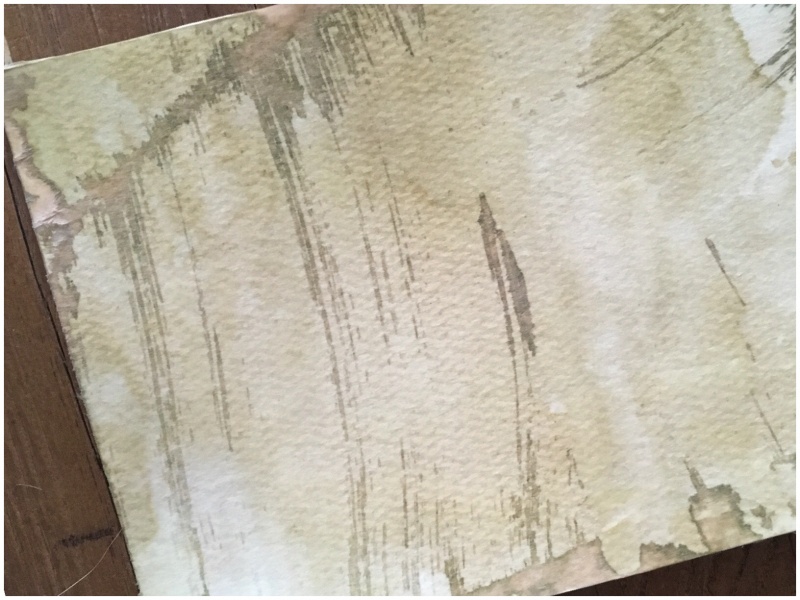
Step 5: Apply distress collage medium to the side tables, fold and glue into place.
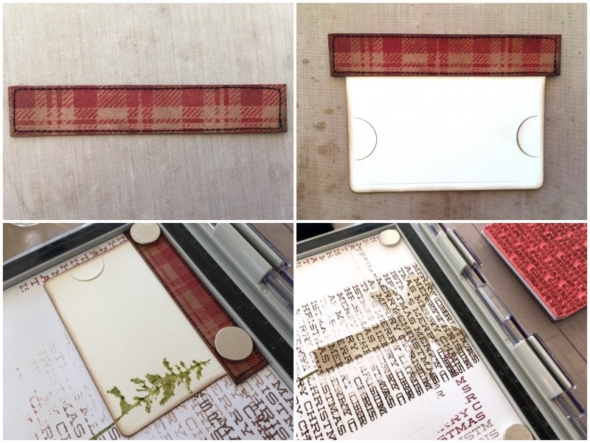
Step 6: Follow steps 3 and 4 on the package topper, (the long kraft cardstock piece from step 1).
Step 7: Adhere the package topper to the gift card insert with distress collage medium.
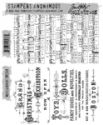
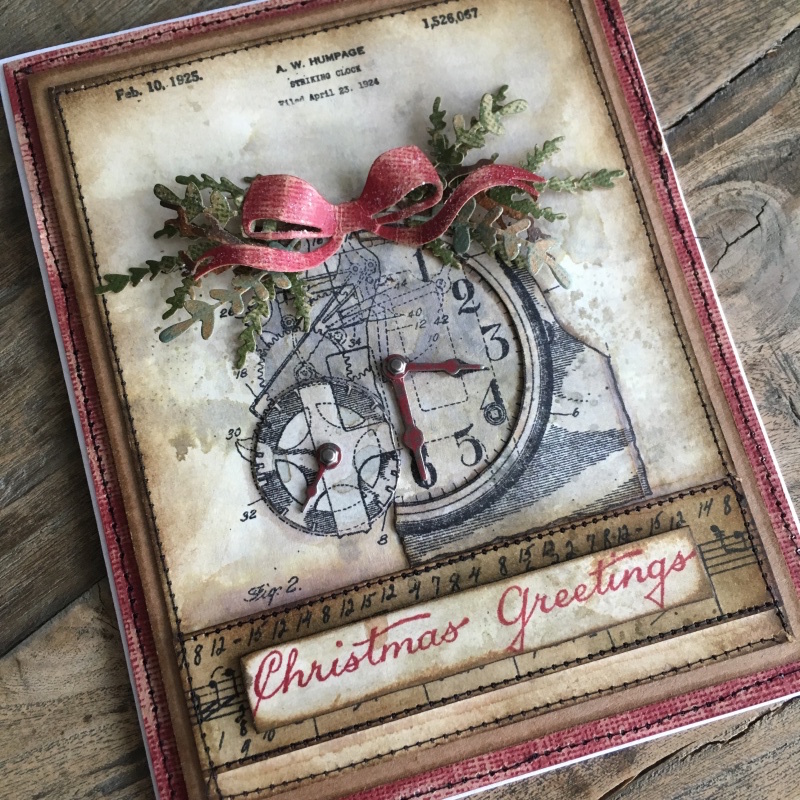
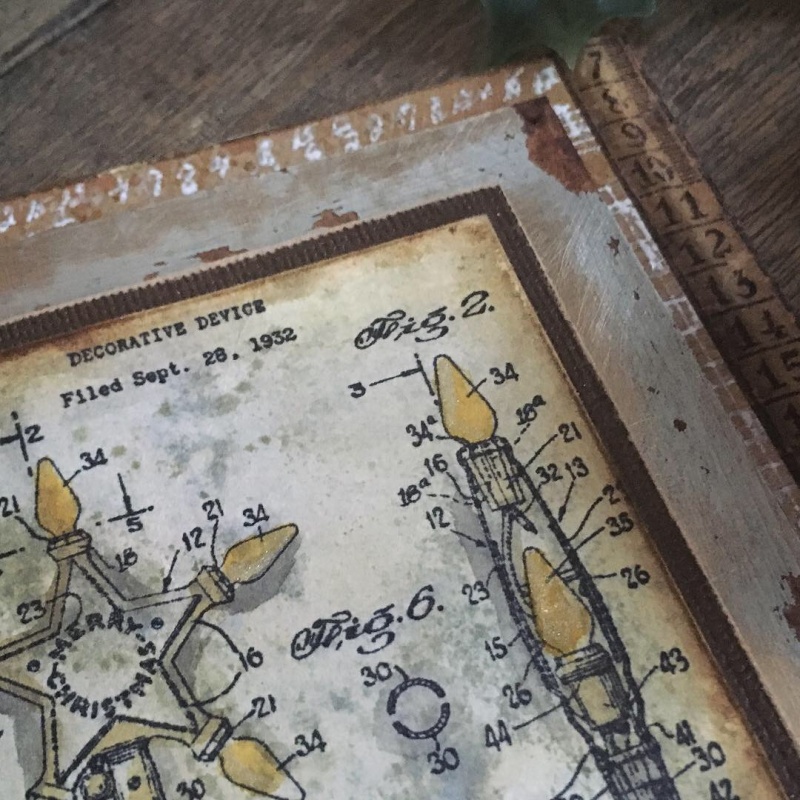
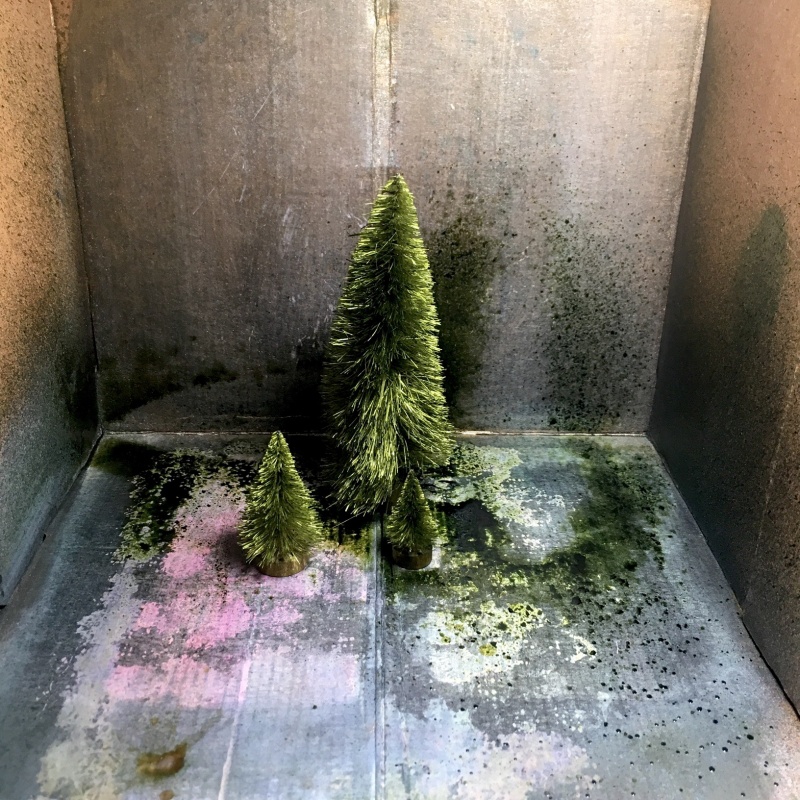
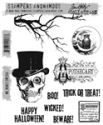
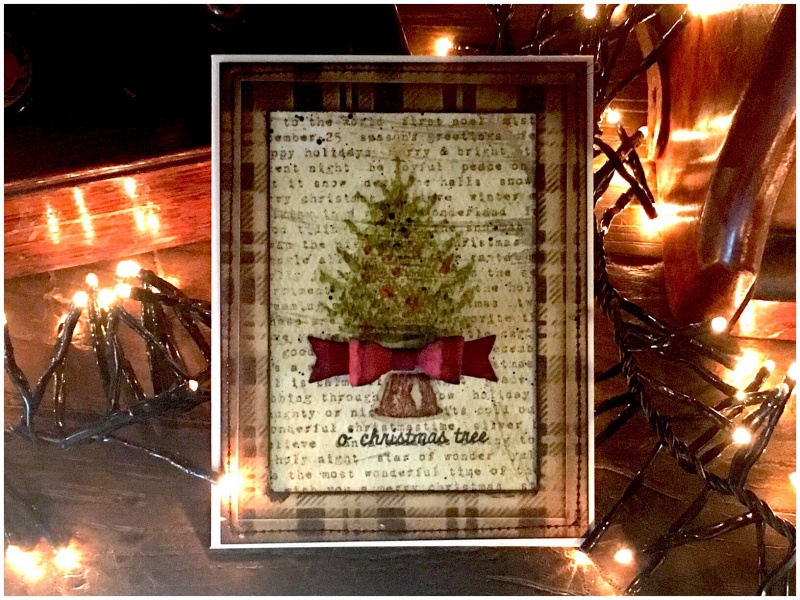
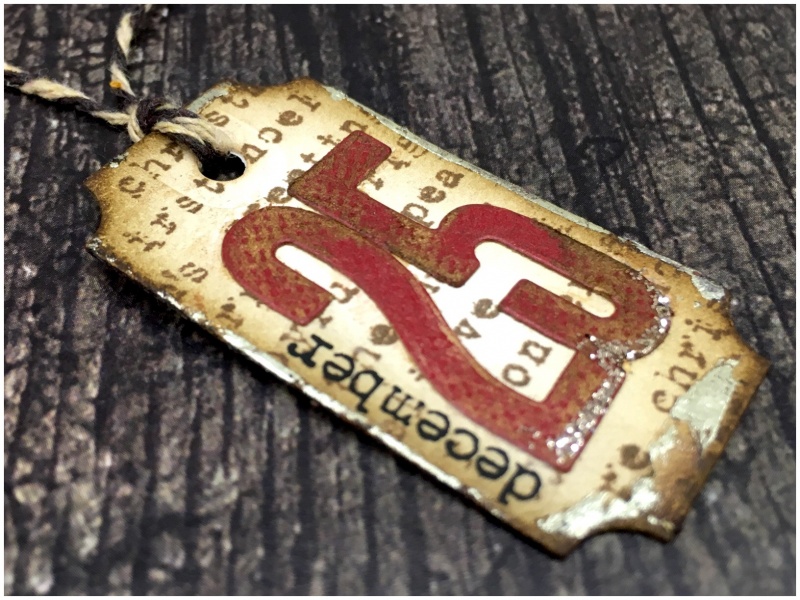
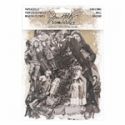
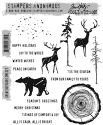
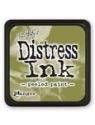
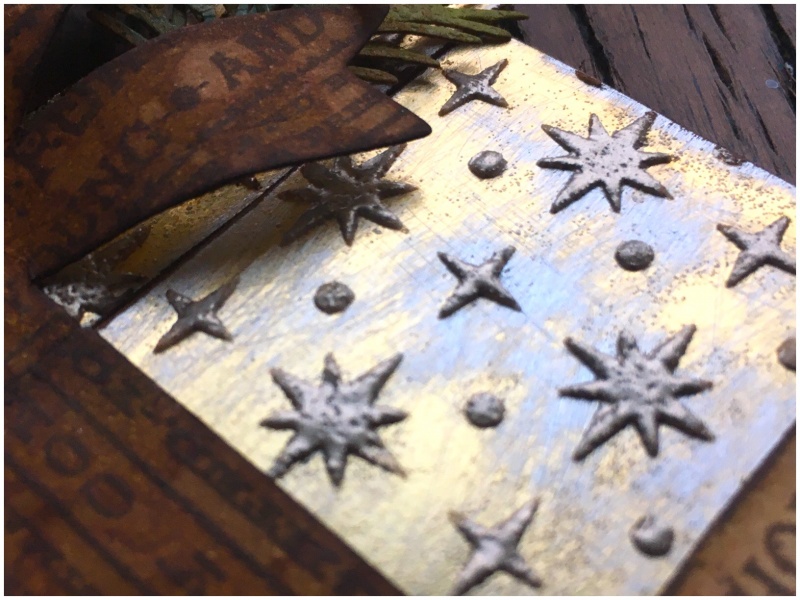
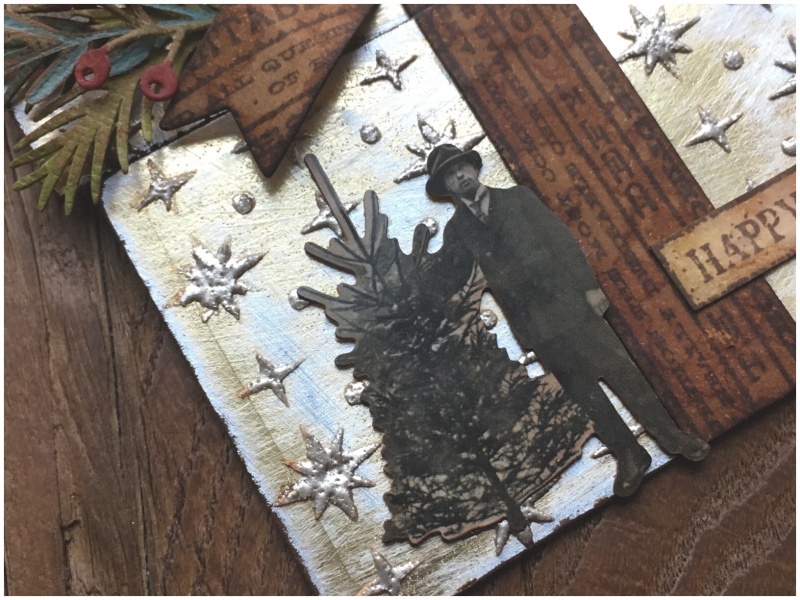
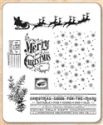
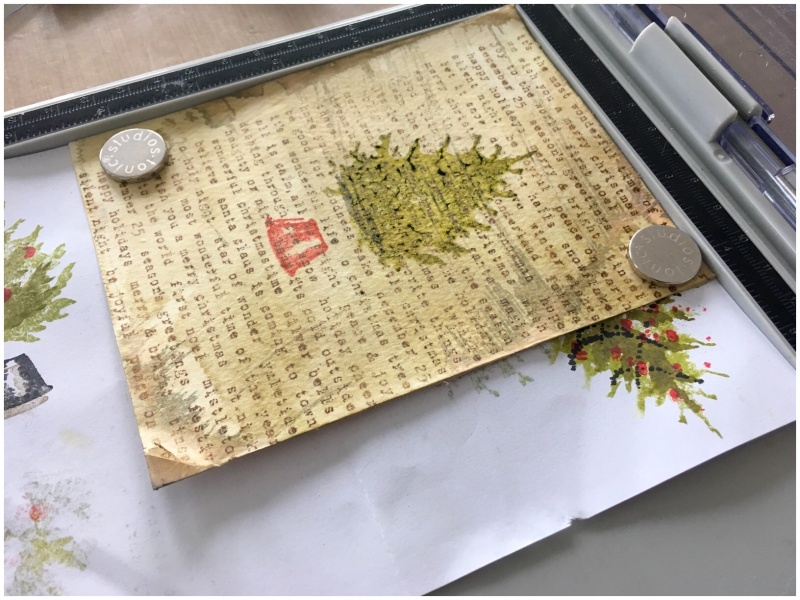
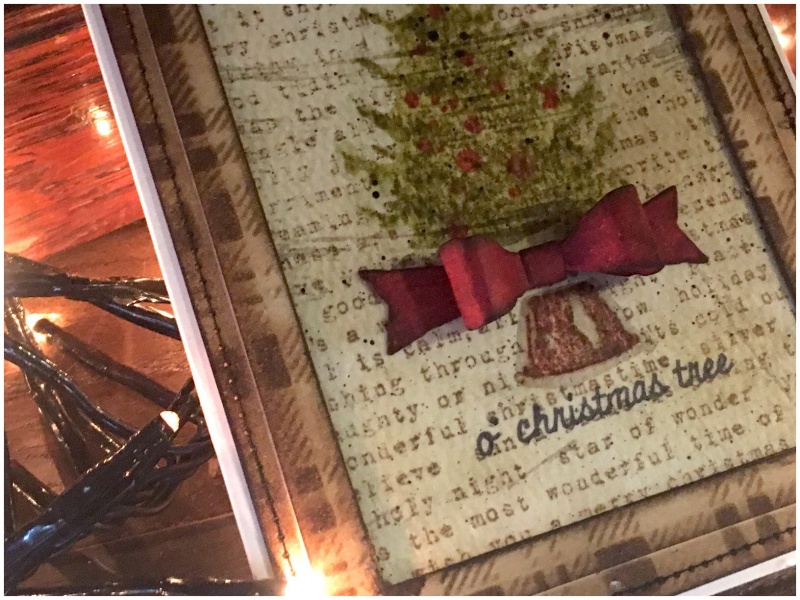
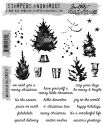
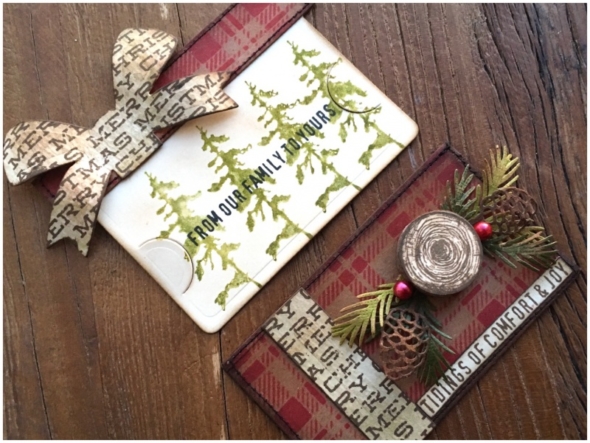
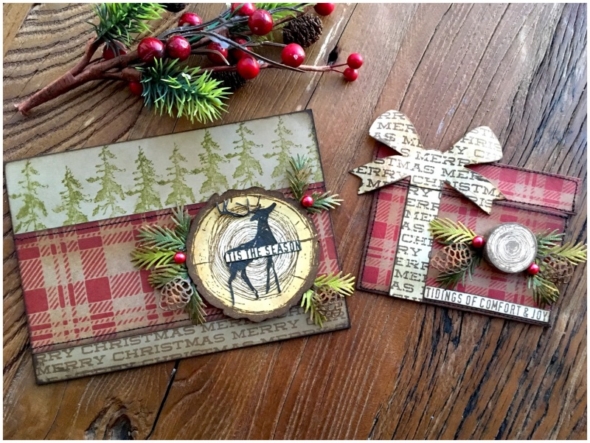
Step 8: Place the gift card insert onto the Tim Holtz Tonic stamp platform and secure in place with magnets. Stamp the tree stamp from the Tim Holtz Stampers Anonymous great outdoors stamp set with peeled paint distress ink. Slide the insert to the right, keeping it butted up against the top and keep stamping.
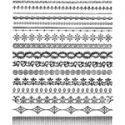
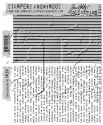
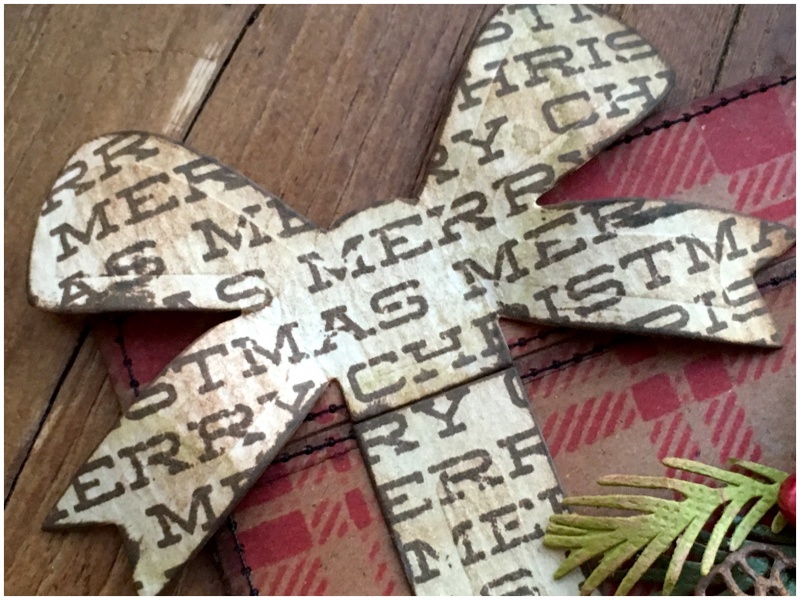
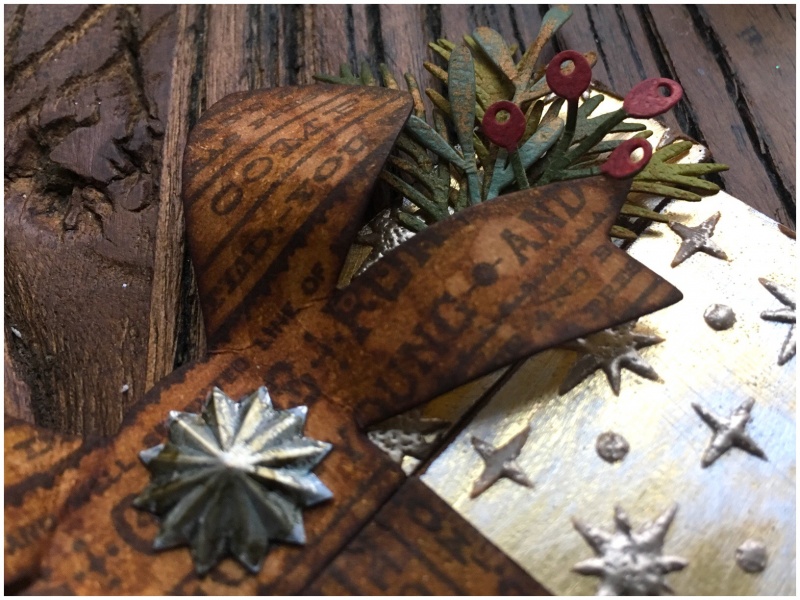
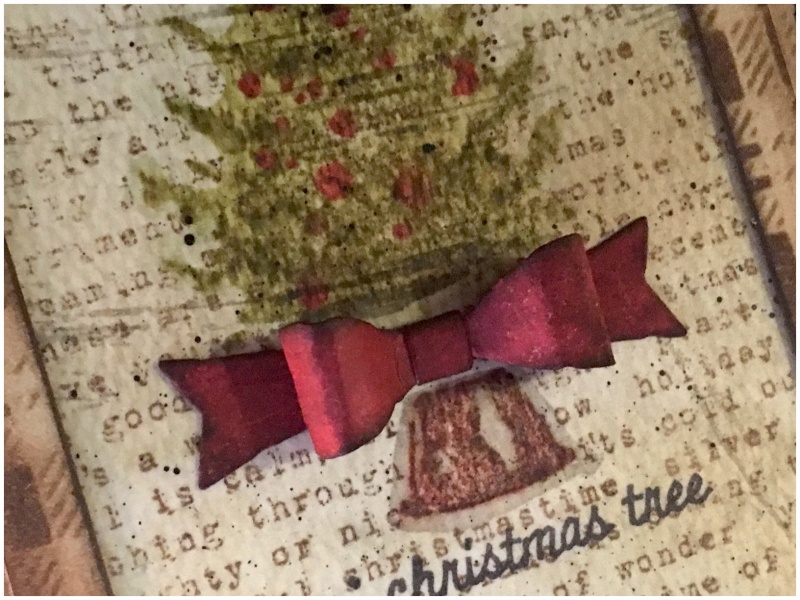
Step 9: Place the bow and ribbon die cuts onto the Tim Holtz Tonic stamp platform and adhere with a pin prick of distress collage medium. It will easily pull away afterwards and the magnets won’t get in the way. Stamp with the background stamp from Tim Holtz Stampers Anonymous sparkles and christmas stamp set.
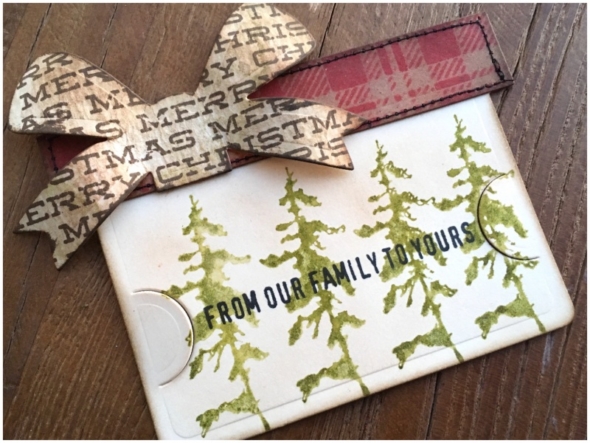
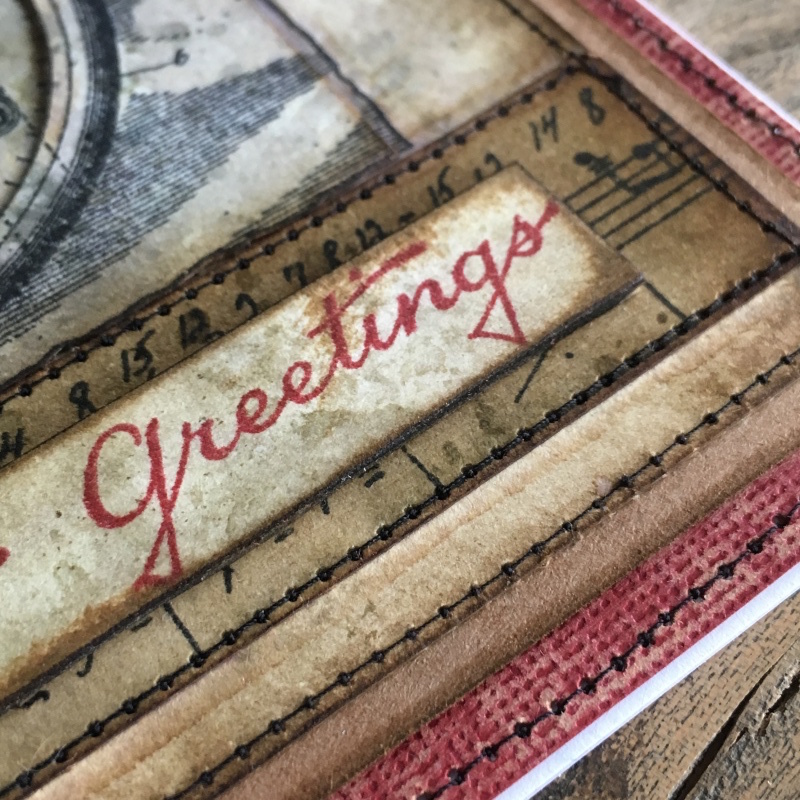
Step 10: Stamp a sentiment over the trees. This will be hiding under the gift card for the recipient. You could add “congratulations” – “thank you” – “happy birthday” – “happy anniversary” for a non holiday gift card holder.

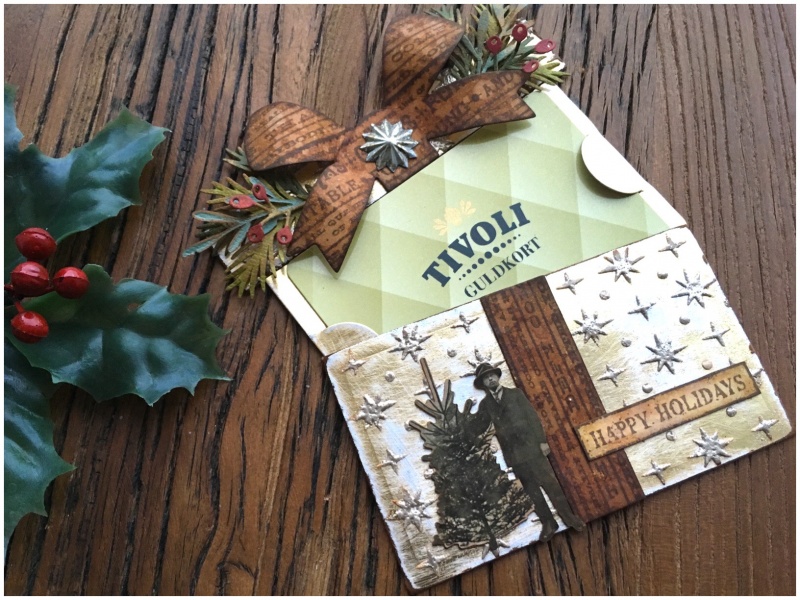
Step 11: Line up the ribbon with the bow and glue the ribbon onto the pocket with distress collage medium.

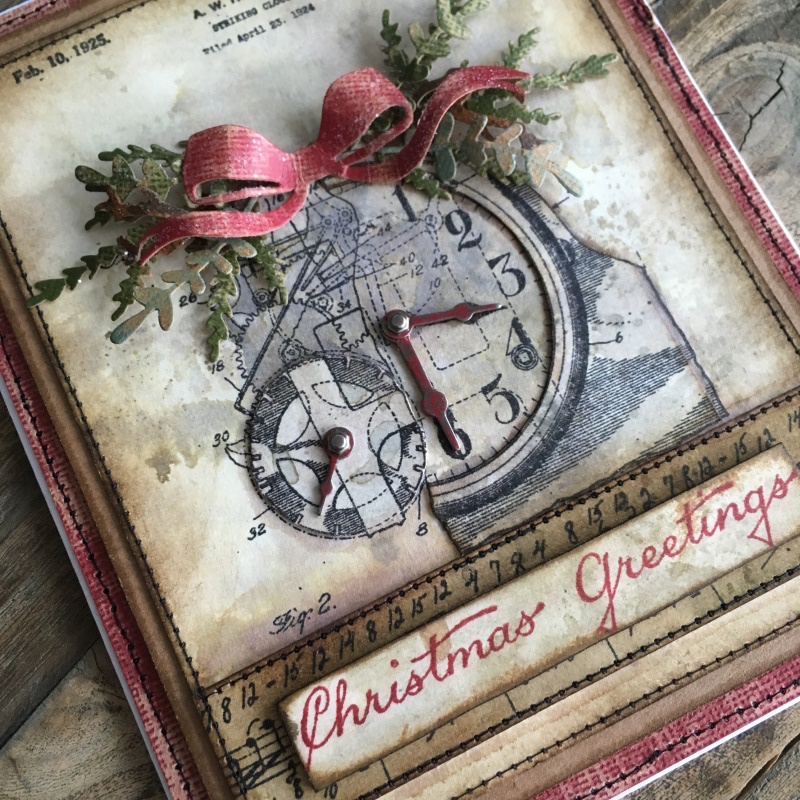
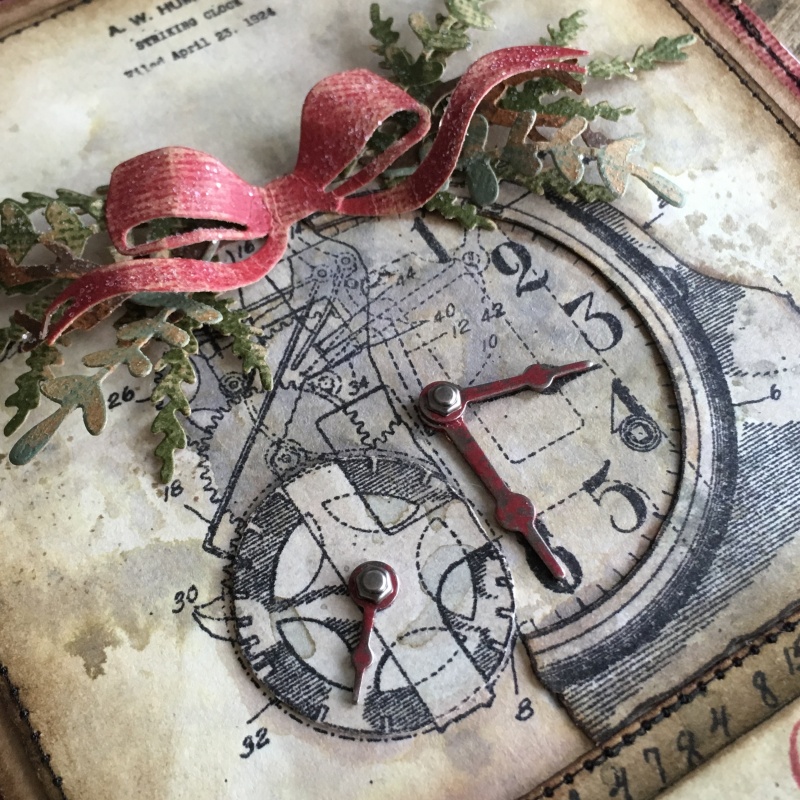
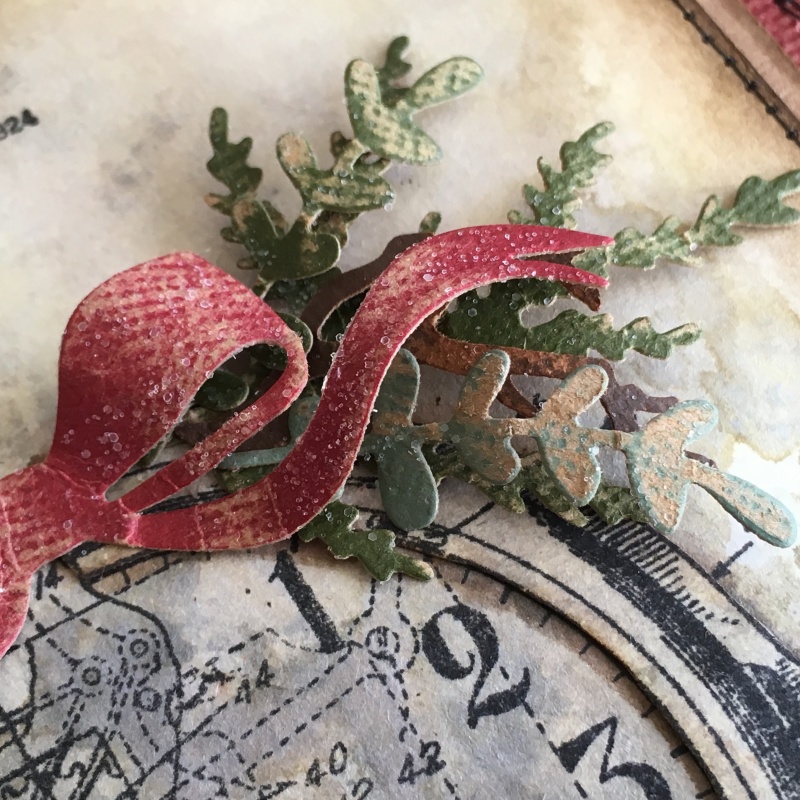
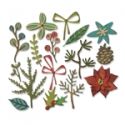
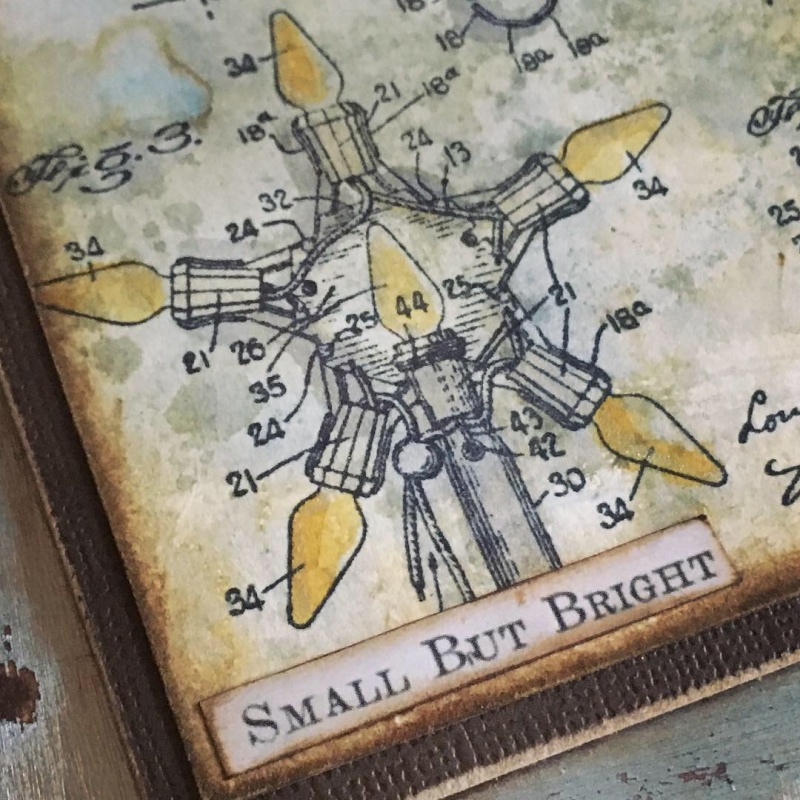
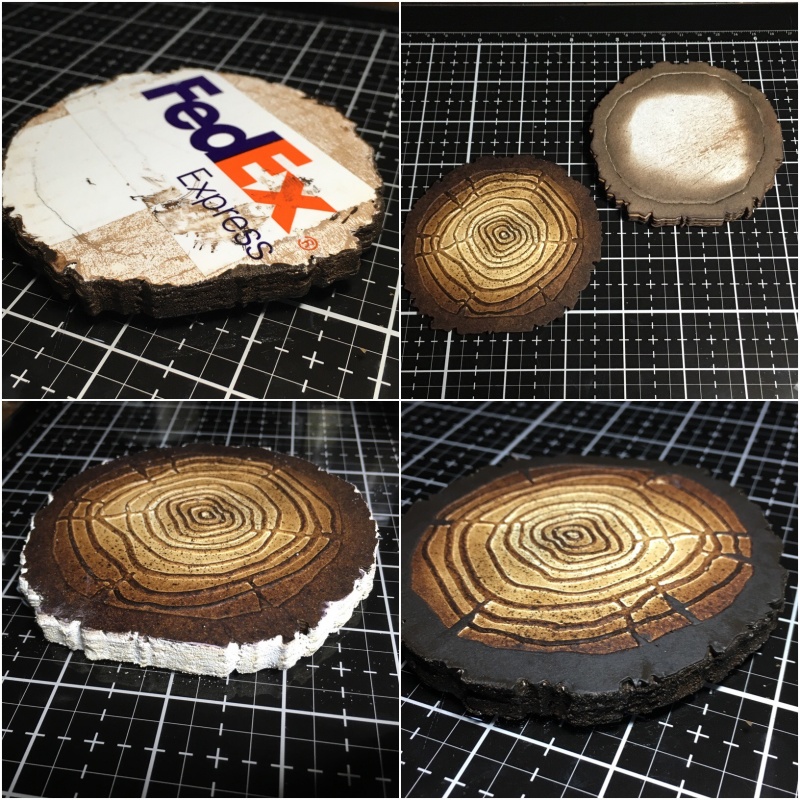
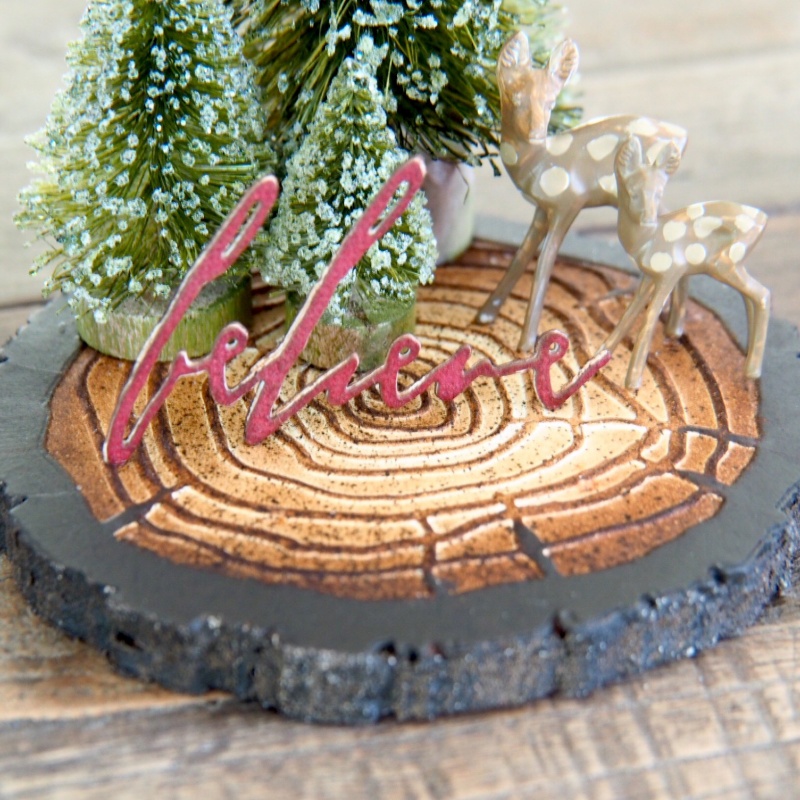
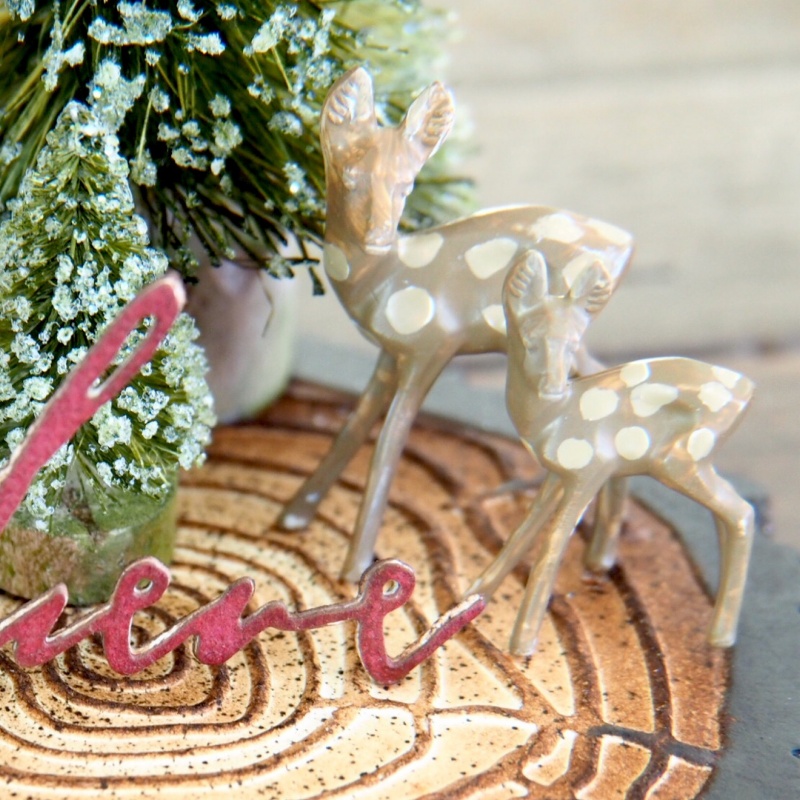
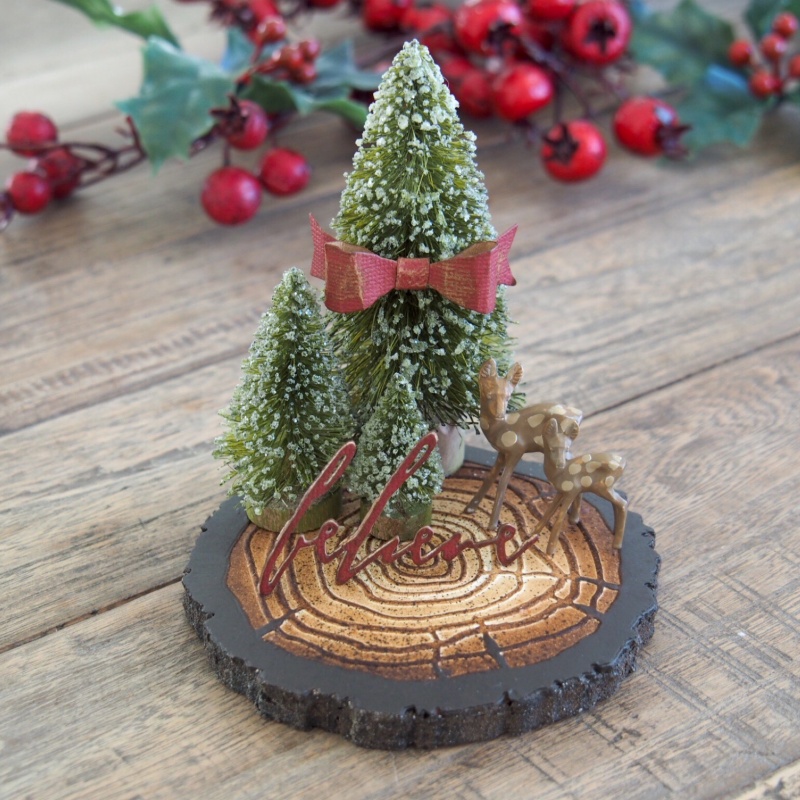
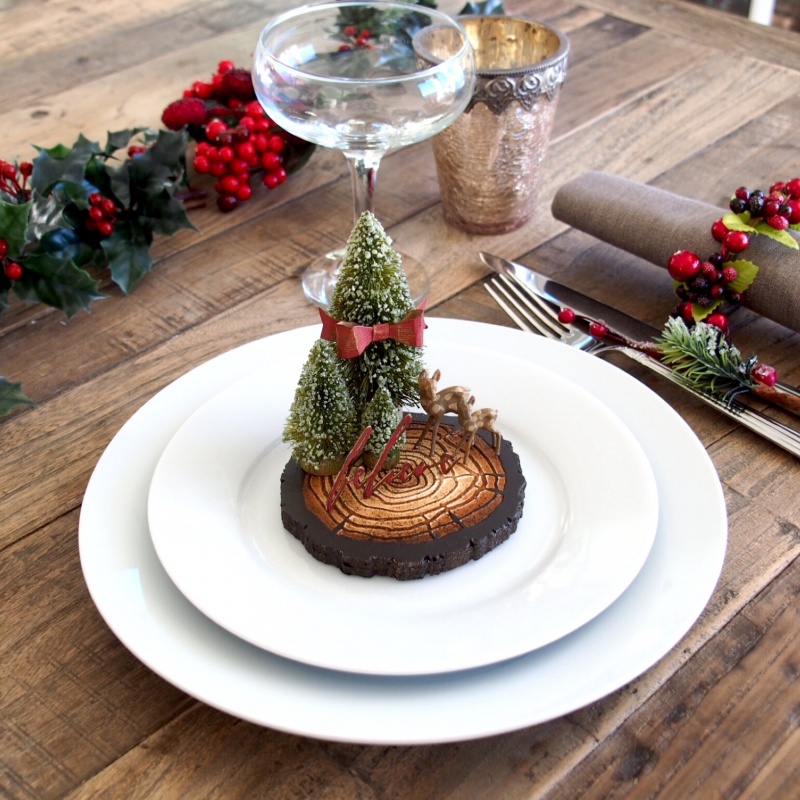
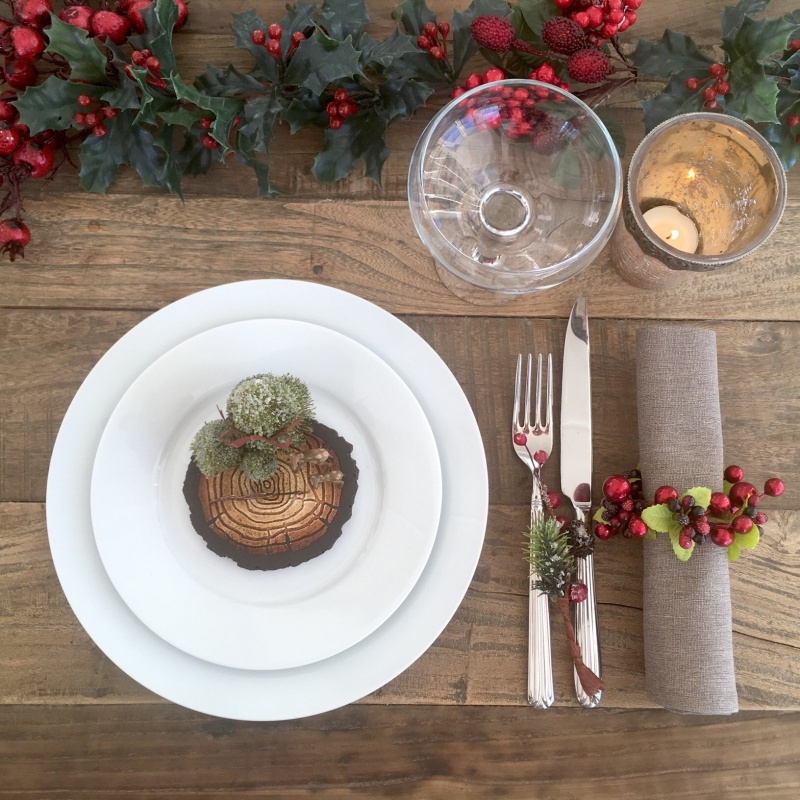
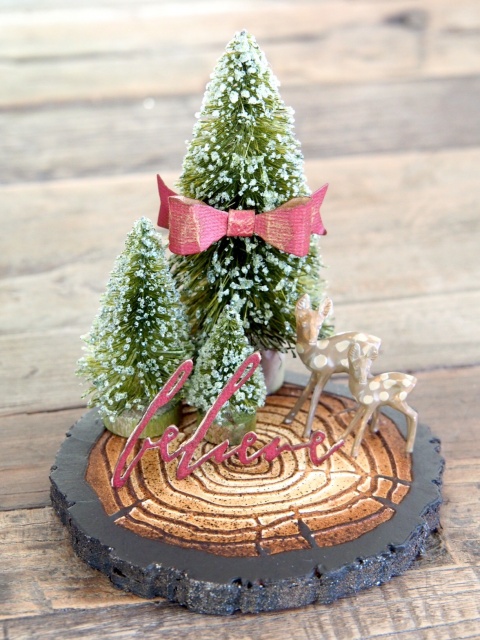
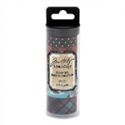
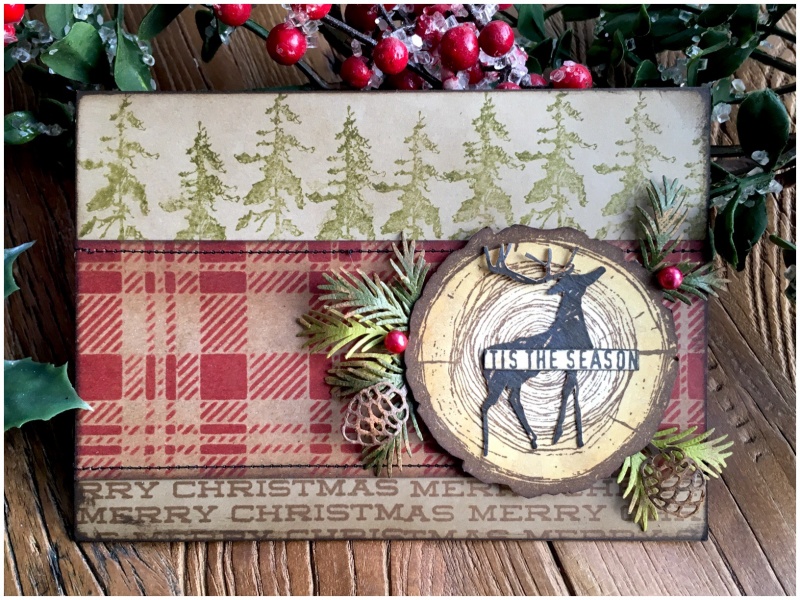
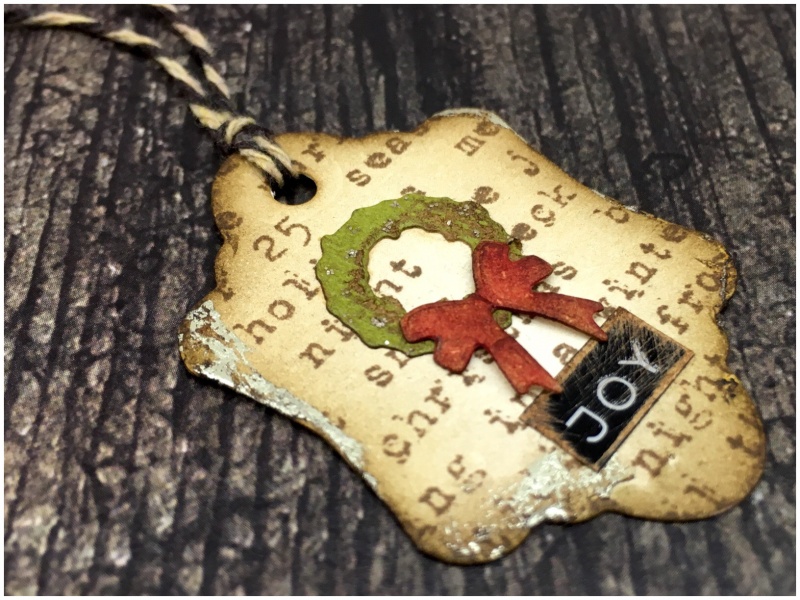
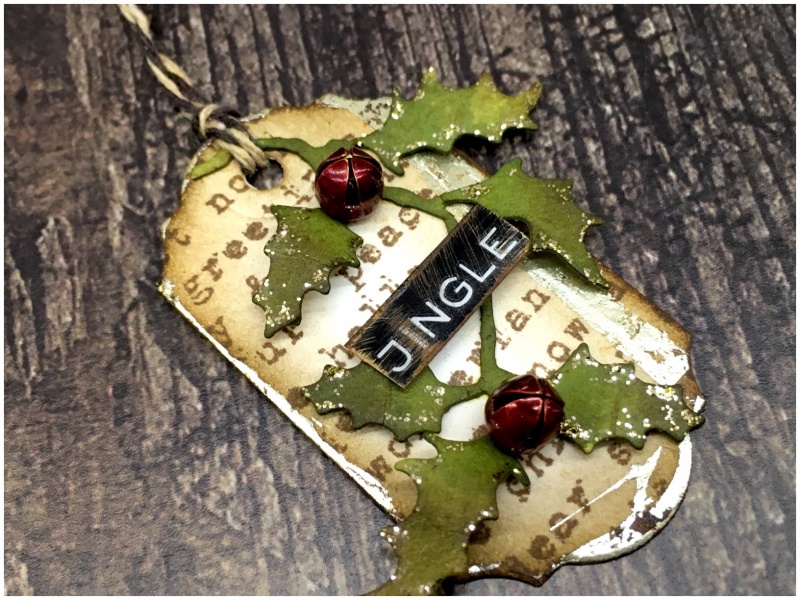
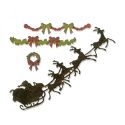
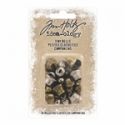
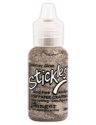
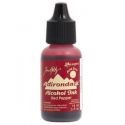
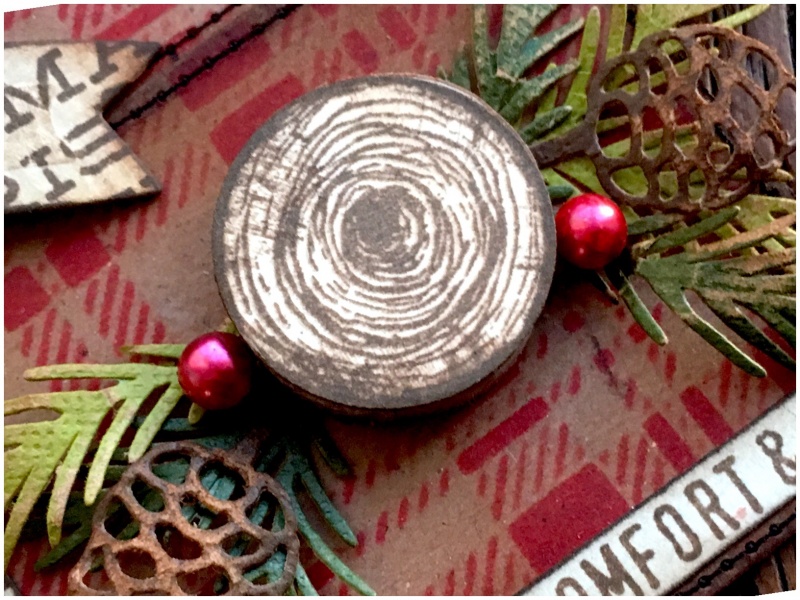
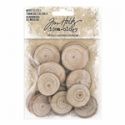
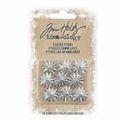
Step 12: To decorate the pocket, I stamped the wood slice from the great outdoors stamp set and used a 3/4 inch paper punch to punch the center and adhered to a wood slice with distress collage glue. Die cut greens from classic kraft stock with the Tim Holtz Sizzix festive greens thinlits set. Add idea-ology baubles dyed with red pepper alcohol ink.
Step 13: Bend up the tabs on the gift card insert very slightly.

Step 14: Slide your gift card in from the bottom.

Step 15: Push the insert into the pocket and you’re done.
Thanks for stopping by. I will be back with my final project for the holiday inspiration series on Friday. Hope you have a great week.
Cheers
Zoe x