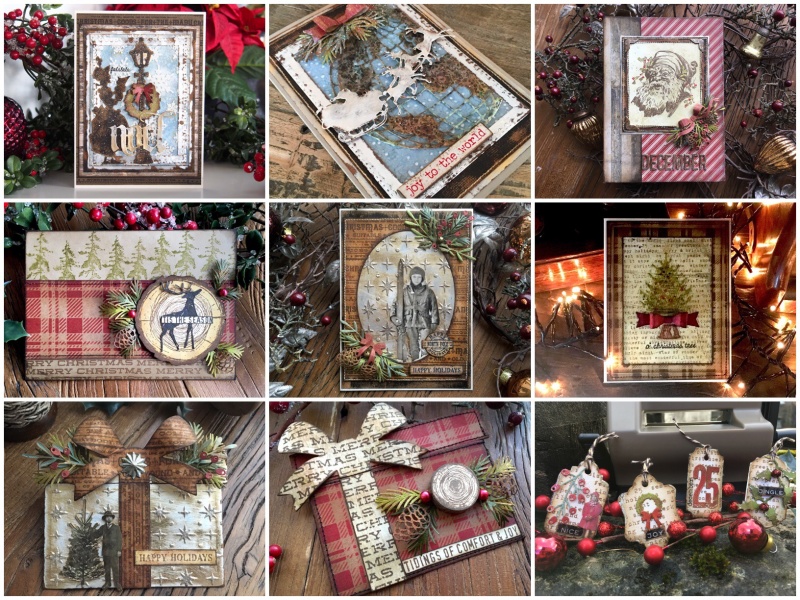
Thank you for the lovely comments you left during the creativation 2018 Tim Holtz blog hop. I hope you enjoyed hopping around the blogs. I was over the moon to make some card samples for the Tim Holtz Stampers Anonymous booth at this years Creativation show. This week I will be sharing the rest of those cards.
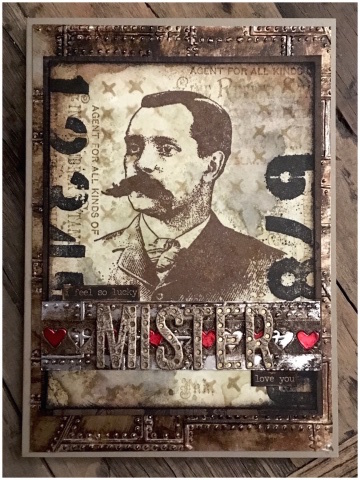
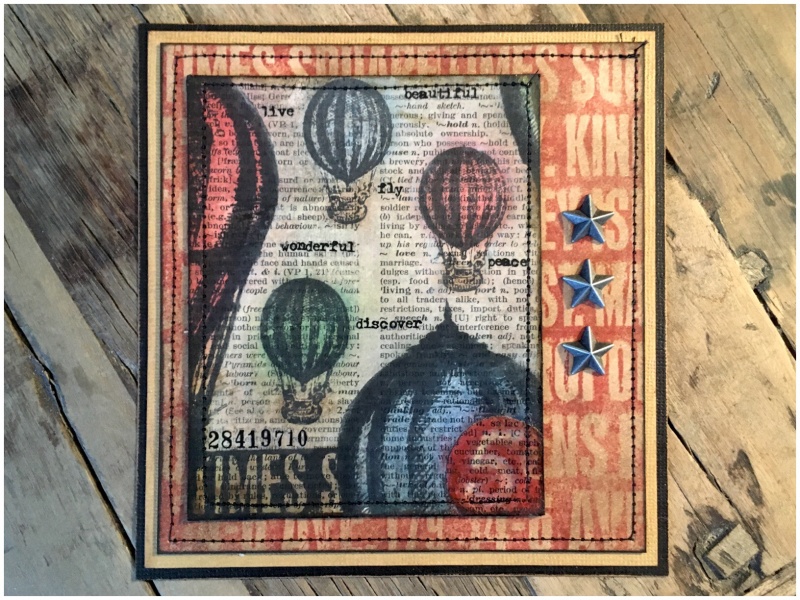
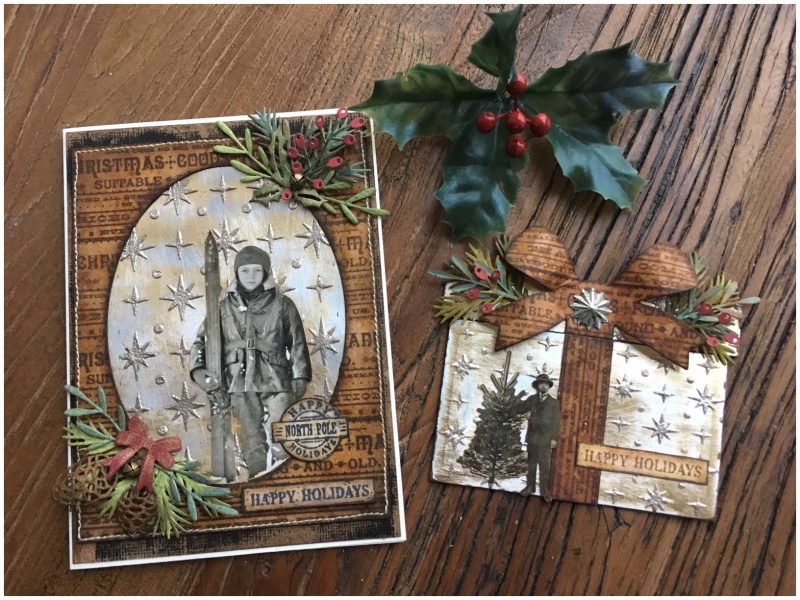
 One of things I love about getting new stamps, is mixing them with older (well loved) sets. Which is exactly what I did when making this card.
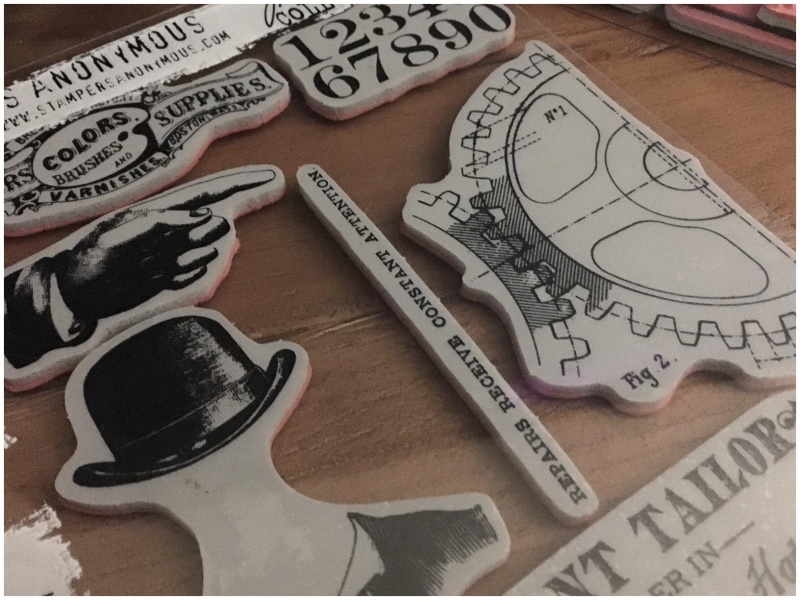
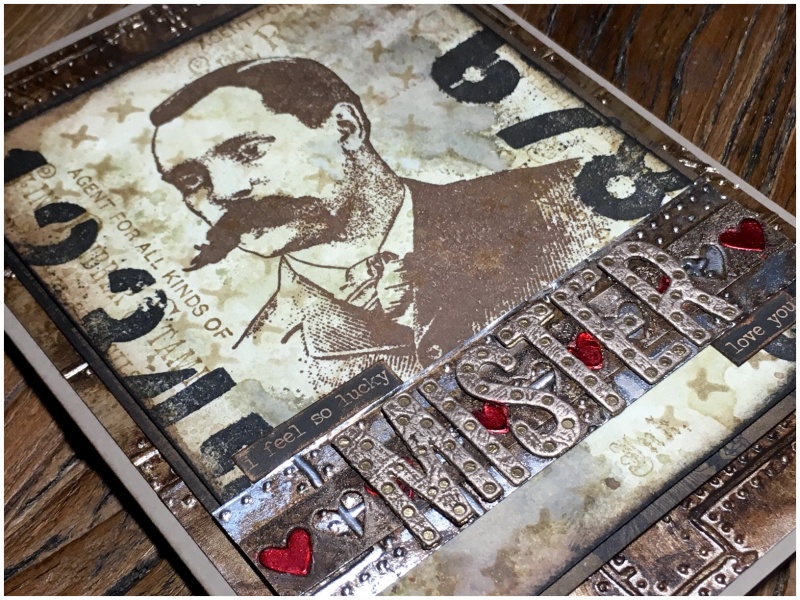
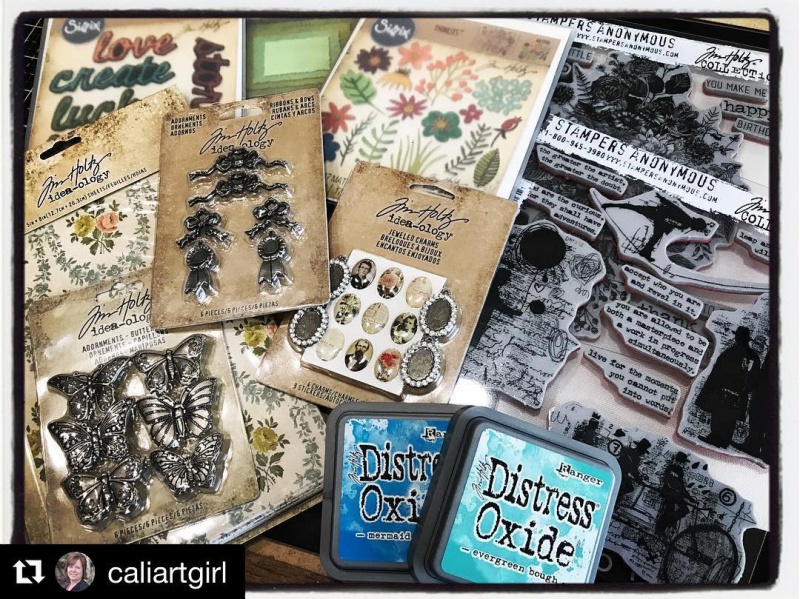
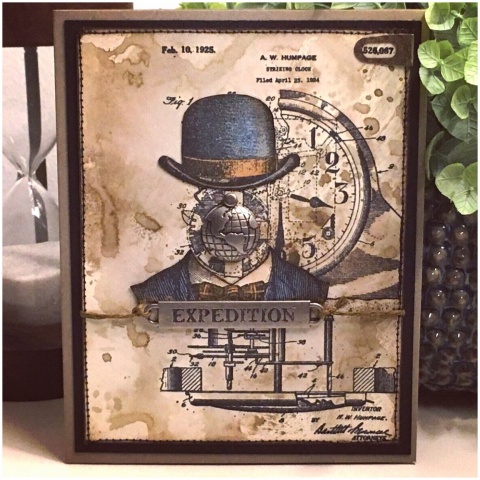
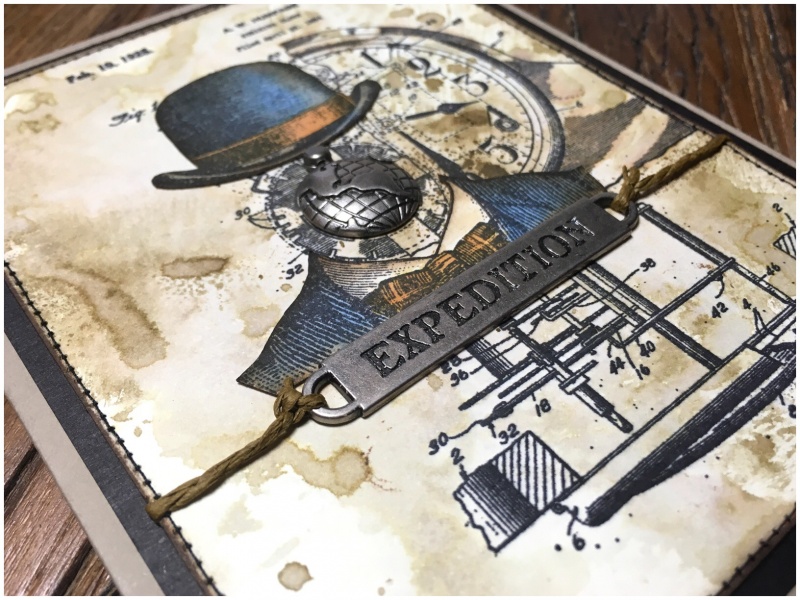
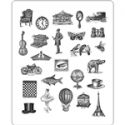
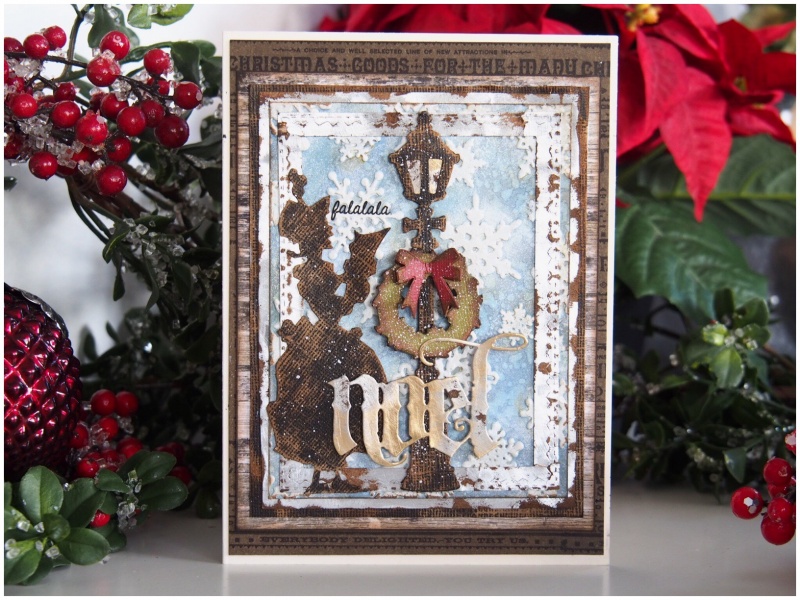
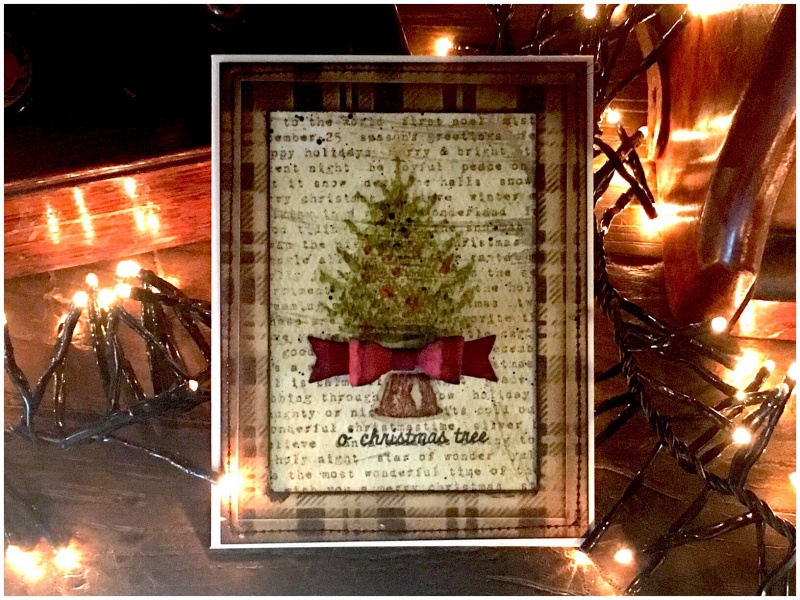
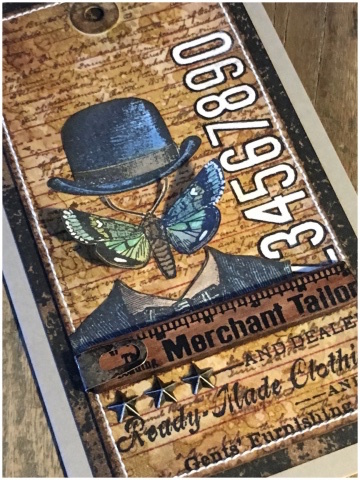
I used the Dapper stamp set (CMS267), one of my all time favourites.
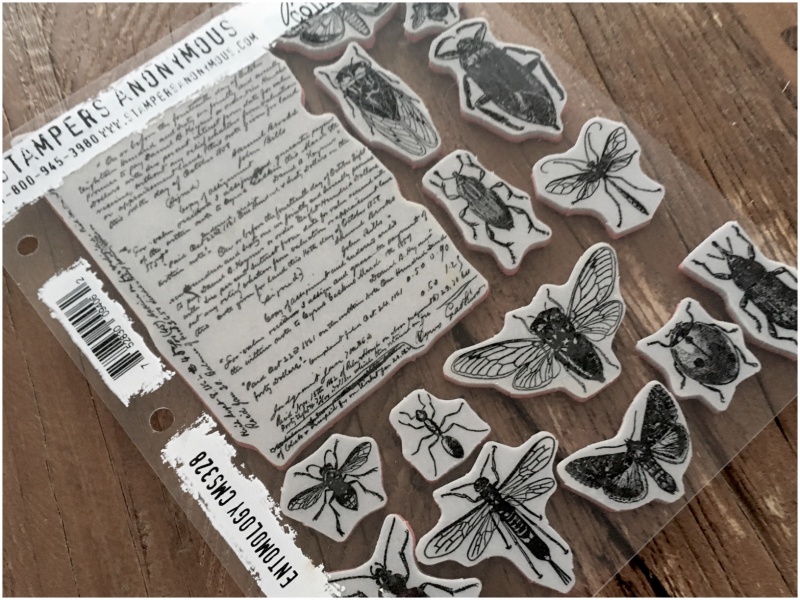
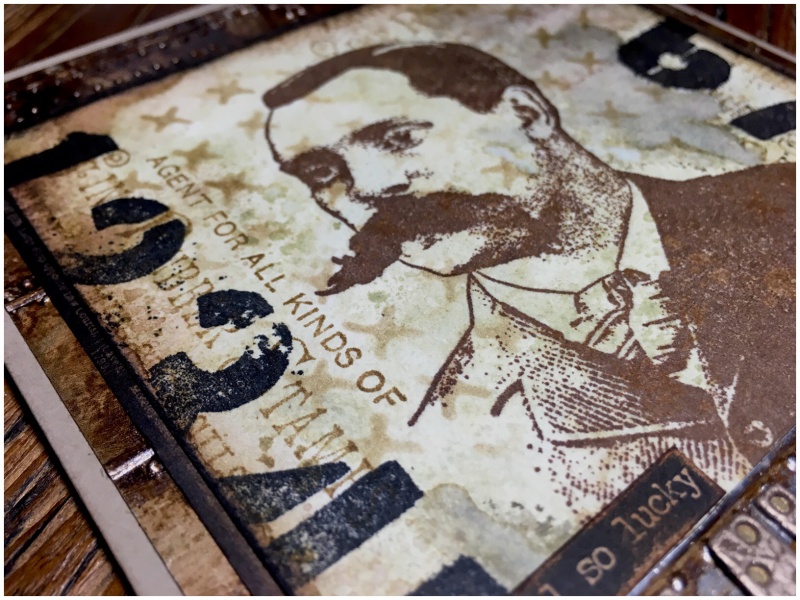
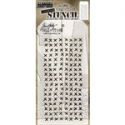
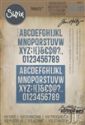
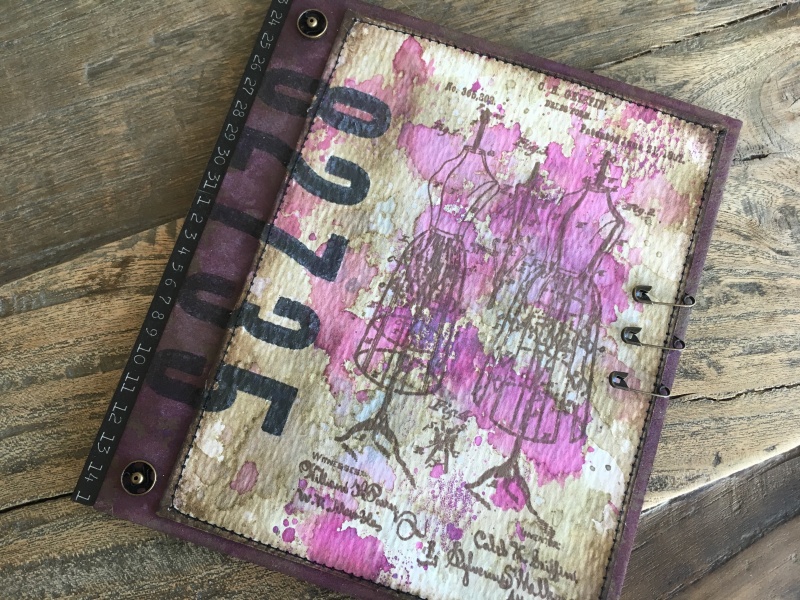
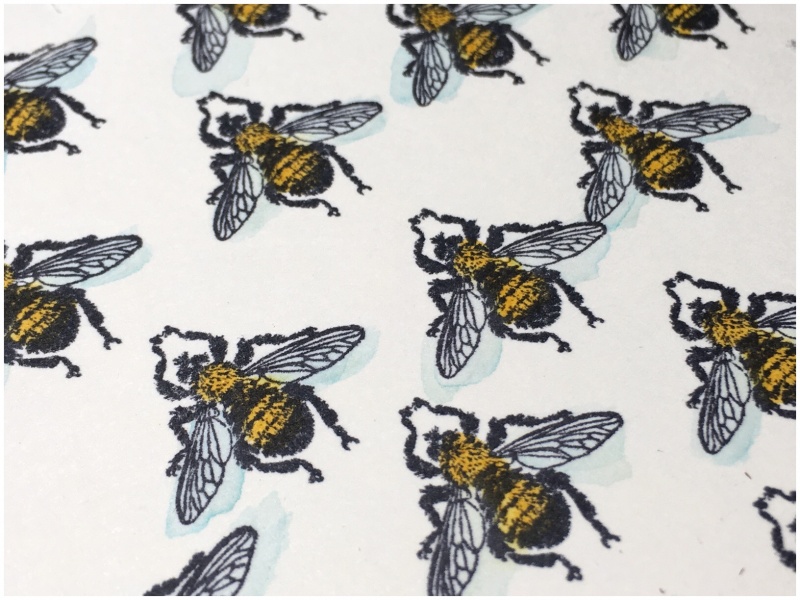
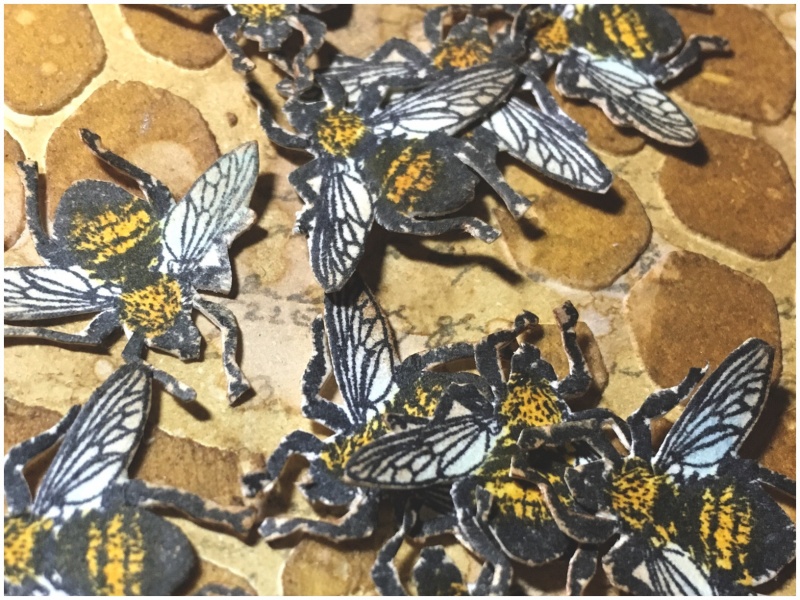
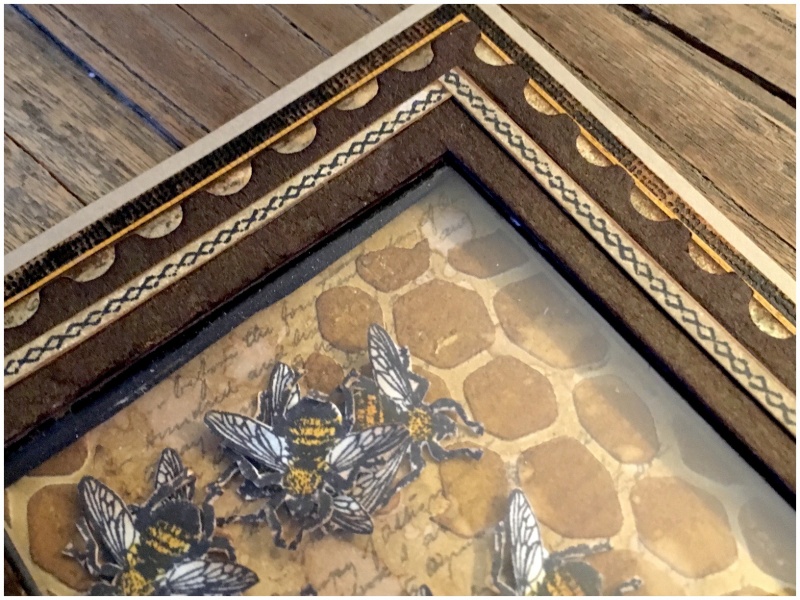
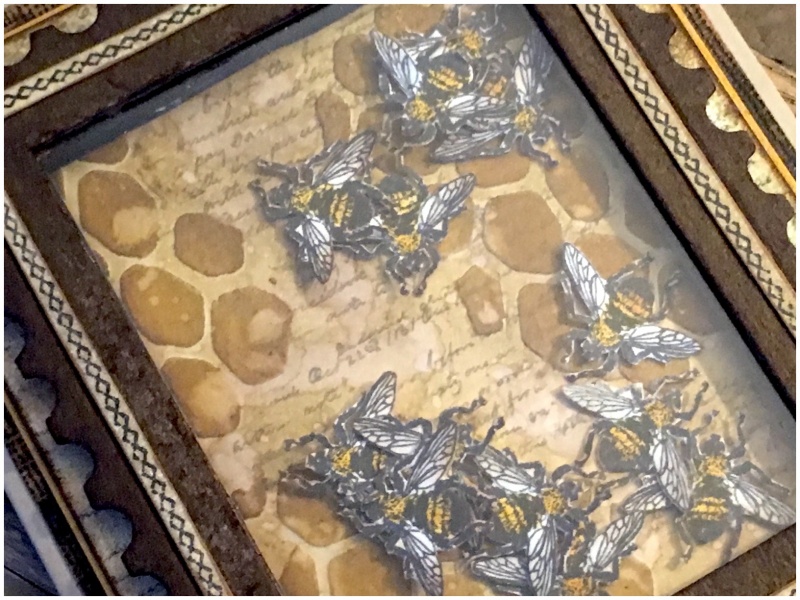
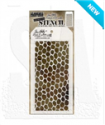
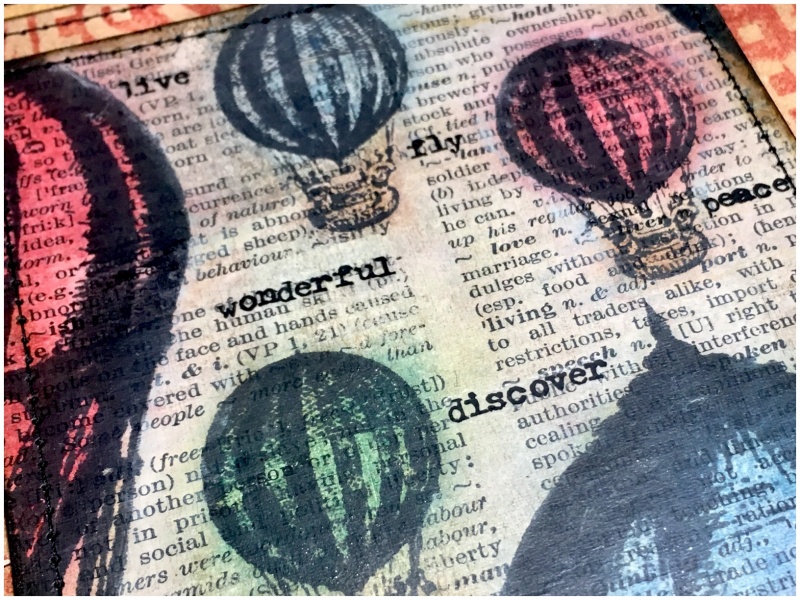
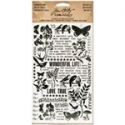
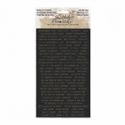
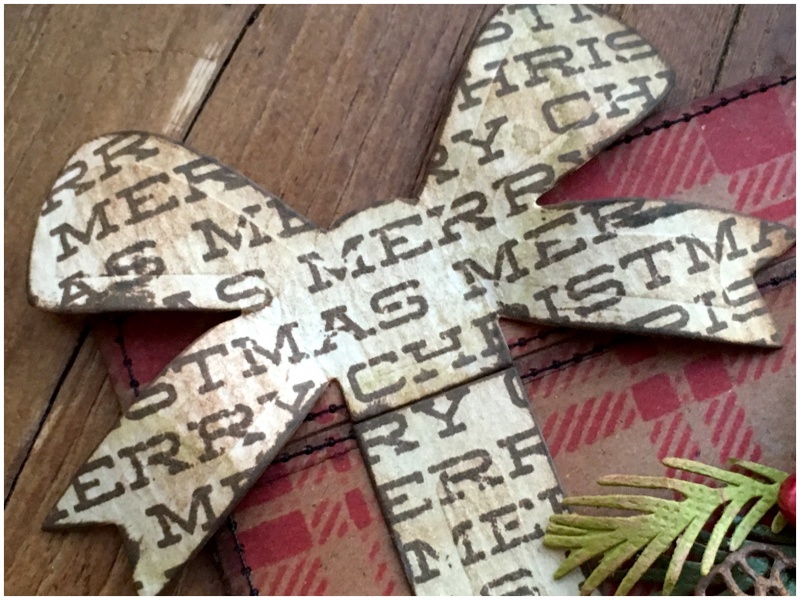
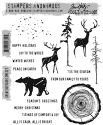
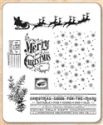
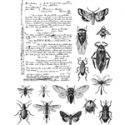
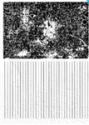
I added a butterfly from the new Entomology stamp set (CMS328) and used the background stamp, which I am obsessed with, to create the background (below).
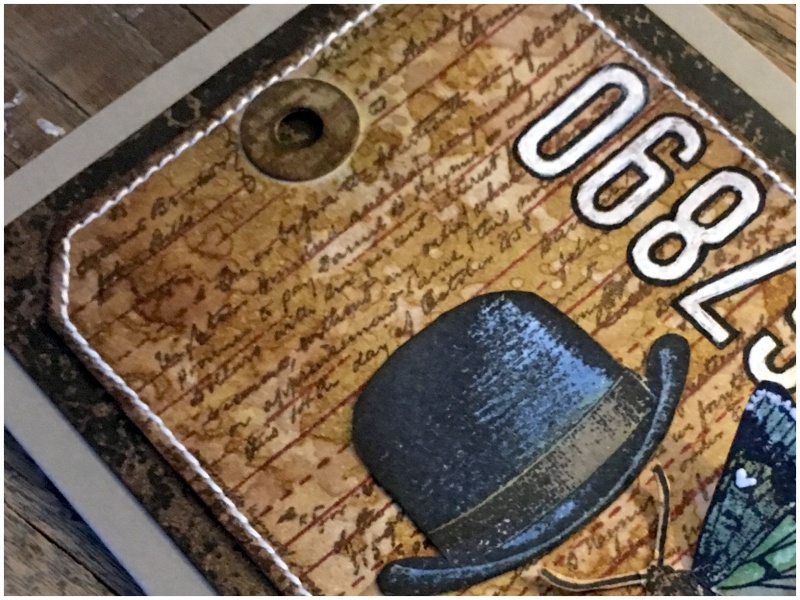
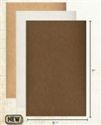
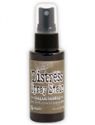
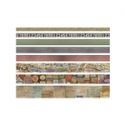
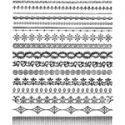
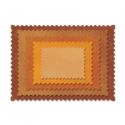
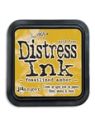
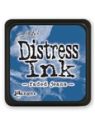
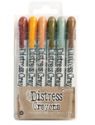
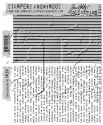
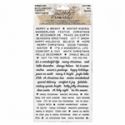
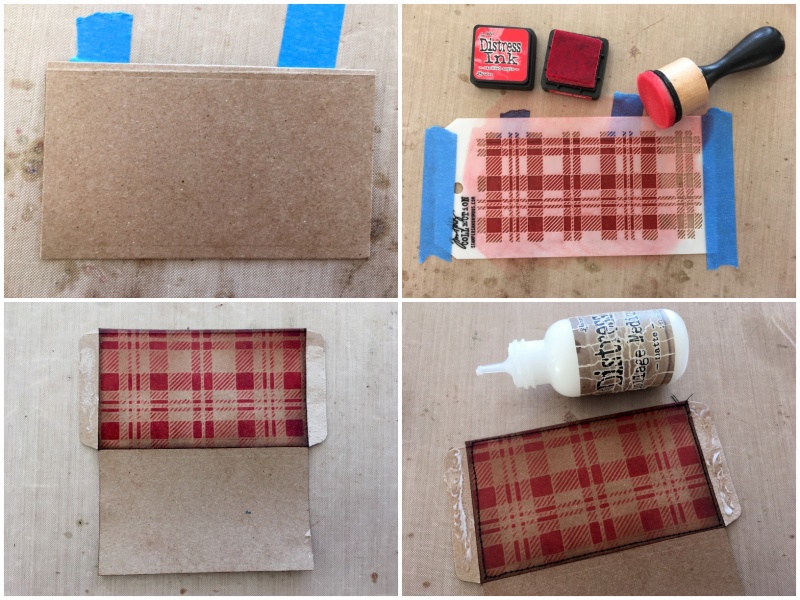
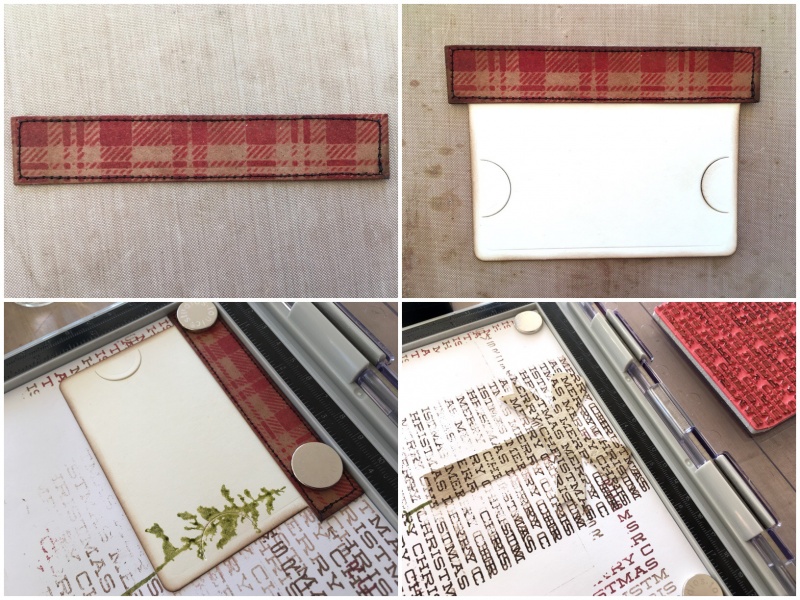
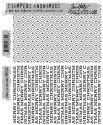
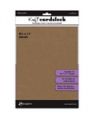
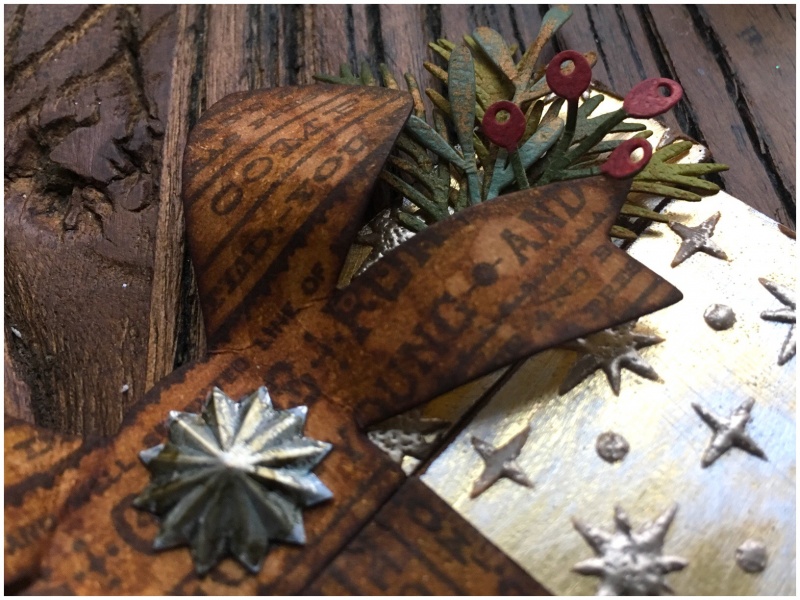
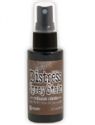
I blended brushed corduroy distress ink into a mixed media heavystock tag. Spritzed with water and dried with a heat tool. Then stamped the background stamp from the Entomology set with distress archival ink using the stamp platform. I added the lined stamp from the Composition and Lined stamp set (CMS332) using fired brick distress ink. I used the composition stamp from this same set to create the background under the tag.
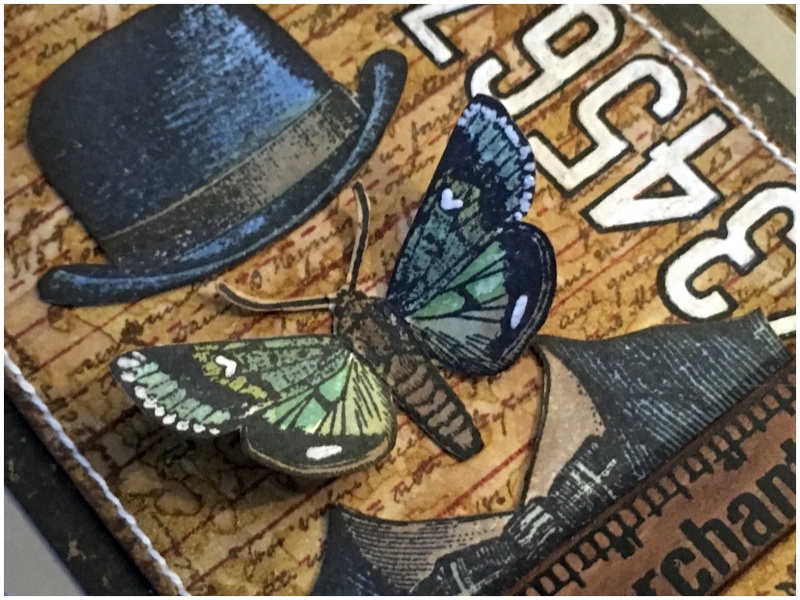
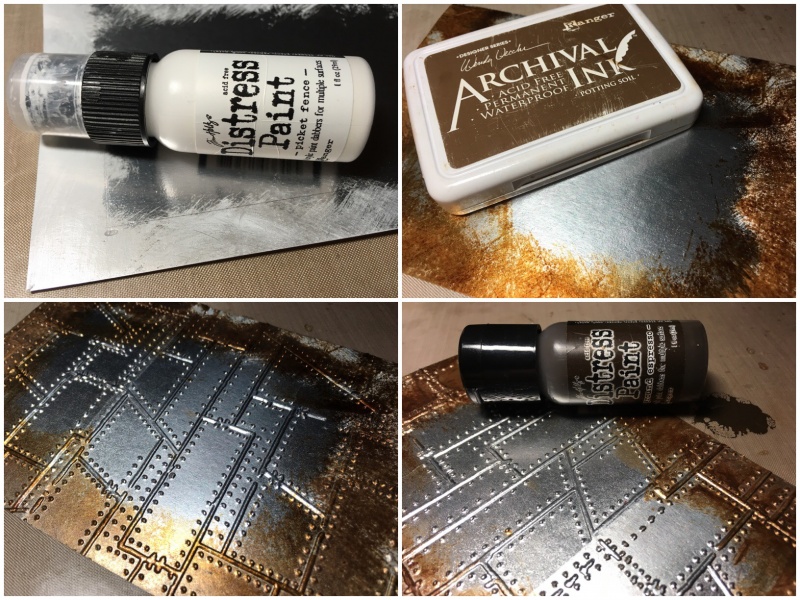
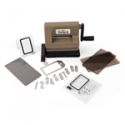
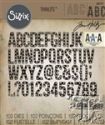
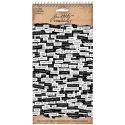
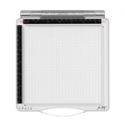
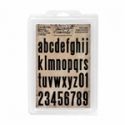
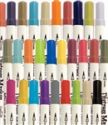
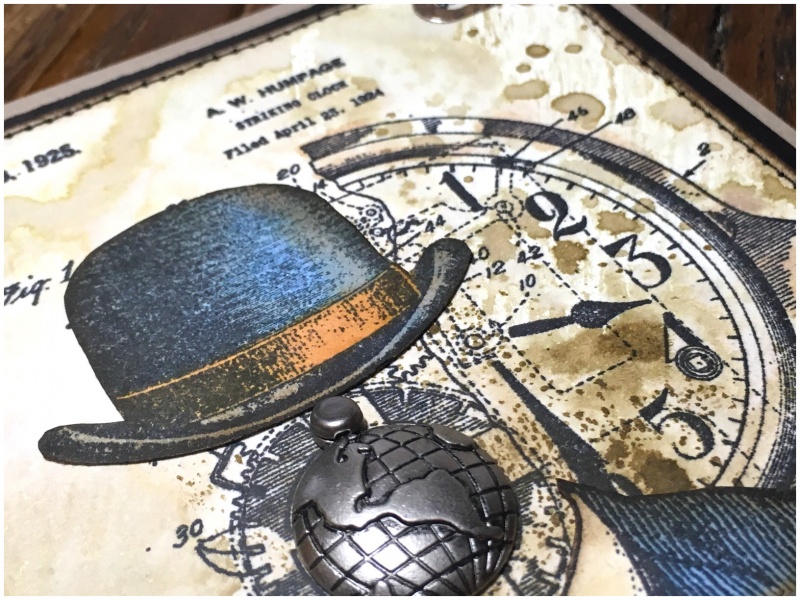
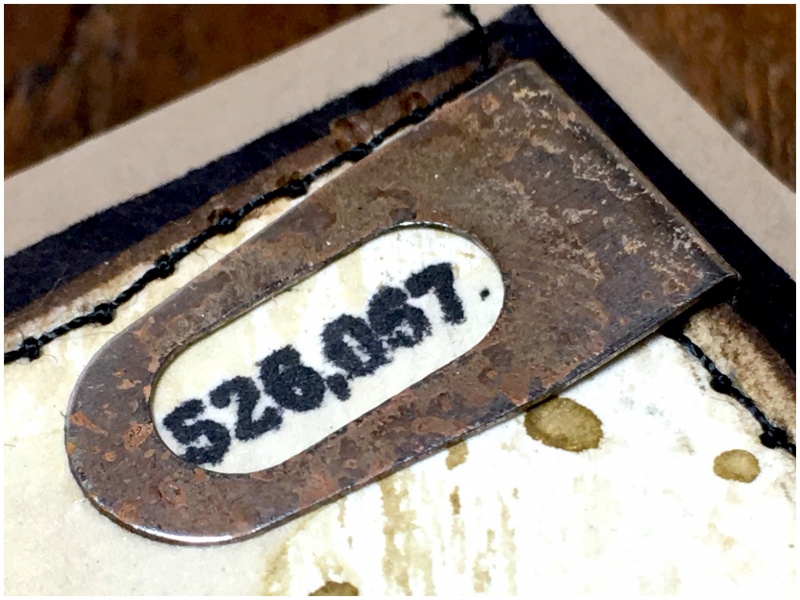
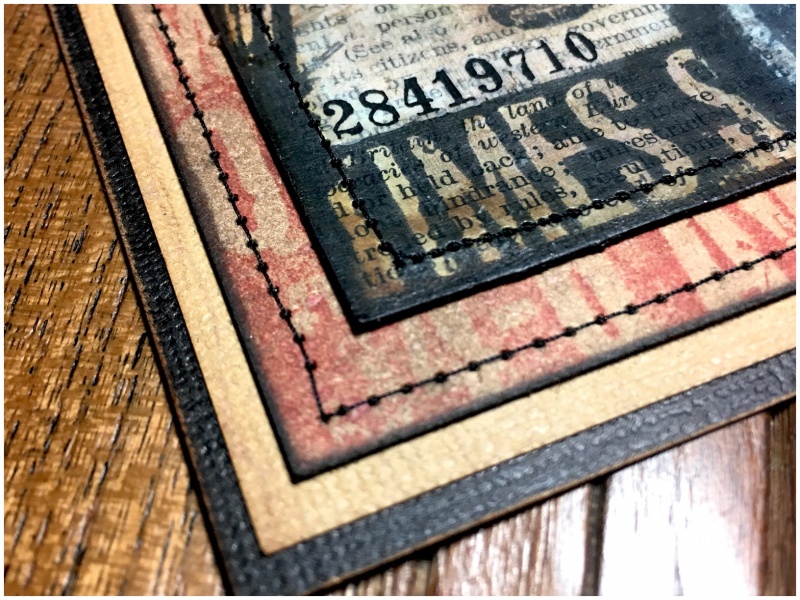
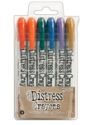
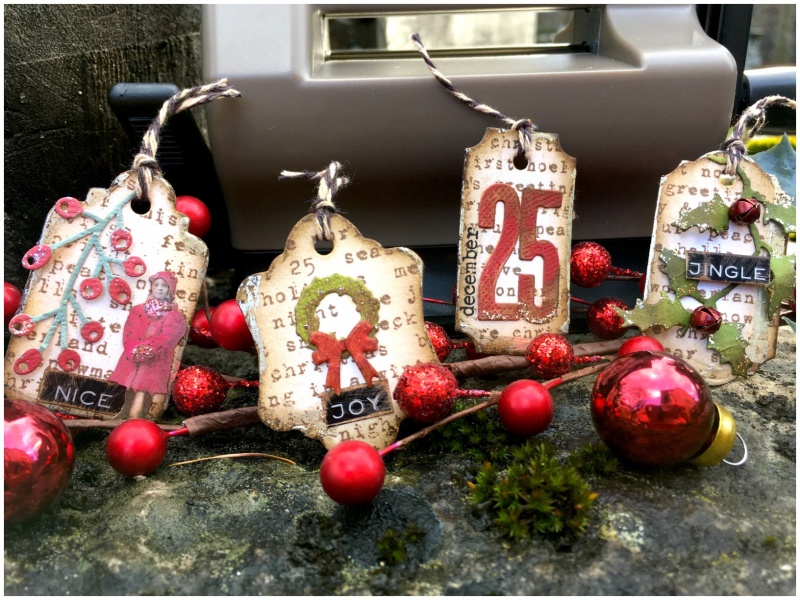
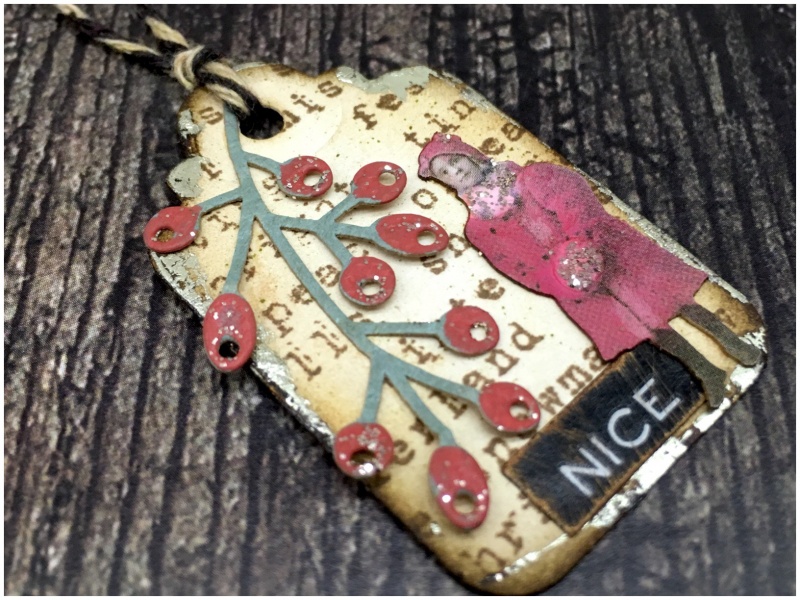
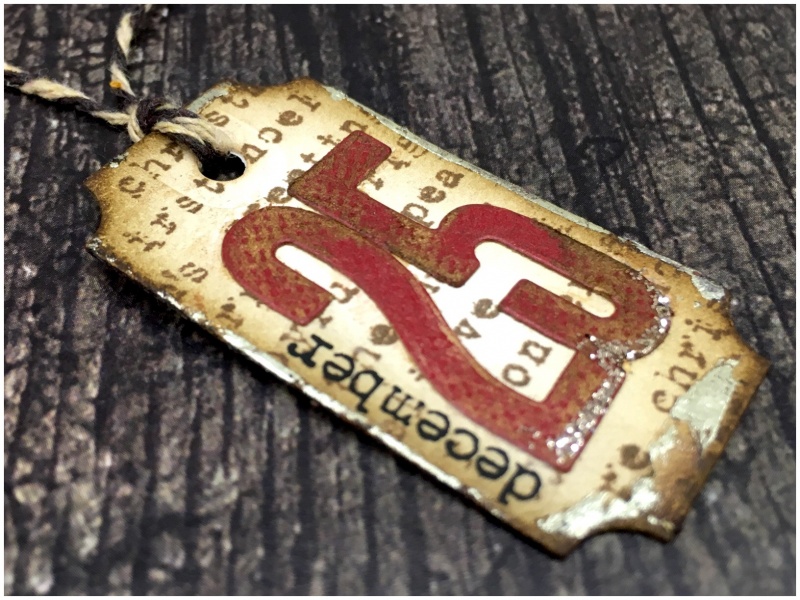
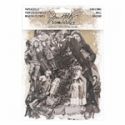
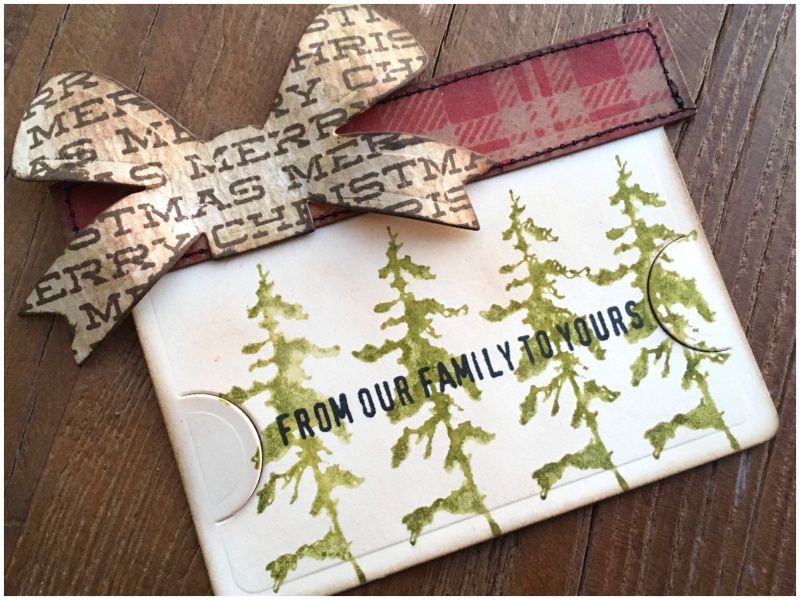
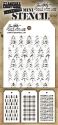
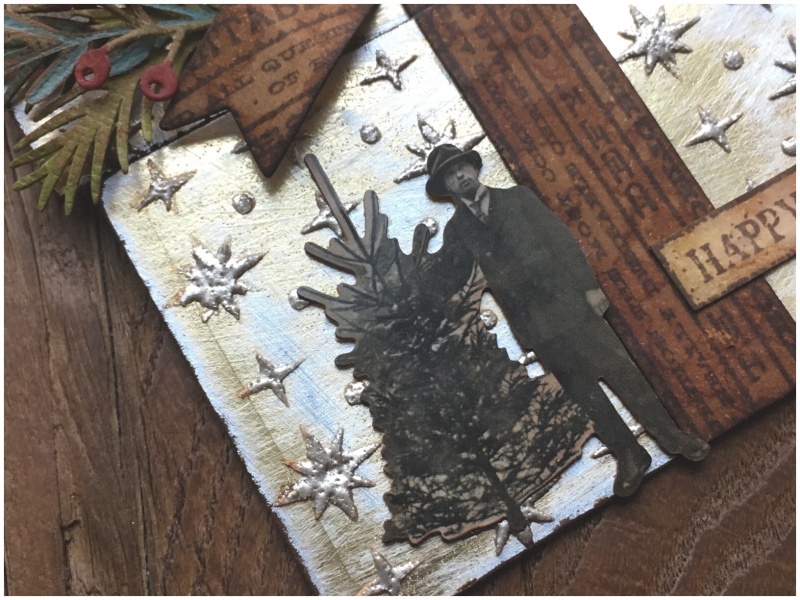
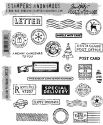
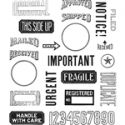
The hat, coat and butterfly were stamped, coloured with distress markers and fussy cut. Adhered with distress collage medium, the butterfly just adhered by the center and the wings folded upwards slightly to give some dimension. The numbers are from the Mail Art stamp set (CMS339), stamped and then painted with picket fence distress paint and overstamped again to define the outline. This is the beauty of using the stamp platform.
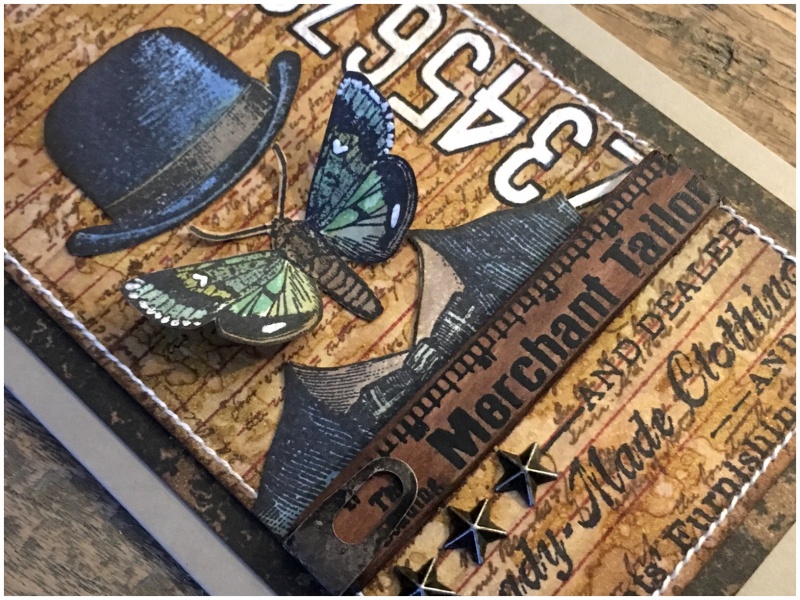
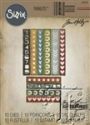
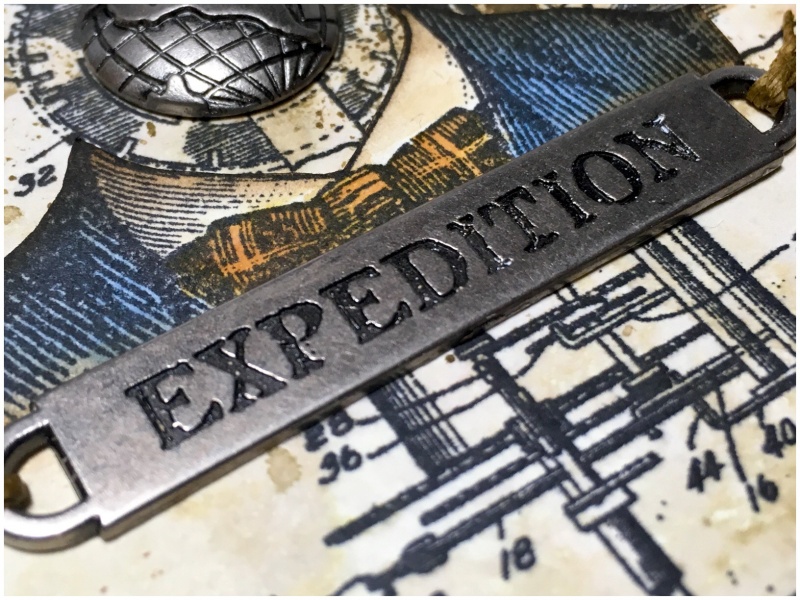
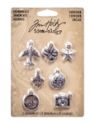
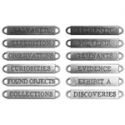
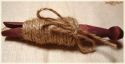
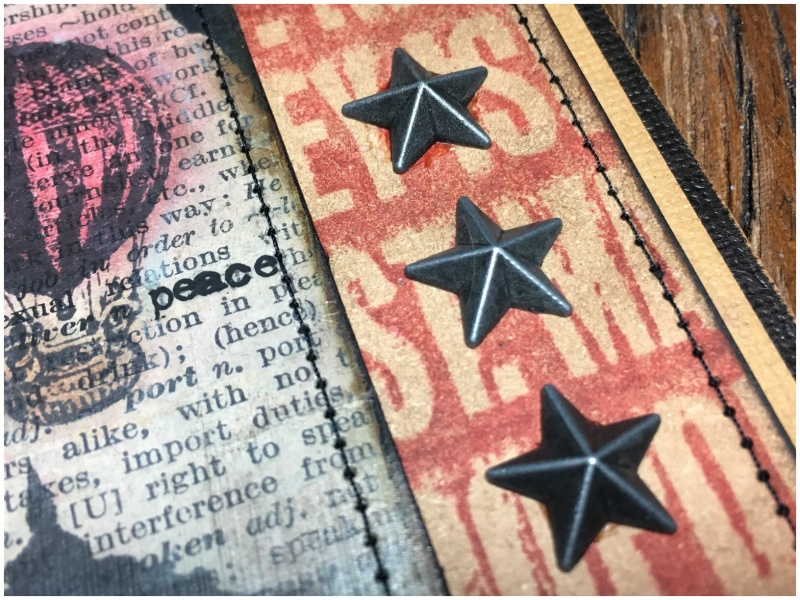
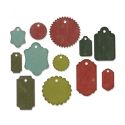
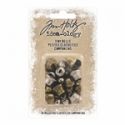
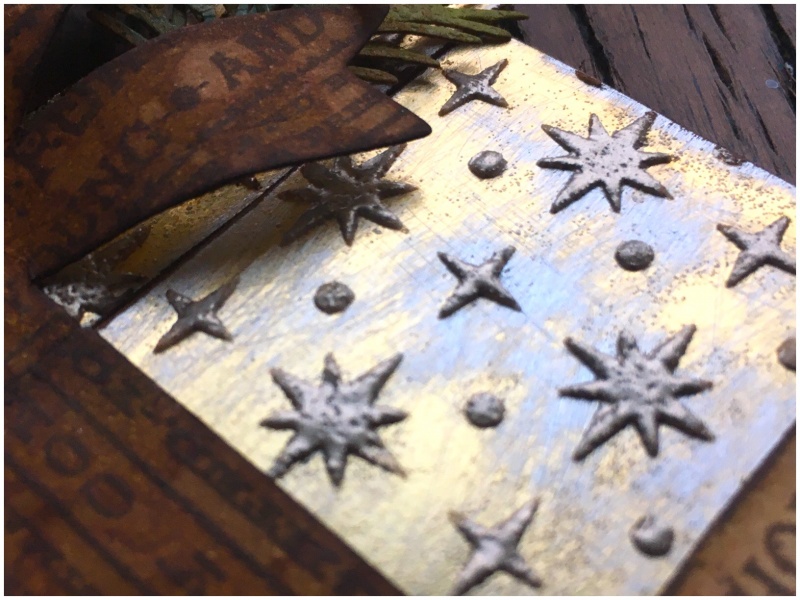
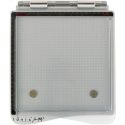
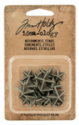
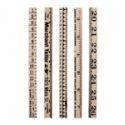
I added a ruler from the idea-ology ruler pieces with an adornment index clip clipped over the end and adornment stars underneath.
I hope you’ve enjoyed my card and that it inspires you to create something.
Thanks for stopping by.
Zoe x
 |
 |
 |
 |
 |
 |
 |
 |
 |
 |
 |
 |
 |
 |
 |
 |
 |
 |
 |
 |
 |
 |
 |
 |
 |