It’s Wednesday and time for the funkie side of the design team to share our projects for the current challenge over at the Frilly and Funkie Challenge Blog!
The current challenge is hosted by team member Sara Emily who has chosen the theme BACK TO NATURE …Sara Emily says, “Having just returned from our annual trek to the mountains of West Virginia where we observed so much natural beauty on our hikes, I couldn’t help but make my challenge nature themed. You can make anything you like, from a card or tag to altered art, just be sure to include a natural element in your vintage or shabby chic project. Think real twigs, leaves, shells, pebbles. Or you could include a die cut or a stamped or stenciled image representing a natural object.”
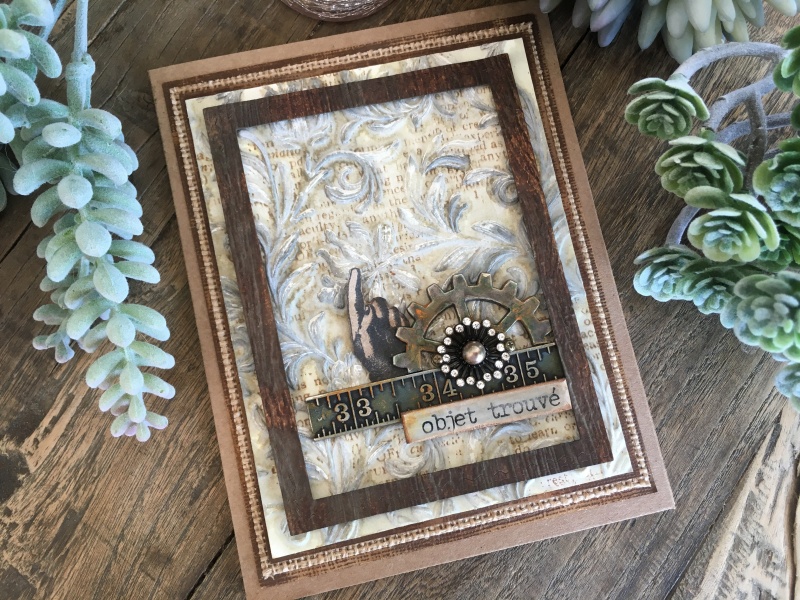
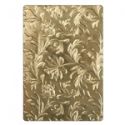
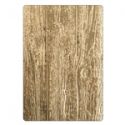
When I first saw this challenge, my mind immediately turned to the botanical and lumber 3D texture fades embossing folders by Tim Holtz. I was a little late to this 3D party and WOW had I been missing out! It’s a game changer and I can’t wait to see what’s coming next…
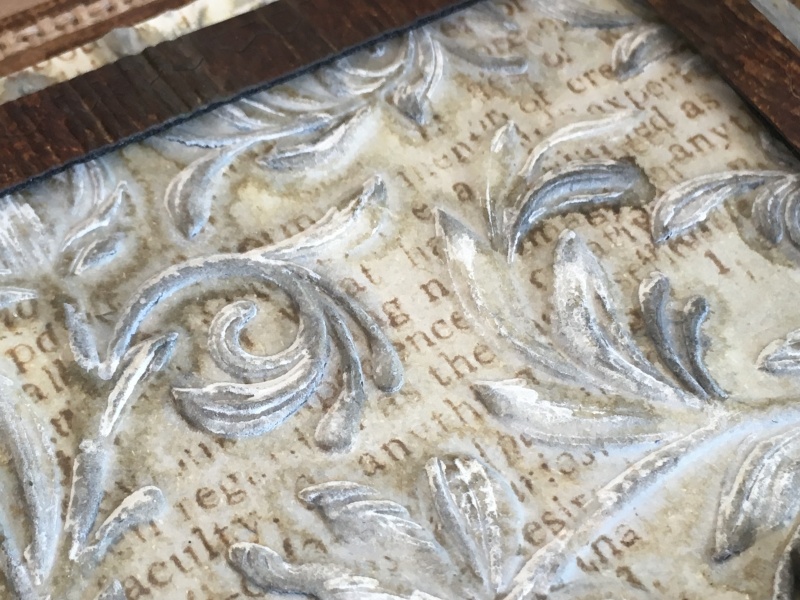
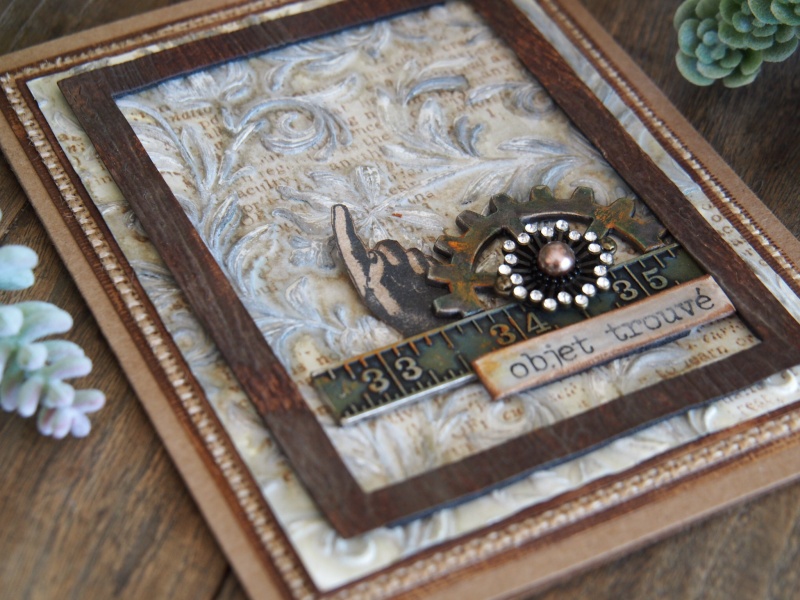
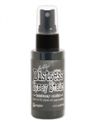
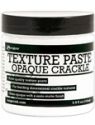
I decided to throw caution to the wind and added opaque crackle texture paste directly to the botanical 3D texture fade folder! Take a piece of heavystock, add iced spruce and hickory smoke distress spray, water and dry completely. Run through inside the folder once first without paste. The second time you add the opaque crackle texture paste. You have to move quickly and when you peel the heavystock back the embossed portions will have crackled texture paste on and the flat areas tear a top layer of heavystock away. I then added antique linen distress spray and water and let it wick around the raised areas and dried with a heat tool. I embossed a third time, this time stamping the reflections stamp directly onto the flat portions of the folder. The stamped text then transfers onto the background and as the stamp is backwards, the text is the right way up once stamped. Cool right?!
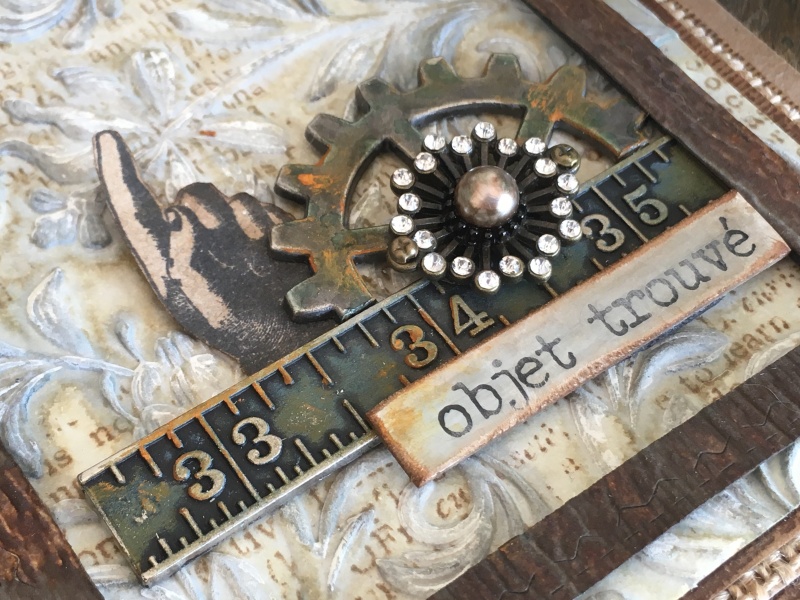
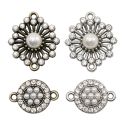
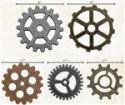
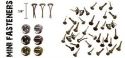
I wanted the majority of the background to be visible so added a few focal point elements. I added an idea-ology gear which my DH kindly sawed in half for me, as well as an idea-ology measurements and quote chip, all covered with mushroom and pistachio alcohol ink and rusty hinge distress crayon. I added a charm from the assemblage pearl sunburst set. I LOVE the assemblage range from Tim Holtz and you don’t have to just use them for jewellery making (just saying)! The center pearl was way too bright for my card so I added a drop of mushroom alcohol ink and slid an idea-ology mini fastener in the holes either side of the assemblage piece to give it a slightly more industrial look.
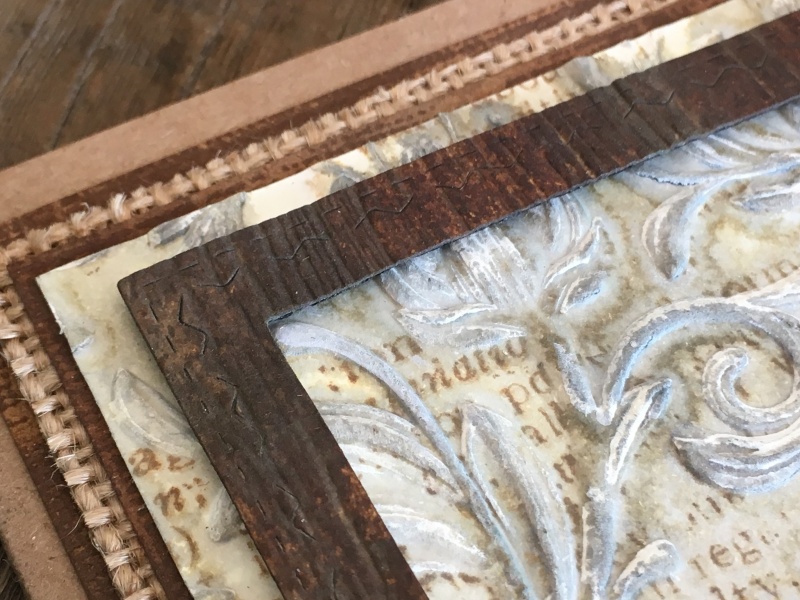
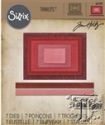
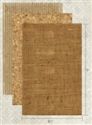
The frame I cut from heaystock using the Tim Holtz stitched rectangles thinlits die. I then embossed the frame using the lumbar 3D texture fades embossing folder and coloured with distress ink. I mounted onto idea-ology classic kraftstock and burlap from the idea-ology textured surfaces pack.
Thanks for stopping by. I hope you will find time to join in the challenge and pop over to Frilly and Funkie challenge blog to see the rest of the DT’s projects. All the products I used are available from The Funkie Junkie Boutique.
Zoe
 |
 |
 |
 |
 |
 |
 |
 |
 |
 |
 |
 |
 |
 |
 |
 |
 |
 |
 |
 |
 |
 |
 |
 |
 |


Amazing, just amazing! I love your “outside the box” thinking with texture paste IN the embossing folder! Such a great result; the whole make is beautiful. Thanks for sharing you inspiration!
This is simply splendid. I always look forward to your projects!
This is absolutely awesome! I just had to print this one off so I can refer to it when I try to make one!! Thank you so much for sharing!
Absolutely gorgeous. Adore the 3D embossing element and wonderful composition. Tracy ❤️❤️
That 3D embossing technique is fabulous!!! Thanks so much for being brave enough to give it a go and generous enough to share it with us!
reflections stamping is one of my favourites, need to dig that one out of the tool box again. beautifully done my friend.
vicki
Wow, that background is magical, I just stared at it for ages, wondering how on earth you did that….
An amazing piece of art altogether, it really has the wow factor!!
I am not sure I get how you did the background (I thought is was embossed plastic over a text background) but it looks divine.
You are so clever! This is remarkable! Fab project!
Every little detail is fabulous! I love the texture and that background looks so soft and dreamy and is offset perfectly with the dark grungy embellishments.