Hello friends and welcome to Day 3 of my week of Christmas makes. Today we are up in the mountains with the tall pine trees and charming chalets with the help of these amazing dies that Tim Holtz designed for his Sizzix holiday release. You can see the launch replay and all of the inspiration makes over on Tim’s blog.
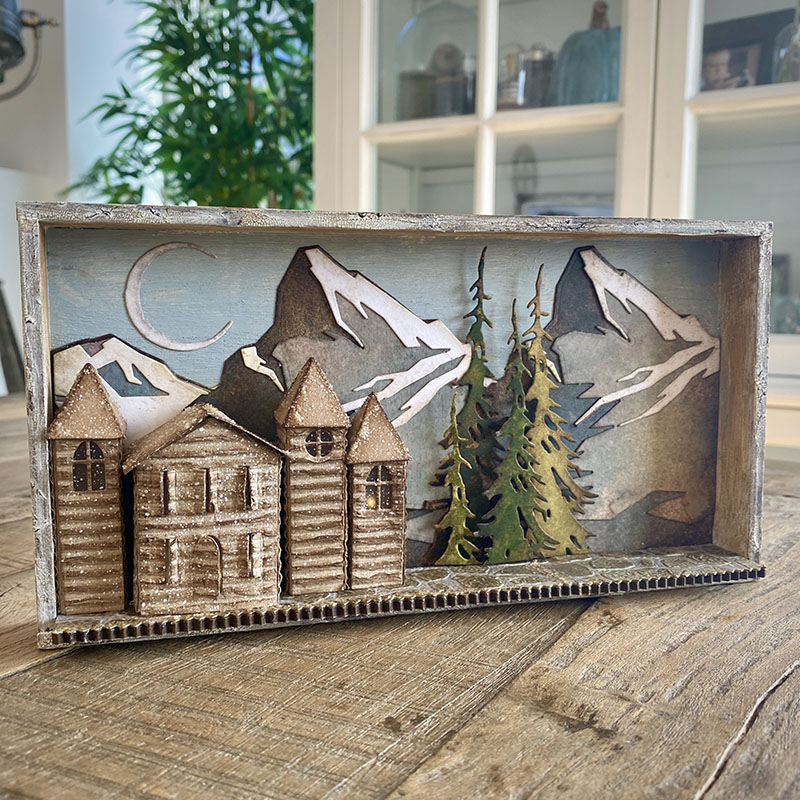
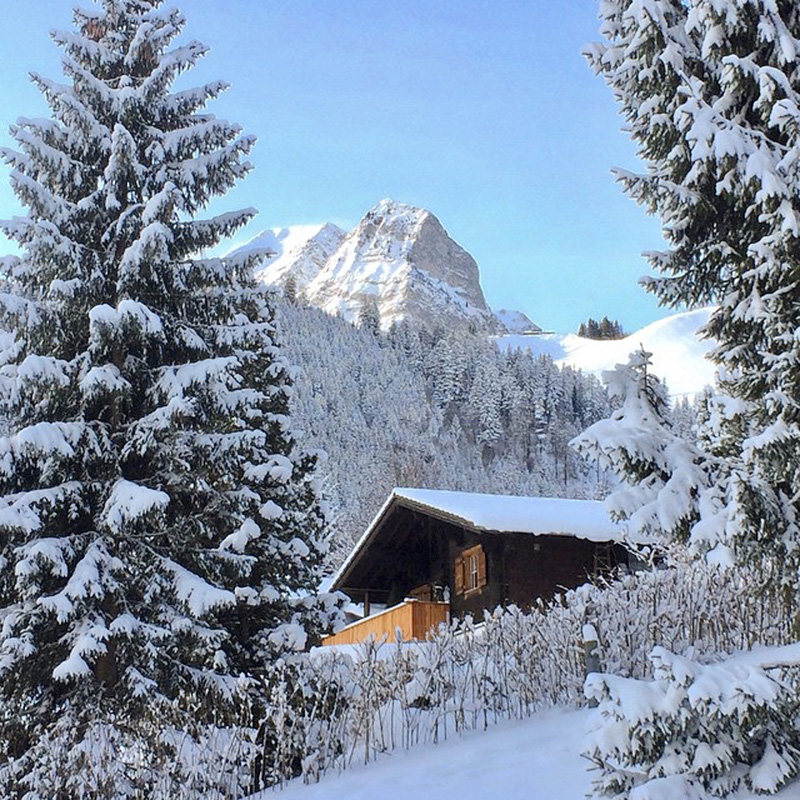
The mountain top and tall pines dies made me think of winters spent in the snow capped Swiss mountains. We would drive up nearly every weekend and had the most incredible views. I decided to create a scene inspired by those memories. I really loved making this piece, here’s how…
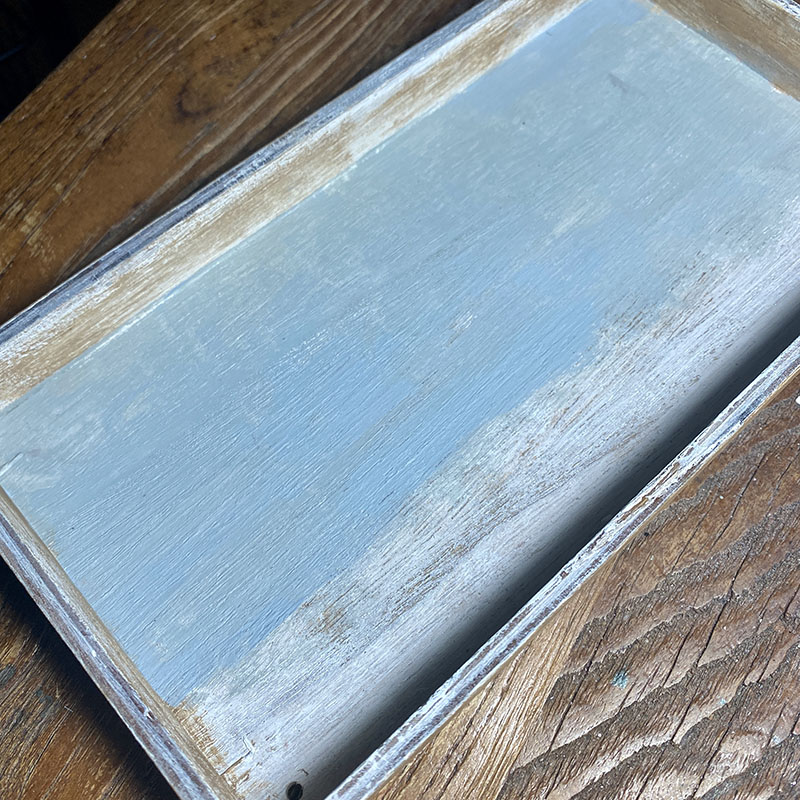
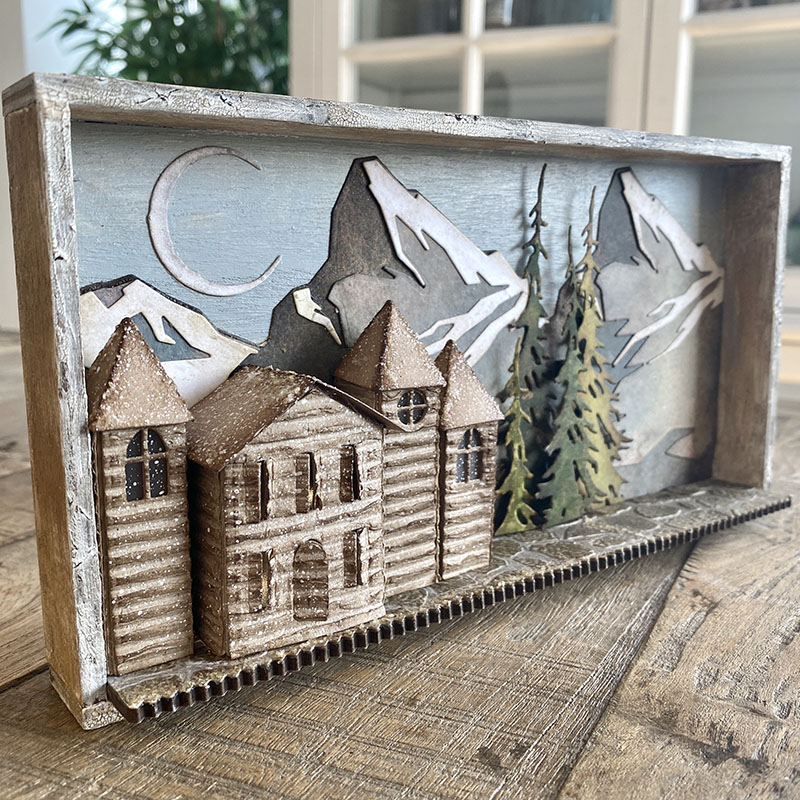
I took a small idea-ology vignette tray and covered it with a thin layer of gesso. Once dry I covered the inside back panel with speckled egg distress paint. I dry brushed the sides, inside and out with vintage photo distress paint. I covered the outside and front edges with distress crackle texture paste and once dry, rubbed distress crayon into the cracks.
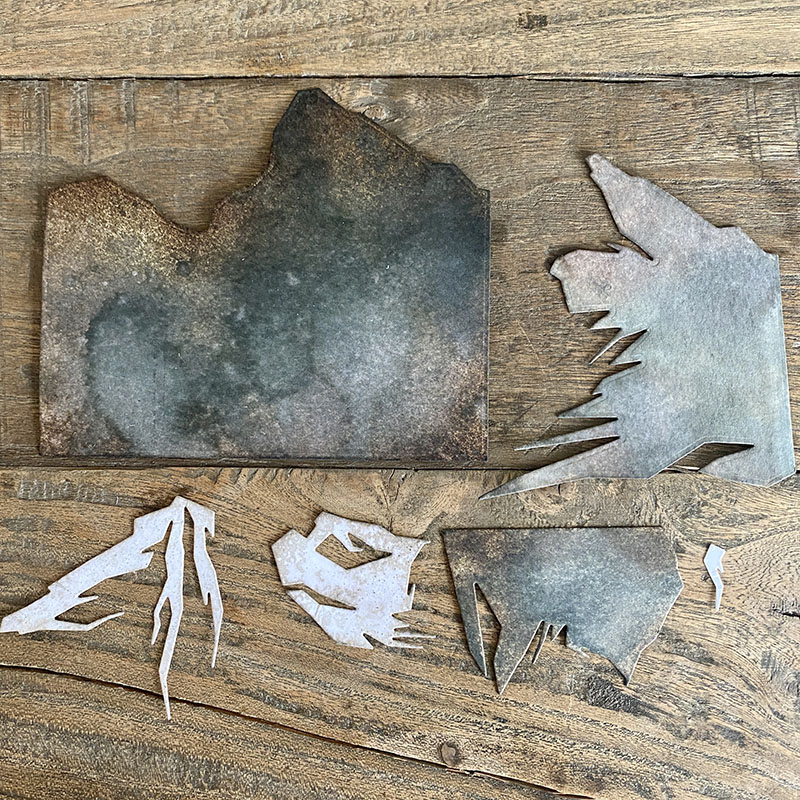
I die cut the pieces from the mountain top thinlits die set from distress watercolor cardstock. I sprayed the pieces with hickory smoke and frayed burlap distress spray and blended walnut stain distress ink into the edges and then assembled using distress collage medium.
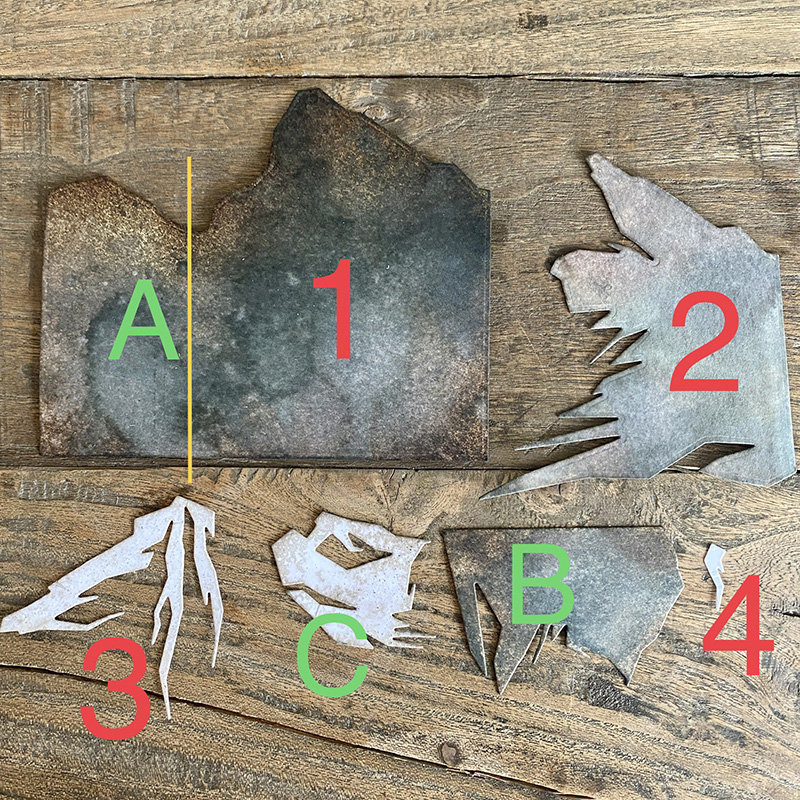
I posted this in the Tim Holtz Addicts group to help a couple of Addicts with their first time builds. In case it helps you… Working up from the base A and 1.
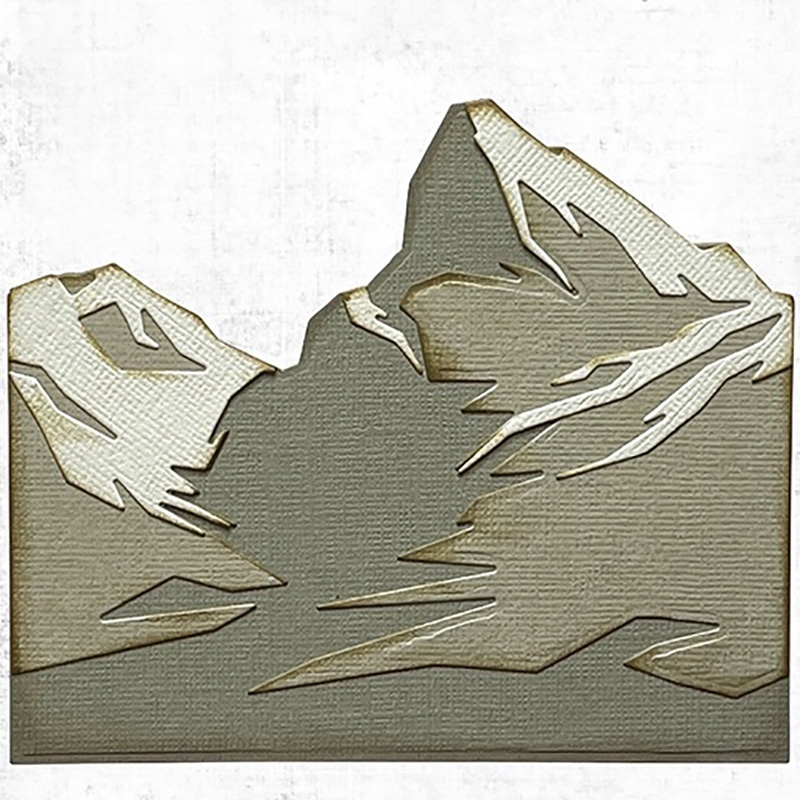
This is the finished puzzle taken from the packaging because I didn’t have a photo of the assembled piece!
Once you have assembled your mountains, add to the back of the vignette tray with distress collage medium.
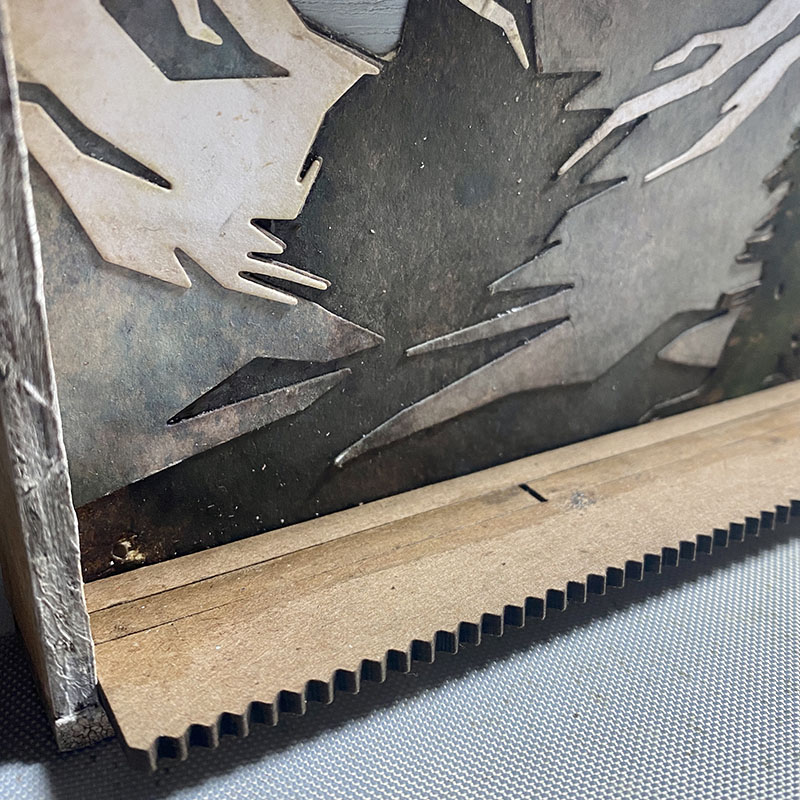
To extend the base of the vignette tray I added thickboard etcetera trims. I used the thin trims from the bat web trims set and a wider trim at the front from the pinking trims set. Using distress collage medium to attach them. It doesn’t have to be pretty, you’re going to cover them.
I used the new decorative trims dies to cut pieces of distress watercolor cardstock. In order to get the correct depth I hung the decorative die straight cutting edge over the edge of my cutting plates so that it wouldn’t cut and then used my paper trimmer to cut that edge to fit the vignette tray. This is a hack and probably not advised by Sizzix… but look at me going all rogue! LOL
I ran the strip through the mini 3D cobblestone embossing folder. I had to do one end at a time but it worked. I lined the stones up the best I could. You can see the join line just in front of the pine tree.
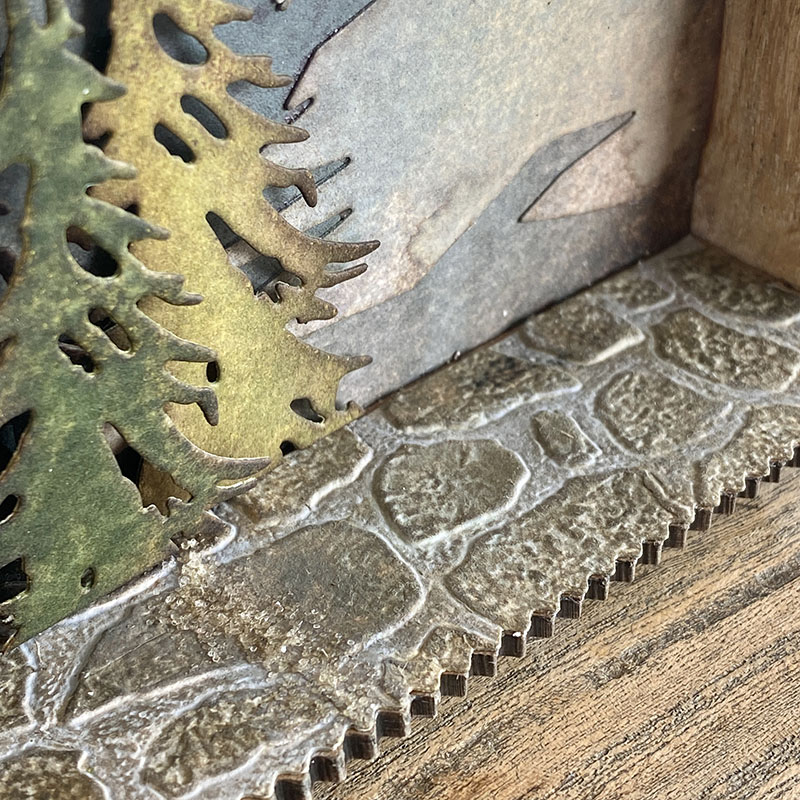
I meant to hide the join underneath the paper village buildings! I realised after I had glued the first strip down so I used a little snowfall grit-paste to cover the join and rubbed in a little distress crayon to blend. It worked pretty well but if I had to do it again, I would put the join under the buildings! Also, look at the detail of that cobblestone embossing folder! It’s AMAZING!!
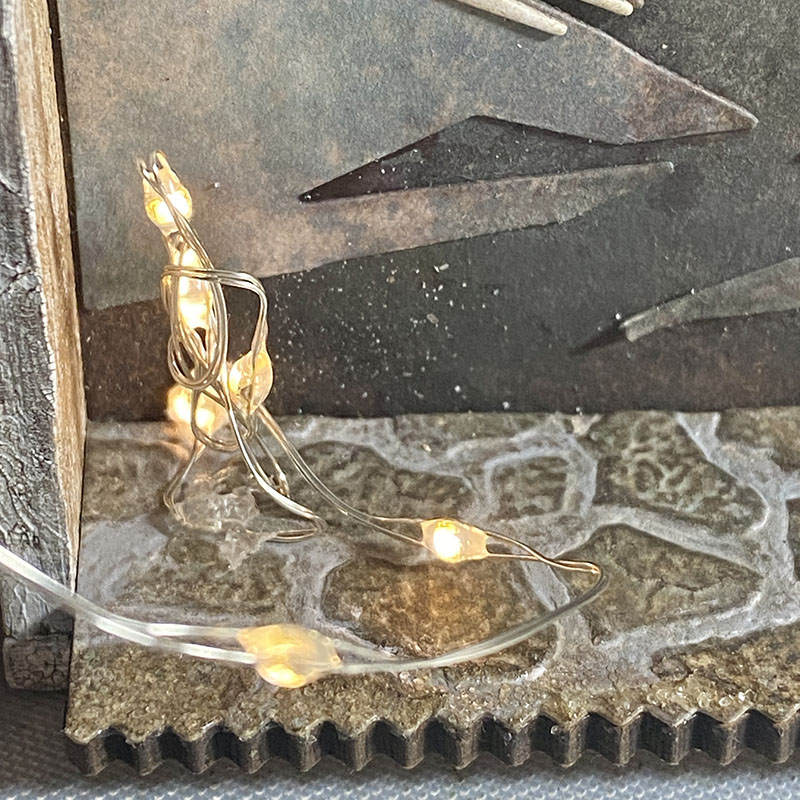
I drilled a hole in one end of the vignette tray trim to thread tiny lights through, securing the battery pack at the back of the tray. I gathered the lights up into a strip (as pictured) and then ran them under where the next building would be and made another one. This helps to light up each structure.
I love the decorative trim dies because you get such a perfect clean edge when mounting die cut paper over the thickboard etcetera trims.Total game changer as I used to trace around them, fussy cut, mount and then sand between each point! THANK YOU TIM!!
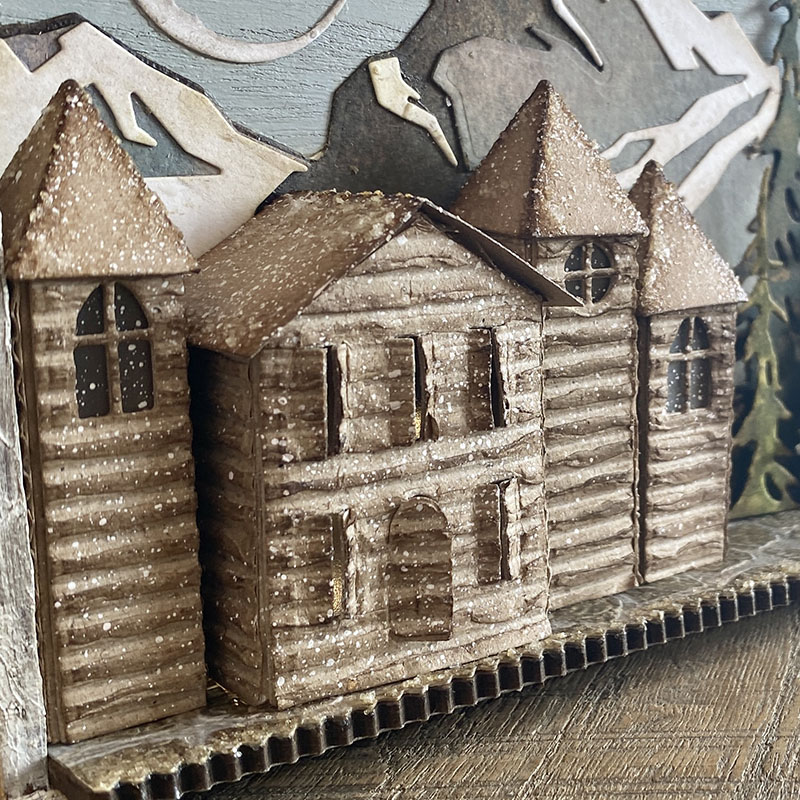
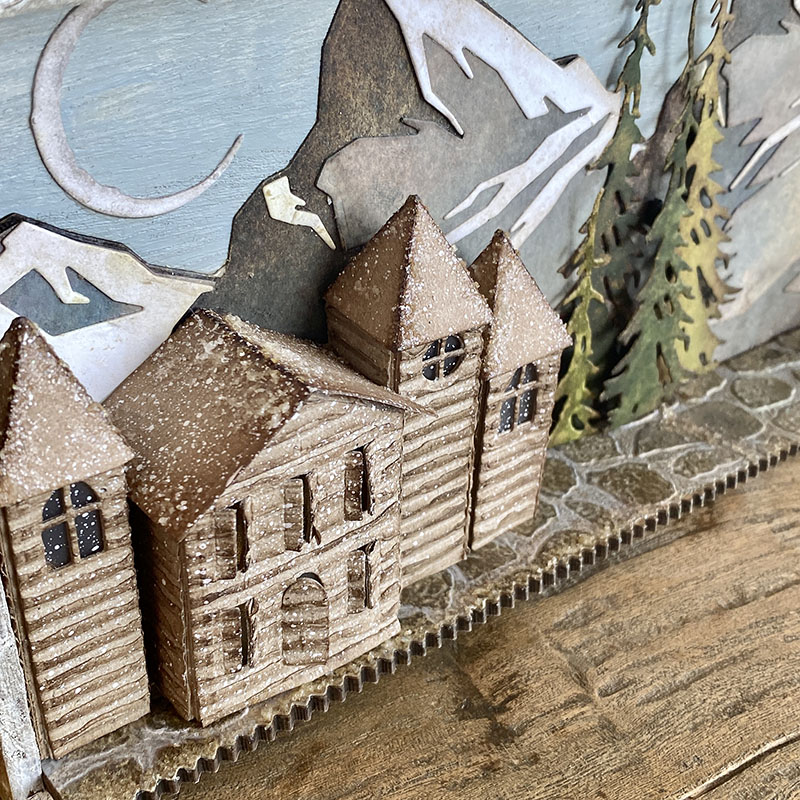
I used the paper village #2 thinlits die set to create these little faux Swiss chalets. I built each structure out of distress kraft heavystock and then used corrugated cardstock for the sidings. Oh my gosh these windows that open slightly are the cutest! They really look like the shutters on Swiss chalets. LOVE LOVE LOVE.

I added a little snowfall grit-paste to the roofs and splatted with white gesso using a splatter brush.

This is what the underside of the vignette tray looks like with the extended trim platform. You can see the crackle texture paste that I added to the front trim of the vignette tray. You can decorate the underside of the trim, but I didn’t for this.
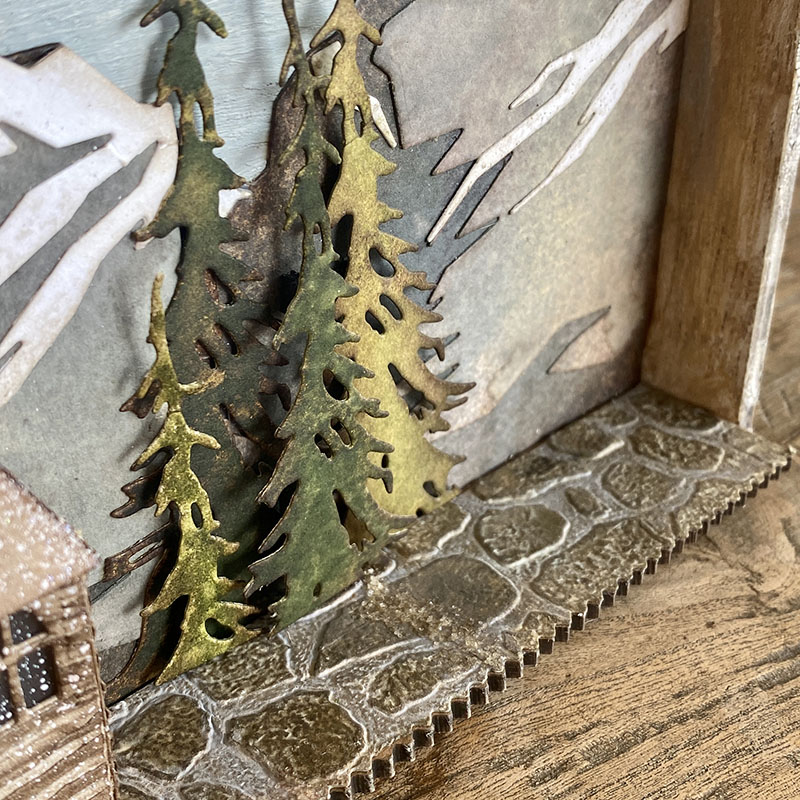
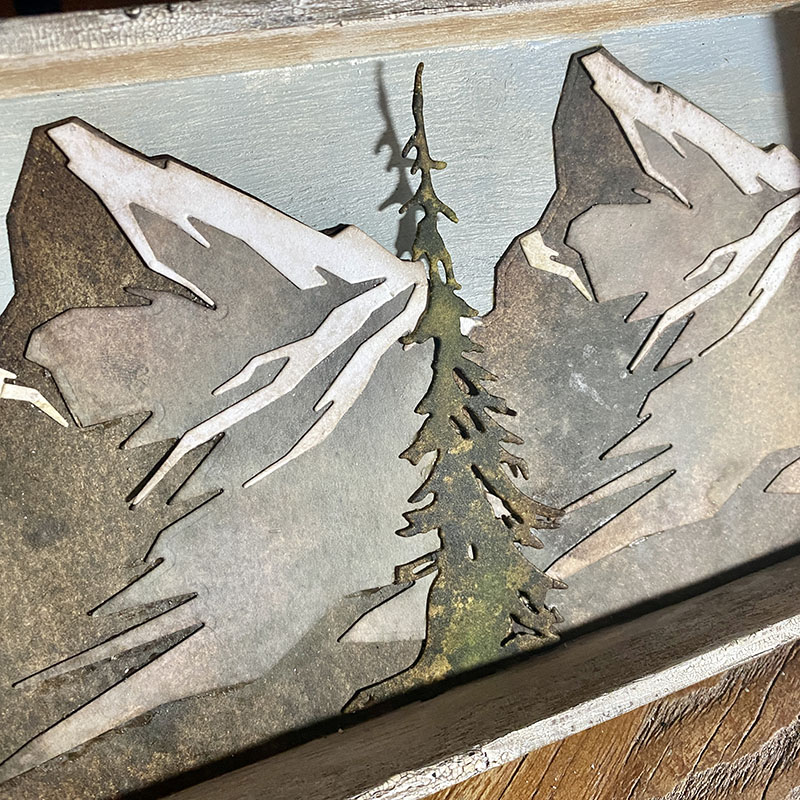
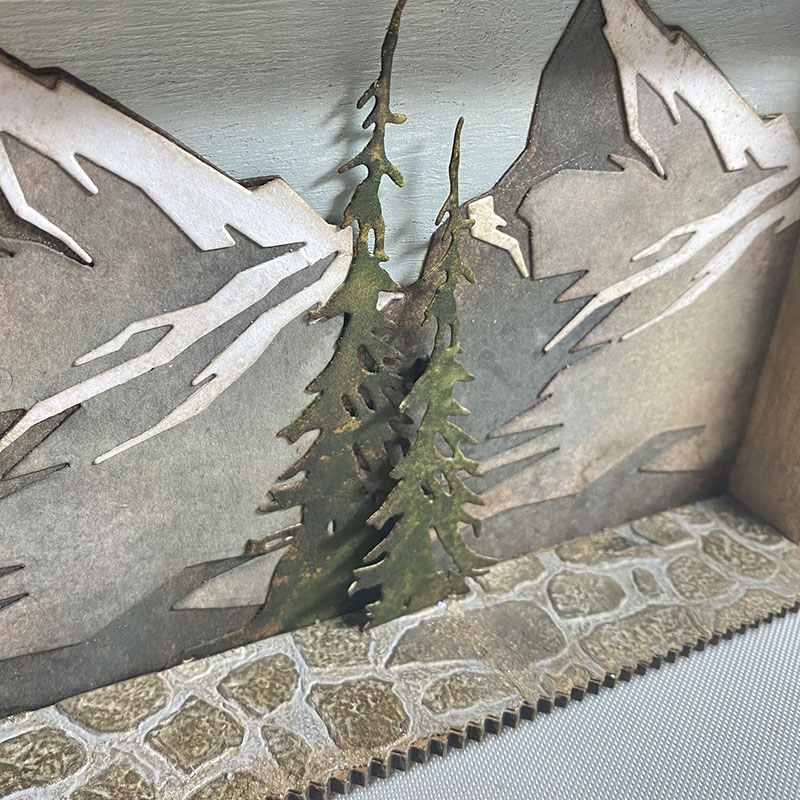
I die cut trees with the tall pines thinlits die set and sprayed with peeled paint and rustic wilderness distress spray. I used adhesive foam to mount the trees.
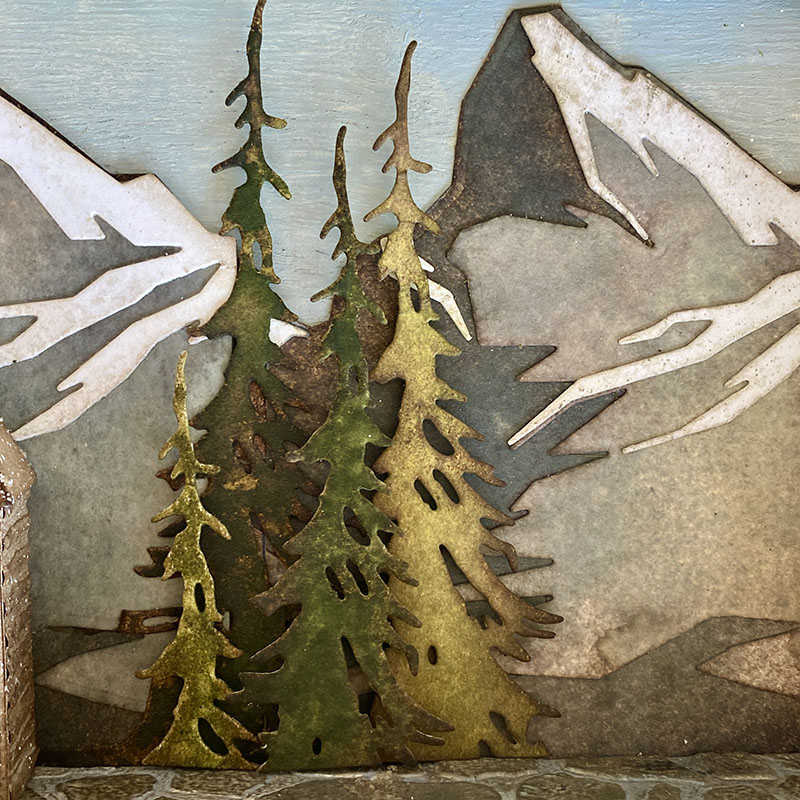
This conveniently hides the mountain join and gives some perspective by mounting the smaller trees at the front.
I added the moon from the vault series halloween 2021 thinlits die set. I LOVE this moon and it was perfectly sized for this scene.
Thanks for stopping by.
Zoe
…
affiliate links used at no cost to you


You have a new nickname now…The Queen of Rogue…LOL…such a great make and the Paper Village 2 buildings are so, so good….love the addition of the corrugate to side them…nice touch!
Awesome idea. Got the wheels turning….
Love all your makes
Whoa!!! this is amazing. Thank you for showing step by step how you did it. This is truly a work of art.
Awesome make Zoe, I love how you made the gorgeous rocks.
Great photo also, I love snow.
Thank you so much for sharing, stay safe and
have a wonderful day.
Love this and learned quite a bit from your post particularly about color selection. I have been unsuccessful in joining the Tim Holtz Addicts page on Facebook. When I try to join it goes in the clock and never opens. Is there a way around it?
How amazing is this!! I love everything about it, especially that it was inspired by a memory!
Wow that is just so cool, love how the mountains look with those colors, great scene!
Do you have a tutorial on how to paint/color etc the Tim Holtz mini cobblestone embossed item along with the other two minis (wood & brick).
Thanks.
Wonderful! I always love your ideas so rogue or not they work. Thank you for sharing. I am attempting my first make. I have made cards for years but decided for my grandson’s 13th birthday, I wanted to attempt something similar to this but with a Viking. He loves history. I am so grateful for makers like you that give tutorials.
Many thanks from all of us!
WOW!!! I haven’t seen such a presentation & combo of T.H items; I thought I only dreamed this *stuff*!! THX. for sharing such an excellent tutorial. I do believe I’ll have to invest in something similar