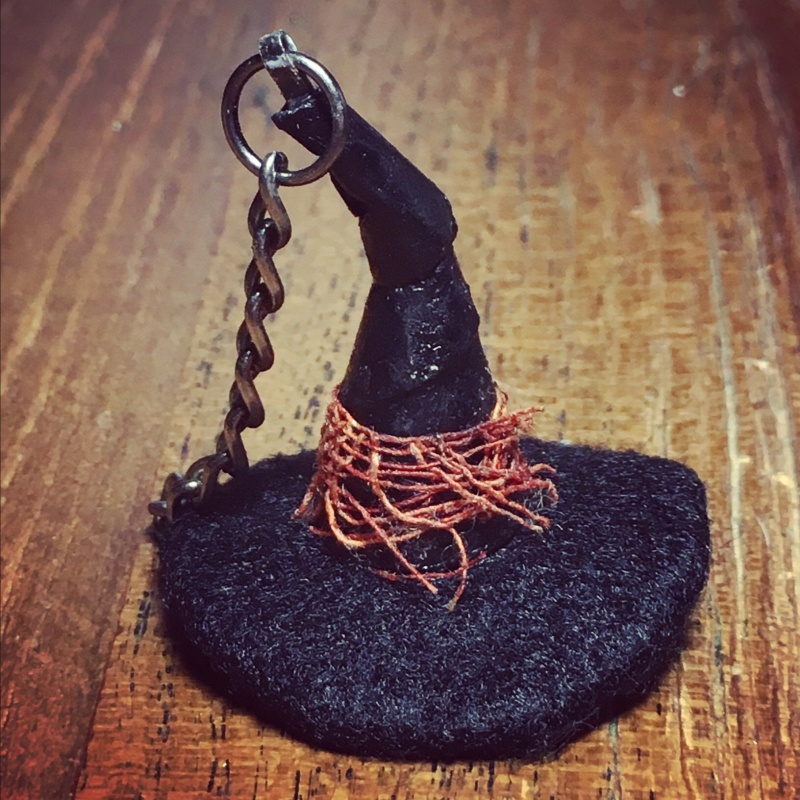
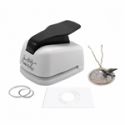
Hello friends. I am back with a Sunday step by step for the witches hat that is hanging in The Witches Boutique, using the Tim Holtz idea-ology tag press.
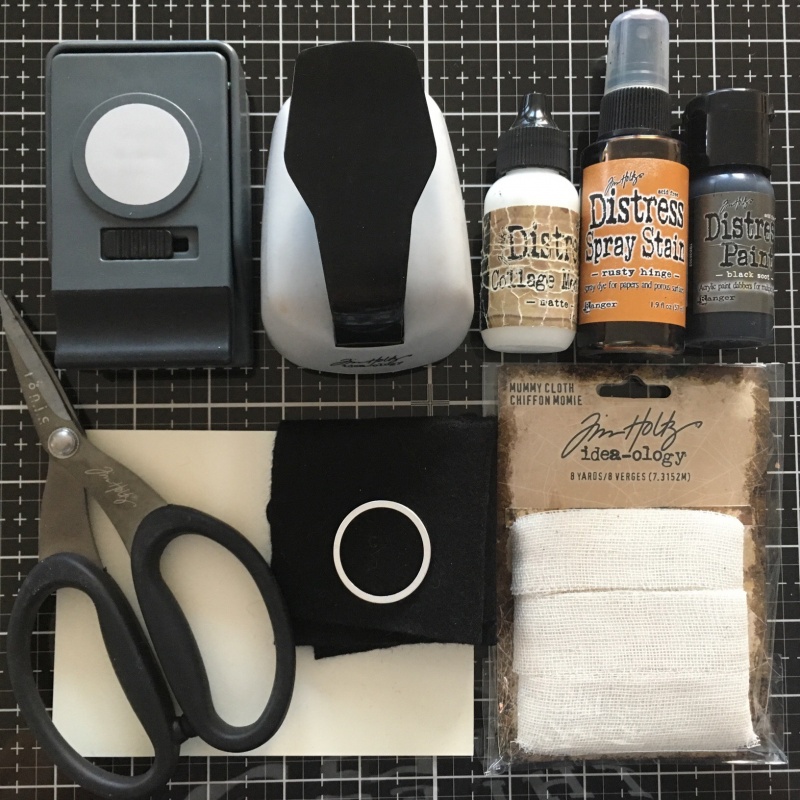
Gather these supplies, all are listed at the bottom of the post and the black felt is from my own stash. I WISH I had some deep purple felt, I’ll have to order some witchy colours and make some more. I already have an idea for a home decor project for next year. But for now, here’s how…
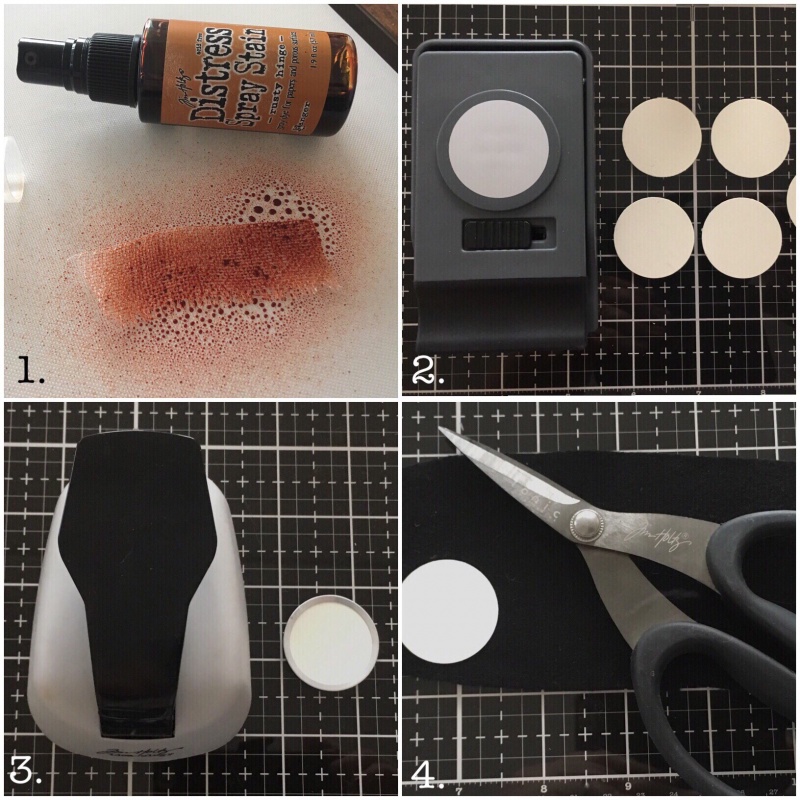
1. Spray mummy cloth with distress spray stain and set aside to dry.
2. Using the Tim Holtz large circle paper punch, punch 4 circles out of distress mixed media heavystock.
3. Place one of the heavystock circles into the tag press frame and press.
4. Use the second circle as a guide by placing it onto a piece of felt and cutting around the circle, leaving a half inch border, (t0 fold over the frame).
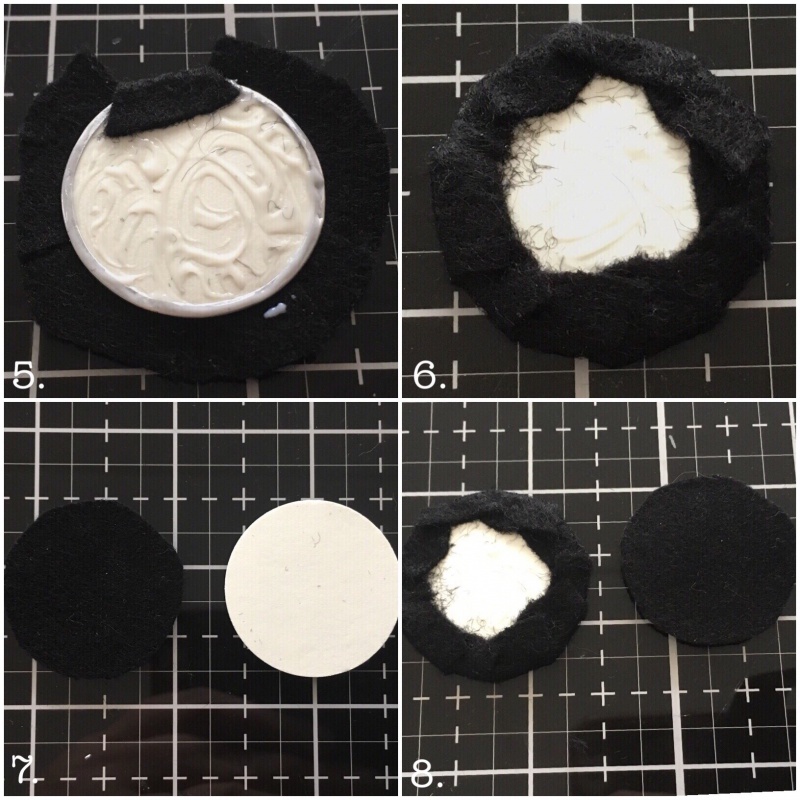
5. Place the pressed tag onto the felt you just cut and snip lines all the way around from the edge of the felt to the circle frame. Cover with distress collage medium and start to fold the felt over the frame.
6. Continue to fold the felt over the frame and press down into the collage medium and set aside to dry.
7. Cut another piece of felt using the heavystock circle as a template, (this time don’t leave a border).
8. Adhere the felt circle over the back of the circle frame to hide the gathered material.
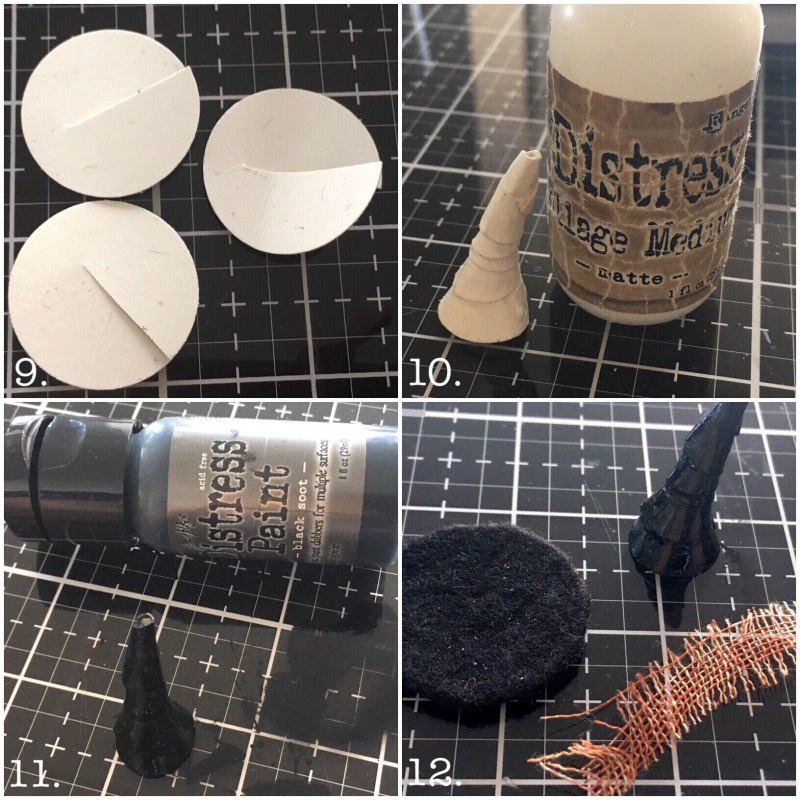
9. Take the 3 remaining heavystock circles and cut a line across the middle leaving a quarter uncut.
10. Roll each of the circles into cones and stack them on top of each other, covering in a layer of collage medium to hold in place.
11. Once the glue is dry, cover in a layer of distress paint that best matches the felt and allow to air dry.
12. Assemble the hat with collage medium. Once completely dry, gently bend the frame of the pressed circle tag to create the signature witch hat curve.
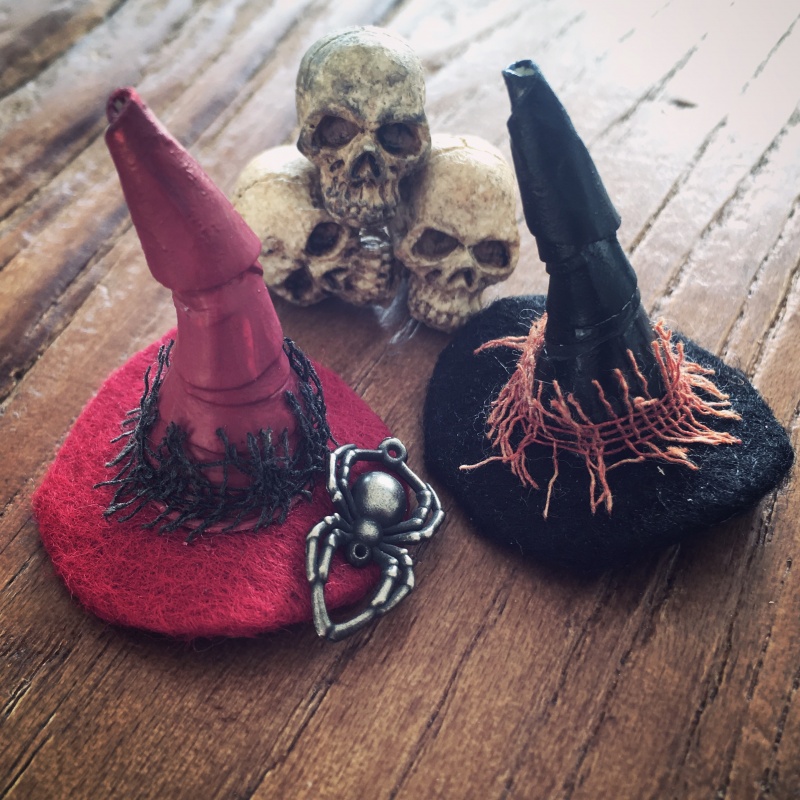
Use a smaller circle tag and punch for different size hats and mix your distress paints to colour match to your felt. The possibilities are endless, I hope you give it a go.
Thanks for stopping by.
Zoe
 |
 |
 |
 |
 |
 |
 |
 |
 |
 |


Love these witch hats, so creative, and perfect in your couture creation! Thanks for sharing this awesome idea! x
Absolutely wicked!!
These are brilliant. Thanks for sharing your creative process.
Hugs!
Cec
FABULOUS!
So Cool. Thanks for sharing this wicked project.
So darn cute-who wouldn’t want a witches hat keychain. I have to make one-love it!!
A great tutorial and I just love the finished hats! x