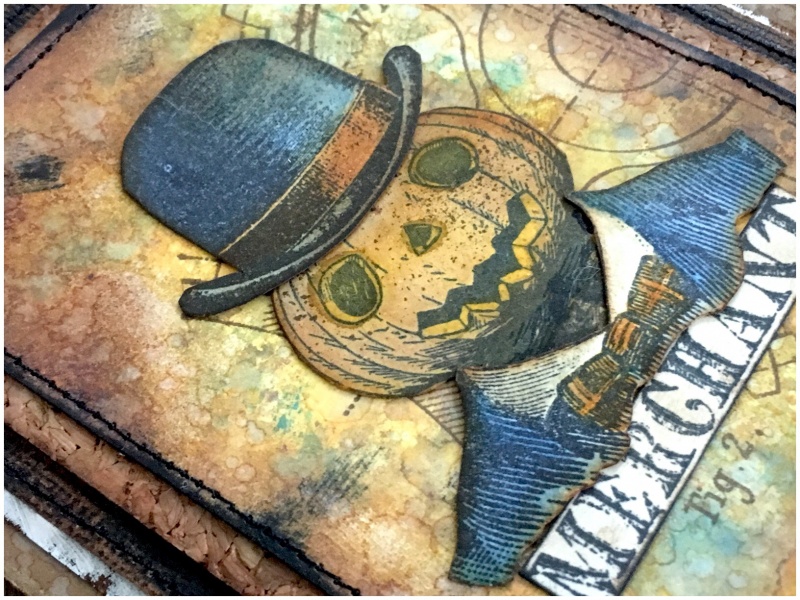
Have you met Mr Pumpkinhead? He’s a bit of a merchant… of what though, we don’t know ….and don’t dare to ask!!
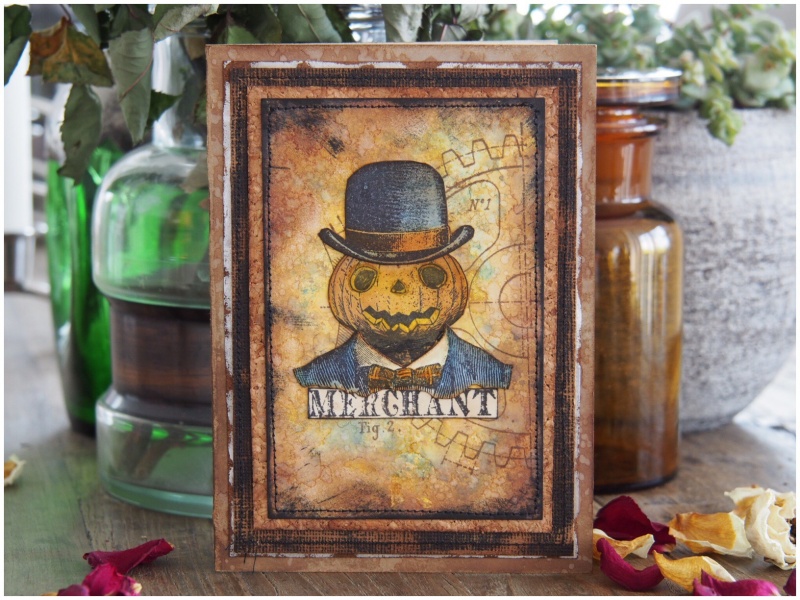
Thank you so much for your kind comments about this card I made for the Tim Holtz Halloween inspiration series. Here’s a step by step to show you how he was made…
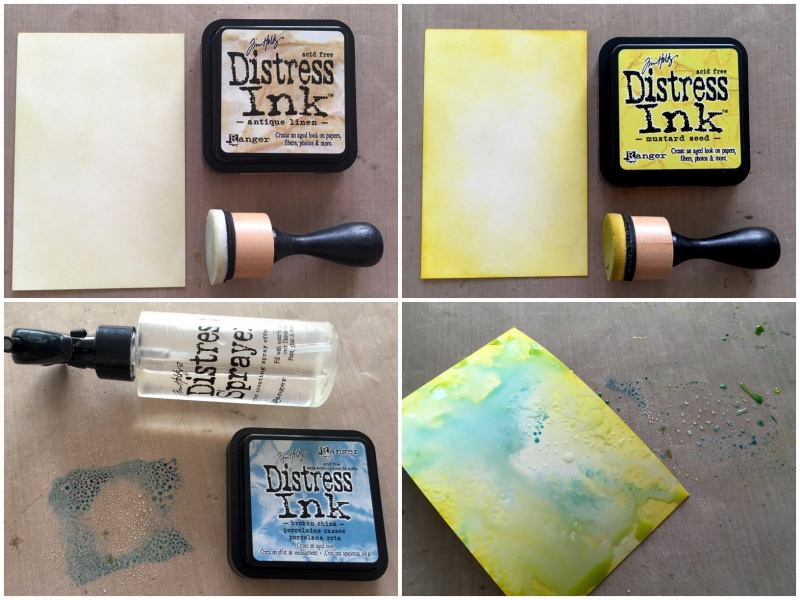
Step 1: Cut a piece of distress mixed media heavystock 3.25 x 5 inches. Cover with antique linen distress ink using a blending tool.
Step 2: Blend in a little mustard seed distress ink.
Step 3: Squish broken china distress ink onto a non stick craft sheet and spritz with water using a distress sprayer.
Step 4: Tap the heavystock into the ink. Dry with a heat tool.
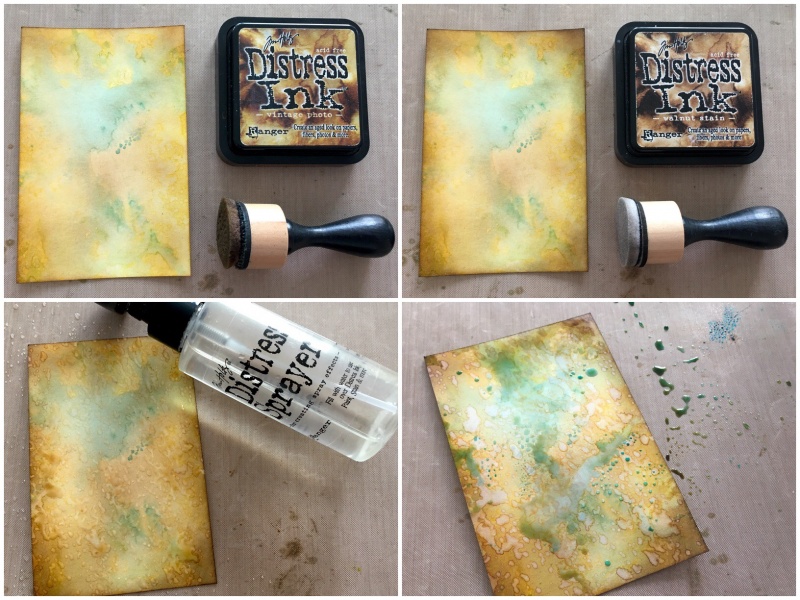
Step 5: Blend a little vintage photo distress ink lightly over the background.
Step 6: Edge with walnut stain distress ink.
Step 7: Spray big water droplets over the background. Dry with a heat tool.
Step 8: Tap the heavystock into the broken china droplets again if required.
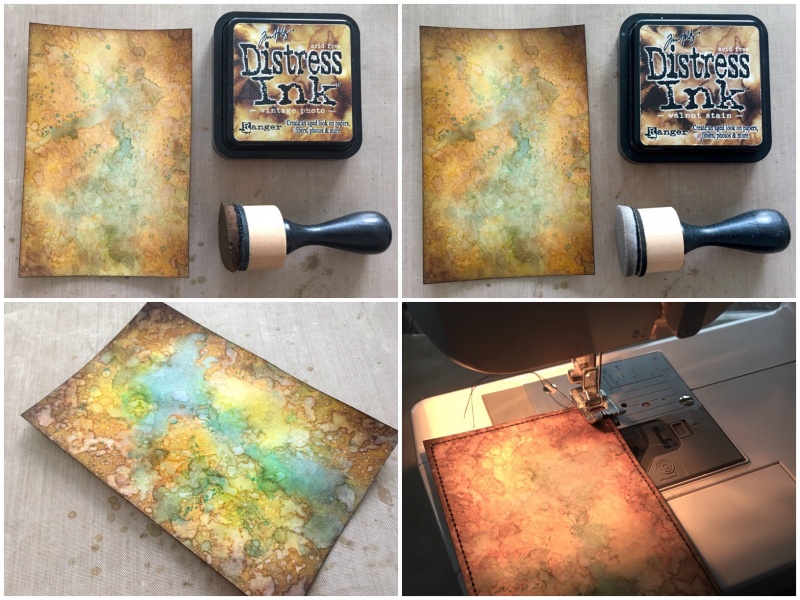
Step 9: Blend more vintage photo distress ink over the background.
Step 10: Edge with more walnut stain distress ink, this time blending a little further into the center.
Step 11: Spritz with water and immediately pat dry with kitchen roll (paper towel) to lift the ink and leave a bleached spots.
Step 12: Stitch around the edges with a sewing machine.
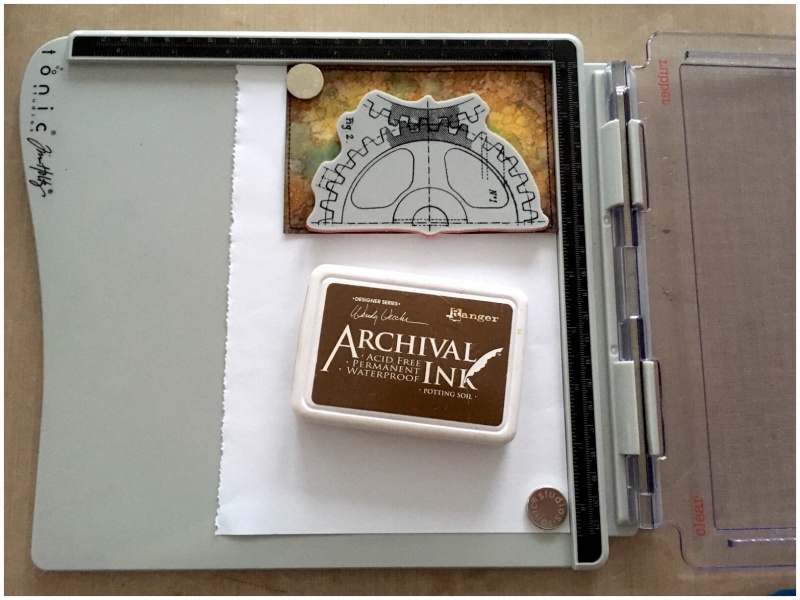
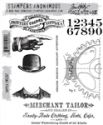
Step 13: Using the Tim Holtz stamp platform for exact placement, stamp the gear stamp from the dapper stamp set in potting soil archival ink.
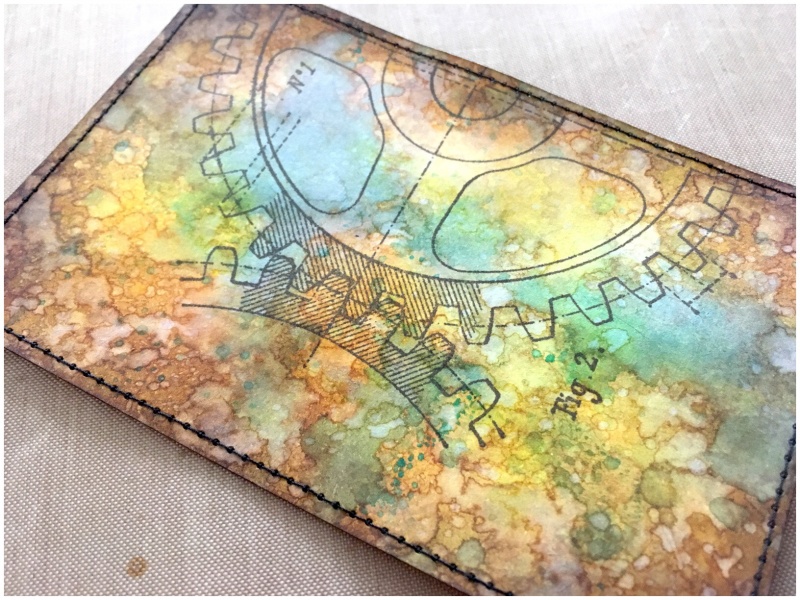
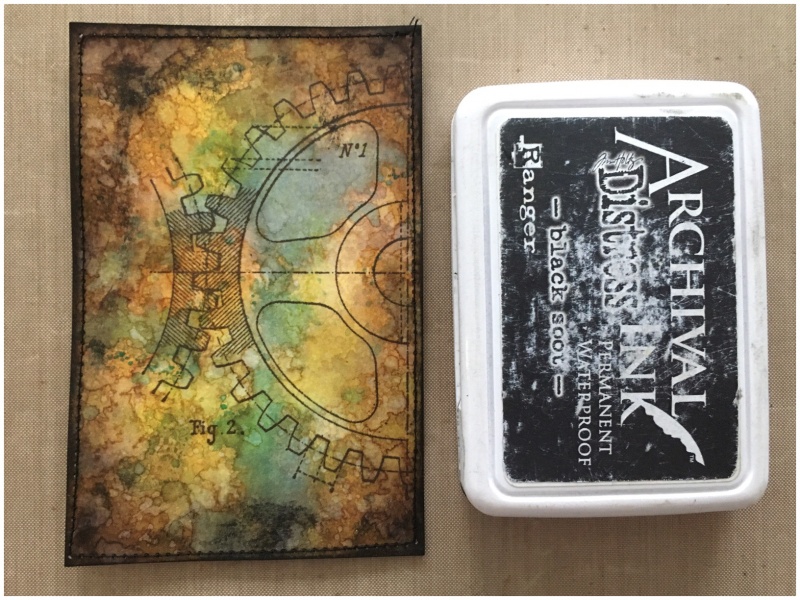
Step 14: Lightly swipe the edges with a black soot distress archival ink pad to give the background a kind of vignette.
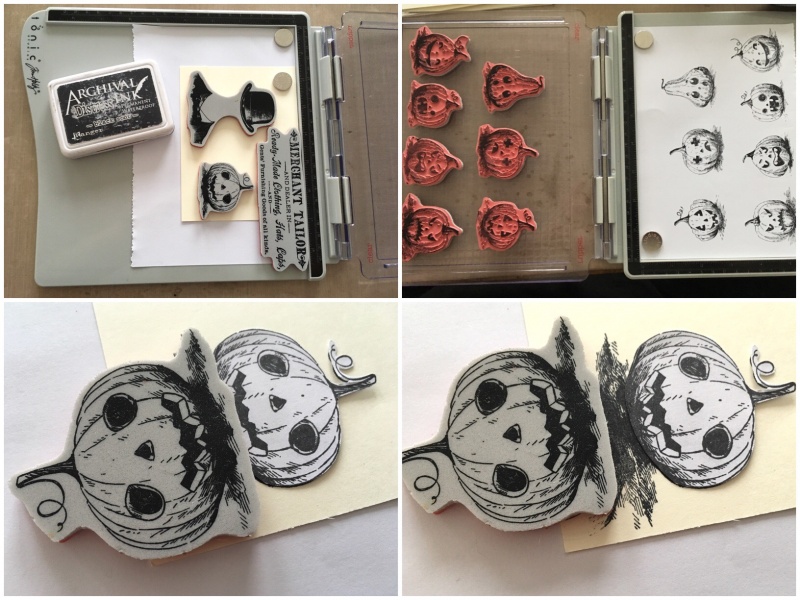
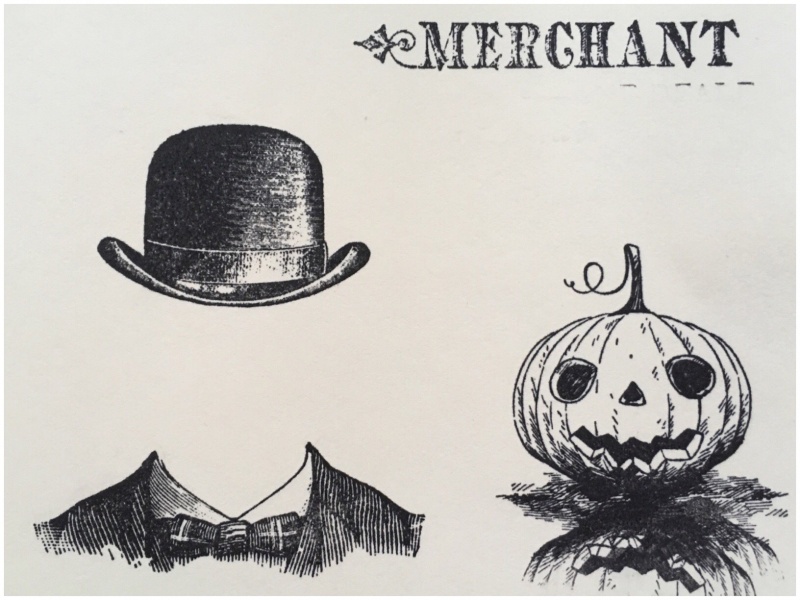
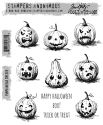
Step15: Stamp the hat/suit and merchant stamps from the dapper and pumpkinhead stamp sets using the Tim Holtz stamp platform, with black soot distress archival ink on mixed media heavystock.
Step 16: Make masks for the pumpkinhead stamps by stamping onto a sheet of plain paper and fussy cutting.
Step 17: Cover the pumpkinhead stamped image with the corresponding mask. Turn the stamp upside down overlapping the bottom of the stamp and stamp again.*
Step 18: Move the stamp down and stamp a third time.*
*The additional stamping under the pumpkinhead creates a shadow that will create a neck to sit under his suit.
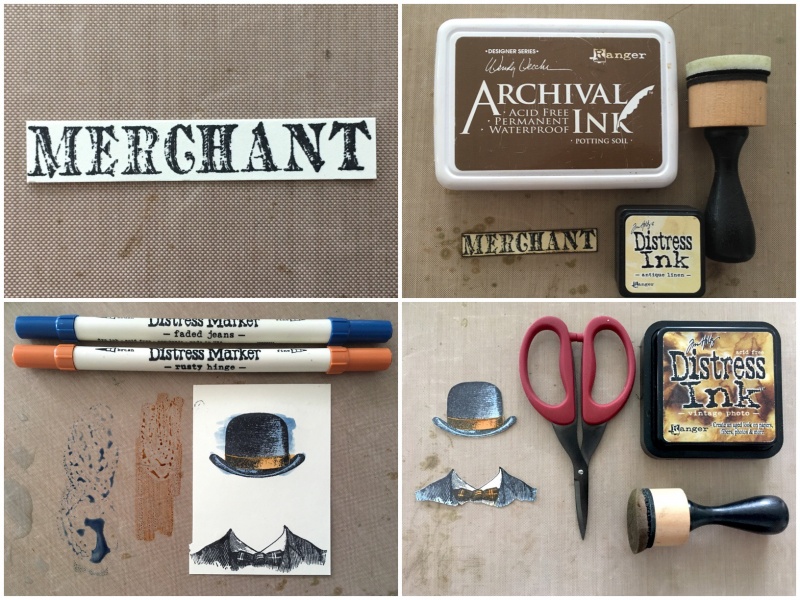
Step 19: Fussy cut the merchant stamped image with tonic mini scissors.
Step 20: Blend a little antique linen distress ink over the top. Edge with potting soil archival ink.
Step 21: Watercolour the hat and suit with faded jeans and rusty hinge distress markers using a water brush.
Step 22: Fussy cut and edge with vintage photo distress ink.
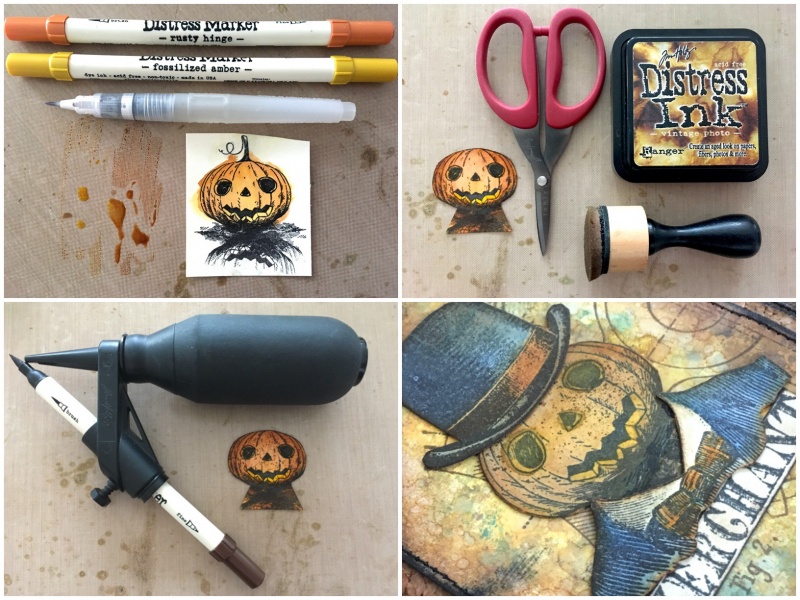
Step 23: Watercolour the pupkinhead with rusty hinge and fossilized amber distress markers.
Step 24: Fussy cut, creating a neck to slip under the shirt and edge with vintage photo distress ink.
Step 25: Using a distress spritzer tool, spritz gathered twigs distress marker over the pumpkinhead.
Step 26: Adhere the pumpkinhead onto the card and mount the hat and shirt over the top and the merchant sign underneath.
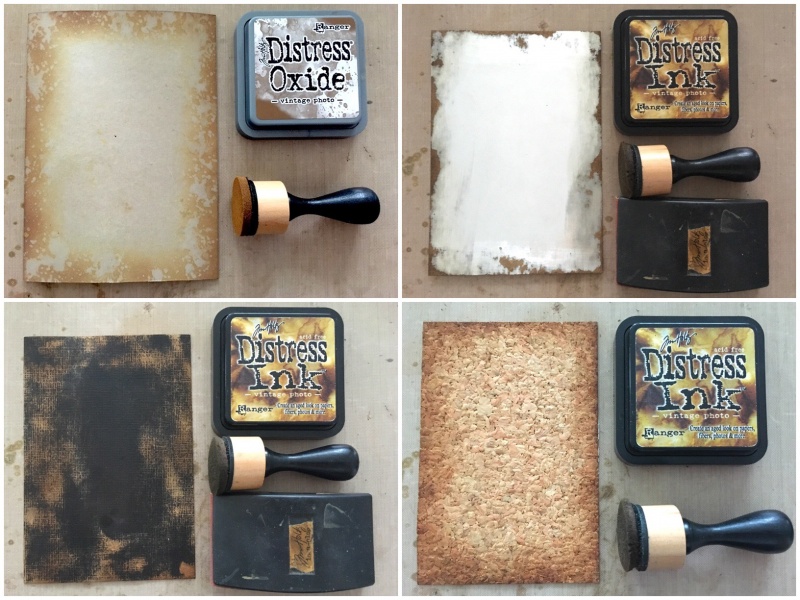
Step 27: Blend vintage photo distress oxide ink into the edge of a kraft card, spritz with water to oxidize the ink and dry with a heat tool.
Step 28: Using a sanding grip, sand metallic kraft stock and blend in vintage photo distress ink.
Step 29: Sand the edges of classic kraft stock and blend in vintage photo distress ink.
Step 30: Blend vintage photo distress ink into the edges of the cork.
I hope you enjoyed this step by step and have been enjoying the inspiration series you can follow along on Tim’s facebook and instagram with a weekly recap on Saturday on his blog. Thank you so much for the lovely comments you’ve been leaving here and on social media on my inspiration series projects.
Cheers
Zoe x
 |
 |
 |
 |
 |
 |
 |
 |
 |
 |
 |
 |
 |
 |
 |
 |
 |
 |
 |
 |
 |
 |
 |
 |
 |
 |
 |


I absolutely fell in love with Mr Pumpkinhead during the inspiration series! Thanks so much for sharing your step-by-step tutorial. You’ve made me look at that merchant stamp set in a whole new way.
Awesome card Zoe! TFS your creative process!
AWESOME step by step Zoe, very informative! the layers in your background are gorgeous! TFS!