I’m delighted to share my second project for the Tim Holtz holiday inspiration series using the new seasonal products. Check Tim’s blog to see all the other designers fabulous festive projects.
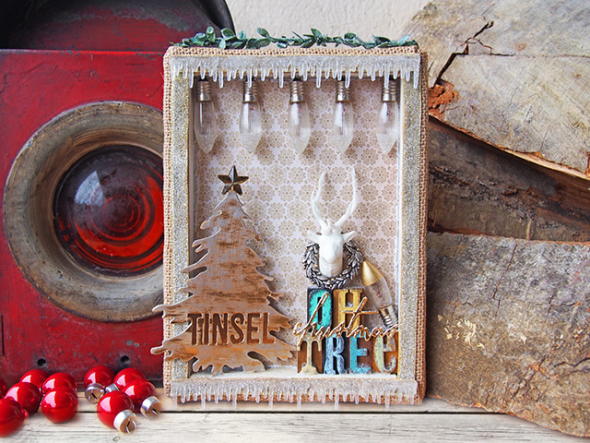
I LOVE Christmas, to me it really is the most wonderful time of the year and one of my favourite holiday traditions is “tree day!” We go and get our Christmas tree and my DH straps it to the car roof and we drive back up the mountain and decorate it while listening to Christmas music.
I wanted to make a home decor piece to celebrate this Christmas tradition. It’s a really simple project to decorate your home or make as a gift. Here’s the step-by-step…
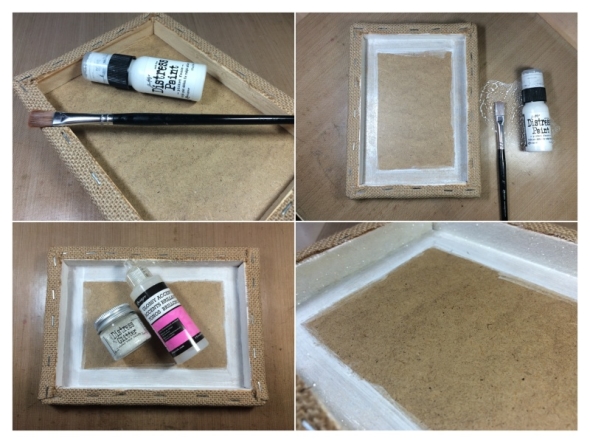
Take a burlap panel, turn it over and trim any burlap that overlaps the edges of the frame. Paint the inside edges of the frame with picket fence distress paint and set aside to dry. Paint a thin layer of glossy accents to the inside edges of the frame and cover with clear rock candy distress glitter. Tap off excess over paper and return to the pot.
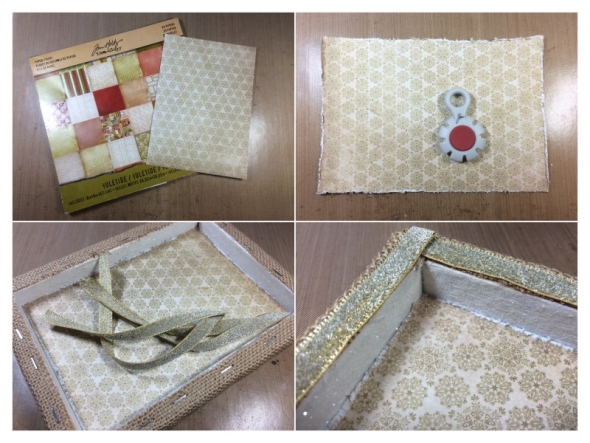
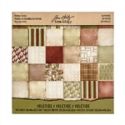
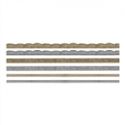
Select a sheet of paper from the new yuletide paper stash and cut to fit inside the burlap panel. Distress the edges with a paper distressing tool and adhere to the frame with multi medium. Cut 4 pieces of ribbon from the new metallic trimmings to cover the staples. Using double sided adhesive tape stick down.
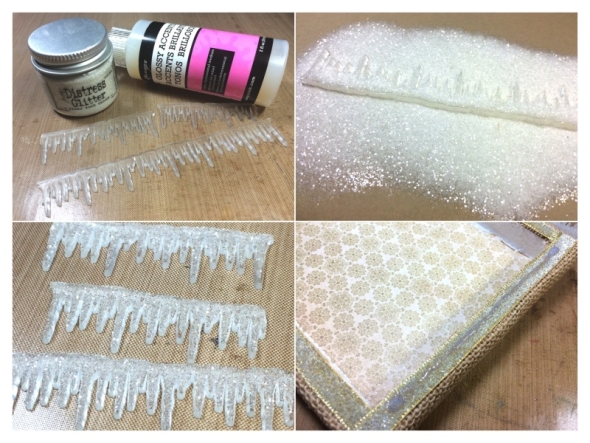
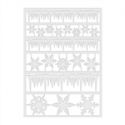
Snip small and large icicles from the AMAZING new frozen alpha parts… (when I pulled these from my box of goodies I went a bit crazy). Cover with a modest layer of glossy accents and sprinkle over clear rock candy distress glitter! Tap off excess and set aside to dry. To attach the icicles, run a layer of glossy accents along the trimming where you want to place the icicle and allow to dry without sticking down. This strip of DRIED glossy accents will act as “tooth” for the alpha part.
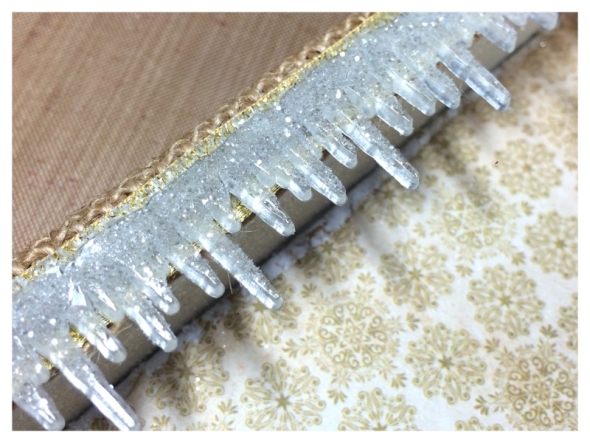
Apply a layer of glossy accents to the back of the icicle and stick in place. Press down for a few moments and then set aside until the glossy accents have dried.
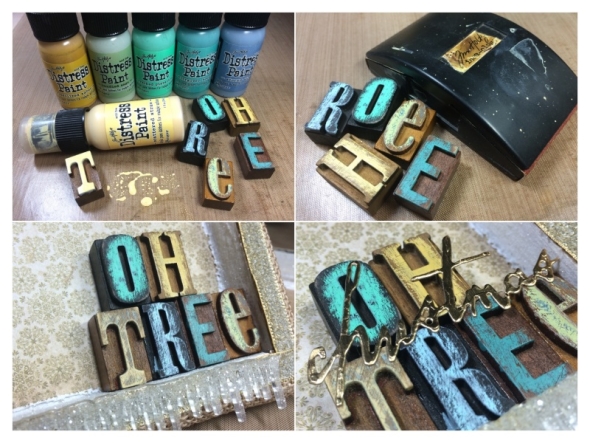
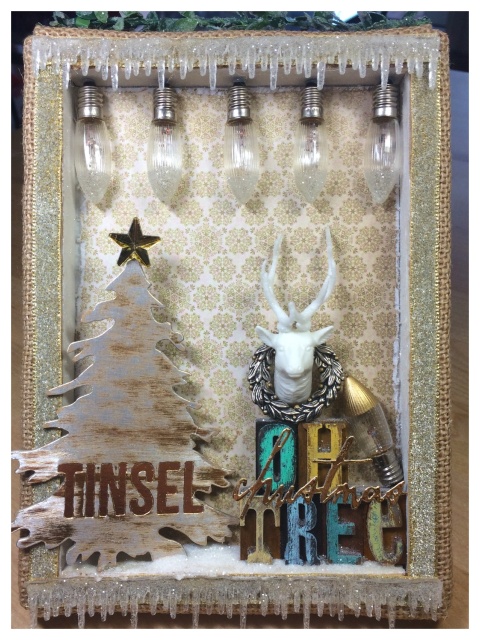
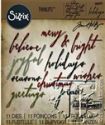
Cover letterpress blocks in distress paint and allow to dry completely. Using a sanding grip, sand the letter to give a distressed look. Mount onto the burlap panel with glossy accents. Die cut “Christmas” from the new Sizzix thinlits handwritten holidays set from metallic kraft core and adhere.
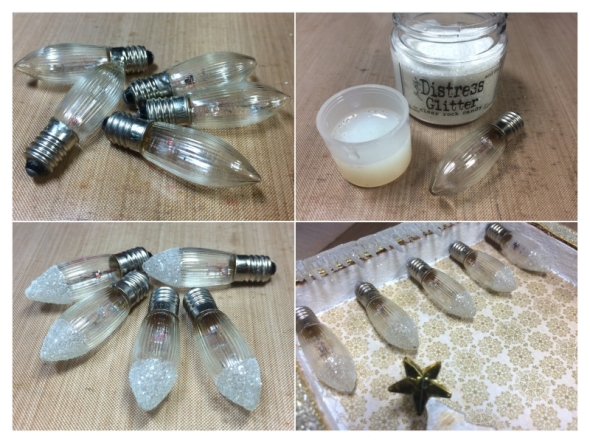
My lovely Mum gave me these vintage light bulbs which were perfect for this project. I used a distress paint cap and filled it with glossy accents. Dip the end of the bulb into glossy accents and then sprinkle clear rock candy distress glitter over the top and tap off the excess. Attach to the inside top of the burlap panel with a dab of hot glue.
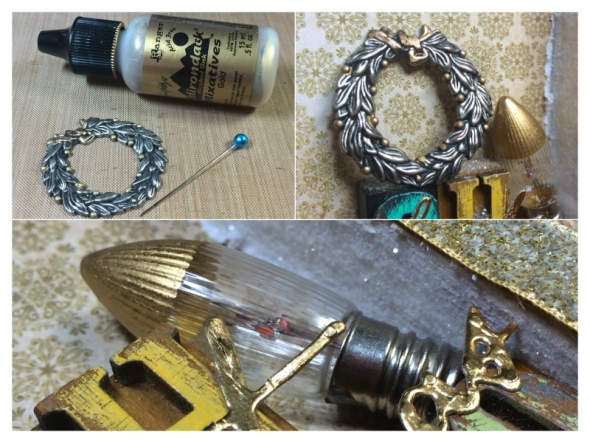
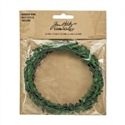
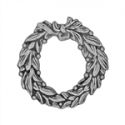
Decorate a new adornment wreath with gold alcohol ink using a pin. Dip the pin in the alcohol ink and then lightly touch the pin to the berries on the wreath. I dipped a bulb in gold alcohol ink to use as an extra embellishment.
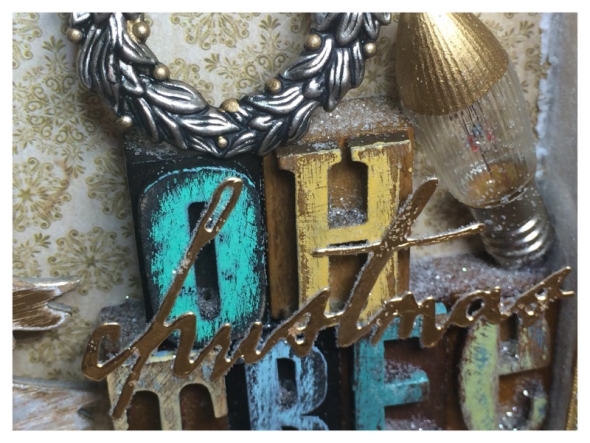
Attach the bulb and wreath to the letterpress with a dab of hot glue.
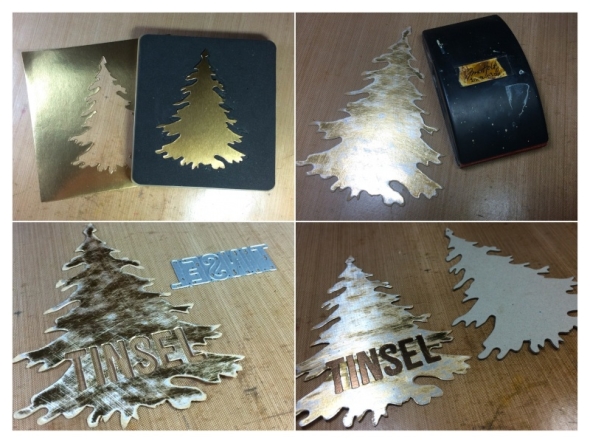
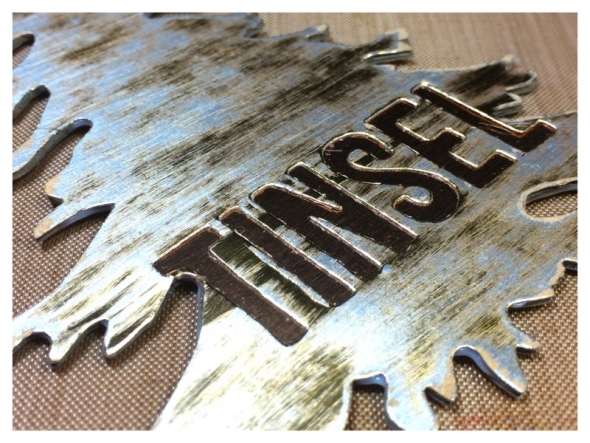
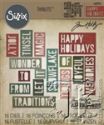
Create an embellishment using the new Sizzix evergreen bigz die and the holiday word block 2 thinlit dies. Die cut a tree from metallic kraft core and sand with the sanding grip. Die cut “Tinsel” into the tree and then mount a different colour metallic kraft core sheet underneath. To reinforce, mount onto a second tree die cut from chipboard.
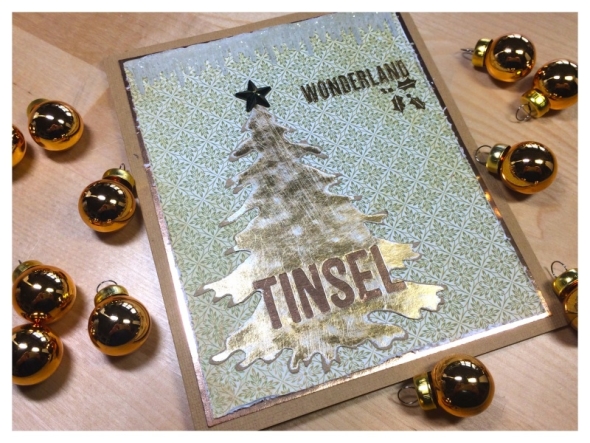
I also made a card with the same products that I used for the burlap panel, as well as the new GOLD gilded holidays remnant rubs! YES GOLD! OH MY!
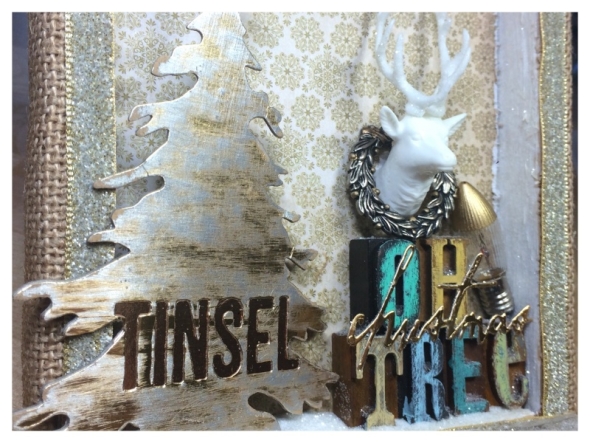
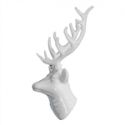
Attach the tree at a slight angle to the inside base of the panel with glossy accents and cover the base with a little clear rock candy distress glitter. Attach the trophy antlers inside the adornment wreath with a dab of hot glue.
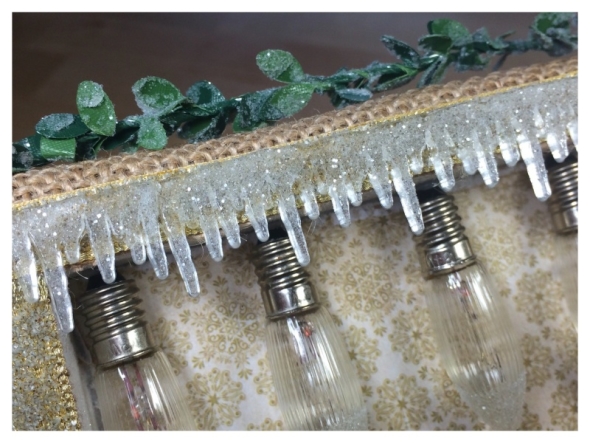
For a final flourish cut a strip of the new boxwood twine. Cover with glossy accents using your fingers and then sprinkle over clear rock candy distress glitter. Attach to the top of the burlap panel with a dab of hot glue at each end of the twine.
 Thanks for stopping by, I hope this has given you a little holiday inspiration. I have had so much fun playing with all the new products and really appreciate all the kind and encouraging comments you have left here and on social media. A big thank you to Tim, Paula and Mario for inviting me to create samples, it’s been such a great pleasure.
I’ll be back next week with more Halloween projects, but for now, I hope you have a great weekend.





Wonderful – you are so talented and clever! And thanks for the tutorial!!
sandy xx
I love your reverse canvas! Fabulous project! I hope the skeleton makes it!!!!
I love your reverse holiday canvas Zoe, so many beautiful details!!! I just love when holiday projects sparkle and shine!!! Thanks for the awesome holiday inspiration! xx
This is such a stunning Christmas project with a lovely ‘homespun’ feel to it – those icicles look fantastic and I really love those bulbs your Mum gave you! Anne xx
Amazing projects Zoe!!!! Love your idea of reverse canvas!!!! Love the colors you used and the tree is stunning! Bulbs…… Wow Wow Wow!!!! Barbarayaya
A stunning project Zoe!! I adore what you did with the tree, – it looks so cool! Those icicles are so cool too, a fabulous project altogether!!
This is absolutely gorgeous Zoe! I bet it looks even more amazing in person with all of that sparkle. Wow so many new products I didn’t know about. Thanks for the great detailed instructions. I love how you did the greeting card at the same time that’s a good idea for multitasking. You have so many fun dimensional details to explore in this piece. Now I am inspired to go haul out all of my “stuff” and play.
Really happy that you shared this project. Very good ideas and using a canvas that way is great. Although I don’t like the thought of Christmas being so near, with so much to do, but this project is just perfect and would be nice on my mantel.
Can’t wait to see what you do next. 🙂
Victoria, BC
Canada
What a beautiful way to celebrate your tree tradition !
Those vintage light bulbs are the bomb with those sparkly frozen alpha parts and that metallic trim !!
Just lovely!
LOVE those icicles!!! The metal tree is fabulous too! Cool piece!
Awesome, awesome, AWESOME!!!
A beautiful decor piece. Lots of good ideas and instructions. Thank you. I love the card, too.
This is oh, so, beautiful, Tim … I love it!
Oh how beautiful!
Such a wonderful idea.
What a beautiful project. I especially love the light bulbs. Thanks so much for sharing. Like the card too.
Oh your Christmas tree panel is wonderful. Loving all the sparkle. What a great gift those vintage bulbs were and oh so perfect on your panel.
What a wonderful piece! Love the icicles and those vintage bulbs. TFS Zoe!
Zoe – I love your take on the non traditional Christmas colors – one of my favorites pieces from the Christmas Inspiration series.
What a fabulous project! Thanks for sharing the tips and techniques you used to create this lovely holiday panel.
What a lovely reverse canvas and card; I love those non-traditional colors! I really appreciate your step by step instructions, and you have inspired me greatly to get these new Christmas goodies!
Awesome project, love seeing the details. Turned out great!!!
What a great addition to a holiday decor; love the icicles and the bulbs with glitter. Very creative!
WOW! I love your shadowbox! I love the vintage light bulbs, they really add level of Pazaz!
Zoe, that is so wonderful! Love how you used the vintage light bulbs and the word blocks combined with the script die cut is a brilliant idea! What a beautiful piece to celebrate the memory of a treasured Christmas tradition, thanks so much for sharing it and sharing your process. Deb xo
This is a wonderful creation, and I love what you did with the lightbulbs.