With only 77 days until Christmas, I’m delighted to share my first project for the
Tim Holtz Holiday Inspiration series using his fantastic new holiday products.
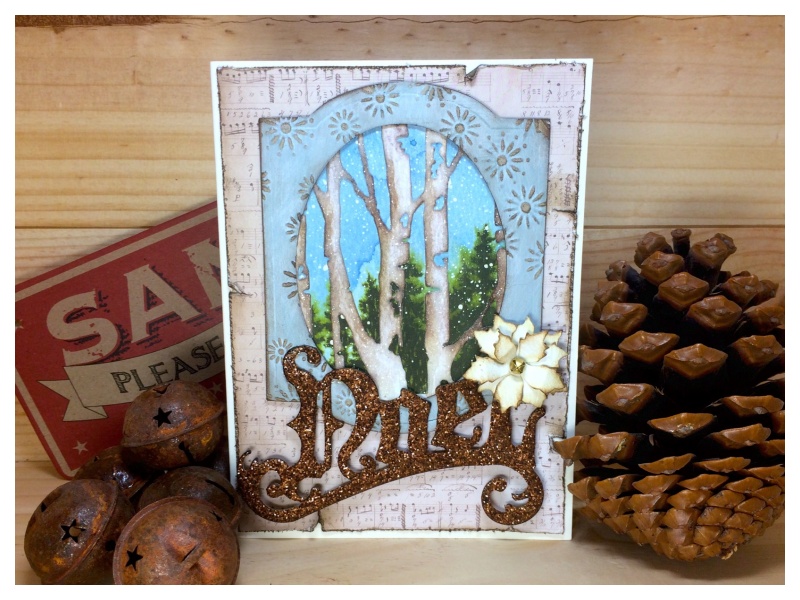
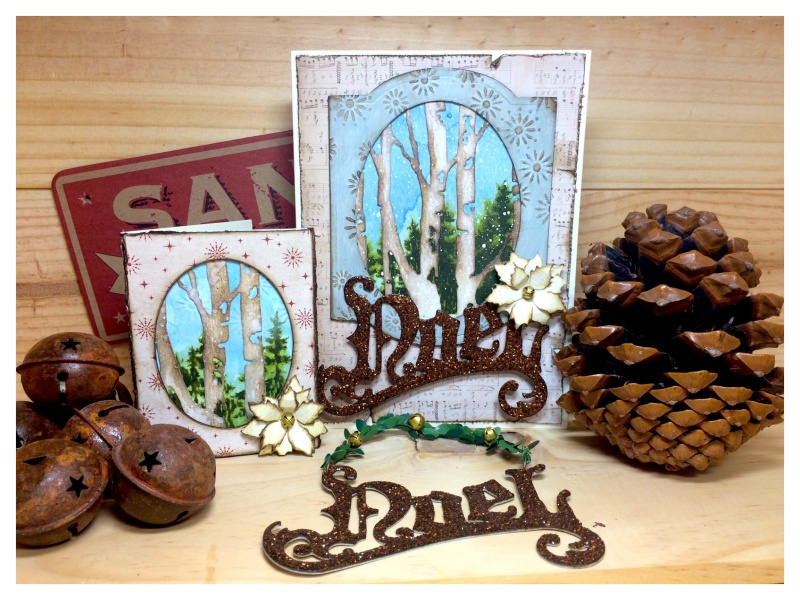
My focus for this card was the new thinlits birch trees die and the tree line stamp set, with a healthy sprinkle of distress glitter, (of course).
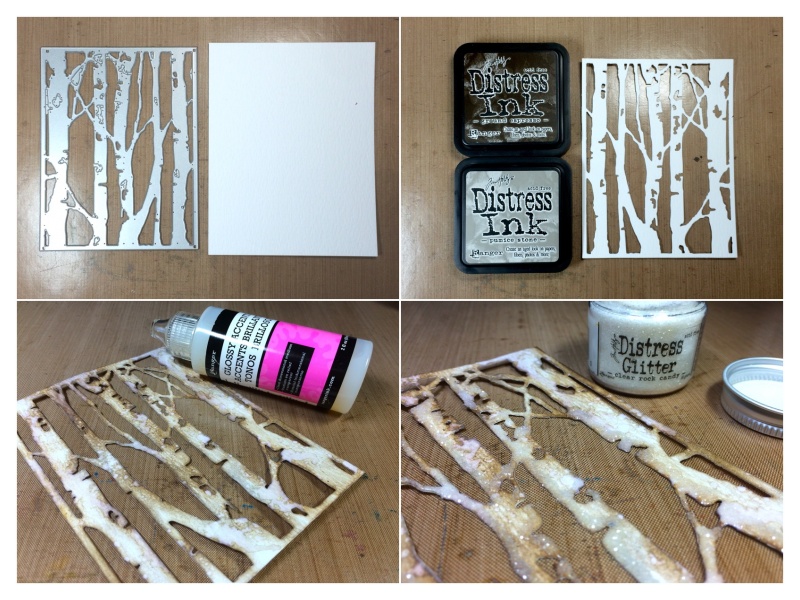
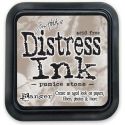
Cut distress watercolor cardstock with the thinlits birch tree die and blend with a little pumice stone and ground espresso distress ink. Once dry, add glossy accents to parts of the birch trees and sprinkle clear rock candy distress glitter over the top.

Lightly spritz distress watercolor cardstock with water and spray stormy sky distress stain spray over the top. Let the colour wick across the card and dry with a heat tool.
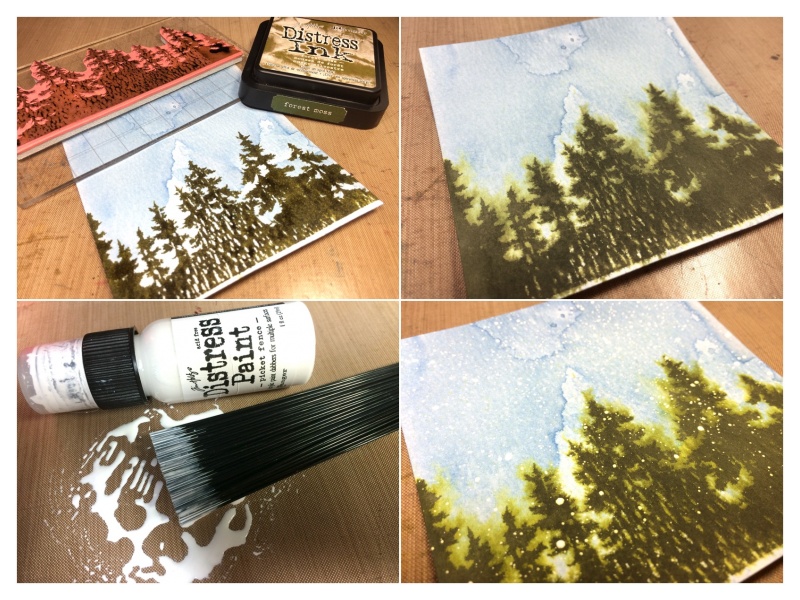
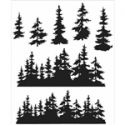
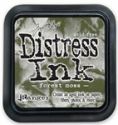
Ink up the new tree line stamp (CMS244) with forest moss distress ink and lightly spritz with water. Stamp along the bottom of the distress watercolor cardstock and then lightly spritz once with water to allow the trees to wick slightly to give colour contrast. Dry with a heat tool. Dab picket fence paint onto a non stick craft sheet and spritz with water. Load up a distress splatter brush and flick onto the background and set aside to air dry.
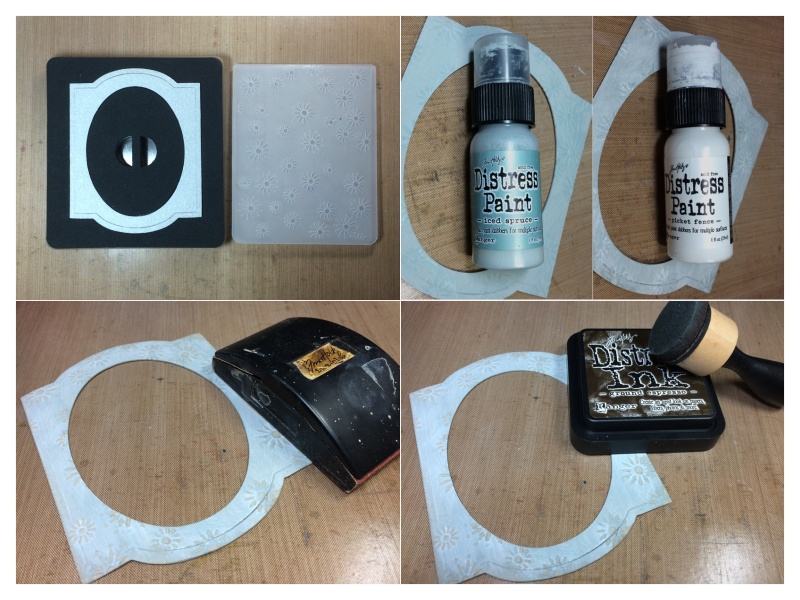
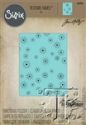
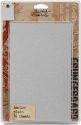
Cut a cameo frame from grungeboard and emboss with the new sparkle texture fade folder. Cover with a layer of iced spruce distress paint and once dry, repeat with a layer of picket fence distress paint and again dry. Using a sanding grip, lightly sand the raised embossed areas and edges. Blend a little ground espresso distress ink over the sanded areas.

Using glossy accents, layer the birch tree die over the tree line stamped background and place the cameo frame over the top and trim.
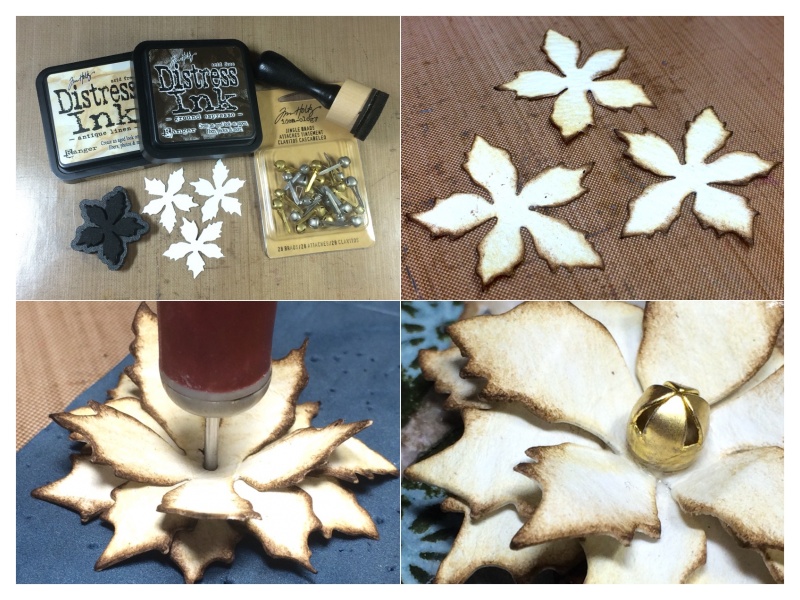
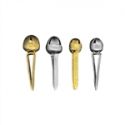
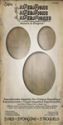
Cut 3 poinsettias from distress watercolor cardstock using the mini poinsettia mover and shapers die. Blend each poinsettia with antique linen distress ink and edge with ground espresso distress ink. Shape the leaves, layer up and make a hole using a pokey tool. Push one of the new idea-ology jingle brads through all 3 poinsettias and fasten at the back.
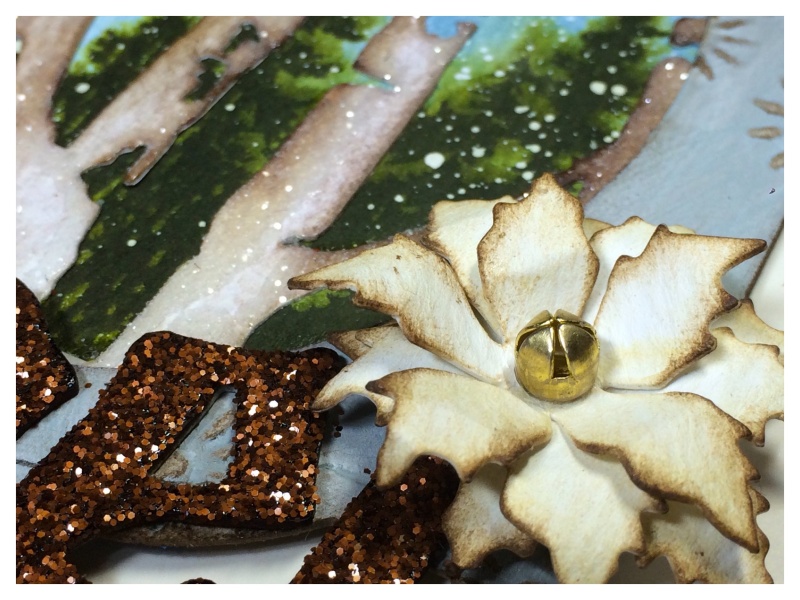
Adhere to the card with a dab of glossy accents.
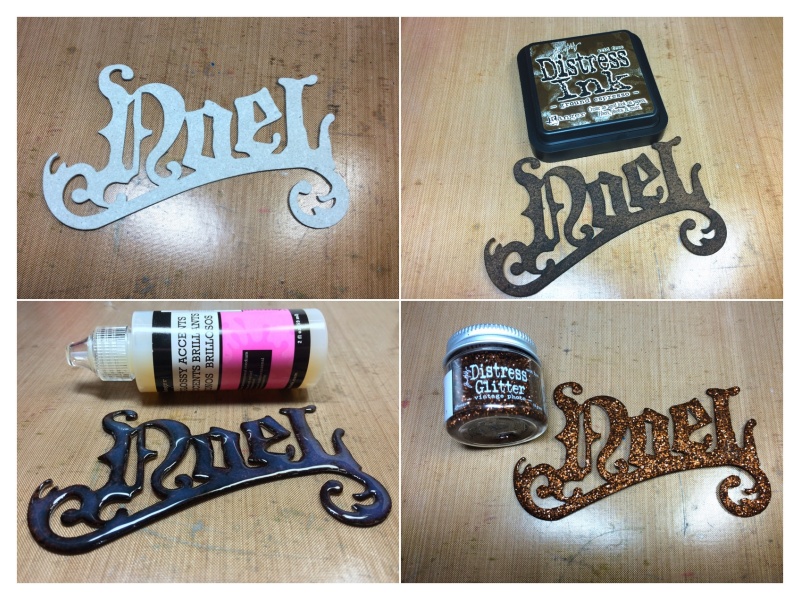
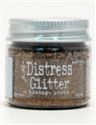
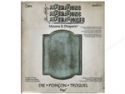
Die cut grungeboard with the vintage noel bigz die and cover with ground espresso distress ink. Cover with a layer of glossy accents and sprinkle vintage photo distress glitter over the top. Tap off excess and set aside to air dry.
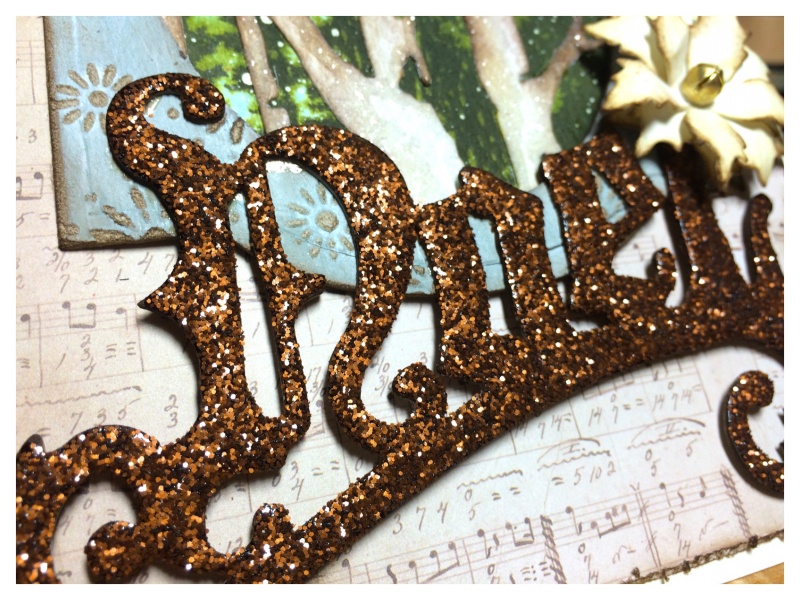
Once dry, adhere to the bottom of the cameo frame with glossy accents.
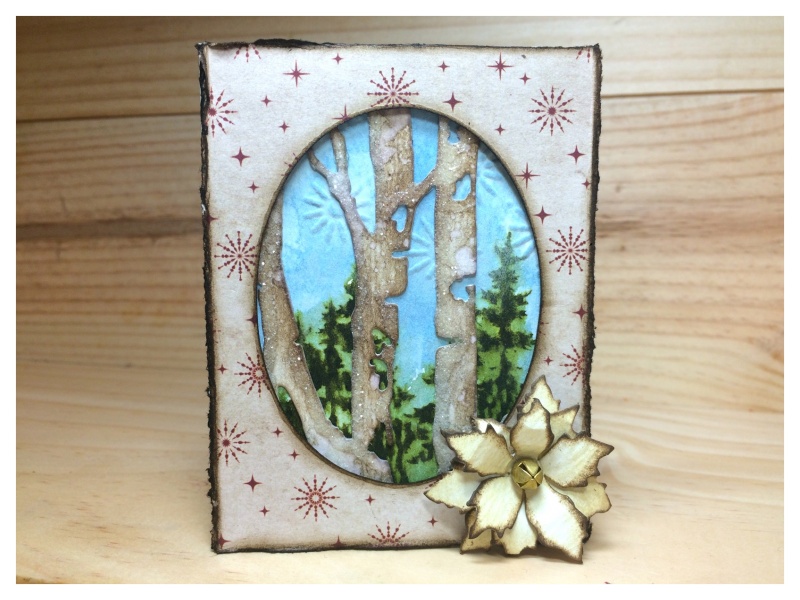
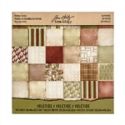
For a matching gift card, make an additional background, birch tree die cut layer and poinsettia. For the smaller cameo frame, cover cardstock with paper from the new yuletide paper stash and cut using the smaller mover and shapers oval die.
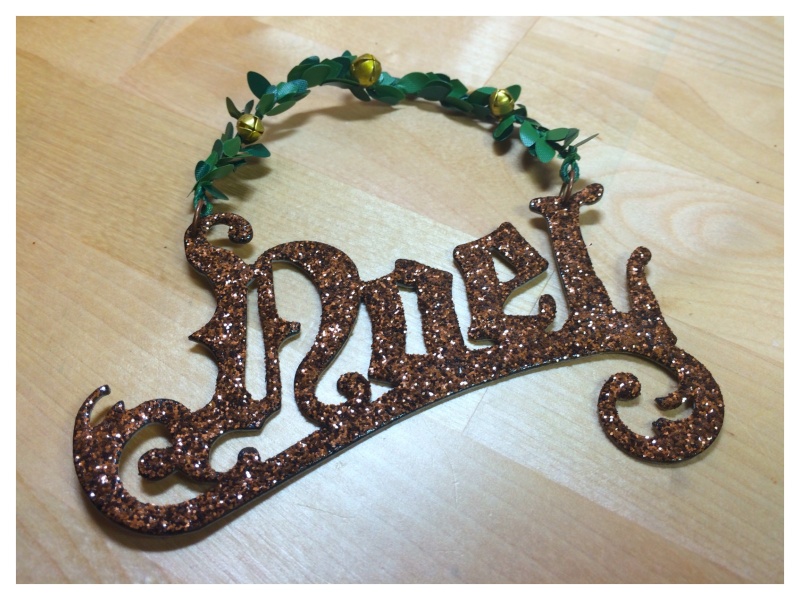
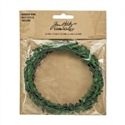
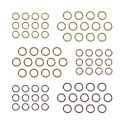
This gift hanger can adorn a gift and later be hung on a tree. Make an additional distress covered grungeboard noel die cut, poke 2 holes in the top and attach o rings. Cut a piece of the new boxwood twine and make a loop each end to hang the o rings from. Wrap jingle brads around the boxwood twine and trim the brad stems with wire cutters.
Thanks for stopping by and I hope this has given you a little holiday inspiration. I’ve had such fun using these new products, a big thank you to Paula, Tim and Mario for asking me. Check out Tim’s blog daily to see the fabulous festive creations by the other designers in the holiday inspiration series.
 |
 |
 |
 |
 |
 |
 |
 |
 |
 |
 |
 |
 |
 |
 |
 |
 |
 |
 |
 |
 |
 |
 |
 |
 |
 |
 |


Beautiful! Love the birch trees. TFS Zoe!
I love that die, and look forward to using it! Your card is stunning!
Zoe I want this die!!!!!!! Love so much your cards, color design and every little detail!!! Amazing cards and ornament!Barbarayaya
Love everything about this! I am really excited to get this die 😉
So BEAUTIFUL … that die … awesome !! Love the colors, those trees and the splatter … just beautiful !!
I love all the layers! Great tutorial too! Thanks for sharing your talents Zoe!
This card is gorgeous!! I absolutely love it. =)
These creations are absolutely fabulous !! Thank you for the great tutorial xx
Wonderful inspiration Zoe, I just love the pine trees in the background, it gives your card such depth! Anne x
Absolutely beautiful. Thanks for sharing how you made this lovely card.
Oh my goodness, Zoe! This is SO lovely! Thank you for this pretty, “Winter window”! There aren’t any views, like this, to look out on, in my part of Texas! ☺️
Love this, its another great idea from tim.
Love how you combined all the elements to make a scene. So pretty.
Zoe – What lovely projects you have created with the great new Tim Holtz products. Love everything about all of them.
Simply magnificent! Had to jump over from Tim’s blog to say how much I enjoyed the card.
Simply stunning – as I just said over at Tim’s, so bright and fresh, like a woodland walk on a bright, cold winter’s day – I love it.
Alison x
Truly one of the most prettiest scene cards! Love all the techniques here and the different colors used instead of the usual Christmas colors….so so pretty! TFS!
This is so beautiful, love all your sweet details and thanks for showing how to create this beauty ♥
such a beautiful card!!! love the background you created!
So very, very beautiful! I love this, every little detail about it is gorgeous! I have to go beg my OH for some money now as I have a whole list of stash, stamps and tools I now need lol! Karen x
Lovely! What a nice card.
Beautiful! Thank you so much for the tutorial!!! Fantastic ideas!
You really capture winter with this card. I love the evergreen tree stamp and the birch tree die. They are both so versatile. Great job.
So beautiful Zoe! Love the watercolour effect with the tree line stamp and think I’ll have to invest in the birch tree die, love it! Thanks so much for sharing these beautiful projects and your techniques, Deb xo
You are my inspiration for my Christmas cards. Such a beautiful scene – thanks for sharing your techniques.
Lovely! I love that die too and you made such a wonderful card with it! xx
So gorgeous Zoe!!! I love what you did with the birch trees die and the tree lines stamp set, they are a great match! I love the watercolor effect and your tutorial is wonderful! xx
I really love these!!! So much detail!!!