1. 29th November, 2017

    O’ Christmas Tree

    Hello again. I’m back with some more festive fun for the Tim Holtz holiday inspiration series. Follow Tim on instagram and facebook to see inspiration throughout November and December. You can catch up with all the inspiration so far in week 1, week 2, week 3 and week 4.

    iGirlZoe: O Christmas Tree
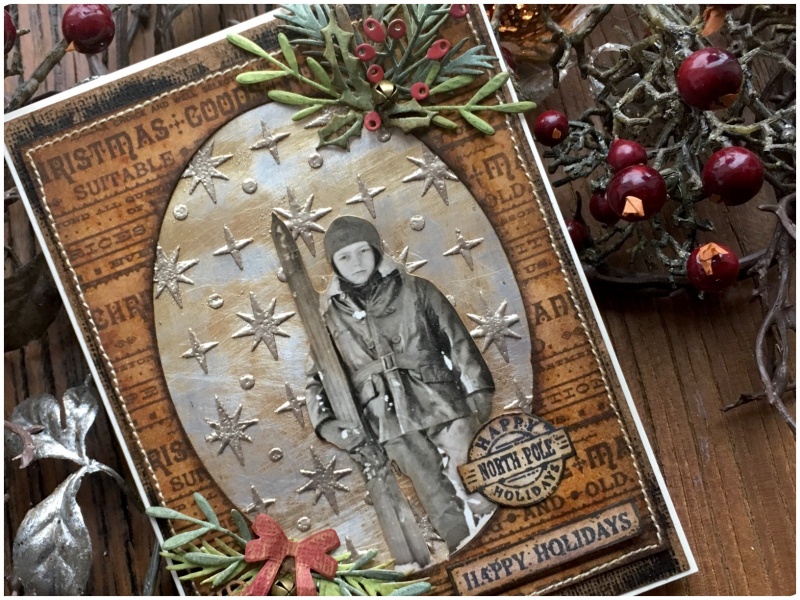
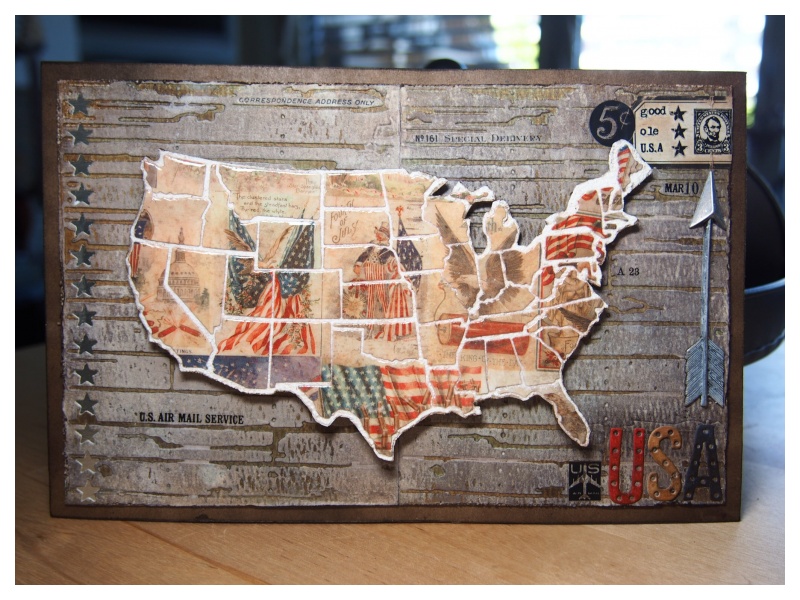
    Firstly I must apologise for the low quality photo. It was shot in low light because in Scandinavia, it’s pretty much low light until March 2018!

    Dear Santa, please could you bring some studio lights or relocate us to Arizona… 😉

    iGirlZoe: O Christmas Tree
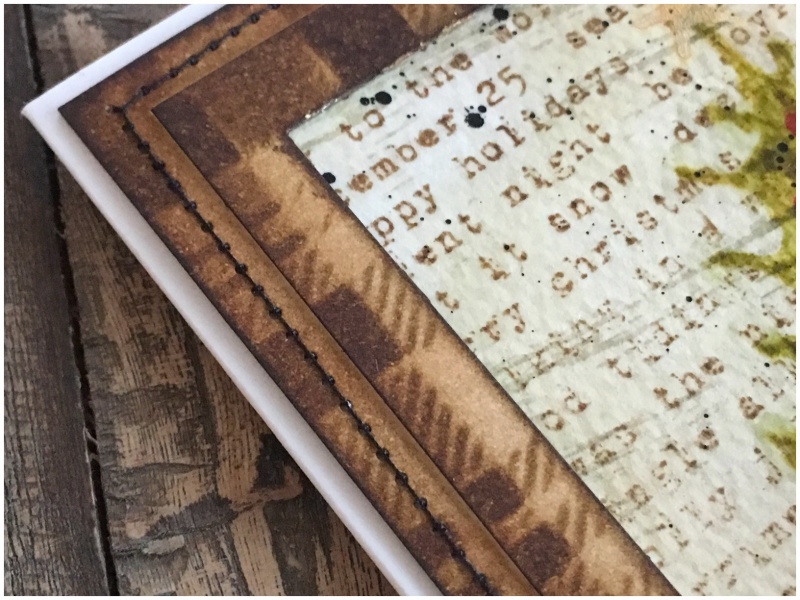
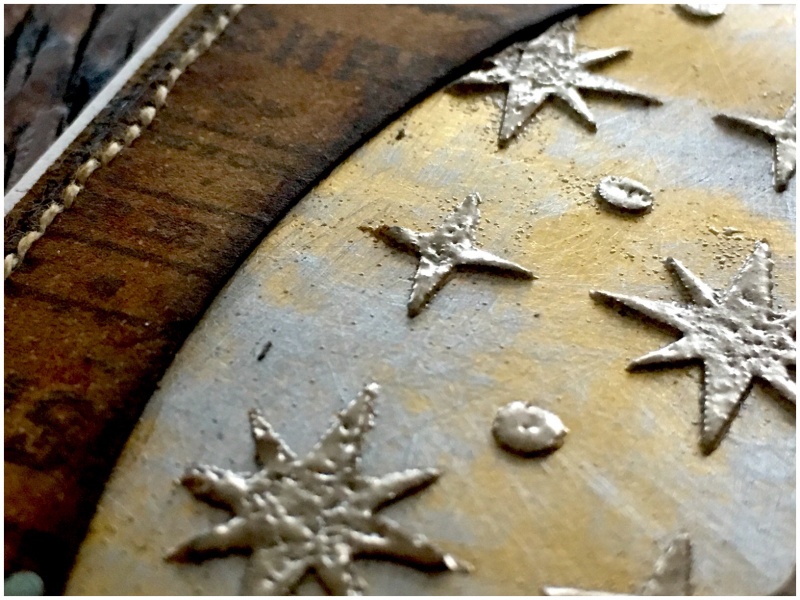
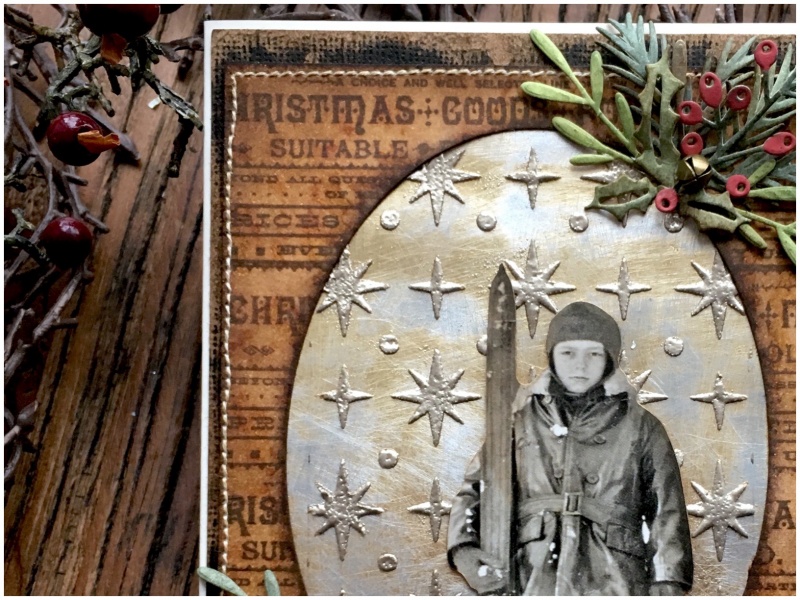
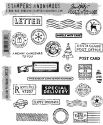
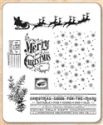
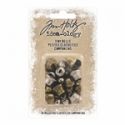
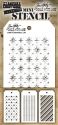
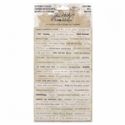
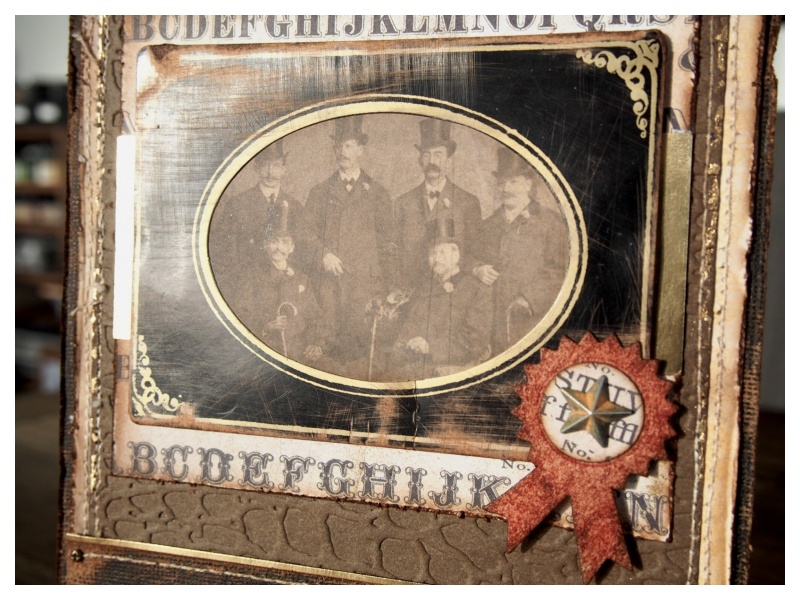
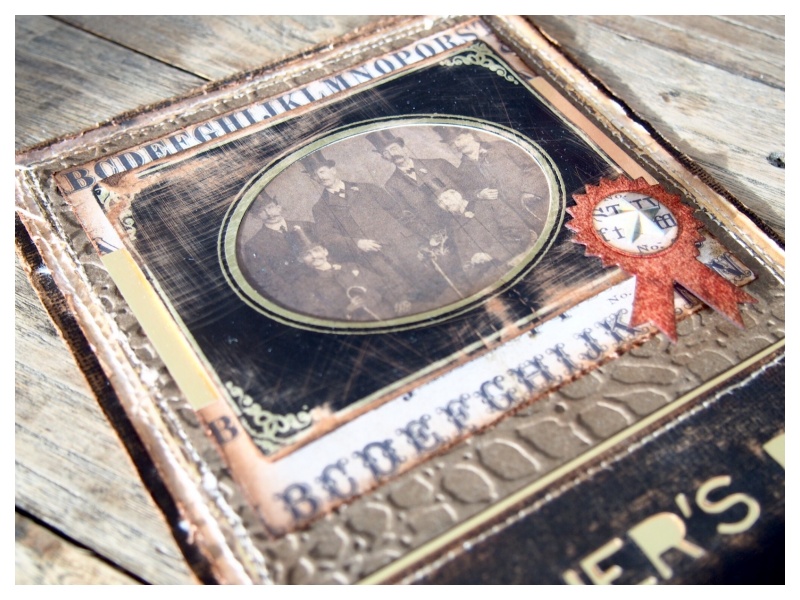
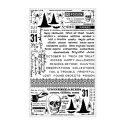
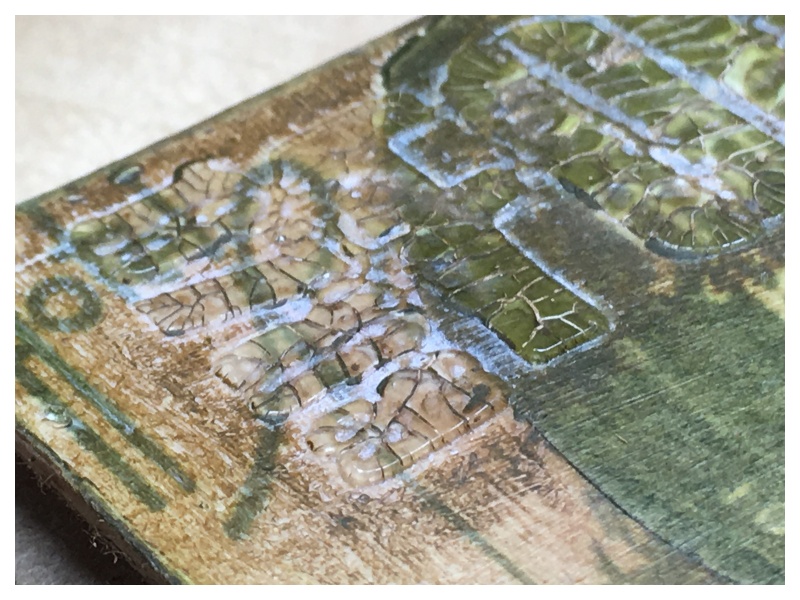
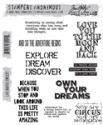
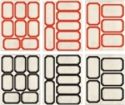
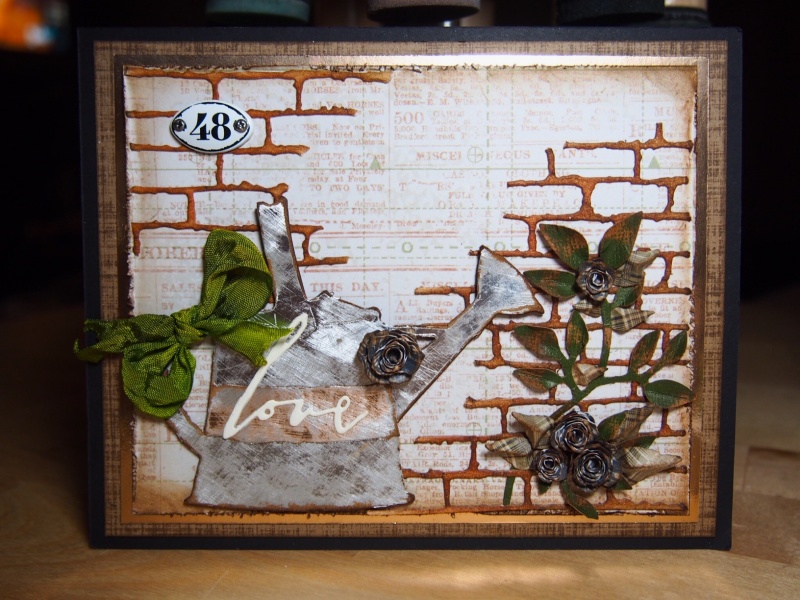
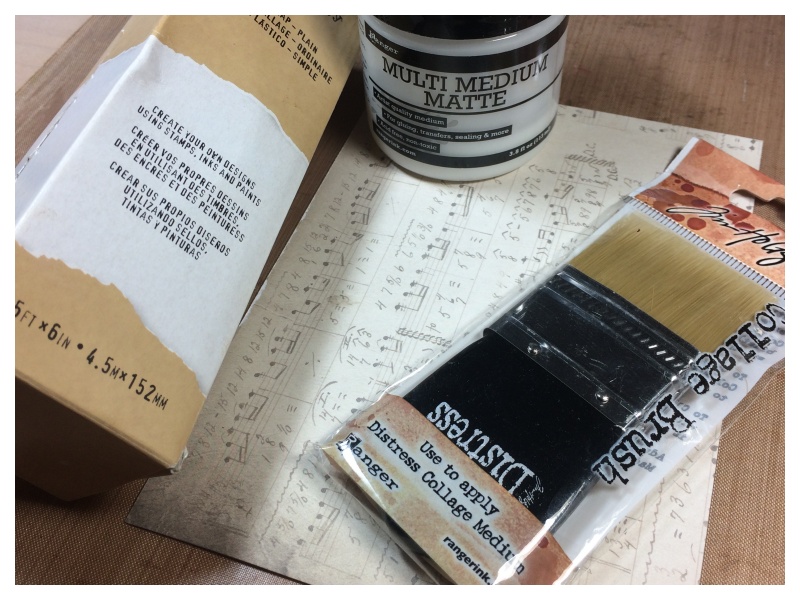
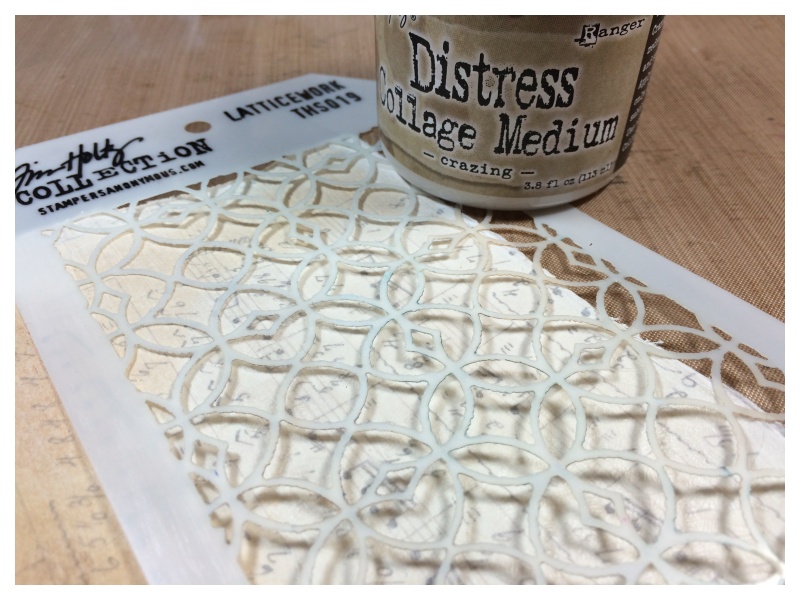
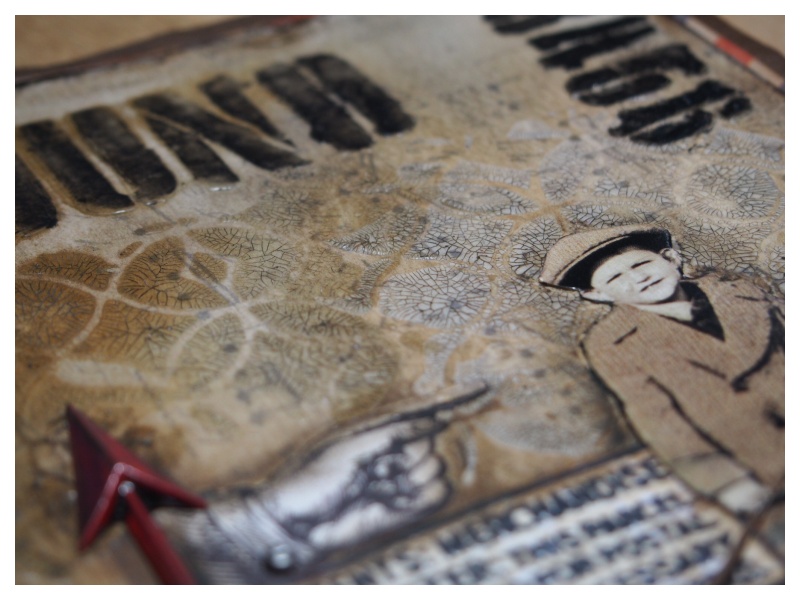
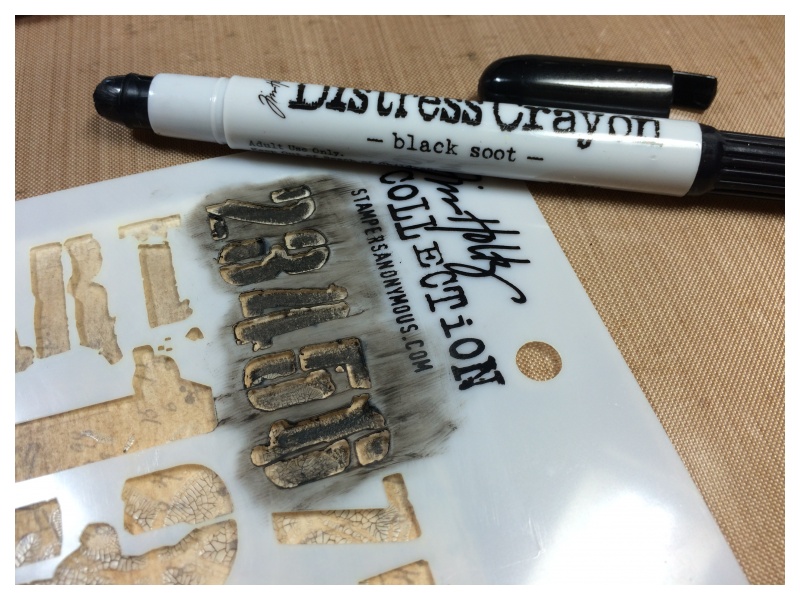
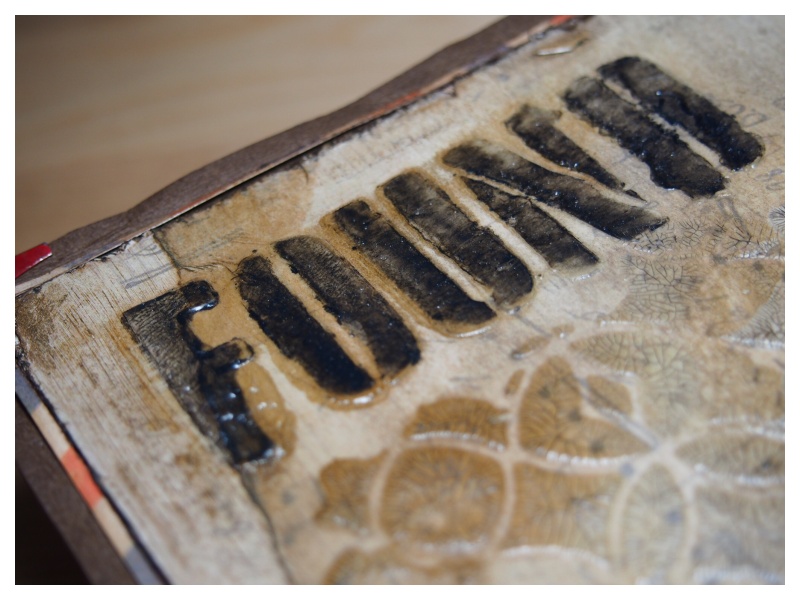
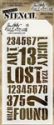
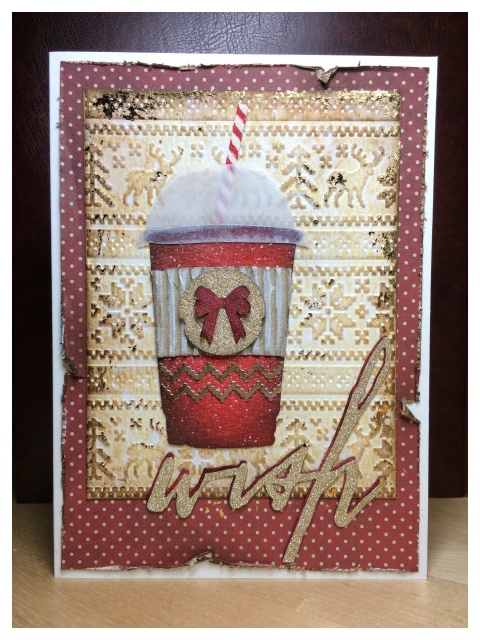
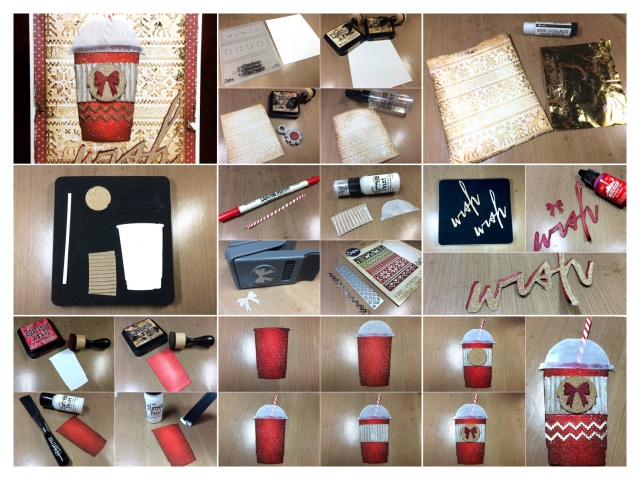
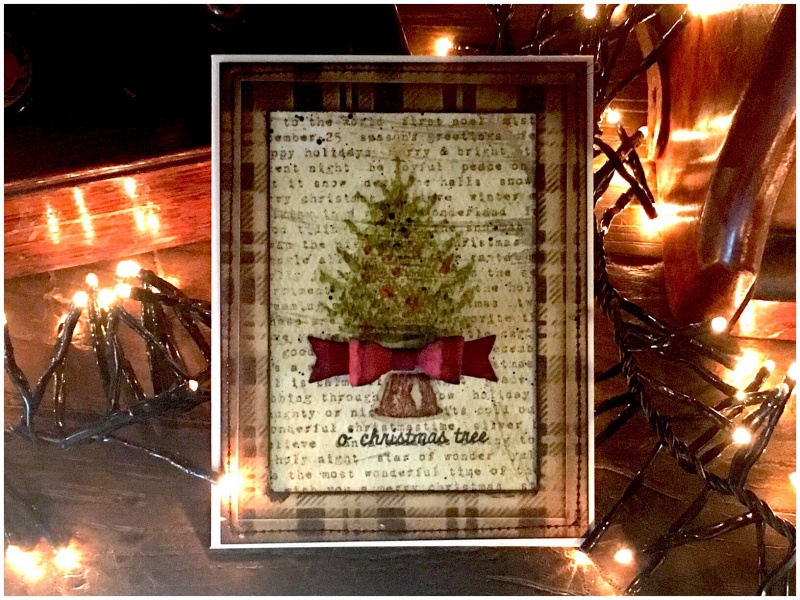
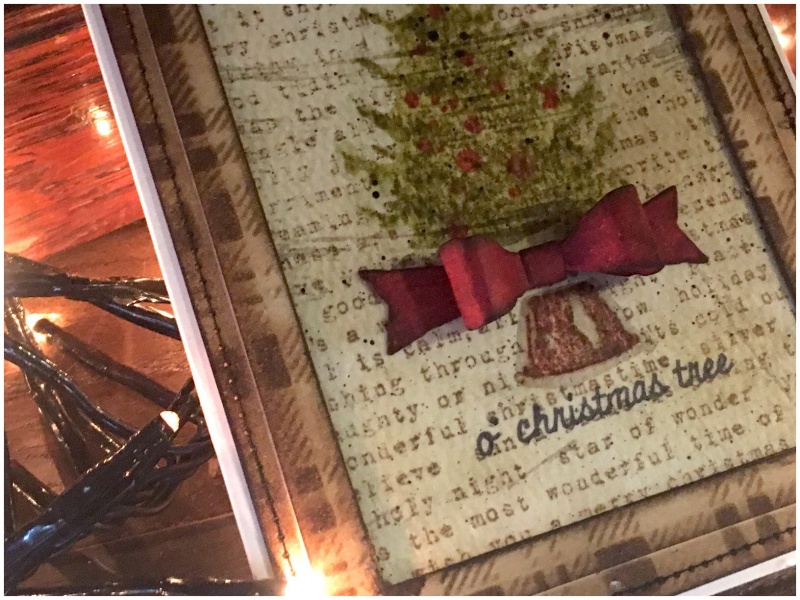
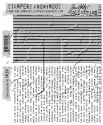
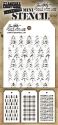
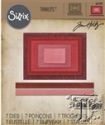
    I wanted to play around with the idea-ology tissue wrap and create a book page style background. I used an older Stampers Anonymous background stamp set (CMS281) ‘stripes and holiday type’ to create the text. The frame is cut twice from heavystock with the Sizzix stitched rectangle thinlits die, which I stenciled with the mini plaid stencil and stitched.

    iGirlZoe: O Christmas Tree
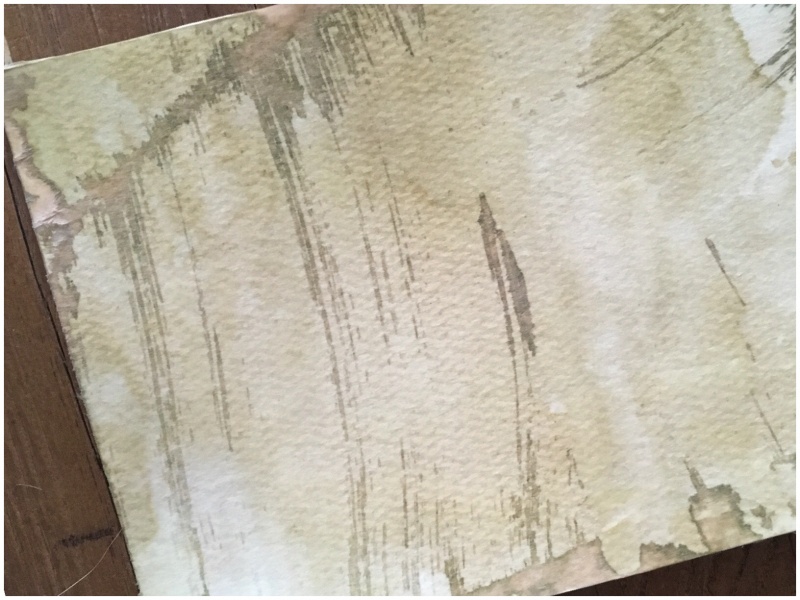
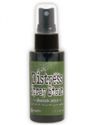
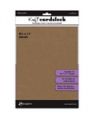
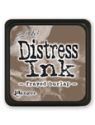
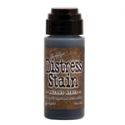
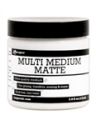
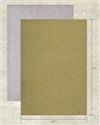
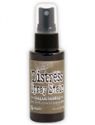
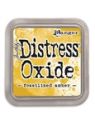
    I covered distress mixed media heavystock with distress collage medium and immediately covered with plain tissue wrap. Once dry, I trimmed the edges and sprayed frayed burlap distress spray stain onto my non stick craft mat and dragged the heavystock through. I spritzed with water and dried with a heat tool. The glue, creased tissue wrap and distress stain created this cool worn/aged effect!

    iGirlZoe: O Christmas Tree
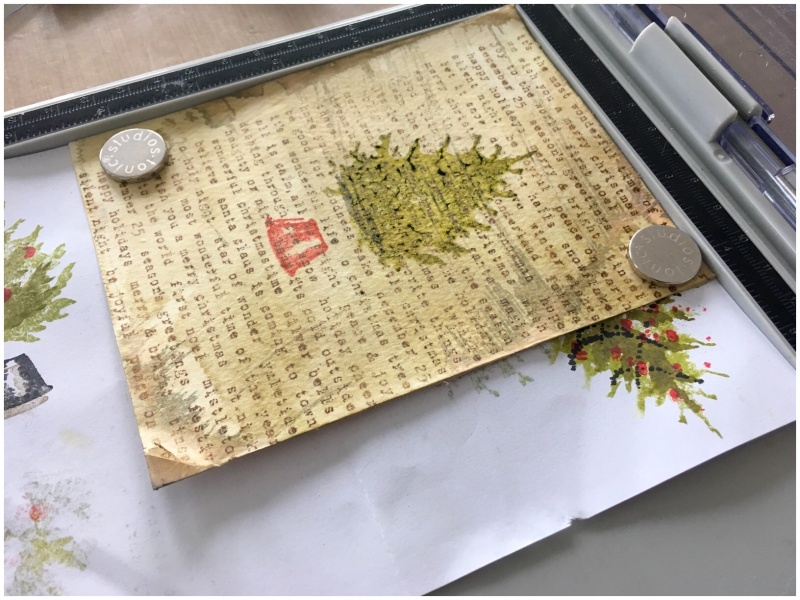
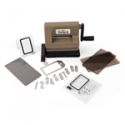
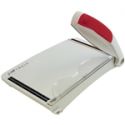
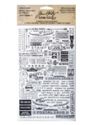
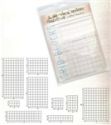
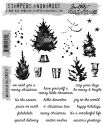
    I used my Tonic stamp platform by Tim Holtz to do all the stamping on this card with the Stampers Anonymous stamp set (CMS31&) ‘watercolor trees’ by Tim Holtz. You will see from the scrap paper that I had a few practice stamps first. As someone who likes straight lines, this stamp platform is a total game changer!!

    iGirlZoe: O Christmas Tree
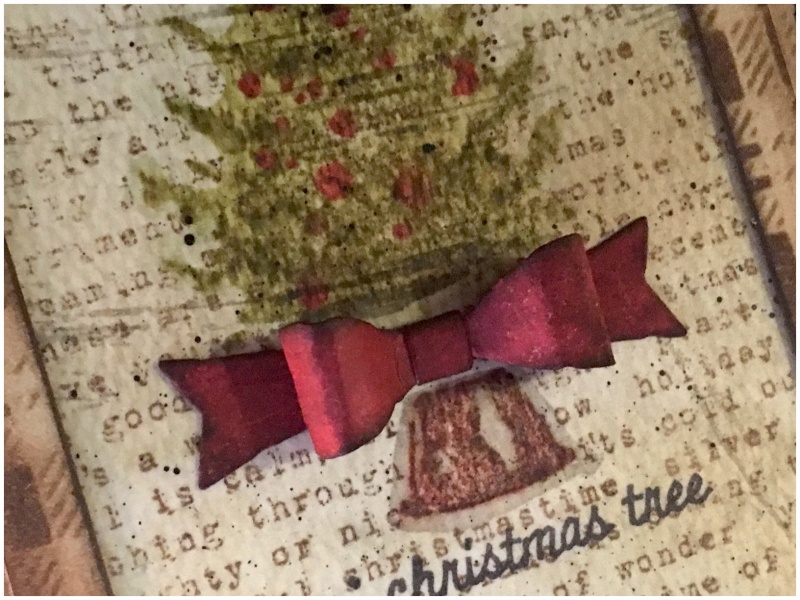
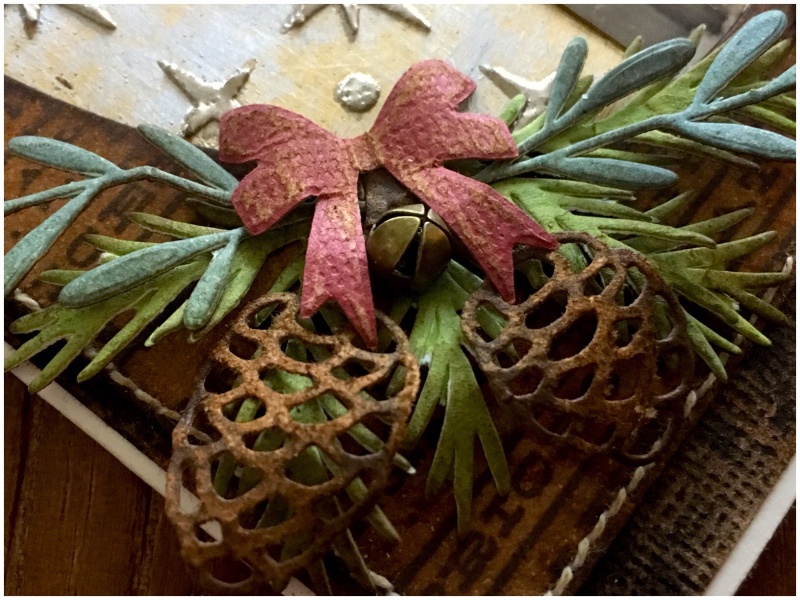
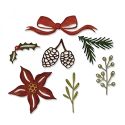
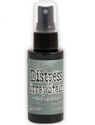
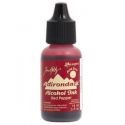
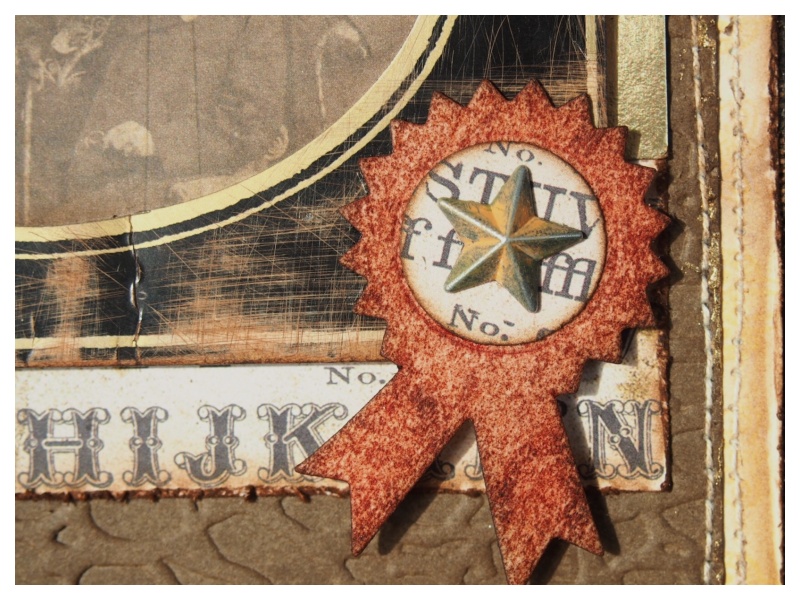
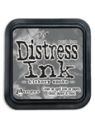
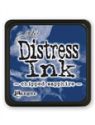
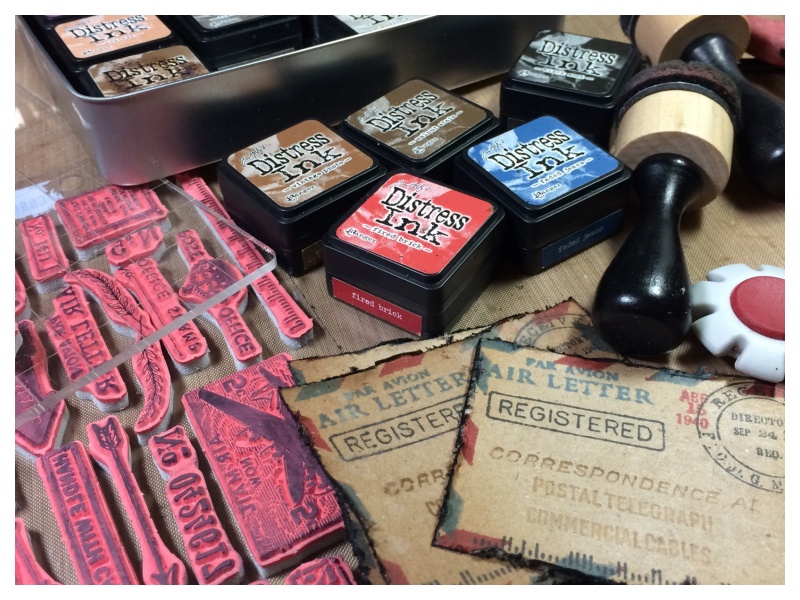
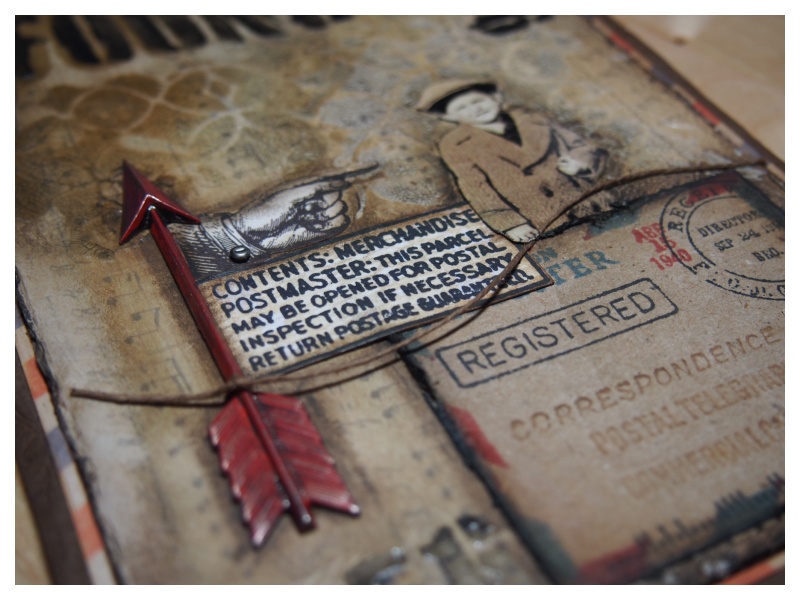
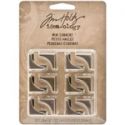
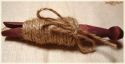
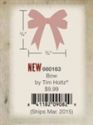
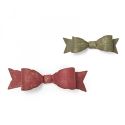
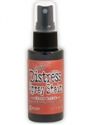
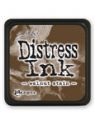
    I added a bow die cut from the Sizzix fold-up bows thinlits set from heavystock and sprayed with fired brick distress spray stain. I edged the bow with walnut stain distress ink and adhered into place with distress collage medium.

    *SIDEKICK TIP: The small bow will just about fit on the sidekick platform from corner to corner. It does need a snip at each end with scissors to release the bow from the cardstock, but in a pinch, you could take the small bow with you on your travels with your sidekick.

    iGirlZoe: O Christmas Tree
    Thanks for taking the time to visit my blog and a special thanks to those of you who have left comments, I really appreciate it. I will be back on Friday, until then…

    Cheers
    Zoe x


  2. 27th November, 2017

    Oh Starry Night

    Hello! Is it just me, or is November flying by?! Today I’m sharing a card I made for the Tim Holtz holiday inspiration series. Follow Tim on instagram and facebook to see inspiration throughout November and December. You can catch up with all the inspiration so far in week 1, week 2, week 3 and week 4.

    iGirlZoe: Oh Starry Night
    Now to my card… I am ever so slightly in love with the new Stampers Anonymous starry stencil by Tim Holtz!

    iGirlZoe: Oh Starry Night
    I sanded a piece of idea-ology metallic kraft stock with a sanding grip. Placed the starry stencil over the top and spread texture paste through it. Removed the stencil, sprinkled embossing powder over the top and set aside to allow the texture paste to air dry, before melting the embossing powder with a heat tool.

    iGirlZoe: Oh Starry Night
    Using the stitched oval die, die cut distress mixed media heavystock. Stamped with the text stamp from stampers anonymous christmas nostalgia stamp set, (one of my all time favourite Tim Holtz seasonal stamps)! Using the stamp platform it was simple to line up the strip stamp to continue the pattern down the frame.

    iGirlZoe: Oh Starry Night
    I trimmed a christmas paper doll, postmark and holiday greeting, stamped from the stampers anonymous holiday postmarks stamp set and adhered it to the card with distress collage medium.

    **The christmas paper dolls are now sold out in most places but there are still some in stock HERE… but hurry!!**

    iGirlZoe: Oh Starry Night
    Using the sidekick I die cut festive greens from distress mixed media heavystock that had been sprayed with distress spray stain. The pinecones were die cut from classic kraft stock, sanded and blended with vintage photo distress ink.

    iGirlZoe: Oh Starry Night
    I painted fired brick distress paint onto one of the die cut pieces to simulate berries and give a pop of colour. I also added bells from the idea-ology tiny bells pack, they even jingle when you move the card, (SWOON)!!

    iGirlZoe: Oh Starry Night
    Thanks for stopping by. I hope you’re taking some time to craft during the festive season and I’ll be back very soon…

    Cheers
    Zoe x


  3. 12th November, 2017

    Sidekick Sunday Step by Step

    Hello friends! As some of you will know, I’ve been taking a little break from my regular Design Team position with Frilly & Funkie, until the new year. But today I am popping back to bring you a special SIDEKICK SUNDAY STEP BY STEP with Christmas gift tags using the new Sizzix Sidekick by Tim Holtz.

    iGirlZoe: Sidekick Sunday

    If you would like to see the step by step in full, pop over to Frilly and Funkie.

    Have a great week ahead.
    Zoe x


  4. 6th February, 2017

    Creativation 2017 : Sizzix 1

    Hello everyone. Apologies for the delay, I meant to come back on Friday with this post, but wasn’t very well. Today I am sharing first of two small contributions to the Tim Holtz Sizzix Alterations Booth at Creativation.

    iGirlZoe: Tim Holtz Creativation 2017For the first sample I used the new  Tim Holtz Sizzix Alterations croc texture fade folder and sentiment words thinlits die set to make this Father’s Day card.

    To start with, I embossed a piece of the chocolate brown idea-ology substrate with the new croc texture fades folder.

    iGirlZoe: Tim Holtz Creativation 2017
    Using a piece of the white substrate, I die cut a prize ribbon and covered with fired brick distress ink. I aged a new idea-ology adornment star with fossilized amber distress paint and attached with collage matte medium.

    iGirlZoe: Tim Holtz Creativation 2017
    I sanded an idea-ology cabinet card frame with a sanding grip and blended in vintage photo distress ink. I mounted over an image from the new etcetera paper stash by Tim Holtz.

    iGirlZoe: Tim Holtz Creativation 2017
    I die cut “father’s day” using the new Tim Holtz Sizzix Alterations sentiments words thinlits die set from classic kraft core and mounted over  a strip of metallic kraft stock. Finally, I mounted the layers onto the card and added some stitching with my sewing machine.

    iGirlZoe: Tim Holtz Creativation 2017
    Thanks for the lovely comments you have been leaving me here and on social media. A big thanks to Tim Holtz, Mario Rossi and Paula Cheney for inviting me to be part of this amazing team.

    You can pre-order all of the new Tim Holtz products from The Funkie Junkie Boutique.

    I’ll be back on tomorrow with part 2 of my Sizzix samples.

    Thanks for taking the time…
    Zoe


    Save

    Save

  5. 12th October, 2016

    Frilly & Funkie Author Author

    It’s Wednesday and time for another challenge over at Frilly and Funkie Challenge Blog!

    This challenge is hosted by Suzz (Suzz’ Stamping Spot), who has chosen the theme AUTHOR AUTHOR …SUZZ says, “There are so many wonderful books that inspire the mind to imagine the worlds created within them. Think fairy tales, mysteries, romances or even science fiction and use that to inspire your art. Your challenge it so create a shabby chic or vintage styled project inspired by a book. Provide an explanation of how the book and author inspired your project.”

    iGirlZoe: Author AuthorI am a bit of a William Shakespeare fan! My favourite plays are, (in no particular order), Romeo & Juliette, Taming of the Shrew and Hamlet! I chose Hamlet for my project as it’s set in the Kingdom of Denmark, which seemed poetic given my recent move. For those unfamiliar with Hamlet, you may have heard the famous line “something is rotten in the state of Denmark!”

    The inspiration for this particular card comes from Act 5, Scene 1 where the gravedigger hands the skull to Hamlet, he holds the skull up and says, “Alas, poor Yorick! I knew him, Horatio, a fellow of infinite jest, of most excellent fancy. He hath borne me on his back a thousand times, and now, how abhorred in my imagination it is! My gorge rises at it.”

    iGirlZoe: Author Author
    I used the card packaging that comes with Tim Holtz idea-ology burlap panels. I cut 2 strips to create borders to give the card a book feel. The Tim Holtz Sizzix skull die was perfect for this project. I blended distress ink in, flicked with water and mounted over the mottled packaging background.

    iGirlZoe: Author Author
    I created a custom stencil using the alphanumeric thinlits die set and mixed media cardstock, then blended fired brick and ground espresso distress ink through.

    iGirlZoe: Author Author
    I used a the “smudge stamping stenciling” technique from one my other favourite books, “Compendium of Curiosities 3!” It gives the stenciled image a lovely worn look. I added remnant rub borders to the card to finish.

    I hope you will find time to join in the challenge and pop over to Frilly and Funkie challenge blog to see the rest of the DT’s projects. All the products I used are available from The Funkie Junkie Boutique.


    Save

    Save

    Save

    Save

  6. 25th May, 2016

    Frilly & Funkie Oh The Places You’ll Go!

    It’s Wednesday and time for another challenge over at Frilly and Funkie Challenge Blog!

    This time it’s my turn to host the challenge and I’ve chosen the theme OH THE PLACES YOU’LL GO! “For this challenge, create a vintage or shabby chic project with travel as the central theme. Think planes, trains, auto-mobiles, ships, maps, globes.”

    iGirlZoe: Oh The Places You'll GoI am moving from Switzerland to Denmark in a week and with this in mind, I thought it would be the perfect excuse to make a travel journal.

    iGirlZoe: Oh The Places You'll Go
    I want to record my first few weeks in Denmark, it’s something that I wish I had done when I moved to Switzerland from the UK 8 years ago.

    iGirlZoe: Oh The Places You'll Go
    The background was created by stamping the travel labels from Tim Holtz stamp set with various different distress inks onto Wendy Vecchi’s newsprint paper. It’s the first time I’ve used the newsprint paper and it’s so cool. It takes the distress ink with no trouble. I fussy cut the travel labels and covered with a layer of glue ‘n seal and rubbed distress crayons over the top.

    iGirlZoe: Oh The Places You'll Go
    I spread crazing paste through a mini stencil with a palette knife and covered with distress crayons.

    iGirlZoe: Oh The Places You'll Go
    This sentiment from a Tim Holtz stamp set seemed very fitting. I accidentally tore the globe die cut as I was removing it from the thinlits die, but I actually liked the distressed look to it, so went with it.

    resize_64132350_800px
    I will be taking a short break from the F&F Design Team while I move, but I’ll be back just as soon as my shipment arrives and I unpack my craft stash!

    Thanks for stopping by. I hope you will find time to join in the challenge and pop over to Frilly and Funkie challenge blog to see the rest of the DT’s projects. All the products I used are available from The Funkie Junkie Boutique.


  7. 29th April, 2016

    Good Ole USA

    I really do love the techniques used in this month’s 12 tags of 2016 by mix master Tim Holtz! So much so, that I had a third go at making something using the remixed techniques.

    iGirlZoe: Good Ole USA
    Something a friend said about the “good ole usa” inspired this post. There’s clues about this person on the project! It’s someone you’ll know! 😉

    iGirlZoe: Good Ole USA
    I die cut a sheet of Americana images from the seasonal paper stash with the United States thinlits die.

    iGirlZoe: Good Ole USA
    When you have run your die through the die cutter, keep the cutting plates together and flip over and slide the die off the plate. The individual states remain in the die which will make it easier later.

    iGirlZoe: Good Ole USA
    I used the leftover paper which I die cut the USA from, as a stencil. Spread the grout from the mosaic kit through with a palette knife onto chipboard.

    iGirlZoe: Good Ole USA
    I carefully placed each state onto the dried grout using the distress mosaic kit. I worked in sections leaving small gaps between each piece. Once completely dry, I fussy cut around the USA map and put 3D foam on the back ready to mount onto my background.

    iGirlZoe: Good Ole USA
    I embossed two pieces of distress watercolor cardstock with one of Tim Holtz’s texture fades folders and taped together at the back. I followed the techniques on Tim’s blog as with the woodgrain cardstock. I die cut shape strip stars into the side and under-mounted metallic kraft core. I mounted onto chipboard backed kraft cardstock and covered in walnut stain distress stain.

    iGirlZoe: Good Ole USA
    I added a vial label, remnant rubs and an adornment arrow covered in picket fence distress paint.

    iGirlZoe: Good Ole USA
    Finally, I added “USA” which I die cut from the new alphanumeric marquee die set from distress watercolor cardstock and covered with distress inks.

    iGirlZoe: Good Ole USA
    Thanks for stopping by, you can see all the techniques for this months tag on Tim’s blog.


  8. 27th April, 2016

    Frilly & Funkie It’s Not Easy Being Green

    It’s Wednesday and time for another challenge over at Frilly and Funkie Challenge Blog!

    This challenge is hosted by Suzz (Suzz’ Stamping Spot), who has chosen the theme IT’S NOT EASY BEING GREEN …Suzz says, “For this challenge you can create any type of project as long as you UPCYCLE or re-cycle something. Re-purpose an existing item, recycle an element that usually would be thrown away or use your paper scraps in a creative way.”

    iGirlZoe: It's Not Easy Being Green
    For this challenge I wanted to share a card I made for the CHA 2016 Tim Holtz booth using my paper scraps creatively, as well as showcasing the new mixed media 3 thinlits die set. I also went literal with the challenge theme, because for me, getting things to grow isn’t easy! It really is hard for me to be green (fingered)! 😉

    iGirlZoe: It's Not Easy Being Green
    I used leftover grungeboard and metallic kraft core and die cut the watering can. Using a sanding grip I scuffed the top to give a more worn look. I added a leftover “love” die cut and ribbon from another project.

    iGirlZoe: It's Not Easy Being Green
    I used leftover paper from the incredible new dapper paper stash by Tim Holtz and die cut these flowers and leaves with the tiny tattered florals thinlits die set. They were mounted over the top of the brick wall outline that I die cut with the new mixed media 3 thinlits die set.

    iGirlZoe: It's Not Easy Being Green
    I added a new idea-ology mini plaquette. Each time I use one of these I feel compelled to buy another packet! They are just too divine not to want to stockpile and hoard!

    iGirlZoe: It's Not Easy Being Green
    Thanks for stopping by. I hope you will find time to join in the challenge and pop over to Frilly and Funkie challenge blog to see the rest of the DT’s projects. All the products I used are available from The Funkie Junkie Boutique.

    CHA Product previews and BTS from the show are on Tim’s blog. Many of the new products are shipping now or available for pre-order.


  9. 2nd March, 2016

    Frilly & Funkie Layer it Up!

    It’s Wednesday and time for another challenge over at Frilly and Funkie Challenge Blog!

    This challenge is hosted by Nancy (Tattered Treasures), who has chosen the theme LAYER IT UP …Nancy says, “Let’s add dimension this time around. Simply create any type of vintage or shabby chic project featuring multiple layers.”

    iGirlZoe: Layer it UpI used a mix of papers, pastes, paints and metal embellishments to create the layers.

    iGirlZoe: Layer it Up
    For the first layer I covered a piece of leftover paper with the new Tim Holtz plain tissue wrap. I brushed on multi medium matte using the new collage brush. I LOVE this brush, it made applying the adhesive so easy.

    iGirlZoe: Layer it Up
    I just got the new crazing collage medium and had to use it right away! Using a palette knife I spread it through a stencil and set aside to dry.

    iGirlZoe: Layer it Up
    I rubbed a distress crayon over the top to highlight the crazing detail! Awesome right?!

    iGirlZoe: Layer it Up
    Admittedly I was looking for any excuse to experiment with the new distress crayons. The consistency is quite soft and I wasn’t sure if I could use them with a stencil, but it worked fine. I rubbed the crayon directly onto the stencil and then smudged into the edges with my finger.

    iGirlZoe: Layer it Up
    I cleaned the stencil and placed it back over the crayoned area and then spread transparent texture paste through the stencil to seal the crayon.

    iGirlZoe: Layer it Up
    I made some ephemera with the Tim Holtz Correspondence stamp set.

    iGirlZoe: Layer it Up
    Finally I added an adornment arrow covered in candied apple distress paint, tied with a piece of trailing twine.

    Thanks for stopping by. I hope you will find time to join in the challenge and pop over to Frilly and Funkie challenge blog to see the rest of the DT’s projects. All the products I used are available from The Funkie Junkie Boutique.


  10. 12th December, 2015

    Frilly & Funkie Holiday Card Tutorial

    Hello everyone, hope your weekend is off to a good start. Today I have a SATURDAY STEP BY STEP over at Frilly & Funkie with a card inspired by Starbucks red holiday cups.

    iGirlZoe: Tis The Season

    iGirlZoe: Tis The Season
    If you would like to see the step by step in full, please pop over to Frilly & Funkie.

    I hope you have a great weekend.

    Zoe