1. 3rd November, 2018

    Mr Bones Halloween Banner 2018

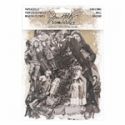
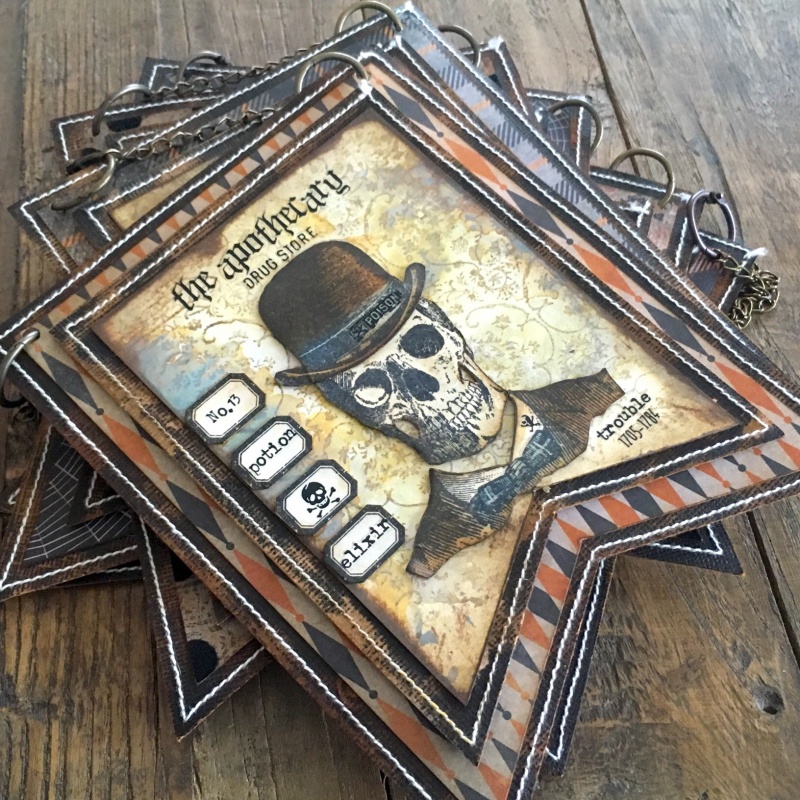
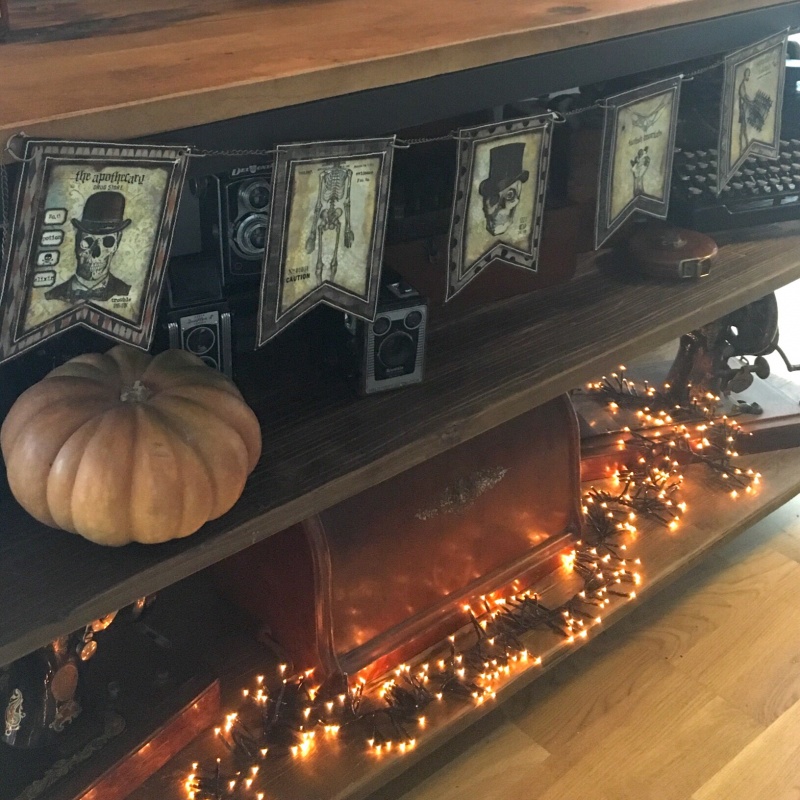
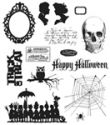
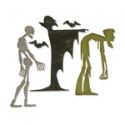
    Hello friends. Hope you had a happy halloween with lots of treats. Today I’m sharing the halloween banner I made using some of Tim Holtz Halloween 2018 products. I loved this years Halloween release, but my heart was stolen by Mr Bones from the Mr Bones stamp set (cms345).

    iGirlZoe: Tim Holtz, stampers anonymous. idea-ology, distress oxide, mixed media, halloween, skull, banner

    iGirlZoe: Tim Holtz, stampers anonymous. idea-ology, distress oxide, mixed media, halloween, skull, banner

    iGirlZoe: Tim Holtz, stampers anonymous. idea-ology, distress oxide, mixed media, halloween, skull, banner
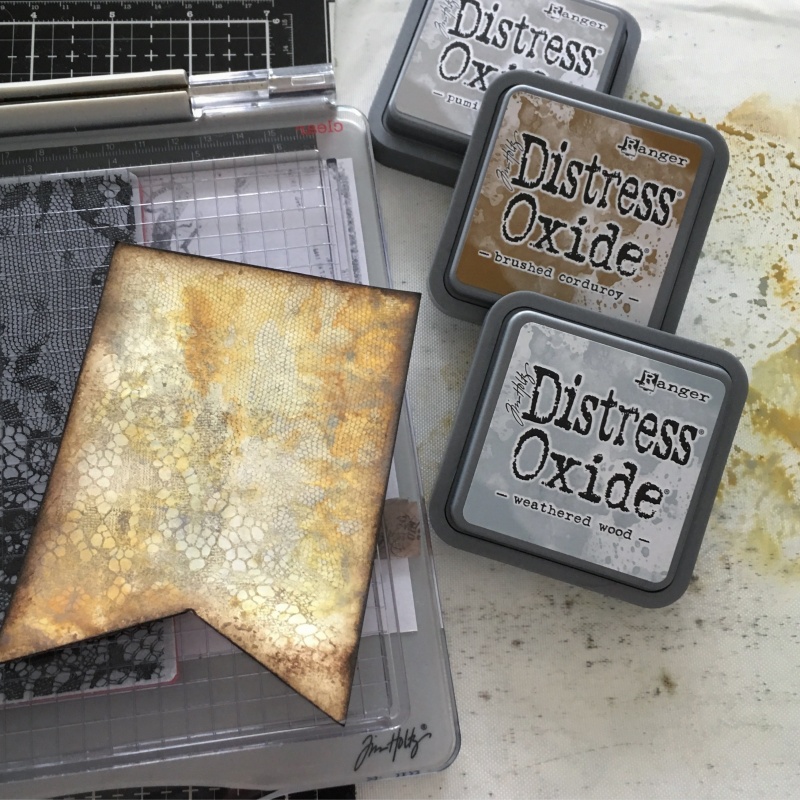
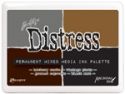
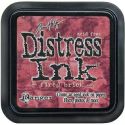
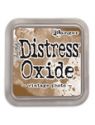
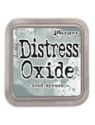
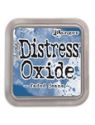
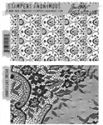
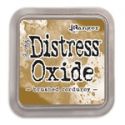
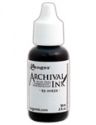
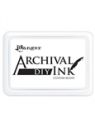
    Using 3 of my favourite distress oxide inks from the final colour release, I created a base for the top layer of the banner. Stamp the lace stamp from ornate and lace stamp set (cms348) with frayed burlap distress ink. Edged with ground espresso distress archival ink.

    iGirlZoe: Tim Holtz, stampers anonymous. idea-ology, distress oxide, mixed media, halloween, skull, banner
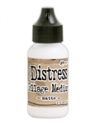
    All of the background banner panels are Tim Holtz halloween paper stash and classic kraft stock, sanded and blended with vintage photo distress ink and stitched. You can see the banner dimensions HERE.

    iGirlZoe: Tim Holtz, stampers anonymous. idea-ology, distress oxide, mixed media, halloween, skull, banner
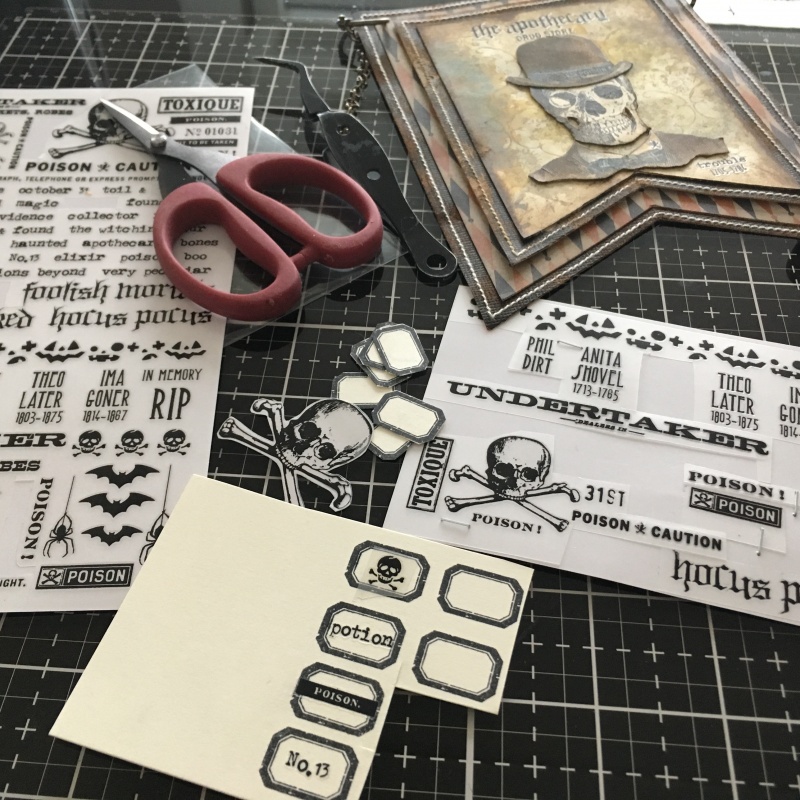
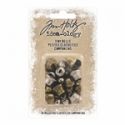
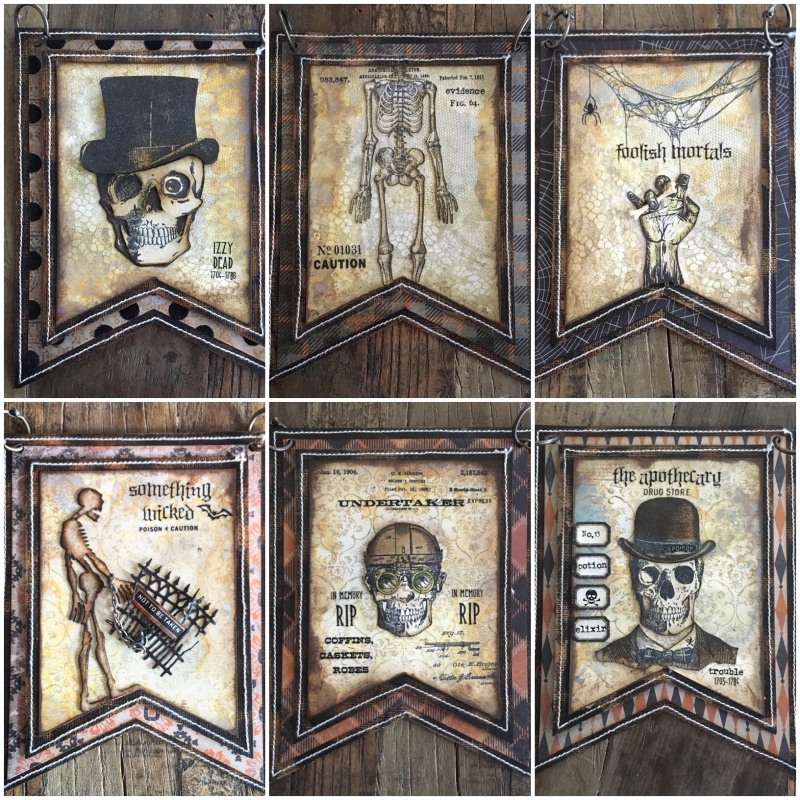
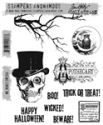
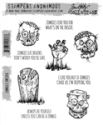
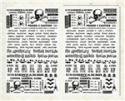
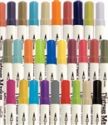
    The Halloween remnant rubs were perfect for adding accents and I used them throughout the banner. How cute is this tiny vial label stamp from stamp set mini halloween 3 (cms140). I used the skull head from the same set in 2 of the banners further down.

    iGirlZoe: Tim Holtz, stampers anonymous. idea-ology, distress oxide, mixed media, halloween, skull, banner
    But back to Mr Bones, who was the beginnings of this banner and my favourite stamp of the season. I will let you into a little secret, he’s sticking around for Christmas… with that hat straight out of Dickens, A Christmas Carol!

    iGirlZoe: Tim Holtz, stampers anonymous. idea-ology, distress oxide, mixed media, halloween, skull, banner
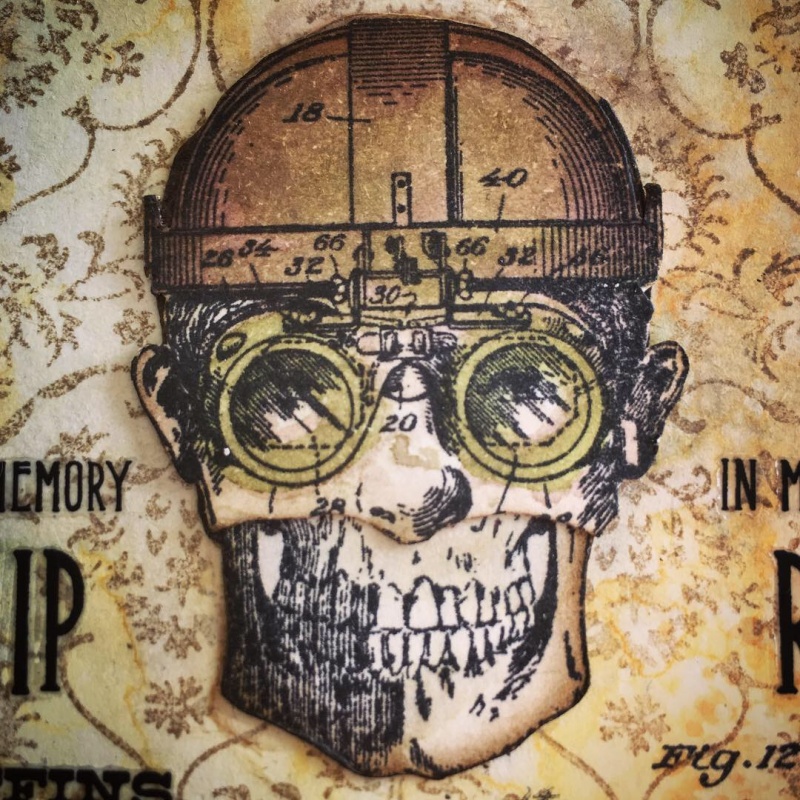
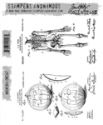
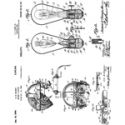
    Anyone else signed up to the inventor stamp club?! I did fussy cut this, I find it relaxing, but for those who don’t, stamp directly onto the banner. I’ve just ordered the inventor Christmas stamps and can’t wait to play with them.

    iGirlZoe: Tim Holtz, stampers anonymous. idea-ology, distress oxide, mixed media, halloween, skull, banner
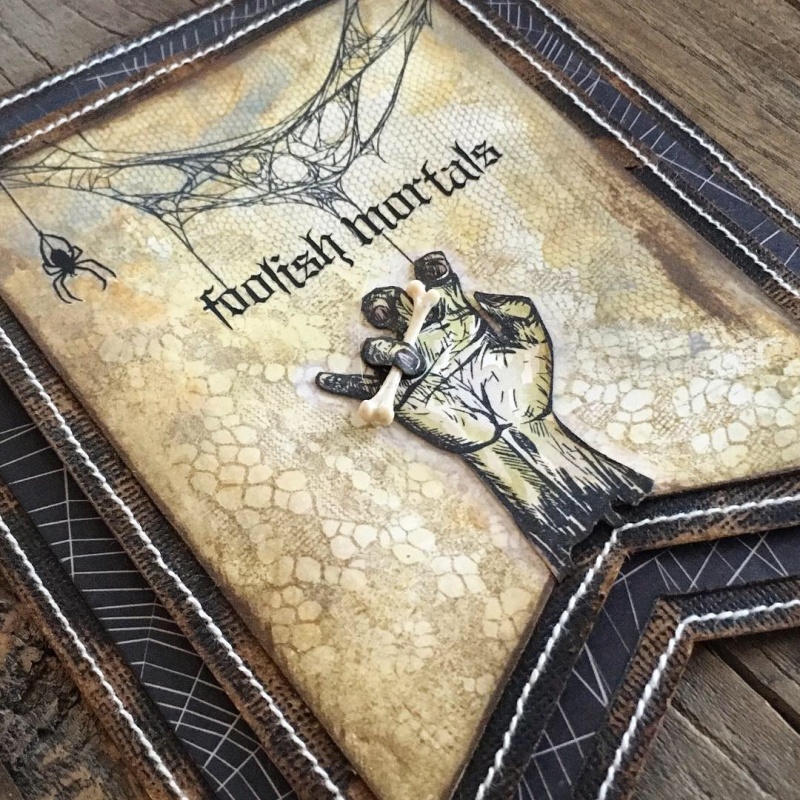
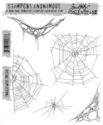
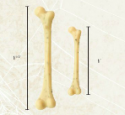
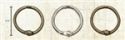
    Another of my favourite stamps from this season was this one from the tangled webs set (cms346). This is another stamp I am going to use beyond halloween. I’ve seen some fantastic things done using this and the theories stamp set (cms329) in the Tim Holtz Addicts facebook group. If you’re an addict, come and join in the fun. I tucked a bone from the idea-ology boneyard set by stamping an extra finger and gluing it over the bone. Thanks Tami Bastiaans for the zombie finger inspiration.

    iGirlZoe: Tim Holtz, stampers anonymous. idea-ology, distress oxide, mixed media, halloween, skull, banner
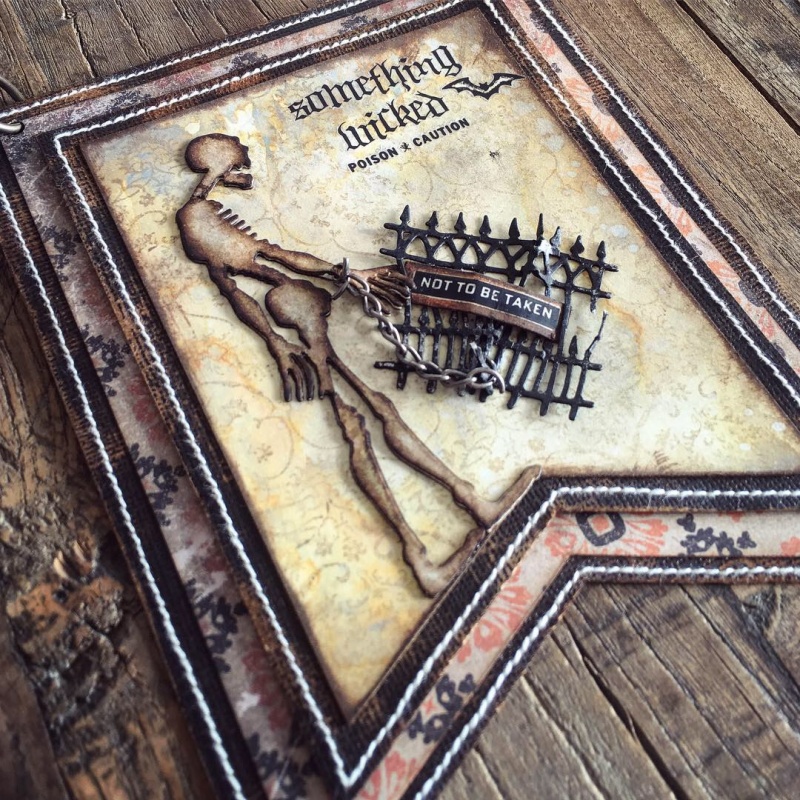
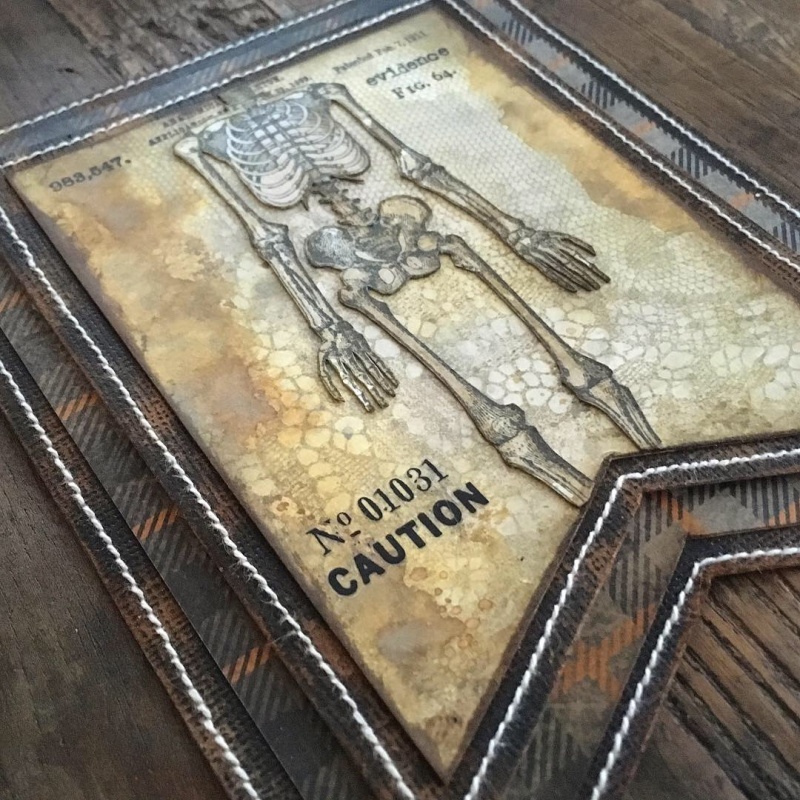
    I used the ornate stamp from the ornate and lace set (cms348) for the background on the next 3 banner panels. I cut a skeleton from heavystock with the ghoulish thinlits die set and a fence from the village graveyard thinlits set. I covered the fence with black soot distress paint and chained it to the skeleton. I just love how well the old and new products in Tim’s line work together. It makes adding to your collection each year so much fun.

    iGirlZoe: Tim Holtz, stampers anonymous. idea-ology, distress oxide, mixed media, halloween, skull, banner
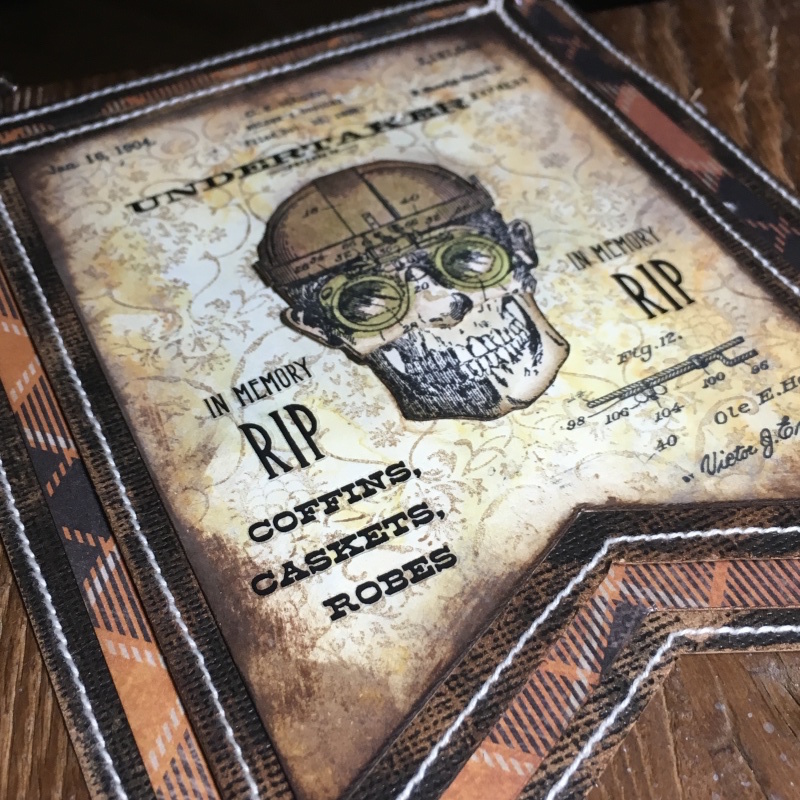
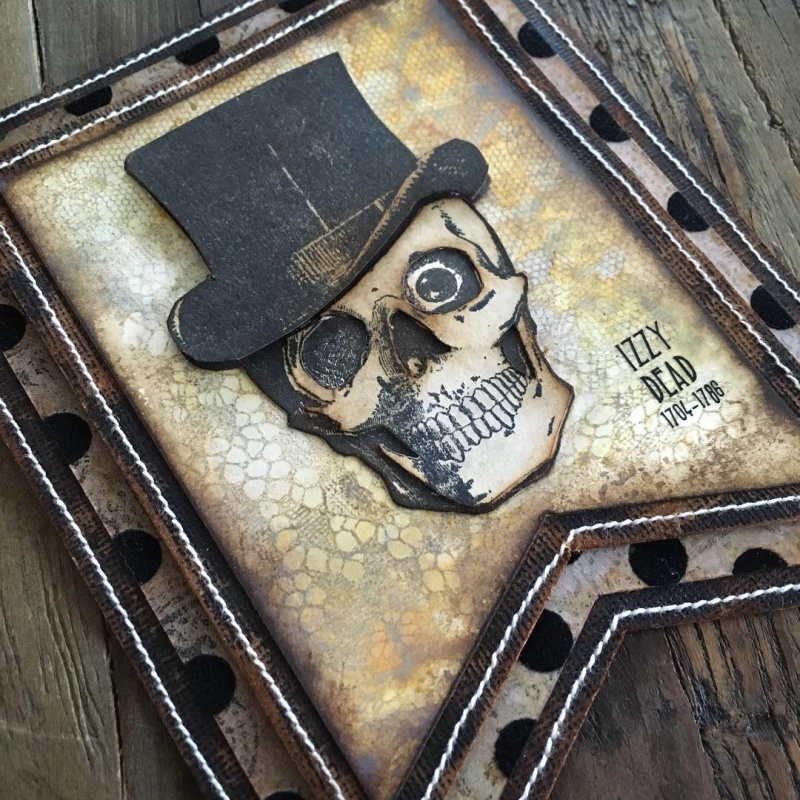
    This was a “huh, what if…” idea that became a “YES” moment. I combined the top of a stamp from the inventor 2 stamp set (cms342) and bottom of the skull head from mini halloween 3 stamp set (cms140). Stamp, fussy cut and glue one over the other and watercolour with distress inks.

    iGirlZoe: Tim Holtz, stampers anonymous. idea-ology, distress oxide, mixed media, halloween, skull, banner
    I posted the uncanny resemblance that my husband’s 2016 halloween costume has to this stamping monster mash up, on my instagram.

    iGirlZoe: Tim Holtz, stampers anonymous. idea-ology, distress oxide, mixed media, halloween, skull, banner
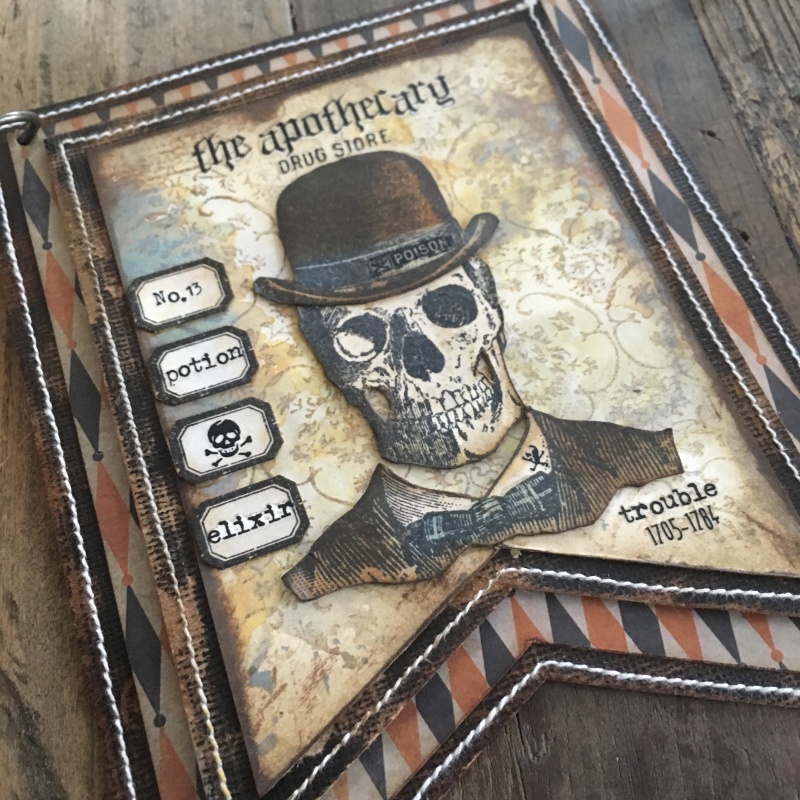
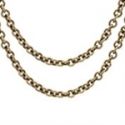
    There had to be a dapper skull head including in this banner. I used some of the remnant rubs on the shirt collar and hat, as well as on some stamped tiny vial labels. There is a little extra chain (used to connect the banner) left at each end ready to add a couple more panels next year…

    iGirlZoe: Tim Holtz, stampers anonymous. idea-ology, distress oxide, mixed media, halloween, skull, banner
    Thanks for stopping by. I hope you like the banner and it’s inspired you to make your own.

    Have a great Saturday.
    Zoe


  2. 8th December, 2017

    It’s a Wrap!

    I’m bringing you my final piece for the Tim Holtz holiday inspiration series. I hope you’ve been following along with Tim on instagram and facebook throughout November and December. If you’ve missed anything, you can catch up with all the inspiration on Tim’s blog from week 1, week 2, week 3, week 4, week 5 and week 6!

    iGirlZoe: It's A Wrap
    As there are only 17 sleeps until Christmas, (yes, I’m counting), this is a nice quick and simple way to give your gifts a little personal touch with a gift adornment!

    Using the Sizzix gift tag thinlits die and sidekick, as well as the Stampers Anonymous holiday and stripes stamp set to create the background. I added foil and vintage photo distress ink to the edges and vintage twine to the top. Then decorated…

    iGirlZoe: It's A Wrap
    ..die cut from the festive berries thinlits set, christmas paper doll, metallic holiday sticker and mercury glass stickles.

    iGirlZoe: It's A Wrap
    ..die cut from the christmastime village thinlits set and metallic holiday sticker.

    iGirlZoe: It's A Wrap
    ..die cut numbers that came with the Sizzix sidekick (LOVE THESE), christmas remnant rubs and stickles mercury glass.

    iGirlZoe: It's A Wrap
    ..die cut from mini festive greens thinlits set edged with mercury glass stickles, idea-ology bells covered with red pepper alcohol ink and metallic holiday sticker.

    iGirlZoe: It's A Wrap
    …Okay, I literally couldn’t stop myself from making another gift card holder, decorated in a similar way as the gift adornments and adding holly form the mini festive greens thinlits set and christmas ephemera.

    Thanks so much to Tim Holtz, Mario Rossi and Paula Cheney for inviting me to be a part of this years seasonal team and for all of their hard work, guidance and support. Thanks to all of you for your kind words of encouragement. I will be back on Monday with a recap of all my holiday inspiration series makes. Hope you have a great weekend.

    Cheers
    Zoe


  3. 13th November, 2017

    Joy To The World

    Hello friends. I’m back with another card for the Tim Holtz holiday inspiration series. Throughout November and December Tim will be sharing projects by a group of talented crafters to provide some inspiration to get you creative during the holiday season. Follow Tim on facebook and instagram and his blog for the recap each Saturday.

    iGirlZoe: Joy to the WorldI created this holiday card by mixing the old with the new Sizzix dies by Tim Holtz. I wanted to create a card to send to family overseas this year and the globe die was a perfect match to santa and his sleigh die.

    iGirlZoe: Joy to the World
    Step 1: Die cut a globe from distress mixed media heavystock with the Sizzix globe thinlits die.
    Step 2: Blend in vintage photo distress oxide over the land portions of the die cut.
    Step 3: Cover with distress embossing ink and pour over fractured iced embossing powder.
    Step 4: Gently tap off excess.

    iGirlZoe: Joy to the World
    Step 5: Melt the embossing powder with a heat tool. The reaction it has with the distress oxide is SO COOL!

    iGirlZoe: Joy to the World
    Step 6: Blend faded jeans distress oxide into distress mixed media heavystock.
    Step 7: Blend iced spruce distress oxide over the top.
    Step 8: Blend vintage photo distress oxide into the edges.
    Step 9: Spritz with water using the distress sprayer and dry with a heat tool.

    iGirlZoe: Joy to the World
    Step 10:  Die cut the background using the snow die from the winter wonderland thinlits set.
    Step 11: Cut a piece of printer paper slightly larger than the background and brush distress collage medium over the top.
    Step 12: Working quickly (collage medium dries FAST), place the background over the top of the printer paper and trim the edges. The collage medium dries clear and matte so you don’t see it.

    iGirlZoe: Joy to the World
    Step 13: Die cut a frame from metallic kraft stock using the stitched rectangle thinlits die.
    Step 14: Using a sanding grip, carefully sand the frame, exposing the kraft core below the metallic surface.
    Step 15: Blend vintage photo distress ink into the frame with a mini blending tool.

    iGirlZoe: Joy to the World
    Step 16: Die cut santa and his sleigh from metallic kraft stock using the village christmastime thinlits die.
    Step 17: Very carefully sand the edges of the die cut with a sanding grip.
    Step 18: Blend vintage photo distress ink into the edges and mount using 3D foam.

    iGirlZoe: Joy to the World
    Step 19: Using classic kraft stock, die cut greenery using the festive greens thinlits die set. Layer up and adhere using distress collage medium. Die cut the small bow using the fold-up bows thinlits die set and mount over the top of the greenery. Splatter with picket fence distress ink using a spatter brush.

    iGirlZoe: Joy to the World
    Step 20: This sentiment from the idea-ology quote chips was perfect for my card. I swiped vintage photo distress ink directly onto the edges and rubbed it over the top with my finger. I swiped the ink pad onto my non stick craft sheet and picked it up with the spatter brush to try to create aged brown spots.

    iGirlZoe: Joy to the World
    Thanks for stopping by, I hope this has inspired you to pull out your dies and make something. Don’t forget to catch up with all the projects from week 2 for more holiday inspiration. I’ll be back soon.

    Cheers
    Zoe x


  4. 11th January, 2016

    CHA 2016 Tim Holtz Periscopes

    Good Morning! It’s been an exciting and busy weekend for the craft world with the Craft and Hobby Association (CHA) 2016 show in full swing. If like me, you were glued to your screen all weekend watching Periscope and listening for the next “whistle,” you would have seen some of the incredible products being demonstrated. I also know that for some, it wasn’t possible to get Periscope or stream it in the 24 hour limit the videos are available for, especially those working their socks off at CHA!

    SO, my very clever and time generous husband spent his weekend saving and converting the scopes. A big thank you to him, as each video took several hours to download, convert and upload. Also a big thank you to everyone at CHA who took the time to periscope so people from around the world could feel part of the show.

    You can see the sneak peaks for all the new products on Tim Holtz Blog.

    Enjoy…

    CHA2016 periscope – Tim Holtz Opening Day

    CHA2016 periscope – Tim Holtz Sizzix Booth

    CHA2016 periscope – Tim Holtz Alterations here we go (by Mario Rossi)

    CHA2016 periscope – Tim Holtz Vagabond 2 demo (with Richele Christensen)

    CHA2016 periscope – Tim Holtz Sizzix booth village (with Annette Green)

    CHA2016 periscope – Tim Holtz Distress Crayons in Ranger booth