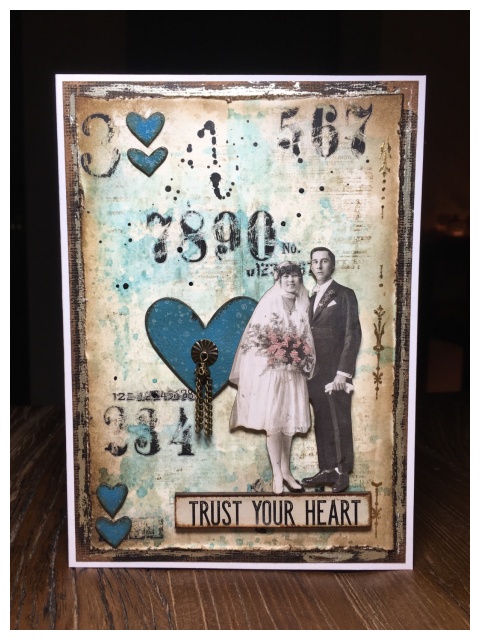
It’s Wednesday and time for the funkie side of the design team to share our projects for the current challenge over at the Frilly and Funkie Challenge Blog!
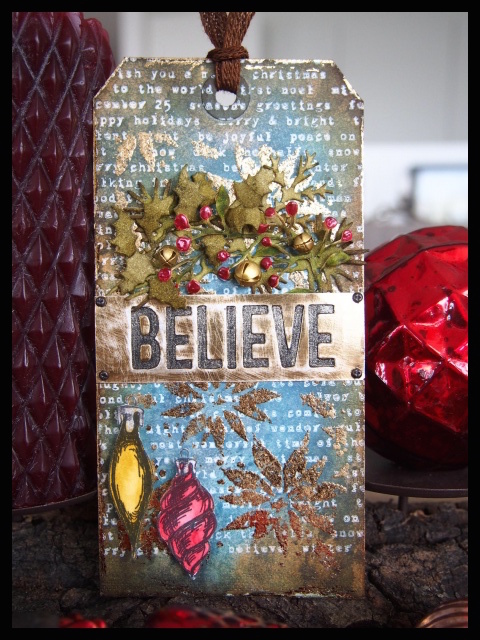
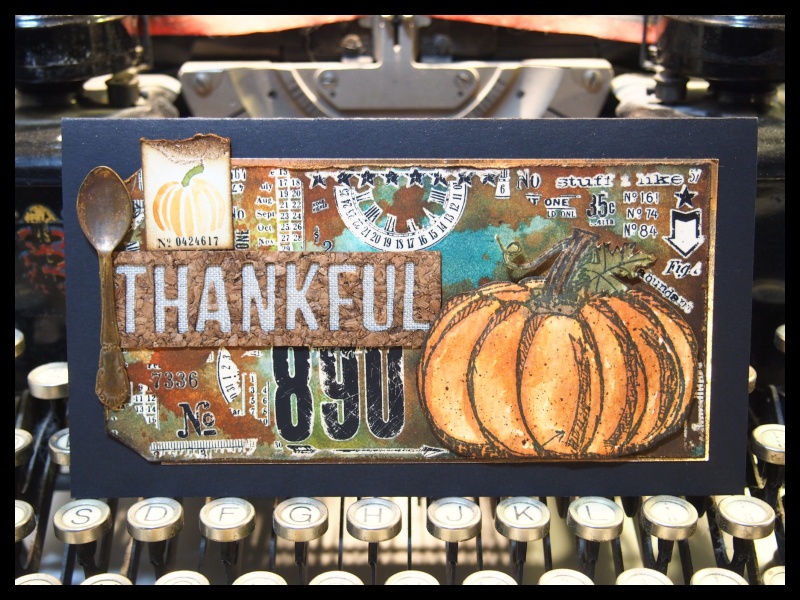
The current challenge is hosted by Jenny (Pushing the Right Buttons), who has chosen the theme COUNT ME IN! …Jenny says, “Numbers are a huge part of our everyday lives so it is no surprise they are also often included in our creative ones too. For this challenge you need to use your choice of numbers to add that special ‘sum-thing’ to your vintage or shabby chic project. Make them count as part of the design, not just a last minute addition!”
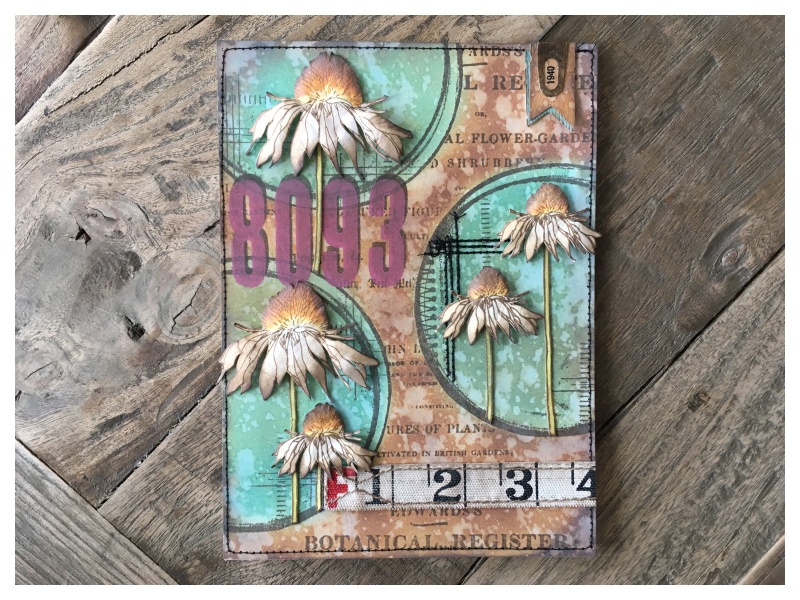
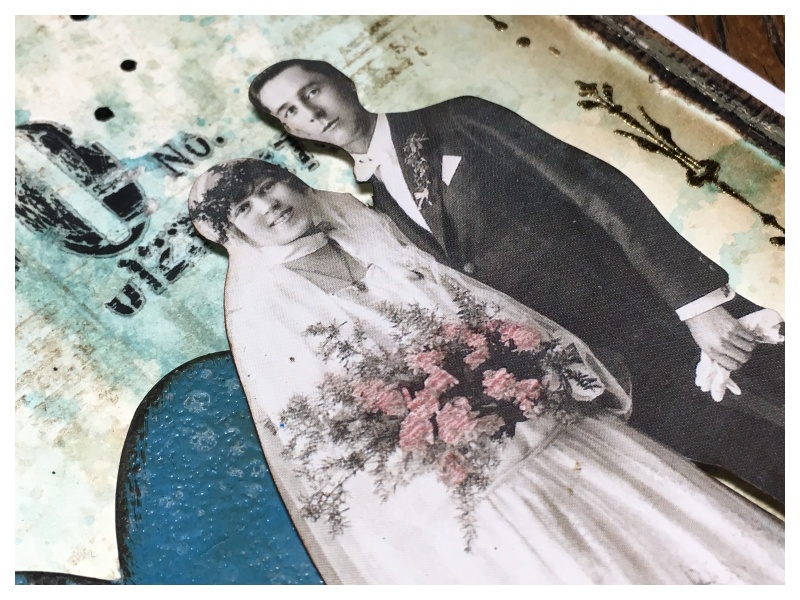
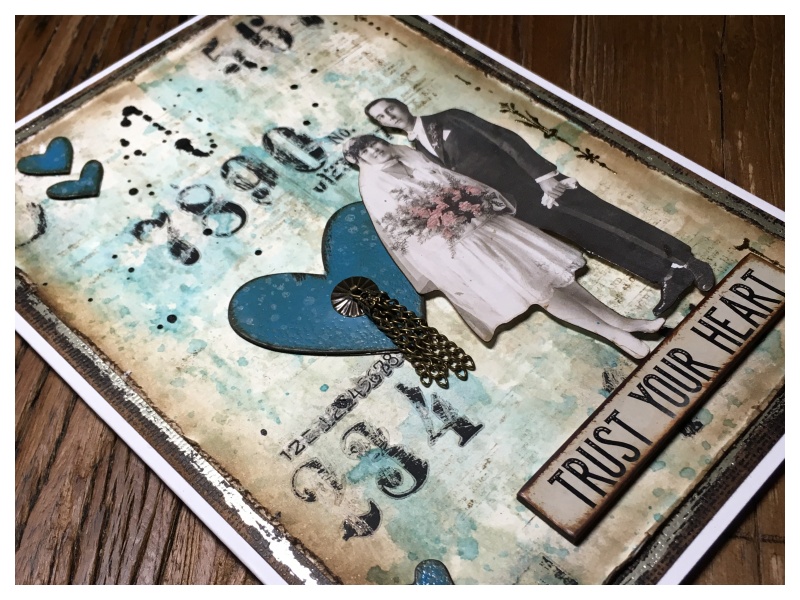
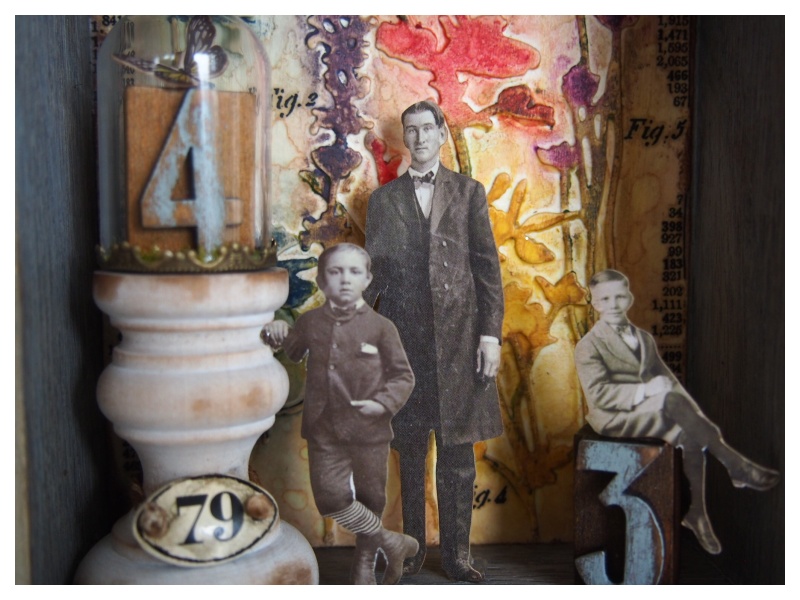
 I admit that when I saw this challenge I was delighted, as I love numbers. I wanted to create a Spring home decor piece to hang on the wall.
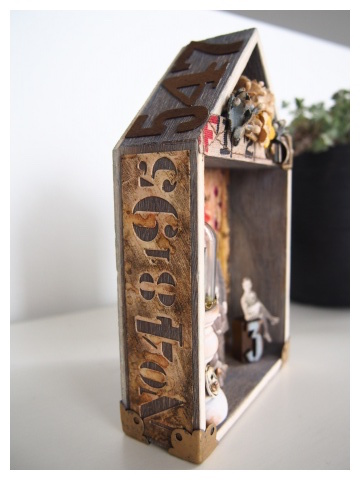
I started by painting a vignette house with iced spruce distress paint, with water added to dilute and create a wash and set aside to dry.
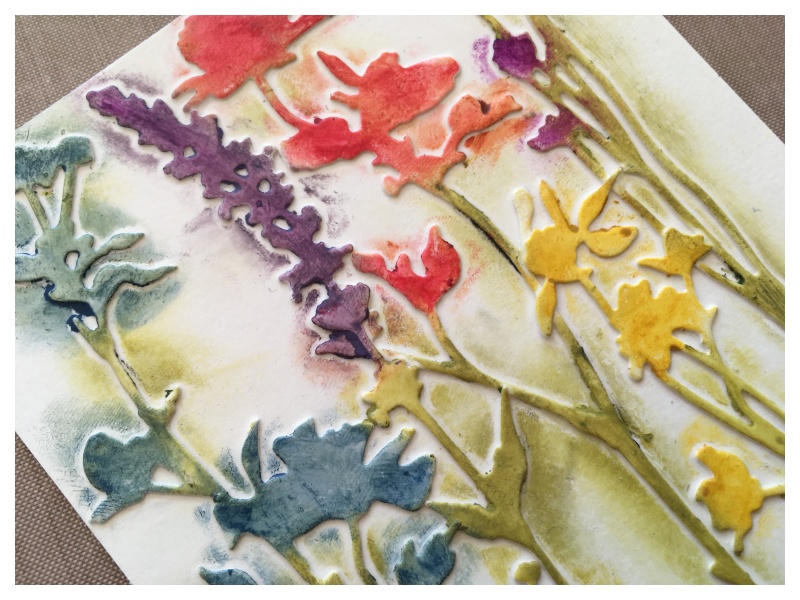
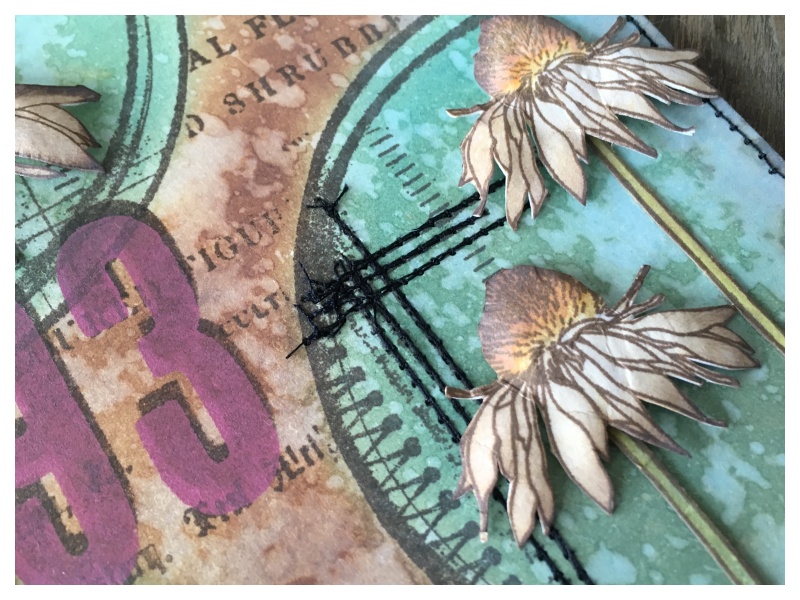
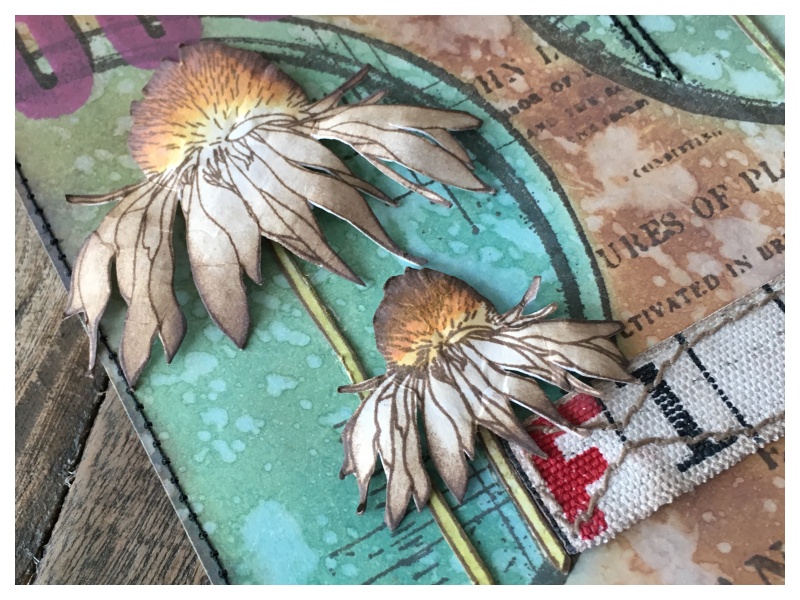
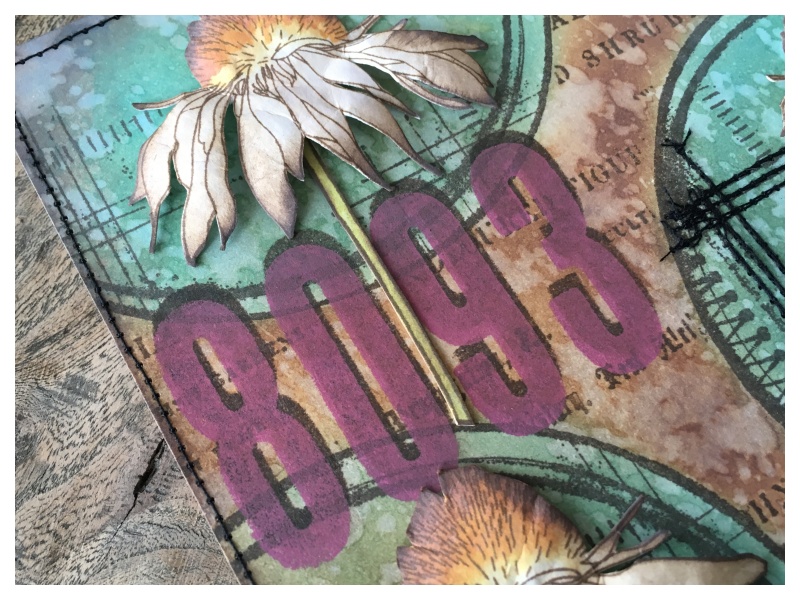
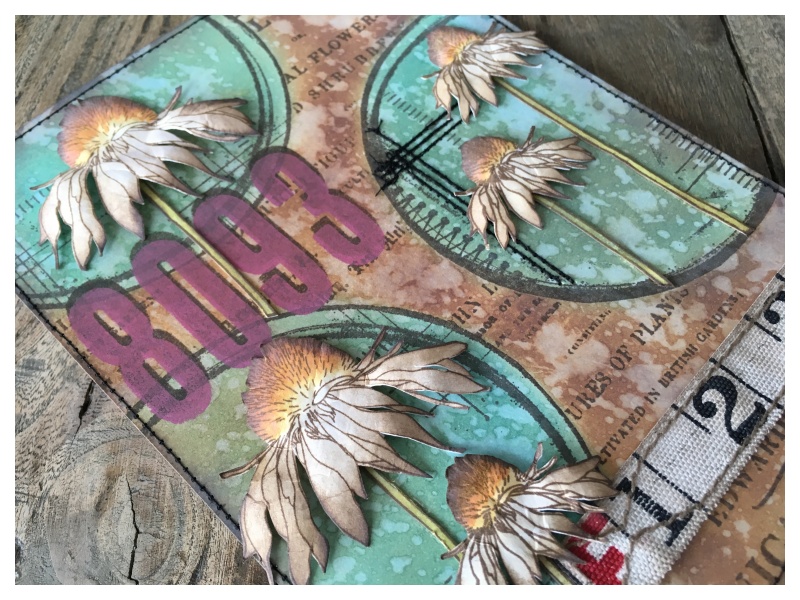
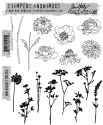
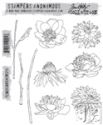
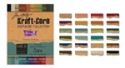
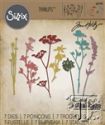
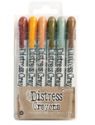
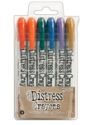
The background was created with a piece of manila heavystock, cut to fit the vignette house. I die cut wildflowers from heavystock and adhered them to the background with matte collage medium. Then painted another layer of collage medium over the top. Once dry, I began adding distress crayons to the flowers, working in small areas and blending with my finger.
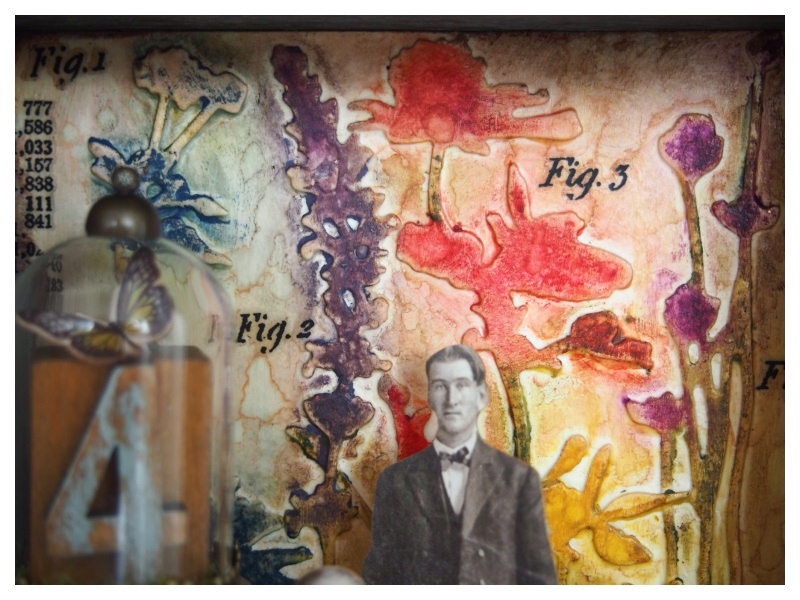
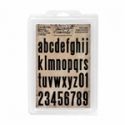
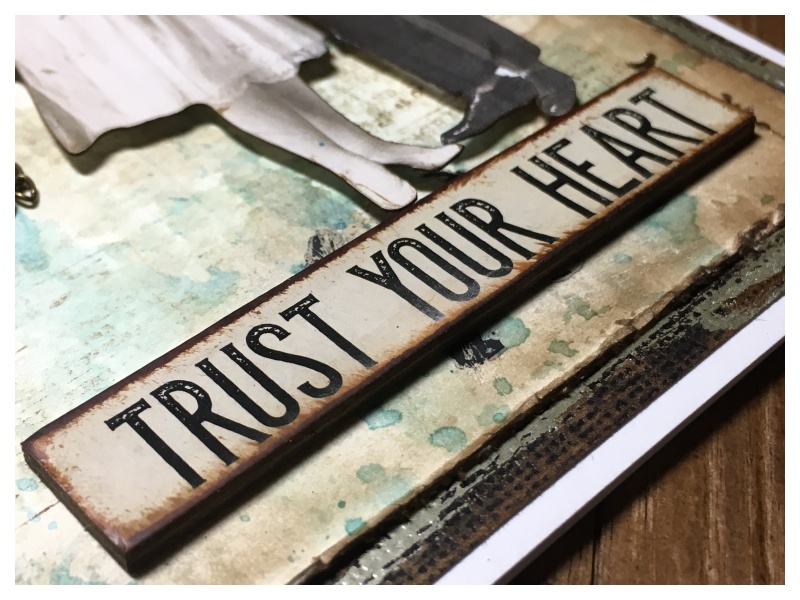
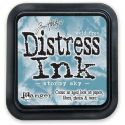
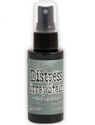
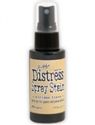
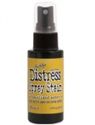
I sanded the edges, blended in a little vintage photo distress ink and added water droplets using a distress spray bottle. To continue with the challenge theme, I added remnant rub numbers. Then adhered the panel into the vignette house with matte collage medium.
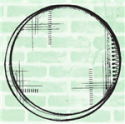
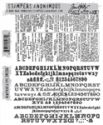
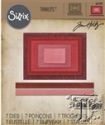
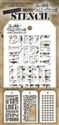
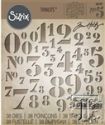
 I used the stencil numbers thinlits die set to create side panels for the vignette house from heavystock. Once die cut, I covered with a layer of matte collage medium. Once dry, I blended in distress crayons.
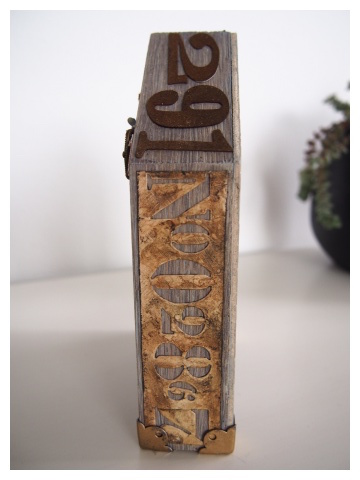 Using a cotton bud with a tiny mist of water, I removed some of the crayon to create highlights. I then adhere to the side panels of the vignette house.
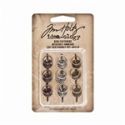
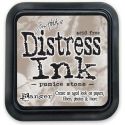
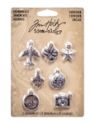
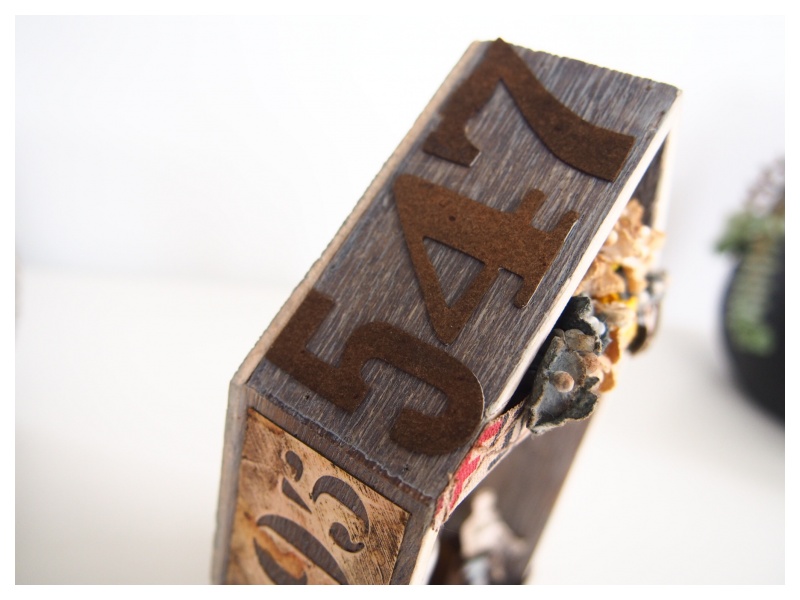
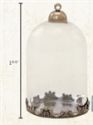
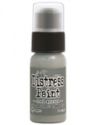
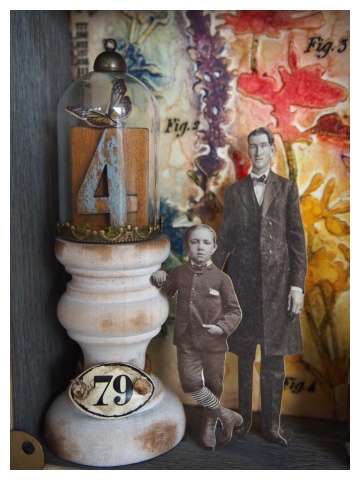 I painted a vignette finial with picket fence distress paint and then added vintage photo distress ink to areas to age. I added a mini plaquette with twine, a decorative dome with a letterpress block inside which was painted with weathered wood distress paint and sanded when dry. I adhered a butterfly to the top of the letterpress and a little moss to the bottom of the dome.
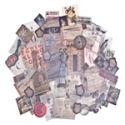
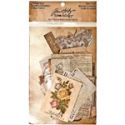
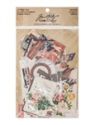
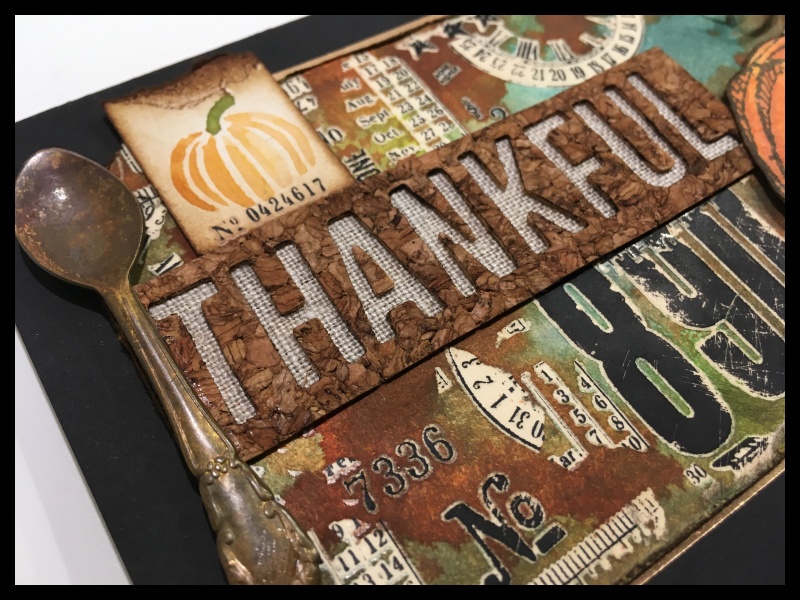
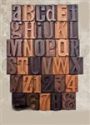
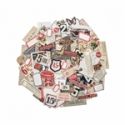
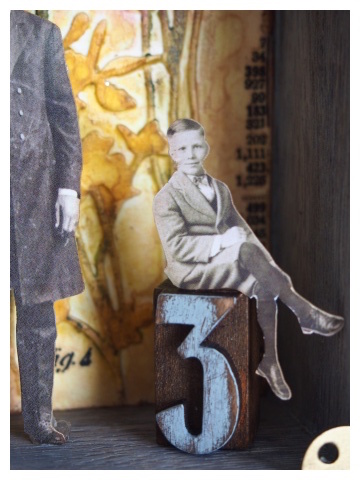 Finally I added another letterpress, which I had painted the same way as before and added some of the new paper dolls. These things are selling like hotcakes and I can see why!
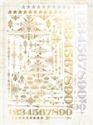
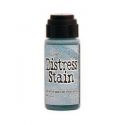
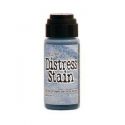
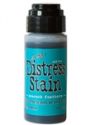
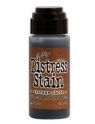
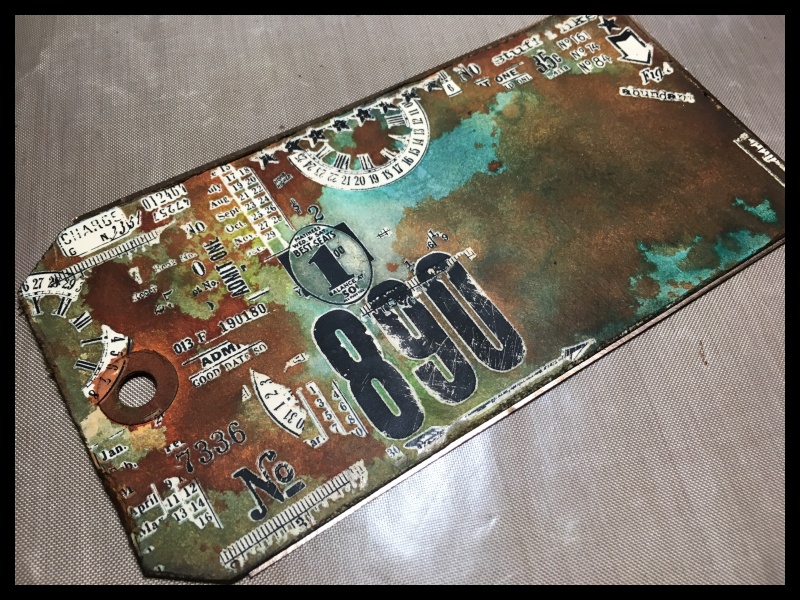
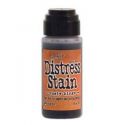
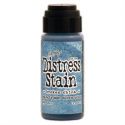
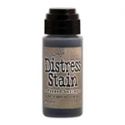
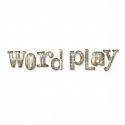
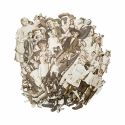
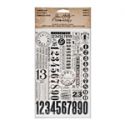
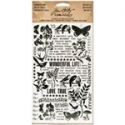
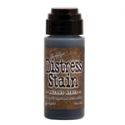
For the roof I added numbers cut from grunge paper using the wordplay die. I confess to hoarding grunge paper and grunge board since it was discontinued. I used walnut stain distress stain to colour the numbers. I find the stains work really well with wood and grunge board/paper.
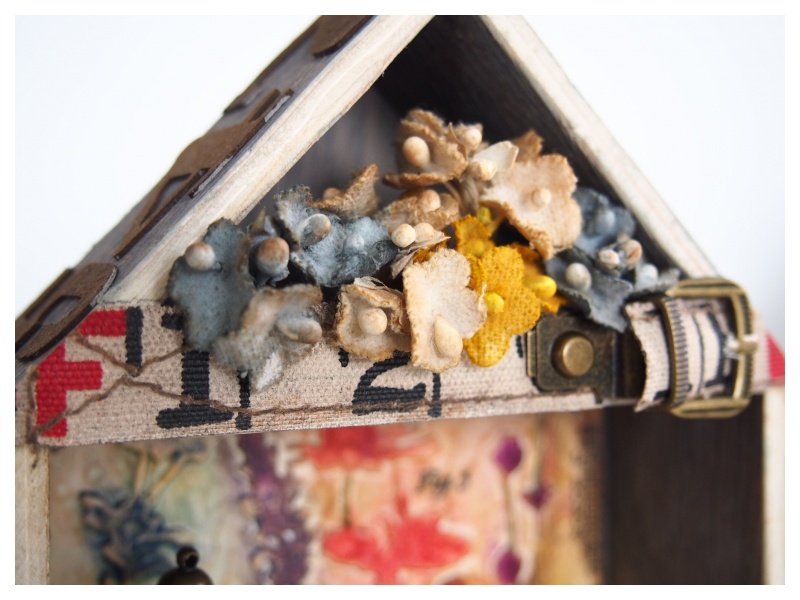
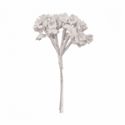
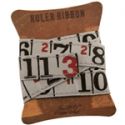
I decorated the top of the vignette with some bouqet findings, which I coloured with distress sprays. I added a ruler ribbon which I added a belt buckle to and adhered with glossy accents.
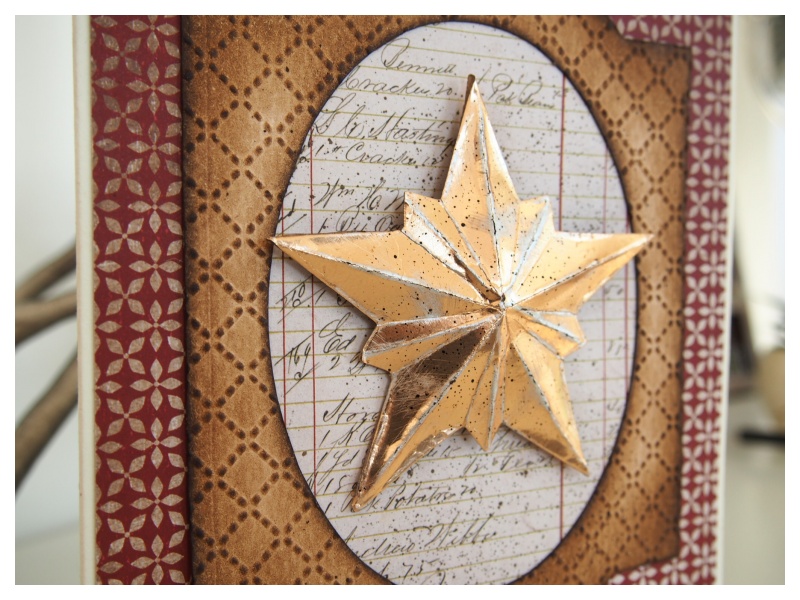
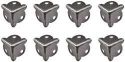
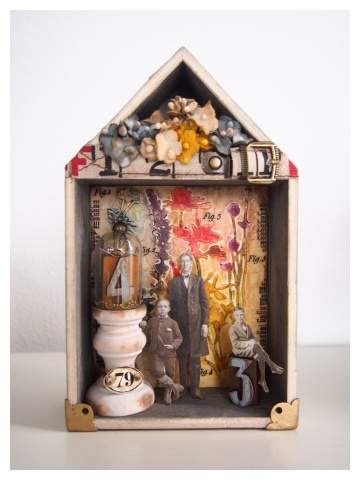 I added corners which I rubbed gold wax onto. Just add a wall hanger to the back it’s ready to hang up for Spring.
I hope you will find time to join in the challenge and pop over to Frilly and Funkie challenge blog to see the rest of the DT’s projects. All the products I used are available from The Funkie Junkie Boutique.
Thanks for stopping by.
Zoe
 |
 |
 |
 |
 |
 |
 |
 |
 |
 |
 |
 |
 |
 |
 |
 |
 |
 |
 |
 |
 |
 |
 |
 |
 |
 |
 |
 |
 |
 |
 |
 |
 |