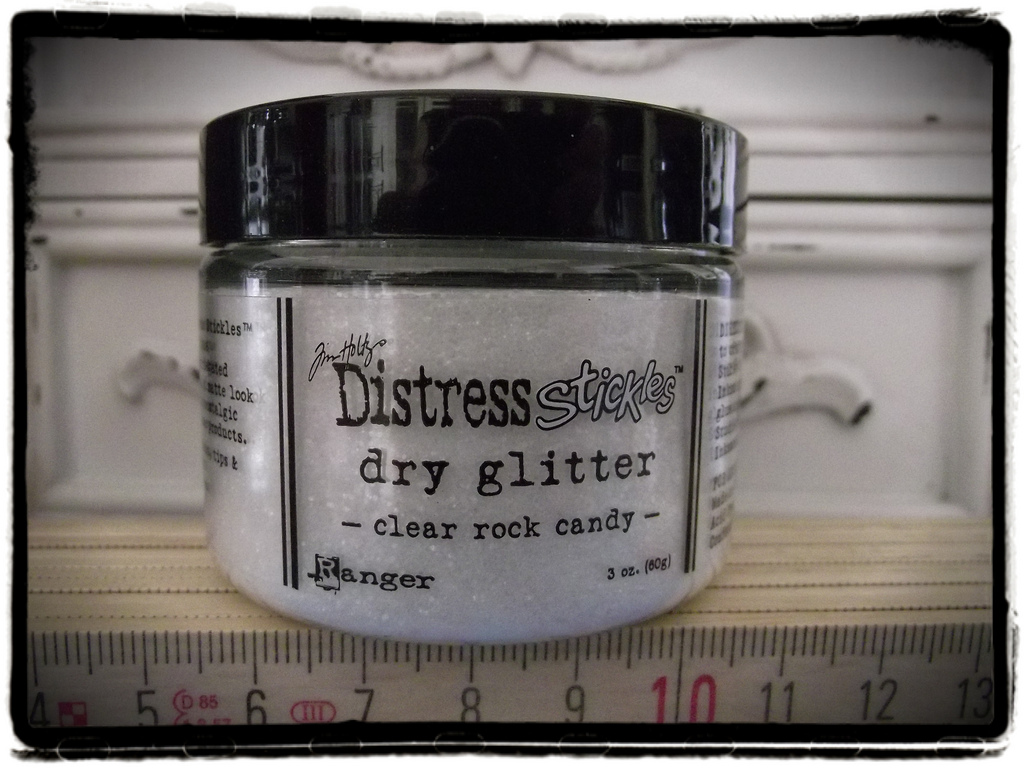
You’re probably on your second or third pot of Distress Stickles Dry Glitter Clear Rock Candy by now, but I’ve just discovered it and it’s better than calorie free chocolate! I am utterly addicted and find myself eying up everyday items in my apartment and wondering if I could “DSDG” it!
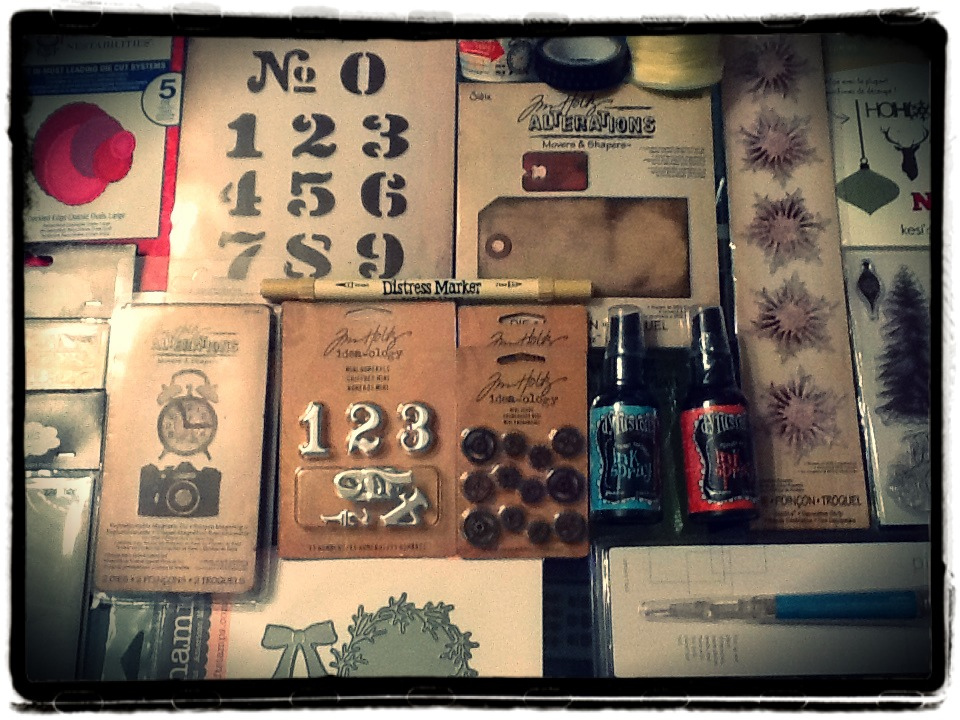
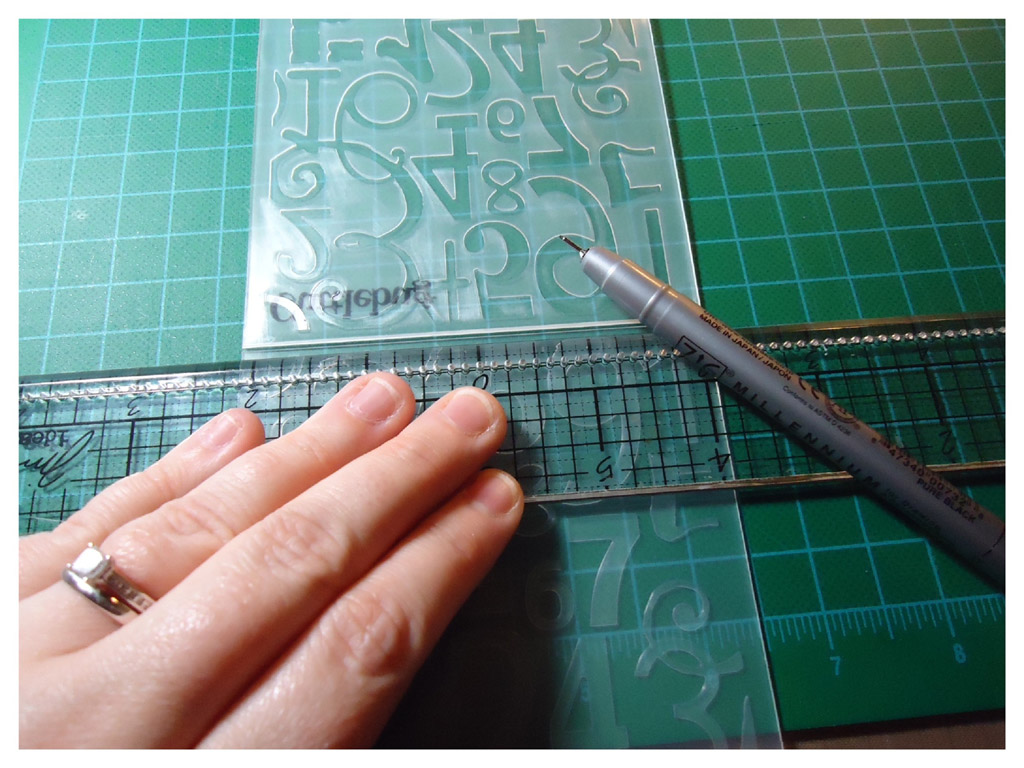
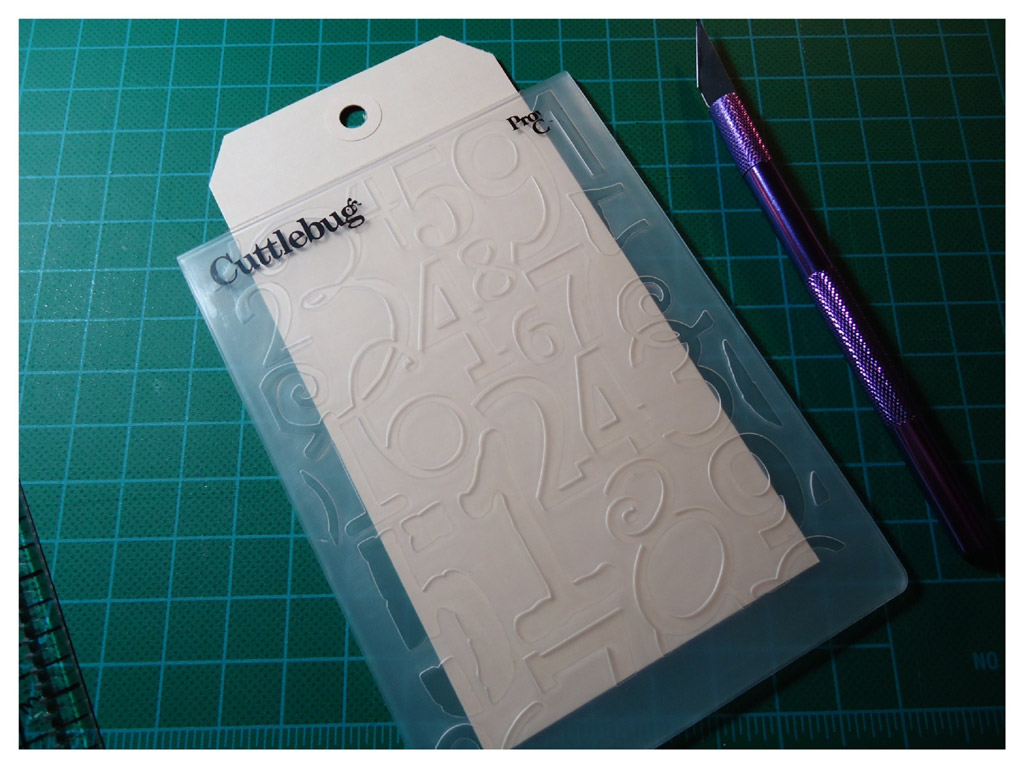
I went to my local craft store, Scrapdeco, at the weekend as my Christmas gift certificates were burning a hole in my pocket. I picked up the fabulous Tim Holtz Movers & Shapers Cargo Stencil Number die set. I couldn’t wait to get home to play with my new goodies and make some tags.
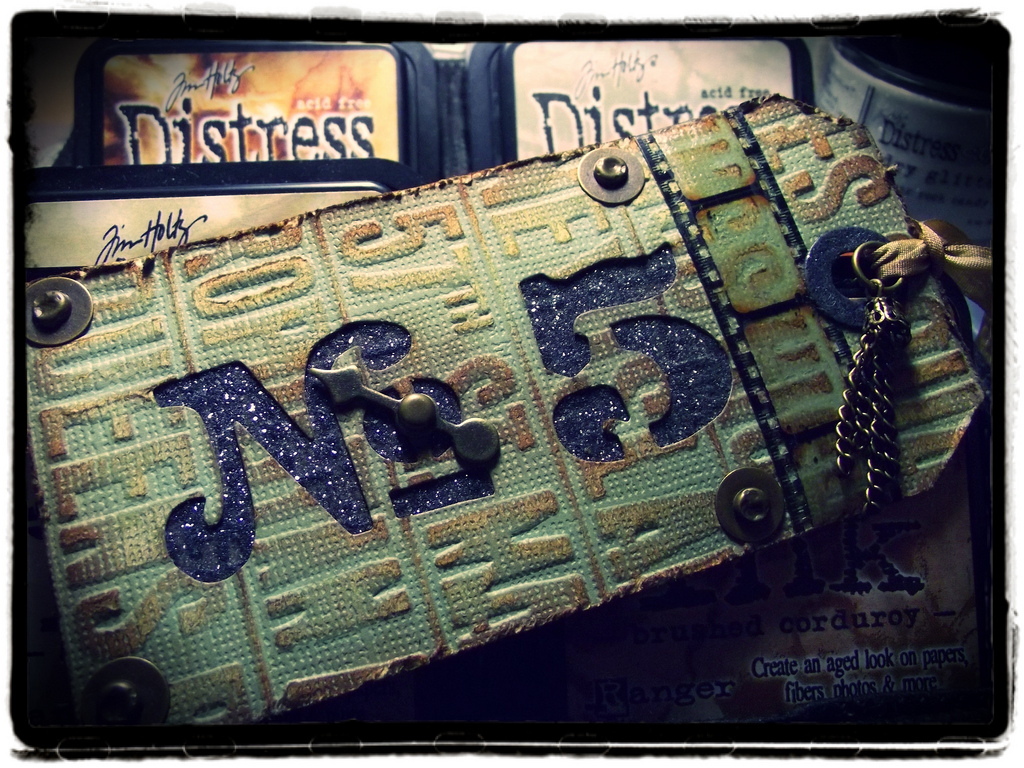
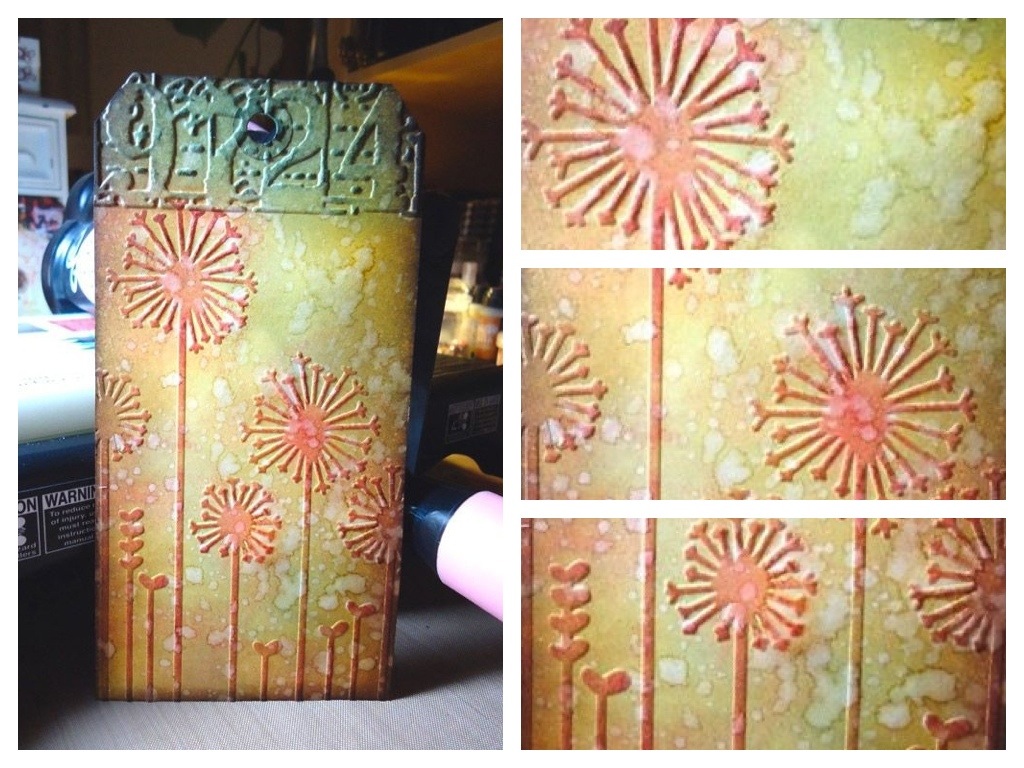
I used black card covered in DSDG to back the cargo numbers. On black card, DSDG looks like gravel and I love that it doubles as pretty Christmas AND grungy gravelly glitter. It works especially well with the new Rangers Sticky Embossing Powder, which I’m going to try gold leafing with this week. I used the Tim Holtz Sizzix Texture Fades Subway Folder to emboss Core’dinations Kraft Core, which I covered in a variety of distress inks. I finished the tag off by distressing the edges with the Tim Holtz Paper Distresser and embellished with an assortment of Tim Holtz Idea-ology.
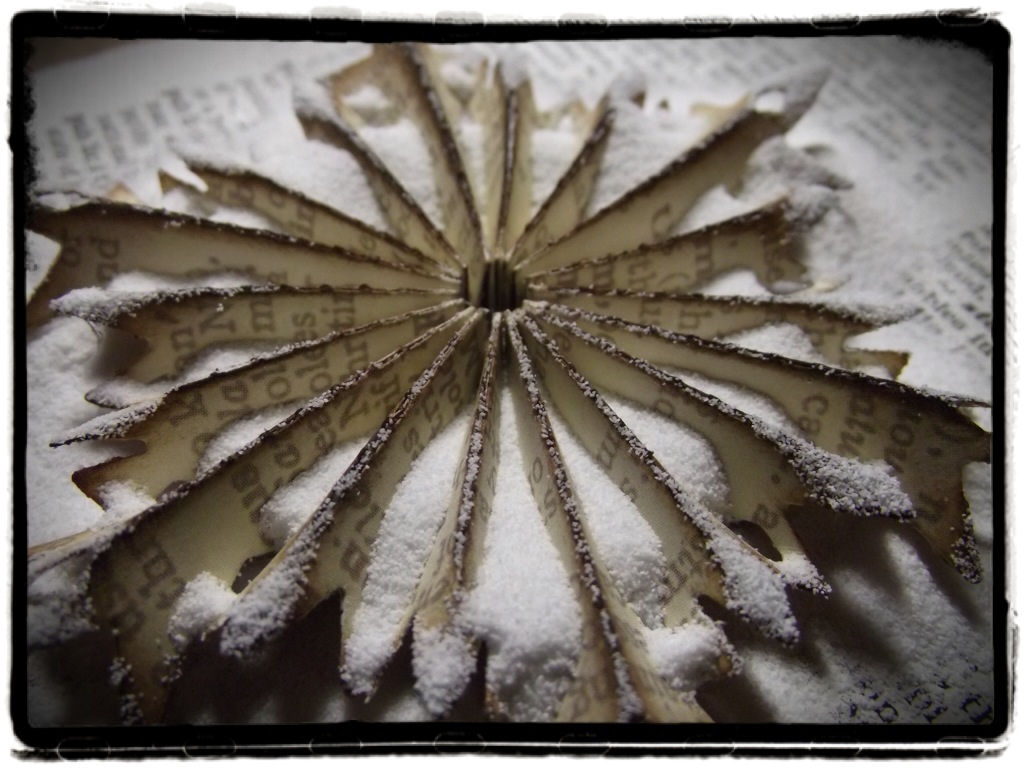
In an attempt to deny that Christmas is over for another year, (and to use MORE DSDG), I dropped back into the festive bubble and made this snowflake using the Tim Holtz Decorative Strip Snowflake Rosette die.
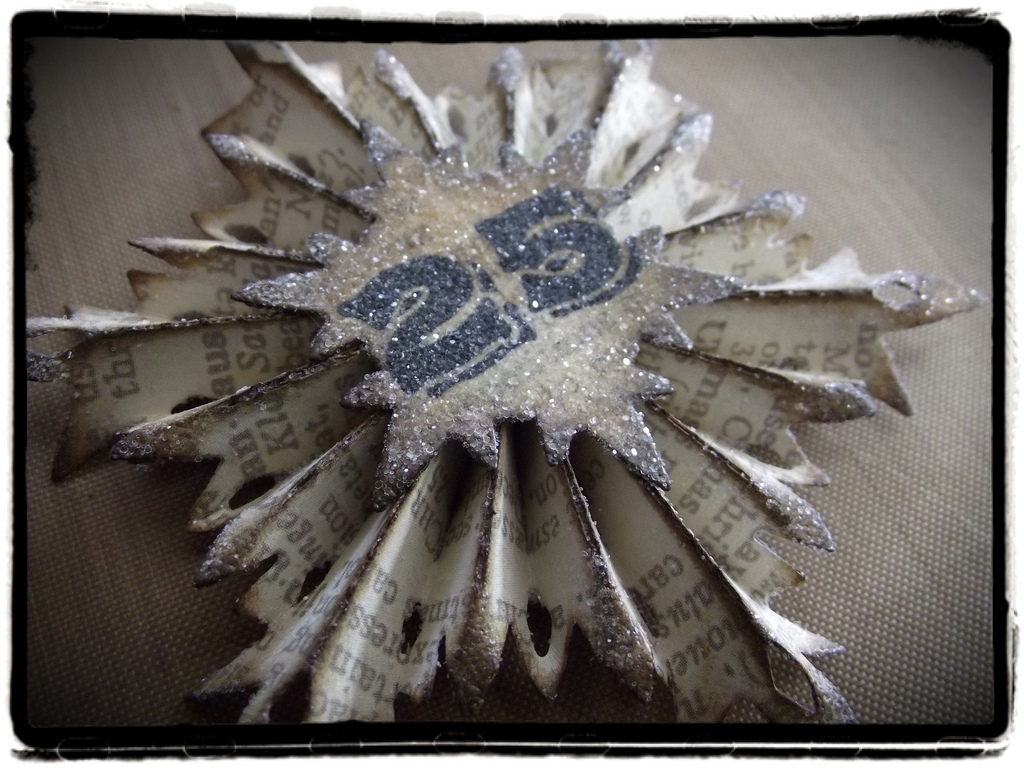
I saw a great tip on Tim Holtz Blog to use a strip of Tissue Tape on the back of the die cut before folding. It prevents tearing and keeps the rosette together, whilst providing a cool background for the reverse. I didn’t have my glue gun with me so used a squirt of Glossy Accents, (one of my dessert island supplies), it’s strong stuff.