‘Craft Creations’ Category

  1. 12 Months of Distress – January

    9th February, 2015 by iGirlZoe

    Oh Cracked Pistachio… I think I love you…

    Tim Holtz Cracked Pistachio Distress
    My postman arrived with the much anticipated first new distress colour of the “12 months of distress.” Having a new colour each month is so exciting, it’s like having a year long advent calendar. I could not wait to break into the cracked pistachio and try it out.

    resize_23250178_1024px
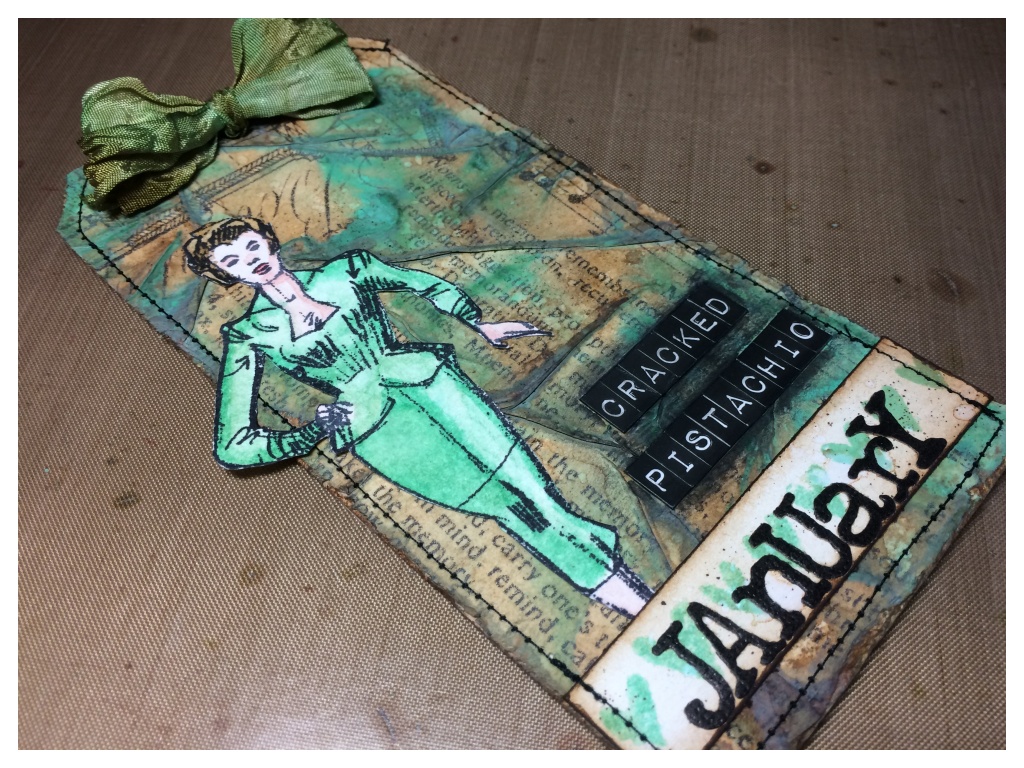
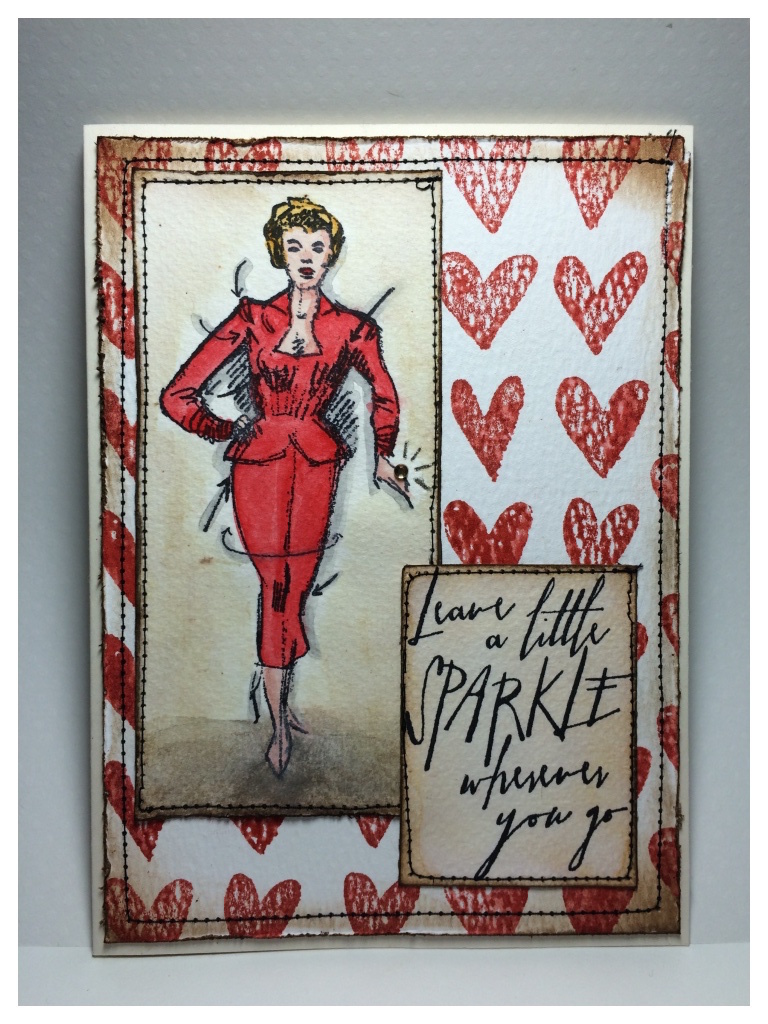
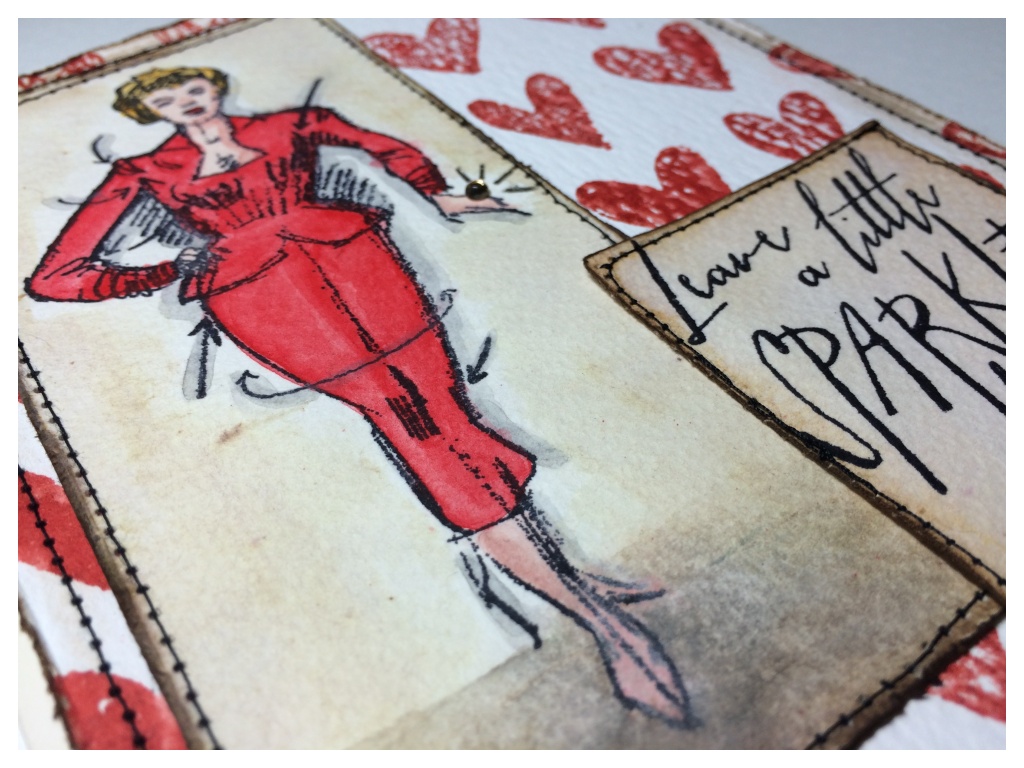
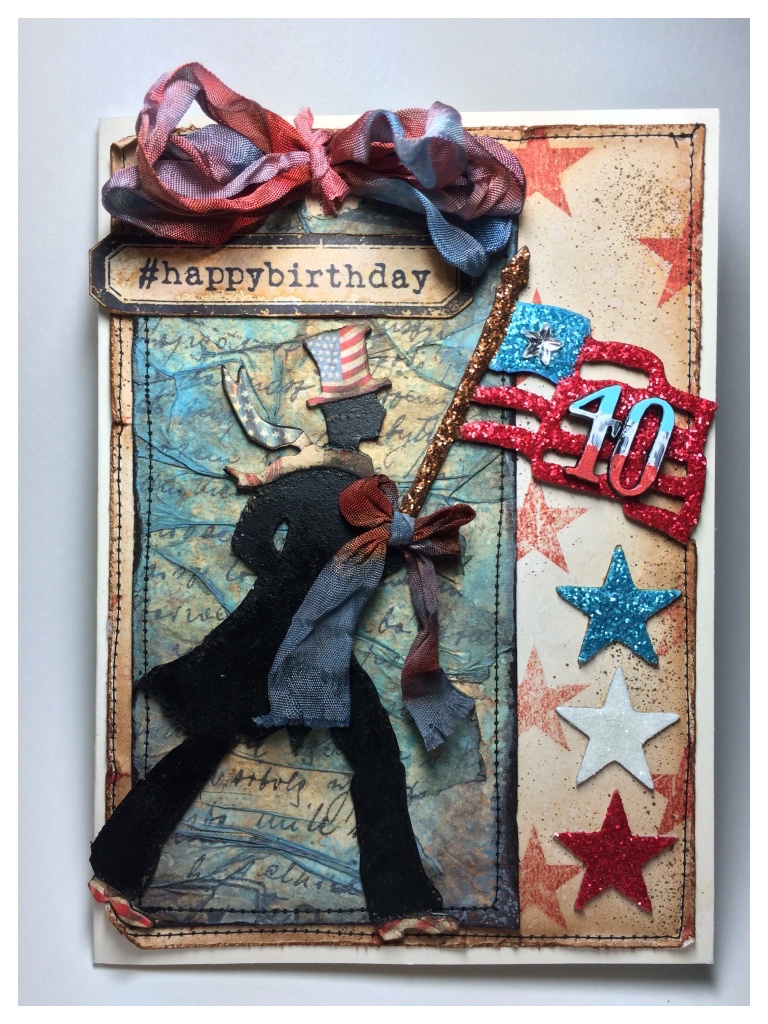
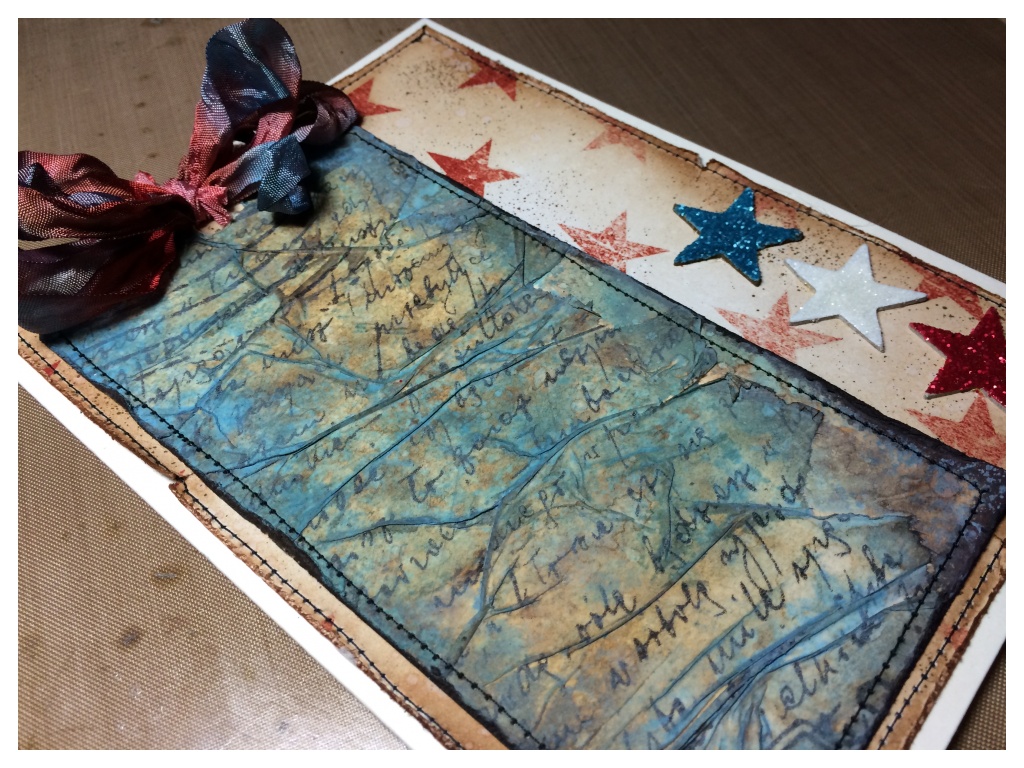
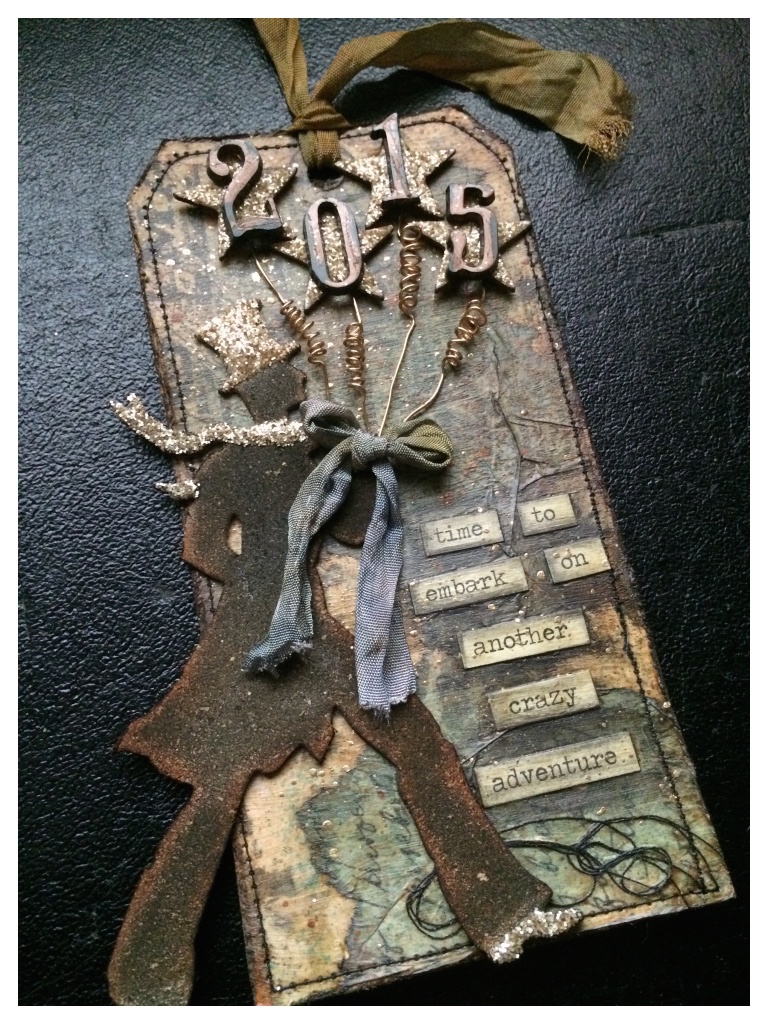
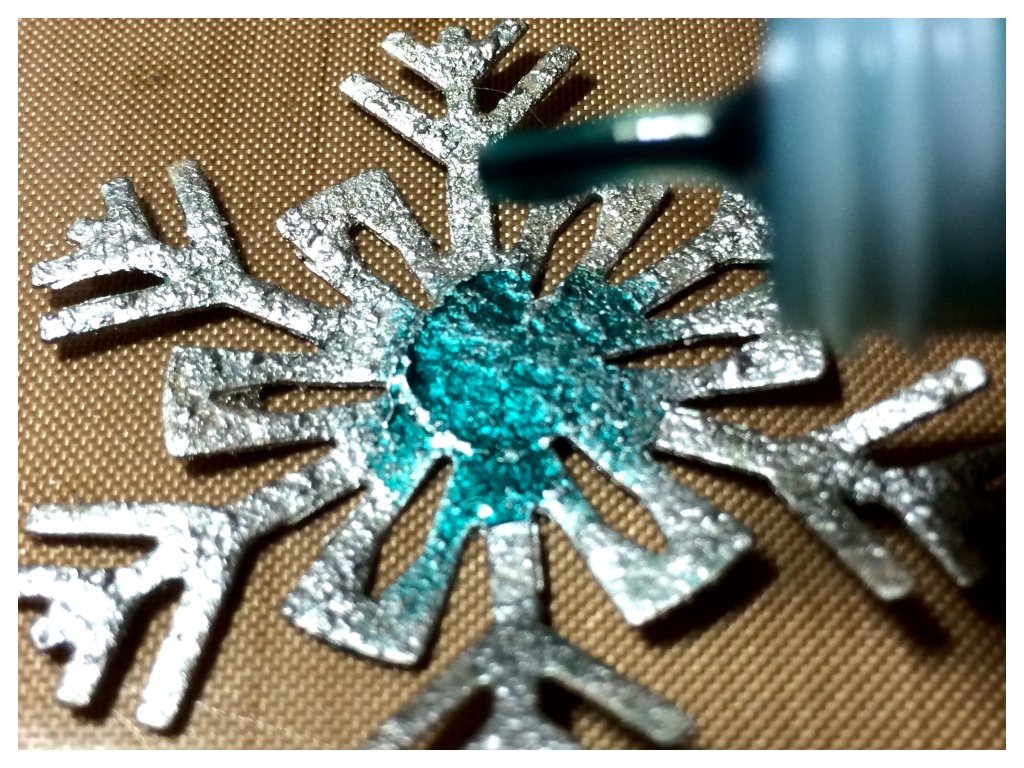
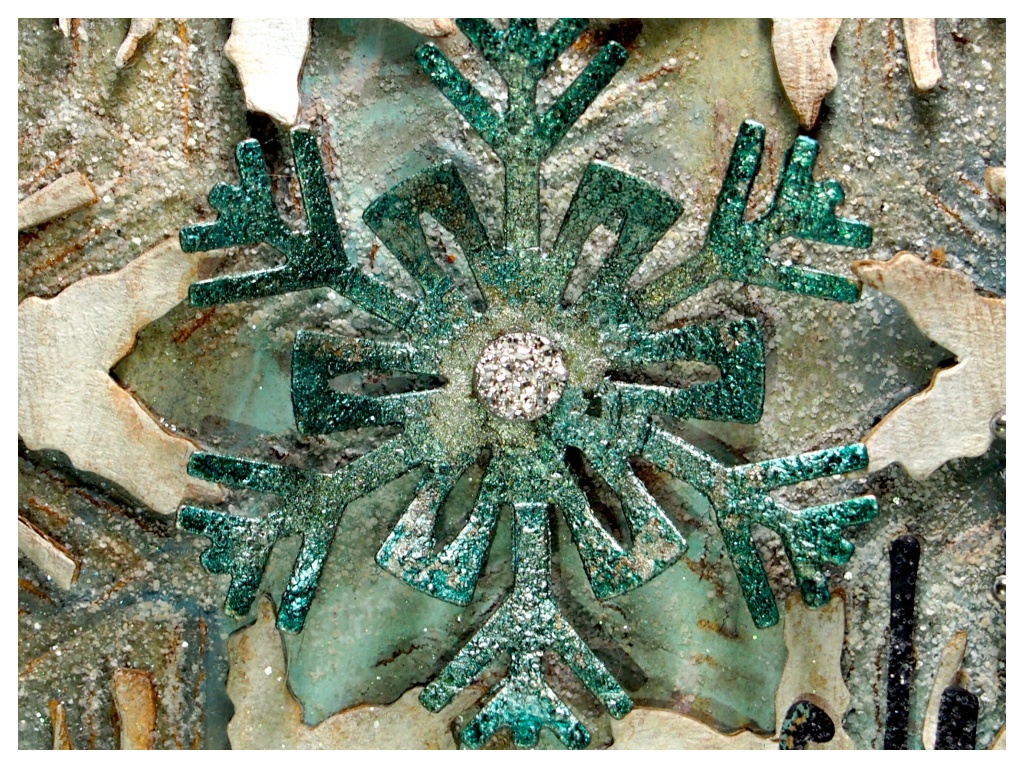
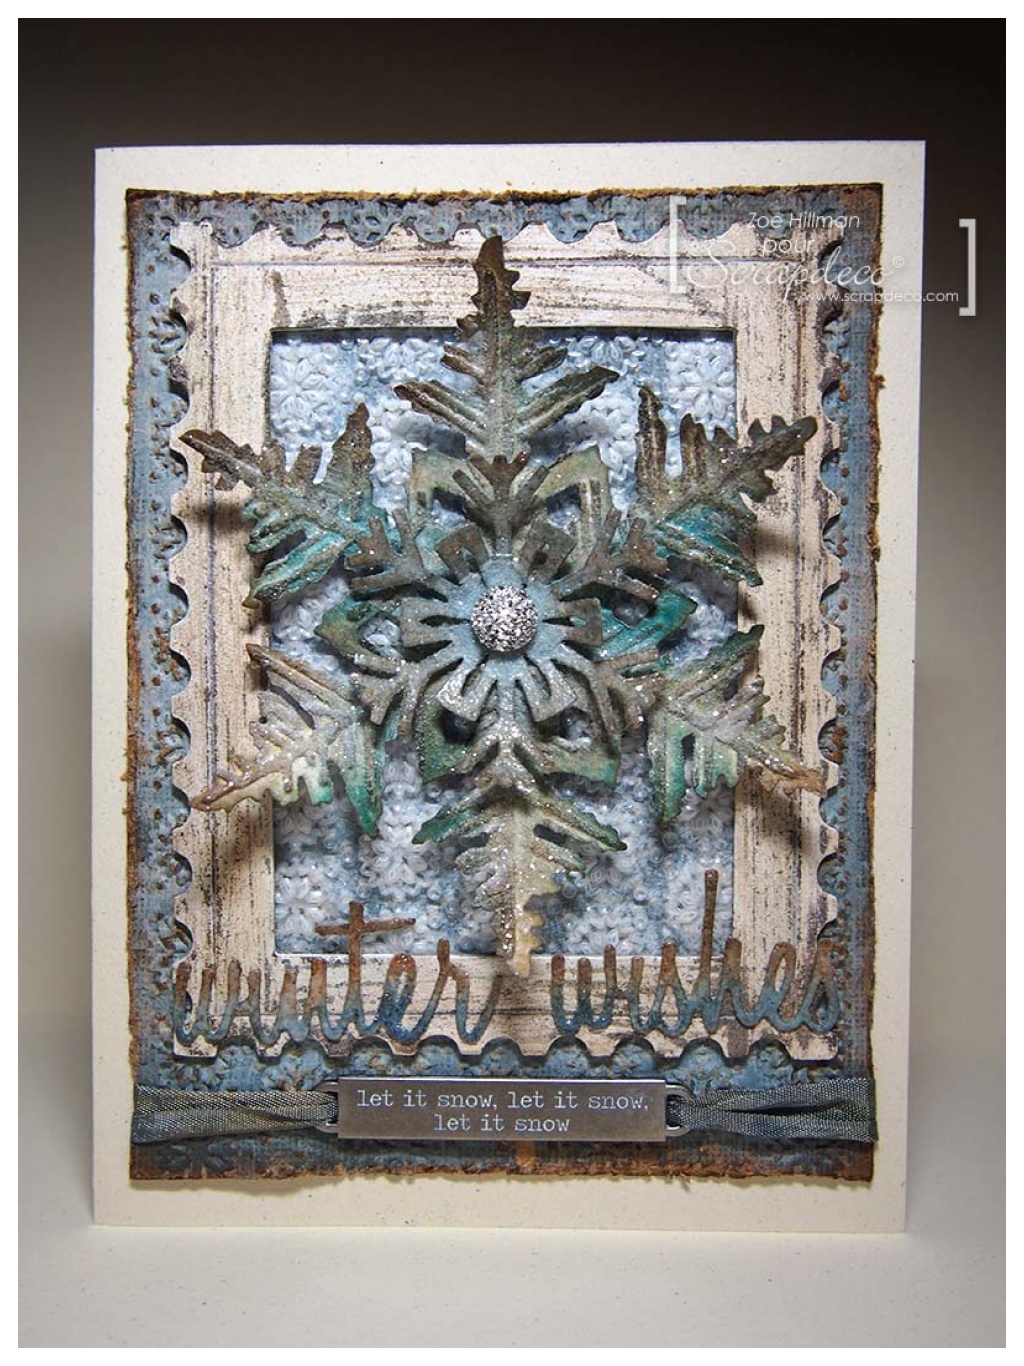
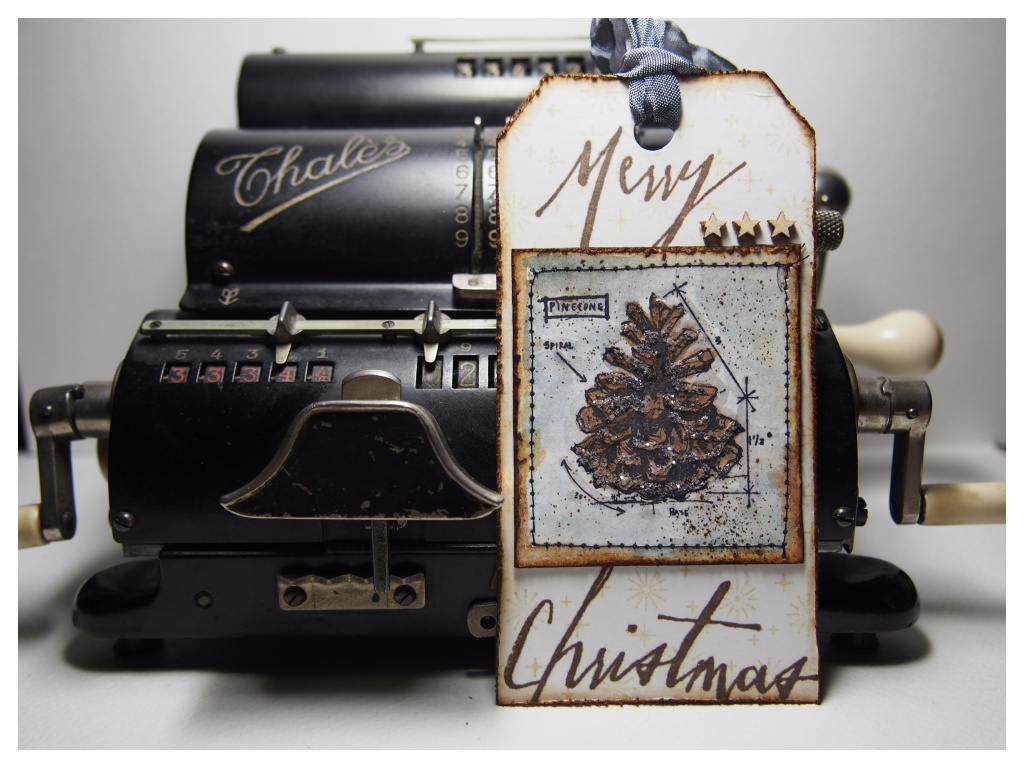
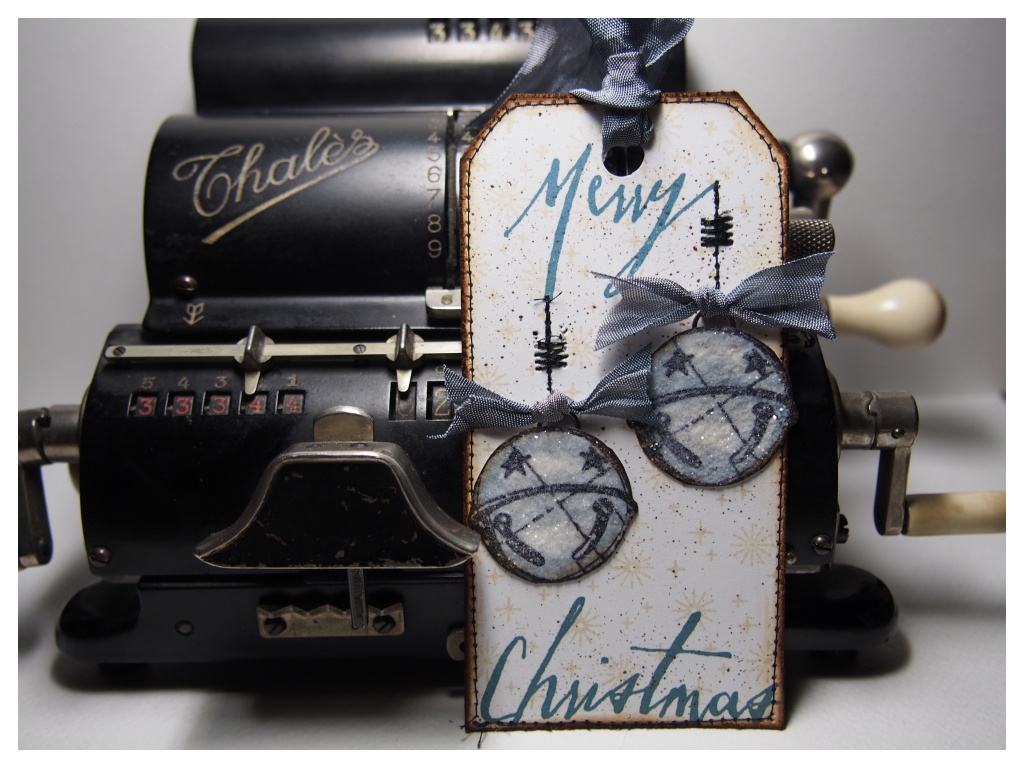
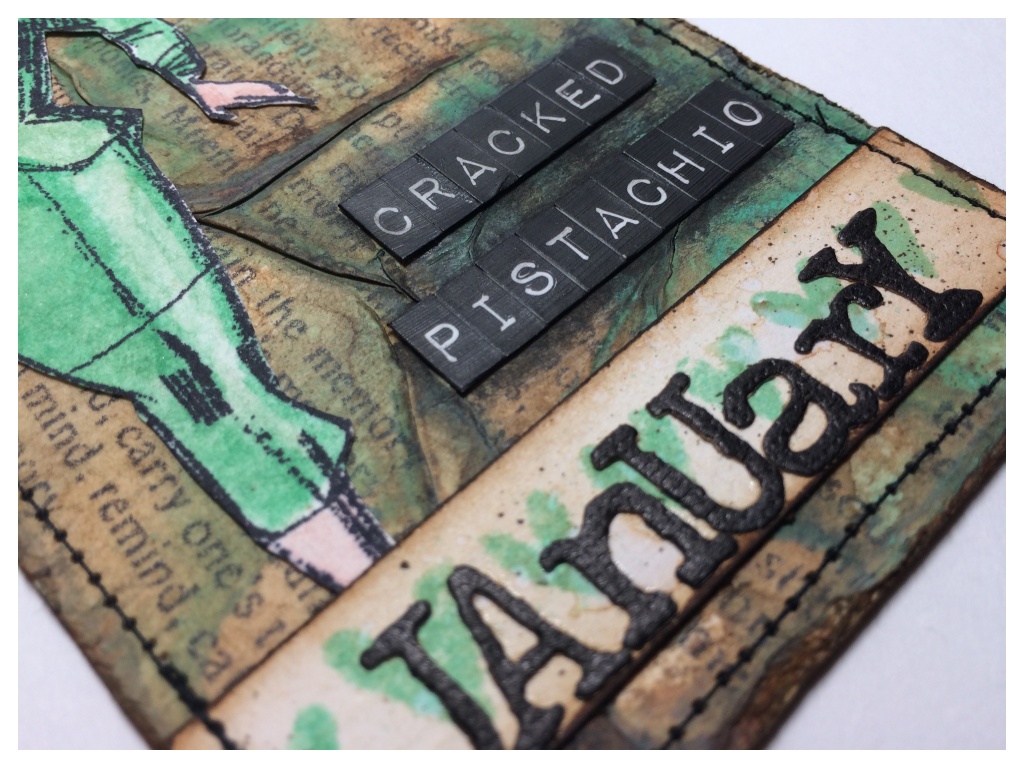
    I made a tag using various cracked pistachio distress products. I used Tim’s technique from January’s 12 tags of 2015 along with cracked pistachio paint and gathered twigs spray stain to create the background.

    Tim Holtz Cracked Pistachio Distress
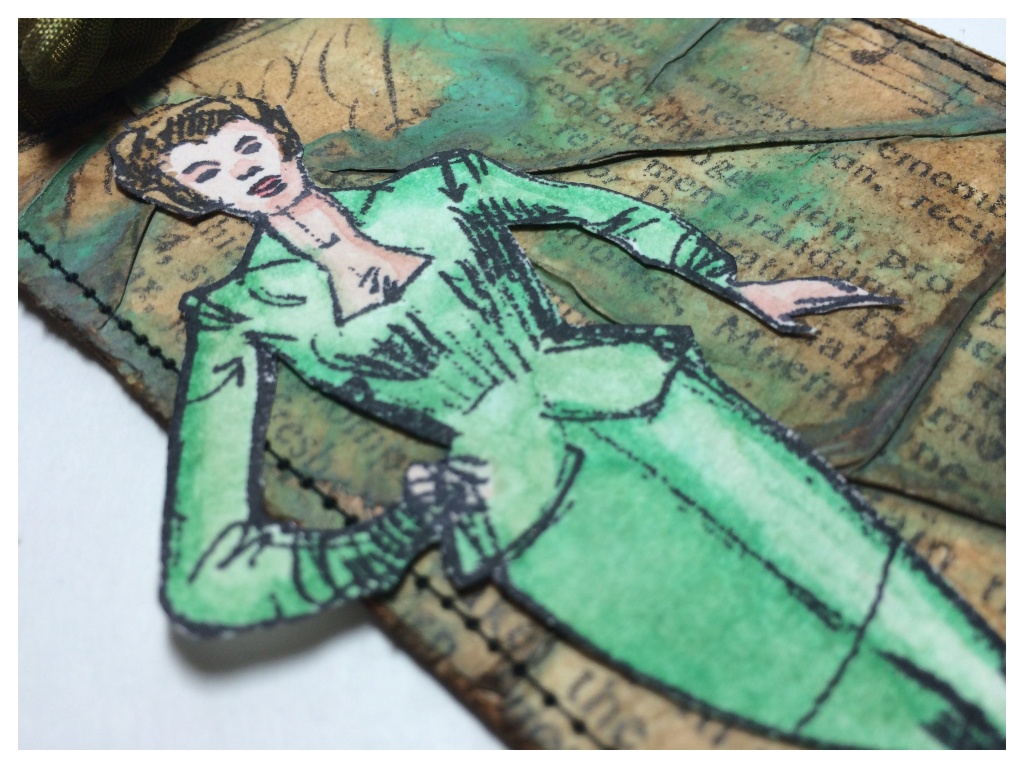
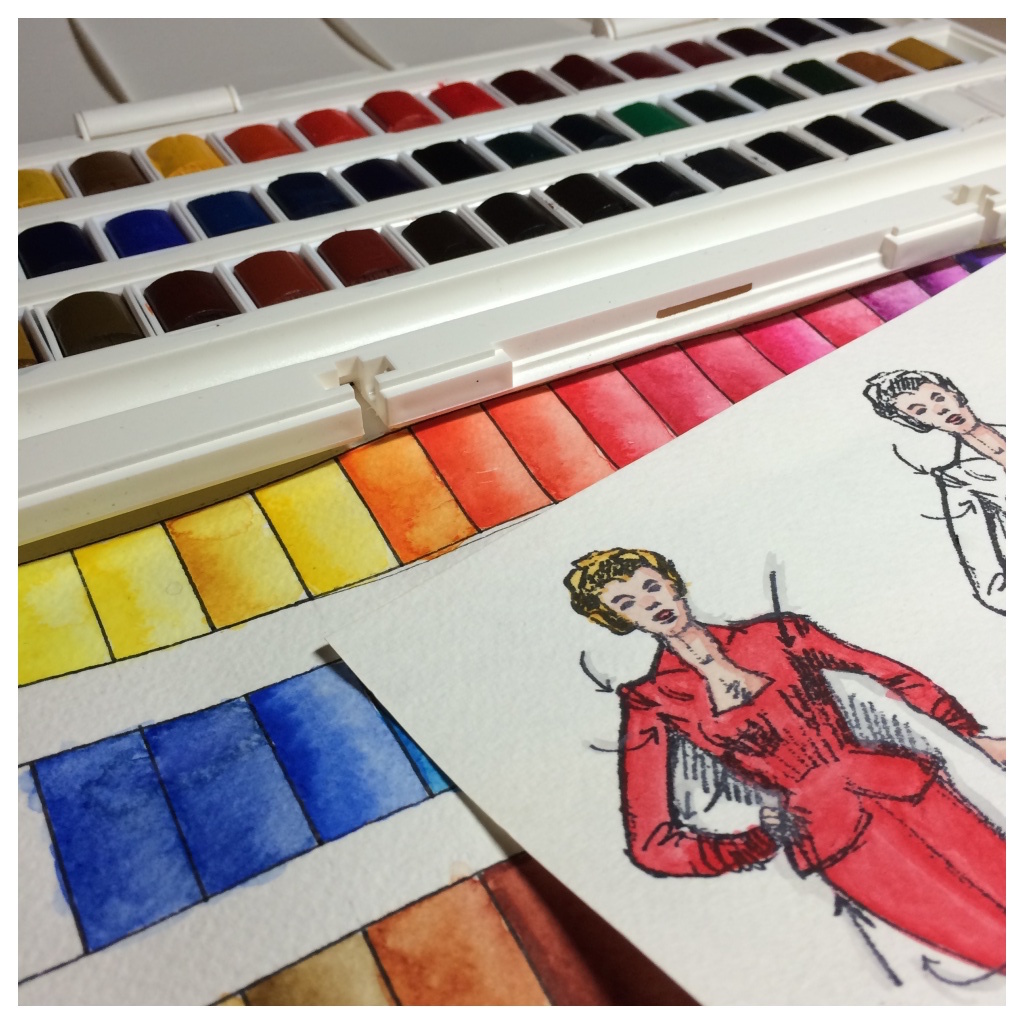
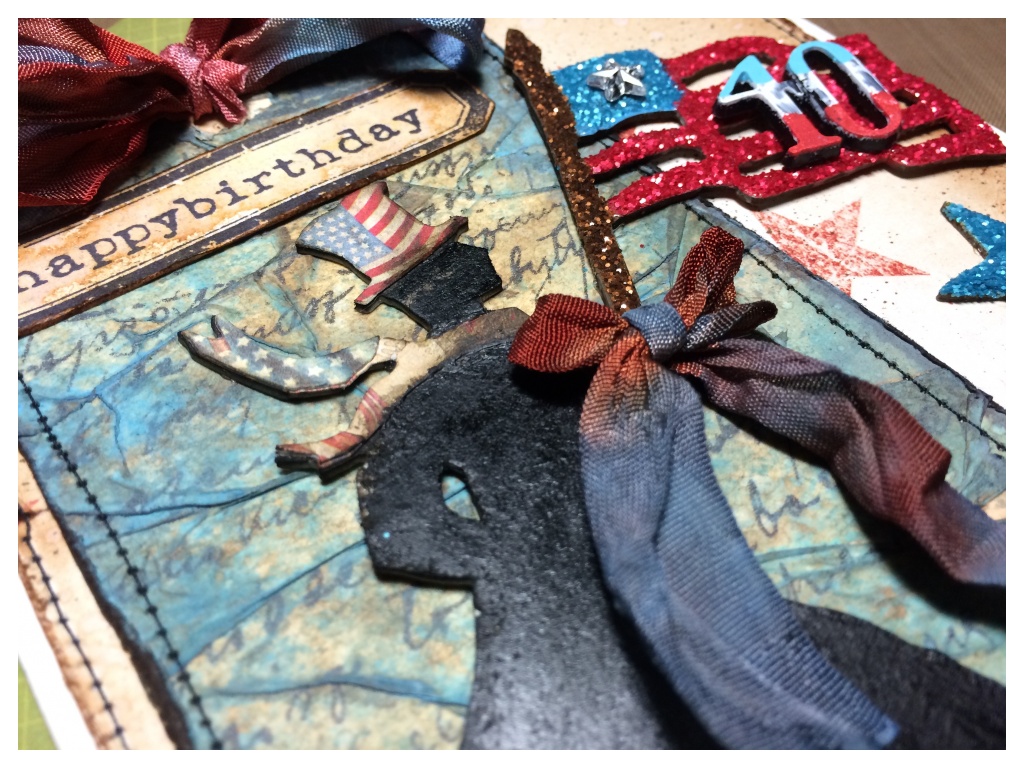
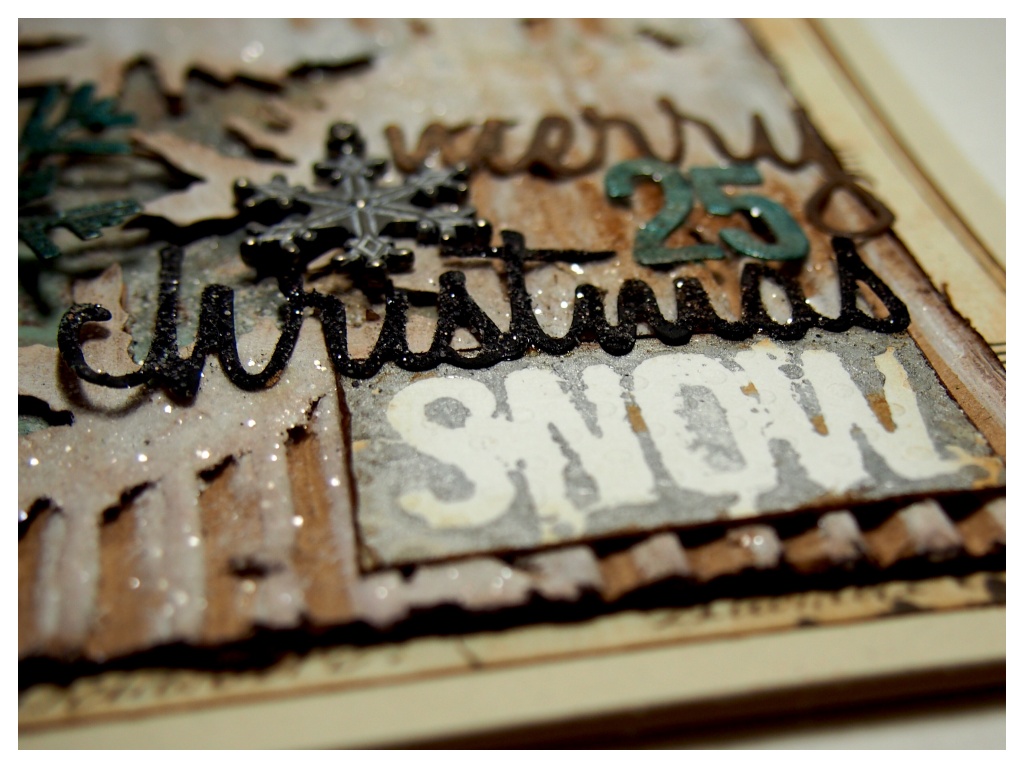
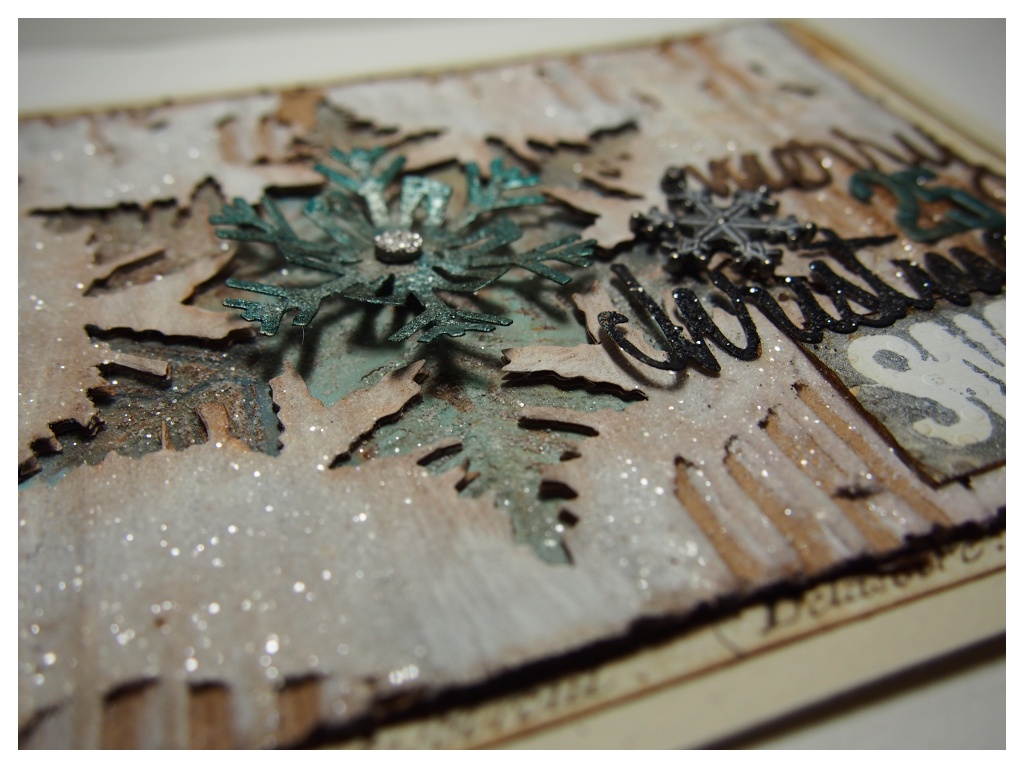
    I used the cracked pistachio marker to watercolour the stamped image and spray stain to colour the crinkle ribbon.

    Tim Holtz Cracked Pistachio Distress
    I used the cracked pistachio ink pad to ink up a heart stamp from the new watercolour stamp set, misted with water and stamped directly onto distress watercolour cardstock. I am going to make a tag each month using the new distress colour. It gives me a chance to try out the colour and build an index.

    Thank you for taking time to look at my tag and check out the following online challenges that I am entering.

    Simon Says Stamp Monday Challenge – H is for… (HOLTZ)
    Inspiration Emporium Monthly Challenge – February

    ~

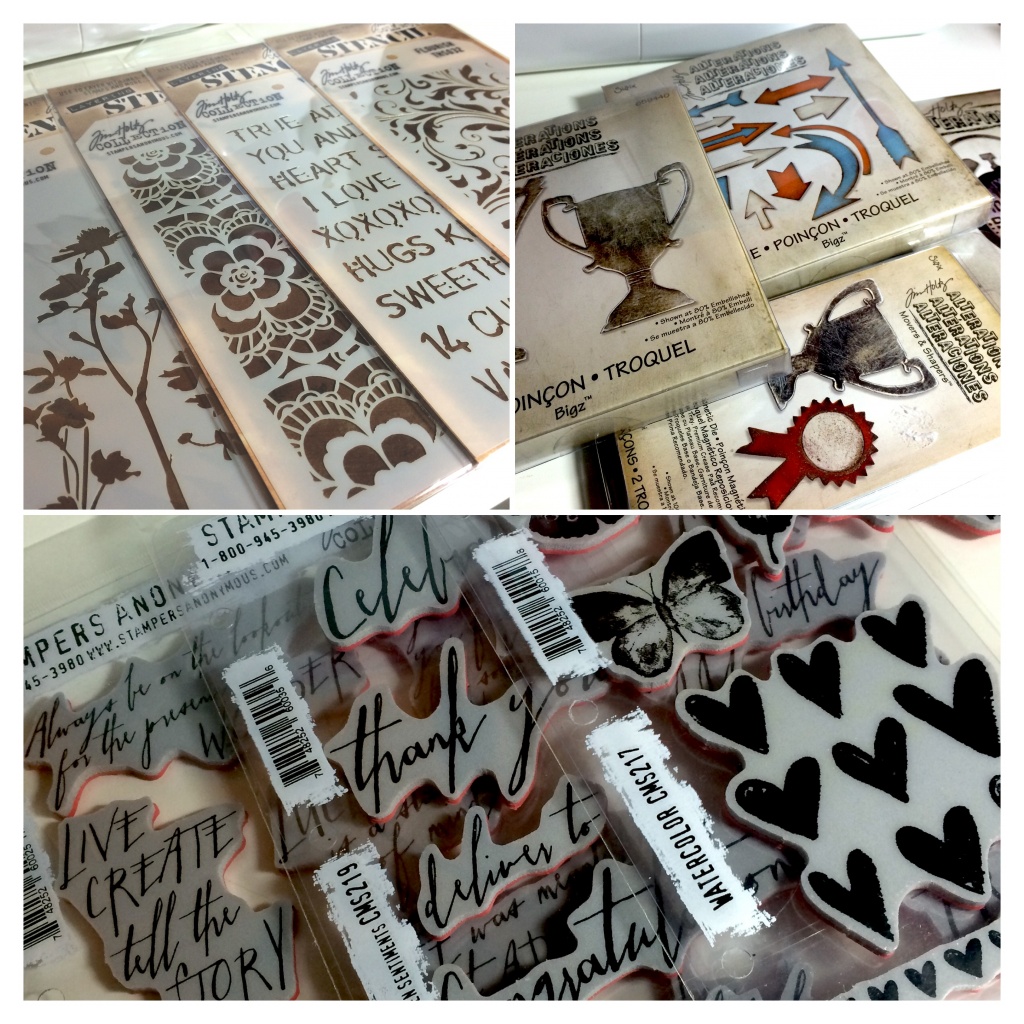
    supplies: tim holtz; surfaces (manila tag, distress watercolor cardstock, core-dinations kraft core)/distress ink (cracked pistachio)/distress paint (cracked pistachio)/distress marker (cracked pistachio)/dies (typeset)/idea-ology (crinkle ribbon, tissue wrap, label letters)/stamps (#47 dance card, #217 watercolor)/tools (water mister, blending tool, paper distresser)
    other: archival ink (jet black)/glossy accents/glue n seal/sewing machine


  2. Love is… my postman

    6th February, 2015 by iGirlZoe

    Hello. Thank you for the lovely comments left on my blog, I really appreciate it. It has been an exciting week with new craft products arriving.

    Windsor and Newton Watercolours
    I was just getting my new Windsor and Newton watercolour set wet when the postman knocked. I suspect our postman thinks I am a little bit nuts. The Swiss are quite conservative, so my running towards the postman waving, cheering and whooping is usually met with looks of confusion and sometimes fear. It’s nice to arrive to applause and cheering, right?

    Tim Holtz CHA 2015 Products
    With my new goodies unpacked, photographed and, (of course), shared on social media, I began to make stuff.

    Tim Holtz Handwritten Stamps
    I used the heart stamp from the new Tim Holtz watercolor stamp set. I applied fired brick distress ink to the stamp, misted with water and stamped onto distress watercolor cardstock. I love that this watercolor cardstock has a smooth and dimpled side. Stamping on the smooth side gives you a cleaner stamped image, but for the background I prefered the dimpled effect.

    Tim Holtz Handwritten Stamps
    By changing the greeting inside the card, this could be used for Valentines, engagement, Mother’s Day, birthday or just a notecard.

    Thank you for taking time to look at my card and check out the following online challenges.

    Simon Says Stamp Monday Challenge – H is for… (HOLTZ)
    Inspiration Emporium Monthly Challenge – February

    ~

    supplies: tim holtz; surfaces (distress watercolor cardstock)/distress ink (antique linen, fired brick, vintage photo, walnut stain)/stamps (#47 dance card, #217 watercolor, #218 handwritten thoughts)/tools (water mister, blending tool, paper distresser)
    other: windsor and newton watercolors/glossy accents/sewing machine/crystal gem


  3. 12 Tags of 2015 – January Card

    21st January, 2015 by iGirlZoe

    Hello. Is it just me or do you sit calendar watching for the 1st of the month?! It’s even harder now with the exciting “year of distress!” This year in addition to making my 12 tags, (and to keep me out of trouble while I wait), I am making a card too.

    Tim Holtz 12 Tags of 2015 - January
    This card is for my husband’s cousin who celebrated her 40th birthday with a trip to New York. She also loves Wonder Woman so the colours are perfect.

    Tim Holtz 12 Tags of 2015 - January
    I made a tag using the techniques from this months 12 tags, (see Tim’s blog for details). I mounted it to a piece of paper from the merriment stash, which I stitched. I attached a “paula bow” to the top of the tag. This is by far my favourite bow of all time and I am addicted to that crinkle ribbon! You could use twine for a more masculine look to the card.

    Tim Holtz 12 Tags of 2015 - January
    I cut the flag from grungeboard and covered in various distress glitters using the 12 tags techniques. I LOVE distress glitter. Click on the photo for a close up, you can really see the vingtage mica look to this glitter as opposed to fine glitter which I’m personally not a fan of.

    Tim Holtz 12 Tags of 2015 - January
    Thanks for stopping by my blog and don’t forget to check out the following challenges:

    Tim Holtz 12 Tags of 2015 January
    Inspiration Emporium January Monthly Challenge

    ~

    supplies: tim holtz; surfaces (manilla tag/grungeboard)/distress ink (vintage photo, walnut stain, black soot)/distress ink markers (gathered twigs)/distress stain spray (rusty hinge, stormy sky, walnut stain)/distress paint (picket fence, fired brick, broken china, vintage photo)/distress glitter (clear rock candy, fired brick, broken china, vintage photo)/idea-ology (tissue wrap, crinkle ribbon, alpha parts, mirrored stars, merriment paper stash, seasonal collage paper stash)/dies (festive gent, mini old glory)/stamps (simple sayings #155, hashtags #183)/tools (water mister, sanding grip, blending tool, paper distresser,distress marker spritzer)
    other: glossy accents/glue n seal/heat tool/glue gun/sewing machine


  4. 12 Tags of 2015 – January

    14th January, 2015 by iGirlZoe

    HAPPY NEW YEAR!

    12 Tags of 2015 is under way with January’s tag posted on Tim Holtz’s blog. I managed to complete all 12 tags last year and was really grateful for the monthly reminder to take time out to create. So HERE WE GO AGAIN…

    Tim Holtz 12 Tags of 2015 January
    I have challenged myself to try and use some of my “festive dies” by altering them so they don’t sit gathering dust for 11 months of the year. In addition to making a tag each month, I plan to make some cards too! Adapting the tag to suit the occasion, for example, the “2015” could be replaced with “baby” or “home” or “40th”. That’s what makes the alpha parts so awesome, lots of choice and versatility.

    Tim Holtz 12 Tags of 2015 January
    I love the tissue wrap technique that Tim demonstrates on this months tag. I used the antiqued bronze distress paint to create my splatters. I adore these metallic paints.

    Tim Holtz 12 Tags of 2015 January
    I also used the antiqued bronze distress paint to cover the aplha parts and die cut a grungeboard star from the mini old glory die set and covered with antique linen distress glitter. I attached them to some gold wire I coiled using a glue gun.

    Tim Holtz 12 Tags of 2015 January
    I cut the wreath away from the festive gent die, (while I cried a little at the death of Christmas… 345 days to go), and tucked the wire behind and secured with a blob of hot glue.

    Tim Holtz 12 Tags of 2015 January
    I made a miniature crinkle ribbon to cover the join and make it look as though the, (no longer festive), gent was holding them. I had to get my gent into the party mood so gave him a glittery party hat, scarf and shoes. πŸ˜‰

    Thanks for taking the time to look at my tag. You can see this months tag and techniques on Tim’s blog and you can see the post translated into French on Scrapdeco’s blog.

    I am also entering my tag into the following online challenges:
    Simon Says Stamp Monday Challenge – Inky Backgrounds
    Inspiration Emporium January Monthly Challenge

    ~

    supplies: tim holtz; surfaces (manilla tag/grungeboard)/distress ink (walut stain, vintage photo, rusty hinge, broken china)/distress ink markers (black soot)/distress stain spray (walnut stain, stormy sky, tarnished brass)/distress paint (evergreen bough, antiqued bronze)/idea-ology (tissue wrap, crinkle ribbon, alpha parts, chit chat stickers)/dies (festive gent, mini old glory)/tools (water mister, sanding grip, blending tool, paper distresser/distress marker spritzer)
    other: splatter brush/glossy accents/glue n seal/heat tool/glue gun/sewing machine/gold pen


  5. Layered Snowflake Christmas Card

    25th November, 2014 by iGirlZoe

    Hello. I’ve spent another weekend preparing for Christmas, which probably seems a little enthusiastic to some, but for me this year is necessary. Road trips to the UK and France, visits to friends and family, shopping, house guests, crafting, Christmas! The to do list is endless… I actually have a list of lists I still need to make!

    Layered Snowflake Christmas Card
    With that in mind, I’ve been so grateful for all the festive challenges in the blogosphere. They’ve encouraged and inspired me to get going early this year, which has been so helpful. Today’s card has been inspired by 2 challenges in particular, Tim Holtz 12 tags of 2014 and Scrapdeco Christmas card challenge.

    I made a tag for this month’s 12 tags of 2014 at the beginning of the month and I used the same design for this card. I incorporated the techniques from this month’s 12 tags and Scrapdeco Maura’s pleated card challenge, to create this card.

    Tim Holtz Paper Snowflake Die
    I covered a snowflake from the new paper snowflakes die with brushed pewter distress paint and allowed to air dry. I then dropped alcohol ink on top, letting the ink wick unevenly. Once dry I dabbed a little gathered twigs distress ink on to give a gold tinge.

    Tim Holtz Paper Snowflake Die
    This started out as an experiment with distress products, but I’m really pleased with the results and I love the metallic foiled look.

    Tim Holtz Alphanumeric Dies
    I was trying out my new alphanumeric die set, which I used to create the “snow” word band on the front of my card. I cut a stencil using the alphanumeric dies and covered the back of the die cut with brushed pewter distress paint, allowing to partially dry. Whilst still wet enough for paint to transfer but not splodge, place paint side down onto white card and with a piece of paper over the top, gently rub over the entire word band. Then remove paper, peel away stencil and you’re left with a stencil transfer. I am going to have SO much fun with these dies!

    Layered Snowflake Christmas Card
    Thanks for stopping by my blog and don’t forget to check out the following challenges:

    Tim Holtz – 12 Tags of 2014 November
    Scrapdeco – Christmas Card Challenge
    Inspiration Emporium – Happy Holidays

    ~

    supplies: tim holtz; manilla cardstock/corrugated cardboard/distress glitter (clear rock candy)/alcohol ink (cloudy blue)/distress ink (tumbled glass, gathered twigs)/distress paint (picket fence, tumbled glass, stormy sky, weathered wood, salty ocean, faded jeans, iced spruce, brushed pewter)/idea-ology (snowflake adornments)/dies (layered snowflake, holiday word script, paper snowflakes)/tools(sanding block, mini blending tool)
    other: embossing ink/glossy accents/glue n seal/sticky powder/heat tool


  6. Let it snow

    21st November, 2014 by iGirlZoe

    Hello again. Almost weekend time and I’m excited to share my second contribution for the Christmas card challenge over at Scrapdeco.

    Tim Holtz Layered Snowflake Card
    My challenge this time is to create a Christmas card making a snowflake the focal point of your card. This wasn’t difficult using the new Tim Holtz layered snowflake die. I can’t even begin to tell you how much I LOVE this die!

    Tim Holtz Layered Snowflake Card
    To see and take part in the Christmas card challenge, hop over to Scrapdeco, (the blog is in French but there is an option on the right to change the language).

    Thanks for taking time to look at my card and if you would like to see my first card for this challenge it’s here. Have a great weekend.

    ~

    supplies: tim holtz; surfaces (manilla cardstock, grungeboard, shrink plastic, core-dinations kraft core)/distress ink (tumbled glass, stormy sky, iced spruce, salty ocean, vintage photo, gathered twigs, walnut stain)/distress paints (picket fence, antique linen)/distress glitter (clear rock candy)/dies (holiday words: script, paper snowflakes, layered snowflake, beaded garland & snowflake texture folder, postage stamp frame)/idea-ology (christmas word bands, gumdrops, crinkle ribbon)/Tools (paper distresser, sanding block, water mister)
    other: embossing ink/sticky embossing powder/glossy accents/scor-tape


  7. Christmas Gift Tags

    20th November, 2014 by iGirlZoe

    Hello everyone. I don’t know about you, but this week is flying by! Today I want to share some gift tags that I’ve been making for Christmas. In previous years I have shamefully bought my gift tags, but this year I’ve been inspired by Paula Cheney’s Mini Handwritten Holidays to make my own.

    Tim Holtz Blueprints Christmas Tags
    These gift tags are simple to make, customisable to your wrapping paper and add a really personal touch to your gift.

    Tim Holtz Blueprints Christmas Tags
    Here’s a step by step to show how I made the blueprints stamp toppers:

    1: stamped pinecone from the Tim Holtz mini blueprints 7 stamp set onto distress watercolor cardstock with jet black archival ink and gathered supplies, (distress markers, paintbrush, water mister).
    2: colouring directly onto a craft mat with distress markers and lightly misted with water and watercoloured directly from craft mat.
    3: colour washed around the pinecone using pumice stone and stormy sky to give it a nice icy blue background.
    4: using the distress marker spritzer, spritzed a little gathered twig over the design.
    5: added a little glossy accents to parts of the pinecone.
    6: sprinkled clear rock candy distress glitter over the design, shaked off excess and returned to pot. set aside to air dry.

    Tim Holtz Blueprints Christmas Tags
    You only need a few products to make these toppers, so I am putting together a small travel craft kit to take with me to the UK next month to make some while I’m away. I can’t think of anything more relaxing after a hectic day of Christmas shopping than some adult colouring time. πŸ˜‰

    Tim Holtz Blueprints Christmas Tags
    I was inspired by the All Sewn Up challenge over at A Vintage Journey to stitch directly onto the tag to give an effect of the bells hanging from the word “merry”.

    Tim Holtz Blueprints Christmas Tags
    Finally, don’t forget to check out Inspiration Journal’s Happy Holidays challenge which is running all month.

    Thank you for taking time to stop by my blog, I appreciate it. πŸ™‚

    ~

    supplies: tim holtz; white cardstock/distress watercolor cardstock/coredinations kraft core/merriment paper stash/distress ink (gathered twigs)/distress markers (stormy sky, pumice stone, vintage photo, gathered twigs,fired brick,mowed lawn, peeled paint, forest moss, wild honey)/distress stains (pumice stone, stormy sky, fired brick, brushed pewter, tarnished brass)/distress glitter (clear rock candy)/crinkle ribbon/dies (framelits: tag collection, holiday words: script, holiday greens)/stamps (mini blueprints 7 #203, christmas nostalgia #207, handwritten holidays 1 #208)/distress marker spritzer/
    other: archival ink (jet black, cornflour blue, leaf green, red geranium, potting soil)/glossy accents/scor-tape/water mister/paint brush/sewing machine


  8. Twinkle Twinkle Little Star…

    17th November, 2014 by iGirlZoe

    Hello everyone. Firstly, thank you so much for the lovely comments on my Skating towards Christmas card, it’s been great to connect with other crafters and see what you’re creating.

    I spent the weekend making more Christmas cards. This year I’m making a different card for each person I send to. It’s giving me a chance to use more of my Christmas stash as well as using lots of the techniques and new products I’ve picked up this year.

    Twinkle Twinkle Little Star Card
    This card was inspired by several challenges that I mixed together in one card, (Gold/Stars/Tim Holtz altered cabinet card pocket).

    I took “altered” in the literal sense and inked, sanded, scratched, stamped and distressed my card pocket. I LOVE the background stamp from one of this years Christmas stamp sets by Tim Holtz. It’s so vintage and such an easy stamp to create a repeat pattern with, as I did on my cabinet card.

    I embossed manilla cardstock with a star folder and covered in a layer of tarnished brass distress paint. The distress paint is reactive with water when wet so I misted and let the paint run over the embossed stars. Once dry I sanded the top layer to make the embossed stars pop.

    Compendium of Curiosities 3, Challenge 15
    I die cut the small tim holtz 3D star and ran through my sewing machine with gold thread. I distressed some core-dinations kraft core cardstock and gave that the gold thread treatment. Seriously, if you thought I was obsessed with my sewing machine before, you should see me now I’ve got GOLD THREAD!!! πŸ˜‰

    I folded the star into it’s 3D shape and attached to the front of the card with a dab of glossy accents. Afterwards I thought I could hang the star and make it detachable for the recipient to hang on their Christmas tree. I also had another idea about how to utilise the pocket part of the cabinet card pocket. I will have another post later in the week.

    Thanks for taking time to look at my card.

    ~

    This card was inspired by these challenges:

    Scrapdeco Christmas Card Challenge – Gold card
    Simon Says Stamp Wednesday Challenge – We’re Seeing Stars
    Inspiration Emporium Monthly Challenge – Happy Holidays
    Compendium of Curiosities 3 Challenge 15 – Cabinet Card Pocket

    Inspiration Emporium are generously sponsoring CC3 challenge 15 with a $50 gift certificate to the lucky winner!

    If you don’t already have the Compendium of Curiosities 3 book, you can order a signed copy directly from Tim.

    ~

    supplies: tim holtz; mini cabinet card/manilla cardstock/core-dinations kraft core/mini distress inks (vintage photo, gathered twigs)/distress paint (tarnished brass)/distress glitter (clear rock candy)/die (3D star, holiday words: script)/stamp set (christmas nostalgia #207)
    other: archival ink (jet black)/glossy accents/scor-tape/star embossing folder/sewing machine/gold thread


  9. Skating towards Christmas!

    10th November, 2014 by iGirlZoe

    Tim Holtz Vintage Christmas Card
    Another Monday, another week closer to Christmas (YAY)! With that in mind, I wanted to share a Christmas card I made over the weekend using the new Tim Holtz paper snowflakes thinlits dies!

    Tim Holtz Vintage Christmas Card
    Using the Sizzix magnetic platform, I cut the snowflake from distress watercolour paper, (you may need to pass your die sandwich through your die cutter 2 or 3 times as the card is quite thick). I inked up the snowflake with antique linen distress ink, covered in embossing ink and sticky powder, then, once melted, covered in rock candy distress glitter. Finally I inked up the edges with vintage photo distress ink and added a star covered with a drop of latte alcohol ink. (A few drops of alcohol ink escaped from the star onto the snowflake but I think the colour bleed looks vintage, so… happy accident!) I didn’t apply adhesive to the shorter arms of the snowflake so I could bend them away from the card to give it more depth.

    Tim Holtz Vintage Christmas Card
    The boots were die cut using the mini ice skates die. I covered the boot with picket fence distress paint and when it was tacky, stamped the boot with a snowflake stamp covered in pumice stone distress ink. Once the boot was fully dry I used a sanding file to rough up the edges which I then inked up with walnut stain distress ink. I used the same colour for the boot heel and brushed pewter distress paint for the skate blade. I poked holes in the skate boot and laced it up.

    Thanks for stopping by my blog and thank you so much for the lovely comments you’ve been leaving on previous posts.

    I am entering my card into the following online challenges:

    Simon Says Stamp Monday Challenge – Ornaments
    Inspiration Emporium Monday Challenge – Happy Holidays

    ~

    supplies: tim holtz; distress watercolor card/grungeboard/core-dinations kraft core/distress embossing powder/distress glitter (clear rock candy)/distress ink (antique linen, vintage photo, walnut stain)/distress paint (picket fence, brushed pewter)/alcohol ink (latte)/ideaology (mirrored stars)/dies (postage stamp frame, mini ice skates, paper snowflakes, holiday words: script)/stamps (christmas nostalgia #207)/ tools (sanding block, blending tool)
    other: sticky embossing powder/glossy accents/scor=tape/metal file/water spritzer/thread/sewing machine/


  10. Dear Santa, I can explain…

    7th November, 2014 by iGirlZoe

    Tim Holtz Vintage Typewriter Christmas Card
    Last year I took part in “November’s card a day” on Scrapdeco’s blog. This year I was delighted to be asked to make a couple of cards for the challenge. I’m excited to share my first card with you.

    My challenge is to create a Christmas card using a wax seal and a non Christmas themed die, (I used the Tim Holtz Sizzix Vintage Typewriter).

    To see and take part in the Christmas card challenge, hop over to Scrapdeco’s blog. (The blog is in French, but there is an option on the right to change the language).

    I hope you have a great weekend.

    ~

    supplies: tim holtz; watercolor card/grungeboard/core-dinations kraft core/distress ink (antique linen, vintage photo, walnut stain)/distress marker (gathered twigs)/distress stain (black soot, brushed pewter)/dies (vintage typewriter, holiday greens, holiday words: script)/embossing folders (winter berries)/stamps (going somewhere #90)/ tools (sanding block, blending tool, distress marker spritzer)
    other: archival ink (jet black, red geranium)/glossy accents/stamps (7G – christmas greetings)/red adhesive gems/sealing wax & wax seal