‘Craft Challenges’ Category

  1. Frilly & Funkie: Three Is Not A Crowd

    10th January, 2018 by iGirlZoe

    Happy New Year! I am delighted to be back with the Frilly and Funkie Design Team.

    This first challenge of the year is hosted by the very lovely Cec (CW Card Creations), who has chosen the theme THREE IS NOT A CROWD …CEC says, “Create a vintage or shabby chic project that includes three of something. Examples of three of something could be three different patterned papers, three colours, three layers, three flowers, three bows – the list goes on. This would be a perfect time to use some of the new supplies you received for Christmas or to make space in your stash by using up old supplies. Just remember to think in multiples of three..”

    iGirlZoe: Three Is Not A Crowd
    For many of us, this time of year can be as busy as the holidays. Making samples for creativation (formerly CHA), getting kids back to school, returning to work, taking the decorations down and getting organised for the year ahead. A lot of my friends and family have birthdays in January, so I have plenty of cards to make. I decided to use this challenge to make a masculine birthday card…

    iGirlZoe: Three Is Not A Crowd
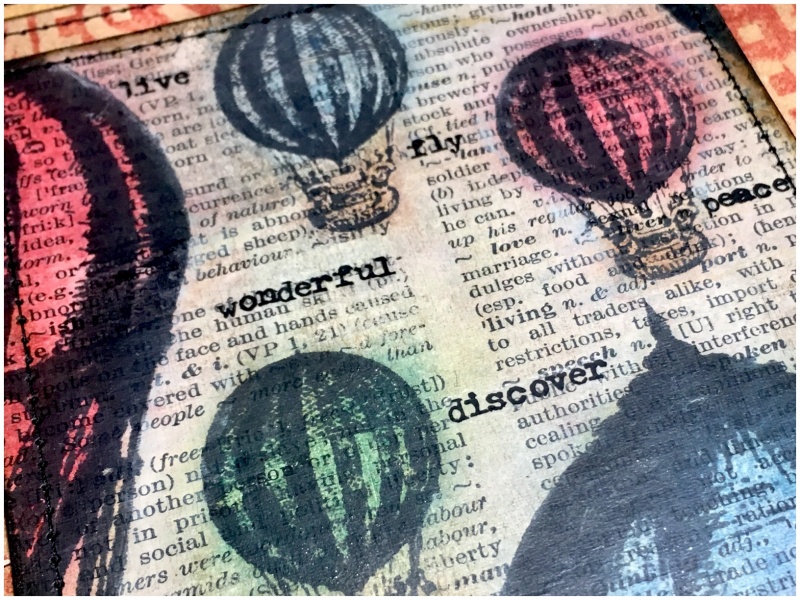
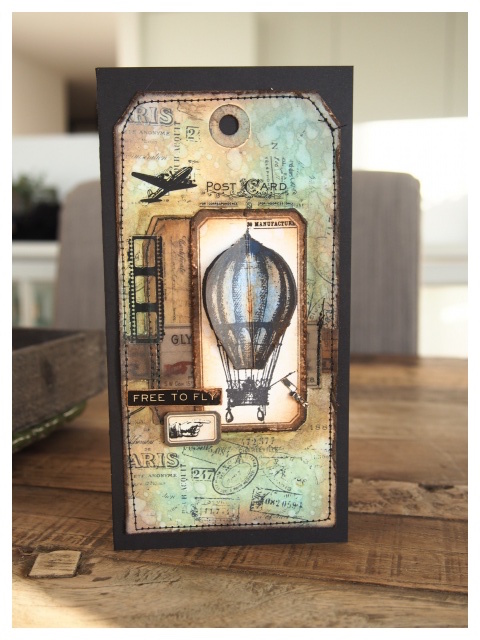
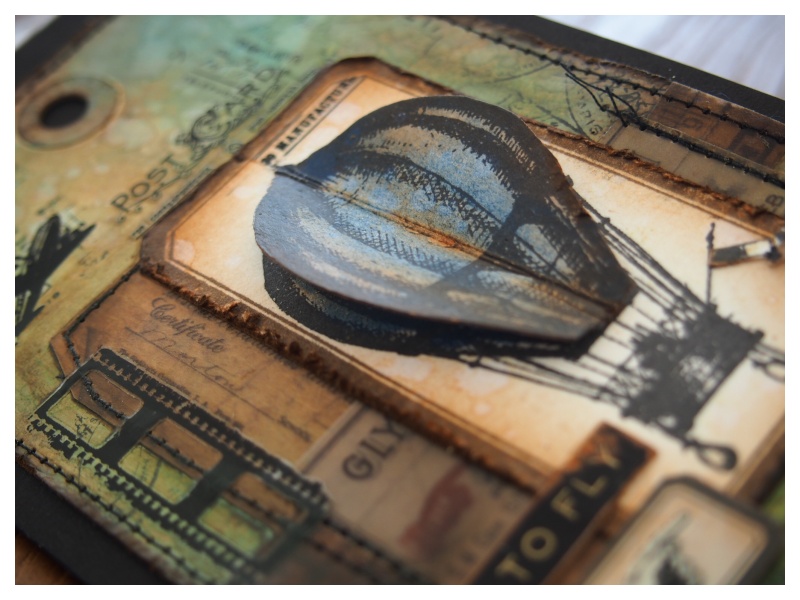
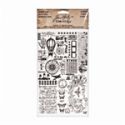
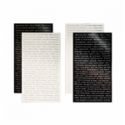
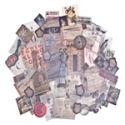
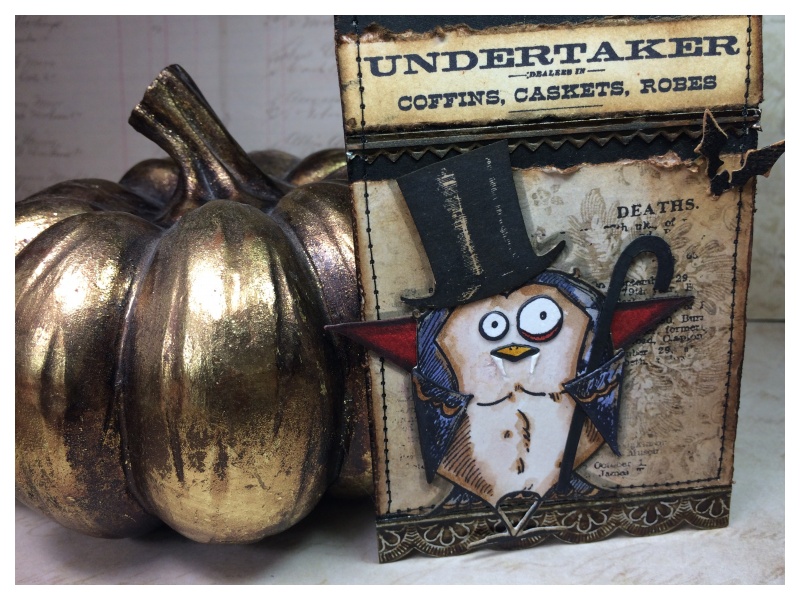
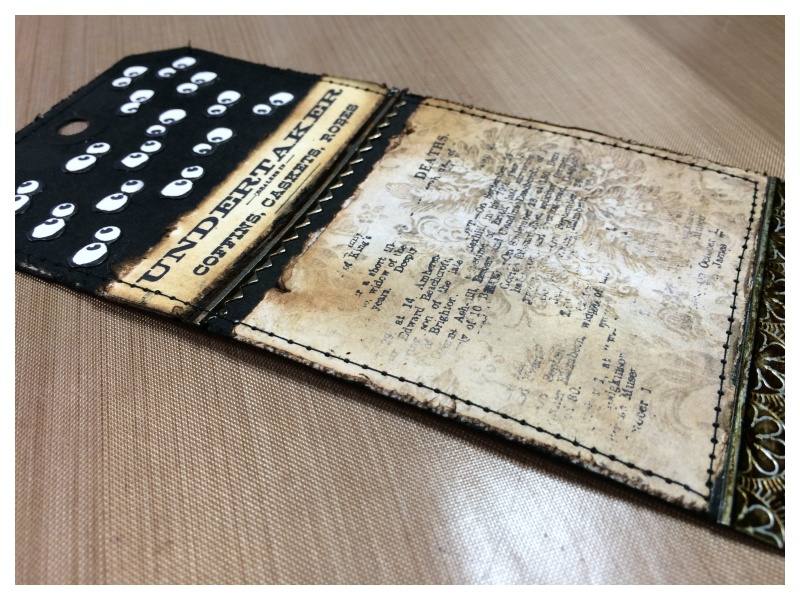
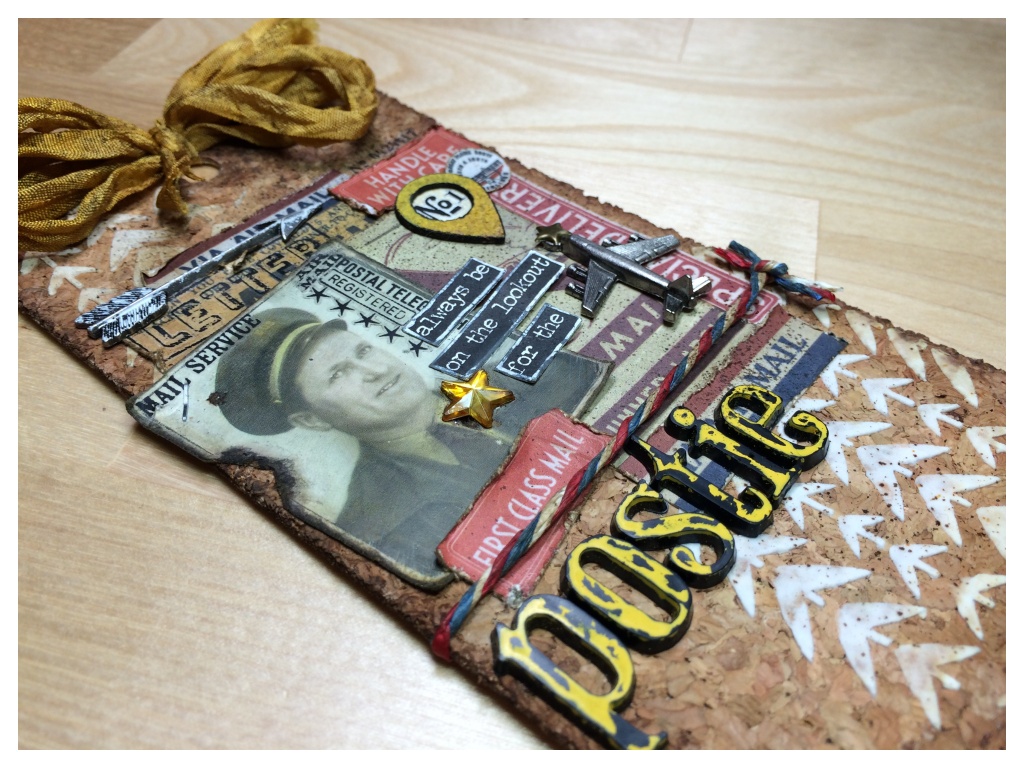
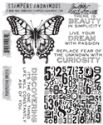
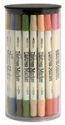
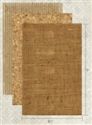
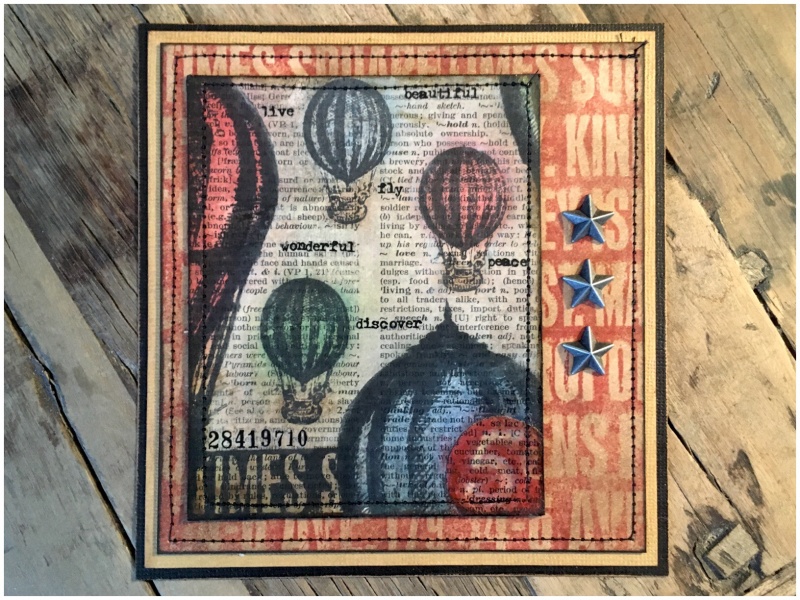
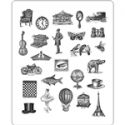
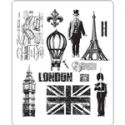
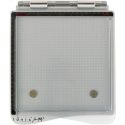
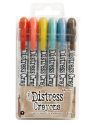
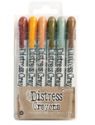
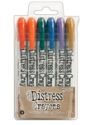
    I adhered a page from an old dictionary over mixed media heavystock with distress collage medium. Using the Tim Holtz stamp platform I stamped the large hot air balloon stamp from Remnants CMS130 stamp set. I stamped the tiny hot air from the tiny things set 3 times. I used distress crayons to colour the balloons and background and added remnant rubs.

    iGirlZoe: Three Is Not A Crowd
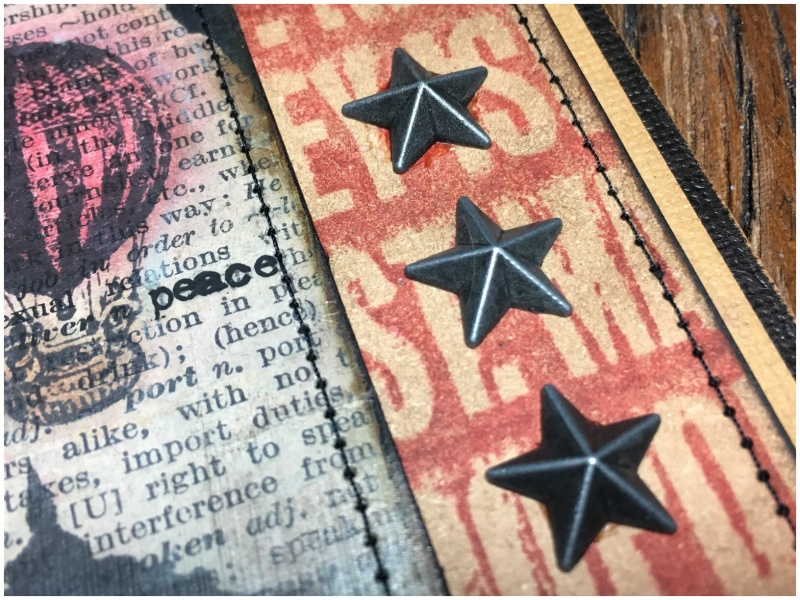
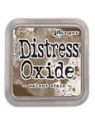
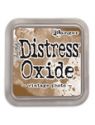
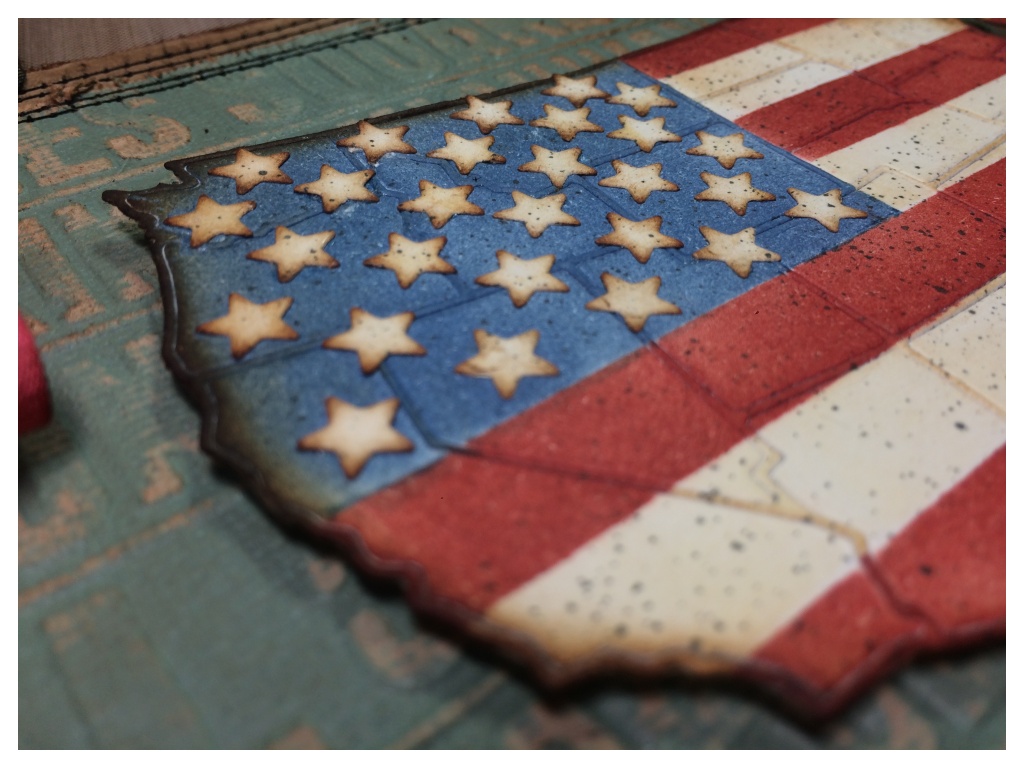
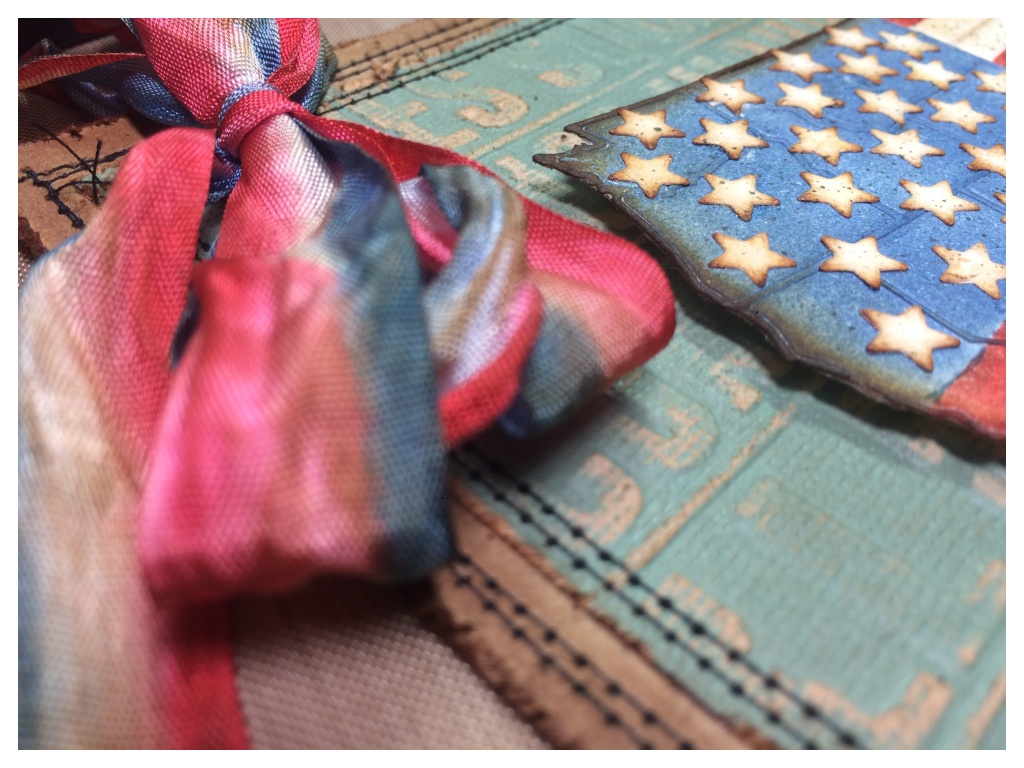
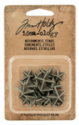
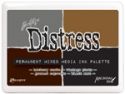
    The background is stamped in fired brick distress ink with walnut stain distress ink blended in and stamped twice using the stamp platform. 3 idea-ology adornment stars were added with distress collage glue.

    iGirlZoe: Three Is Not A Crowd
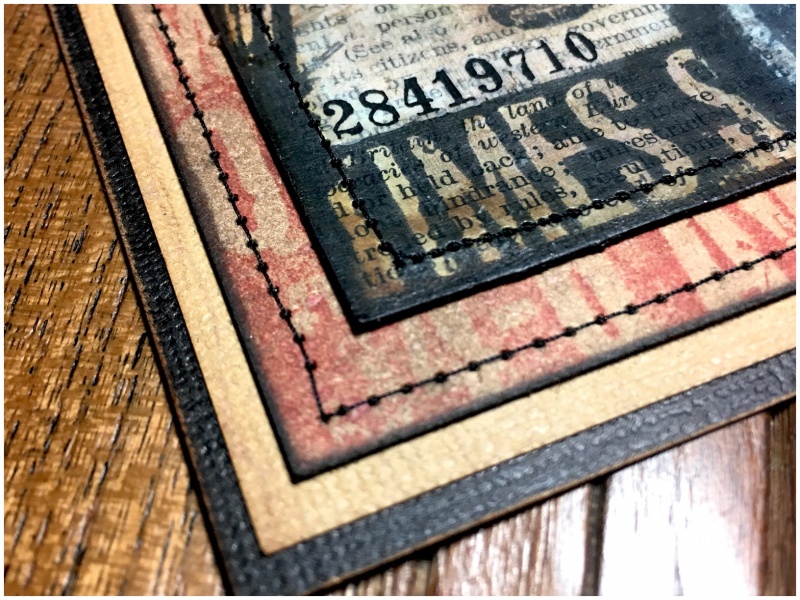
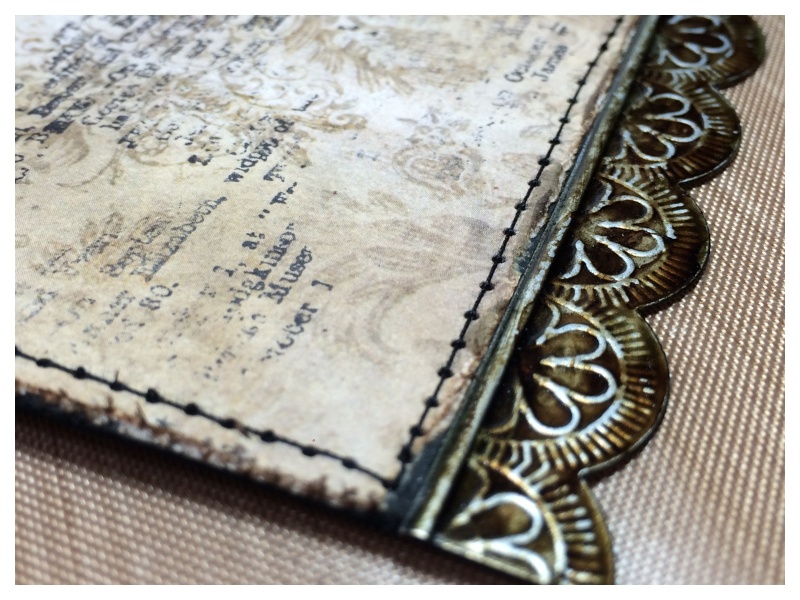
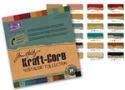
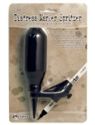
    Finally, I stitched with a sewing machine and mounted onto classic kraft stock.

    I hope you will find time to join in the challenge and pop over to Frilly and Funkie challenge blog to see the rest of the DT’s projects. All the products I used are available from The Funkie Junkie Boutique.

    Thanks for stopping by.
    Zoe


  2. Frilly & Funkie: Free to Fly

    22nd March, 2017 by iGirlZoe

    It’s Wednesday and time for the funkie side of the design team to share our projects for the current challenge over at the Frilly and Funkie Challenge Blog!

    The current challenge is hosted by Kathy (Kathy by design), who has chosen the theme YOU’VE GOT TO KNOW WHEN TO FOLD ‘EM …KATHY says, “I’m a huge fan of folded paper! Whether it’s a fancy fold card, a one sheet wonder, a rosette or other folded embellishment, folds equal fun! This challenge is all about using folded paper in a way that goes beyond just folding it in half. Create a vintage or shabby chic project that uses folded paper in a way that elevates the design. You can make a fancy fold card, or add folded embellishments to a card or layout. So get out those bone folders and start creasing!

    iGirlZoe : Free to FlyIt took me so long to decide what do to for this challenge. My usual creative enthusiasm has been rather lackluster of late. Having just moved to Denmark 10 months ago, we are now having to move out of our apartment completely while they put new floors in. So I’m packing again, and honestly, I feel really tired!

    Still, nothing like the lure of some distress oxides and a wink from my growing stash of distress crayons to get me back to my happy place.

    iGirlZoe : Free to Fly
    I started with those gorgeous distress oxides. I applied some to a manila tag with a mini blending tool. I spritzed with water and dried with a heat tool. I LOVE LOVE LOVE that you can build layers of colour without creating “MUD!”

    iGirlZoe : Free to Fly
    I used the postal marks stamp from the Tim Holtz Paris to London stamp set. Inked it up with black soot archival ink and stamped randomly onto the background without using a grid block.

    iGirlZoe : Free to Fly
    The fold in my card is the hot air balloon. I stamped the image twice, once onto a stamped label frame and the second image I cut the balloon out. I covered with collage medium and used faded jeans distress crayon to colour the balloon. I blended in vintage photo distress ink over the top to age. Using a bone folder, I scored a line down the center of the balloon. I ran a line of glossy accents on the back, just down the line and adhered over the top of the first stamped image. I also added a flag which I concertina folded and then adhered with glossy accents.

    iGirlZoe : Free to Fly
    Next it was time to accessorise! I used Tim Holtz vellum ephemera which I attached with a dot of glossy accents and then stitched into place with my sewing machine. I overlaid with remnant rubs and a sticker from the new quotations metallic stickers. Once finished, I mounted onto a black cardstock.

    I hope you will find time to join in the challenge and pop over to Frilly and Funkie challenge blog to see the rest of the DT’s projects. All the products I used are available from The Funkie Junkie Boutique.

    Thanks for stopping by.
    Zoe


  3. Frilly & Funkie It’s A Small Small World

    17th August, 2016 by iGirlZoe

    It’s Wednesday and time for another challenge over at Frilly and Funkie Challenge Blog!

    This challenge is hosted by Cec (CW Card Creations), who has chosen the theme IT’S A SMALL, SMALL WORLD …CEC says, “Create or alter something small in a shabby chic or vintage style. Your finished project can be anything from the size of an inchie, matchbook or domino to the size of a playing card or note card, which means anything from 1 inch to 4 inches and it does not have to be flat. Be creative and let us know in your post just how small your project is.”

    iGirlZoe: It's A Small Small World
    You might think it’s a tad early for Halloween projects, but after the launch of Stampers Anonymous Tim Holtz Halloween stamps, there was no early! I picked up the mini Halloween #5 stamp set but I couldn’t decide how to incorporate all the stamps I wanted to use, (all of them), into one project, especially such a small small project. It was then that I spied the label frames stamp set and I had a crazy idea…

    Create lots of mini cards, each measuring 2 inches by 2.5 inches and play with all the stamps in the set…

    iGirlZoe: It's A Small Small World

    iGirlZoe: It's A Small Small World

    iGirlZoe: It's A Small Small World

    iGirlZoe: It's A Small Small World

    iGirlZoe: It's A Small Small World

    iGirlZoe: It's A Small Small World

    iGirlZoe: It's A Small Small World

    iGirlZoe: It's A Small Small World

    iGirlZoe: It's A Small Small World

    iGirlZoe: It's A Small Small World
    These cards would be perfect for mini Halloween party invitations, card toppers for larger invitations and gift bags or even dare cards for Halloween parties. I’ll be back on the Frilly and Funkie Challenge blog on Saturday with a step-by-step for these Halloween cards and the finished project. I hope you’ll join me then.

    In the meantime, I hope you will find time to join in the challenge and pop over to Frilly and Funkie challenge blog to see the rest of the DT’s projects. All the products I used are available from The Funkie Junkie Boutique.


  4. 12 Tags of 2015 – July

    27th July, 2015 by iGirlZoe

    At the beginning of the month I made a July 4th wall hanging inspired by Tim’s July Tag. Since then Tim has announced his new Halloween products as well as some awesome accessory stamps and dies for those crazy birds we’ve all gone crazy over. It was all the excuse I needed…

    Tim Holtz 12 Tags of 2015 July
    I have been so inspired by Richele Christensen’s awesome crazy bird cards, (complete with names and personalities), that I had to create my own.
    …May I introduce, “Count Peckula,” an Undertaker from Twittervania. 😉

    Tim Holtz 12 Tags of 2015 July
    The base is black soot distress spray stain sprayed on a manila tag and watercolor cardstock and paper from the industrial stash, stamped with the new Undertaker set.

    Tim Holtz 12 Tags of 2015 July
    The tag is edged with idea-ology industrious stickers, covered with a little mushroom and espresso alcohol ink and stitched.

    Tim Holtz 12 Tags of 2015 July
    I wanted to give the impression of lots of bats hiding in the dark, so stamped the bird crazy eyes onto watercolor cardstock lots of times and cut with the corresponding die. I edged the eyes with black soot distress marker to fully immerse them into the dark background.

    Tim Holtz 12 Tags of 2015 July
    This is how I made Count Peckula…

    Tim Holtz 12 Tags of 2015 July
    See a video on how to create the base bird here!

    CAPE POINTS: die cut an additional set of wings from watercolor cardstock, colour with festive berries and edge with black soot distress markers.

    VAMPIRE FANGS: die cut using the die pictured from watercolor cardstock, trim (as pictured) to create the fangs.

    WALKING STICK & TOP HAT: stamp the candy cane from the new crazy things stamp set and elongated the stem with a journaling pen. Coloure with the black soot distress marker to cover the candy cane stripes. Stamp the top hat from the Undertaker stamp set.

    Tim Holtz 12 Tags of 2015 July
    Attach the cape points and the vampire fangs with a dab of glossy accents and then cover the vampire fangs with glossy accents to give an enameled look.

    Tim Holtz 12 Tags of 2015 July
    Thanks for taking the time to look at my tag. You can see this months tag and techniques on Tim’s blog.

    Tim Holtz 12 Tags of 2015 July
    CMS #240 Undertaker / CMS#237 Crazy Things / CM#212 Bird Crazy / #660954 Bird Crazy Thinlit Dies


  5. Happy 4th of July

    4th July, 2015 by iGirlZoe

    Happy 4th of July!

    Tim Holtz 12 Tags of 2015 - July
    This wall hanging was inspired by Tim Holtz’s July 12 tags of 2015.

    Tim Holtz 12 Tags of 2015 - July
    Tim Holtz new United States thinlits die is too cool. It cuts out the outline AND the individual states as well!

    Tim Holtz 12 Tags of 2015 - July
    I used tissue tape to mask out lines and then inked up with distress ink, (don’t worry, I kept the tape to use on another project)! 😉

    Tim Holtz 12 Tags of 2015 - July
    The stars were die cut using the thinlits shape strips.

    Tim Holtz 12 Tags of 2015 - July
    Finally the entire die cut got swiped with vintage photo distress ink and spritzed with hickory smoke distress marker and spritzer tool. The hickory smoke is my new go to spritz colour!

    Tim Holtz 12 Tags of 2015 - July
    I used Tim’s cool technique using crinkle ribbon and distress markers. Check out Tim’s blog post to see how.

    Tim Holtz 12 Tags of 2015 - July
    Thanks for taking time to stop by and I hope you have a happy July 4th weekend.


  6. 12 Tags of 2015 – June

    30th June, 2015 by iGirlZoe

    Gosh I am really late with this month’s tag! I had my A1 level French exam, my birthday and I got sick all at the same time. Although I didn’t feel 100% on my birthday, I did get 100% in my exam!

    Tim Holtz 12 Tags of 2015 June
    Tim’s 12 Tags of 2015 lured me back to my craft desk and gave me the perfect excuse to use some of my birthday stash.

    Tim Holtz 12 Tags of 2015 June
    I followed the technique from Tim’s post and, as you can see, I tried a few different backgrounds. I loved experimenting and stitched these tags ready to use another day.

    Tim Holtz 12 Tags of 2015 June
    I settled on this slightly more muted background. I splashed a little picket fence distress paint over the top.

    Tim Holtz 12 Tags of 2015 June
    I LOVE the new distress colours and I wanted to use as many as possible on this tag.

    Tim Holtz 12 Tags of 2015 June
    I used the cloud die from the TH mini airplane and cloud die set to mimic cream in the top of the cup. I coloured it white using the technique from Tim’s post. I spritzed the newest distress family member, Hickory smoke, over the top with the distress marker and spritzer tool.

    Tim Holtz 12 Tags of 2015 June
    I used Tim’s remnant rubs to make the tea label and around the rim of the cup and then partially scratched off to look worn.

    Tim Holtz 12 Tags of 2015 June
    Thanks for taking the time to look at my tag. You can see this months tag and techniques on Tim’s blog and you can see the post translated into French on Scrapdeco’s blog.


  7. Message in a Bottle

    11th May, 2015 by iGirlZoe

    Over the past week I’ve learned 50 new French verbs and when I kept staring longingly at PEINDRE, (the verb to paint), I knew I was in desperate need of some creative down time!

    Tim Holtz 12 Tags of 2015 May
    I made a second tag inspired by Tim’s May 12 tags of 2015 and yet again the photobooth card inspired my beach theme. I thought the girl in the photo looked liked she was on holiday in Hawaii! The photobooth cards are fantastic for giving you somewhere to start and my tired brain was very grateful for all the creative inspiration it could get!

    Tim Holtz 12 Tags of 2015 May
    I used the Tim Holtz bubble stencil with Ranger texture paste and the new mermaid lagoon distress ink to create bubbles. After applying the ink, I spritzed some water over the top and then patted dry with a paper towel to lighten the shade. I love that you can build and dilute the distress ink colour so easily! I dyed some cheesecloth with antique linen distress spray to look like fishing net and attached with a tiny attacher staple which I concealed under watercolored blueprint star fish! I attached pearl beads with glossy accents to make it look like they had been caught in the net.

    Tim Holtz 12 Tags of 2015 May
    I wanted some nautical themed elements for my tag so I used some idea-ology to create an anchor. I cut the head off an adornment arrow and attached a mini pin to the back with glossy accents. Once completely dry, I attached the chain and hung from the tag.

    Tim Holtz 12 Tags of 2015 May
    Another nautical themed item I wanted to create was a message in a bottle with wet sand inside! I remembered Tim showing a technique for making sand in last years 12 tags. I adapted the technique slightly as I needed to make it inside the tiny bottle, but check out Tim’s technique, it’s really really cool.

    I got so involved that I only took one snap for instagram! It’s really easy to do though…

    Directions:
    -remove cork from the glass vial and screw an eye into the top (set aside)
    -take a small piece of paper 1/8 smaller in height than the glass vial and distress and ink the edges
    -roll up into a scroll and secure with a little glossy accents (set aside)
    -fill glass vial to 1/8 with antique linen distress embossing powder
    -carefully drop glossy accents into the middle of the glass vial being careful not to get any on the inside sides
    -use a pockey tool to mix into a paste
    -drop the scroll and a few pearl beads into the bottle and set aside to dry
    -secure the cork with a little glossy accents and once dry, attach the chain and it’s ready to hang
    *once the paste dries it won’t move around inside the glass bottle and will adhere the message into place

    Tim Holtz 12 Tags of 2015 May
    Thanks for taking the time to look at my tag. You can see this months tag and techniques on Tim’s blog and you can see the post translated into French on Scrapdeco’s blog.

    For lots of inspiration check out the following challenges:
    Tim Holtz 12 Tags of 2015
    Inspiration Journal Monthly Challenge


  8. 12 Tags of 2015 – May

    5th May, 2015 by iGirlZoe

    I love it when the 12 tags of 2015 are posted just before the weekend as it allows me to dive straight in. The reveal of May’s distress colour twisted citron AND May’s tag ON THE SAME DAY got me really ramped up to get inky.

    Tim Holtz 12 Tags of 2015 May
    I had a look through the new Tim Holtz photobooth cards and found a card that inspired me to pay homage to my postman …bringer of happy mail, (who I love and regularly run towards, screaming, whooping and cheering loudly)!

    Tim Holtz 12 Tags of 2015 May
    I reached for a sheet of new idea-ology burlap, which comes with corregated and cork sheets and decided that the cork worked better for me. I used this new stencil which I am a little bit in LOVE with and reminds me of the arrows on postal packaging I’ve received.

    Tim Holtz 12 Tags of 2015 May
    The Swiss post colours are yellow so I grabbed my mustard seed distress paint and covered some alphaparts.

    Tim Holtz 12 Tags of 2015 May
    There was lots of postal ephemera to choose from in Tim Holtz’s ephemera packs. I also used mustard seed distress markers to colour the postal uniform in the photobooth card. Check out Tim’s tag for techniques. I cut up one of the new small talk sayings to read “always be on the lookout for the” and placed above the “postie” alphaparts. I am always on the lookout for the postie! 😉

    Tim Holtz 12 Tags of 2015 May
    Thanks for taking the time to look at my tag. You can see this months tag and techniques on Tim’s blog and you can see the post translated into French on Scrapdeco’s blog.

    I hope you can check out the following challenge blogs.
    Tim Holtz 12 Tags of 2015
    Inspiration Journal Monthly Challenge
    Simon Says Stamps Wednesday Challenge


  9. Mother’s Day Cards

    30th April, 2015 by iGirlZoe

    Just squeezing in a second post inspired by April’s 12 Tags of 2015. This time with 2 Mother’s Day cards for a lovely American girl from my French class to send home. She asked me where she could buy Mother’s Day cards in Switzerland so I offered to make her a couple. She had recently given me some Reese’s candy, (and there’s nothing I wouldn’t do for chocolate)!!!

    Tim Holtz 12 Tags of 2015 April
    As time was limited, I turned once again to Tim’s April tag for inspiration. I am still waiting for my “craft dealer”, (as my DH calls her), to return from holiday so I can get my hands on Tim’s new flower garden stamps. However, with a little distress ink you can make any stamp work… (temporarily anyway)!

    Tim Holtz 12 Tags of 2015 April
    I used the alphanumeric thinlit dies to create a customised “Mother’s Day” banner. I LOVE these dies, they are SO versatile, I LOVE that about Tim’s products!

    Tim Holtz 12 Tags of 2015 April
    I can’t wait for Friday! Tim’s May tag and the new distress color is unveiled! Could Fridays get any better? I DON’T THINK SO!!! 😉

    Thanks for taking a look at my cards and I hope you can check out the following challenge blogs.

    Tim Holtz 12 Tags of 2015
    Inspiration Journal Monthly Challenge
    Simon Says Stamp Monday Blog Challenge
    Simon Says Stamp Wednesday Challenge


  10. 12 Tags of 2015 – April

    22nd April, 2015 by iGirlZoe

    My French studies continue to keep me busy (and out of trouble), but I made some time to have a go at April’s tag.

    12 Tags of 2015 April
    I didn’t think that I wanted the floral stamps, used in this months tag, when they were released! WRONG!!! While waiting for them to arrive and stalking the postman, I decided to improvise. I went right back to the very beginning and used a floral stamp from set #001! They aren’t designed to colour in so I used the distress markers direct to rubber and then spritzed with water and stamped. I love the look of this technique and have used it many times since taking Creative Chemistry with “the professor”…

    12 Tags of 2015 April
    I used Tim Holtz’s new mixed media die set. This set is worth buying a die cutting machine for! I am not kidding, it’s awesome! Unlike me with a craft knife!! If you follow me on instagram you will know what I mean! #CraftFail

    12 Tags of 2015 April
    I stamped the bee from another earlier stamp set #083 and then stamped a second time on shrink plastic, just the wings this time. With a blob of glossy accents, I attached the wings and propped them up with paintbrush handles until they had dried in an upright position. I watercoloured the stamp with distress markers. I added lots of remnant rubs to the tag and some discontinued idea-ology from my stash.

    12 Tags of 2015 April
    The new idea-ology tiny vials are seriously cute. You can see how they’re altered in my Through the Looking Glass post. I filled it with mustard seed distress glitter and sealed the cork on with glossy accents. I added an idea-ology screw eye and hung it from the chain. My DH made the honey label for me. I love his writing, he used to write me love letters when we dated as teenagers, so it’s special to have it on as part of my tag. <3 Thanks for taking the time to look at my tag. You can see this months tag and techniques on Tim’s blog and you can see the post translated into French on Scrapdeco’s blog.