‘Craft’ Category

  1. Special Delivery

    29th March, 2019 by iGirlZoe

    iGirlZoe: Tim Holtz, stampers anonymous, distinguished stamps, bird feather stamps, ideaology, stamps, mixed media, card

    Hello friends. Yes you guessed it, another Hat! With Spring upon us here in Copenhagen and Easter fast approaching, I was inspired to do something with eggs.

    iGirlZoe: Tim Holtz, stampers anonymous, distinguished stamps, bird feather stamps, ideaology, stamps, mixed media, card
    I had to back order the bird feather (CMS180) stamp set but I knew I had to have it and the hat and collar from the distinguished (CMS371) stamp set is a perfect match! One of best things about Stampers Anonymous is they never retire their stamps, so you can always go to their website and order them going back to the very beginning stamp set, CMS001.

    iGirlZoe: Tim Holtz, stampers anonymous, distinguished stamps, bird feather stamps, ideaology, stamps, mixed media, card
    I love that the egg comes in 2 stamps, stamping the background first and then the speckled detail over the top. Using the Tim Holtz travel stamp platform makes this simple. I used the newsprint stamp from the newsprint and type (CMS266) set in the background and layered the tangled twigs thinlits die cut over the top.

    iGirlZoe: Tim Holtz, stampers anonymous, distinguished stamps, bird feather stamps, ideaology, stamps, mixed media, card
    I love to layer my cards and the idea-ology classic kraft stock, sanded and layered over Tim Holtz design tape is standard for me. I love how the kraft stock palette works with my distress inks and the design tapes are so varied in their design that you can always find something that works. The idea-ology hardware heads were covered in rusty hinge distress paint and wiped away. My obsession with these hardware heads continues.

    iGirlZoe: Tim Holtz, stampers anonymous, distinguished stamps, bird feather stamps, ideaology, stamps, mixed media, card
    Thanks for stopping by and I hope you have a great weekend.

    Zoe


  2. Indistinguishably Dapper

    16th March, 2019 by iGirlZoe

    iGirlZoe: Tim Holtz, stampers anonymous, distinguished stamps, ideaology, entomology, dapper, stamps, mixed media, card

    Hello friends. I’ve been in a little bit of trouble this morning over a small issue of sewing through nails without safety glasses! Moving swiftly on… I am sharing a card I made using the Dapper (CMS267) and Distinguished (CMS371) stamp sets. Until Distinguished was released in January, Dapper was my favourite and most used set. The hat and coat are just my jam. Distinguished has been such a happy surprise and I have loved playing with the new wardrobe, but I had to go back and grab the background stamps from the Dapper set.

    iGirlZoe: Tim Holtz, stampers anonymous, distinguished stamps, ideaology, entomology, dapper, stamps, mixed media, card
    The background is distress watercolor cardstock dragged through hickory smoke and frayed burlap distress spray and dried with a heat tool. Then tapped through the droplets a second time and dried again. Using black soot distress ink and a waterbrush flick watered down ink at the card to give some darker specs. Blend in a little frayed burlap distress ink and edge with double espresso distress archival ink. The mini ink pads are perfect for edging cards as their size makes them easy to handle and you don’t fumble the ink pad across the front of your card. Hands up who’s done that?!

    iGirlZoe: Tim Holtz, stampers anonymous, distinguished stamps, ideaology, entomology, dapper, stamps, mixed media, card
    The hat and coat were stamped from the Distinguished (CMS371) stamp set and the moth from the Entomology (CMS328) stamp set and die cut with the matching thinlits die set. I have noticed that die cutting them makes them much stronger versus fussy cutting them. I added gears from the assemblage range to the hat and slipped a hardware head in, it fit perfectly. All grunged with little swipe from walnut stain distress crayon. The hat and coat were coloured with faded jeans and frayed burlap distress marker and ink.

    iGirlZoe: Tim Holtz, stampers anonymous, distinguished stamps, ideaology, entomology, dapper, stamps, mixed media, card
    Okay so this next bit is what got me into a little bit of hot water this morning thanks to my instagram post. I decided at 4am that I was going to sew nails to ruler ribbon on my singer heavy duty sewing machine! I’m still slightly dumbstruck that it worked! Sewing level up for me! I now need more idea-ology ruler ribbon and vignette hardware, because those nails are awesome!!

    iGirlZoe: Tim Holtz, stampers anonymous, distinguished stamps, ideaology, entomology, dapper, stamps, mixed media, card
    The gears from the Dapper (CMS267) set I stamped twice using the brushless watercolor technique from Tim Holtz’s Creative Chemistry online classes. I love referring back to techniques from it. Lifetime access, check it out. The advert stamp I made work for me by using the travel stamp platform and inking individual lines of text and stamping. I’m a bit of a straight lines freak so the stamp platform has been a total game changer for me. I used vintage photo distress archival ink and stamped twice for a bolder image on some lines, another reason to love the stamp platform.

    iGirlZoe: Tim Holtz, stampers anonymous, distinguished stamps, ideaology, entomology, dapper, stamps, mixed media, card
    The base layer is scrap card edged with design tape. It’s such a great way to create a layer and the design tapes go a long way.

    Thanks for stopping by. Enjoy your weekend.

    Zoe


  3. Tim Holtz Tag Press Witches Hat

    4th November, 2018 by iGirlZoe

    Hello friends. I am back with a Sunday step by step for the witches hat that is hanging in The Witches Boutique, using the Tim Holtz idea-ology tag press.

    iGirlZoe: Tim Holtz, idea-ology, tag press, mummy cloth, distress spray, mixed media, halloween, witches hat, felt

    iGirlZoe: Tim Holtz, idea-ology, tag press, mummy cloth, distress spray, mixed media, halloween, witches hat, felt
    Gather these supplies, all are listed at the bottom of the post and the black felt is from my own stash. I WISH I had some deep purple felt, I’ll have to order some witchy colours and make some more. I already have an idea for a home decor project for next year. But for now, here’s how…

    iGirlZoe: Tim Holtz, idea-ology, tag press, mummy cloth, distress spray, mixed media, halloween, witches hat, felt
    1. Spray mummy cloth with distress spray stain and set aside to dry.
    2. Using the Tim Holtz large circle paper punch, punch 4 circles out of distress mixed media heavystock.
    3. Place one of the heavystock circles into the tag press frame and press.
    4. Use the second circle as a guide by placing it onto a piece of felt and cutting around the circle, leaving a half inch border, (t0 fold over the frame).

    iGirlZoe: Tim Holtz, idea-ology, tag press, mummy cloth, distress spray, mixed media, halloween, witches hat, felt
    5. Place the pressed tag onto the felt you just cut and snip lines all the way around from the edge of the felt to the circle frame. Cover with distress collage medium and start to fold the felt over the frame.
    6. Continue to fold the felt over the frame and press down into the collage medium and set aside to dry.
    7. Cut another piece of felt using the heavystock circle as a template, (this time don’t leave a border).
    8. Adhere the felt circle over the back of the circle frame to hide the gathered material.

    iGirlZoe: Tim Holtz, idea-ology, tag press, mummy cloth, distress spray, mixed media, halloween, witches hat, felt
    9. Take the 3 remaining heavystock circles and cut a line across the middle leaving a quarter uncut.
    10. Roll each of the circles into cones and stack them on top of each other, covering in a layer of collage medium to hold in place.
    11. Once the glue is dry, cover in a layer of distress paint that best matches the felt and allow to air dry.
    12. Assemble the hat with collage medium. Once completely dry, gently bend the frame of the pressed circle tag to create the signature witch hat curve.

    iGirlZoe: Tim Holtz, idea-ology, tag press, mummy cloth, distress spray, mixed media, halloween, witches hat, felt
    Use a smaller circle tag and punch for different size hats and mix your distress paints to colour match to your felt. The possibilities are endless, I hope you give it a go.

    Thanks for stopping by.
    Zoe


  4. 539

    2nd August, 2018 by iGirlZoe

    It was definitely an indoor activity day in Copenhagen yesterday, with some much needed rain. With nature in mind I decided to break out the Tim Holtz Entomology stamp set and use one of my favourite thinlits mixed media die sets to create a card that I owe a friend and who has a thing about numbers…

    iGirlZoe: Tim Holtz, distress crayons, entomology stamps, mixed media thinlits dies, idea-ology design tape, distress collage medium, crackle texture paste, sizzix, stampers anonymous, ranger ink, idea-ology, mixed media

    iGirlZoe: Tim Holtz, distress crayons, entomology stamps, mixed media thinlits dies, idea-ology design tape, distress collage medium, crackle texture paste, sizzix, stampers anonymous, ranger ink, idea-ology, mixed media
    I added some of the Tim Holtz design tape (collector) and covered with a thin layer of distress collage medium. I absolutely love this medium and it prepares the surface perfectly for distress crayons. It also stops flaking if you’ve added any kind of texture paste as it seals it in. The brush strokes from applying it make some cool texture marks too.

    iGirlZoe: Tim Holtz, distress crayons, entomology stamps, mixed media thinlits dies, idea-ology design tape, distress collage medium, crackle texture paste, sizzix, stampers anonymous, ranger ink, idea-ology, mixed media
    I used the Tim Holtz mixed media thinlits die in a slightly different way. Instead of cutting into a background, I cut the honeycomb out. I die cut twice, moving the thinlits die and lining it up as best I could to create a continuous pattern. I then cut it away from the background with scissors.

    iGirlZoe: Tim Holtz, distress crayons, entomology stamps, mixed media thinlits dies, idea-ology design tape, distress collage medium, crackle texture paste, sizzix, stampers anonymous, ranger ink, idea-ology, mixed media
    I layed the die cut onto distress mixed media heavystock and brushed a layer of distress collage medium over the top. Once dry, I applied opaque crackle texture paste over the honeycomb with a palette knife and set aside to dry. I applied fossilized amber distress crayon directly to the raised portions of the honeycomb die cut, followed by walnut stain distress crayon and then blended a little with my finger.

    iGirlZoe: Tim Holtz, distress crayons, entomology stamps, mixed media thinlits dies, idea-ology design tape, distress collage medium, crackle texture paste, sizzix, stampers anonymous, ranger ink, idea-ology, mixed media
    I had some die cut numbers cut from a sadly retired surface called grungeboard. If there was one product I would love to see come out of retirement, it would be grungeboard… Fortunately I hoarded it when it was for sale and even more so when it was discontinued, so I have a healthy stash. It’s worth investing in products that are being retired if you’re going to use them. I covered the grungeboard die cut letters with walnut stain, vintage photo and frayed burlap distress crayon and, with my finger, patted on a little (almost dry) broken china distress paint. These were adhered with distress collage medium.

    iGirlZoe: Tim Holtz, distress crayons, entomology stamps, mixed media thinlits dies, idea-ology design tape, distress collage medium, crackle texture paste, sizzix, stampers anonymous, ranger ink, idea-ology, mixed media
    I used distress crayons to colour my background and rubbed a little broken china distress paint on here and there. I stamped bees from the Tim Holtz Entomology stamp set from Stampers Anonymous. I don’t have the accompanying Sizzix Entomology framelits die set yet, but it’s top of my list. I used the background stamp from the Entomologt set to stamp randomly over the background. This stamp set is possibly my favourite release from Creativation 2018.

    iGirlZoe: Tim Holtz, distress crayons, entomology stamps, mixed media thinlits dies, idea-ology design tape, distress collage medium, crackle texture paste, sizzix, stampers anonymous, ranger ink, idea-ology, mixed media
    I stitched the heavystock background, added a little picket fence distress paint with my finger. Mounted onto classic kraft stock which I sanded and blended in vintage photo distress ink and mounted onto card edged with design tape and finally onto a kraft card.

    iGirlZoe: Tim Holtz, distress crayons, entomology stamps, mixed media thinlits dies, idea-ology design tape, distress collage medium, crackle texture paste, sizzix, stampers anonymous, ranger ink, idea-ology, mixed media
    Thanks for stopping by and I hope you liked this card.
    Zoe


  5. It’s a Wrap!

    8th December, 2017 by iGirlZoe

    I’m bringing you my final piece for the Tim Holtz holiday inspiration series. I hope you’ve been following along with Tim on instagram and facebook throughout November and December. If you’ve missed anything, you can catch up with all the inspiration on Tim’s blog from week 1, week 2, week 3, week 4, week 5 and week 6!

    iGirlZoe: It's A Wrap
    As there are only 17 sleeps until Christmas, (yes, I’m counting), this is a nice quick and simple way to give your gifts a little personal touch with a gift adornment!

    Using the Sizzix gift tag thinlits die and sidekick, as well as the Stampers Anonymous holiday and stripes stamp set to create the background. I added foil and vintage photo distress ink to the edges and vintage twine to the top. Then decorated…

    iGirlZoe: It's A Wrap
    ..die cut from the festive berries thinlits set, christmas paper doll, metallic holiday sticker and mercury glass stickles.

    iGirlZoe: It's A Wrap
    ..die cut from the christmastime village thinlits set and metallic holiday sticker.

    iGirlZoe: It's A Wrap
    ..die cut numbers that came with the Sizzix sidekick (LOVE THESE), christmas remnant rubs and stickles mercury glass.

    iGirlZoe: It's A Wrap
    ..die cut from mini festive greens thinlits set edged with mercury glass stickles, idea-ology bells covered with red pepper alcohol ink and metallic holiday sticker.

    iGirlZoe: It's A Wrap
    …Okay, I literally couldn’t stop myself from making another gift card holder, decorated in a similar way as the gift adornments and adding holly form the mini festive greens thinlits set and christmas ephemera.

    Thanks so much to Tim Holtz, Mario Rossi and Paula Cheney for inviting me to be a part of this years seasonal team and for all of their hard work, guidance and support. Thanks to all of you for your kind words of encouragement. I will be back on Monday with a recap of all my holiday inspiration series makes. Hope you have a great weekend.

    Cheers
    Zoe


  6. Tim Holtz inspired December Daily

    18th November, 2017 by iGirlZoe

    Hello friends. I’m back with my third project for the Tim Holtz inspiration series. Throughout November and December Tim will be sharing projects by a group of talented crafters to provide some inspiration to get you creative during the holiday season. Follow Tim on facebook and instagram and his blog for the recap each Saturday.

    iGirlZoe: Tim Holtz Inspired December Daily
    Today I’m bringing you a handmade album created using the new Tim Holtz seasonal products, to fill with handmade pages ready for the start of December Daily on December 1st.

    iGirlZoe: Tim Holtz Inspired December Daily
    Step 1: I cut three panels measuring 5.5 x 7.5 inches / 2 x 7.5 inches / 5.5 x 7.5 inches using card I recycled from idea-ology packaging.
    Step 2: Adhere all 3 panels to the back of kraft stock from the Christmas kraft stock paper pad.
    Step 3: Using a sanding grip, lightly sand the edges of all 2 panels and blend in walnut stain distress ink.
    Step 4: Cut paper from the Christmas mini stash and stitch around the edges.

    iGirlZoe: Tim Holtz Inspired December Daily
    Step 5: Line up the 3 panels, making sure they are the correct way up, (especially if they have writing on like mine).
    Step 6: Turn the panels over, leaving a small gap between each panel, and adhere paper cut to 5.5 x 7.5 inches. The paper will cover the spine and each book cover, overlapping by 1.75 inches.
    Step 7: Add an idea-ology ring binder and fix into place using hitch fasteners.

    iGirlZoe: Tim Holtz Inspired December Daily
    Step 8: Gently bend the cover into a closed position.

    iGirlZoe: Tim Holtz Inspired December Daily
    Step 9: Stamp the gorgeous vintage santa from the Stampers Anonymous Christmas Classic stamp set onto mixed media heavystock with ground espresso distress archival ink. Cover with frayed burlap distress ink wash. Using a water brush, paint the holly leaves with peeled paint distress oxide and the berries with candied apple distress paint.

    iGirlZoe: Tim Holtz Inspired December Daily
    Step 10: Using the Sizzix Festive Greens thinlits set, die cut from classic kraft stock. Sand with a sanding grip and add a little vintage photo distress ink to the edges and sanded areas. Adhere with distress collage medium.

    iGirlZoe: Tim Holtz Inspired December Daily
    Step 11: Die cut “december” from the Sizzix Calendar Words Block thinlits set. Twice from distress mixed media heavystock and once from metallic kraft stock. Mount with the metallic die cut on top using distress collage medium.
    Step 12: Dab walnut stain distress paint onto the letters with a finger.
    Step 13: Once dry, tap a little vintage photo distress archival ink over the top. Rub gently to expose some of the metallic base.

    iGirlZoe: Tim Holtz Inspired December Daily
    Step 14: Draw a chalk line and adhere the “december” onto the front cover, along the line, using distress collage medium. Once dry, gently erase the chalk line.

    iGirlZoe: Tim Holtz Inspired December Daily
    Step 15: Add the 2017 to the spine of the album with distress collage medium. Once the album is stored, it’s an easy way to see which album is which. Making the cover has been so fun that I know I’ll want to make another next year.

    iGirlZoe: Tim Holtz Inspired December Daily
    Thanks for stopping by, I hope this has inspired you to pull out your Tim Holtz holiday supplies and make something. Don’t forget to catch up with all the projects from week 3 for more holiday inspiration. I’ll be back next week with some holiday cards and pages from the inside of this album.

    Have a great weekend!
    Cheers
    Zoe x


  7. Fa la la la la

    7th November, 2017 by iGirlZoe

    Hello friends. I’m delighted to join a group of talented crafters for the Tim Holtz holiday inspiration series. Throughout November and December Tim will be sharing projects to provide some inspiration to get you creative during the holiday season. Follow Tim on facebook and instagram and his blog for the recap each Saturday.

    iGirlZoe: Fa La La La

    iGirlZoe: Fa La La La
    I wanted to share how I created the snowflake background using the new Sizzix simple snowflake texture fades folder by Tim Holtz.

    iGirlZoe: Fa La La La
    Step 1: Emboss a piece of distress mixed media heasvystock using the new simple snowflake texture fades folder.
    Step 2: Blend in faded jeans distress oxide.
    Step 3: Blend a little vintage photo distress oxide over the top.
    Step 4: Spritz with water and dry with a heat tool.

    iGirlZoe: Fa La La La
    Step 5: Apply a little picket fence distress paint onto a non stick craft sheet. Pick it up with a blending tool and lightly dab over the top of the raised snowflakes. Set aside to dry.

    iGirlZoe: Fa La La La
    The falalala is from the Christmas remnant rubs. There is also a falalala stamp in the holiday drawing set (CMS284).

    iGirlZoe: Fa La La La
    The lamp post is cut from black classic kraft stock mounted onto chipboard. I used metallic kraft core for the lights. I sanded everything, (I always sand everything)! lol

    iGirlZoe: Fa La La La
    The wreath is cut from classic kraft core and I die cut 2 ribbons, attaching the top one by the center only and bending the bow upwards to give dimension. I may have taken a sanding grip to it… lol

    iGirlZoe: Fa La La La
    I picked up the vintage tidings thinlits dies really late last year and didn’t get a chance to use them, so they were top of my list this year. Die cut from metallic kraft stock. When sanded, (I told you), the gold lifts and reveals silver before revealing the kraft core. I always blend a little vintage photo distress ink over the top to grunge it up. Love this stuff!

    iGirlZoe: Fa La La La
    I die cut a frame from metallic kraft stock with the stitched rectangle thinlits set and mounted over the top, using collage medium to adhere everything. I matted and layered metallic and classic kraft stock over paper from the Christmas mini stash, all by Tim Holtz.

    Thanks for stopping by. Don’t forget to catch up with all the projects from week 1 for more holiday inspiration. I’ll be back soon with some more holiday inspiration.

    Cheers
    Zoe


  8. Halloween 2017

    31st October, 2017 by iGirlZoe

    Happy Halloween friends! I’m popping back up, like a scene from a hitchcock movie, to bring you the full line up of projects I made for the Tim Holtz halloween inspiration series. Check out the other designers cool and creepy creations in week 1, week 2 and week 3 recaps on Tim’s blog.

    iGirlZoe: Mr Pumpkinhead
    Mr Pumpkinhead

    iGirlZoe: Monster Mash
    Monster Mash

    iGirlZoe: Monster Mash
    Monster Mash

    iGirlZoe: Sizzix Jack-O-Lantern
    Jack-O-Lantern

    iGirlZoe: Pumpkin Patch
    Pumpkin Patch

    iGirlZoe: The Masked Witch
    The Masked Witch

    iGirlZoe: Haunted Banner
    Haunter Banner

    iGirlZoe: Claw Mark Coffin
    Claw Mark Coffin

    iGirlZoe: Claw Mark Coffin
    Claw Mark Coffin (close up)

    iGirlZoe: The Bone Collector Caravan
    The Bone Collector Caravan

    iGirlZoe: The Undertaker & Embalmer
    The Undertaker and Embalmer

    iGirlZoe: Ravens in Flight
    Then suddenly something strange happened…

    A big thank you to Tim Holtz, Mario Rossi and Paula Cheney. And a big thank you for the lovely comments you have left over the past few weeks, here and on social media. Hope you all have a safe and happy halloween.

    Cheers
    Zoe x


  9. The Bone Collector Caravan

    by iGirlZoe

    Happy Halloween! The Tim Holtz Halloween inspiration series on facebook and instagram has wrapped up, but if you missed anything there are recaps for week 1, week 2 and week 3 on Tim’s blog.

    iGirlZoe: The Bone Collector Caravan
    I wanted to share this bone collector caravan before it heads to Halloween town. I didn’t do a step by step for this project, but I’ll walk you through it and share the few photos I took during the process, for those interested.

    iGirlZoe: The Bone Collector Caravan
    I sanded the outer panels of a vignette box with a sanding grip. Painted through a stencil with ground espresso distress paint. Once dry, stained the panels with walnut stain distress stain.

    iGirlZoe: The Bone Collector Caravan
    Added an idea-ology Halloween baseboard to the inside back of the vignette box. All it needed was a little light distressing to the edges and adhered with collage medium matte.

    iGirlZoe: The Bone Collector Caravan
    As soon as I saw the paper doll witches, I knew they were going inside this idea-ology bird cage!

    iGirlZoe: The Bone Collector Caravan
    I covered the birdcage with a coat of distress grit paste and allowed to dry. Then rubbed various distress crayons over the top.

    iGirlZoe: The Bone Collector Caravan
    The background was created using (discontinued) picket fence distress crackle paint. Sorry to be a tease, it’s my reward for hoarding it. The witches were trimmed and mounted into the cage.

    iGirlZoe: The Bone Collector Caravan
    The banner was made punching paper from the mini halloween paper stash with the Tim Holtz banner paper punch.

    iGirlZoe: The Bone Collector Caravan
    I used white gel pen to colour the underside of the remnant rubs and letting dry before rubbing them onto the banner. Distressed the edges with a sanding grip.

    iGirlZoe: The Bone Collector Caravan
    Blended a little vintage photo distress ink into the edges of the banner.

    iGirlZoe: The Bone Collector Caravan
    I rolled the banner over twine, securing with distress collage medium. Drilled holes into the top of the vignette box and pushed the bones into the holes, again, securing with distress collage medium. Wrapped wire around the top of the bones and attached the twine to each side to hang the banner.

    iGirlZoe: The Bone Collector Caravan
    I just love these apothecary vials. I used the labels that come with them, sanded with a sanding grip and adding remnant rubs. I bent an adornment skull around a bottle and secured with distress collage medium. Finally added twine to the neck of the vials.

    iGirlZoe: The Bone Collector Caravan
    I altered the pulley wheels by adding grit paste allowing to dry, then dabbing on evergreen bough distress paint with a cotton bud and once dry, mushroom alcohol ink, also applied using a cotton bud. The bone collector word band had picket fence distress crayon added to highlight the text. I used a ring fastener and swivel clasp as the trailer tow. All adhered using distress collage medium, (I’m a total adhesive convert since creating this piece)! I even used it to adhere those skulls!

    iGirlZoe: The Bone Collector Caravan
    I have to make a special mention of the idea-ology skulls that I used in this project! The detail on them is incredible and yes, I admit it… I hoarded!!

    I hope you enjoyed the walk through my bone collector caravan and it’s been “all the fun of the fair!”
    Cheers
    Zoe x


  10. Haunted Banner

    21st October, 2017 by iGirlZoe

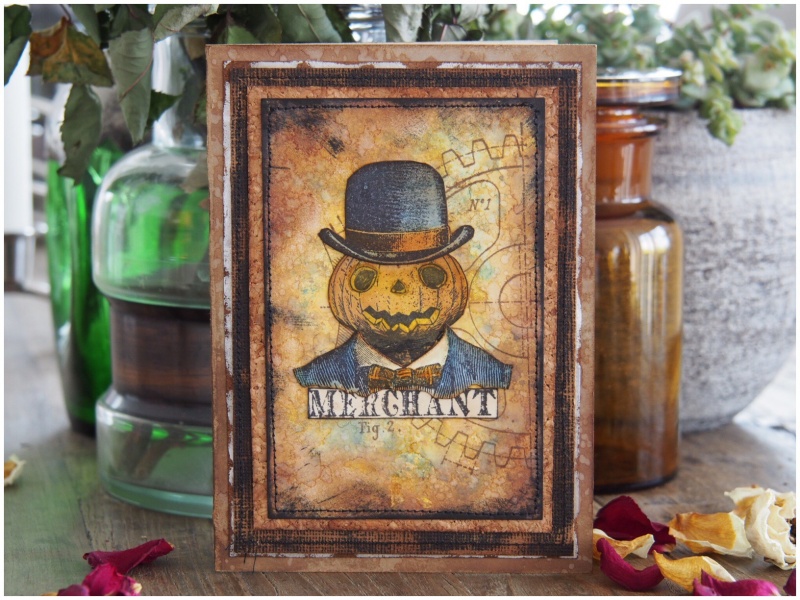
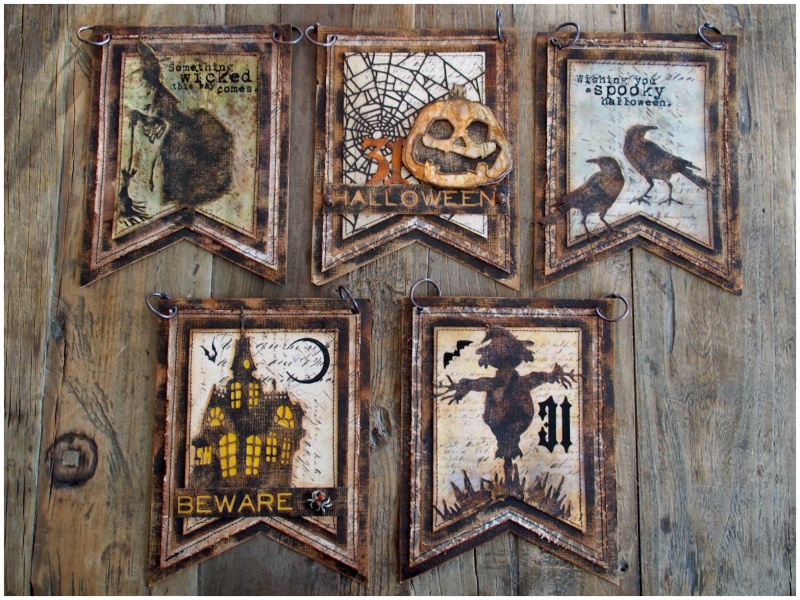
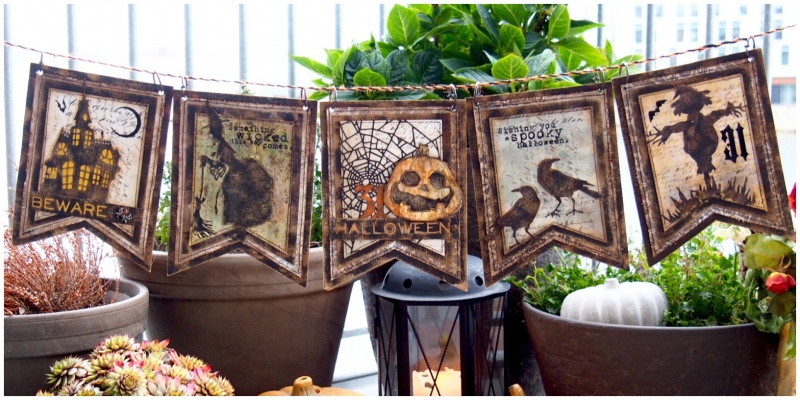
    With All Hallows’ Eve drawing near, I’m sharing this haunted banner that I made for the Tim Holtz Halloween inspiration series. You can follow along on Tim’s facebook and instagram with a weekly recap on Saturday on his blog.

    iGirlZoe: Haunted Banner
    iGirlZoe: Haunted Banner
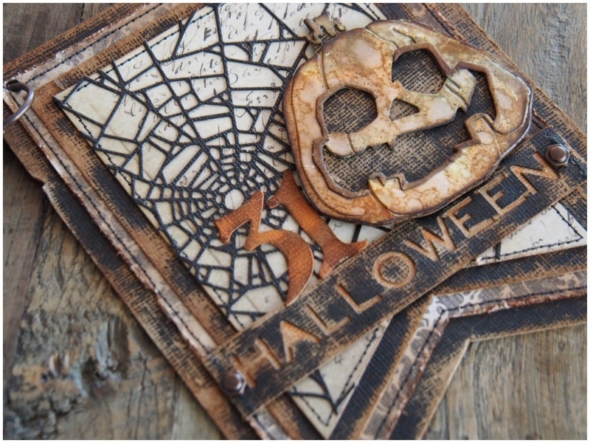
    Here’s how I made the jack-o-lantern banner…

    iGirlZoe: Haunted Banner
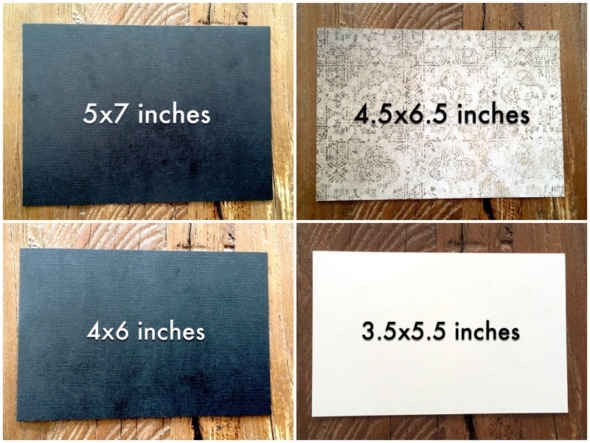
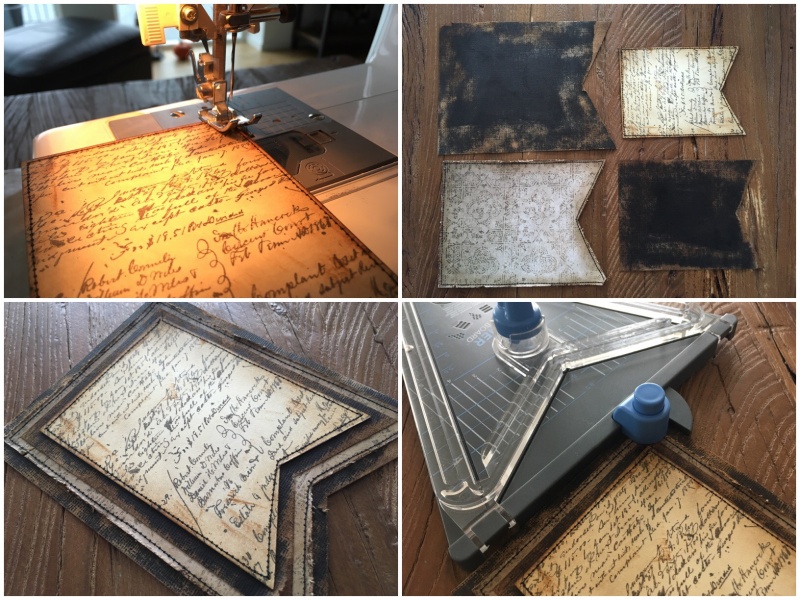
    Step 1: Cut a piece of black classic kraft stock 5 x 7 inches.
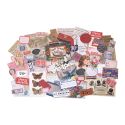
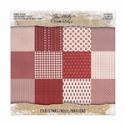
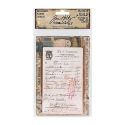
    Step 2: Cut a piece of paper from the Halloween mini stash 4.5 x 6.5 inches.
    Step 3: Cut a second piece of black classic kraft stock 4 x 6 inches.
    Step 4: Cut a piece of mixed media heavystock 3.5 x 5.5 inches.

    iGirlZoe: Haunted Banner
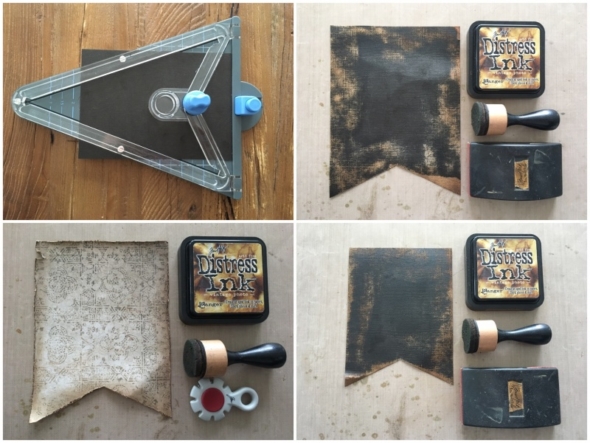
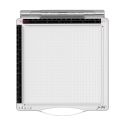
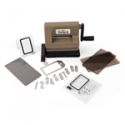
    Step 5: Using the WRMK banner punch board, cut the ends to create a banner.
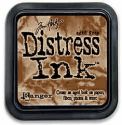
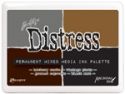
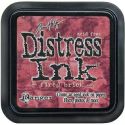
    Step 6: Sand the edges of the large black classic kraft stock banner with a sanding grip and blend in vintage photo distress ink.
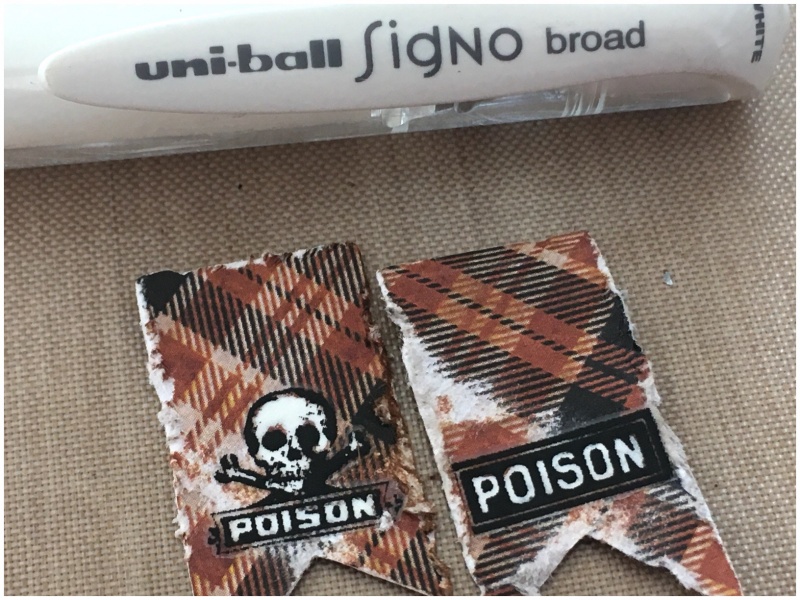
    Step 7: Distress the edge of the halloween mini stash paper banner and blend in vintage photo distress ink.
    Step 8: Sand the edges of the small black classic kraft stock banner with a sanding grip and blend in vintage photo distress ink.

    iGirlZoe: Haunted Banner
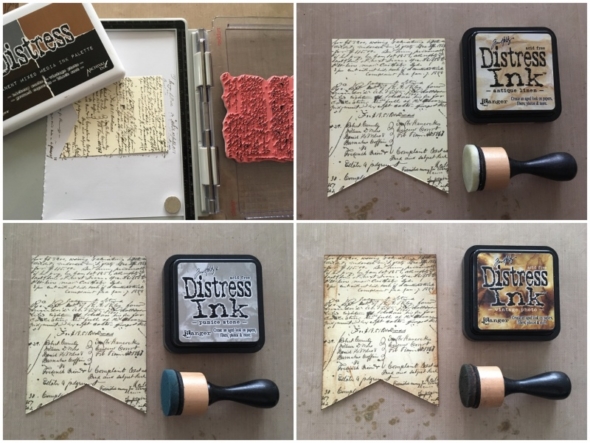
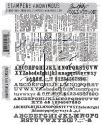
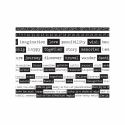
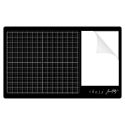
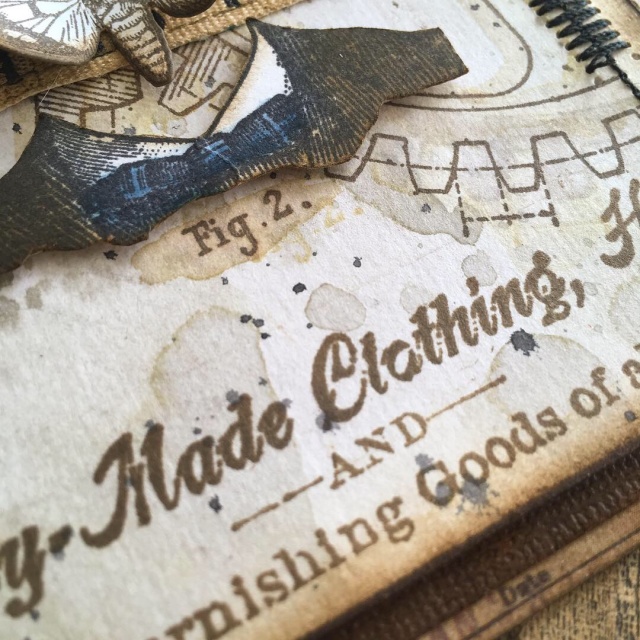
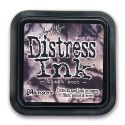
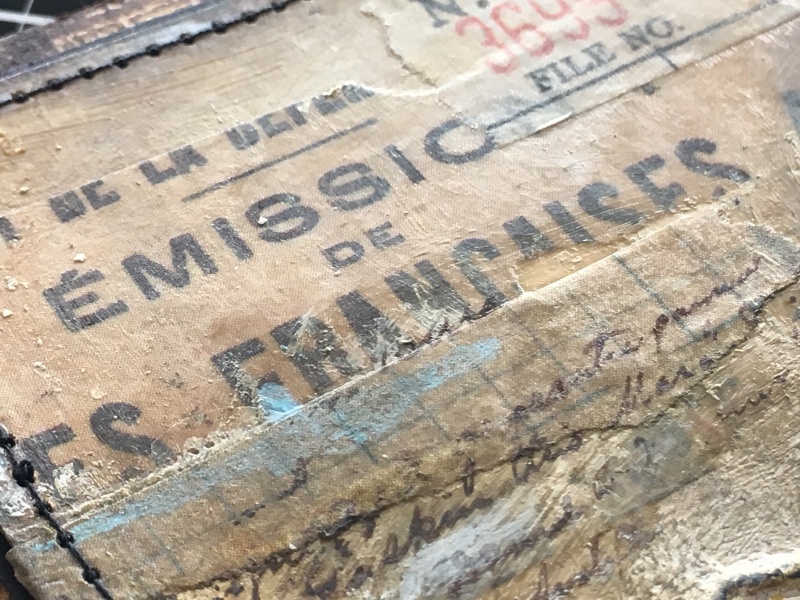
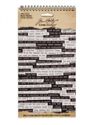
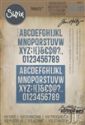
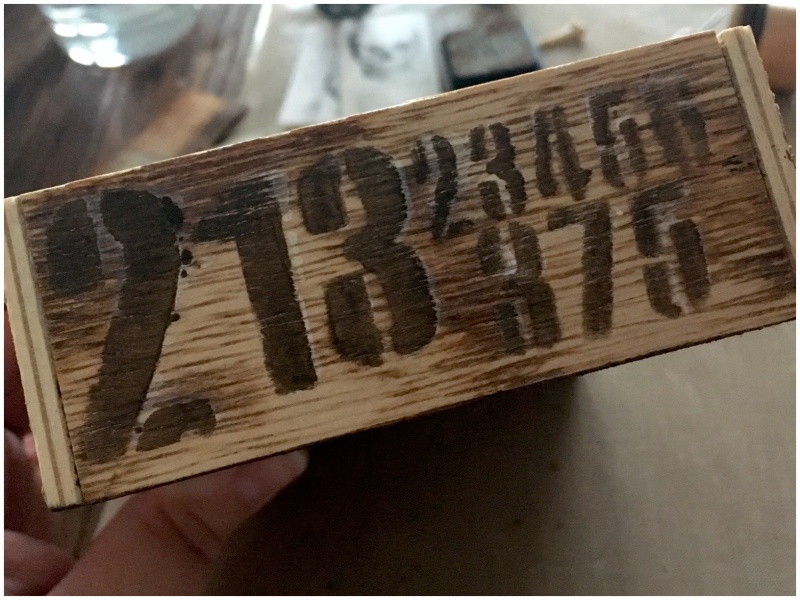
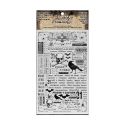
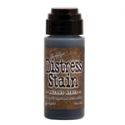
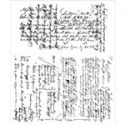
    Step 9: Ink up the ledger script stamp with hickory smoke distress archival ink. Stamp onto the heavystock banner using the stamp platform. Stamp a second time using a very light layer of vintage photo distress archival ink.
    Step 10: Blend in antique linen distress ink.
    Step 11: Blend in pumice stone distress ink.
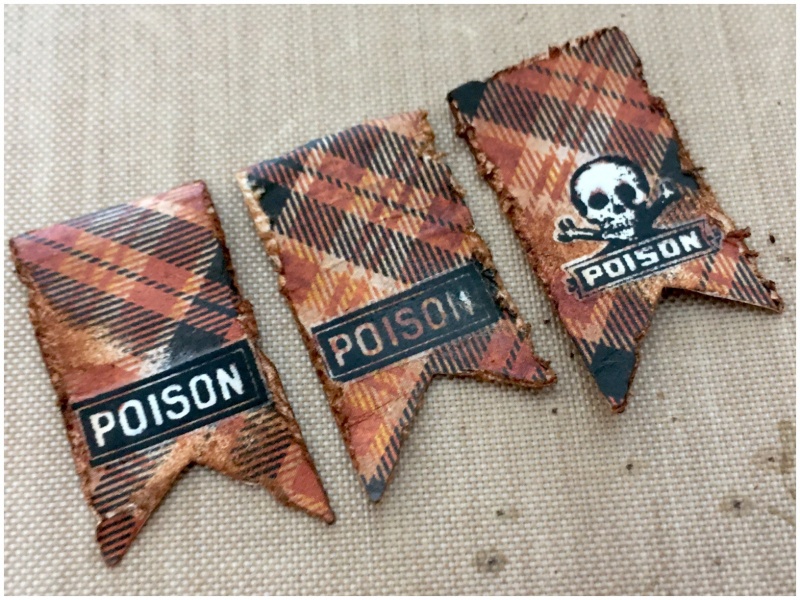
    Step 12: Blend vintage photo distress ink into the edges.

    iGirlZoe: Haunted Banner
    Step 13: Sew the edges of the mini stash and heavystock banners with black thread.
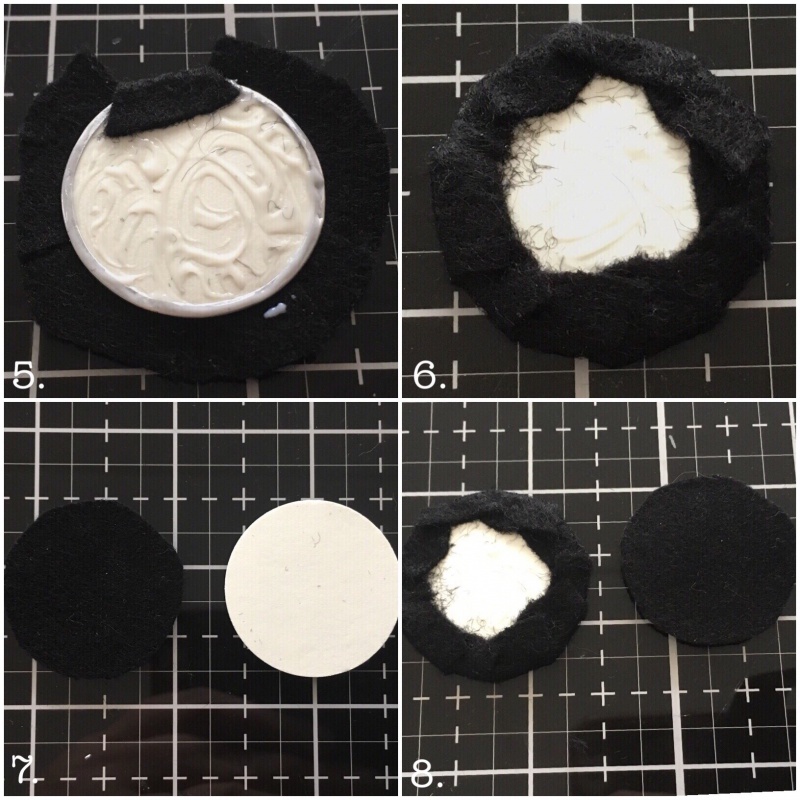
    Step 14: Gather the banner pieces ready to assemble.
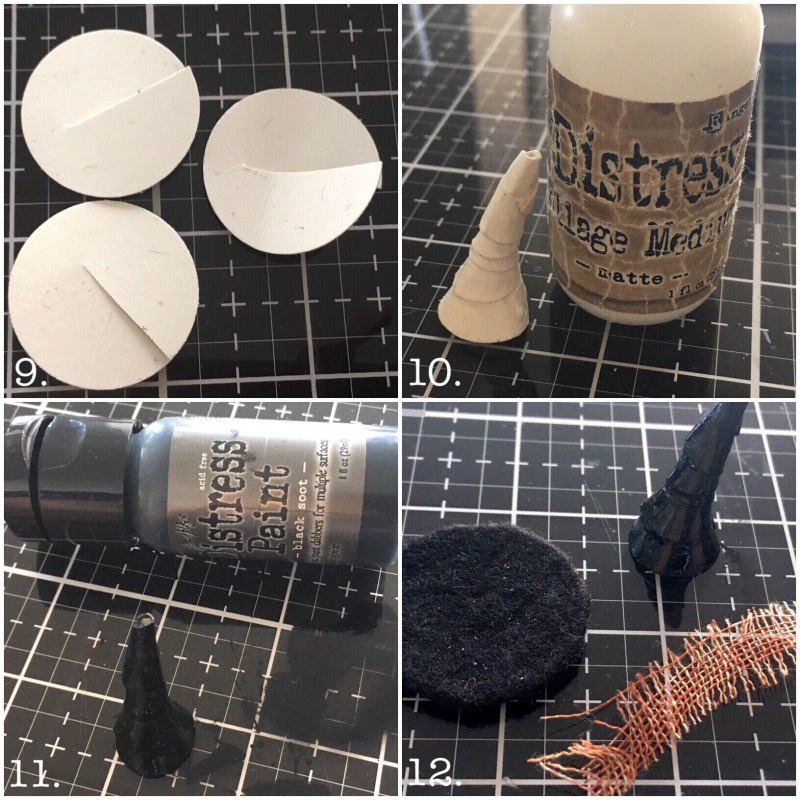
    Step 15: Adhere using distress collage medium matte.
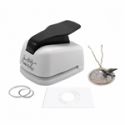
    Step 16: Punch 2 holes in the top of the assembled banner.

    iGirlZoe: Haunted Banner
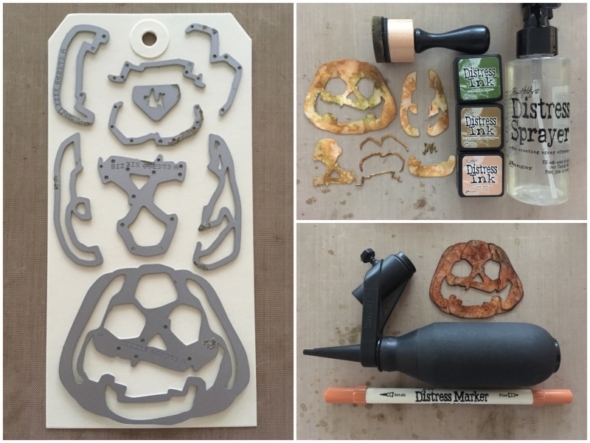
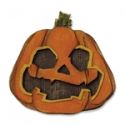
    Step 17: Die cut the jack-0-lantern thinlits die from a heavystock tag.
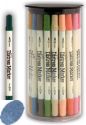
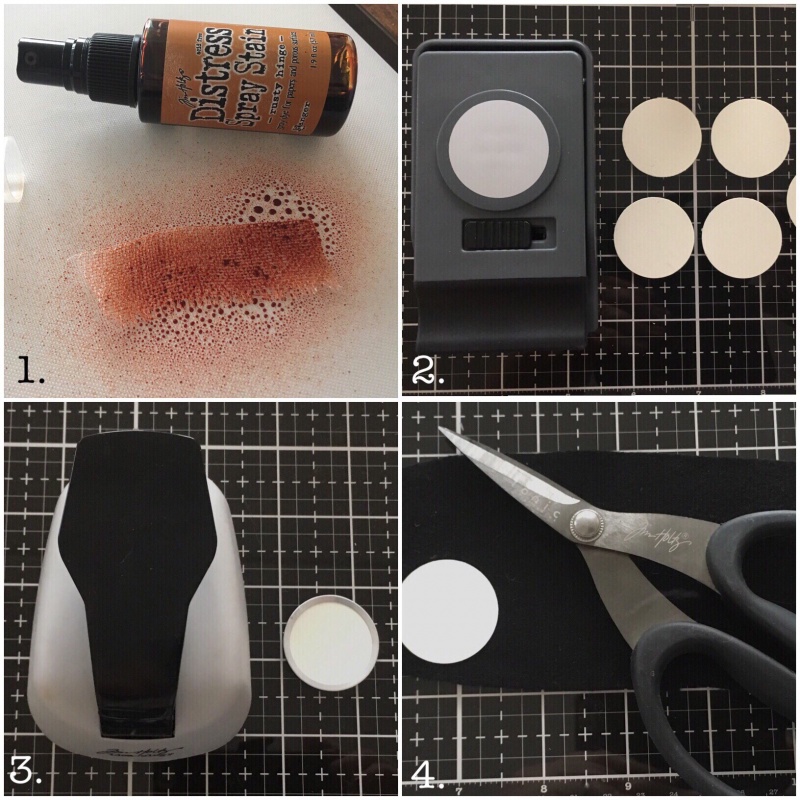
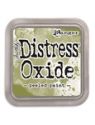
    Step 18: Blend tea dye, forest moss and brushed corduroy distress ink and splatter with a distress sprayer.
    Step 19: Once dry, spritz rusty hinge distress marker over the die cut with a distress marker spritzer.

    iGirlZoe: Haunted Banner
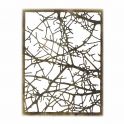
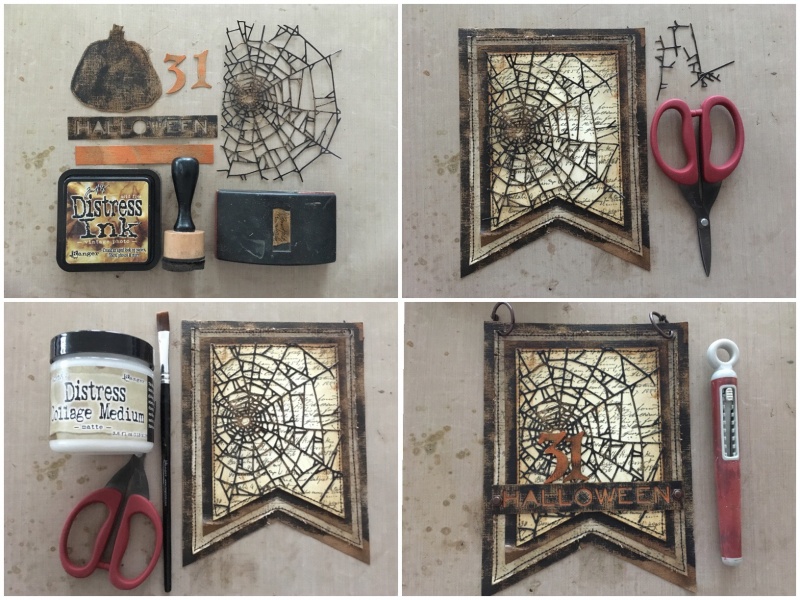
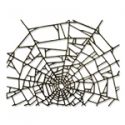
    Step 20: Die cut Halloween, jack-o-lantern base and a cobweb from black classic kraft stock. Sand and blend in vintage photo distress ink.
    Step 21: Place the cobweb die cut over the banner and trim any overlap with mini scissors.
    Step 22: Adhere the cobweb with distress collage medium matte.
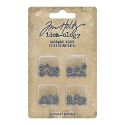
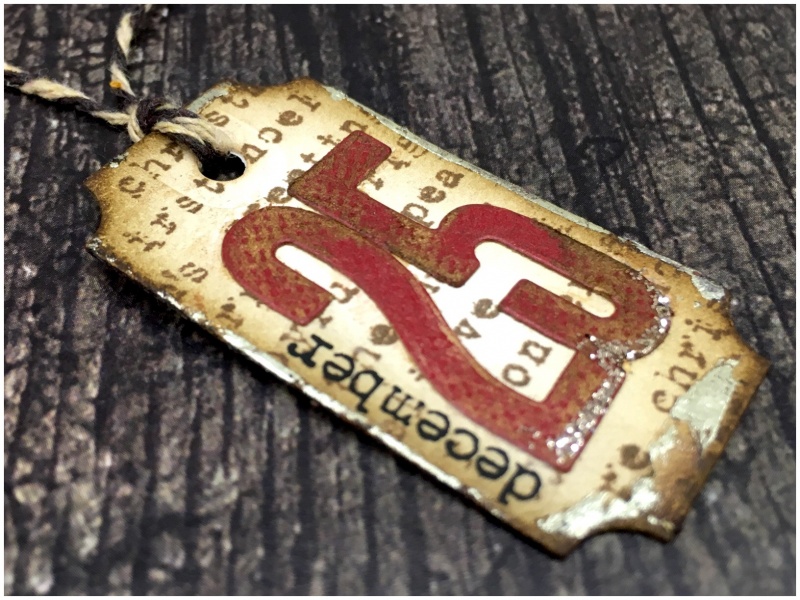
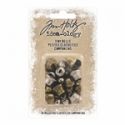
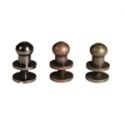
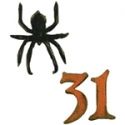
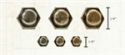
    Step 23: Add the halloween die cut with hex fasteners. Adhere the 31 die cut and add mini book rings to the holes at the top of the banner.

    iGirlZoe: Haunted Banner
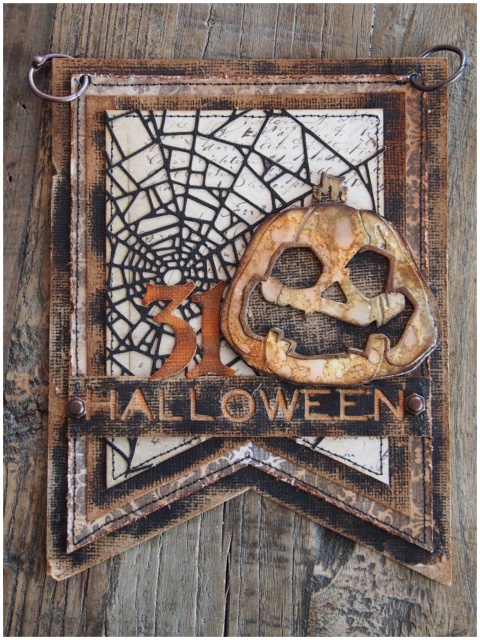
    Step 24: Add the jack-o-lantern die cut with adhesive black foam.

    iGirlZoe: Haunted Banner
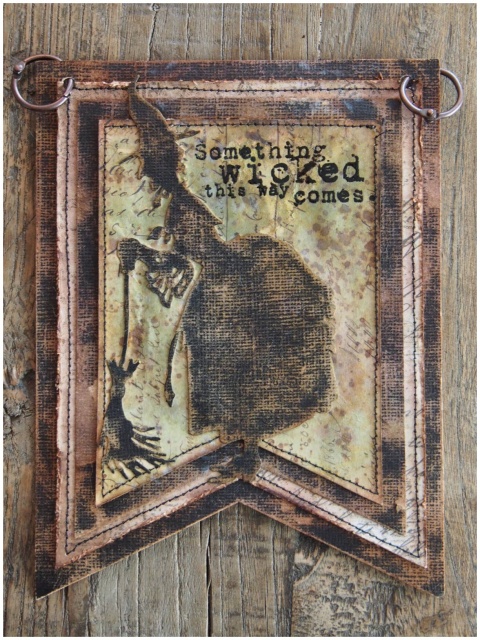
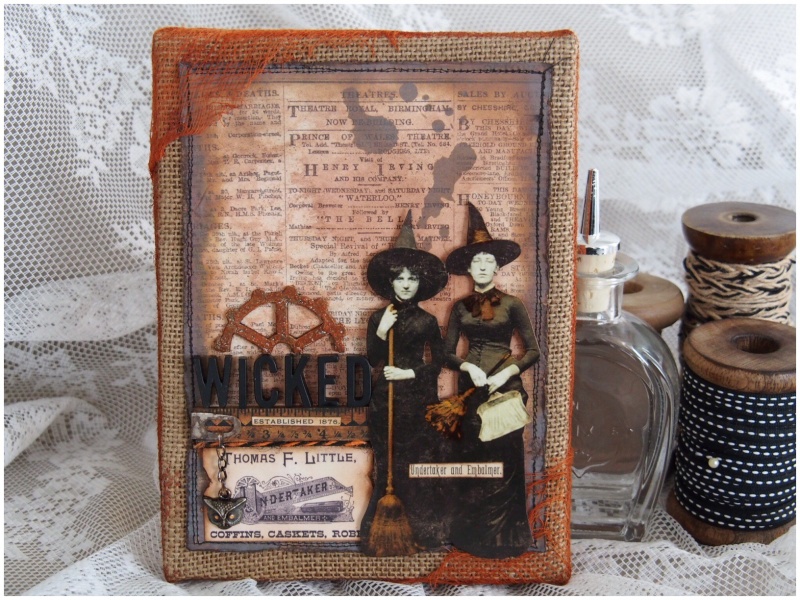
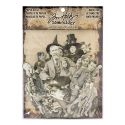
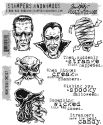
    Step 25: Die cut the witchcraft die from black classic kraft stock, sand with a sanding grip and blend in vintage photo distress ink with a mini blending tool. Blend peeled paint distress ink onto the heavystock banner (top one), stamp a sentiment from the monstrous set and adhere the witch with distress collage medium matte.

    iGirlZoe: Haunted Banner
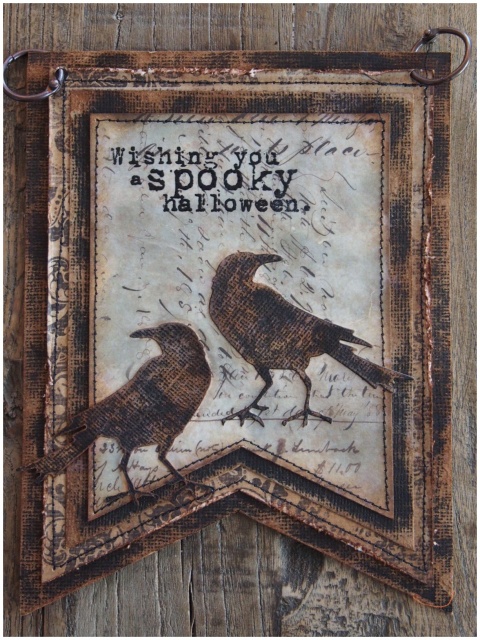
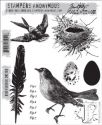
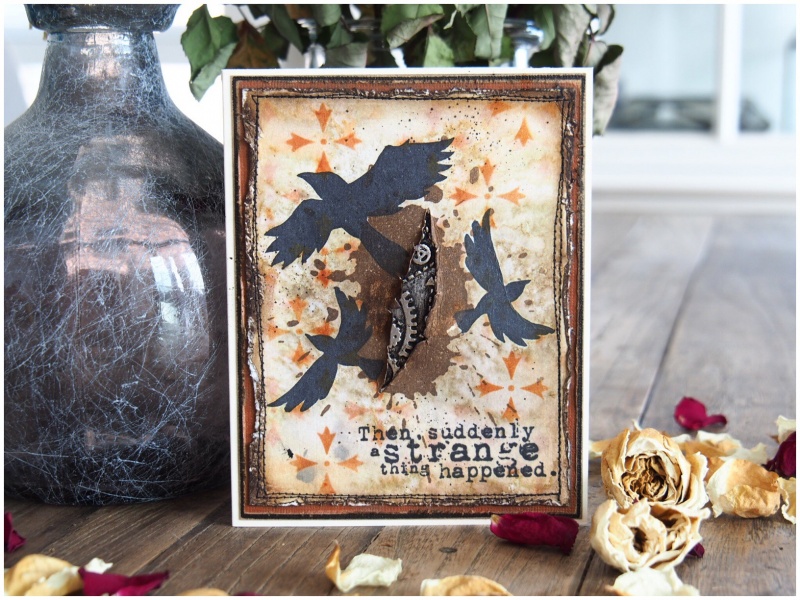
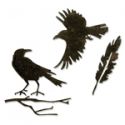
    Step 26: Die cut the feather and raven die from black classic kraft stock, sand with a sanding grip and blend in vintage photo distress ink with a mini blending tool. Blend weathered wood distress ink onto the heavystock banner (top one), stamp a sentiment from the monstrous set and adhere the ravens with distress collage medium matte.

    iGirlZoe: Haunted Banner
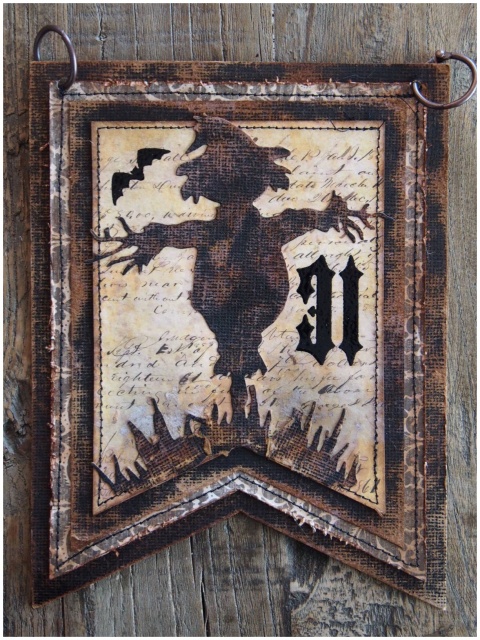
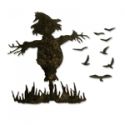
    Step 27: Die cut the scarecrow die from black classic kraft stock, sand with a sanding grip and blend in vintage photo distress ink with a mini blending tool. Blend wild honey distress ink onto the heavystock banner (top one), stamp a bat and 31 using the idea-ology cling foam stamps and adhere the scarecrow with distress collage medium matte, bending the base of the scarecrow to mirror the curve of the banner.

    iGirlZoe: Haunted Banner
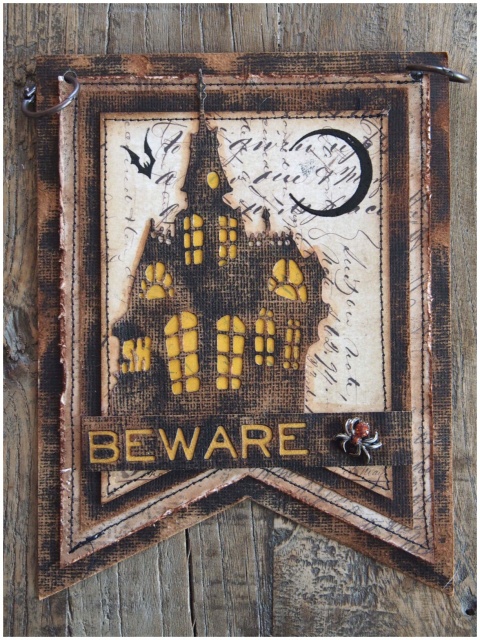
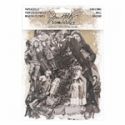
    Step 28: Die cut the haunted house and halloween word die from black classic kraft stock, sand with a sanding grip and blend in vintage photo distress ink with a mini blending tool. Blend tea dye distress ink lightly onto the heavystock banner (top one), stamp a bat and the crescent moon from the haunted house set and adhere the haunted house and beware banner, plus an adornment spider with distress collage medium matte. Paint fossilized amber distress paint inside the haunted house’s windows.

    iGirlZoe: Haunted Banner
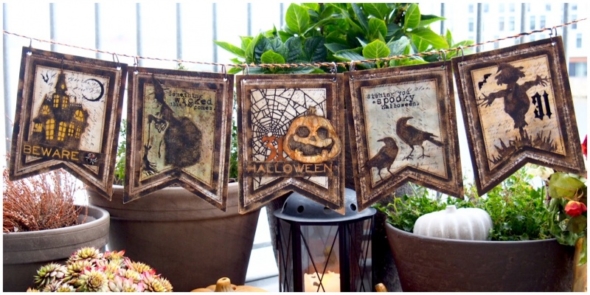
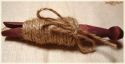
    Run string, twine, burlap, ribbon or chain through the mini book rings attached to the top of the banner and hang. Why not make one each year and write the year on the back or make a feature of it on your banner. A great way to practice techniques and track your creative progression.

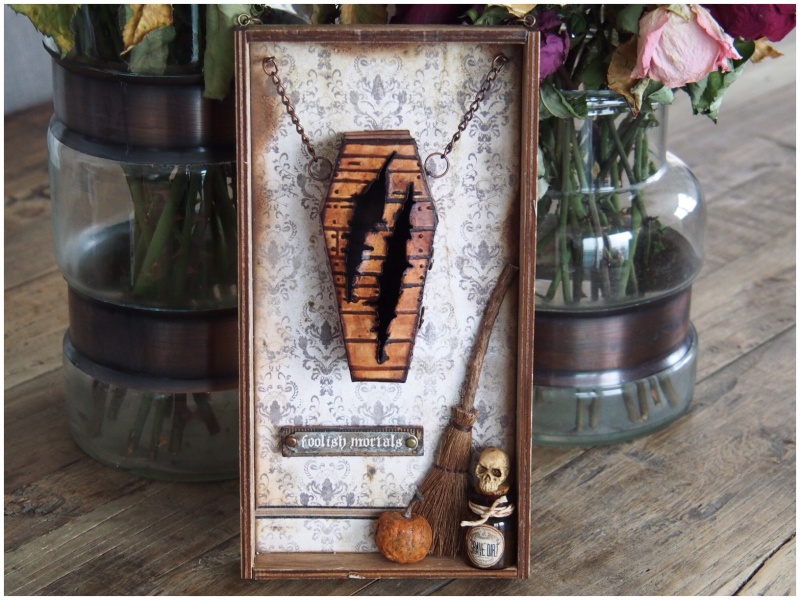
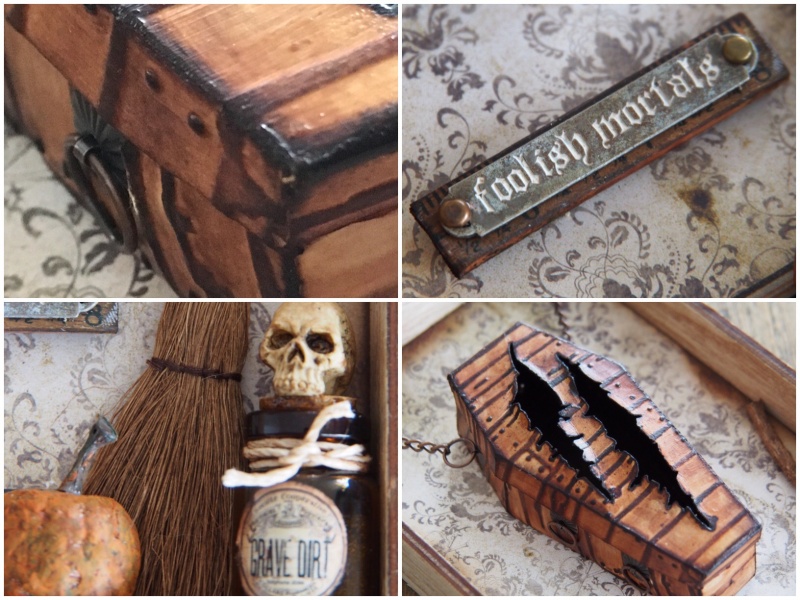
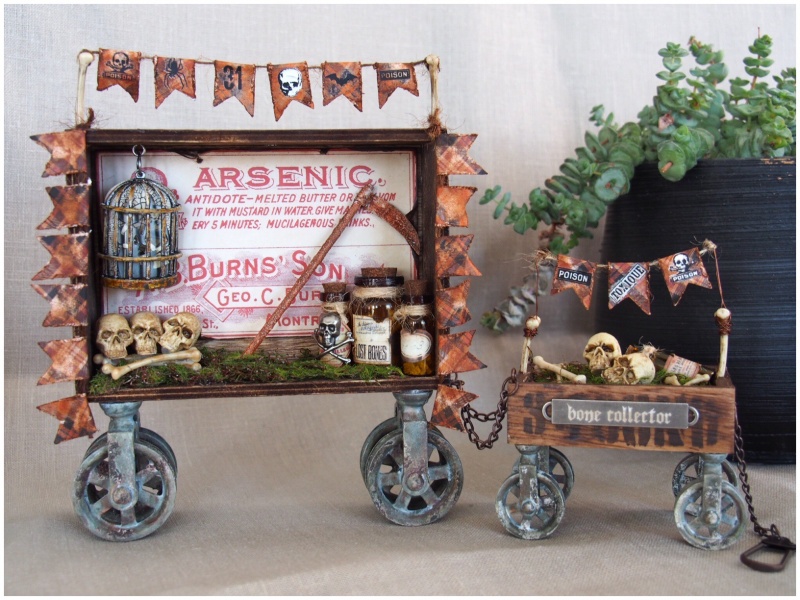
    I hope you enjoyed this step by step and have been enjoying the inspiration series so far. Don’t forget to check out the other designers projects from the series. I will be back next week sharing some walk throughs and close ups of the other projects I have made for the inspiration series.
    Cheers
    Zoe x