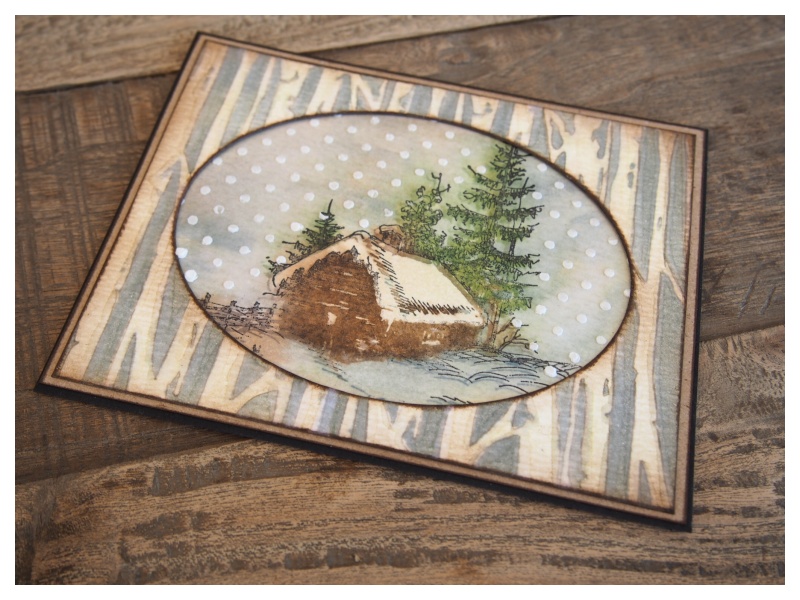
I am delighted to share a card sample that I made for the Tim Holtz facebook LIVE event on Friday, where he showcased his incredible new Stampers Anonymous holiday stamps and stencils. If you missed the live event, you can still watch it on replay and see the stamps on Tim’s blog.
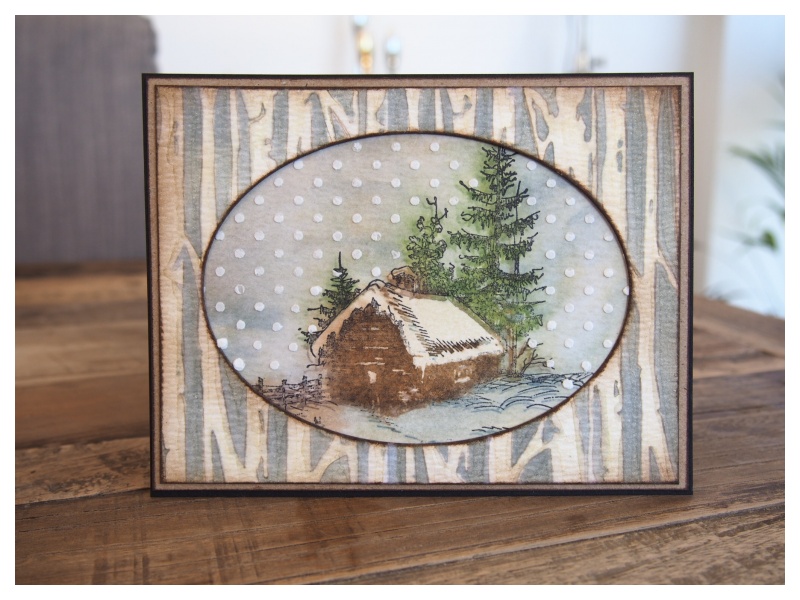
I absolutely LOVE the new stamps and stencils and I can’t wait to create this years Christmas cards and holiday home decor with them. Here’s how I used some of them to create this sample…
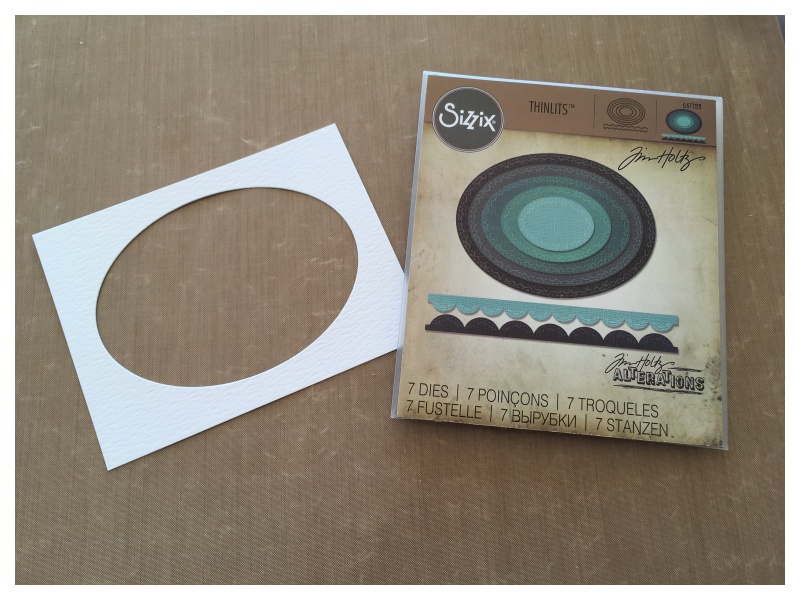
Step 1: Cut an oval using the sizzix stiched ovals thinlits dies from distress watercolor cardstock.
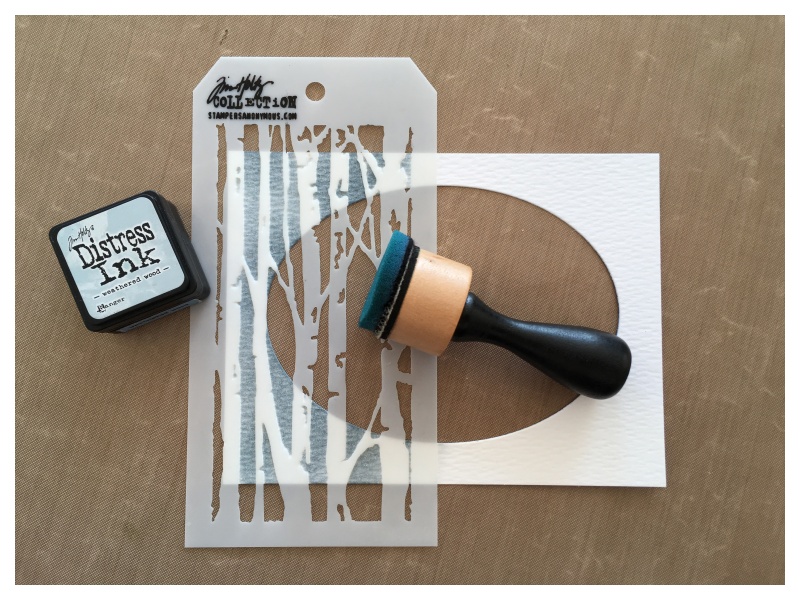
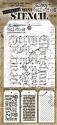
Step 2: Lightly blend weathered wood distress ink through the birch stencil from mini stencils set 21 using a mini blending tool.
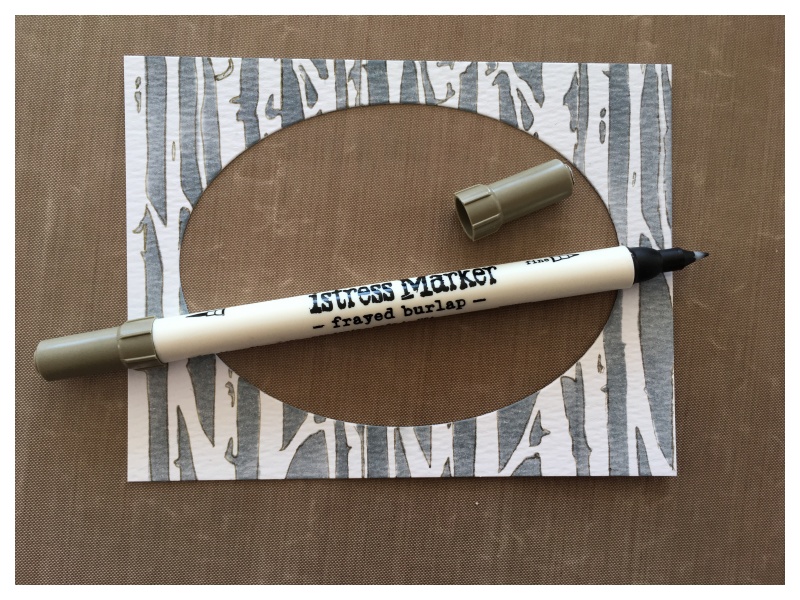
Step 3: Draw lightly along the outline of the birch trees with the fine tip end of a frayed burlap distress marker. TIP* you could trace the outline using the stencil, but the imperfections of freehand make it look more natural and less “stenciled”
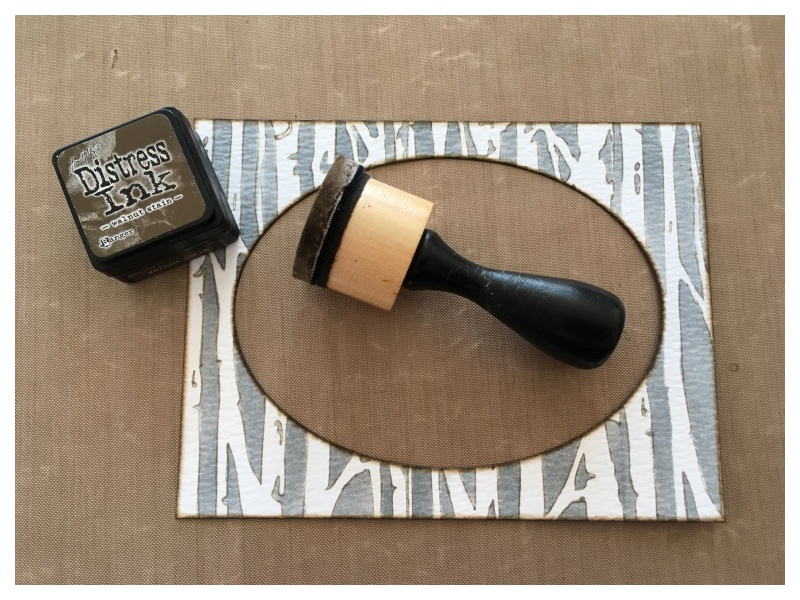
Step 4: Edge the card and oval with walnut stain distress ink using a mini blending tool.
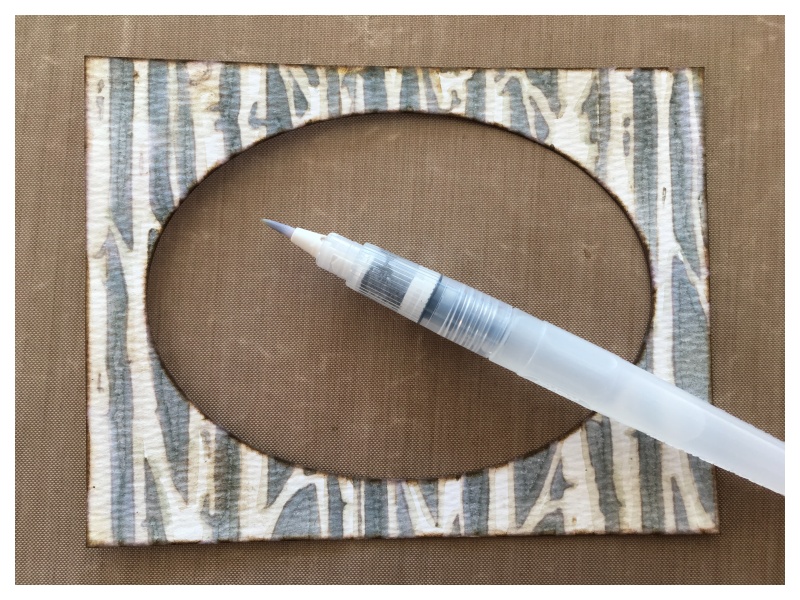
Step 5: Go over the frayed burlap marker lines with a water brush to soften the lines and create shadow.
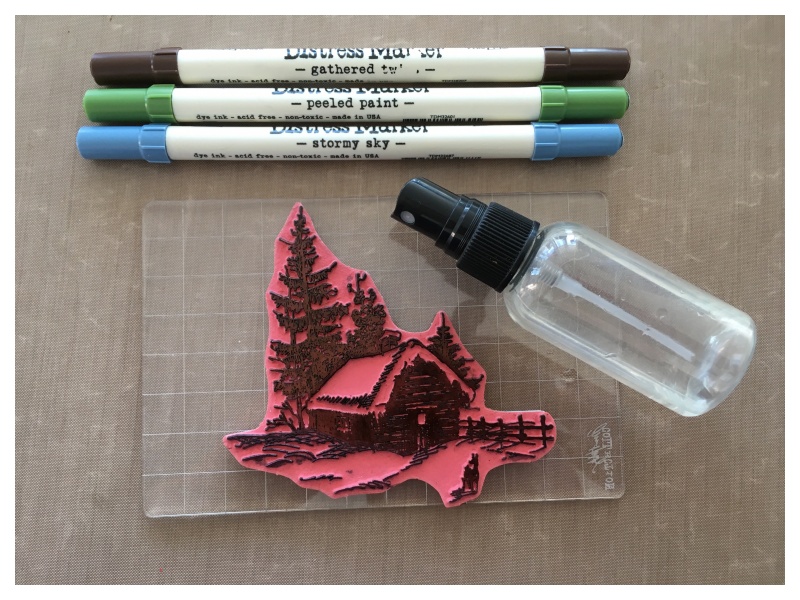
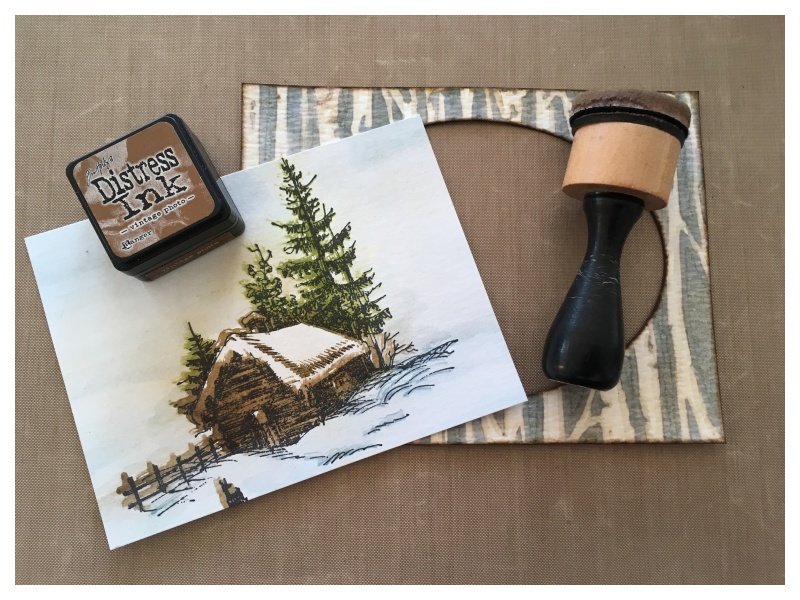
Step 6: Colour the back of this stamp from the scribbled woodlands CMS282 stamp set with gathererd twiggs, peeled paint and stormy sky distress markers. Spritz with water and stamp onto distress watercolor cardstock.

Step 7: Once dry, ink up the stamp with black soot distress archival ink and overstamp the watercolor image.
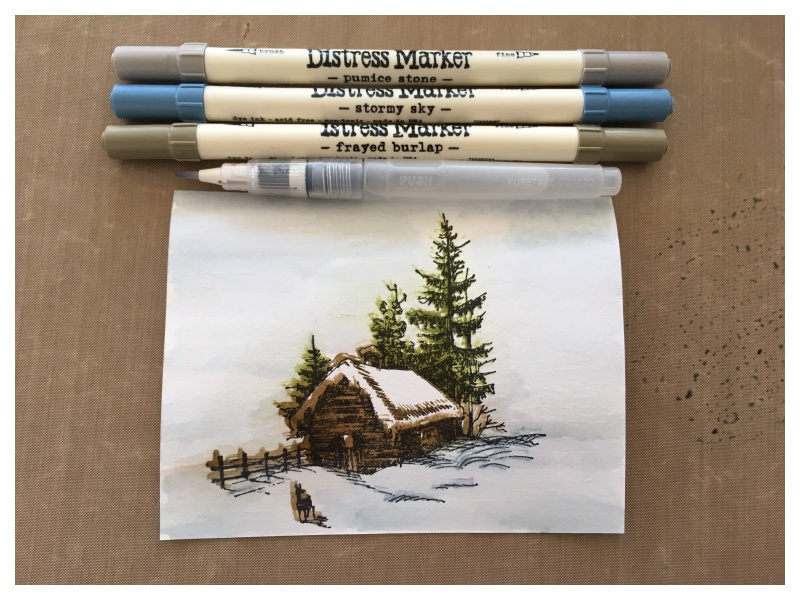
Step 8: Scribble frayed burlap, pumice stone and stormy sky distress markers onto a non stick craft sheet. Pick up the scribbled marker with a waterbrush and create a background wash onto the distress watercolor cardstock around the stamped image.
Step 9: Take a mini blending tool and VERY LIGHTLY blend vintage photo distress ink over the stamped background and birch stencilled frame to give a vintage hue. TIP* if your vintage photo distress ink pad is “juicy” blend away some of the excess onto scrap paper before blending over the top of the background and frame.
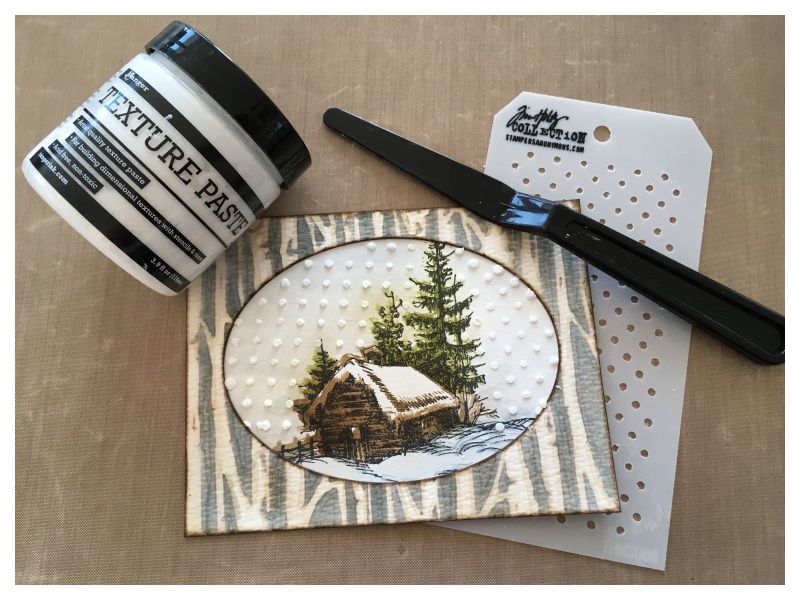
Step 10: Lay the polka dot stencil from mini stencil set 20 over the card. Spread texture paste through the stencil with a palette knife and once completely dry, adhere the frame over the background. TIP* To get a more natural looking snowfall (card below), use the stencil vertically or horizontally, NOT at an angle (card above).
Thanks for stopping by, I hope that you enjoyed this tutorial. I’ll be back tomorrow with a tutorial for another card sample that I made for Tim’s facebook LIVE post.
Zoe
 |
 |
 |
 |
 |
 |
 |
 |
 |
 |
 |
 |
 |
 |
 |
 |
 |
 |
 |
 |


Love the card and the stencils. Wish I could get everything Tim puts out, but it just isn’t possible. I enjoy your talents and really appreciate you sharing them with us out here. I would love to make this card for my Christmas list. 🙂
I love the suggestion to outline the trees…makes them look so awesome!!
So incredibly awesome. Thank you for sharing this. 🙂
This is beautiful Zoe!
Stunning card Zoe! I love the tutorial, especially how you watercolored the stamp first, then stamped it in the archival ink for detail. WoW!!
Beautiful and I love the tip of spraying the log home with after after colored and then overstamping with black…. Sigh just so perfect!
Love the card and the techniques you used. Can’t wait for the products to be available for playing with. thanks as always for sharing.
Absolutely gorgeous card Zoe! Love the detail work to the birch. You never cease to amaze me with the brilliant techniques you come up with, just stunning! xx
Just stunning Zoe, saw this on Tim’s FB live video, thanks for the great tut!
Love your card SO much! Thank you for sharing how you made it!